ROCKRIDER XC 50 MTB

Ref: 8575904

ROCKRIDER XC 50 EAGLE BLUE (2020) MTB

2020

This MTB is designed for getting started with Cross Country MTB (XC). You'll have a great time training with this XC 50 MTB with an aluminium frame, SRAM SX 1x12 drivetrain, Sun Ringle 29" wheels and Rockshox Judy 100 mm fork.

First use

"Breaking in" your brakes

When you first get your bike from the store, the brake pads and discs are brand new and therefore the initial braking performance is very low (weak).A sharp prolonged braking action (for example, during a descent) with brakes that have never before been used can cause the pads to overheat and to "freeze up".To avoid this issue (which can render the brakes completely unusable), we recommend first "breaking in" your brakes.This takes about 10 braking actions per brake. For each braking action: apply a single brake to slow the bike down from about 25 km/h to 5 km/h without fully blocking the wheel. Repeat with the other brake.

Switching your wheels to tubeless

To reduce the risk of your inner tube being punctured or pinched, you may want to consider making the wheels on your MTB "Tubeless". To do this, you will need to buy: - Puncture prevention liquid (tyre sealant): DECATHLON: TYRE SEALANT FOR TUBELESS READY TYRES AND RIMS (item 8550735)   STEPS TO TAKE:1. Remove the wheel2. Remove the tyre and inner tube from the wheel3. Apply rim tape (sealant tape) to the rim4. Insert a Schrader Tubeless valve through the rim hole (from inside the rim)5. Apply tyre sealant (puncture prevention) liquid6. Install your new Tubeless tyre7. Fully inflate the tyre until it presses firmly against the rim If you find it difficult to perform this operation, please visit your nearest Decathlon workshop and have this done for you.

ROCKRIDER-MTB-SWITCH-TUBELESS

Adjusting your fork

To properly adjust your Rockshox fork, see the instructions on the following link

rockrider-st520-mtb-equipment

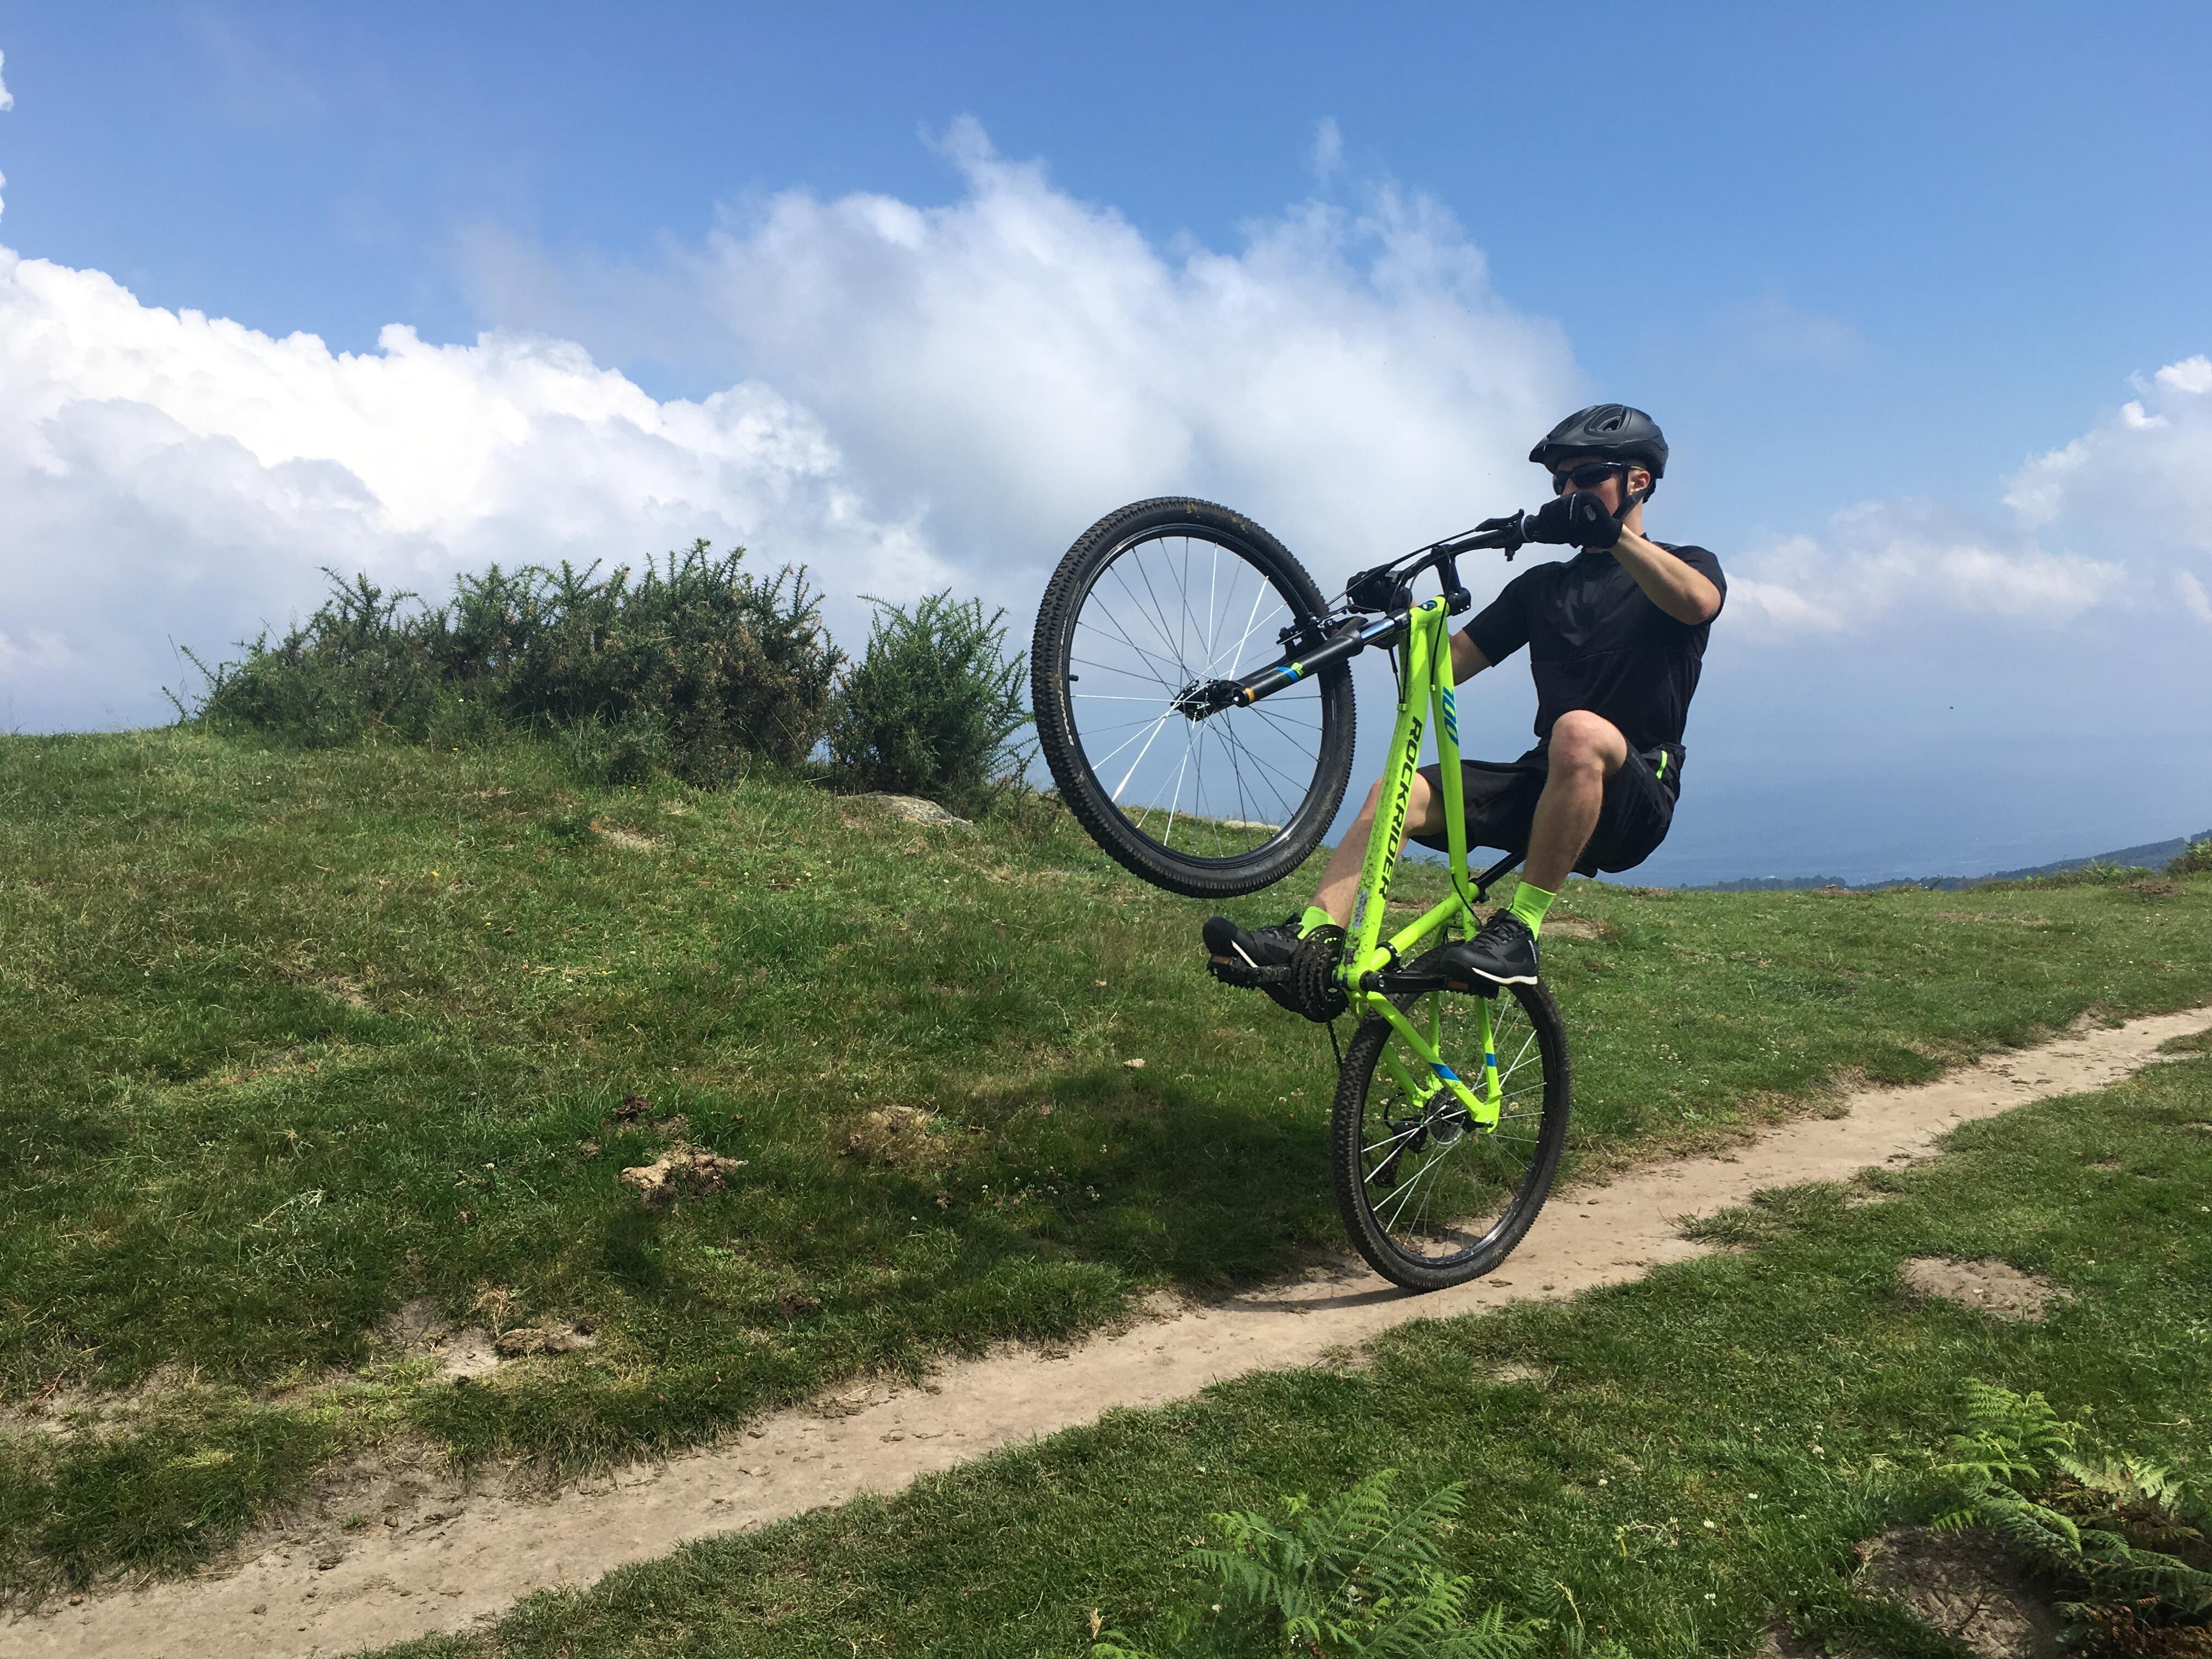
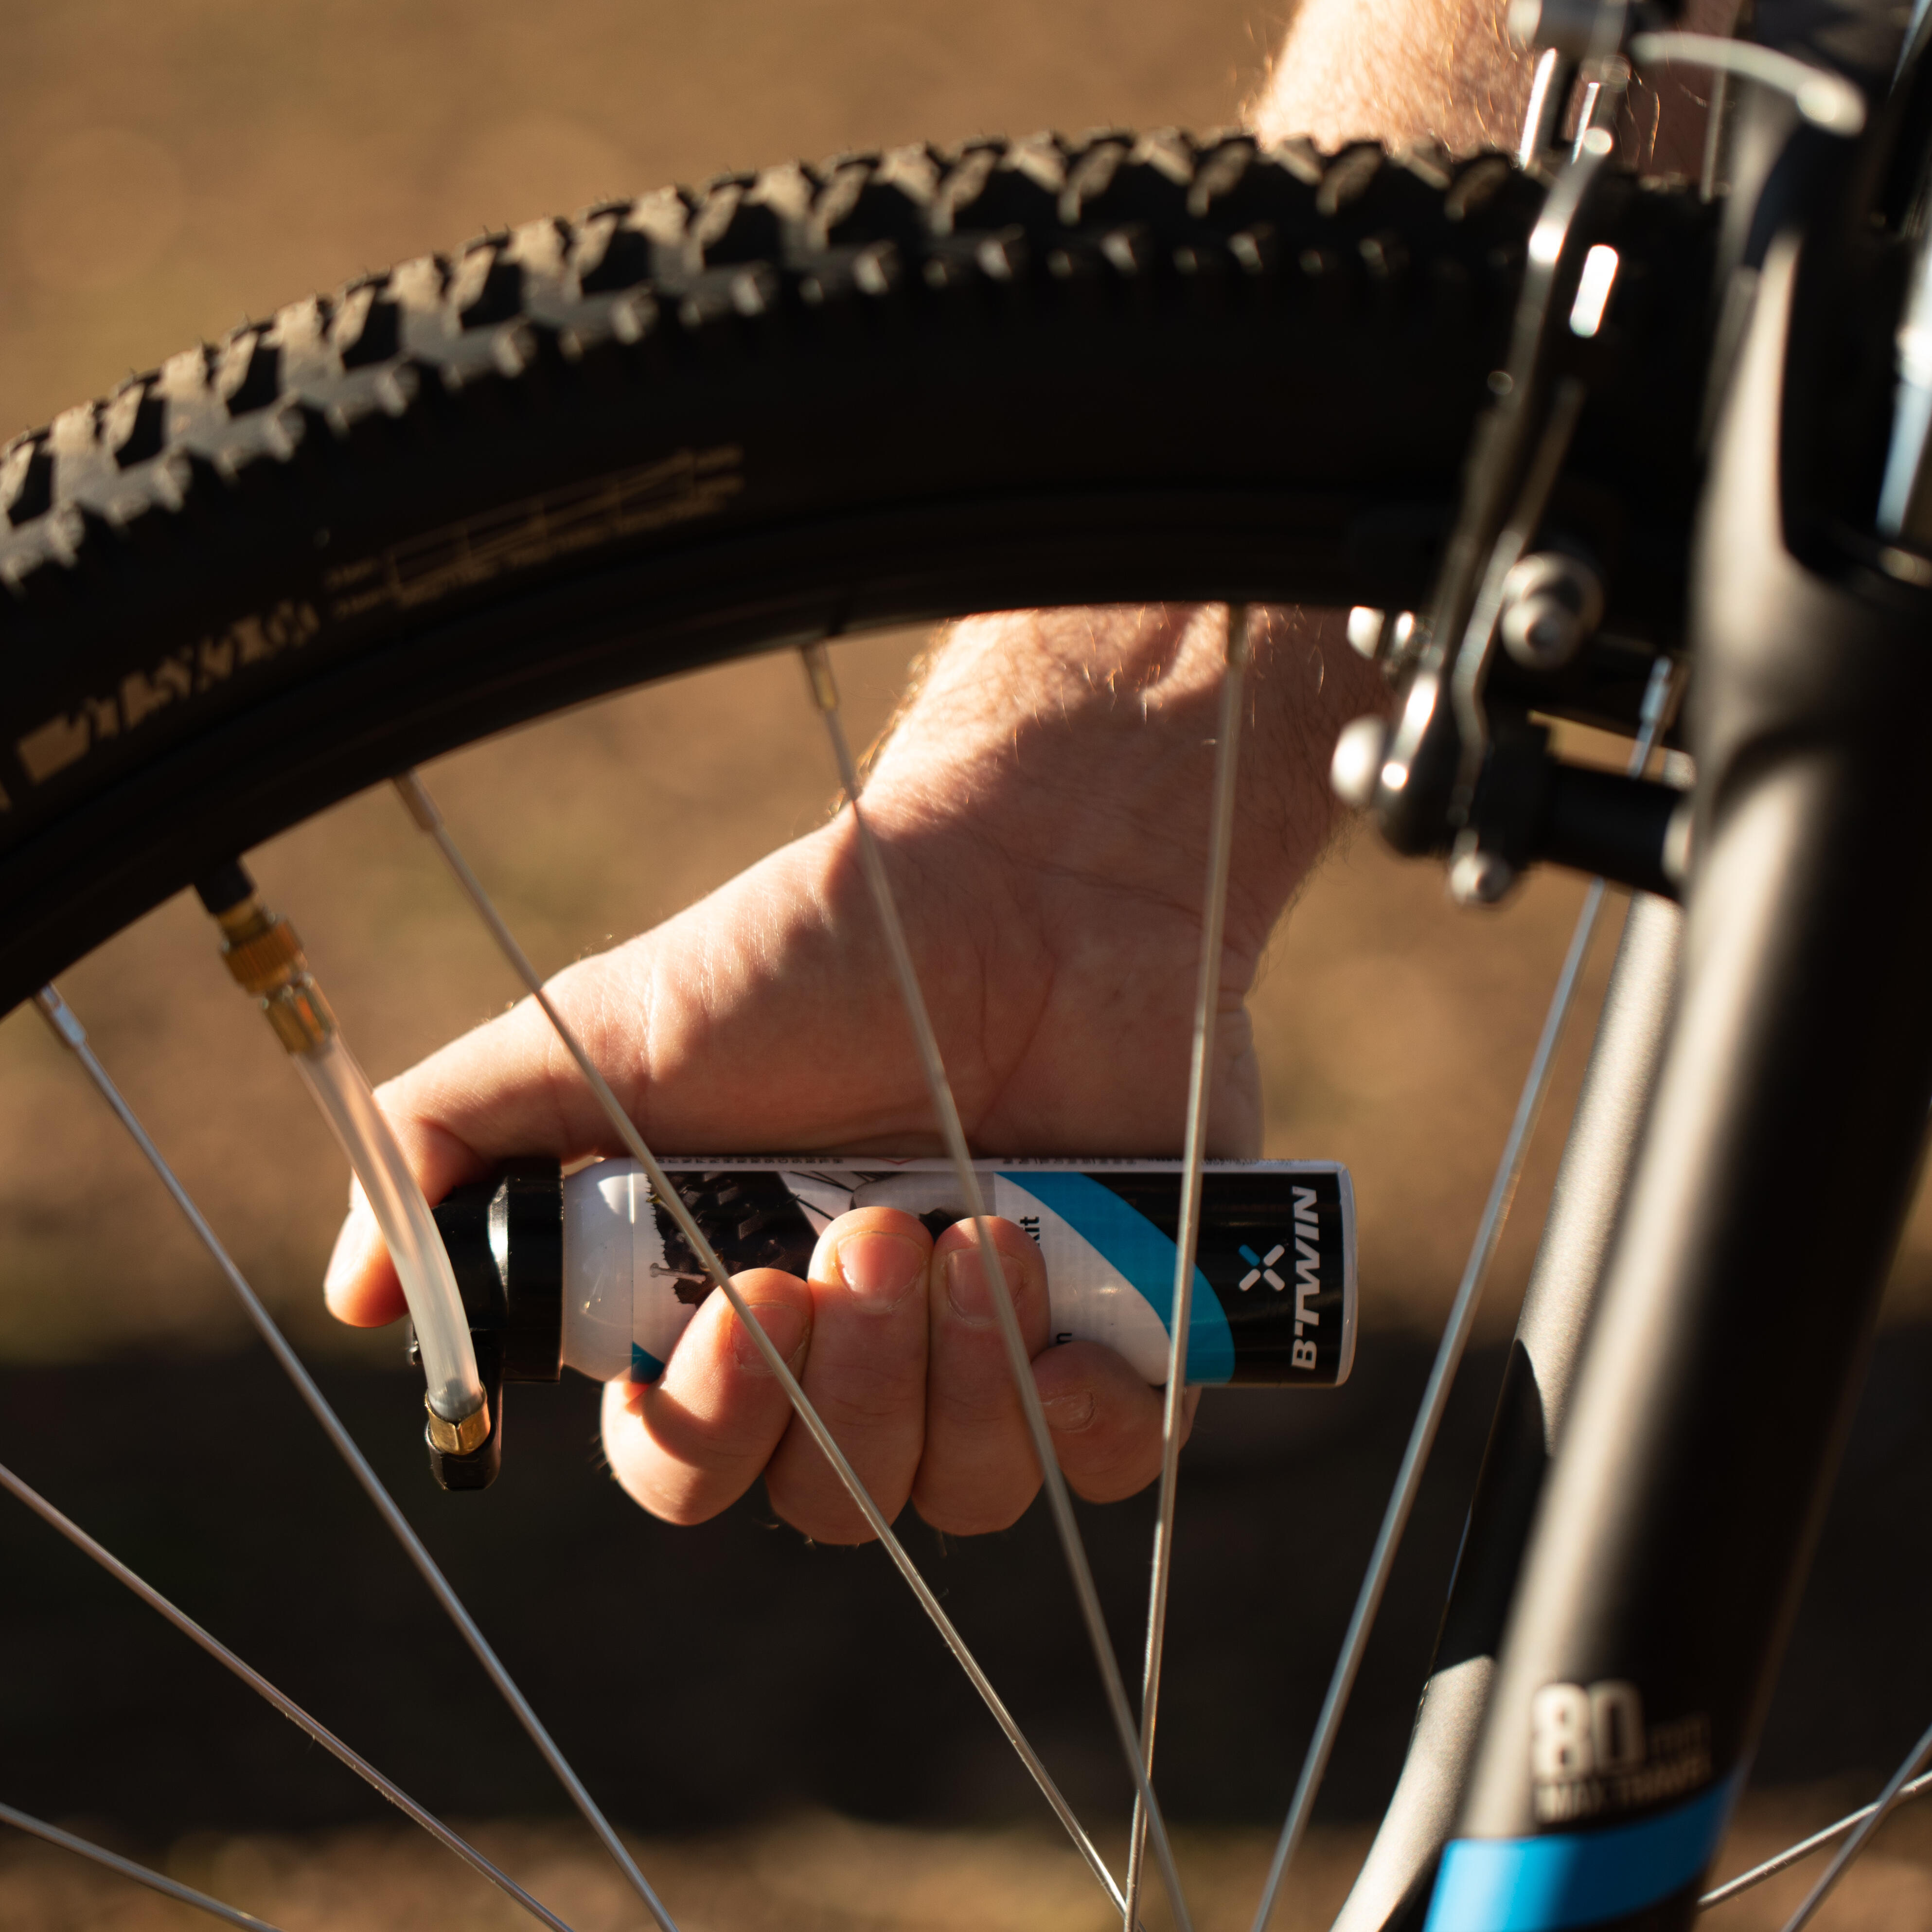
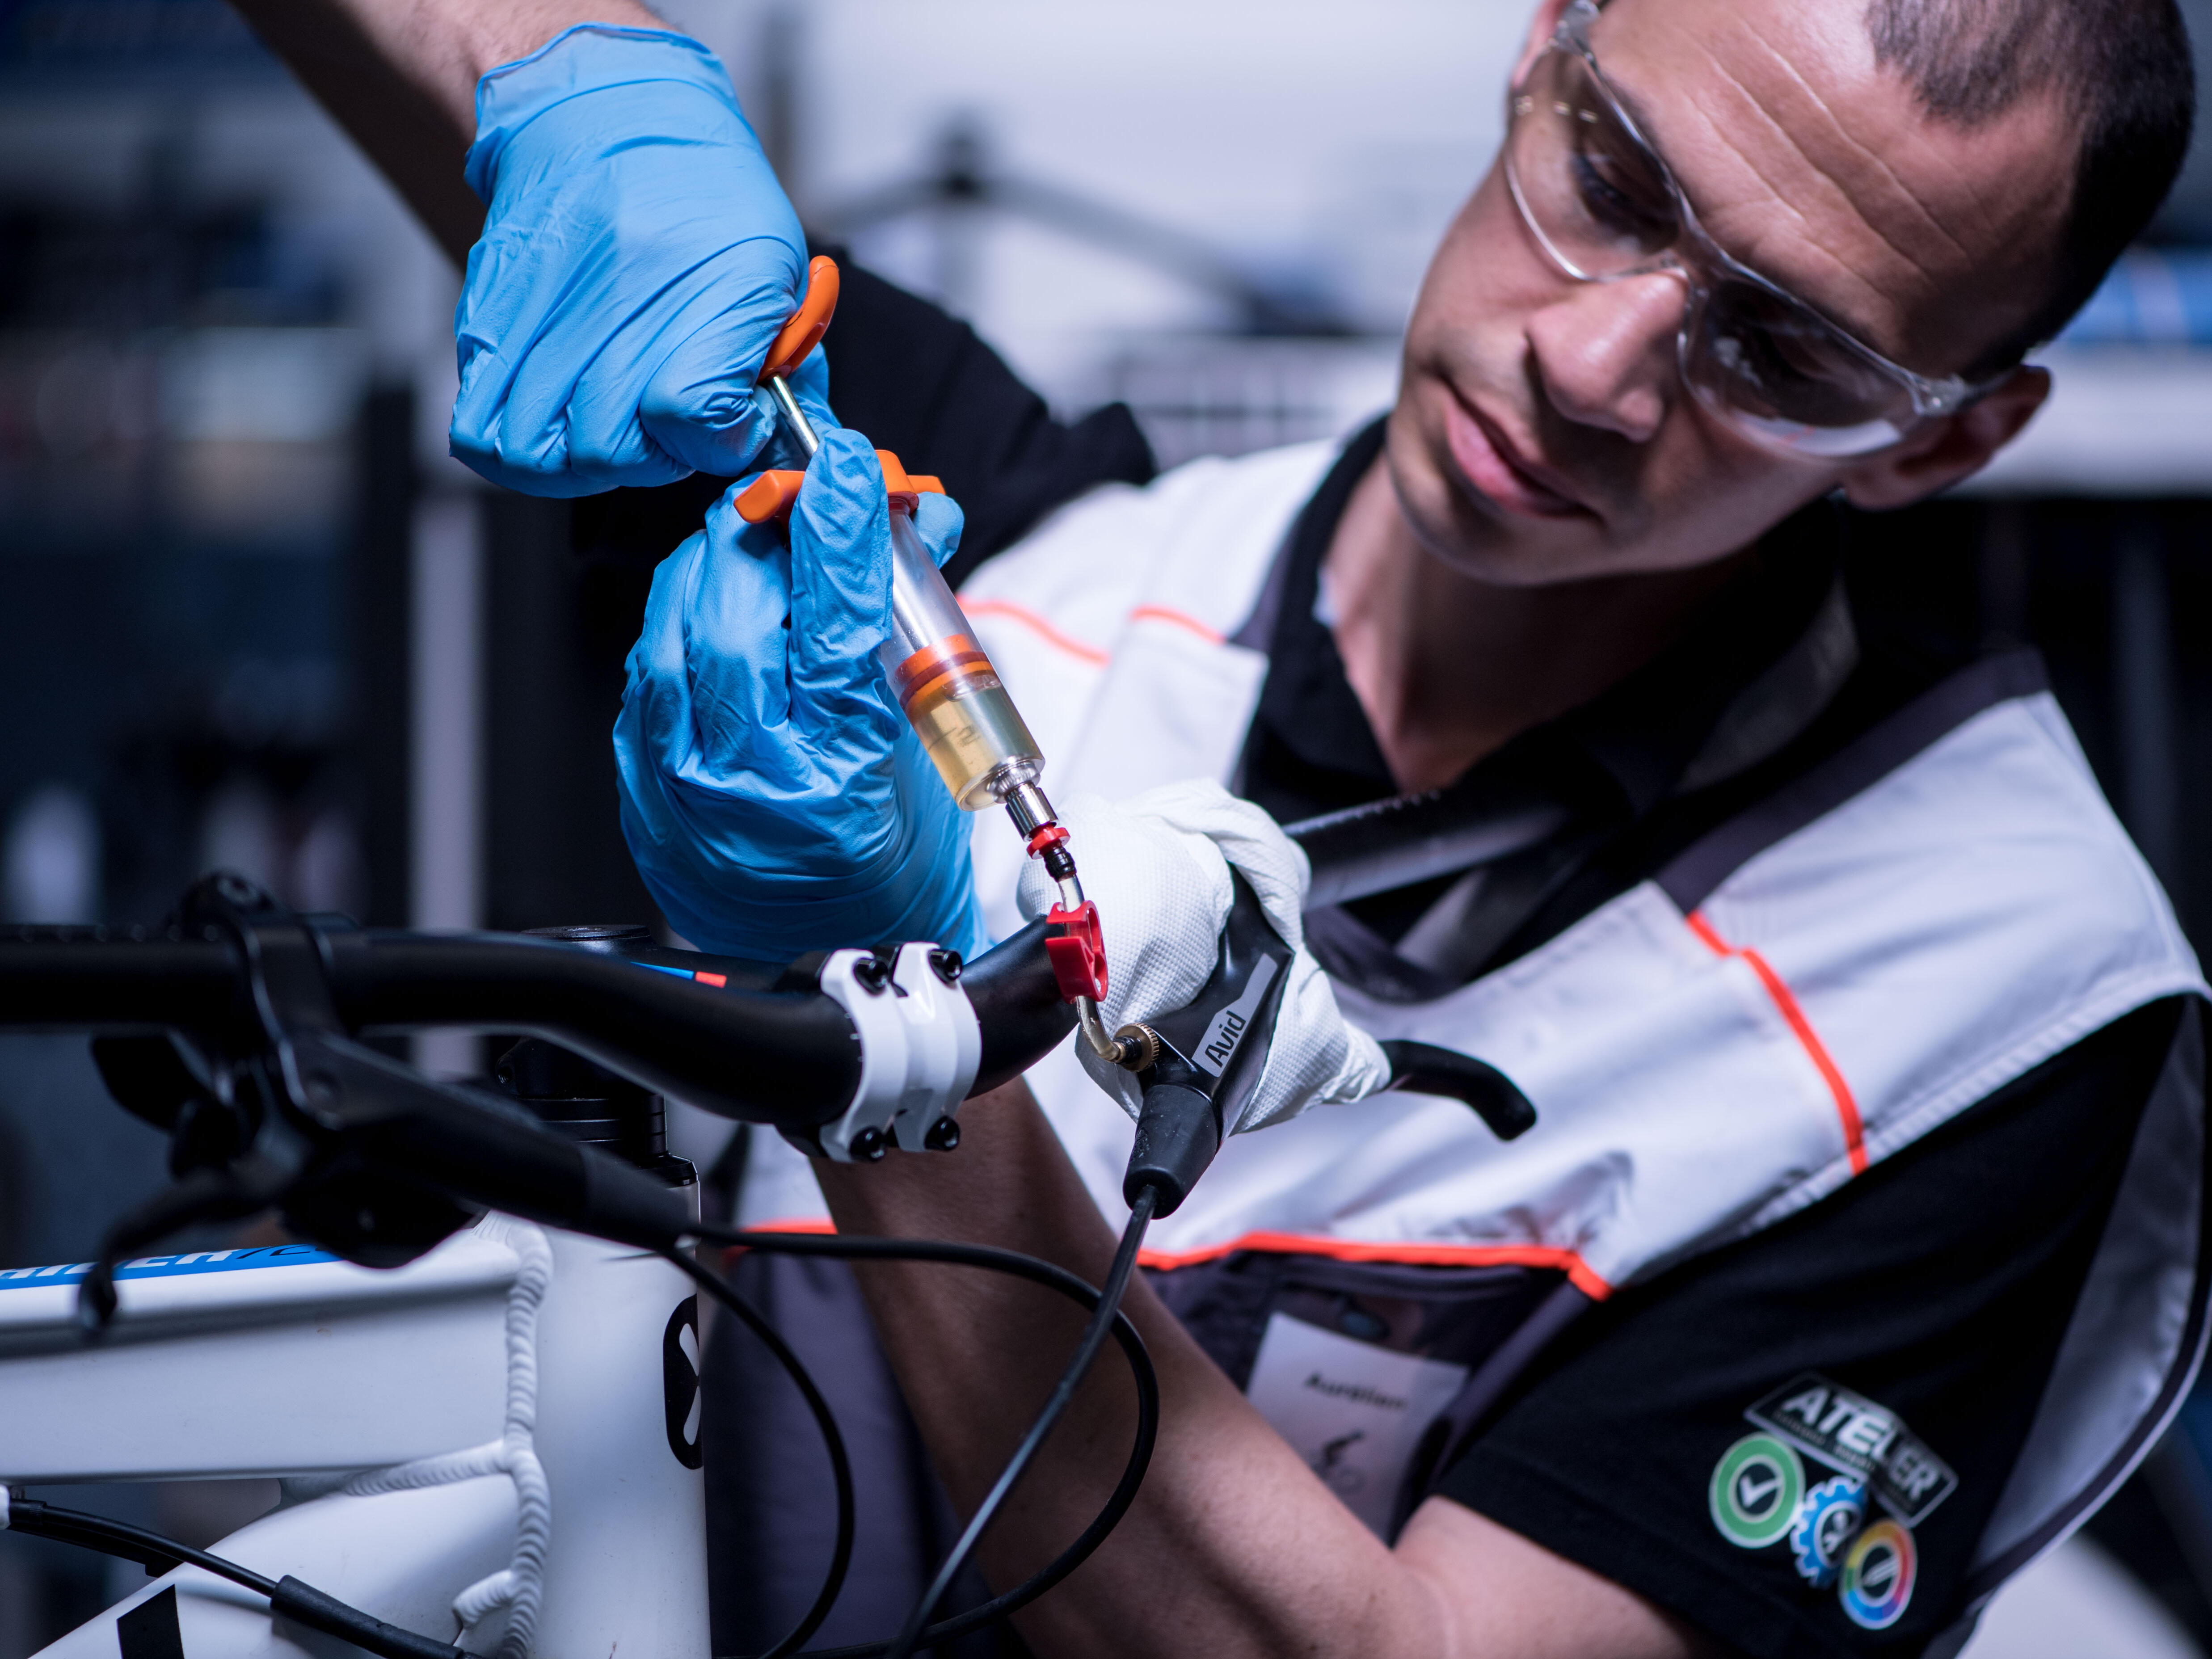
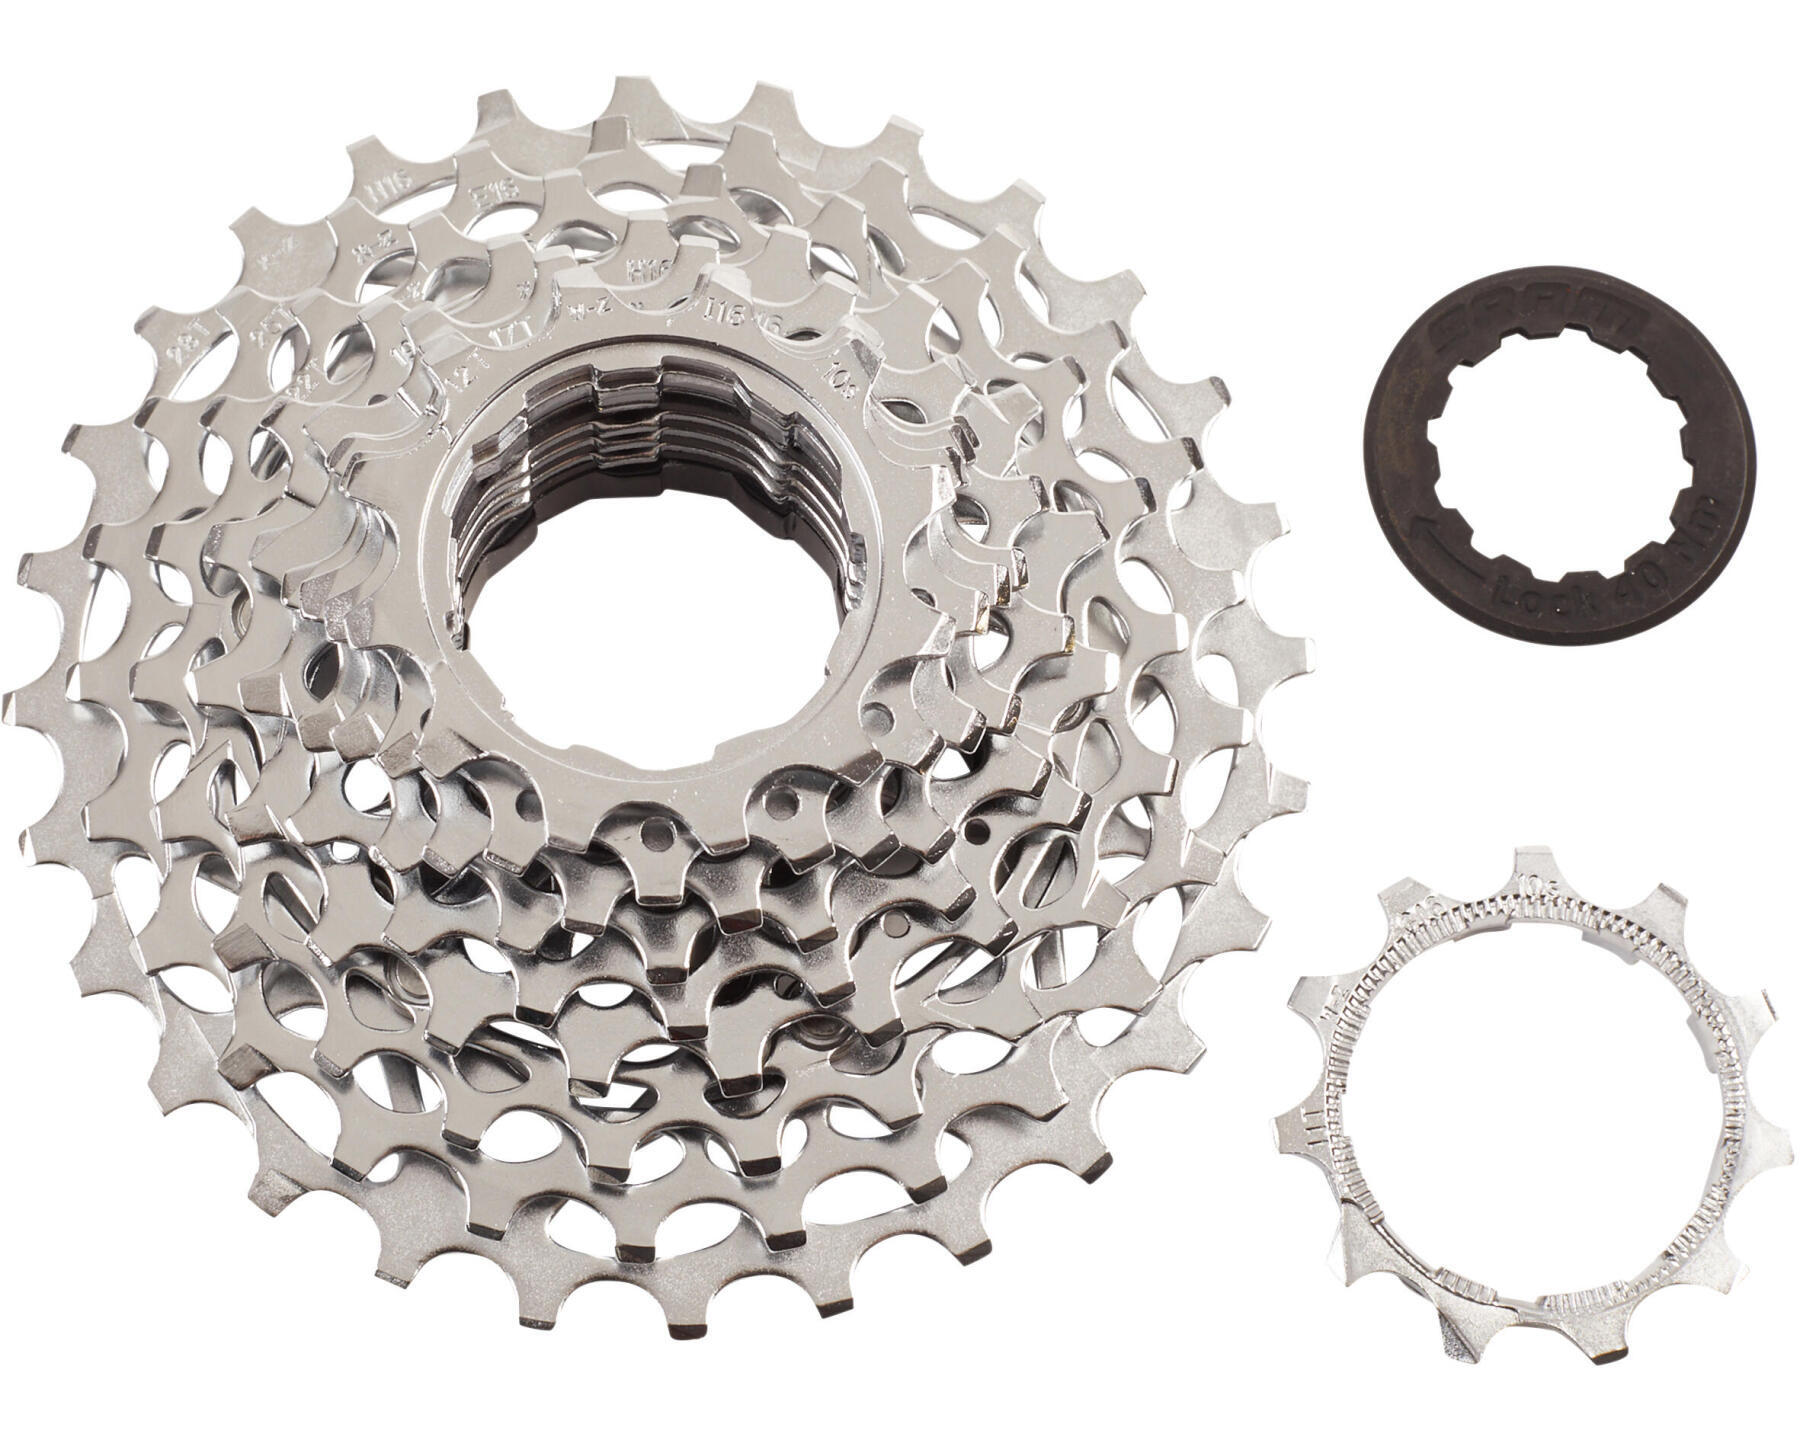
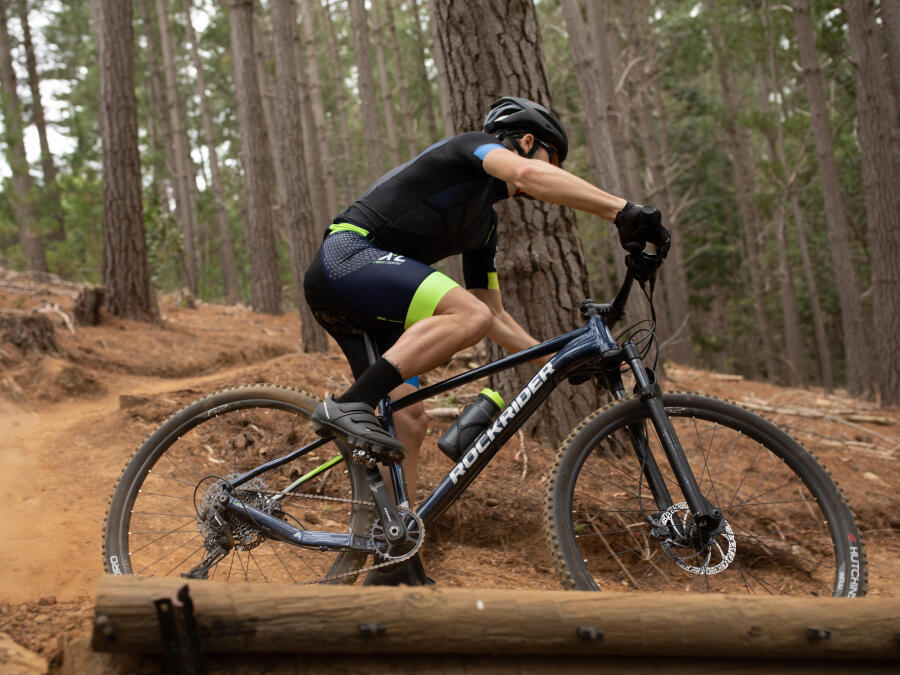
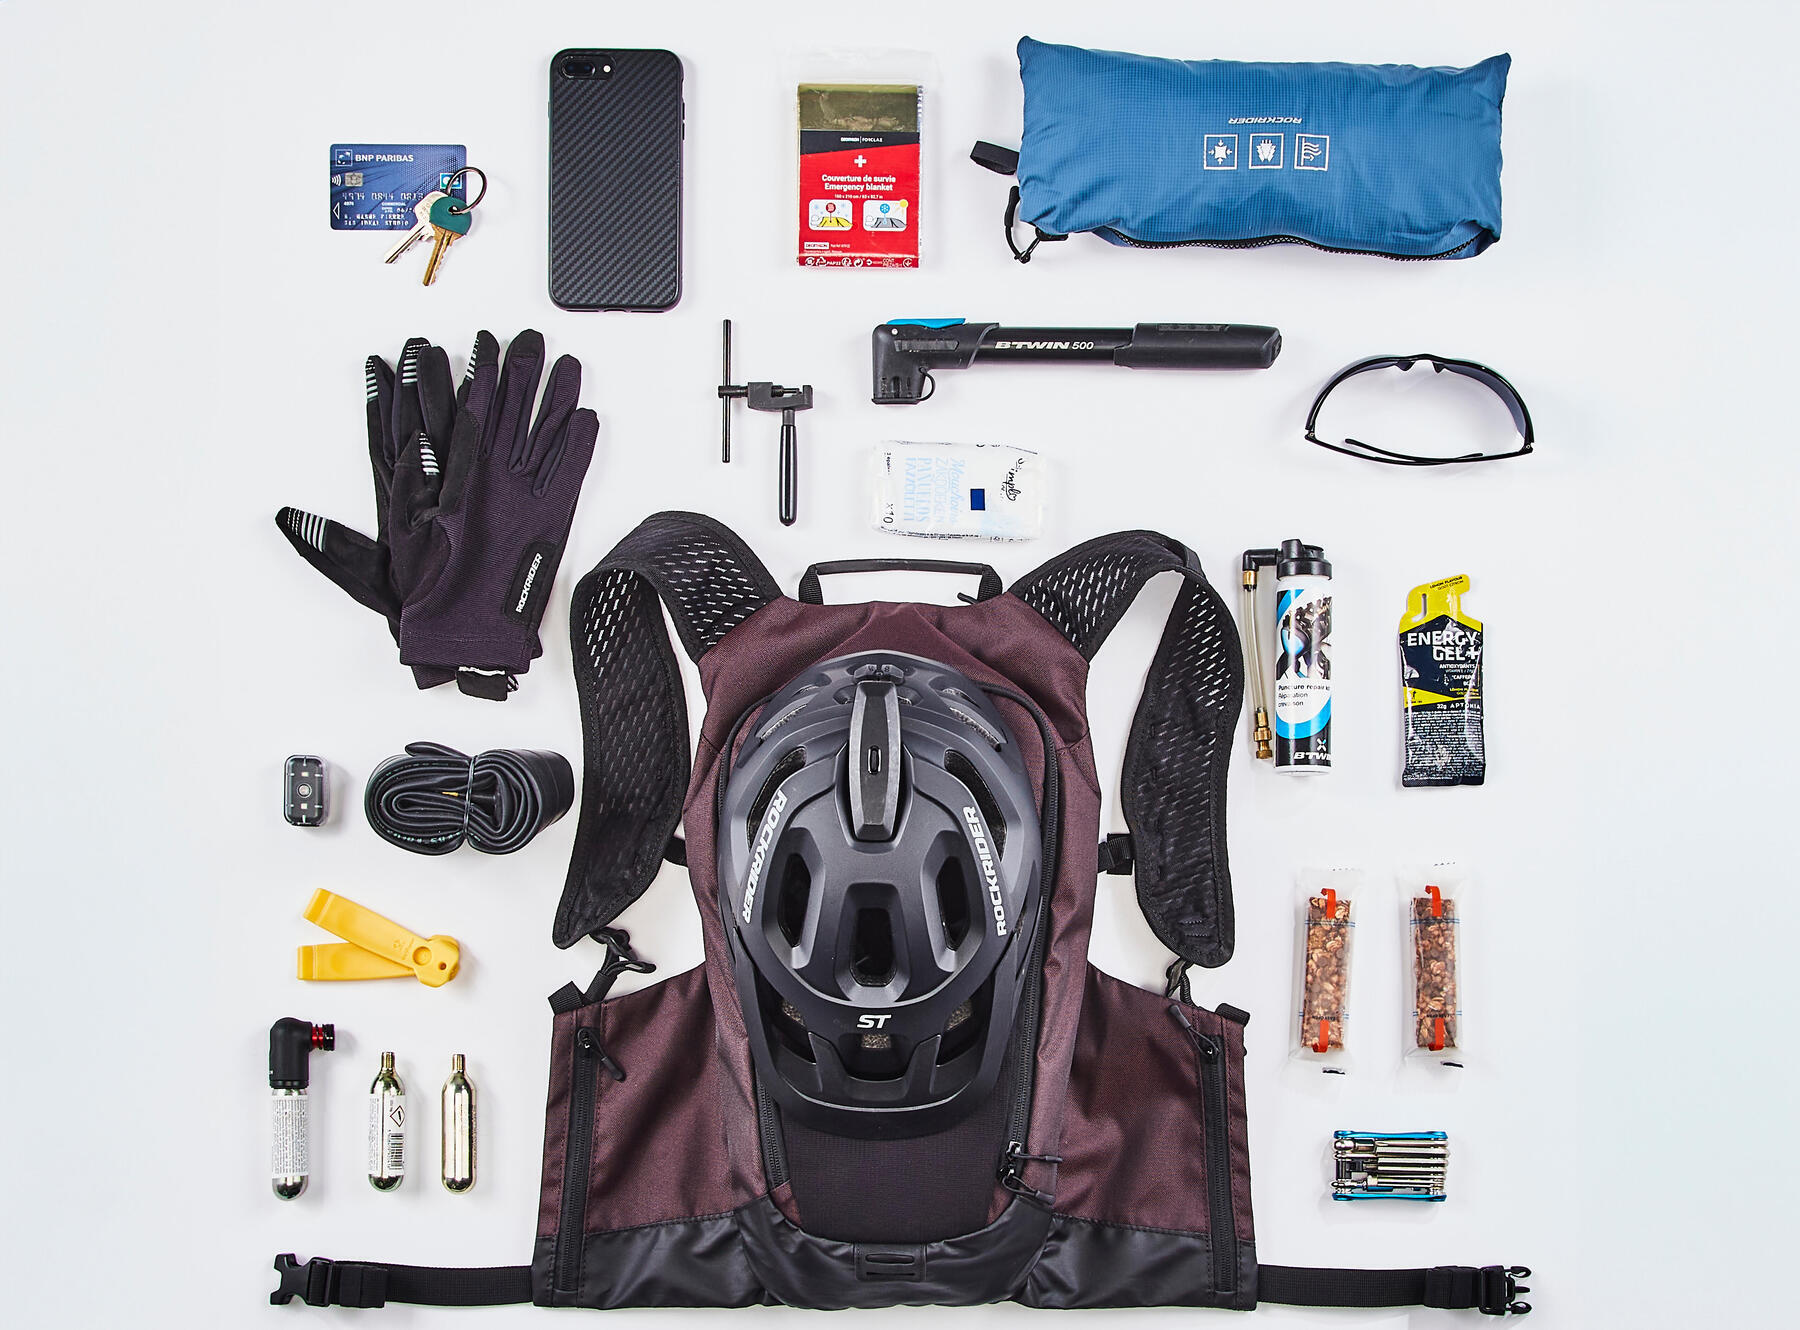
Having the right gear in case of a mishap

Be sure to have all the right gear when you set out on your MTB rides in the event you need to fix a flat, a broken chain, or another mishap. Here is a selection of products that can help you get out of a number of technical misadventures. 

Have a problem?

A wheel is bent

The first time you ride your brand new bike, it's normal that many of its components will move about slightly and settle into their proper places.This is the case of your wheel spokes which you might hear make a "cracking" sound which is naturally due to the residual torsion built up during assembly.Your bike is equipped with sturdy double-walled rims (on the inside of the wheel), so your wheels should be straight and not bent.In the unlikely event a wheel is or becomes slightly bent or twisted, please bring your bike to any Decathlon workshop and they will make the adjustment free of charge, either:1- As part of the free tune-up available within 6 months of the date of purchase of the bike. 2- Covered by the €1 extended repair warranty, if purchased (good for 2 years).

truing the wheels on the ST100 Rockrider MTB
Repairing a flat

Unfortunately, a flat tyre is something that can happen to any of us. The terrain (thorns, brambles, glass, nails, etc.),or the way the bike is used (jumping over obstacles such as rocks, steps, curbs, potholes, etc.),are the most common causes, respectively, of flat tyres due to a puncture (small hole) or pinching (small grooves close together).On the other hand, if a flat tyre is a frequent occurrence, this could be because:- The bike was improperly assembled at the factory, leaving the tip of one of the spokes exposed, which is puncturing the inner tube.- The tyre or the inner tube is faulty (porous)- A previous puncture was improperly repaired and a foreign object (thorn, bit of glass, metal shard, etc.) got into the rim or the tyre.It's important to properly diagnose the flat and make sure the tyre and wheel rim are free from any foreign objects before doing the repair.How to remove/install a tyre, and repair/replace an inner tube.1- The simplest is to leave the wheel alone and temporarily fix your flat using puncture repair tyre sealant: Screw the end of the sealant tube onto the valve of the flat tyre (valve should be in the lower position) and squeeze and hold to inject the foam into the inner tube. The tyre should become full and firm once more, allowing you to get back home safely. 2- If you've purchased our €1 breakdown insurance, you can have your tyre repaired at any Decathlon workshop. 3- To repair or replace the inner tube yourself, please refer to one of the video tutorials which you'll find below.  

Rockrider ST 100 MTB Tyre Puncture
Your fork is too stiff

There are a couple of things you can do to "soften" your fork: 1- Perform a basic maintenance operation: you can regularly care for your fork with a small oil can. Simply put a few drops of oil on the fork pivots and work the fork to help the oil penetrate into the blades.2- Have a full maintenance tune-up done at the workshop.

Rear gears don't shift properly

There could be several reasons the chain isn't shifting properly between cogs on the rear cassette:1- Check the position of the cable housing end caps (tips).Incorrectly positioned cable housing caps can hinder the pulling action on the derailleur cable and cause the shifting of the gears to be off. If a cable end cap is incorrectly positioned, put it back in its place.2- The cables or the housing could be locked up.If the chain isn't shifting down to the smallest cogs, and the rear derailleur doesn't move when activating the shifters, then the cable and/or the cable housing is almost certainly locked up. In this case, the cable and housing need to be replaced.3- Bring your MTB to a Decathlon workshop to have the derailleur adjusted. 4- To adjust your SRAM derailleur, use the SRAM DERAILLEUR ADJUSTMENT TOOL. This indispensable tool allows you to adjust the distance between the upper roller and the cassette. 5- Also check that the derailleur hanger is not bent. If it is, refer to the "YOUR DERAILLEUR HANGER IS BENT" section   PS: If you regularly ride your MTB in wet or muddy conditions, or if you regularly wash your bike with lots of water, then your cables and cable housing will need to be replaced more frequently. Washing your bike using a high pressure hose is highly discouraged as it can push dirt and dust into the cable housing.

CHANGE-DRIVETRAIN-CABLE

The brake lever touches the handlebar too easily before braking starts

Your brake lever is too easy to squeeze and/or touches the handlebar before braking action begins:You need to purge your brakes.Please visit a Decathlon workshop to have this done by one of our technicians.

ROCKRIDER-MTB-PURGE-BRAKES
Your derailleur hanger is bent

A bent hanger causes the derailleur to be out of alignment and therefore unable to function correctly. Stand behind your bike and check the alignment of the derailleur.If the hanger is bent or broken, please visit your nearest Decathlon workshop to have the derailleur hanger replaced. You can also replace it yourself by following the instructions in this video tutorial.

ROCKRIDER-MTB-DERAILLEUR-HANGER

Your chain has broken

Did your chain break? You have two options: 1- You can repair it yourself using our video tutorial. You'll need a quick-link and a chain tool.  2- Visit a Decathlon workshop to have the operation done by one of our technicians.

REPAIR-A-CHAIN

Caring for your mtb

Cleaning your mtb

To clean your bike properly, you'll need some bike cleaner, a sponge, and a brush. Rinse off the bike with a hose and apply the bike cleaner. Next, use the sponge and brush to apply the cleaner effectively. It's essential to give the bike cleaner some time to act before rinsing the bike off. When hosing the bike off, make sure you do so from a few steps away so as not to damage the mechanical components. Lastly, dry your bike using a cloth that is dry, clean and soft.

CLEANING YOUR MTB

Cleaning and lubricating your drivetrain

To clean and lubricate your drivetrain, you'll need a degreasing spray, a suitable brush, and bike lubricant. The first step is to protect your brake disc with a clean cloth to prevent any grease or lubricant getting on it. Next, spray the degreasing agent onto the entire drivetrain, scrub the cassette, the chain, and the rollers on the derailleur with the brush. Let it sit for a few minutes before rinsing with a hose from a moderate distance. Wait a little while to let the drivetrain dry before moving on to the greasing step. For greater effectiveness, shake the can of bike lubricant and spray on the inner side of the chain.

CLEANING AND LUBRICATING YOUR DRIVETRAIN

Replacing a drivetrain cable

Is your drivetrain cable dirty, rusty, damaged, or do you find changing speeds to be difficult or unreliable?  If so, you need to replace your drivetrain cable. To do so you'll need a pair of pliers, a screwdriver, a wirecutter, an Allen key, and a new set of derailleur cables and cable housing. First, remove the cable from its housing. Start by removing the shifter cover, and placing the indicator on the highest gear; then cut the cable to be able to remove the entire cable, followed by the housing. Next, measure out how much cable housing you need against your bike, cut it, and put caps on either extremity. Then install it on the bike. Install the cable on the shifter and pull it through the housing. Once done, put the cover back on the shifter and attach the cable to the derailleur. To adjust the drivetrain, tighten the cable if you have a hard time shifting to higher gears, and loosen it if you have a hard time shifting to lower gears. Once adjusted, cut the cable and put a cap on the extremity using a pair of pliers.

REPLACING A DRIVETRAIN CABLE

Removing your rear wheel

Removing and installing a wheel if your bike is equipped with a derailleur cage plate lock can be a tricky operation. First, put the chain on the smallest cog, then unlock the derailleur cage plate. To remove the wheel, simply open the quick release without changing its adjustment. To put the wheel back on, insert the wheel, place the chain on the smallest cog, tighten the quick release, and lock the derailleur cage plate to keep the chain from jumping!

REMOVING YOUR REAR WHEEL

Repairing a flat tyre

To repair a flat tyre, you will need: a bicycle pump, a basin with water, a dry cloth, and an inner tube repair kit. Partially inflate the inner tube. Submerge the inner tube into the water to locate the puncture by the source of the bubbles. Once you have located the puncture hole, dry off the inner tube with the cloth and rub the spot to be repaired using the sandpaper included in the inner tube repair kit. This prepares the inner tube for glueing and ensures that the patch sticks to the inner tube as securely as possible. Generously apply glue to the inner tube around the hole and wait 3 to 5 minutes. Then apply the patch to the hole and hold it in place for a few minutes. You can now install the repaired inner tube into your tyre and onto your bike!   

REPAIRING A FLAT TYRE

Replacing the brake pads on mechanical disc brakes

To do this, you will need: brake pads, a flat head screwdriver, and a 3 mm Allen key. First, remove the wheel. Next, use a large flat head screwdriver to separate and remove the pads, and put the pistons back into their original position. Next, remove the pin that holds the pads, and remove the pads from their casing. Prepare the new brake pads by placing the return spring between them. Insert the new brake pads into the brake caliper, and finish by installing the brake pin. Put the wheel back on and do a visual inspection to check that the brake pads are in their proper place and do not rub against the disc.

REPLACING-THE-BRAKE-PADS-ON-MECHANICAL-DISC-BRAKES

Adjusting the mechanical disc calliper

For this operation you will need a 5 mm Allen key. Unscrew the brake caliper, spin the wheel, and squeeze the brake lever. It's important to keep the brake lever squeezed before tightening the caliper.  Lastly, perform a visual inspection to check that the disc and the pads are still in contact while braking.

ADJUSTING THE MECHANICAL DISC CALLIPER

Replacing your derailleur hanger

To do this operation you will need a new derailleur hanger that fits your bike (see the section on "SPARE PARTS"), and a 5 mm Allen key. Remove the bike wheel as well as the damaged derailleur hanger using the Allen key. Position the new hanger on the frame.  Remove the old hanger from the derailleur before installing the new hanger using the 5 mm Allen key. Then install the derailleur onto the new hanger and check that you can change gears properly.

REPLACING YOUR DERAILLEUR HANGER

Replacing the chain

To do this, you will need: a chain tool, a new chain, and a quick-link. Place the chain on the largest cog and the smallest chainring.  First, remove the existing quick-link using the quick-link tool, then remove the chain from the bike. Place the new chain on the largest cog and the smallest chainring in order to more easily define the optimal chain length. Pull the chain down, pass it under the upper pulley of the derailleur. Once you've defined the correct length, use the chain tool to cut the chain. Lastly, install the quick-link onto the chain, turn the pedal so as to position the quick-link on the upper part of the chain, and use your hand to apply pressure and ensure it is firmly locked in place.

REPLACING THE CHAIN

10S-SRAM-CASSETTE

Spare parts

Need to replace a part on your bike? You'll find all our spare parts for your XC 50 MTB (EAGLE BLUE) here.

User guides

29" ROCKRIDER XC 50 MTB

Instruction manual

Brakes

Braking user instructions

Suspension

Suspension user instructions

Drive train

Drivetrain user instructions

Wheels

Wheels user instructions

29" ROCKRIDER XC 50 MTB

Haven't been able to fix your problem or find what you need?

Please contact one of our technicians who will be happy to help

29" ROCKRIDER XC 50 MTB

Our commitments

ROCKRIDER guarantees the frame, handlebar and stem of your mountain bike for life (in normal conditions of use).

The guarantee for other parts is two years.

As soon as your child starts using the bike, some components will move slightly. It's for that reason that we offer a free check of your mountain bike six months after purchase.