Decathlon BMX

REF: 8517229

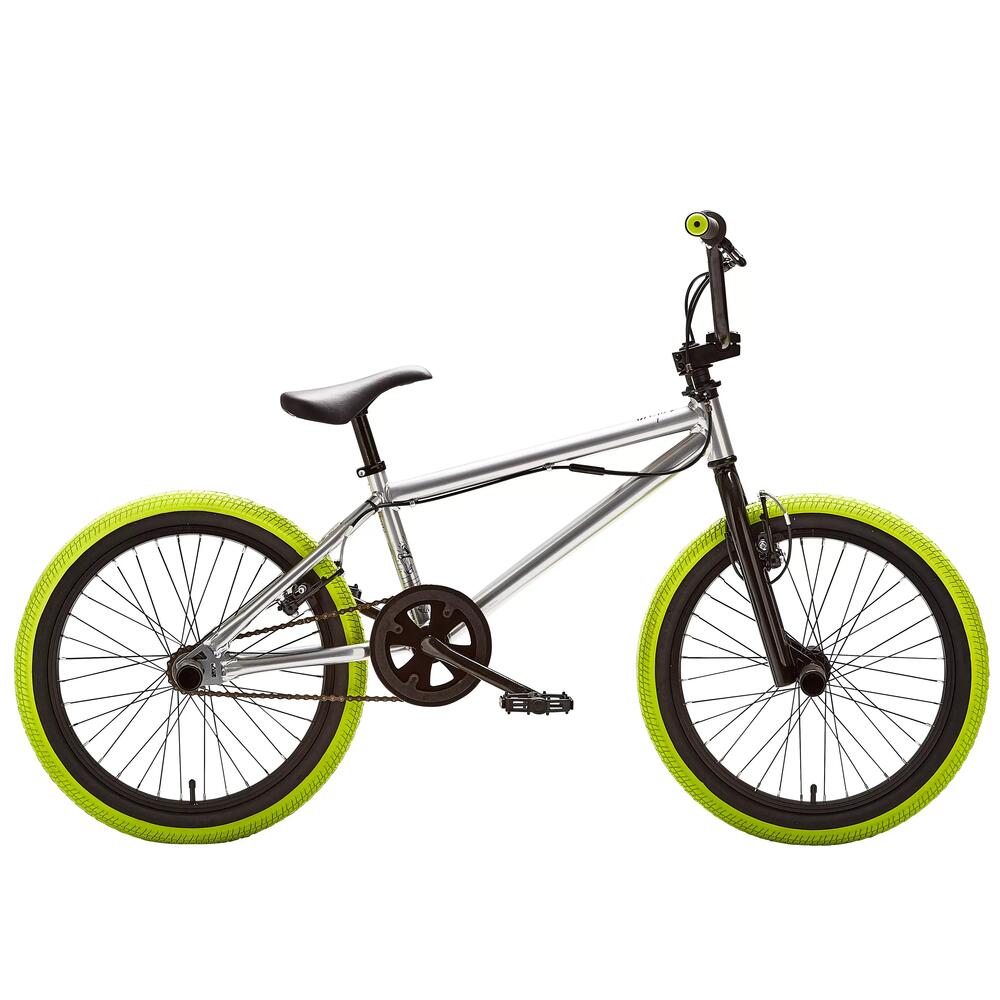
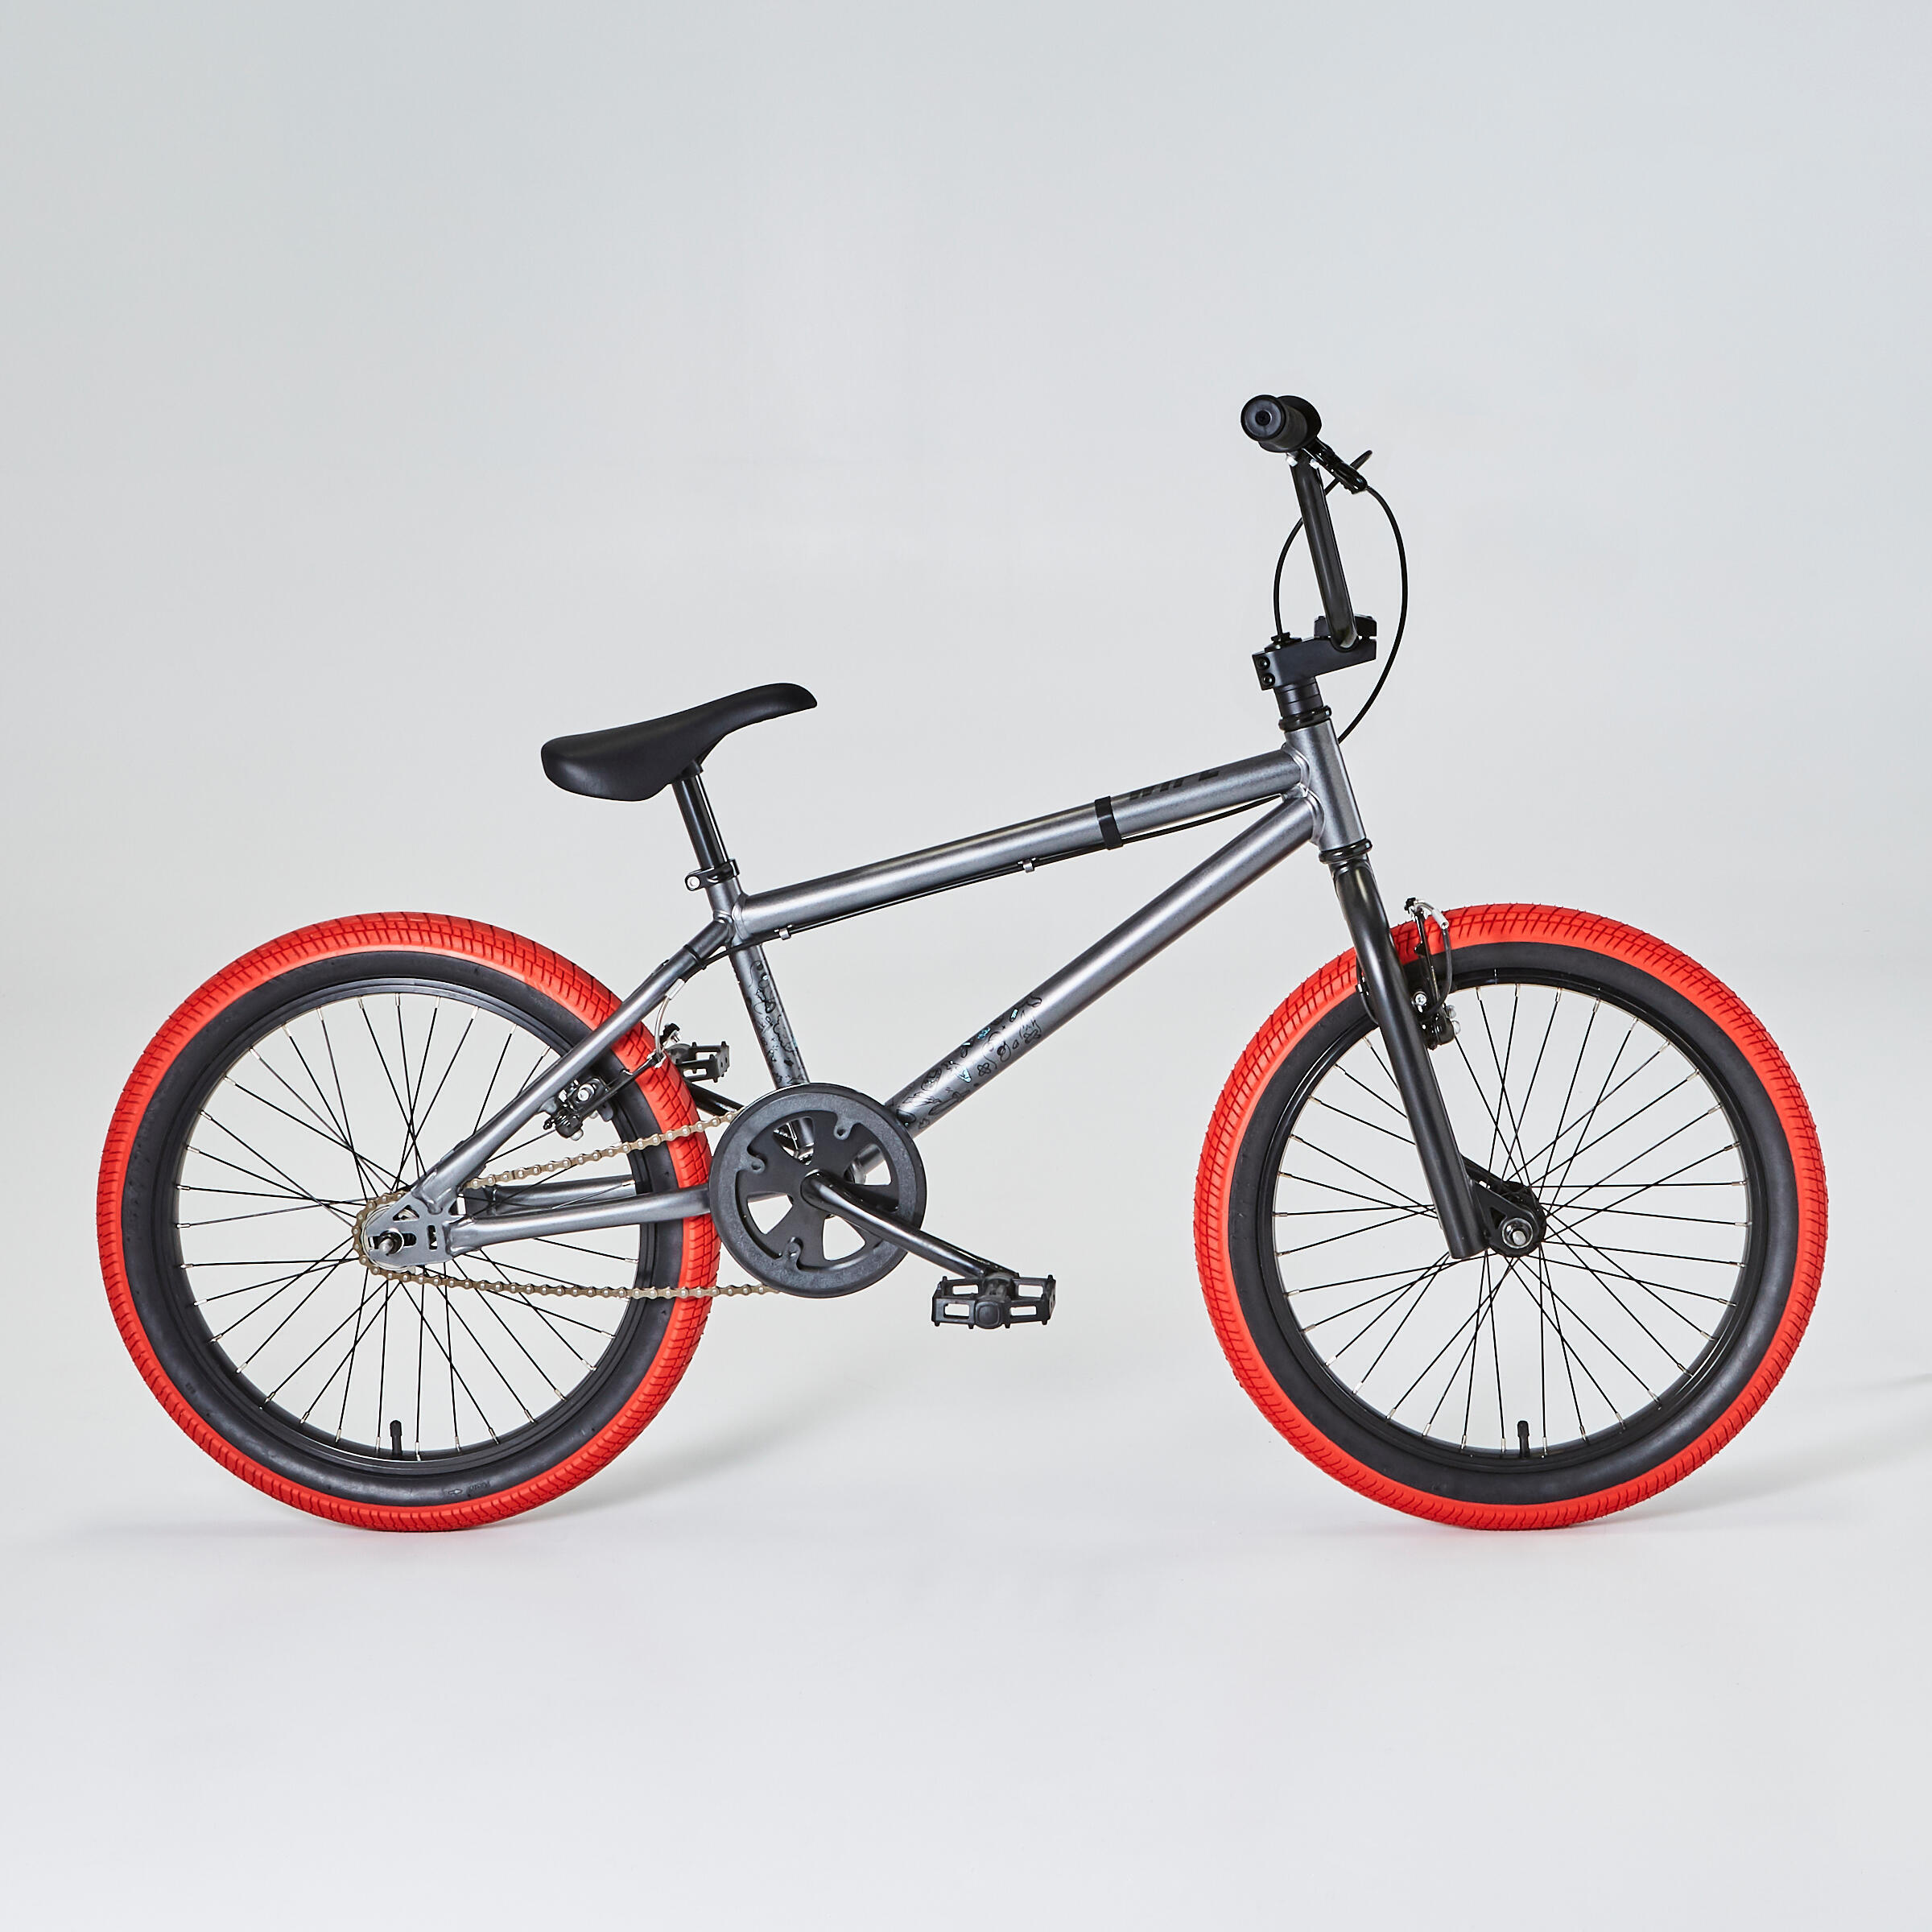
WIPE 520 20-INCH BMX

2019

This BMX is designed for young riders (aged 8 to 14 / 1.3 to 1.6 m) learning to ride in the street, on street furniture and on pump tracks.

Here you'll find all our tips on setting up, servicing and repairing this BMX, along with all of the compatible accessories and spare parts. The Wipe 520 BMX is equipped with a detangler (so that you can spin the handlebar infinitely) and 4 pegs.

Glossary

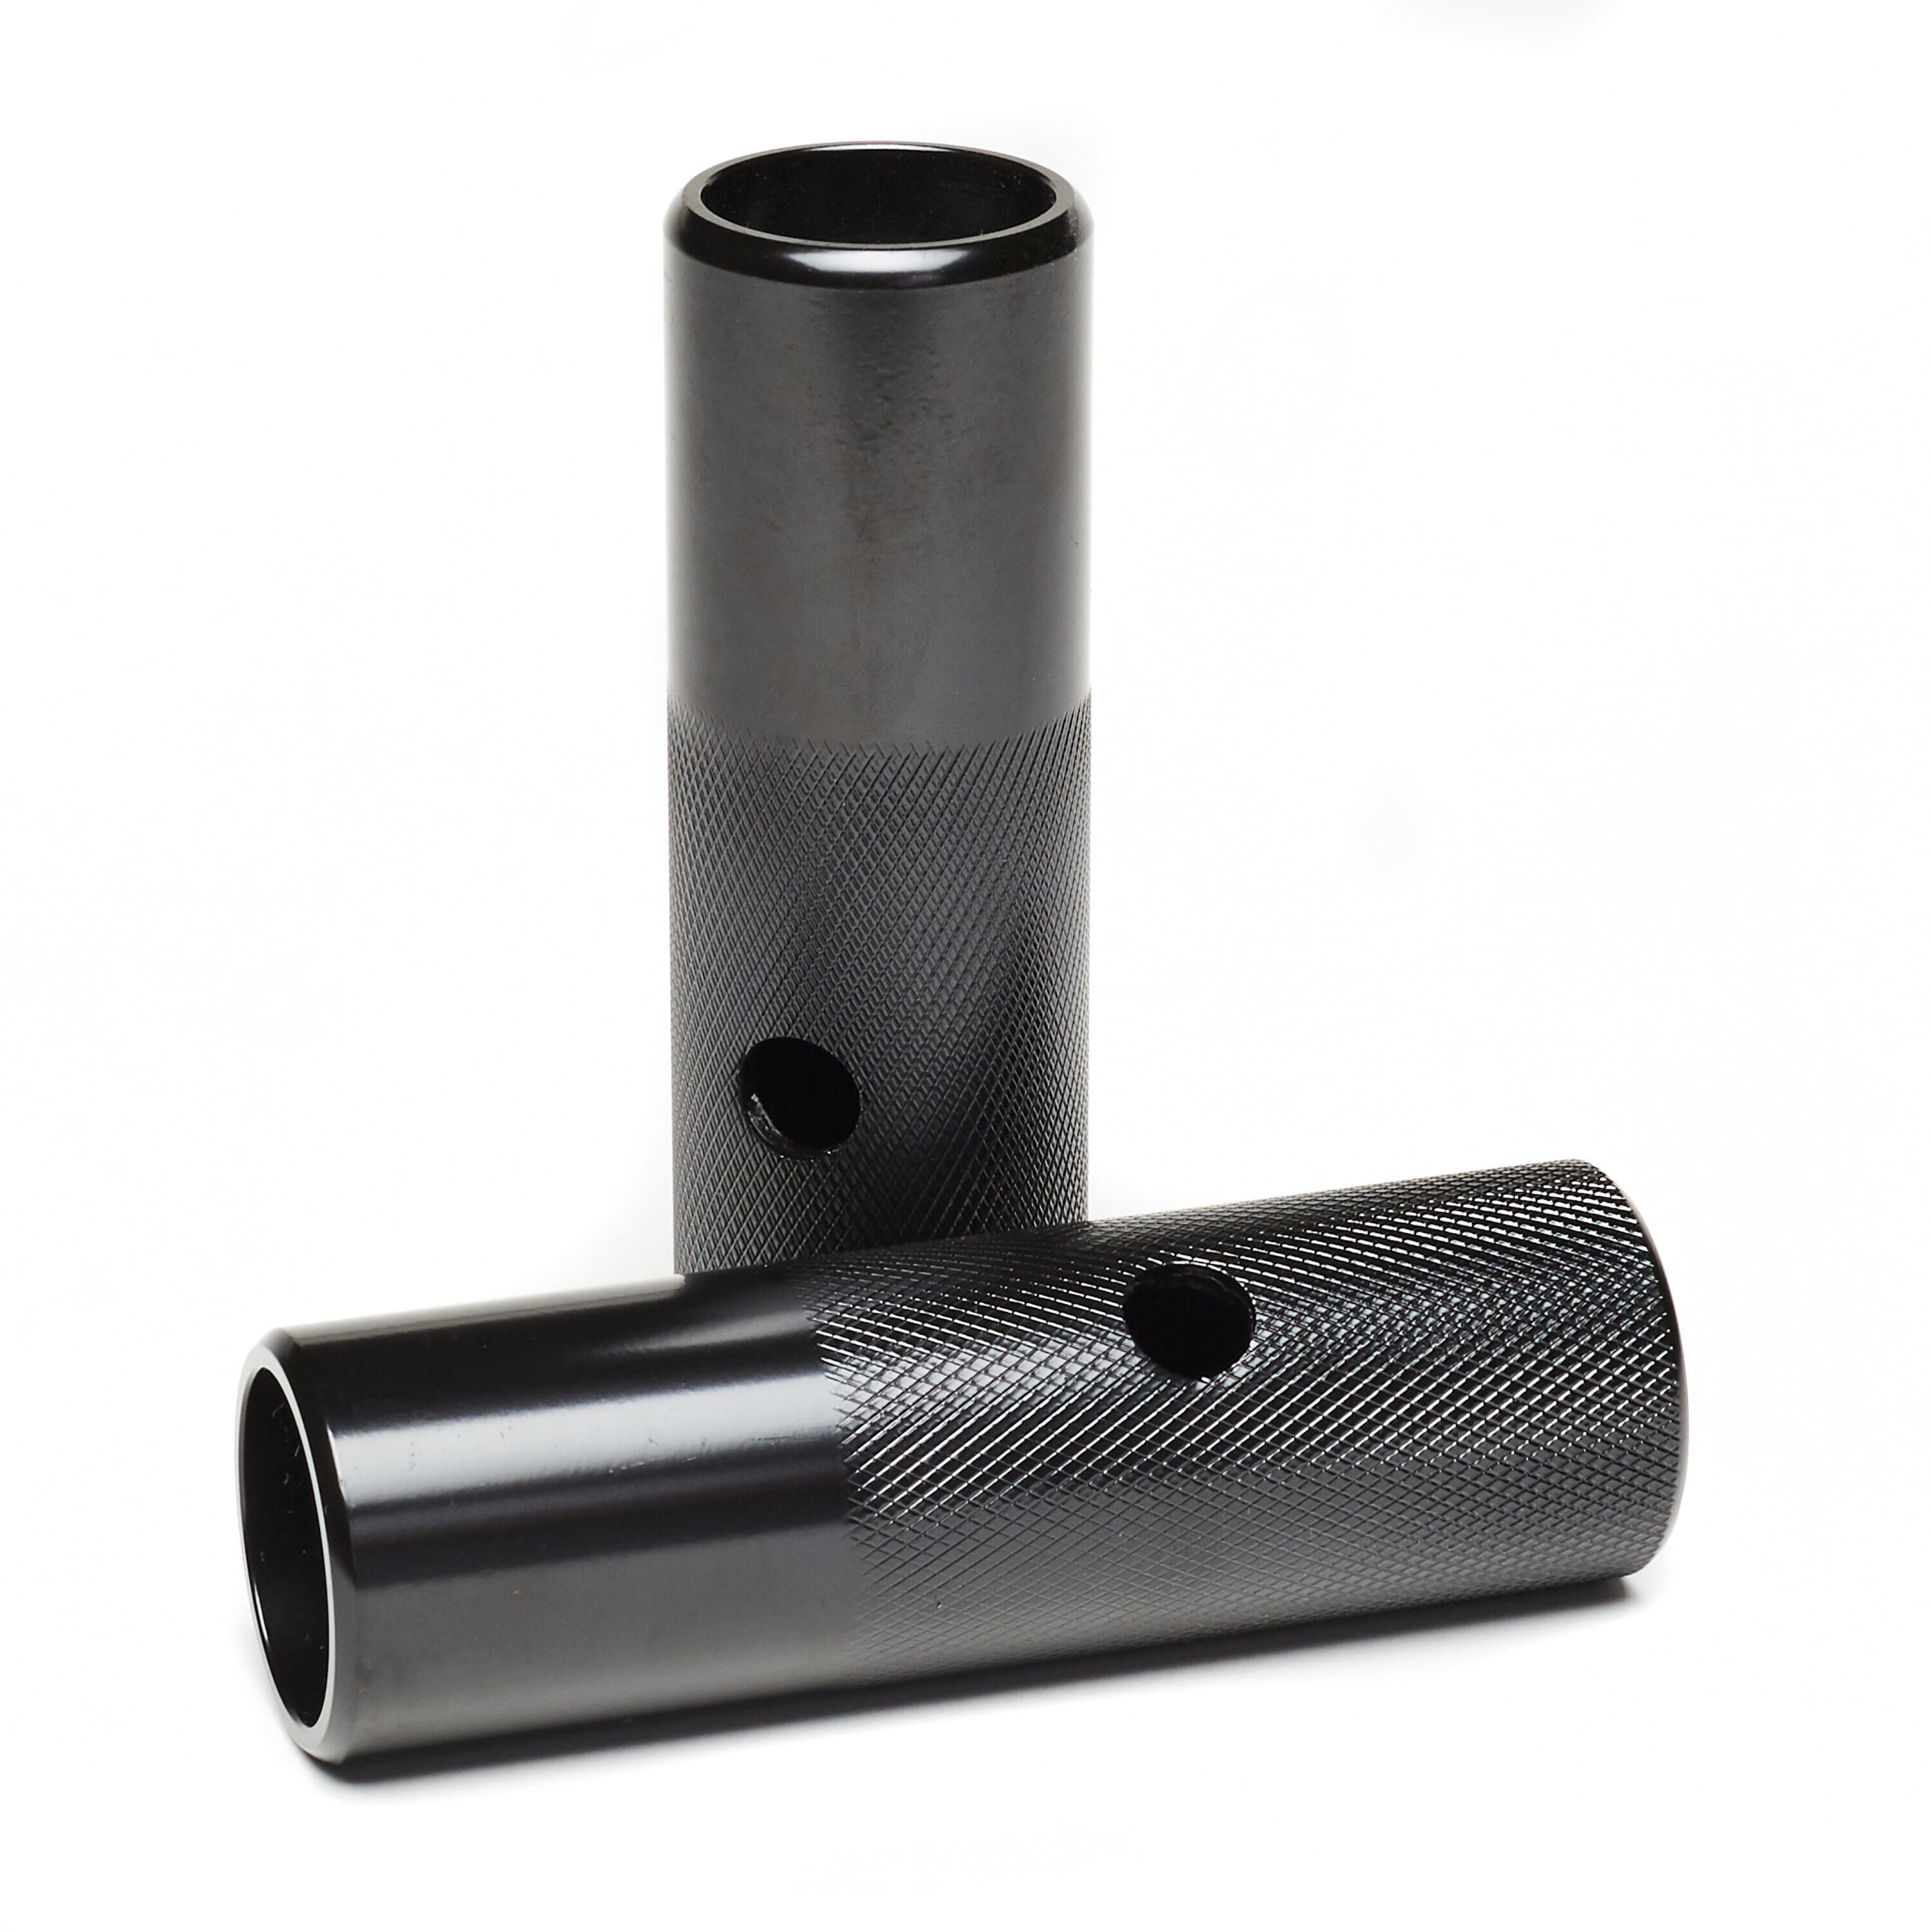
Pegs

Pegs are tubes attached to your BMX's wheel axle. They allow riders to grind (slide) on ramps, rails and ledges, and do a variety of tricks on flatland. Unlike how they appear to the uninitiated, pegs aren't simply footrests for an additional passenger on your bike!

Decathlon BMX
Detangler

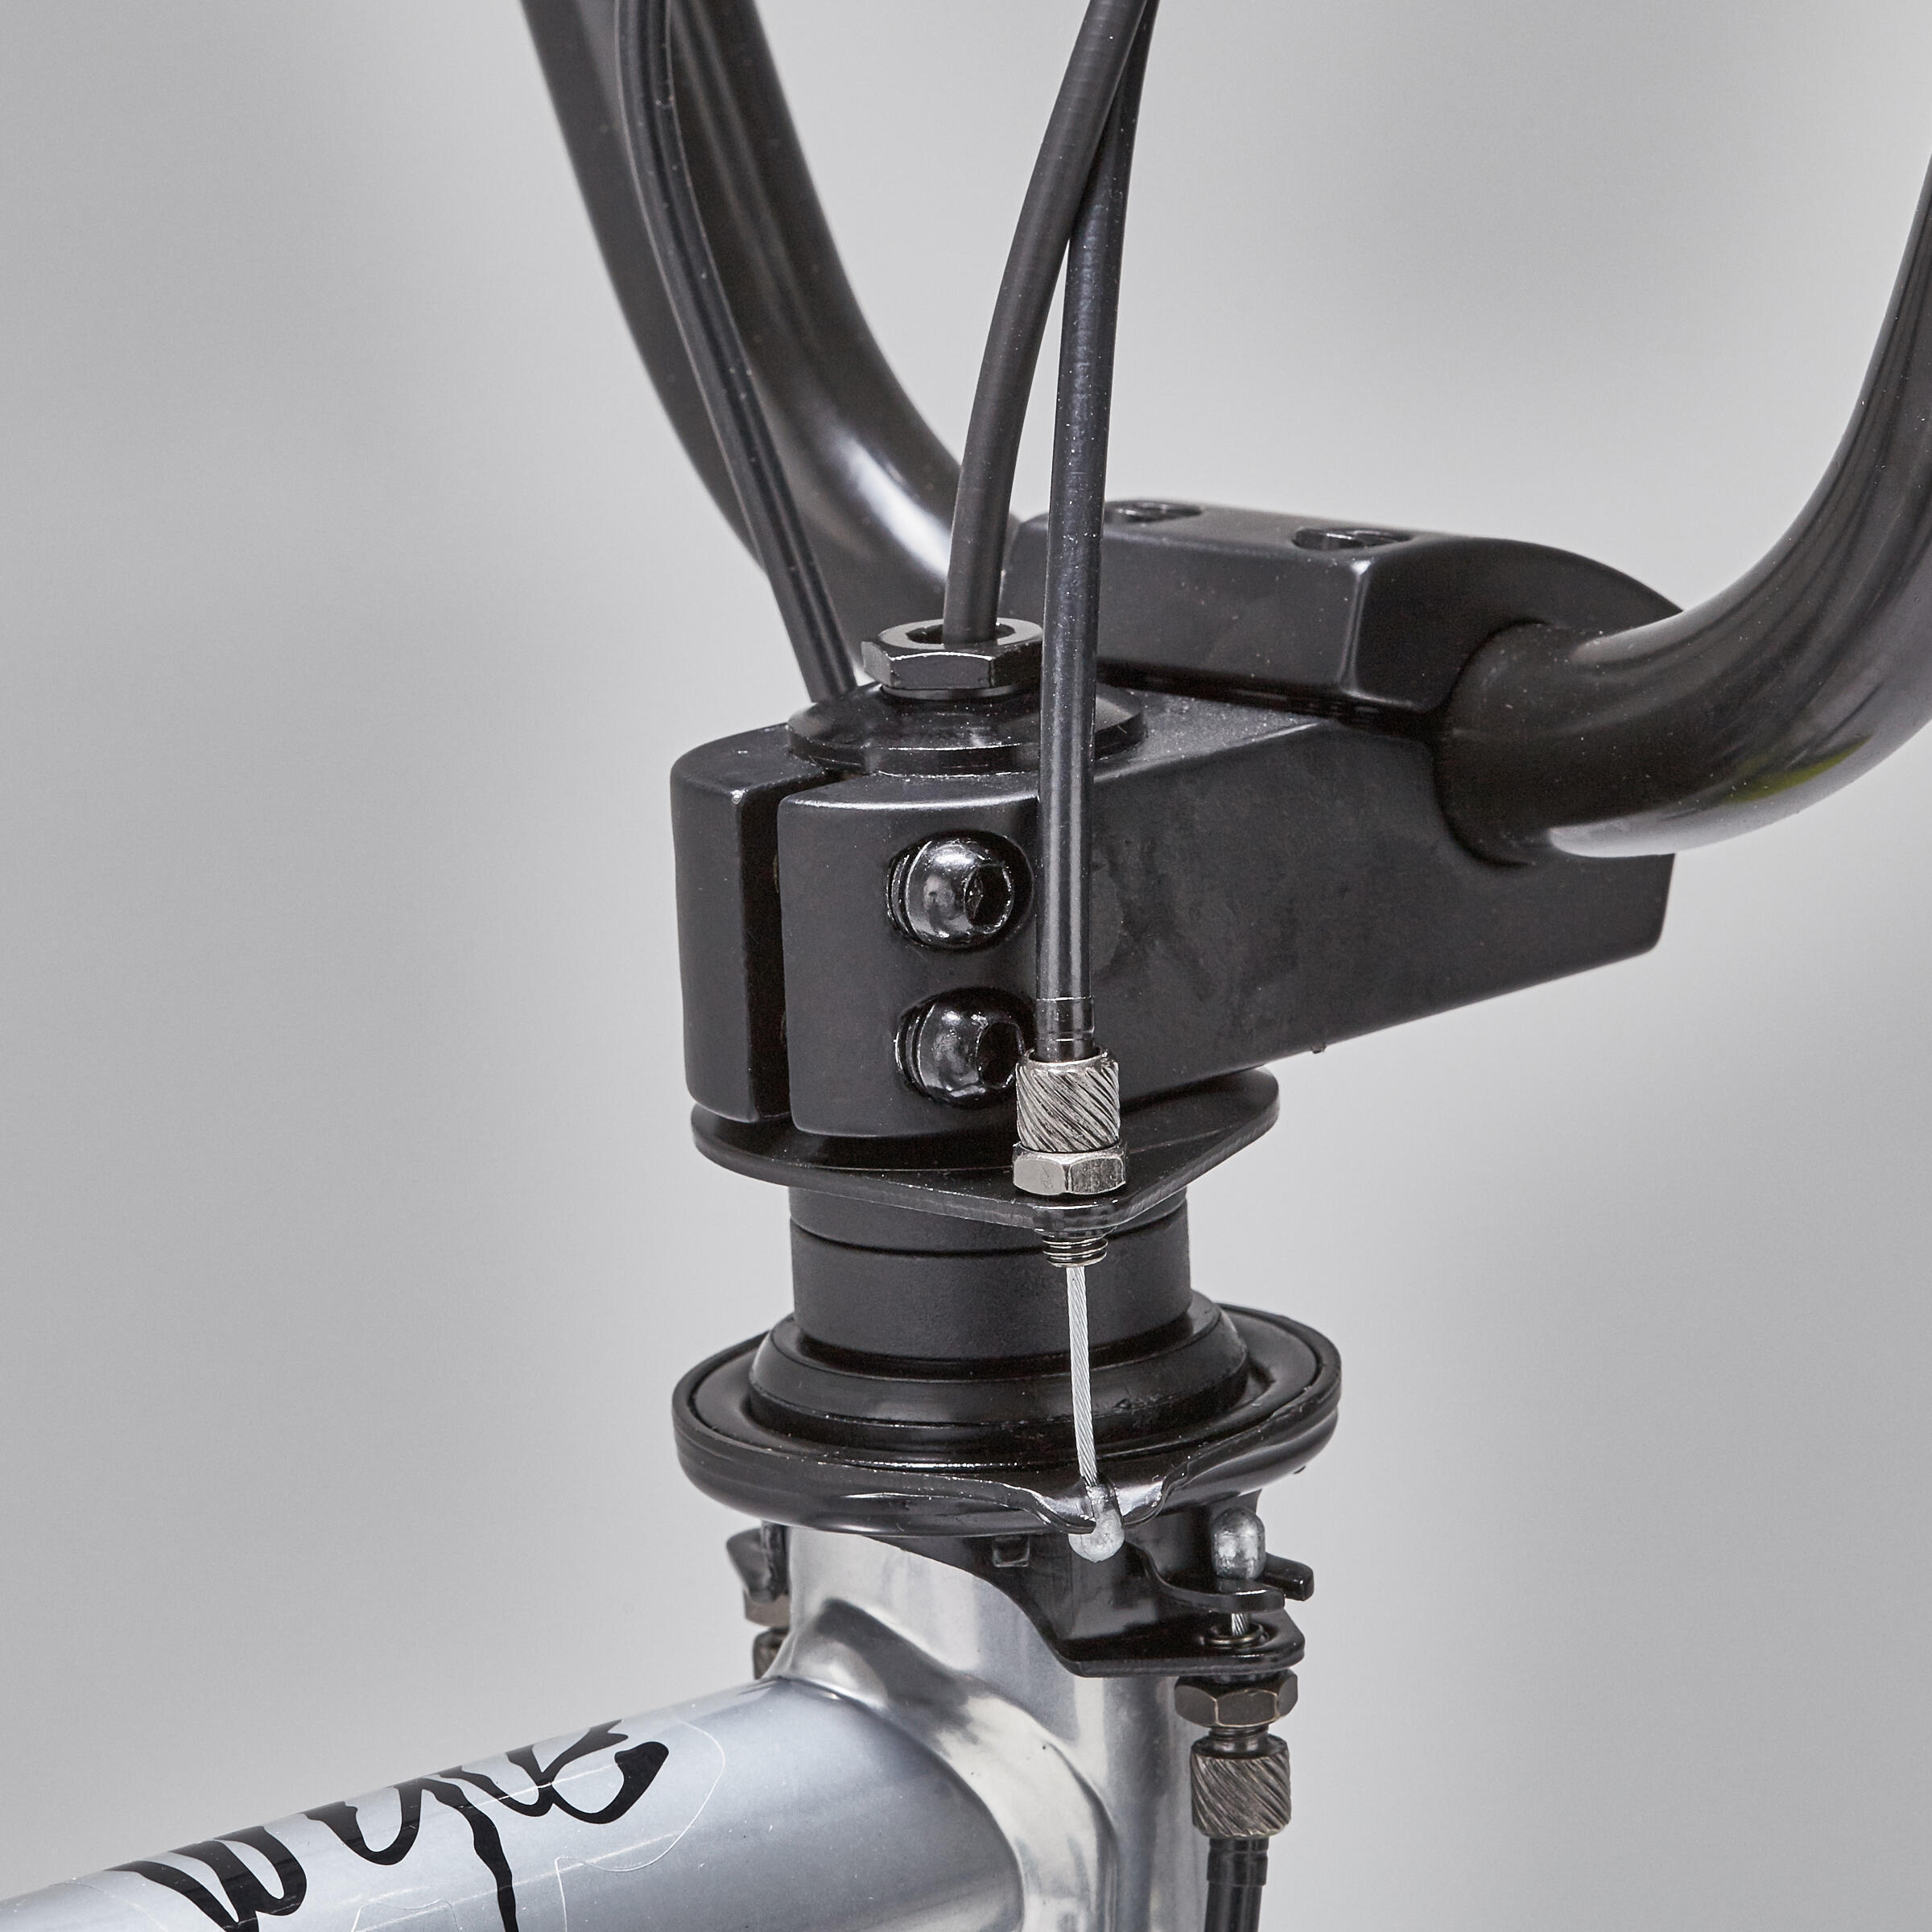
On a traditional bike, brakes work via a cable and hose that link the grip to the calliper brake. To give BMX riders maximum freedom to do tricks, BMX bikes have a special braking system that enables the handlebar to complete a 360° rotation while still allowing the rider to brake. This mechanism uses two cables, a detangler and two mounting plates on either side of the headset. The detangler is mounted below the stem and positioned between two discs. This provides even braking on both sides, regardless of the position of your handlebars or how many times you spin them. The Wipe 520 BMX has a detangler.

decathlon bmx detangler
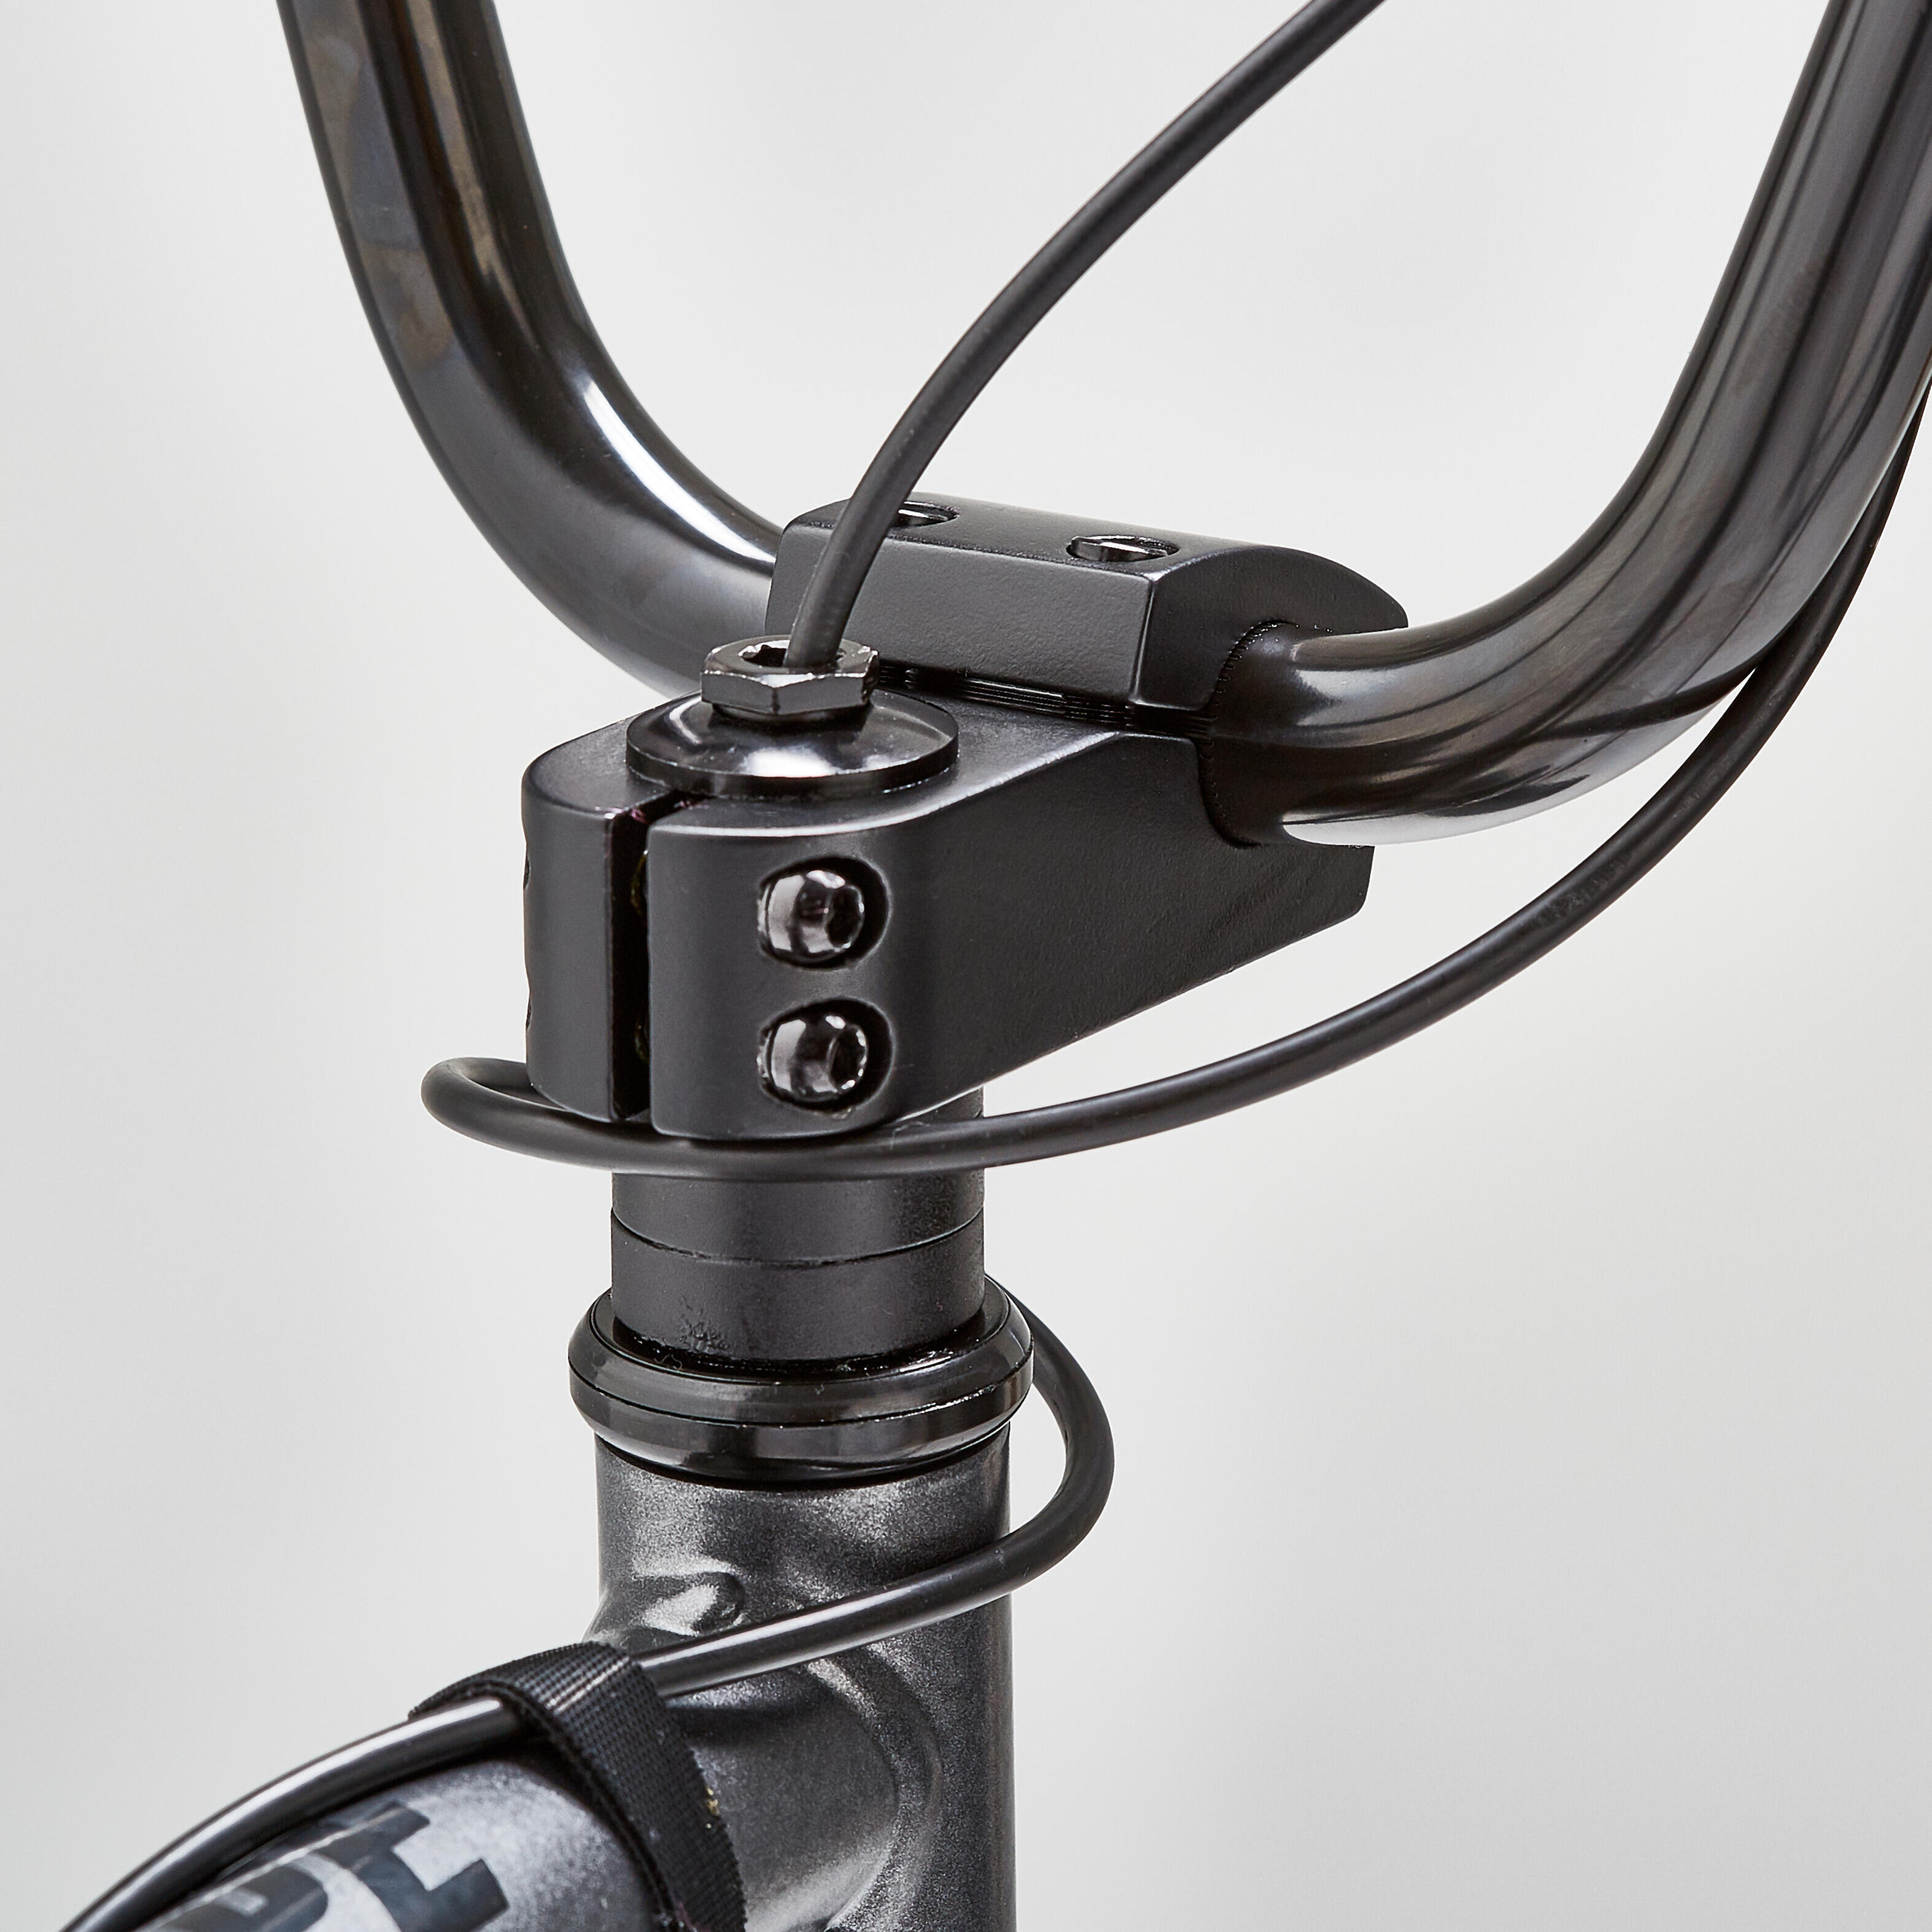
Compressionless brake cable housing

"Compressionless" brake housing, which is longer than normal, allows you to rotate the handlebars twice, i.e. 720° (compared with a detangler, which lets the handlebars rotate infinitely) while retaining the same braking power. This technology is used by the best pro riders, instead of a detangler!

compressionless brake cable housing
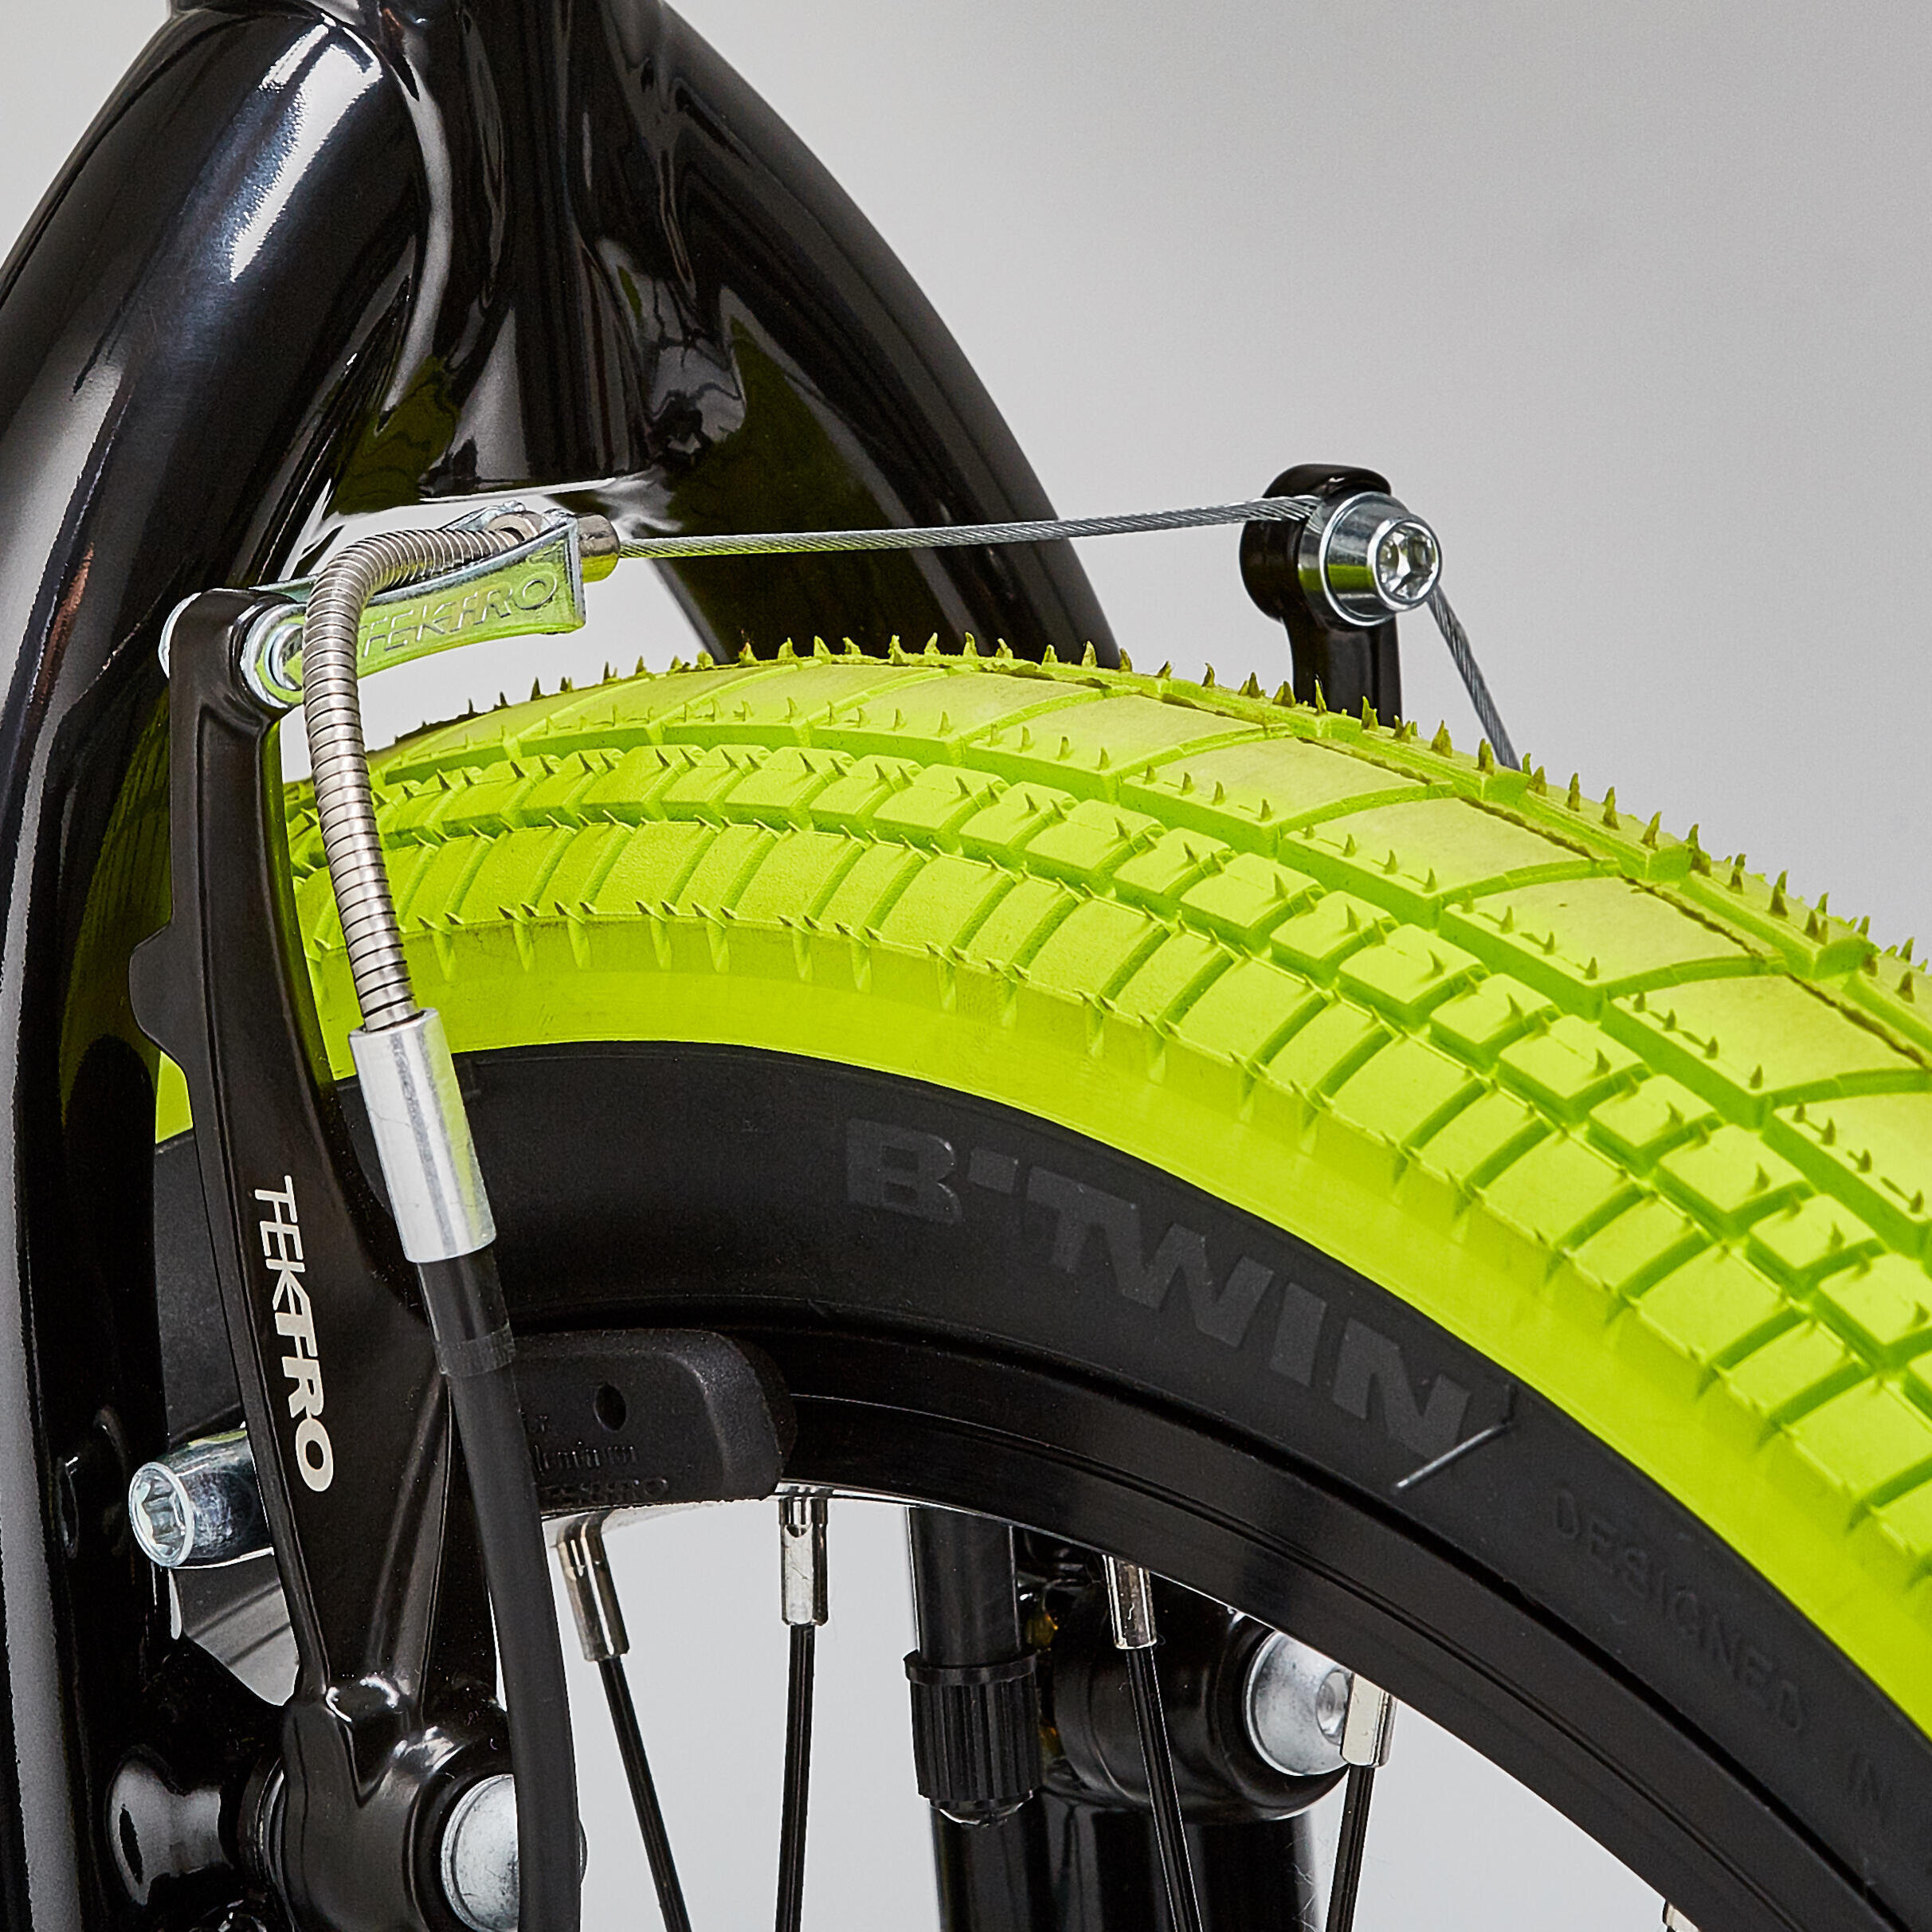
V-brake callipers


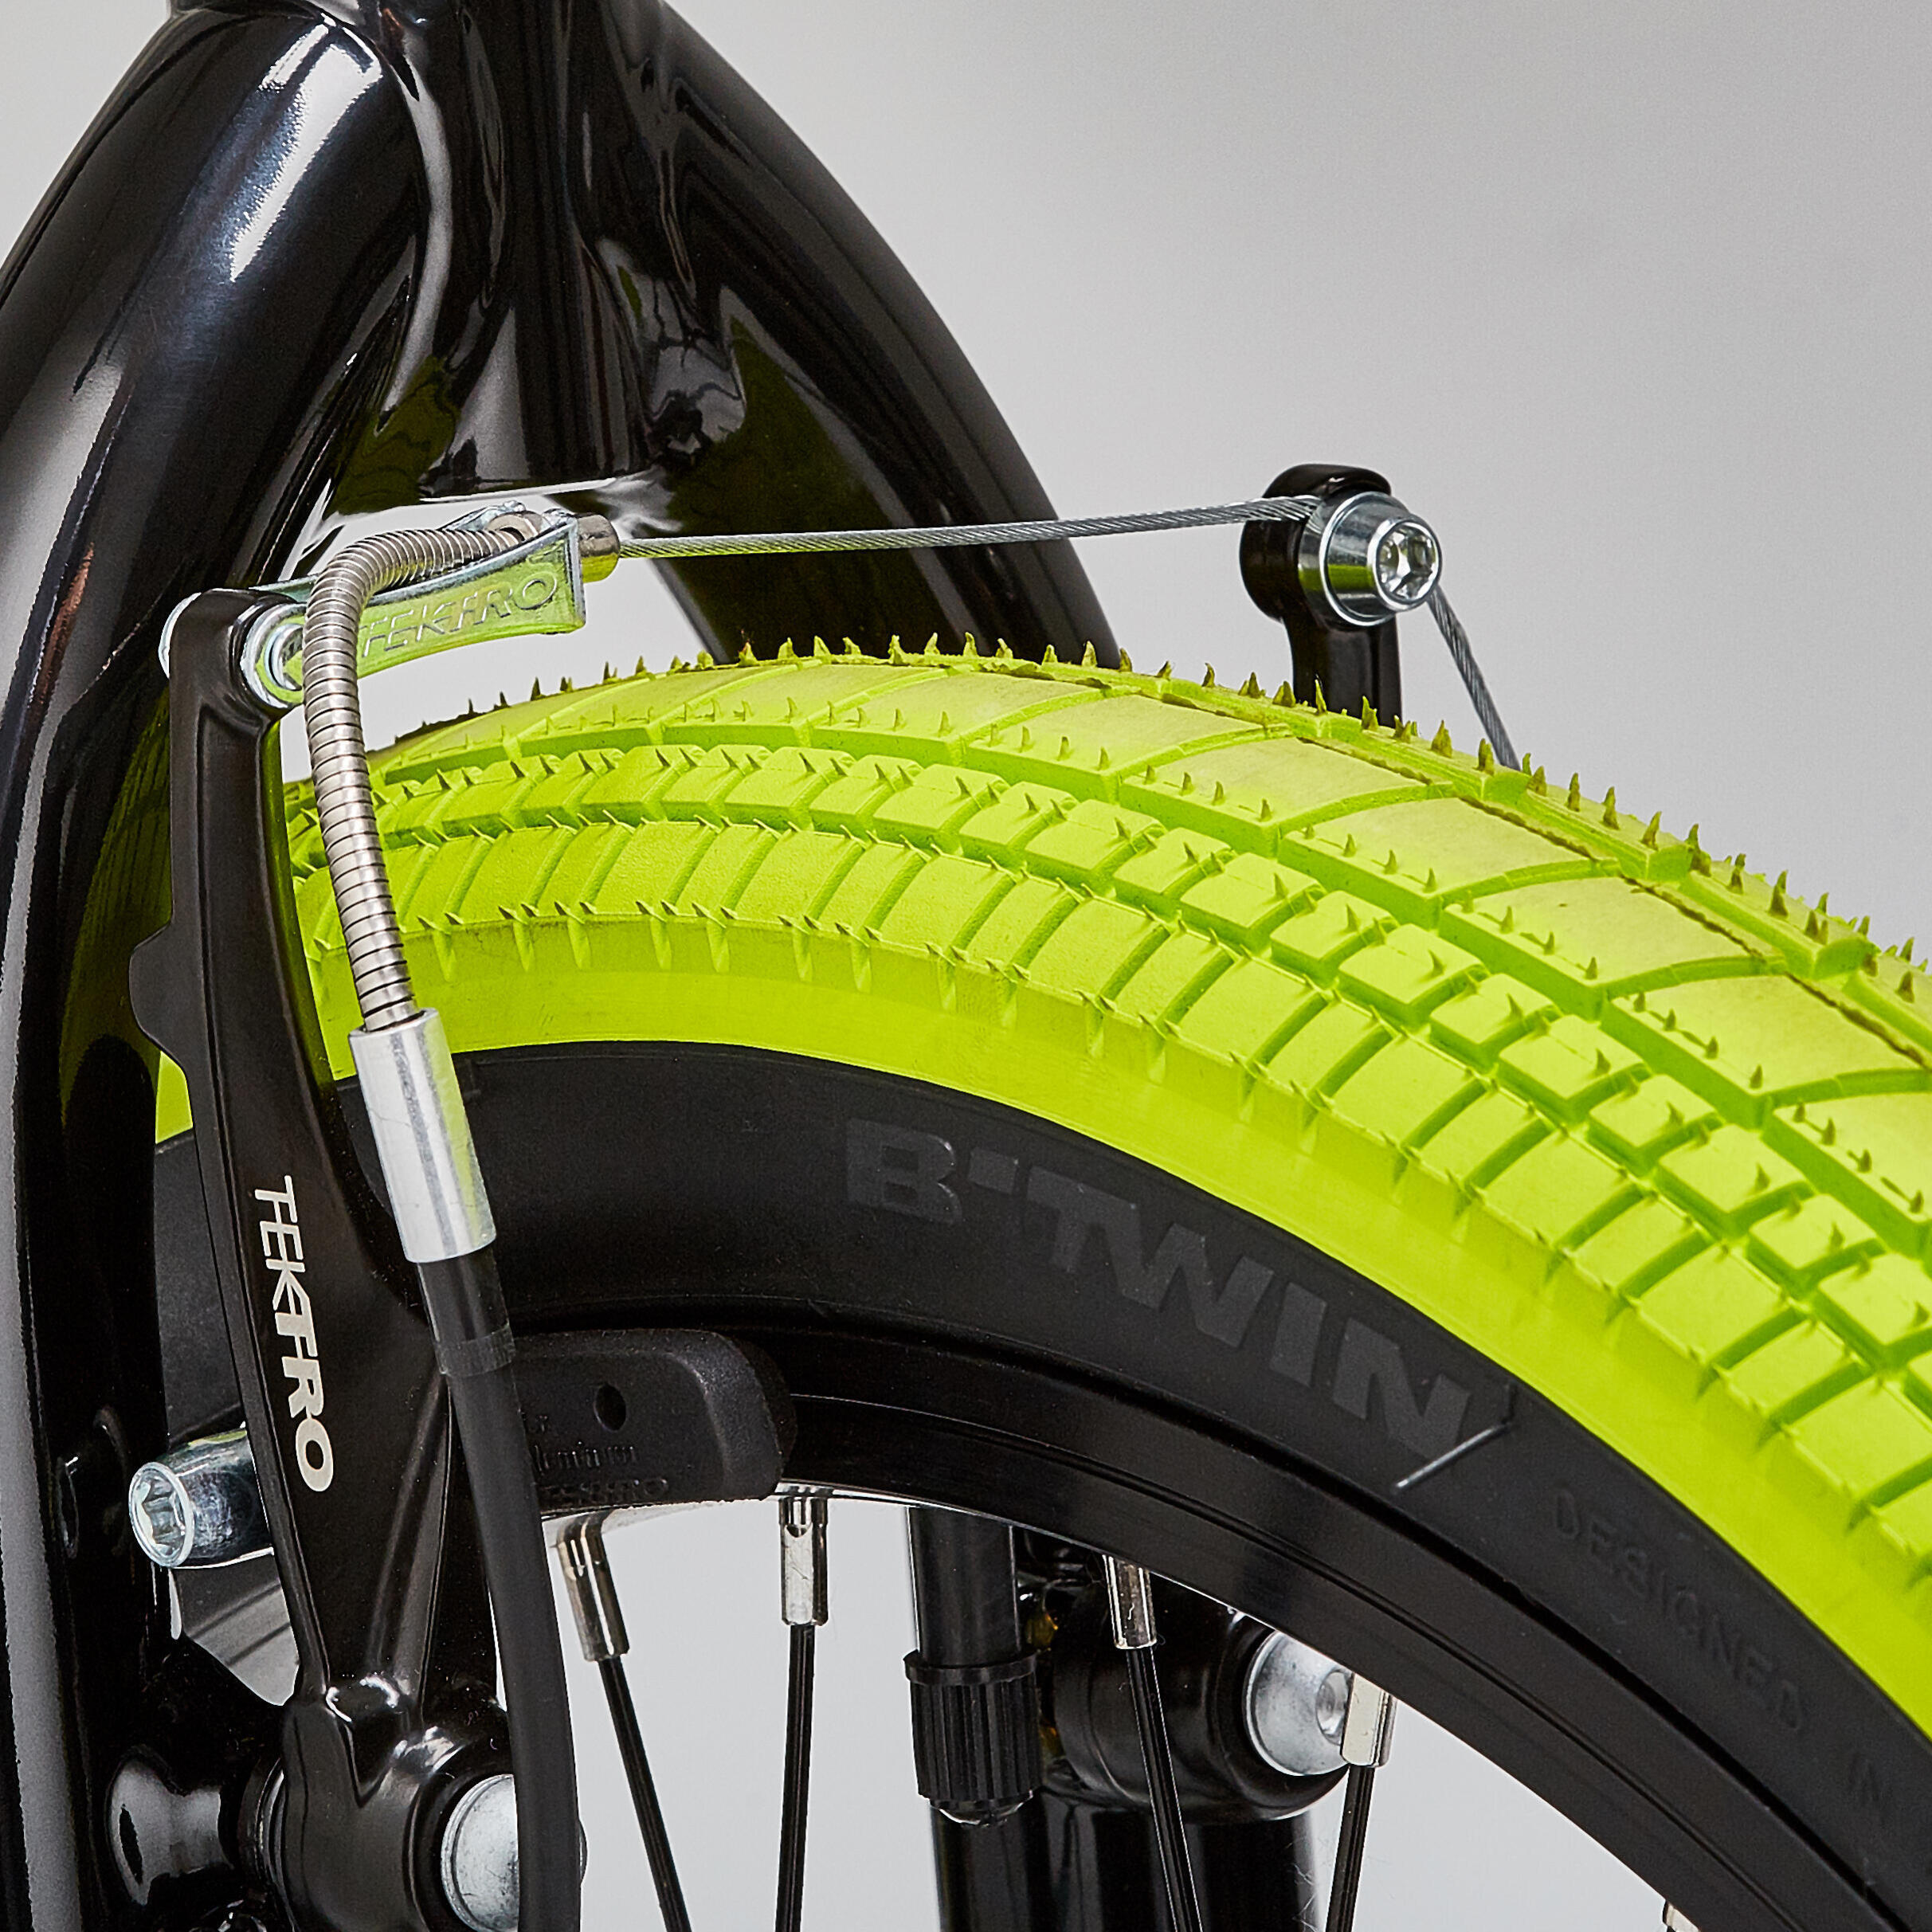
A V-brake is comprised of two callipers (one left calliper and one right). They are linked together in the middle, at the brake cable sleeve. Pull the brake cable noodle out to release the callipers. This will allow you to remove the wheel easily.

V-brake callipers
Brake cable noodle


The brake cable noodle is a stainless steel part that is used to guide the brake cable into the V-brake calliper. The noodle is set at a specific angle to ensure the cable can slip into position and offer effective braking. It can be replaced if damaged.

brake cable noodle

First use

Adjusting the height of the saddle before your first ride

It's important to adjust the height of the saddle and handlebar based on your child's height. For safety reasons, the minimum insertion marker on the seat post should never be visible (never have the seat post further out than this mark).  

BMX bikes are generally ridden standing up and riders need as much room as possible for their jumps and tricks. This is why the BMX saddle is often low.


HEIGHT: For more extreme BMXing and to make it easier to perform your first tricks (bunny hop, manual, bus driver, etc.), set your saddle nice and low. If you're using your BMX bike only for getting around, or if your child is using it to have fun with friends, you can set the position higher for pedalling while sitting.You can of course switch between sitting and standing positions as you wish.


REACH: Moving your bike's saddle backwards leaves more space between the handlebar and the saddle, making it easier to move your legs when performing tricks. But it can be a problem for other tricks that require you to grip the saddle between your legs (bus driver).

How should you set your bmx handlebars? 

Correctly setting your handlebar means finding the best position for BMXing on all types of terrain. Are your knees hitting the handlebar when you ride? They shouldn't be. This could be because your handlebar is in the wrong position, or because your BMX bike is too small for you. That's right - BMX bikes come in different sizes for kids, teens and adults. 


FURTHER FORWARDS OR BACKWARDS?

The standard handlebar position on a BMX bike is to have it parallel (or almost) to the fork. This gives you a good balance between responsiveness and comfort, and is the most versatile position. Handlebars that are too far forward will make the bike extremely twitchy and unstable, which can be dangerous for kids. The cyclist's weight will also be poorly distributed, too much weight at the front. If your handlebar is too far back (towards you), you'll have trouble pedalling when standing and will have a difficult time doing tricks. Shifting your handlebar just slightly towards you rather than keeping it parallel to the fork makes riding more comfortable. If you don't know where to set your handlebar, grab a set of Allen keys and position the handlebar parallel to the fork. Then try out your bike. Play around with shifting your handlebar forwards and backwards, trying out each position until you find the one that works for you.


WIDTH

While the width can't be changed, BMX handlebars do come in different sizes. The right size is about the width of your shoulders. To see if yours is the right width, stretch your arms straight out in front of you and grab the handlebar. This is the ideal position for your hands. If the handlebar is too wide, you'll end up with back pain, while handlebars that are too small will make you unstable.


HEIGHT

The height can't be adjusted. However, you can adjust the spacers under the stem to raise your handlebar and your position. Just make sure the stem remains securely in place in the fork after any adjustments. Another way to raise your handlebar is to replace it with a new handlebar. There are different sizes suitable for all heights.


How to check that the brake pads are correctly adjusted 


To test the brakes, hold the bike by the handlebar and roll it forwards. Activate the right lever for the rear brake or the left for the front brake. The wheels should stop moving when the respective lever is pulled. The brake pads should not rub against the sides of the rim when the brakes are not engaged.

Here's what to do if you notice that the braking isn't smooth or the wheels rub on the brakes: There's an adjustment barrel in front of the brake lever. If you turn the barrel clockwise, that will tighten the brake (= more powerful braking). Turning the barrel anticlockwise will loosen the brake (= weaker braking action and pads further from the rim).

It's important to regularly check that the brake is properly adjusted.


how to adjust v brakes

What is the recommended pressure for bmx tyres?

The recommended pressure is always shown on the tyre's sidewall. We recommend inflating your tyres to the pressure indicated on each tyre. For this BMX, the pressure should be between 2.5 and 4 bar. We recommend going for 3.5 bar. 

The pressure you need may vary depending on the type of tyre. Tyre traction is particularly important when turning and landing.

Compatible accessories

1. Pegs
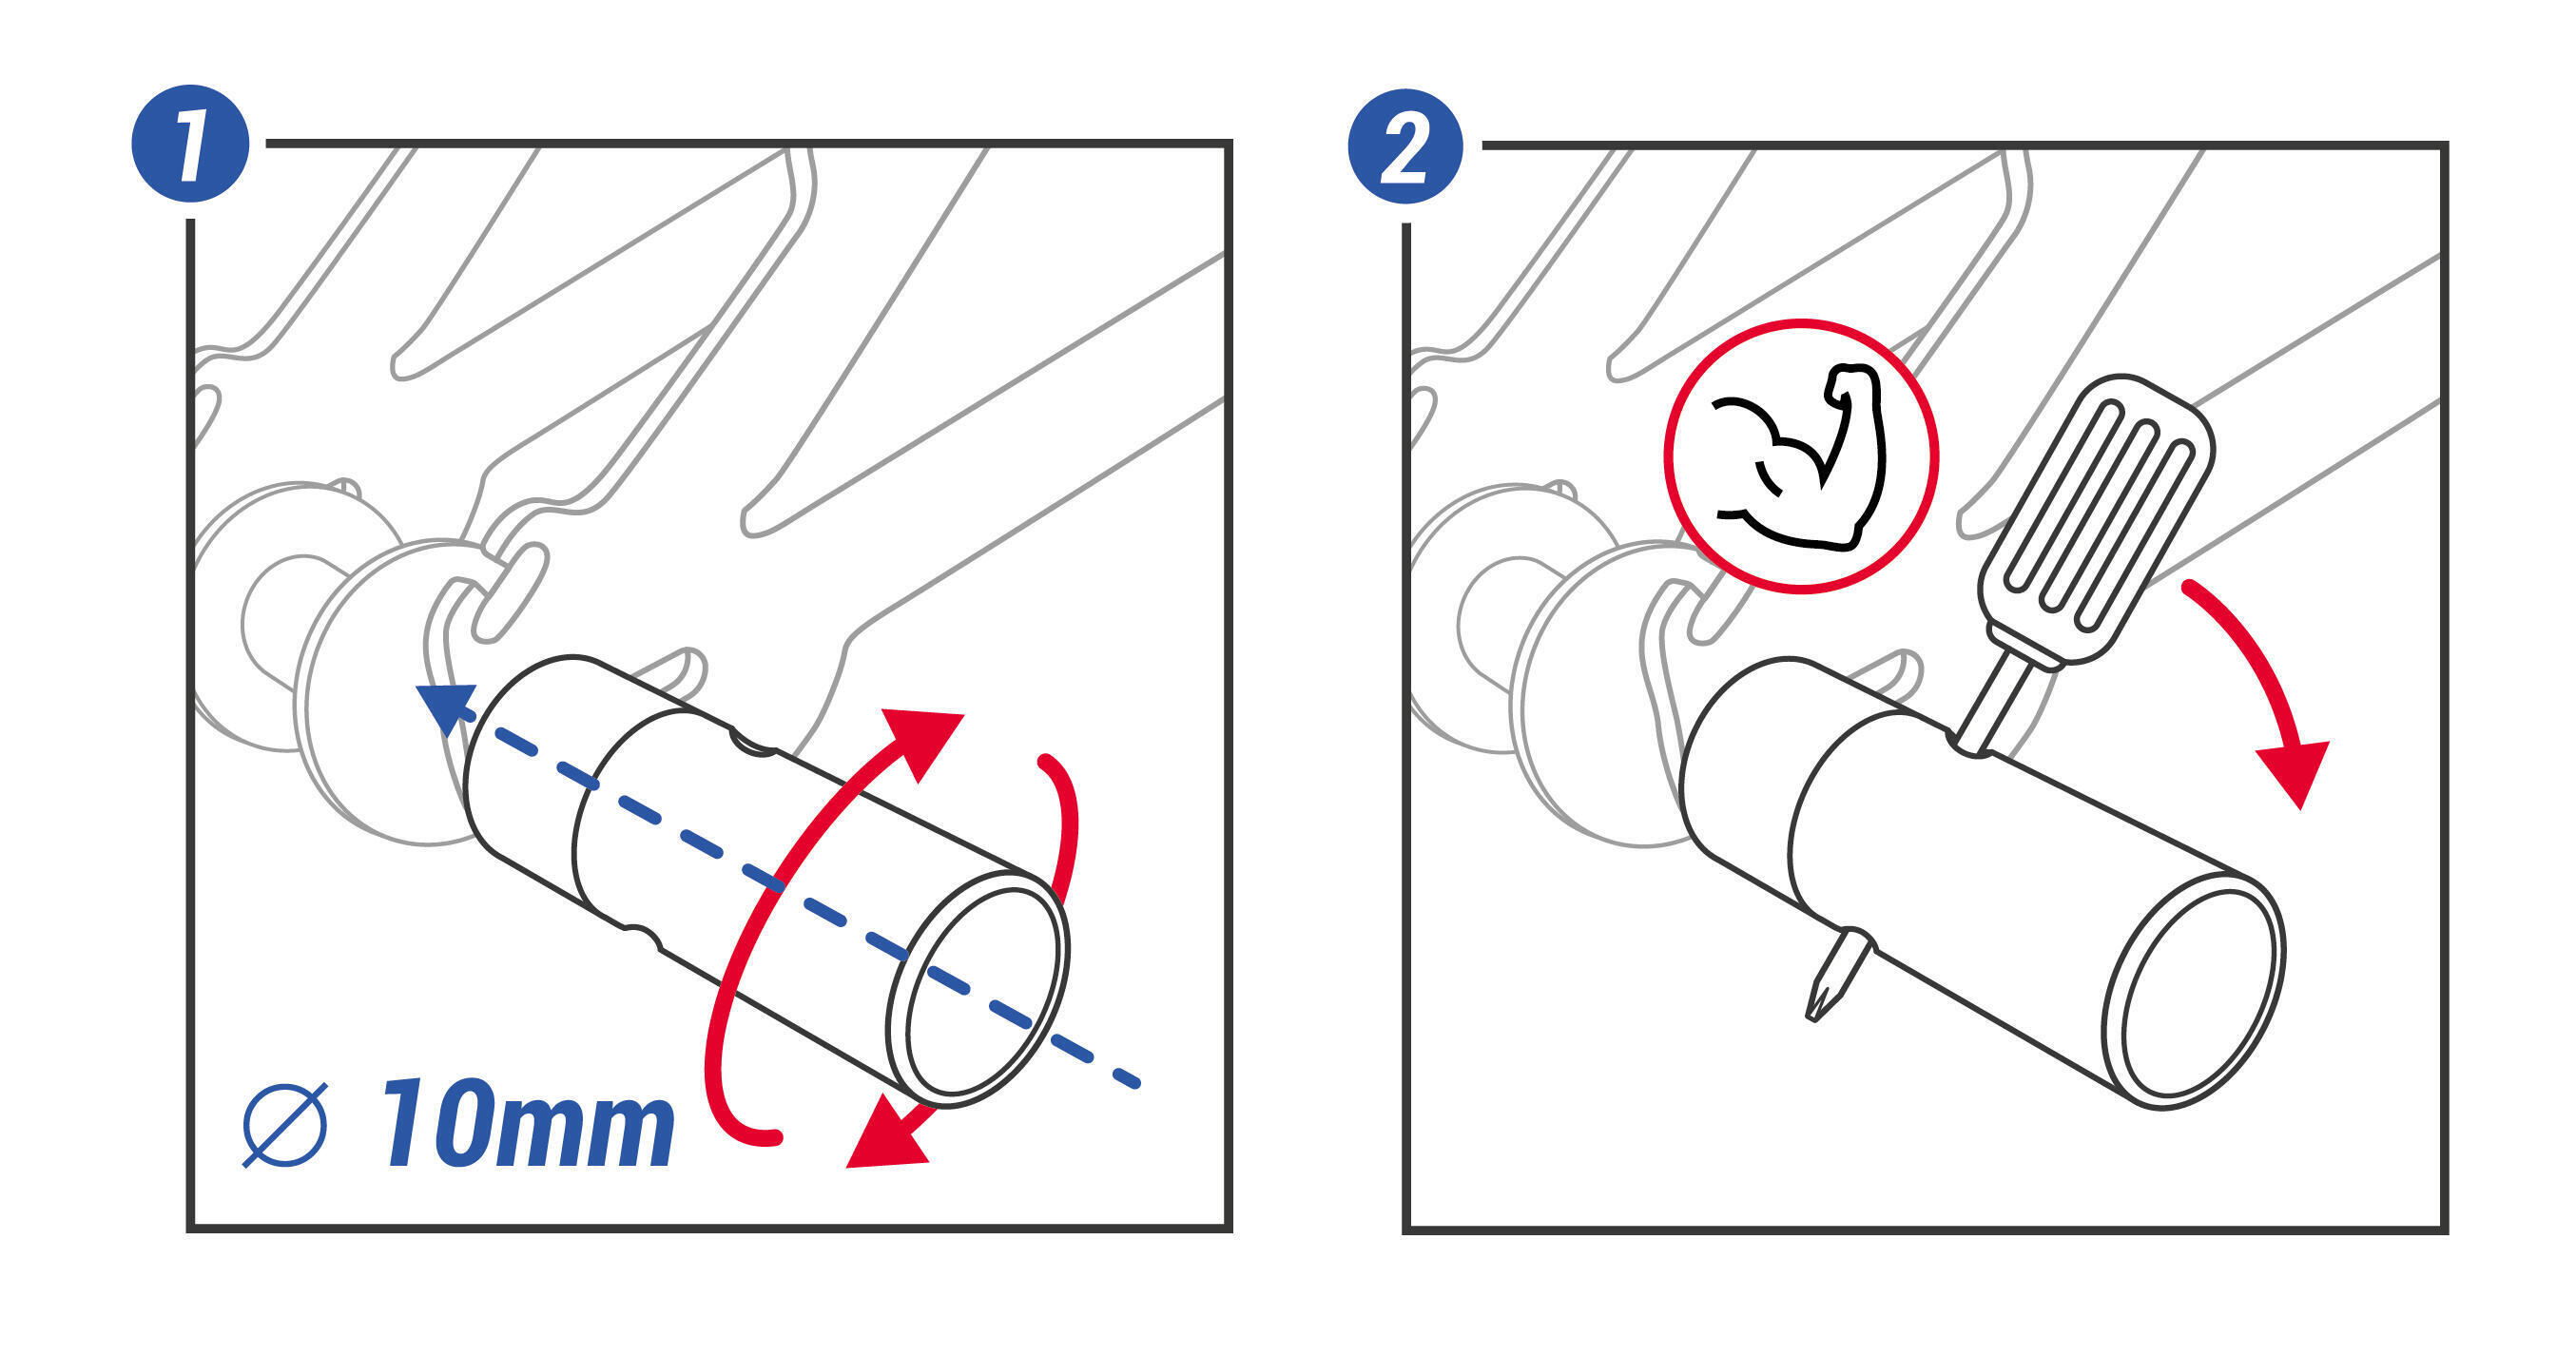
How to mount pegs on the bmx
how to mount pegs on the bmx
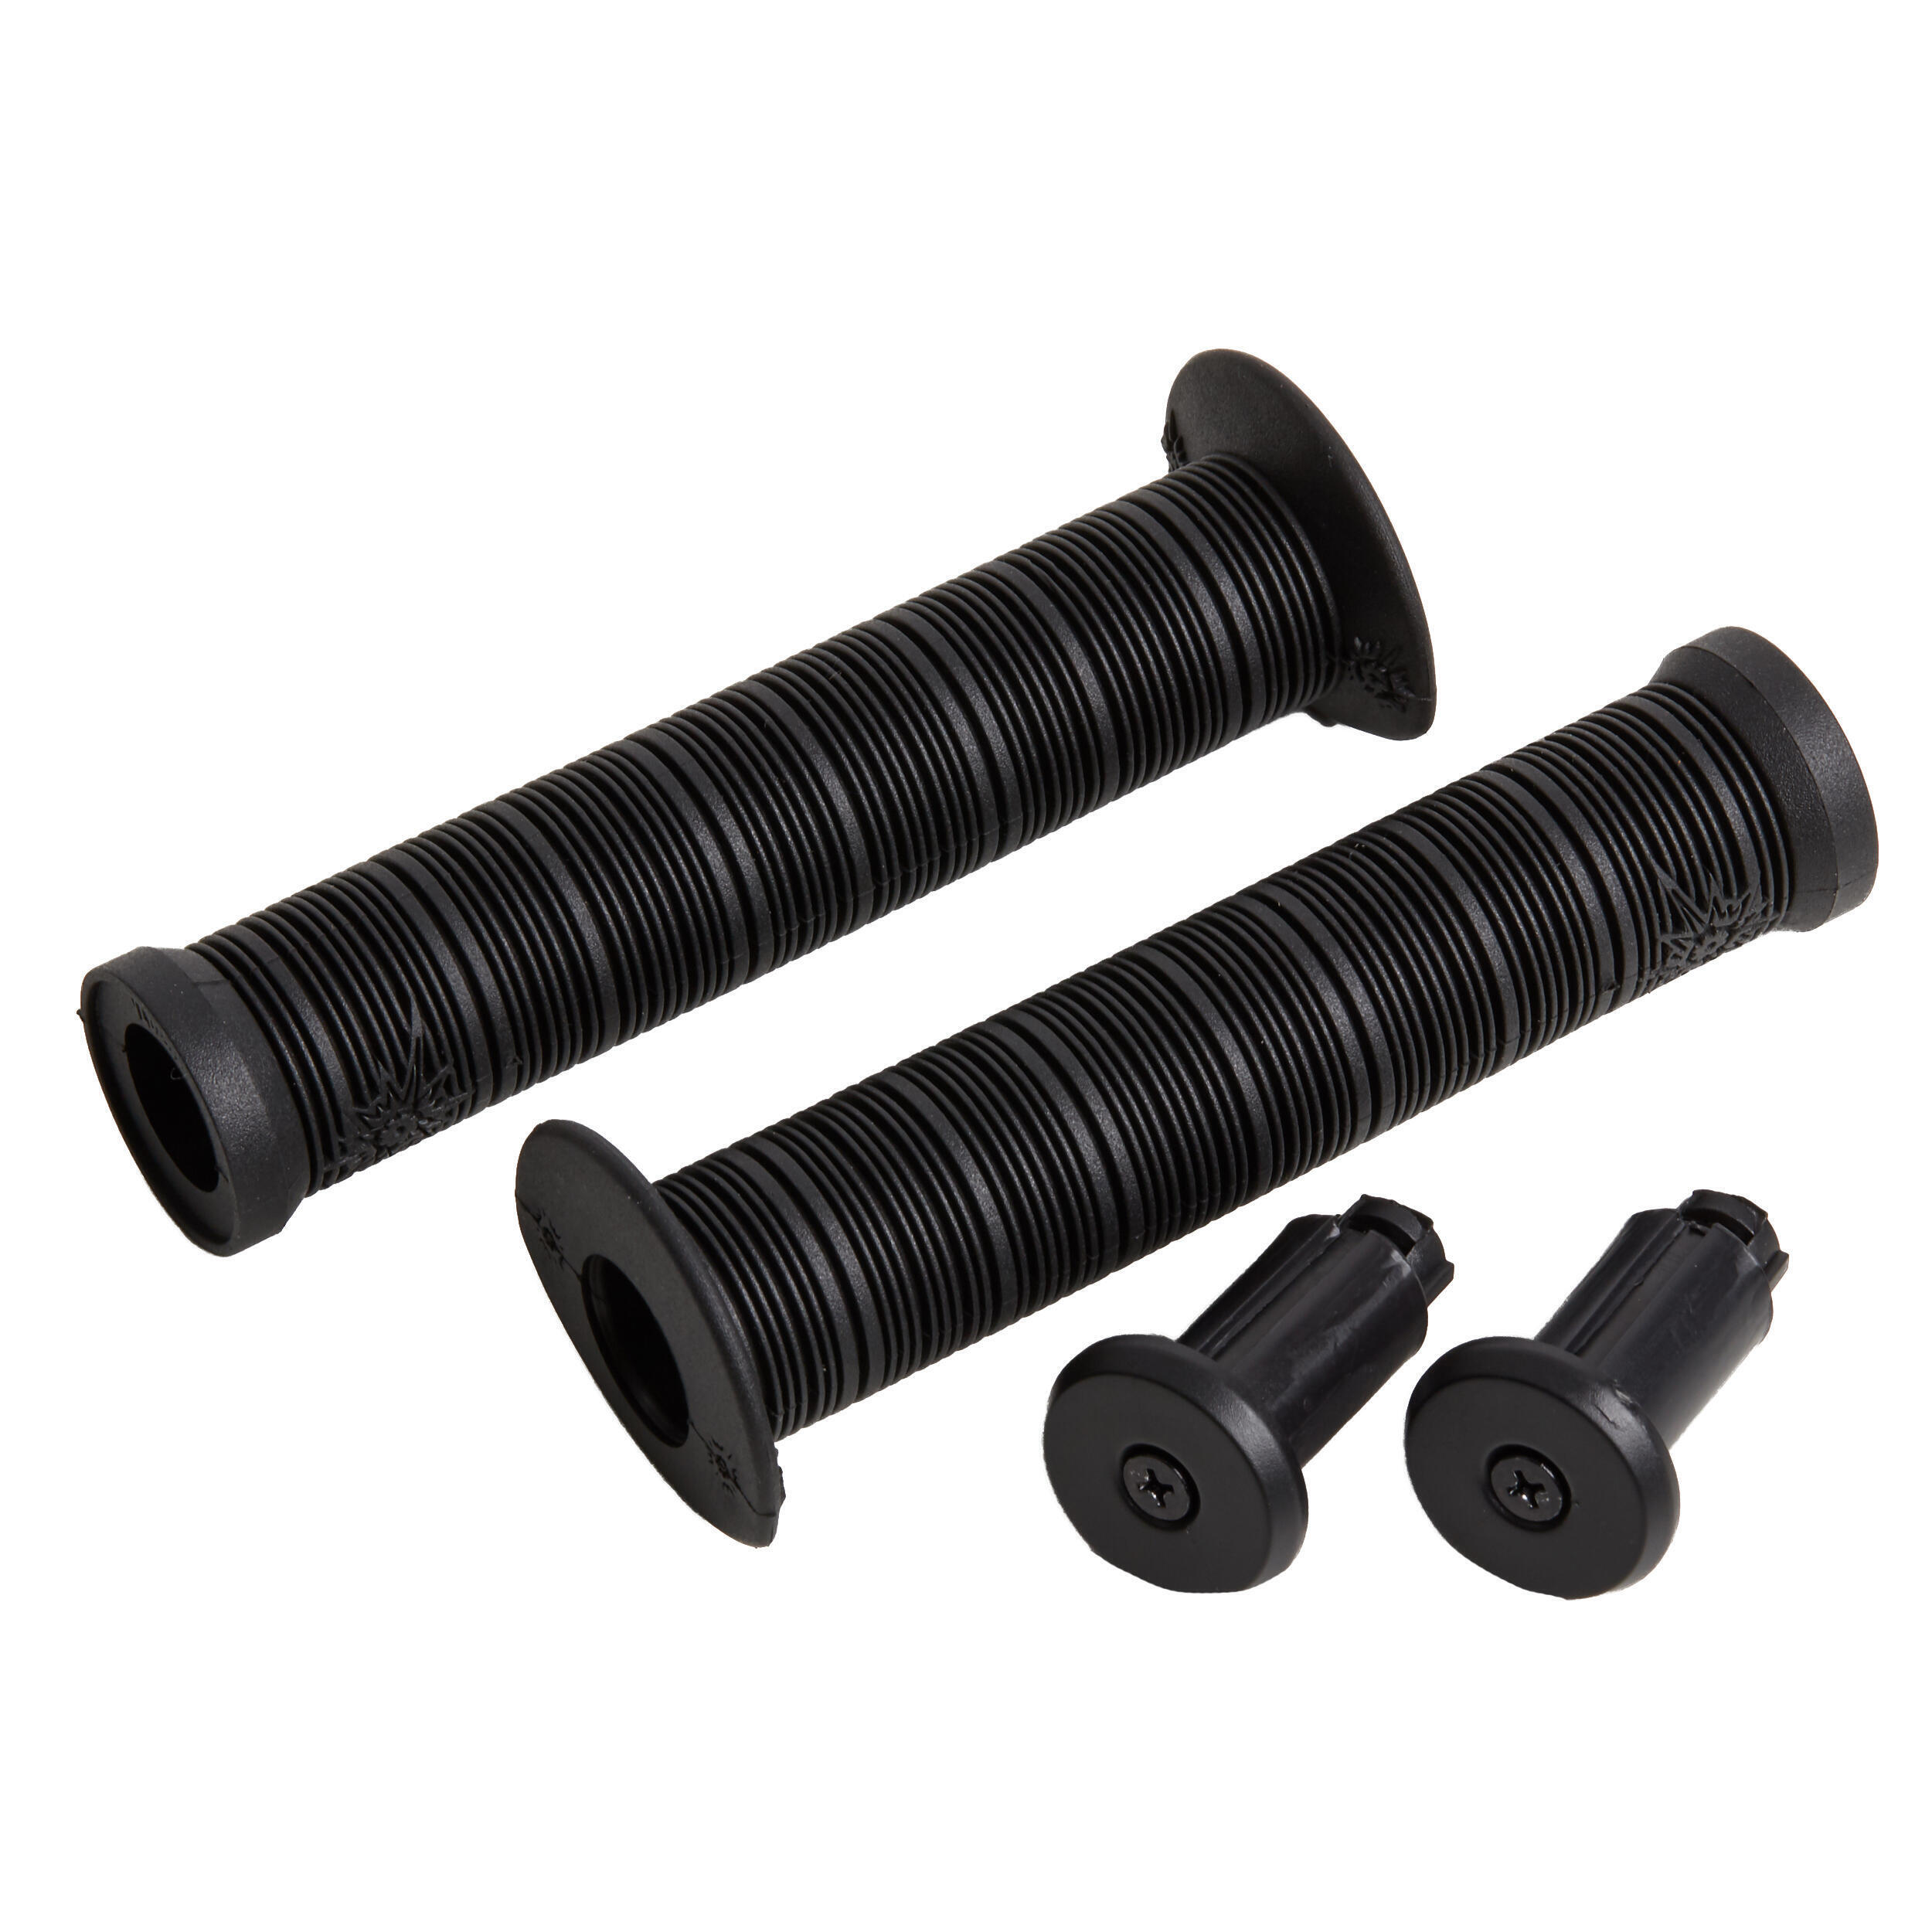
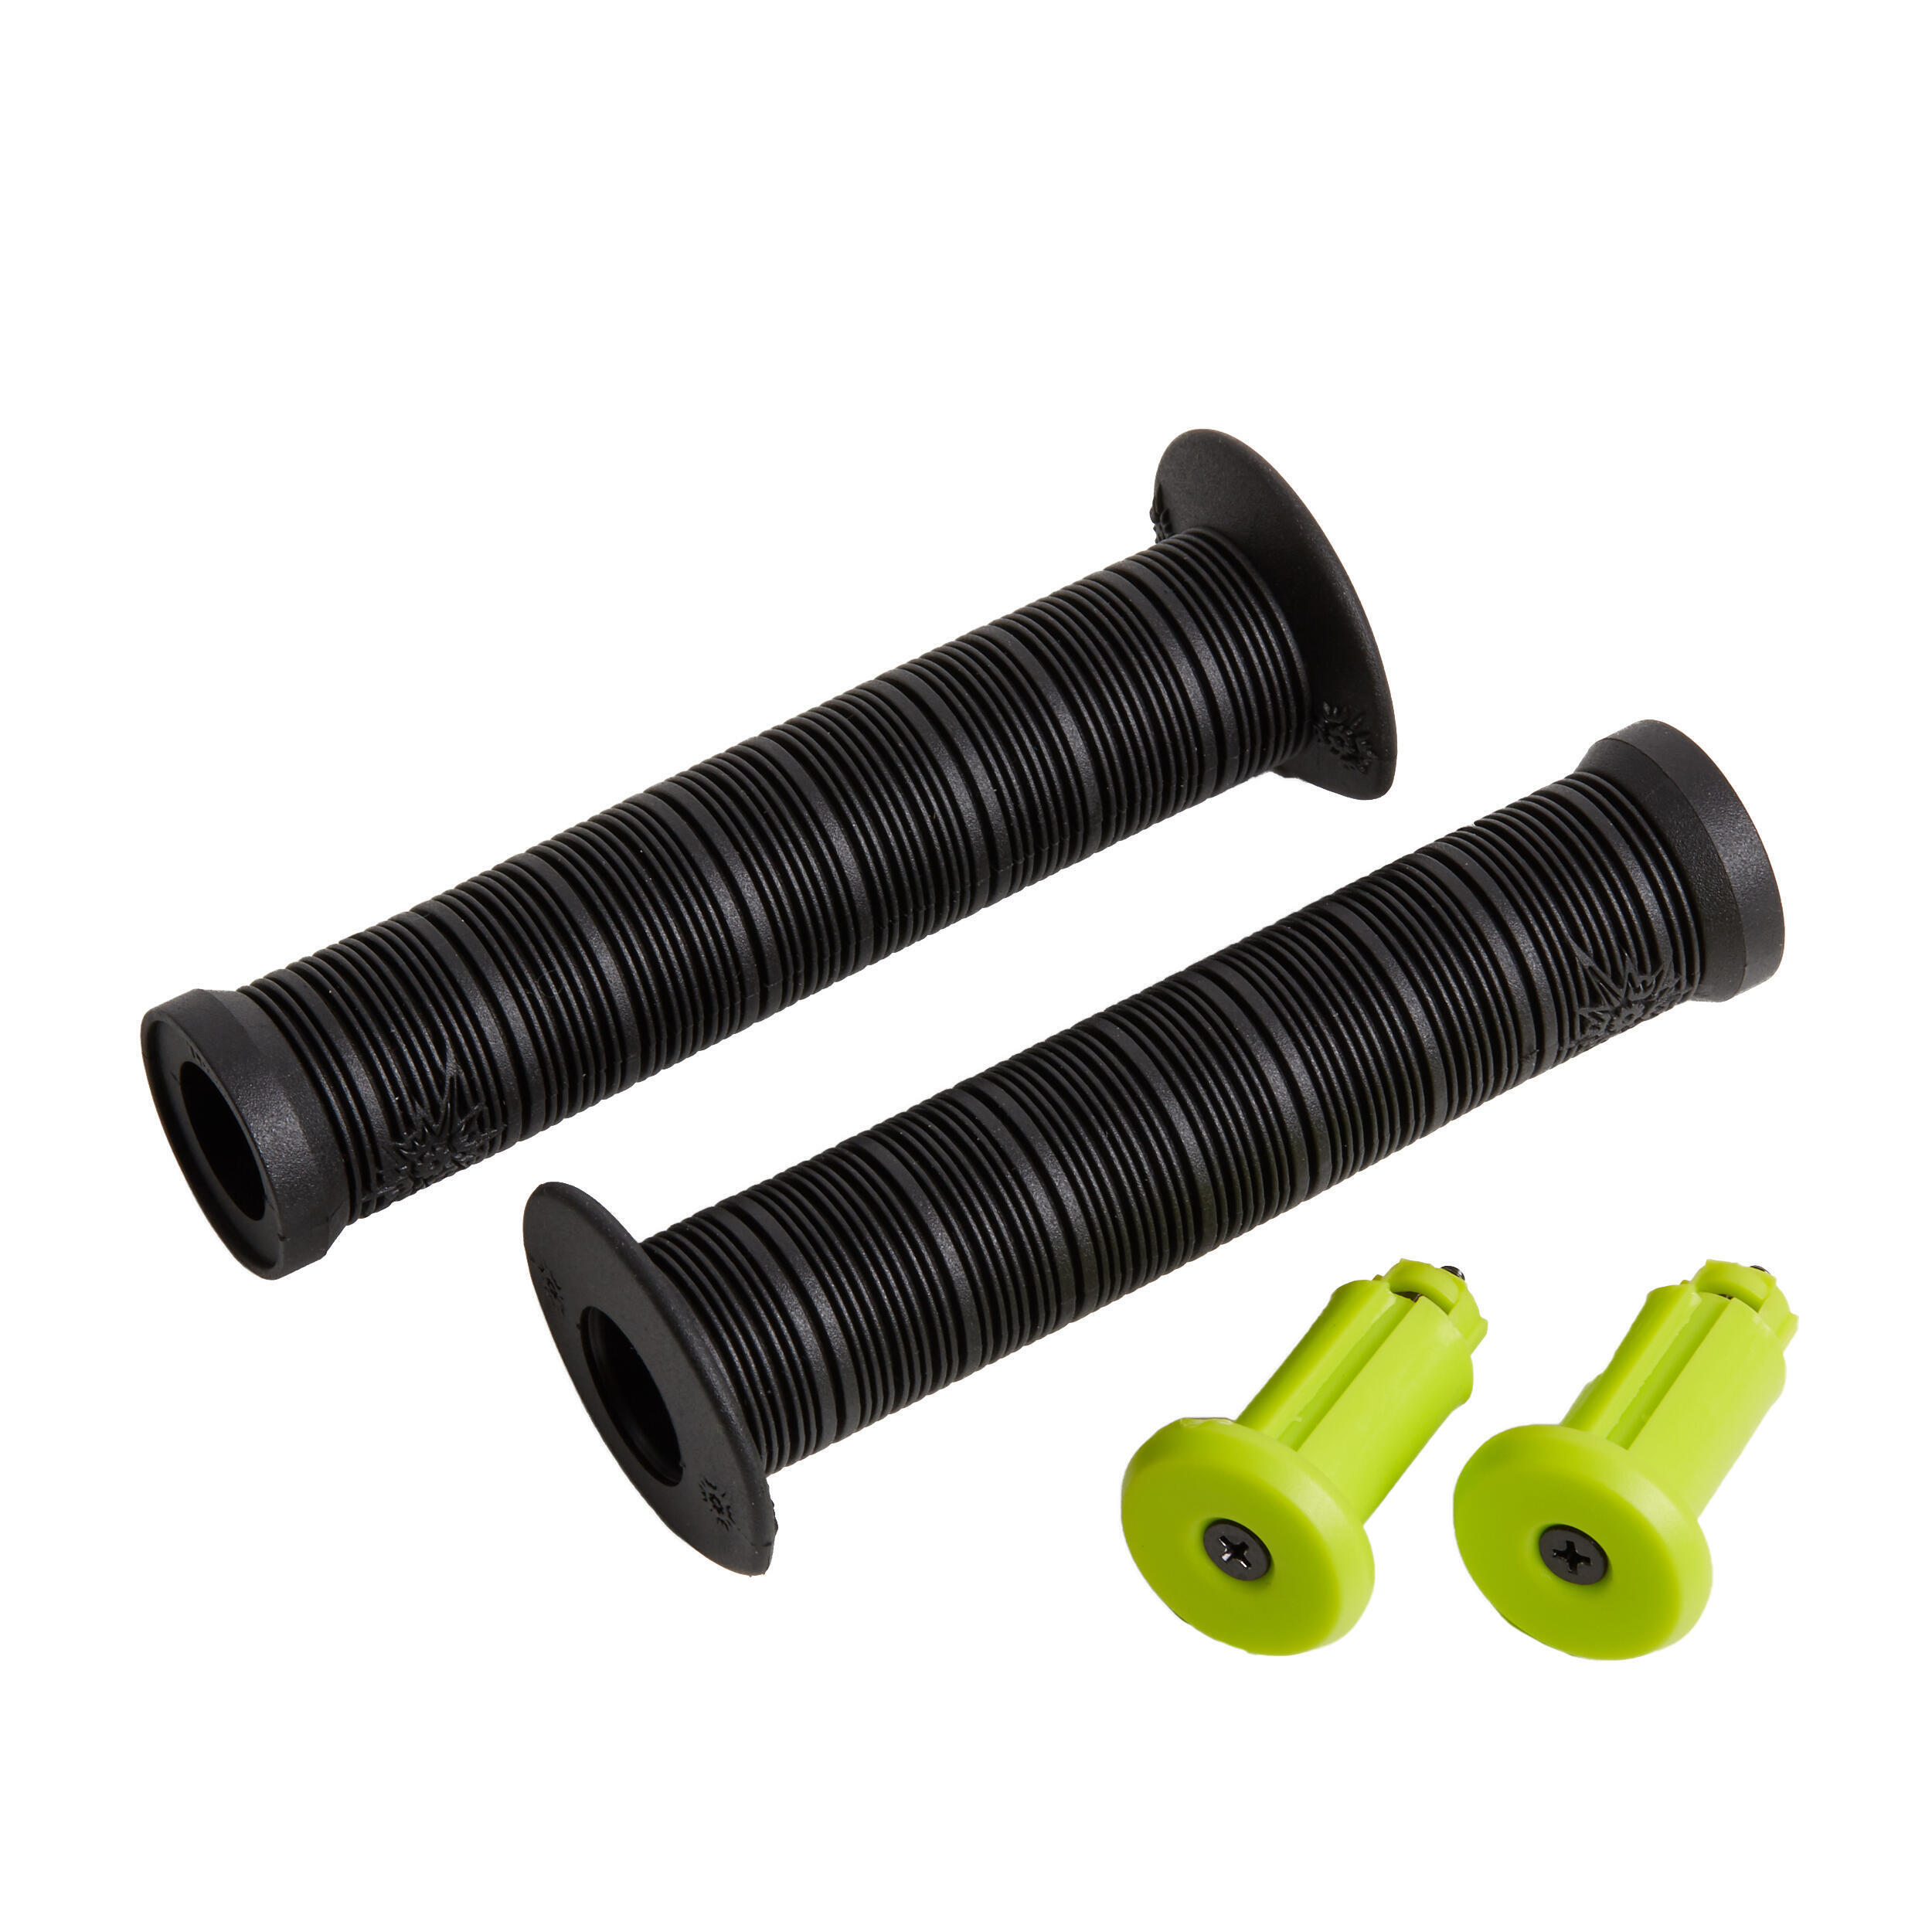
2. Black bmx grips
2. Black and yellow bmx grips
3. Bmx tyres: red, yellow, black...

Servicing your bmx

How to look after your bmx

You can use an "all-in-one" type product (available at Decathlon stores) to unjam, clean, lubricate and protect your BMX. It's a very handy product! To lubricate your BMX's chain, turn the pedal and "spray" the product onto the full length of the chain as it passes. Then leave it to dry for a few minutes. If the chain is very dirty, clean it with a brush or a cloth and spray it again with the "all-in-one" product. Our advice is to avoid getting the product on the brake pads and the braking surface on the rims.

Protect your bike in the long term: Apply all-in-one regularly to prevent rust from appearing.

Lubricating-the-chain-24"-mountain-bike

Changing the brake pads

V-brake pads are available as spare parts. To change them, simply follow the steps in the video. 

how to change v brake pads

How do you check whether you've got a puncture?

We recommend checking the state of your bike's tyres before each ride.

If a tyre is flat, check that it isn't punctured. To do so, pump it up as much as possible. If it goes flat quickly, you will have to take the wheel off and then the tyre, and change or repair the inner tube.

If it goes flat slowly, check the surface of the tyre for the presence of sharp objects or shards of glass. You will then need to take the wheel and tyre off, and change or repair the inner tube. Take care when removing the sharp object or shard of glass that's causing the puncture.

TIP: To more easily identify where your inner tube is punctured, pump it up and then submerge it in water (in the sink, a washing-up tub, the bath, etc.). Slowly rotate the inner tube so that each part of it passes through the water. You'll see bubbles appearing in the place where the puncture is. Even if they're not flat, we recommend you check the pressure of the tyres (see section above).


DID YOU KNOW? The useful life of rubber depends on how it is used and stored. If you can see cracks in the tyres, we advise you to replace them with new ones. 

How to check the condition of your tyres

Your tyre has been designed to grip the asphalt or the surface you're riding on. When the tread becomes smooth, it's time for a new tyre.

A worn tyre can repeatedly get punctured.

How to clean your bmx

If you notice that your BMX is dirty after a few rides (mud, rain, dust, etc.), it's a good idea to take a few minutes to get it clean again.

If it's covered in dust, simply use a dry cloth to clean it. If there's mud or other dirt that's harder to get rid of, you can clean it with a bucket of warm water and a sponge (or a damp cloth) and use some soap or bike shampoo. If certain parts of the bike are dirty (frame, fork, handlebars, wheels), wash those.


DID YOU KNOW?

 We strongly recommend against using a pressure washer to wash your kids' bike. It may damage certain components (headset, bottom bracket, etc.) which could put your child at risk. 

When you've finished, simply wipe it dry with a cloth to prevent rust. It's a good idea to apply fresh lubricant to the moving parts (chain, headset, bottom bracket).

How to store your bike

We recommend storing your bike in a dry place. You should check that it isn't getting damp.

The lifespan of your child's bike depends on how it is used, maintained and stored.

The damper and saltier the conditions you use and store it in (e.g. by the sea), the more it'll rust and the less time it'll last.  It's therefore important to store it somewhere that's clean and dry, not damp. 

There is a problem

What to do if you have a puncture changing an inner tube

If you suffer a puncture, stop immediately in a safe place to prevent the rim from being damaged. 

Turn the bike upside down and set it down on the ground on the saddle and handlebars.

Release the brakes to allow the wheel to come out. Squeeze the V-brake callipers together and release the noodle. 

For the front wheel, remove the wheel from the fork and replace the inner tube (see explanatory video). 

For the rear wheel, position the derailleur on the smallest cog. Loosen the wheel and then change the inner tube (see explanatory video). 


As a last resort, you can always use puncture repair spray, with which you can repair an inner tube without tools, though this won't work if the inner tube is torn.

Changing an inner tube on a child's mountain bike.

The brake lever is touching the handlebars. what should be done?

If the brake lever is too slack, too limp, or touching the handlebar without much pressure being exerted on it, use the barrel on the brake lever to adjust the tension of the brake cable, as shown in the video below.


Loosen the barrel and the locknut to adjust the cable tension so that the brake lever is firm but not too hard.

Once you've got the tension right, tighten the locknut firmly against the brake lever to secure the setting. 

520 20 INCH BMX WIPE

Our btwin commitments

BTWIN provides a lifetime warranty on the frame, handlebar and stem of this BMX (under normal conditions of use).

All other parts have a two-year warranty.

When you start riding your bike, some components will move slightly. It's for that reason that we offer a free check of your BMX three months after purchase.