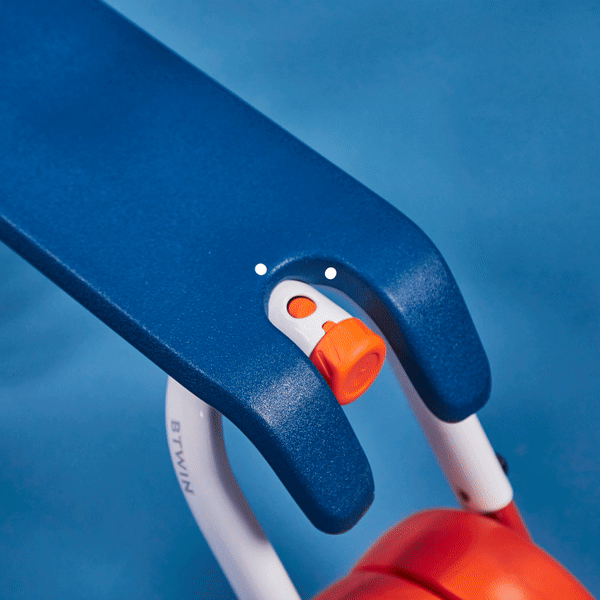
decathlon-btwin-support-adaptable-ride-on

Ref: 8577535, 8577536

2-IN-1 RIDE-ON FOR KIDS AGED 1 TO 3

2022

Is your child ready for their first foray into the world of cycling? Our adaptable 2-in-1 ride-on supports kids aged 1 to 3 (73-95 cm tall) as they build their motor skills.

We recommend making sure that it's set up properly right from the start (correct height) so that your little poppet can use it to explore the world around them.
This ride-on can be set to three different heights so that it grows with your child.

On this page, you'll find all our advice on assembling your ride-on, correctly adjusting it, and looking after it throughout its life!

Ride-on assembly

Did you know? the tool for adjusting the wheels is built in

To make it easier to turn this product from a ride-on into a balance bike, we've integrated the tool for adjusting the wheels into the frame itself.
So there's no need to spend hours hunting for it ;)

decathlon ride-on built-in tool
How do you assemble the b'twin 2-in-1 ride-on?

So you've recently bought a B'Twin ride-on. When you take it out of the box, you'll see that it comes in several parts.
Inside the box, there are assembly instructions. These will help you put it together.

Correct assembly is essential! But don't worry - we're here to make the process painless!
First, you'll see the different parts in the box: the frame and saddle, the fork and its clamp, the handlebar, and the 4 wheels. You'll also find a small tool for tightening the handlebar clamp. (explained in detail:

STEP 1:
Take off the fork's clamp (using the tool, if necessary) and insert the fork into the frame (make sure you get it the right way round: check the image in the instructions).

STEP 2:
Put the clamp onto the fork. Then insert the handlebar into the fork (make sure it's the right way round - see the instructions) and use the tool supplied in the box to tighten the clamp.

STEP 3: WHEELS
You'll see that each wheel is already assembled. To fit the wheels to the bike, start by undoing the nut and bolt on the wheel's arm, then insert the arm into the frame.
There are two things that you can adjust:
- the stability: the wheels can be on the inside or on the outside to change how stable it is.
- the height: there are three possible positions depending on the child's height. (see the part on "how to adjust the ride-on's height"

And you're ready to go!

HOW TO ASSEMBLE THE B'TWIN 2-IN-1 RIDE-ON

Setting it up correctly

How do you adjust the height of the handlebar and wheels?

ADJUSTING THE HANDLEBAR
To adjust the handlebar, you can pull it up as far as the markings on the handlebar tube.
The vertical markings indicate the maximum height. Do not exceed this height.

ADJUSTING THE HEIGHT OF THE WHEELS
You can adjust the height of the wheels so that your child will ride in a position that helps them learn with confidence. Adjust the height of the wheels to suit your child's height: when sitting in the saddle, their feet should be flat on the ground to begin with.

 Kids grow quickly, so remember to check the height of the handlebar and saddle regularly.

B'TWIN 2-IN-1 RIDE-ON set-up-video

Adjusting the wheels: stable mode (4 wheels) or balance bike mode (2 wheels)

ADJUSTING THE POSITION OF THE WHEELS (mode 1 for ride-on or mode 2 for balance bike).
Correctly adjusting the height of the wheels is essential so that your child will ride in a position that helps them learn with confidence. 

When they start, it's important that their feet are flat on the ground when they're sitting in the saddle.

Once you feel that they're comfortable with propelling themselves along and are starting to go a bit faster, or if you think the wheels are getting in their way, you can switch to the next mode:
Turn the wheels round so that they're on the inside to switch to balance bike mode (less stable), and your little one will soon be whizzing around practising their balancing.

B'TWIN 2-IN-1 RIDE-ON

Going outside? remember your helmet

It's good to get into the habit of wearing a helmet right from the word go!

From the age of 1, we recommend getting your child used to wearing a helmet whenever they embark on a mini adventure outside your house. By getting them used to it from a young age, it'll become a habit that they'll stick to when they transition to a real bike!

At Decathlon, we have cycling helmets for babies and kids that have been specially designed by our teams. These helmets have been tested and approved by DHP (Decathlon Head Protection). This is Decathlon's dedicated helmet design team, based at the B'Twin Village in Lille.

1-year-old ride-on helmet

Compatible accessories

Ride-on handlebar bag

Does your intrepid young rider love carrying a snack or their favourite toy everywhere with them, even on their ride-on? Then they'll love this bag that's specially designed to hook over the handlebars of a ride-on, balance bike, or 14" or 16" bike.

ride-on handlebar bag

Servicing your ride-on

How to store your ride-on

We recommend storing your ride-on in a dry place. You should check that it isn't getting damp.

Your product's lifespan depends on how it's used, looked after and stored.
The damper and saltier the conditions you use and store it in (e.g. by the sea), the more it'll rust and the less time it'll last.
 It's therefore important to store it somewhere that's clean and dry, not damp. 

How to wash the ride-on

If you notice that the ride-on is dirty after a few outdoor rides, don't hesitate to give it a quick clean.

To remove dust, simply wipe the bike down with a dry cloth. If there's mud or grime that's a bit more stuck on, you can clean it with a bucket of warm water and a little soap or bike cleaning product and a sponge (or wet cloth). You can also wash dirty parts of the bike (frame, fork, handlebars, wheels).

 DID YOU KNOW? It's best to not clean your ride-on with a hose as this could damage some of the components.

Once you've finished, all that remains is to wipe it over with a dry cloth to prevent rust forming. It's also worth taking the opportunity to check that the clamps and wheels are tightly fastened. If not, you can tighten them with an Allen key.

How to clean the handlebars

Clean using a wet cloth and soap or washing-up liquid, then wipe with a dry cloth.

Spare parts

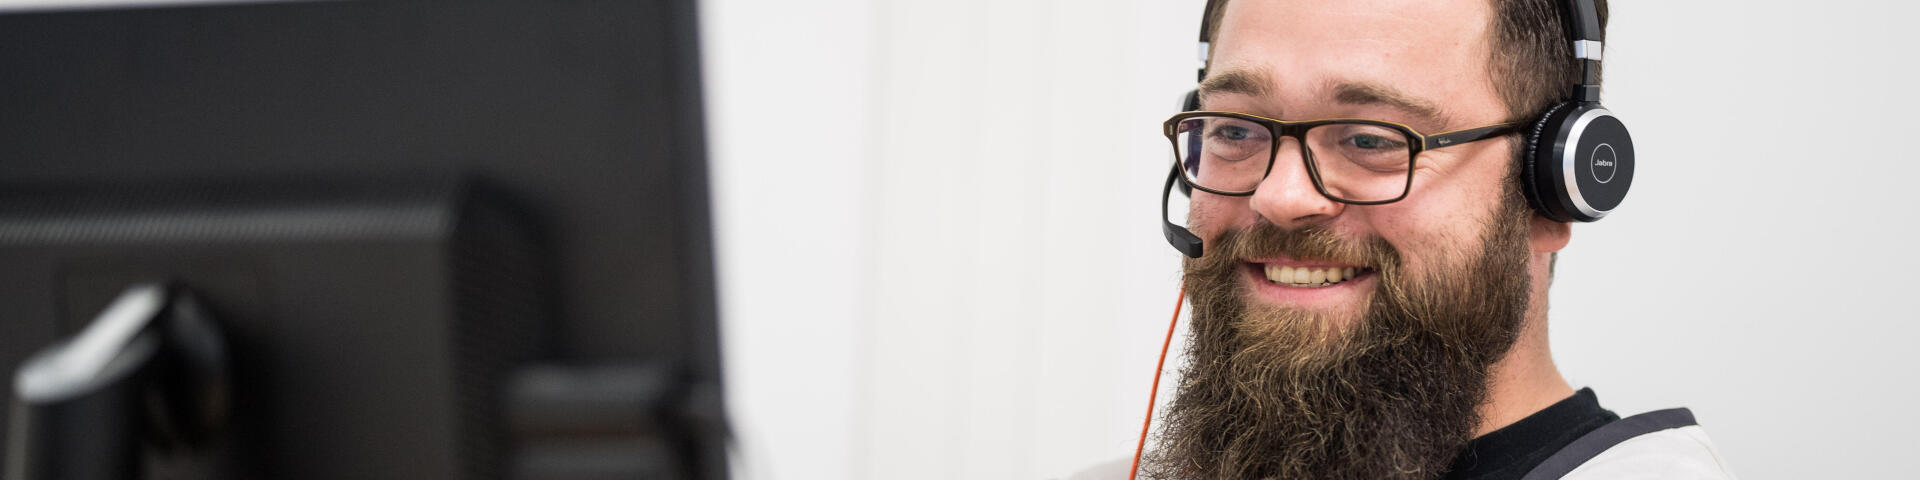
Need to change one of the ride-on's parts? Visit your local Decathlon workshop, where our technicians will be happy to help. They will be able to order the part that you need.
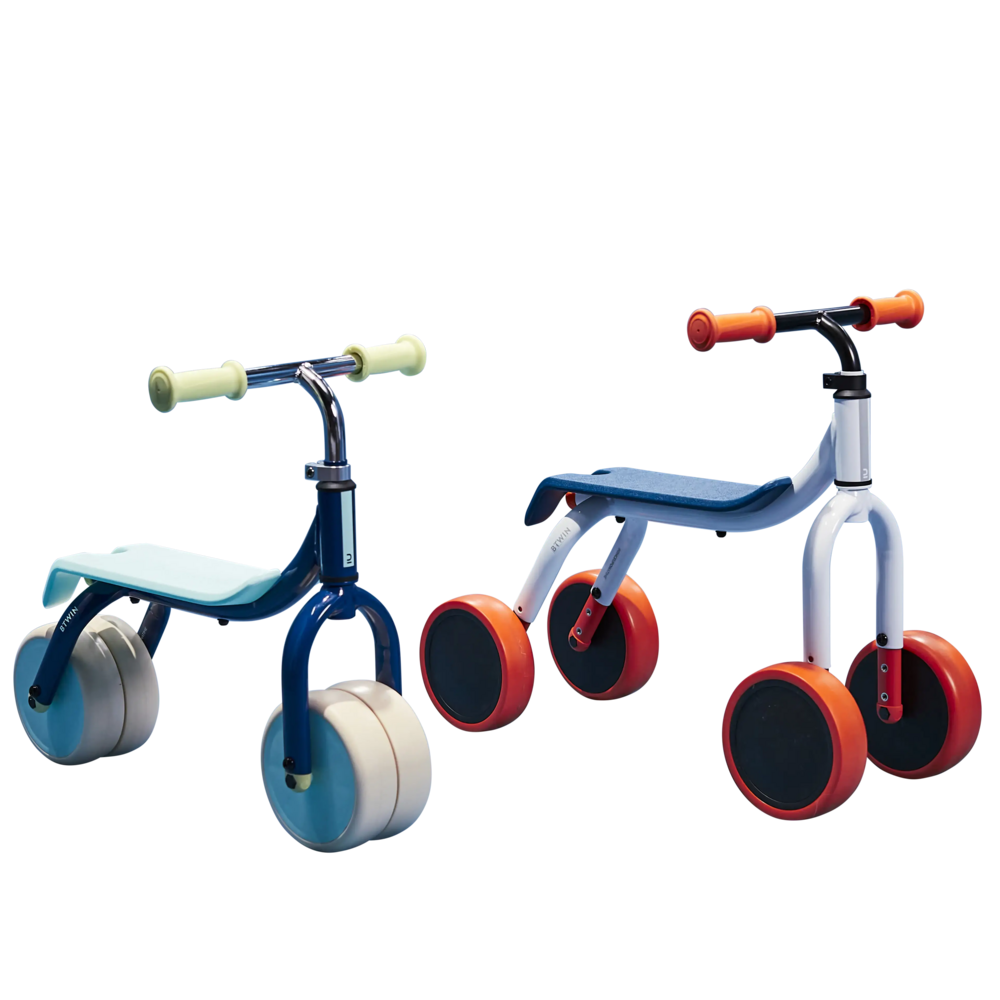
The compatible spare parts for your ride-on (in matching colours!) will be available online in the next few months. We're making every effort to get them onto our virtual shelves as quickly as possible. Thank you for your patience!

2-In-1 ride-on instructions

B'TWIN 2-IN-1 RIDE-ON

Haven't been able to fix your problem or find what you need?

Please contact one of our technicians who will be happy to help