Using your ROCK backpack for the first time
You've just got a new climbing backpack. Read our guide before using it for the first time.
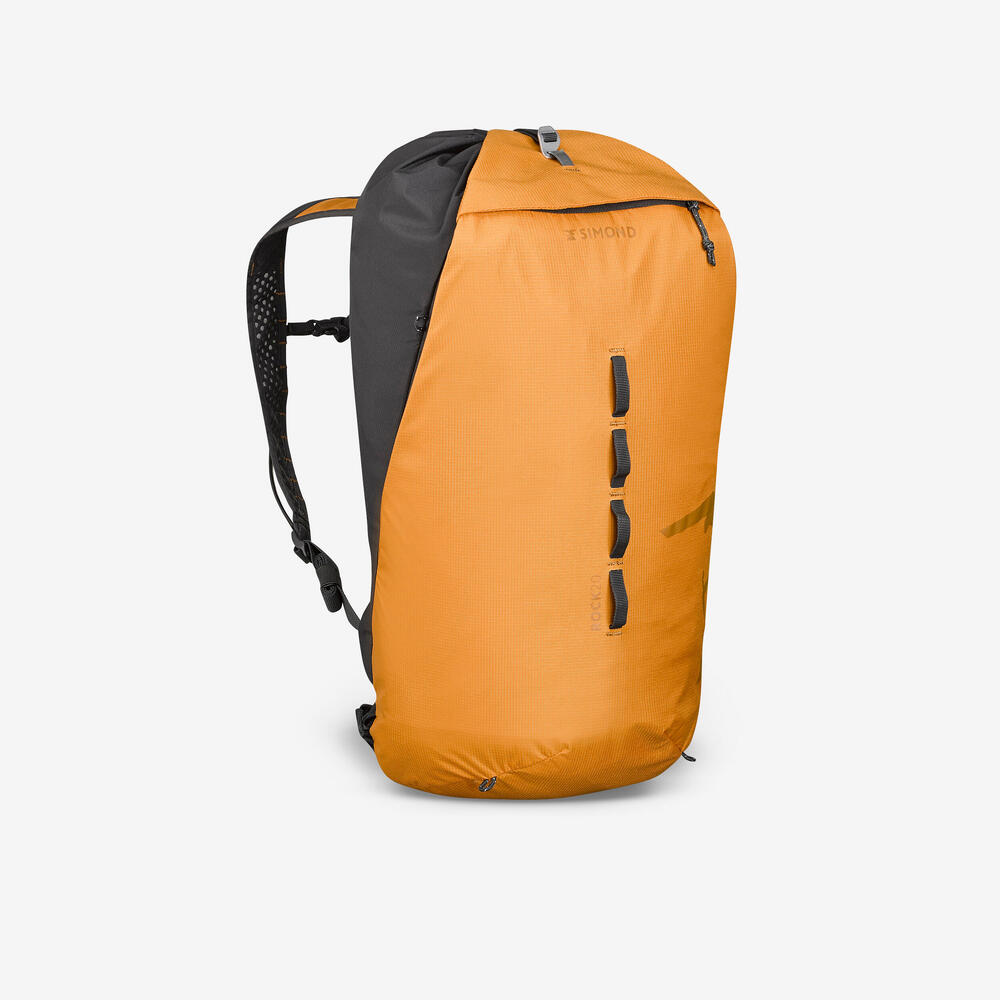
REF: 8600295, 8600296
2018
Read our guide on how you can keep climbing with your ROCK climbing backpack time and time again, whether through maintenance or repair.
You've just got a new climbing backpack. Read our guide before using it for the first time.
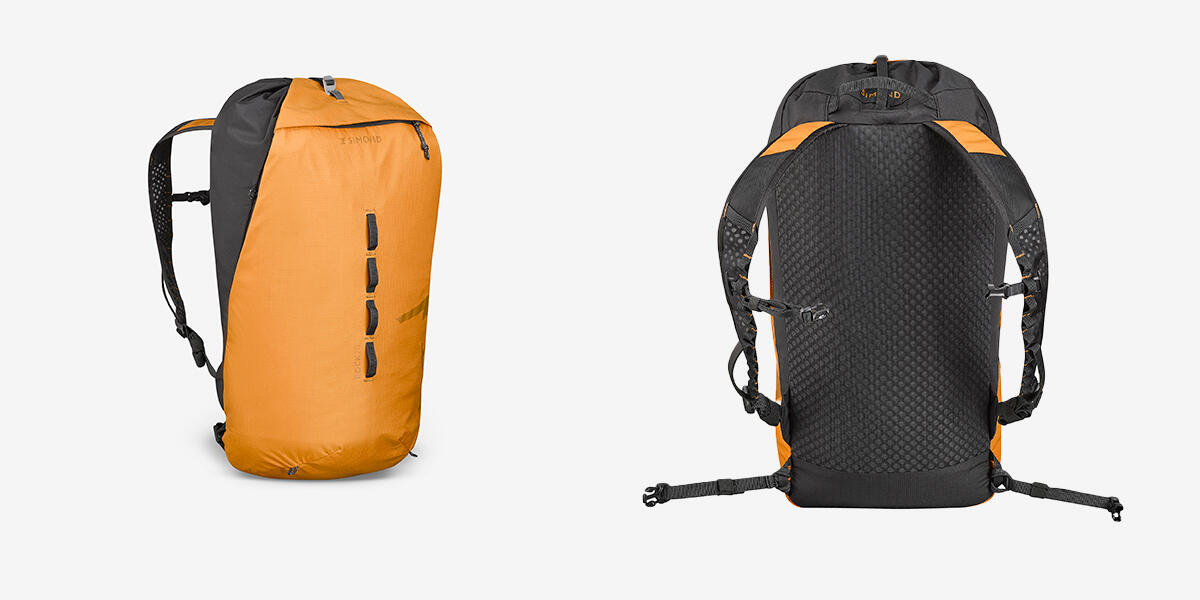
This climbing pack has many features:
Your climbing backpack comes with a 10-year warranty. It applies if the product is faulty or defective.
Damage due to use contrary to instructions, abuse, accidents, negligence and normal wear and tear caused by prolonged use beyond the warranty period is not covered, but can be repaired for a reasonable charge.
Store your pack in a dry place, away from direct sunlight (the sun's rays can make the pack age faster).
Follow these steps to wash your backpack:
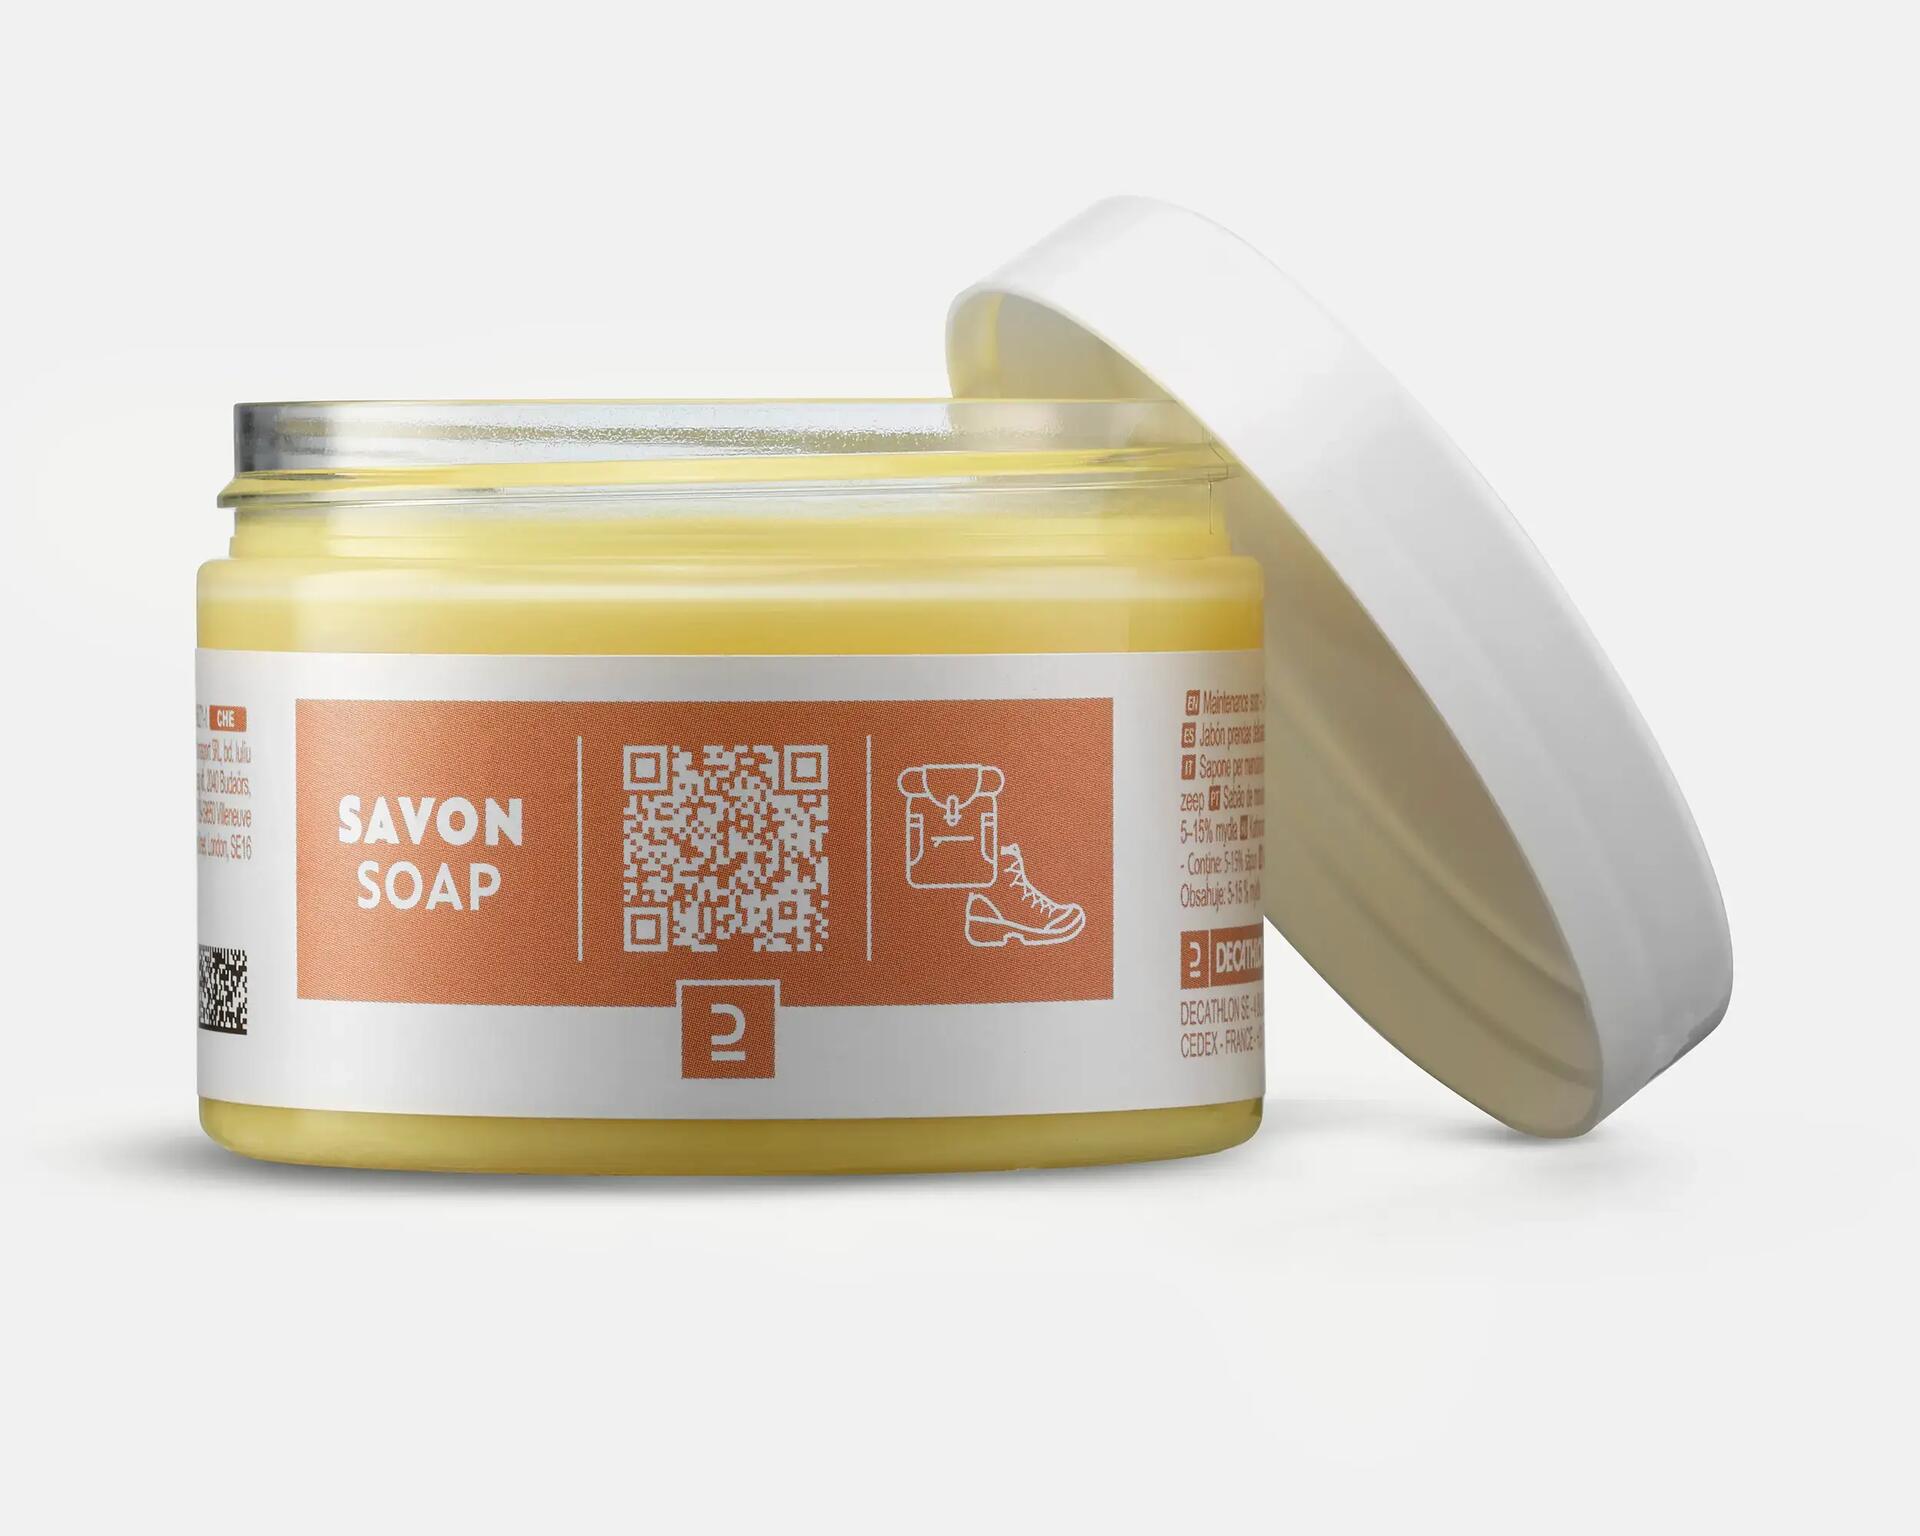
Glycerine bar soap
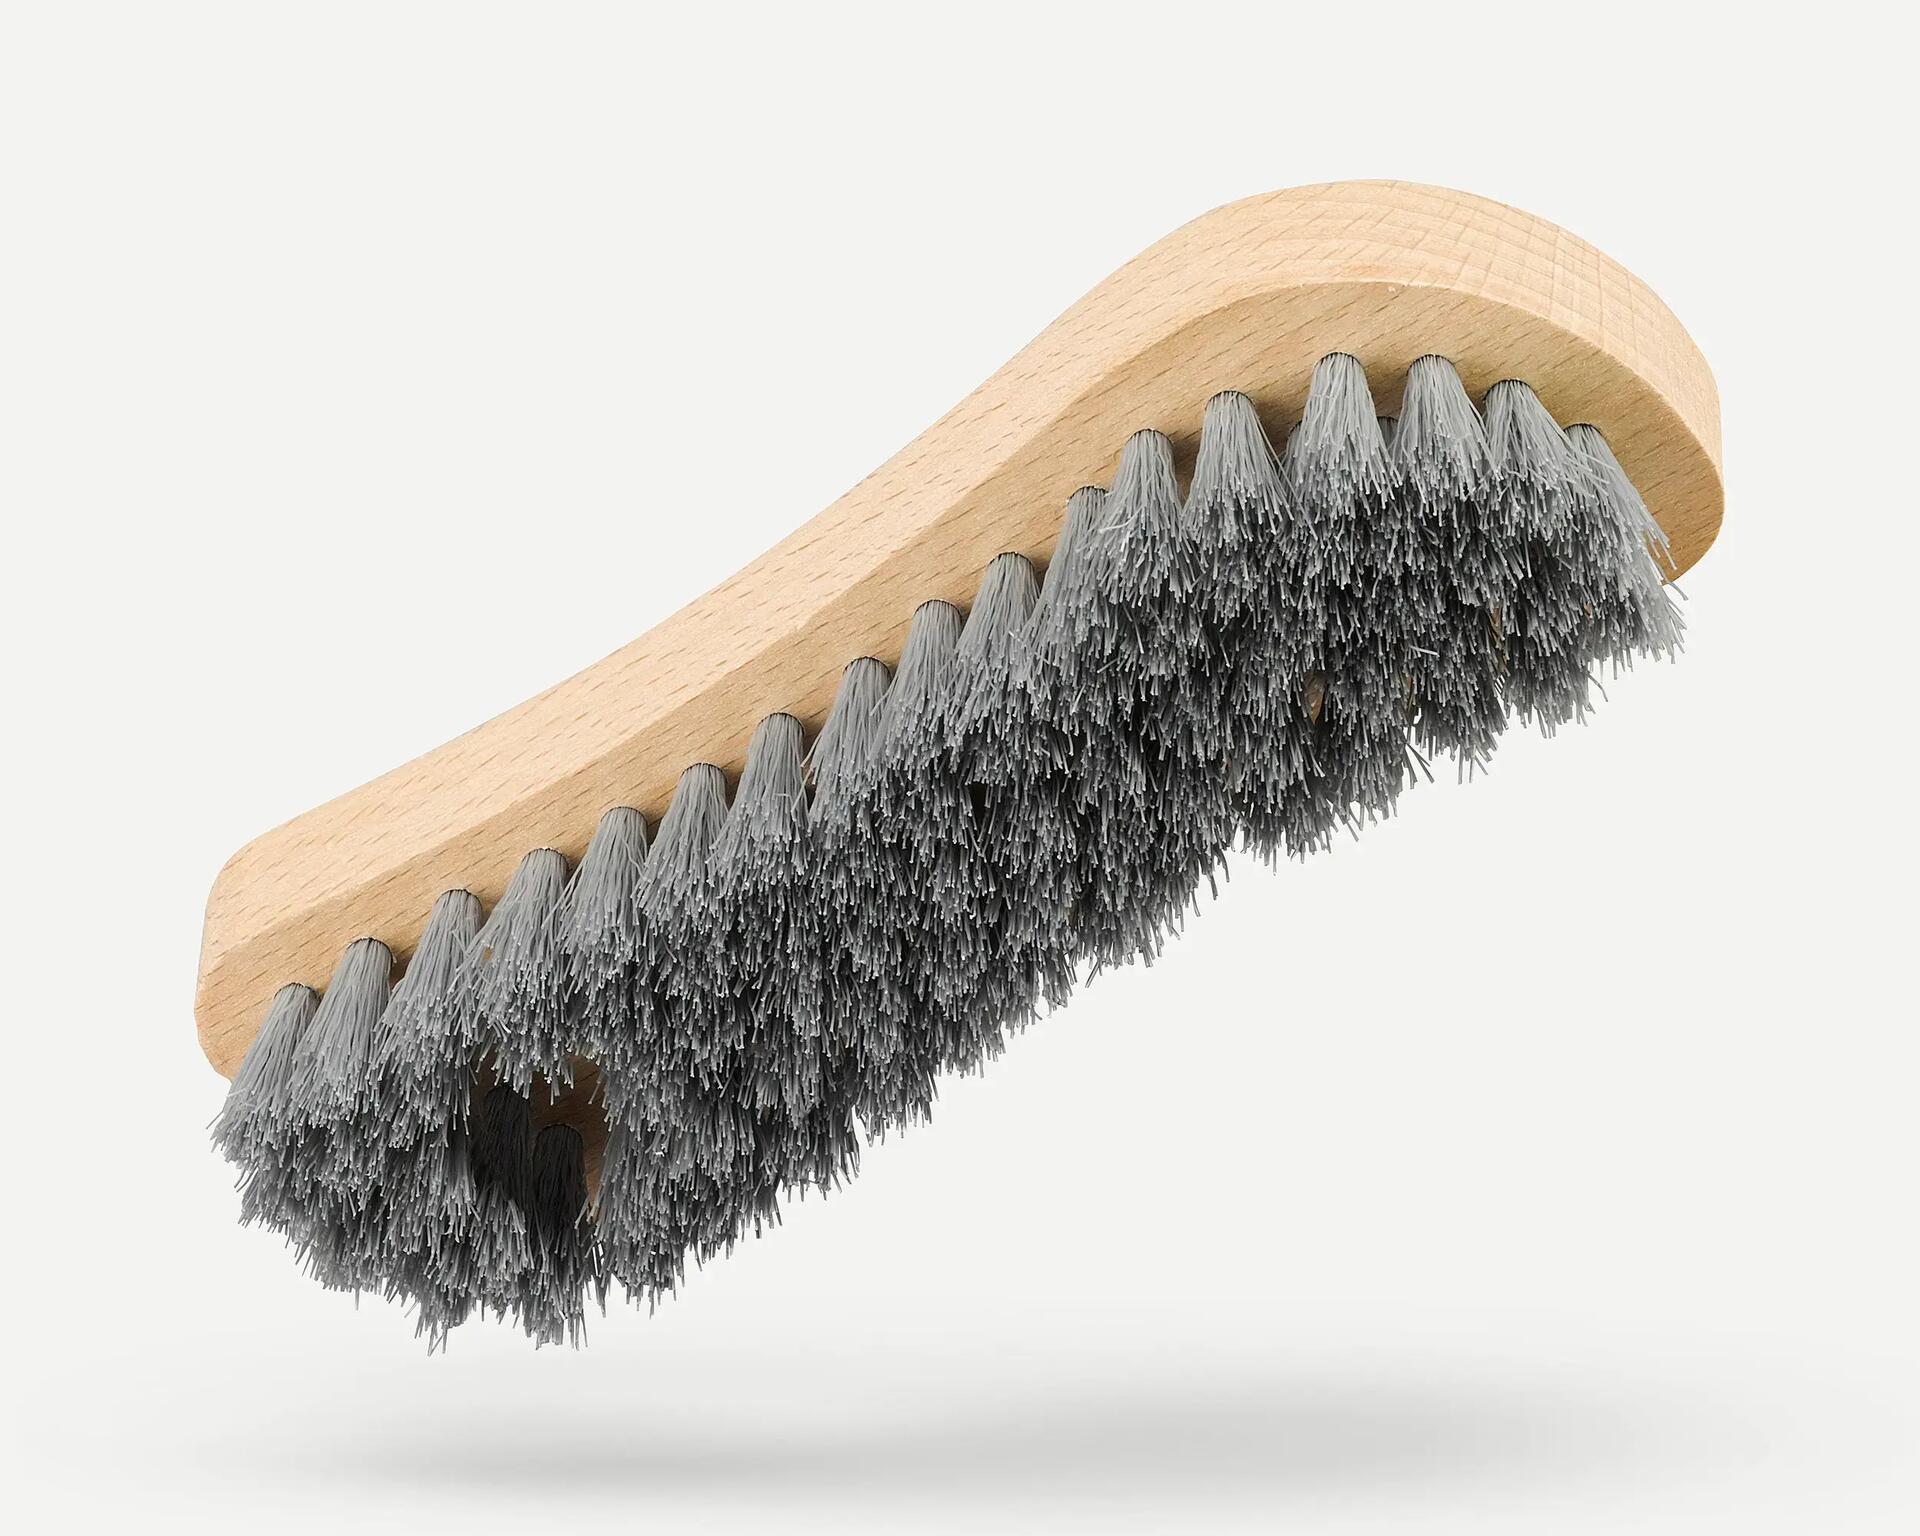
Cleaning brush
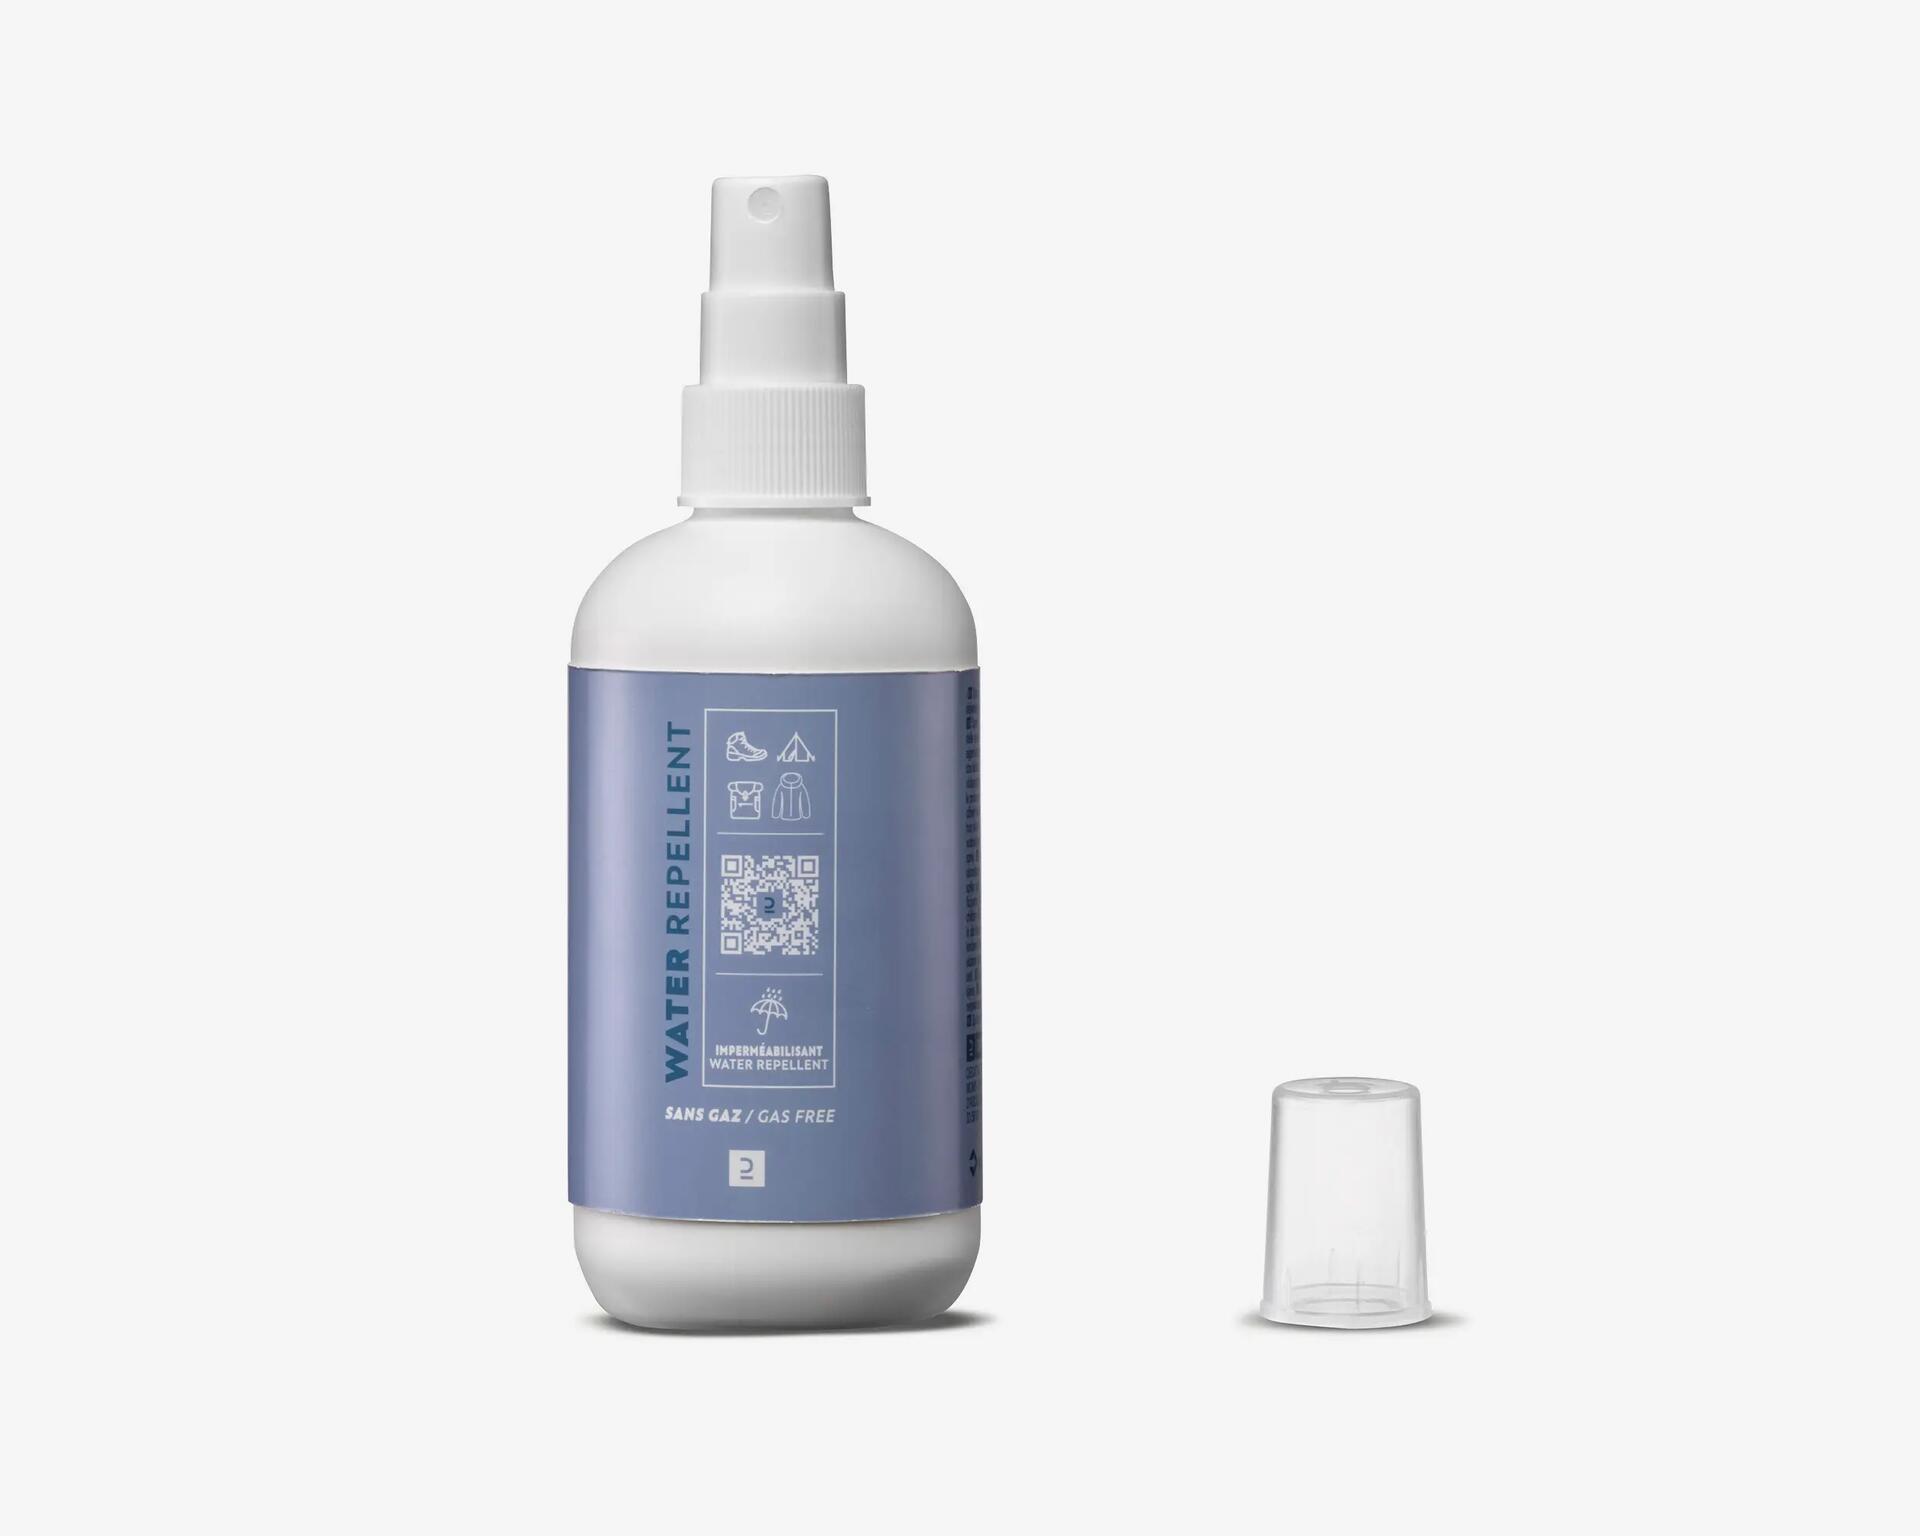
Waterproofing spray
Does your pack have a tear or a broken buckle?
We have some quick, low-cost solutions to repair it from the comfort of your own home.
Applying a repair patch
If your pack has a slight tear and you don't have any sewing skills or a sewing machine, you can use a repair patch. The patch adheres to the damaged area of fabric.
Here are the steps to follow:
Replacing a backpack buckle
Repairing a backpack buckle couldn't be easier...
First, you'll need to buy a replacement buckle that's the right size. To find out what size you need, take a ruler and measure the width of the strap that passes through the buckle.
Once you've got your buckle, all you have to do is remove the old one and replace it with the new one, using the video tutorial opposite.
Replacing a zip slider
To replace your zip slider, simply follow these steps:
Replacing a zip puller
Have you lost or broken your zip puller?
This is one of the simplest repairs there is: all you need is a pair of pliers and three minutes to do it.
Watch the video tutorial
In the image below, you can find a link to the various spare parts available for your backpack.
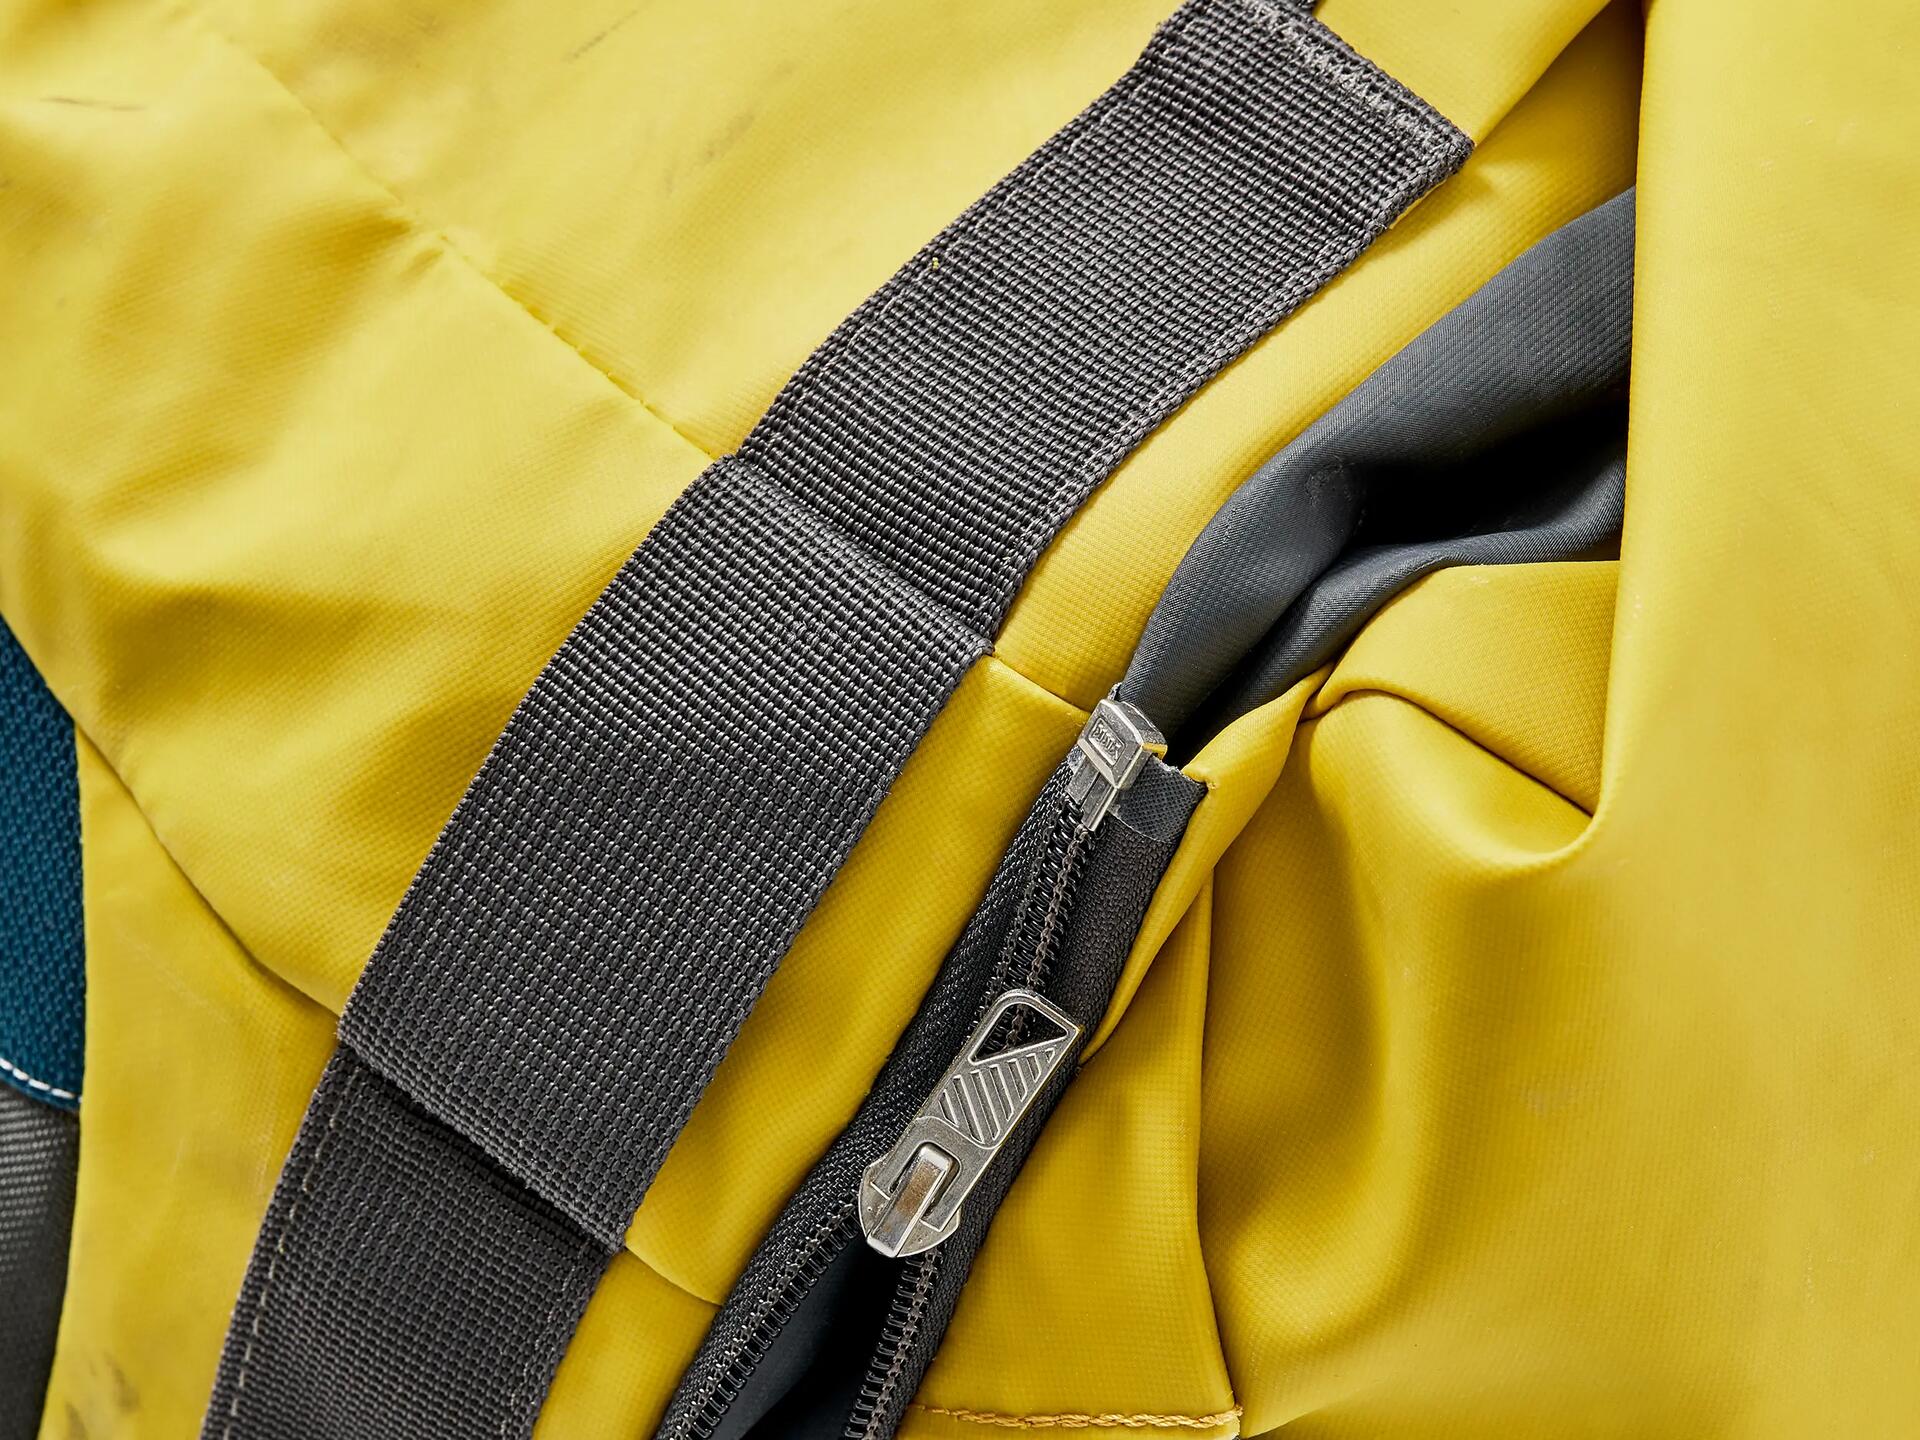
Replacing the main zip on a backpack
Do you no longer use your backpack and don't know what to do with it? Instead of throwing it away, you can sell it second hand using our buy back scheme! Enter all the information about your product online. We can offer the best solutions to sell your product, which you can then bring to one of our stores to finalise the procedure.