Kiprun 500 by Coros

REF: 8589437

DECATHLON GPS 900 BY COROS

2023

The GPS 900 by Coros connects to your phone via the Coros app.
To discover and download Coros, click here or scan the QR Code displayed on the watch at the pairing request.

Difficulties of use

Firmware update via the app

We provide updates to improve experience, offer new features and correct bugs.You are informed about the availability of updates via the app.To start the update, click on "Update" when the popup appears in the app or go to the "Device" tab of the app and click on "Update".

DECATHLON GPS 900 by Coros:user guide, repair

I can't connect my watch to my mobile, what should I do?

When you first connect your phone to your watch, an error may occur.Here are a few steps to resolve it:
- Check that Bluetooth is enabled on your phone
- Restart your phone and try pairing again
- Uninstall/reinstall the Coros app and try pairing again
- Reset the product

Kiprun GPS 500 by Coros

Syncing does not work

Sometimes syncing may not work due to an unstable state of the watch or the phone.
In this case, try to refresh (swipe down) the app several times

You can also try to restart the watch (hold down the digital dial for 10s) and the phone and then restart the syncing process

If this still does not work, try pairing the watch to your phone again (see Pairing section)

My geolocalisation takes too long

GPS signal reception is dependent on the environment and can take a long time.However, we have developed a feature to optimise this connection time.

This feature allows you to pick up the GPS signal faster (less than 30s) during an outdoor activity.It works with a satellite positioning file

This data is automatically downloaded to your watch, however you can download it manually by going to the "Watch" tab and tapping on "GPS Satellite Data"


In order to pick up the signal faster, you should go to the clearest place possible (not indoors) and refrain from moving (it is more difficult to pick up the signal when moving).

My heart sensor is not working correctly.

The GPS 900 By Coros has an optical sensor to measure heart rate on the wrist.

To ensure an accurate measurement of your heart rate:
- Wear the watch with the face on top of your wrist
- The watch should be positioned after the bone, in contact with your skin (see photo)
- Adjust the strap so that it is tight but not uncomfortably so
- The watch should not turn or move on your wrist

Heart rate measurement on the wrist is best for sports with repetitive movements such as running or walking. It is advisable to use a heart rate chest strap or armband for sports such as fitness, weight training, etc.

Note: certain factors may nonetheless impair heart rate measurement:
- The analysis of blood flow (pulse) using light flow will never be as fast as the electromagnetic signal picked up by the heart rate monitor.
- The watch is located relatively far from your heart, which means that the blood will take some time to flow to your wrist. During interval training, there will be a time lag in the measurement of the heart signal..
- In cold weather, the blood vessels in the bloodstream constrict, which may be interpreted by your watch as a low or high heart rate.
- The blood vessels of your right arm and your left arm may be different. If the results are not optimal on one arm, try the other arm.
- Also, if you have tattoos in the watch area, heart rate cannot be measured.

Caution: See PRECAUTIONS FOR USE before using the heart rate monitor.

I can't share my activities with other services (strava, decathlon, etc.)

You can automatically share your activities with other services through a gateway

To do so, you must first have an account on the service concerned or create one:


- From the Coros app.
- Go to the"Profile tab"
- Click on"Settings" and then on "Third party applications"
- Select the service with which to share your activities.
- Login to your account with the service selection and validate.
Sharing is then activated.

Frozen product and watch restart

If the screen does not respond when you press the buttons, your product is probably frozen.A restart should solve the problem. To restart, hold down button D for 15 seconds and let the watch start up again on its own.

Problem with the Coros app or the watch firmware

If you encounter any issue with the watch firmware or Coros app, you can report it directly via the Coros app, in the"Profile" tab and then "Send feedback".

The battery life of my product is not good

The watch's battery life lasts 35 hours in GPS mode, 80 hours in ultra max mode or up to 30 days in standard use.

Various settings, uses and factors (temperature, altitude) can impact the product's battery life.

You can change the following settings to optimise your product's battery life:
- Backlight ("System" _> MoreSettings" -> "Gest. Backlight")
- Daily Heart Rate ("System" -> "Sensors" -> " Optical HR")
If you want to increase the battery life in standard mode, you can set the Gesture Backlightsetting to OFF

Some uses can impact the battery life:
- Nbr button presses (vibration + backlight)
- Nbr of notifications
- Sleep tracking
- Nbr of alarms


For information purposes, the watch battery life is 22 days with the following use: 10 button presses a day, 8hr sleep, daily HR monitoring every 10 min, 100 notifications a day, 5 calls, 2 alarms a day

You can see an estimate of remaining battery life from the Battery menu in the Toolbox (press and hold the Back button from the main watch face). For more detail (estimate for each mode and usage breakdown), scroll down with the digital dial.

The temperature displayed is not correct

The temperature displayed is the outside temperature and not your body temperature.However, body temperature affects the value displayed.For an accurate reading of the outside temperature (air or water), take the watch off your wrist and leave it for 10min.

The altitude data is not accurate.

You can calibrate the barometer to get better altitude accuracy.To do so, go to "System" -> "Sensors" -> "Calibration" -> "Altitude".If you know your exact altitude, you can enter it by choosing "Enter Altitude", otherwise you can use the GPS but it will probably be less accurate.

This feature is not available during an activity so remember to do it before you set off

The distance in the swimming pool is not precise

For more precision, favor a regular stroke avoiding punctual stops on the same length as well as parasitic movements or changes of stroke.

If you stop swimming, pause the activity. Or by pressing the wheel button and restarting the activity by clicking on "Continue". Either by pressing the back button to switch to rest mode, press the back button again to switch back to activity mode.

Large casts or very fast lengths can lead to measurement error.

FIRST USE

First start-up / pairing

Press the digital dial for 2 seconds.

The first time you start the watch, it displays a QR Code. This allows you to download the application if you do not have it.

Once the application is installed and you are connected, go to the "Devices" tab and tap on "Add a device" at the top, select GPS900 in the list and scan the QR Code displayed on the product with the Coros app when asked.

Then follow the instructions, accepting all access requests for a better experience.

At the end of the process, you will be able to link your Decathlon account to benefit from all our services.

To display the QRCode outside the first start-up and thus be able to pair a device at any time, from the watch go to "System" then "Pair Phone". Please note that if the watch has already been paired with another phone, a factory reset of the watch is necessary to pair it with a new phone.

Data syncing via the USB cable is not possible.

DECATHLON GPS 900 by Coros:user guide, repair

Use of buttons

- Scroll up and down with the digital dial (you can choose the rotation direction in the watch: "System" -> "Settings More" -> "Digital Dial" -> "Dial Rotation"
- Pressing the digital dial is used to confirm, start an activity and pause
- The other button (BACK) is used to go back and to do a lap during activity. Pressing and holding on the back button gives access to the Toolbox which includes several features (stopwatch, alarm, timer, night mode, do not disturb, watchface...)

You can change the position of the buttons (to the left or right of the watch). To do so, go to "System" -> "Settings. More" -> "Digital Dial" -> "Dial Location"

Recharge your watch

You can recharge your watch by plugging in the USB cable provided with the watch to a computer or any other USB power outlet.
The total charging time is about 2 hours.

Navigation

There are several screens on your watch. From the home menu which displays the time, you can scroll through the different screens with the digital dial ".You will find:
- Home screen (you can change the info displayed by pressing "BACK")
- Sleep (if you have slept with the watch the previous night)
- Race performance
- Fatigue level
- Rest
- Daily activity
- Daily HR
- Altitude
- Atmospheric Pressure
- Temperature
- Solar cycle (sunrise and sunset
- Notifications (if enabled)

On most screens, you can get more information by pressing on the digital dial. HR, altitude, pressure and temperature data is recorded every 10min

Start an activity

To start an activity, from the home screen press the digital dial and select your activity by scrolling with the dial.
Press on "Start" to start your activity.
Please wait for the heart sensor signal and possibly the GPS signal (for outdoor activities) to be OK (green non flashing light and beep)

DECATHLON GPS 900 by Coros:user guide, repair

Stop an activity

Press the digital dial to pause, select "End" and hold down the digital dial for 3s to confirm stop
Note that if the auto-lock is active, you must press the digital dial for 3s to pause.See advanced uses to activate/deactivate the auto-lock.

Advanced use

Access the Toolbox

Your watch comes with many tools, including:Stopwatch, Timer, Battery Usage, Broadcast HR, Do Not Disturb, Settings, Night Mode, Watch Face, Alarm.
To access the toolbox, press and hold the BACK button.

During an activity, if you press and hold down the BACK button, you will also have access to this activity's settings.This will allow you to change certain settings (alter, autopause, etc.) without stopping your activity.

Change the home screen display

You can change the display of the home screen (Dial/Watch face)

On the watch there are 5 existing watch faces, you can choose one by going to "Watch Face":
- You can either press and hold the "BACK" button from the main watch face, then select "Watch Face"
- Or or you can press the digital knob from the main watch face and then select "Systems", "More Settings" and "Watch Face & Theme Colour"

You can change the colour of all watch faces by scrolling down with the knob once the watch face has been selected.

From the app, you can replace these 5 watch faces with others that you prefer.To do this open the Coros app, go to the"Device" tab and then select"Watch Face". Select a watch face and tap on one of the existing watch faces at the top to replace it.Confirm by tapping on "Confirm To Add".

DECATHLON GPS 900 by Coros:user guide, repair

Customise workout screens

You can customise the workout screens for each activity from the Coros app.Tap on the"Device" tab, then "Workout Data" and select your activity.

You can customise the screen by tapping on it.At the top you can select the number of data fields to display on the screen (2, 3, 4 or 6).You can then modify a data field by tapping on it and selecting the data of your choice at the bottom.You can also add a page by tapping on an empty page.Once you have made your changes, remember to"Save" on the top right.

Additional settings (Background Colour, Size, Scroll, Notifications) are available on the watch in"Systems" -> "Workout Interface"

DECATHLON GPS 900 by Coros:user guide, repair

Create a workout

You can create a workout from the Coros app, either from the "Device" tab or from the "Profile" tab.
Go to "Workout" and tap on "Add workout" to create a new workout.

For the warm-up and cool-down you can choose a duration, distance, training load value or end point by pressing the "BACK" button and selecting "Manual Stop". You can then choose an intensity based on your heart rate, pace, power or cadence.This data will be visible on a new activity screen.

The same goes for the"Run" items, with the possibility of adding a number of sets and a rest time between these sets.

You can group several items to make repetitions by tapping the "Grouping" button.

To delete an item, swipe the item left and tap on "Delete".

To modify an existing workout, click on the "Modify" icon on the top right corner.

You can also start a quick workout directly from the watch by choosing the "Run" activity and tapping on "(Interv.) Training".You can also program a single set without intensity.

Kiprun GPS 500 by Coros

Create a training plan

You can create a training plan on the Coros app, either from the "Device", tab or from the "Profile" tab.
Go to "Training Plan" and click on "Add program" to create a new workout.

Tap on day of the week in "Calendar" and add an existing workout or create a simple one (Target and Intensity). You can move a workout by tapping and holding it.
You can duplicate or delete a week by swiping it left on your phone.

Once you have created a training program, tap on "Start training program" to select a start date.

Send a workout (or training plan) to the watch

Either: from the"Device" tab, go to "My Workout" (or "My Training Plan"). Select the workout (or plan) that you want to send to the watch and tap on "Add" (You can send several at once)

Or: from the"Profiel" tab, go to "Workout" or "Training Plan", tap on the workout or plan that you want to send to the watch and tap on "Sync to watch" then choose your watch.

To start a workout (or training plan), click on the digital knob from the main watch face and go to 'Workout" (or "Training Plan" ) by scrolling down with the knob.

You will have access to additional settings such as choice of terrain for running (track or road/trail) and view workout.

The training plan workouts will display just under the home screen on the day in question.

Physio data (Evolab)

EvoLab combines several algorithms to provide fitness, impact of training load, fatigue and performance level metrics.

In order for the data to be as reliable as possible, you must enter your own physiological data based on your level:
This means defining your endurance, threshold, aerobic and anaerobic paces in paces/km and your heart rate.You can modify them in the Coros app, by going on the "Profile" tab and tapping on your name on the top left.If you do not know them, they will be calculated automatically but will probably be less accurate.

EvoLab metrics can be viewed on the watch in a condensed form, and on the Coros app.They are split into 3 categories:
- Performance with Performance Level, Marathon Level, V02Max, Threshold.... giving you race predictions (in time and pace) over 5km, 10km, Half Marathon and Marathon.
- Fatigue with Fatigue Level, Fitness and Impact Load, giving you your total training load
- Recovery (only on the watch) which lets you know what type of training you can do

You can find more information about EvoLab on the Coros website

Set up workout alerts

To set up workout alerts (autolap, distance, pace, cadence, HR, Nutrition), select your activity by pressing the digital knob from the main watch face and then going to "Settings" and "Activity Alert". Activate or de-activate the alerts you want.

You can also enable auto pause from this menu.

Download a GPX file to your watch

You can add GPX files to the watch and view the breadcrumb navigation (route on black background) as well as the elevation profile (ensure that the GPX file includes altitude data) for this route.
To do this, download the GPX file to your phone (from a website such as Decathlon Outdoor, or similar). You can also download the GPX from an activity you have previously completed by tapping on the icon in the top right corner of an activity from the Coros app.

Simply open the GPX file on your phone and tap on "Save" in the top right corner.The route has now been added to your navigation routes library.

Finally, you can send this route to your watch, either by tapping directly on "Sync with your watch" just after adding the route, or from the navigation route library on the Coros app ("Profile" tab and then "Navigation routes library", or on the watch settings on the Coros app ("'Device' tab-> Your watch-> "My Routes" -> Add Routes"

If you have a premium Strava account, you can also add a Strava route to your watch.After syncing your Strava account (see sharing activities with other services), just add a Strava route to favourites and wait 1 min for syncing to complete.Simply refresh the Coros app to see your Strava route in your navigation routes library.

Viewing a GPX file on your watch

Once the route has been added to your watch, you can follow this route without starting the activity (from the toolbox: "Navigation" -> "Start Navigation".

To view a route for training, select your activity and, before starting, scroll down the menu with the digital knob and select "Navigation" and then "Nav. Settings", choose your course and start navigation.You can also select a route (or change routes) after the activity has been started by opening the toolbox (press and hold the back button on one of the activity screens) and then "Nav. Settings" -> "Select Course".

Once the route has been selected, 2 new activity screens appear: the breadcrumb trail and the elevation profile.On each of these 2 screens, you can zoom in or out by clicking on the digital dial and turning the knob. Press on the back button or the digital dial to go back to the trail.Please note, you cannot pause the activity from these 2 activity screens (you have to scroll down to another screen to pause or stop your activity)

Navigation Settings

From the Navigation menu you have access to several settings, including Direction (Start point to end point or end point to start point), Map Direction (upwards or downwards) and Deviate Course Alert (On or Off)

Return to start point

Once you have started an activity with the GPS, you can find your start point (as the crow flies) and the course you have completed so far.To do this, press and hold the back button from one of the activity screens to access the toolbox and go to "Navi. Settings" and then "Back to Start ".A new activity screen will appear with the breadcrumb navigation trail

Strength Training

The Strength Training activity allows you to strengthen any part of your body.You can start the activity and select which body part you want to work on. Repetitions are calculated automatically (with wrist movement).You can change and then start a rest interval by pressing on the back button, then restart a set by pressing on the back button again.You can change body part by pressing on the back button and selecting"Next Parts", a new set (without a rest interval) is then started.

You can also create a workout from the Coros app (in the same way as with other sports).This allows you to predefine sets with specific exercises and to define targets (in time or nbr of repetitions". You can also do repetitions.This mode also feeds into the Muscle Heatmap (available from the Profile tab) to view the number of sets for each body part

Record a lap

During an activity you can record a lap by pressing the "BACK" button.If you have set a distance alert, the counter will be reset to zero.
It is not possible to do manual laps in training mode but the auto laps stay active

Lock buttons during activity

You can enable/disable button locking on the watch during activities and in standard use by selecting "System" and then "MoreSettings" and finally "Auto Lock".
Locking can be enabled either by pressing and holding the digital dial, or by turning the digital dial.

Adjust the backlight

The screen backlight is activated when you press a button.You can also activate the backlight with each wrist movement.To adjust this setting, select "System", then"More Settings" and "GestureBacklight".
In "Auto" mode the backlight will be activated at each wrist movement 1hr before sunset and up to 1hr after sunrise the next day.

Adjust vibrations and sounds

You can adjust the sound and vibrations settings in the watch in the"System" menu and then "MoreSettings"

Disable notifications

You can disable the receipt of notifications on the watch.To do so, locate the toolbox (press and hold the back button from the main watch face) and then scroll down with the digital dial to "Do not Disturb"

You can also enable/disable notifications and select the apps that can send notifications on the Coros app in the"Devicel" tab and then "Notifications"

Changing the GNSS/GPS system

You can change the GPS constellations used for your activities.
Go to the toolbox (press and hold the back button from the main watch face), then "More Settings", and then Satellite Systems
You can then select the constellations you want to use

Connect an external sensor

You can connect an external sensor to your watch.Go to "Systems" and then "Accessories".Select "AddBluetooth" and wait for the watch to detect your sensor. The following sensor types are supportedHR chest strap and armband, bike power meters, cadence sensors, Pods.

View workout history

From the main watch face, press the digital dial. Scroll and select "History"

Night Mode

From the toolbox (press and hold the Back button from the main watch face), you can activate Night Mode.This will activate the low brightness level always-on backlight at night (based on sunset and sunrise times)
Night Mode allows you to work out at night or in darker conditions. 

UltraMax Mode

During an activity with GPS, you can enable UltraMax mode from the toolbox (press and hold the back button on one of the activity screens).The ultramax mode increases battery life during an activity with GPS to 80 hours.With 30s of tracking every 120s, this will reduce the accuracy of data (Distance, HR, Speed, etc.)

Training Hub

Training hub is a web portal available on any web browser.It provides a deeper analysis of Evolab physio data.It is also easier to create a training plan on this portal.You can log in with the same details as for the app.

Storm Alert

To enable the Storm Alert go to "System" -> "Sensors" -> "Barometer" -> "Storm Alert".A drop of 4hPa in 3h activates the alert

Kiprun 500 by Coros

Precautions for use

Instructions for the correct use of the watch.

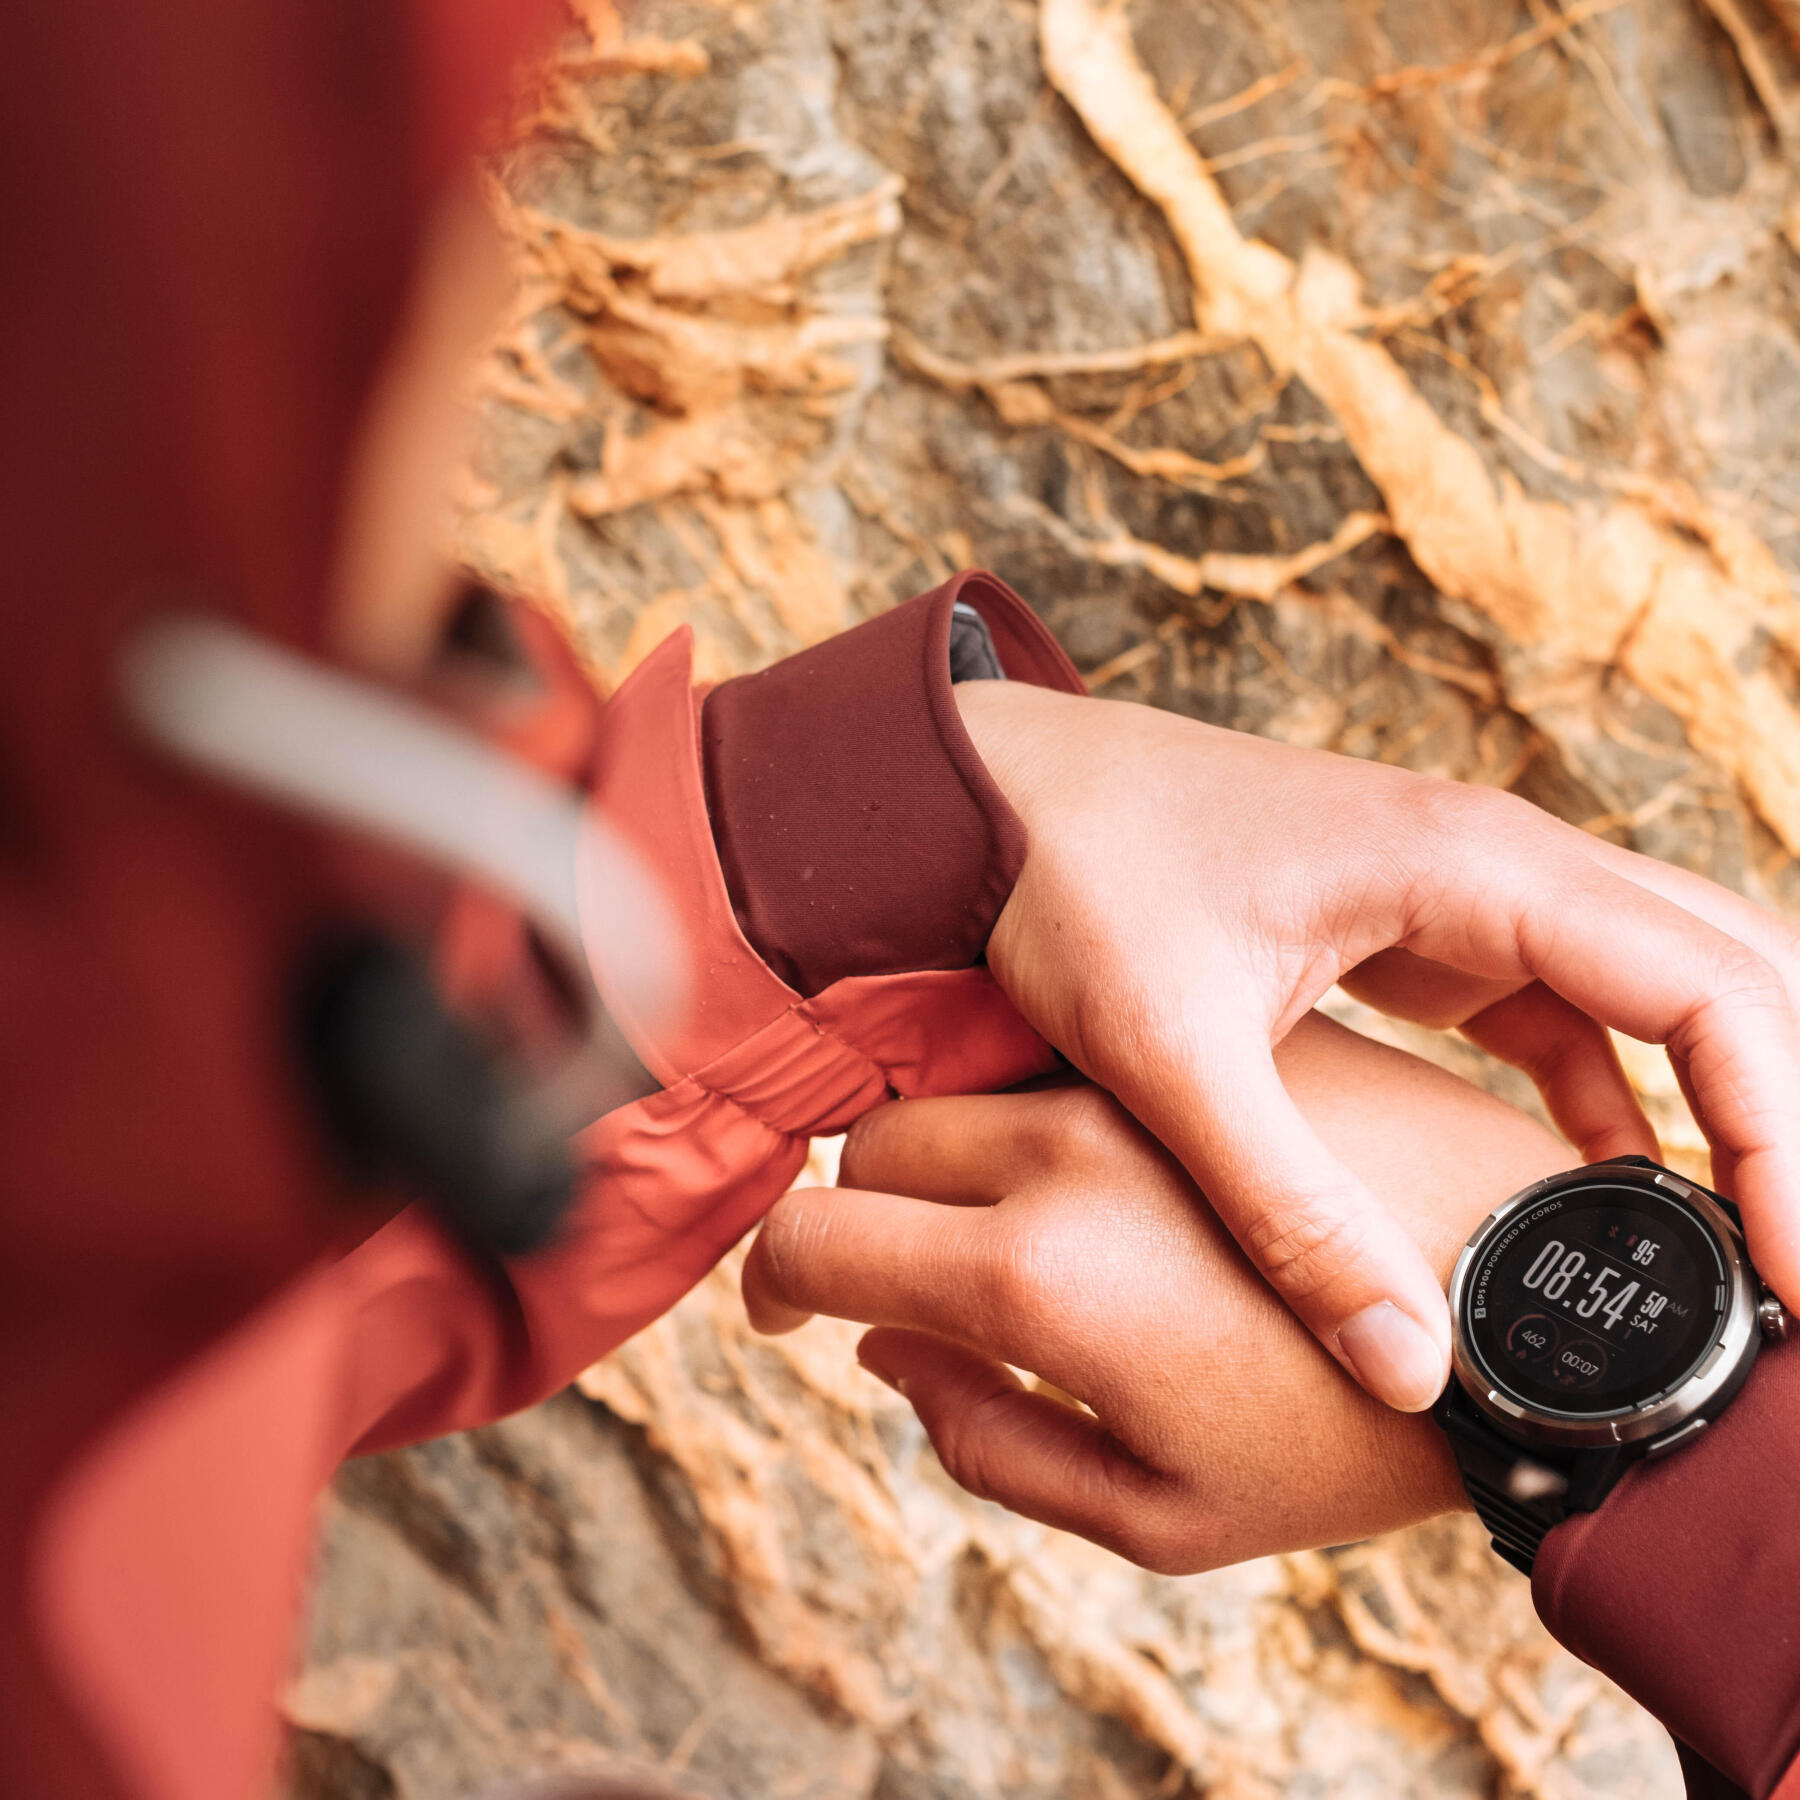
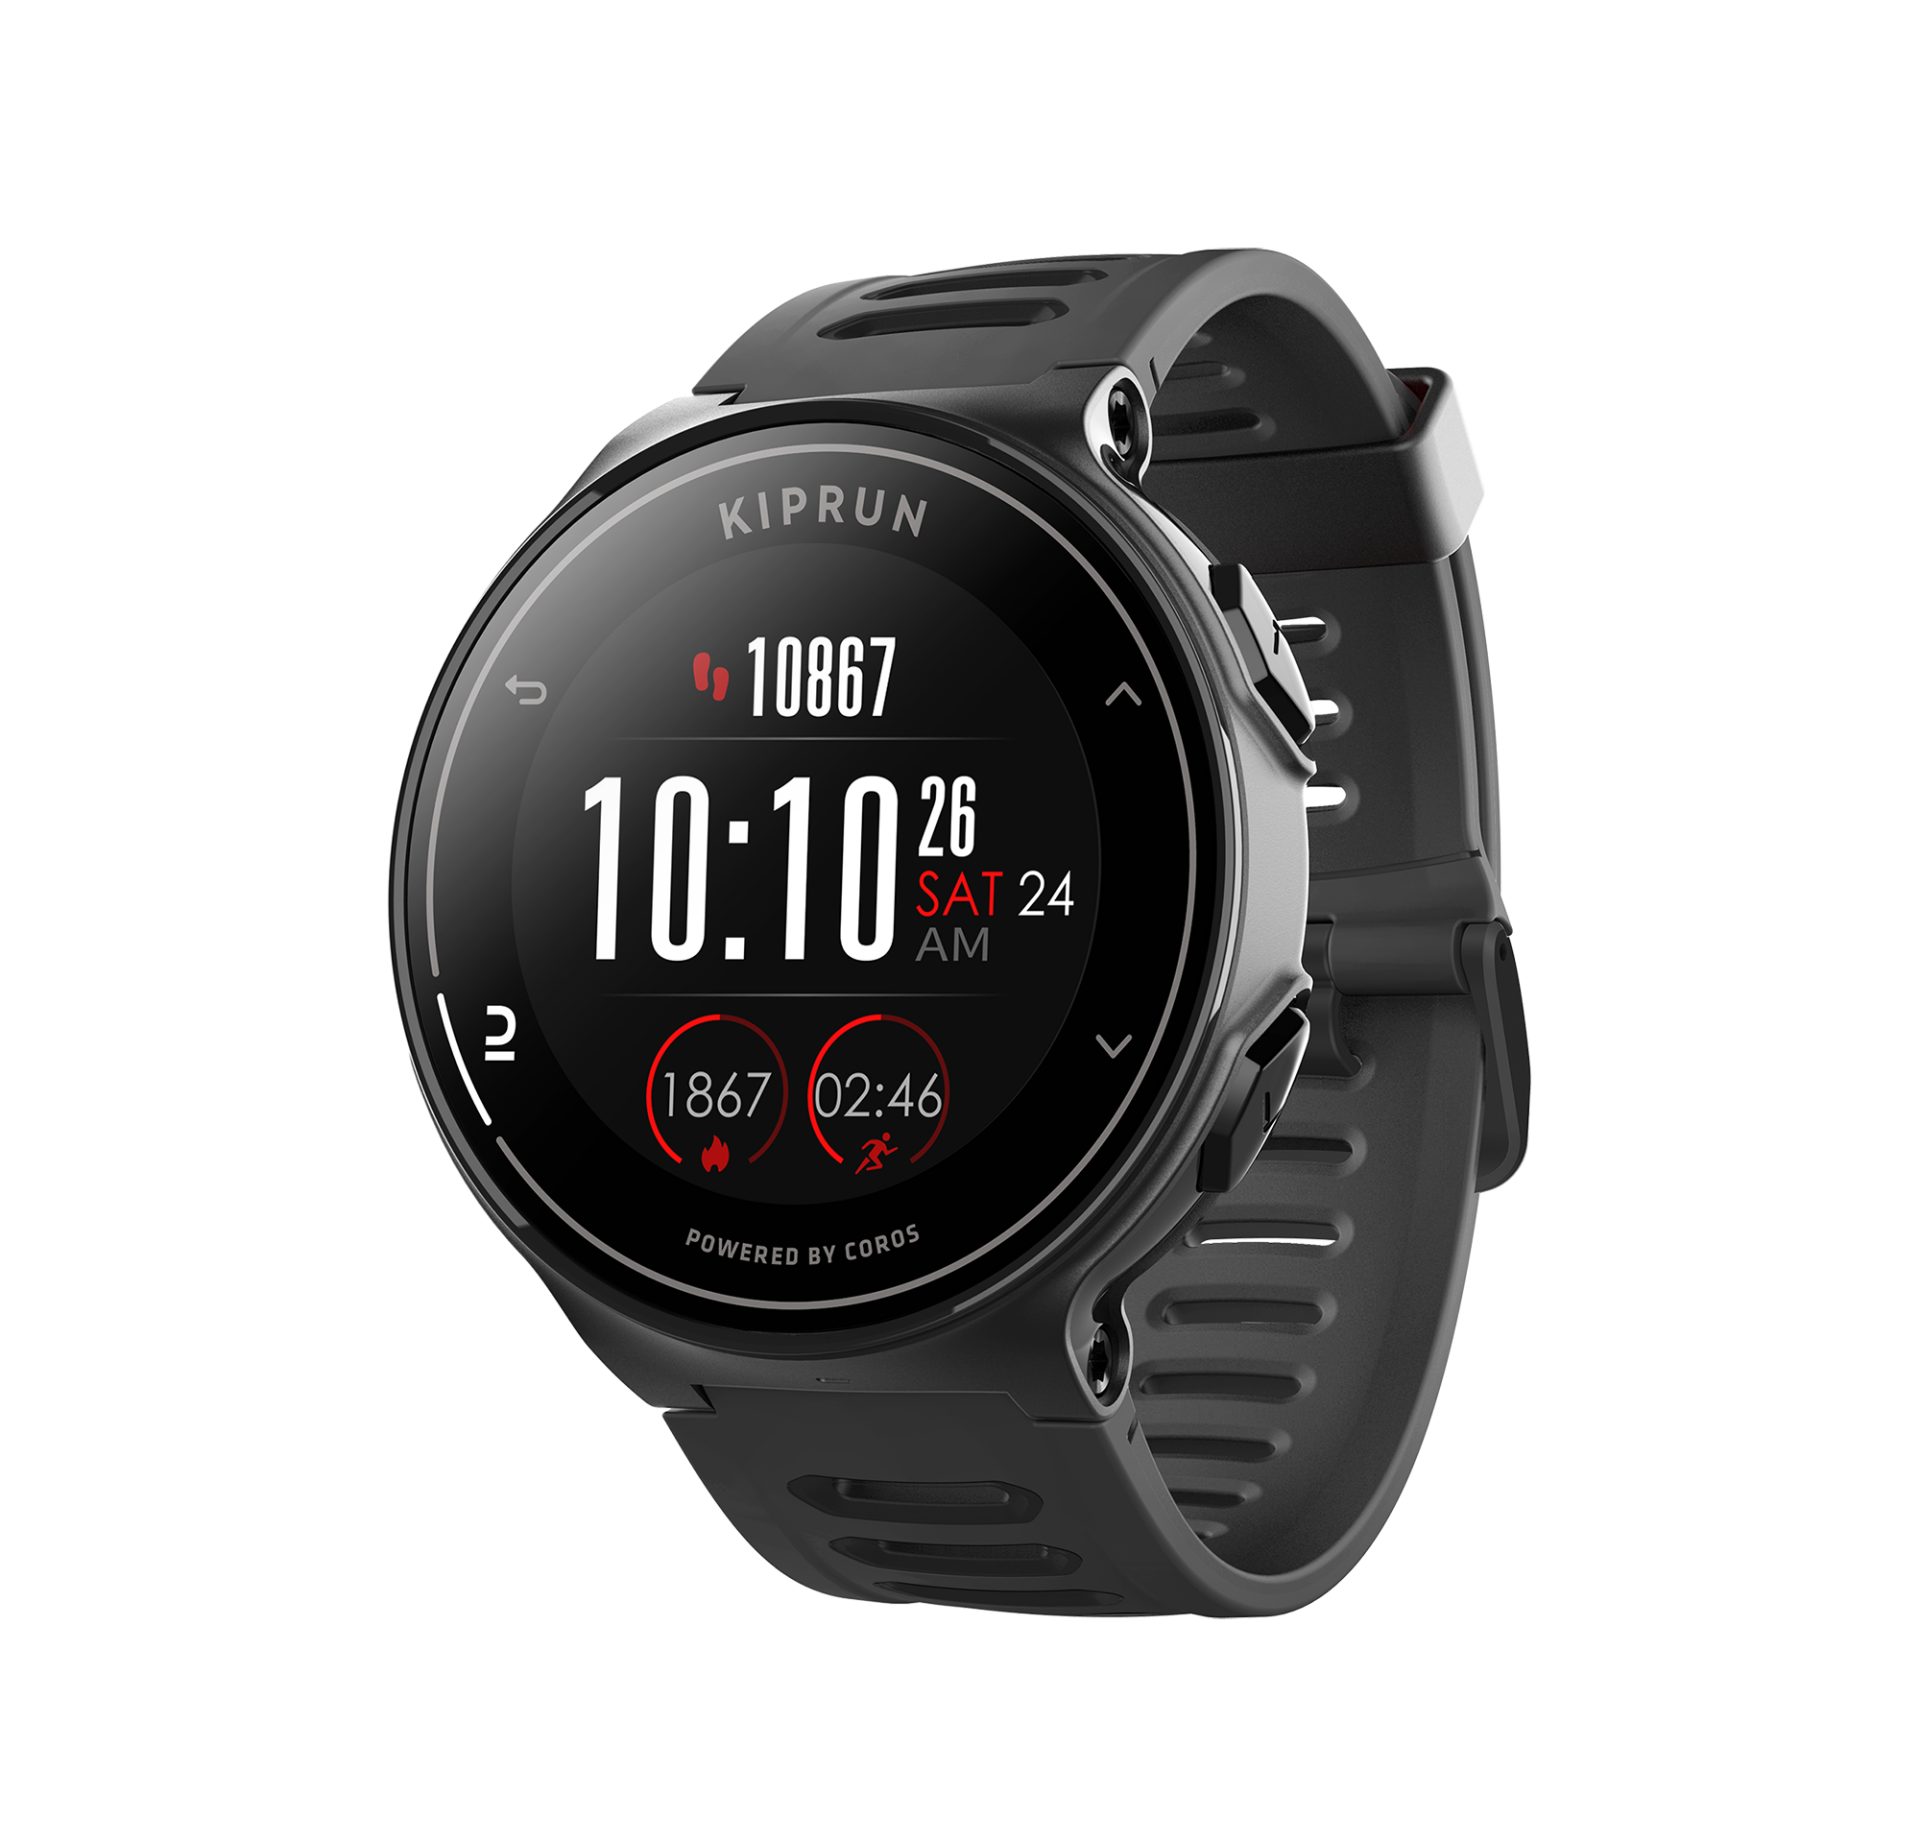
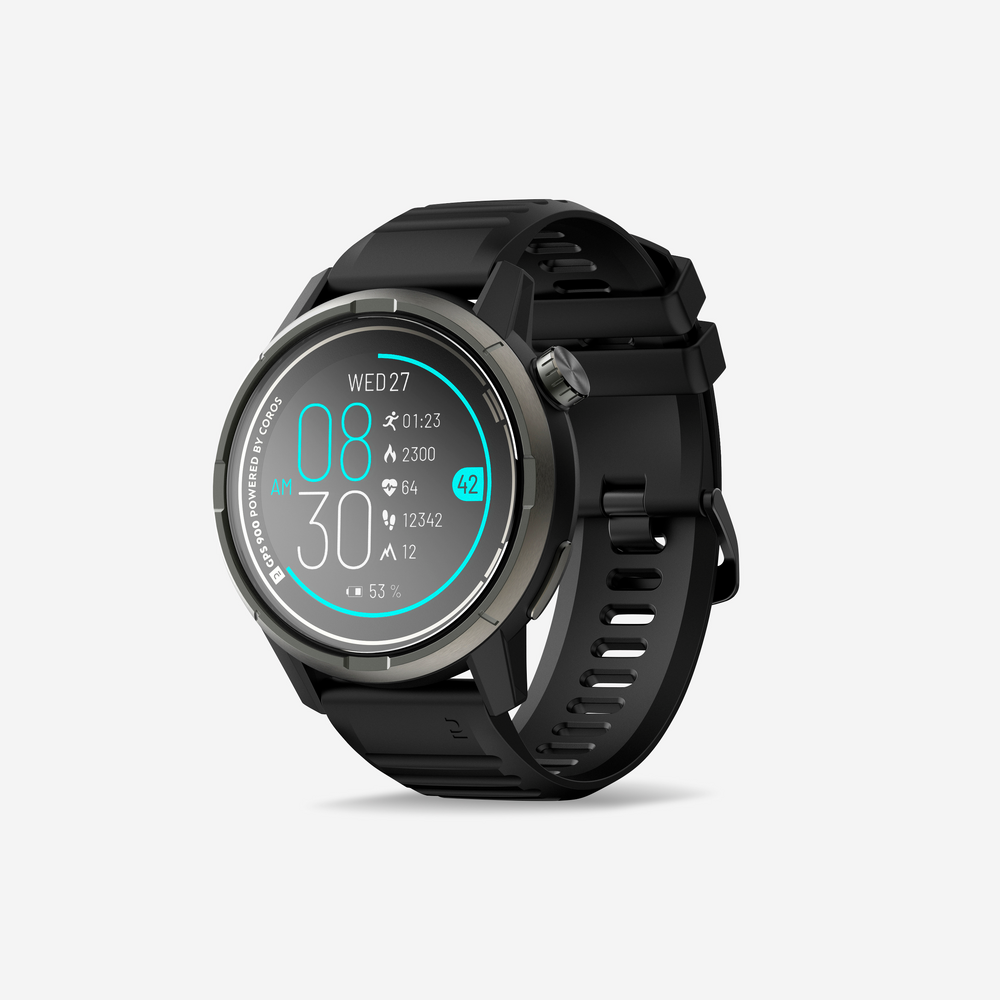
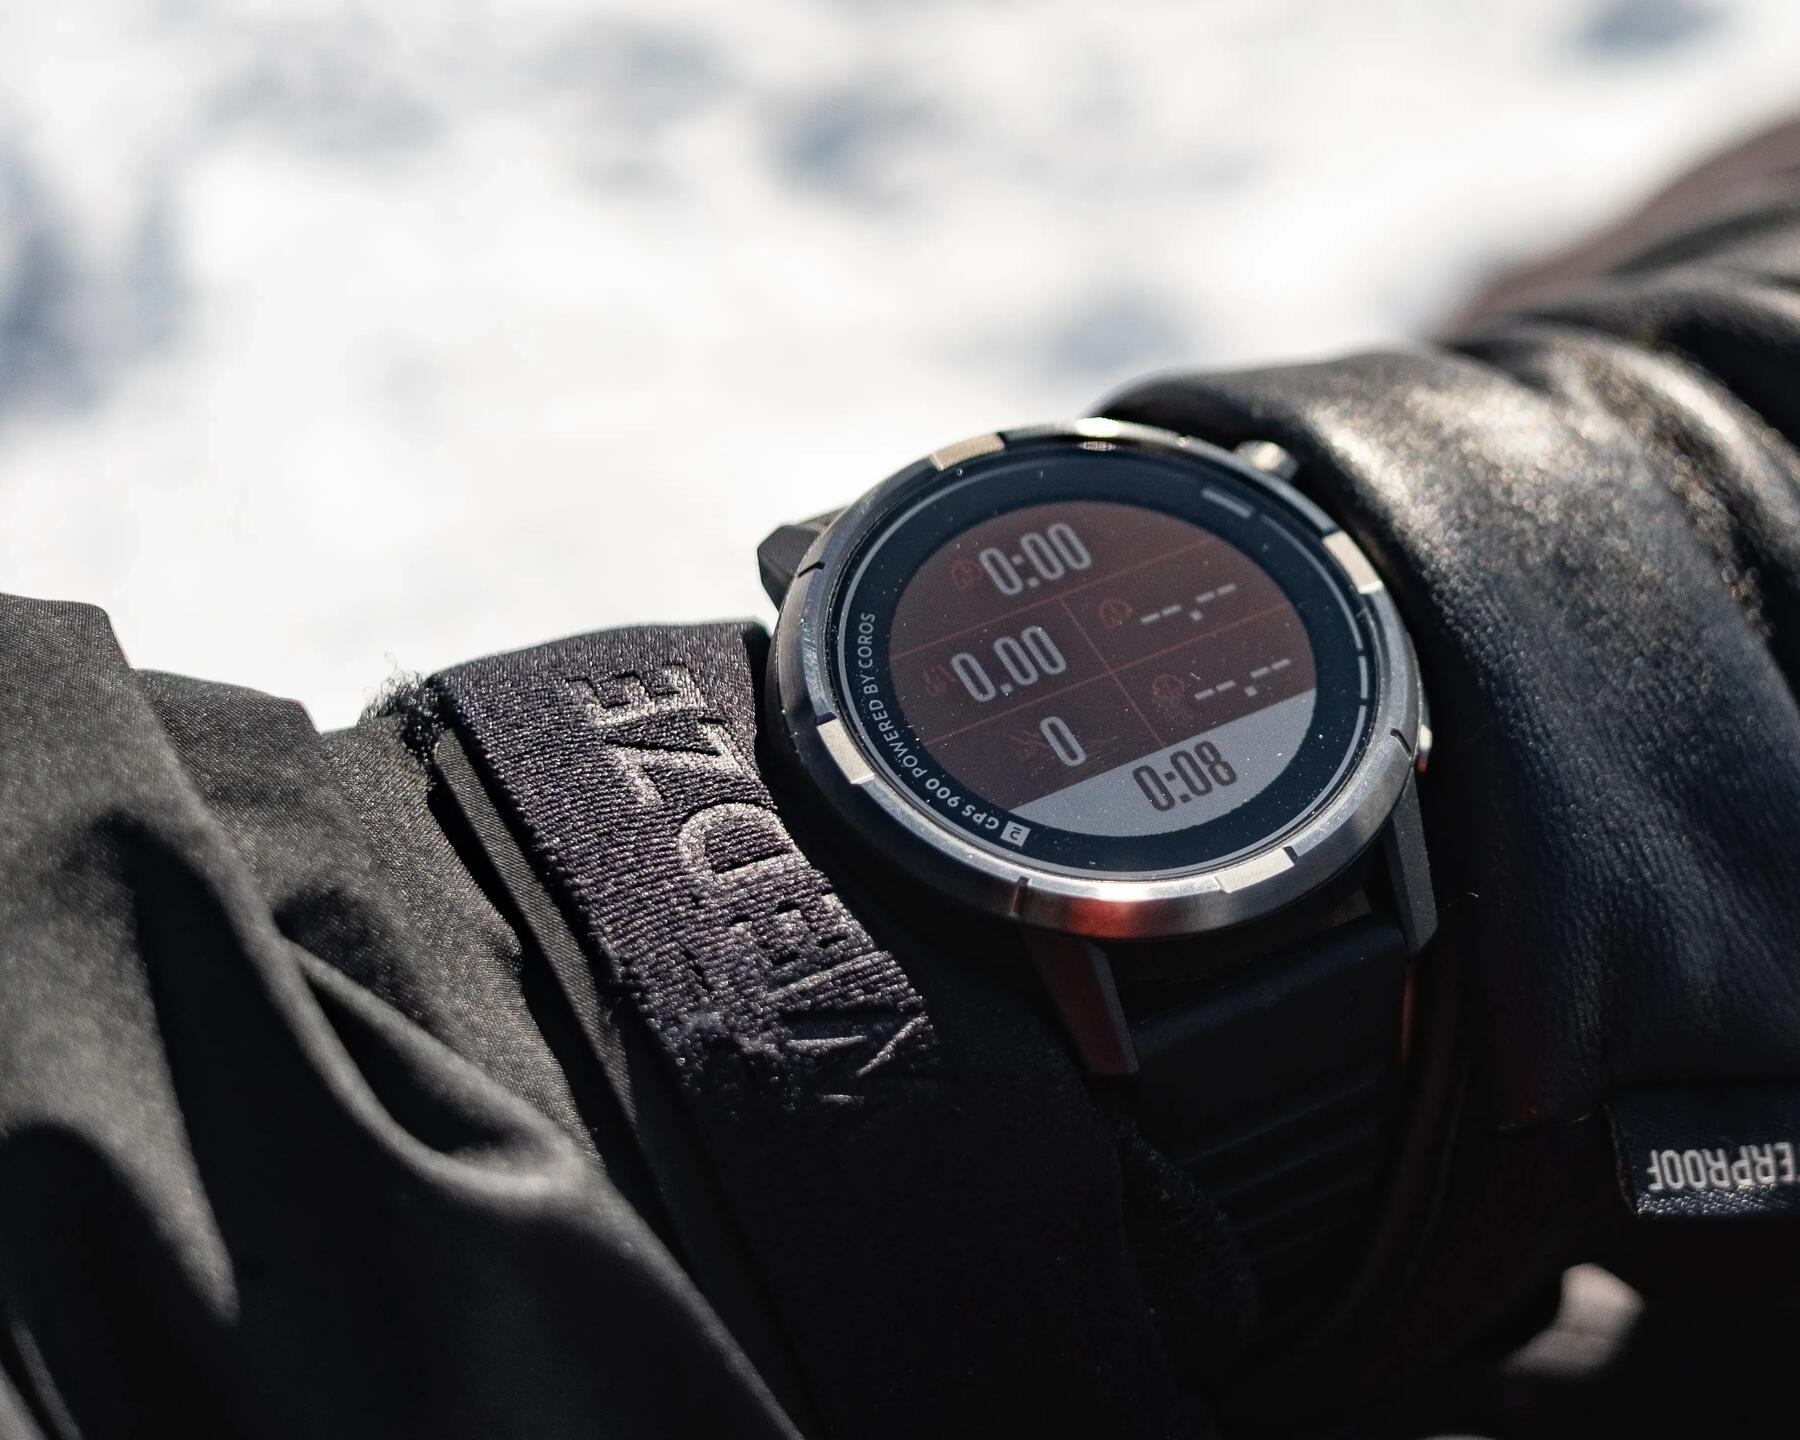
Use of the KIPRUN GPS 900 BY COROS:This device is designed for sports activities and recreational use. It is not a medical monitoring device. Information about this device or in this booklet are for guidance only. It must only be used to monitor a condition after consulting your doctor for approval. Exercising can be dangerous.Consult a doctor before doing exercise. Ignoring these precautions can be life threatening.

Use of the heart rate monitor beltDue to possible interference from the radio transmission system, we do not recommend the use of a heart rate monitor belt for people with pacemakers..

Kiprun 500 by Coros

To maintain

Cleaning the watchTo keep your watch glass clean, we recommend cleaning it with a damp cloth.
In order to optimize the performance of the heart sensor, we also recommend cleaning it regularly with a damp cloth
You can also clean the charging connector with a dry toothbrush

Charging the watch:You can charge your watch using the USB cable supplied with your watch on a computer or on any USB power outlet.

The total charging time is 2 hours.

Troubleshooting

Click here for the GPS900 checklist.By following the steps on this checklist, you can check if there are any issues with your product.If needed, you will find repair tutorials in the following section (TO FIX). You can also go to your DECATHLON store workshop.

To download the checklist, click on the button below:

To fix

The following repairs can be carried out on this product.

If your product cannot be repaired, return it to a WEEE collection point or any DECATHLON store for optimal recycling.

Strap change

The bracelet of your watch is disassembled by activating the trigger of the pin of the bracelet.

To reassemble the bracelet, place the pin in the hole of the watch, pull the trigger then place the bracelet between the two horns of the watch. Release the trigger and move the band slightly to make sure the trigger is secure.

Reset

If you encounter problems with your device (connectivity, slowness, etc.) a product reset can correct certain problems.
Go to the "System" menu, "More Settings" and then "Reset all"

DECATHLON GPS 900 by Coros:user guide, repair

Spare parts

Here is the list of spare parts for the Kiprun GPS 900 BY COROS:
(If a product is not available, contact technical support)

Workshop services

You can leave your product with us for repair.Here is the list of services offered by our workshops:

Kiprun GPS 500 by Coros

Used resale

You can pre-check your product using the troubleshooting sheet in the "Troubleshooting", section.
Once your product has been checked by our teams, you can offer it up for second life resale and give your old products a second life.

For more information on the DECATHLON Second Life service, click on the button below.

COMPLIANCE DECLARATION

Do you need a declaration of conformity for the product? Click to download.

Kiprun 500 by Coros

Technical assistance

Would you like to contact our technical support?
Click on the button to access the form..