Instructions for use
Want to know how to assemble or use your bike? Download pdf instructions for your product by clicking here:
REF: 8871221
2024
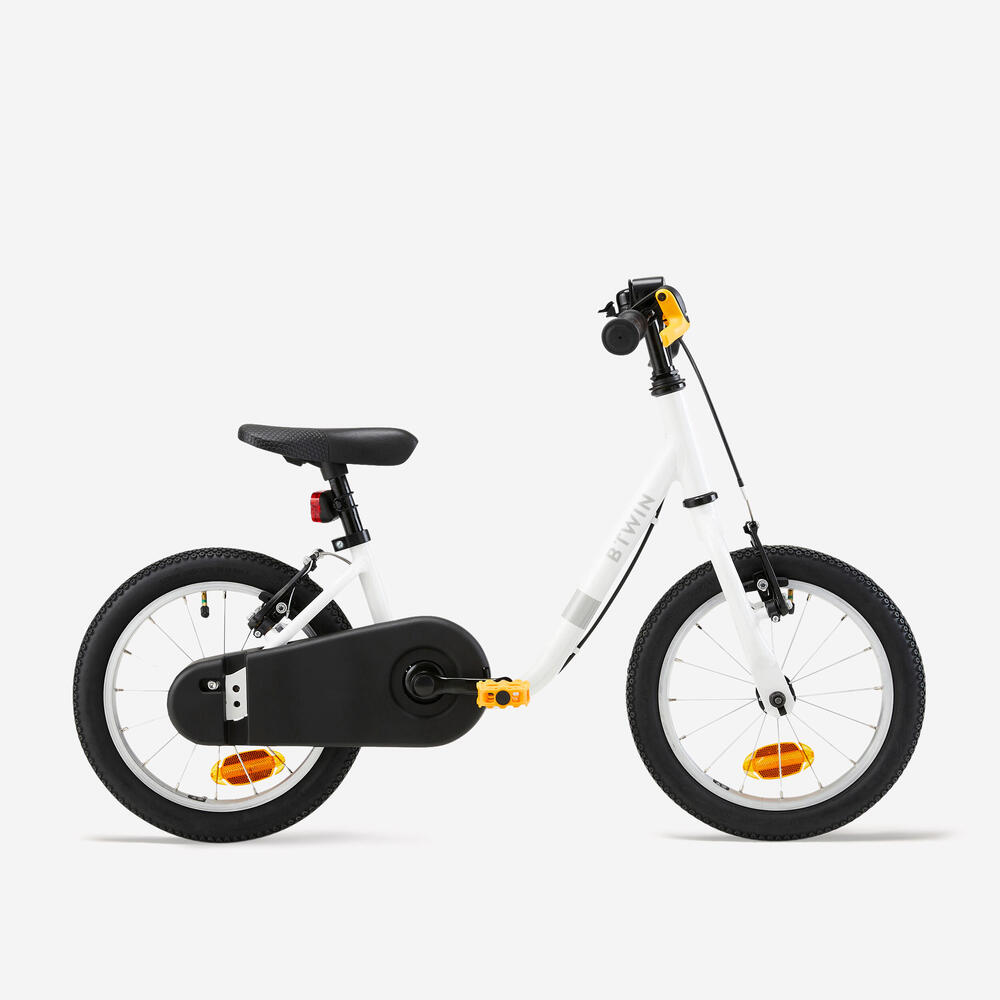
Welcome to the after-sales service page for the 14" Discover 100 bike! Here, you'll find all the information you need for assembling, using, and repairing this child's bike.
By taking good care of your bike, you're giving it several lives. Thanks on its behalf!
It's important to adjust the height of the seat tube and the handlebar to fit your child's height. The mark indicating the minimum insertion point of the seat tube, or the handlebar, into the frame, should never be visible for safety reasons (make sure that neither the seat post nor the handlebar extend past this minimum insertion level).
To determine the correct seat height: sit your child on the bike with one heel resting on the pedal with the crank turned so that the pedal is at its lowest position. The seat height is correct when your child's leg is fully extended. While your child is on the saddle, make sure your child's toes are touching the ground.
NEW CHILDREN'S BIKE - BTWIN Kids - 14" 500 Robot: user guide, repairs (duplicate): user guide, repairs
To test the brakes, hold the bike by the handlebar and roll it forward. Activate the right lever for the rear brake or the left for the front brake. The wheels should stop moving when the respective lever is pulled. The brake pads should not rub against the sides of the rim when the brakes are not engaged.
Here's what to do if you notice that the braking isn't smooth or the wheels rub on the brakes: There's an adjustment barrel in front of the brake lever. If you turn the barrel clockwise, that will tighten the brake (= more powerful braking). Turning the barrel anticlockwise will loosen the brake (= weaker braking action and pads further from the rim).
It's important to regularly check that the brake is correctly adjusted.
The recommended tyre pressure is always indicated on the side of each of your bike's tyres. We recommend inflating your tyres to the pressure indicated on each tyre. This may vary depending on the type of tyre.
To check whether the tyre is sufficiently inflated, squeeze it between your fingers: It should be firm while still yielding a bit when pressed.
You can add a compatible kickstand with the 14" 2-in-1 children's bike. To assemble the kickstand, just watch this video. We'll explain it all, step by step!
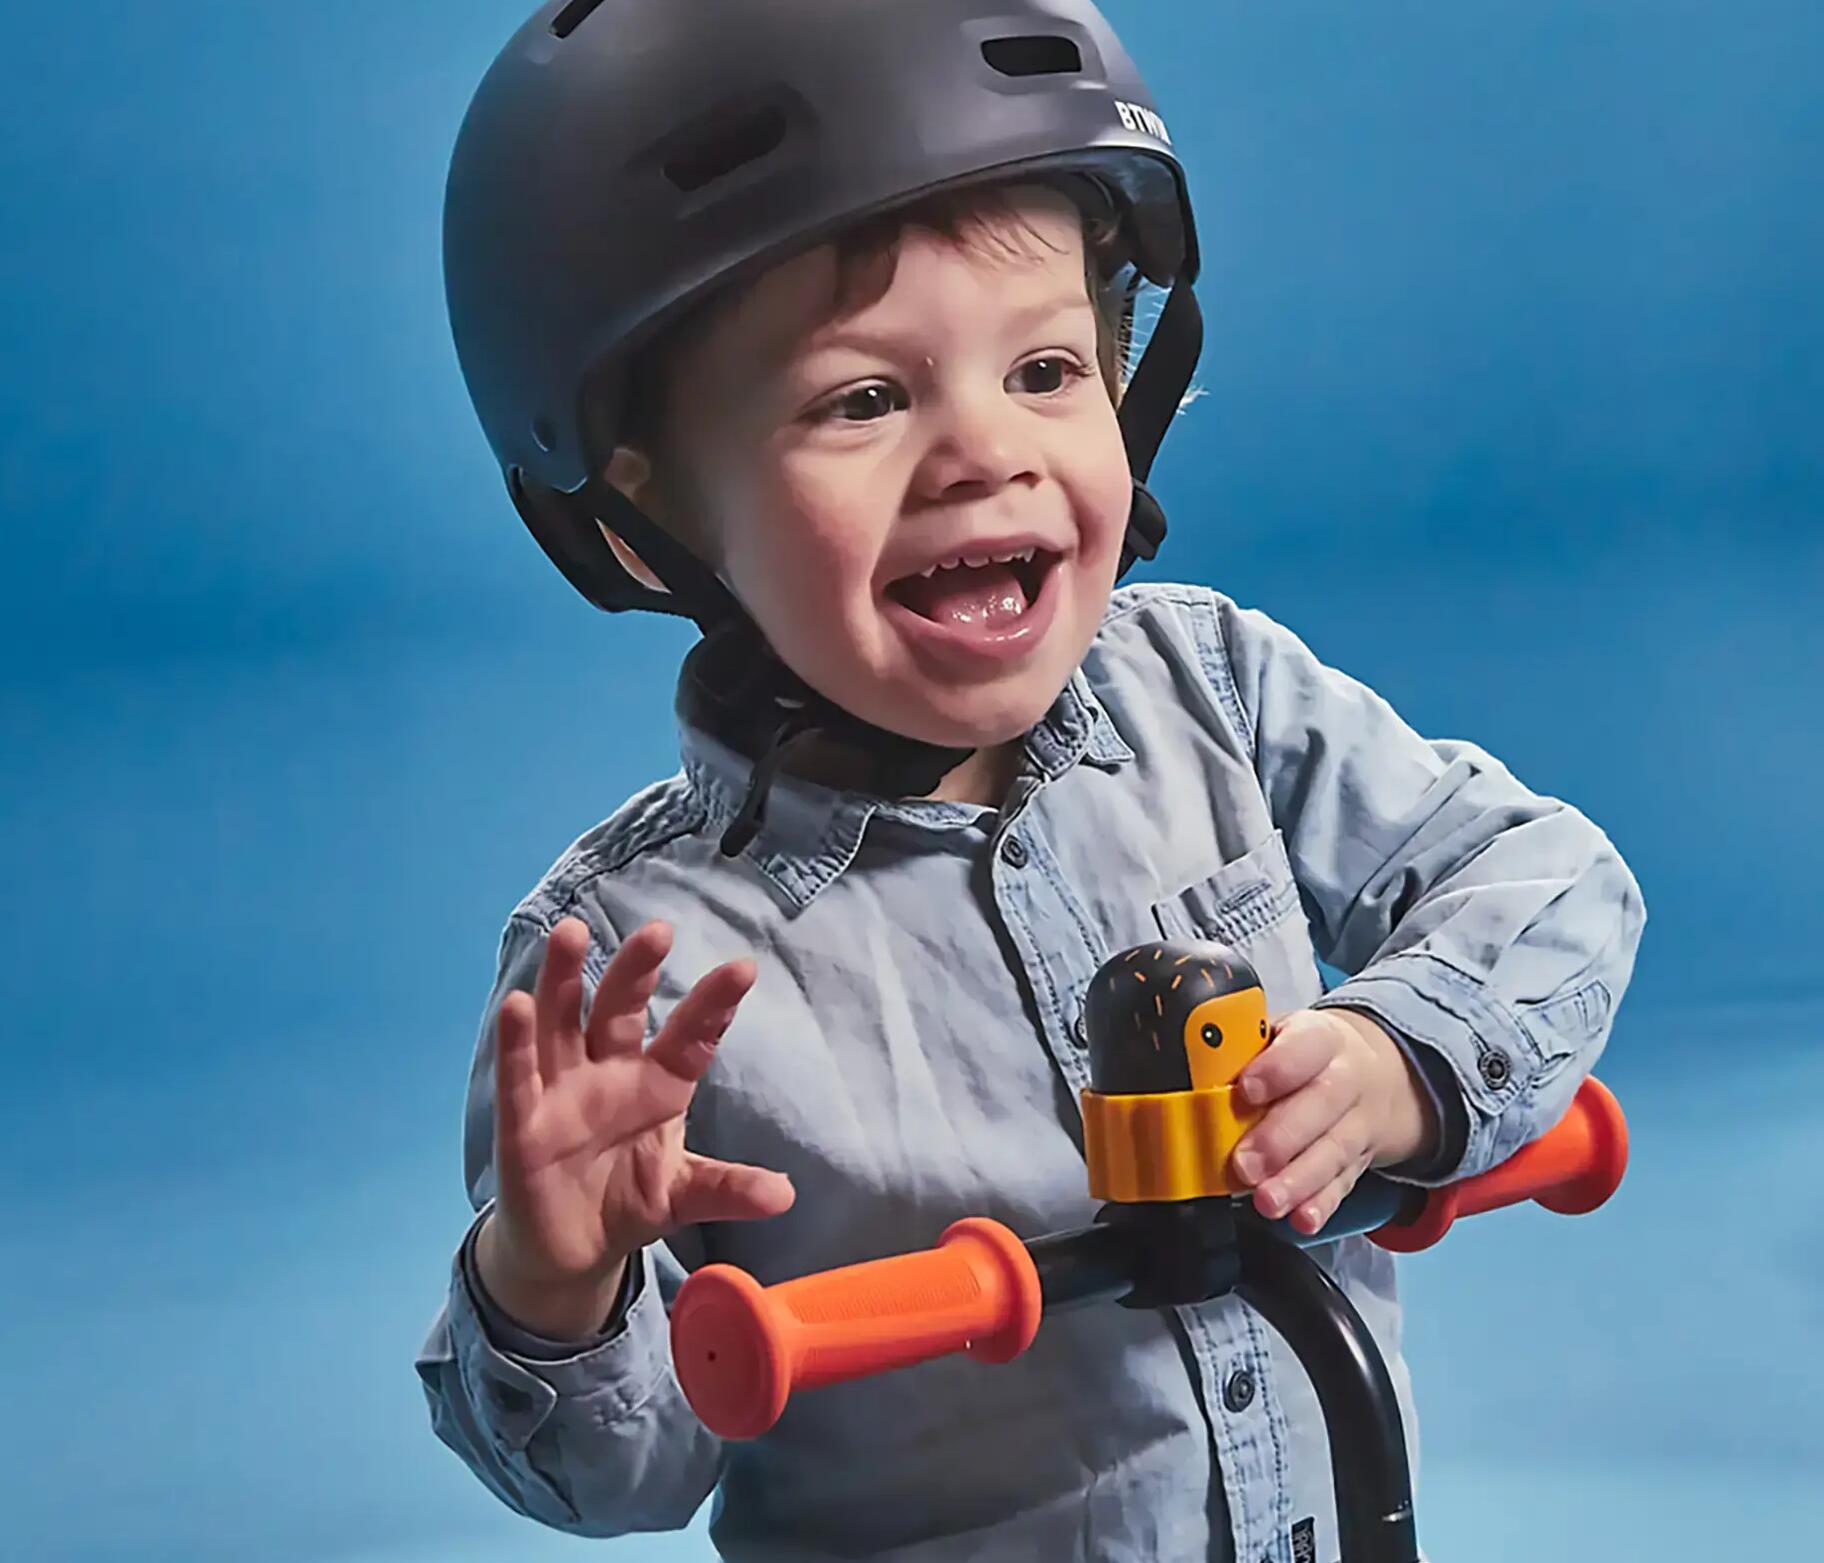
You can add a bell to teach your child to alert others to their presence on a bike. Our product engineer specifically designed this bell for young riders' small hands.
2 ways to use it: tapping the top of the bell will make a "ding" sound, while on the side, it'll be a "dring"! Specially designed to be used by kids' small hands, it'll win their hearts and make learning to ride even more fun!
Want to help your child get launched on their bike for the first time? The balance learning bar is compatible with 14" and 16" bikes.
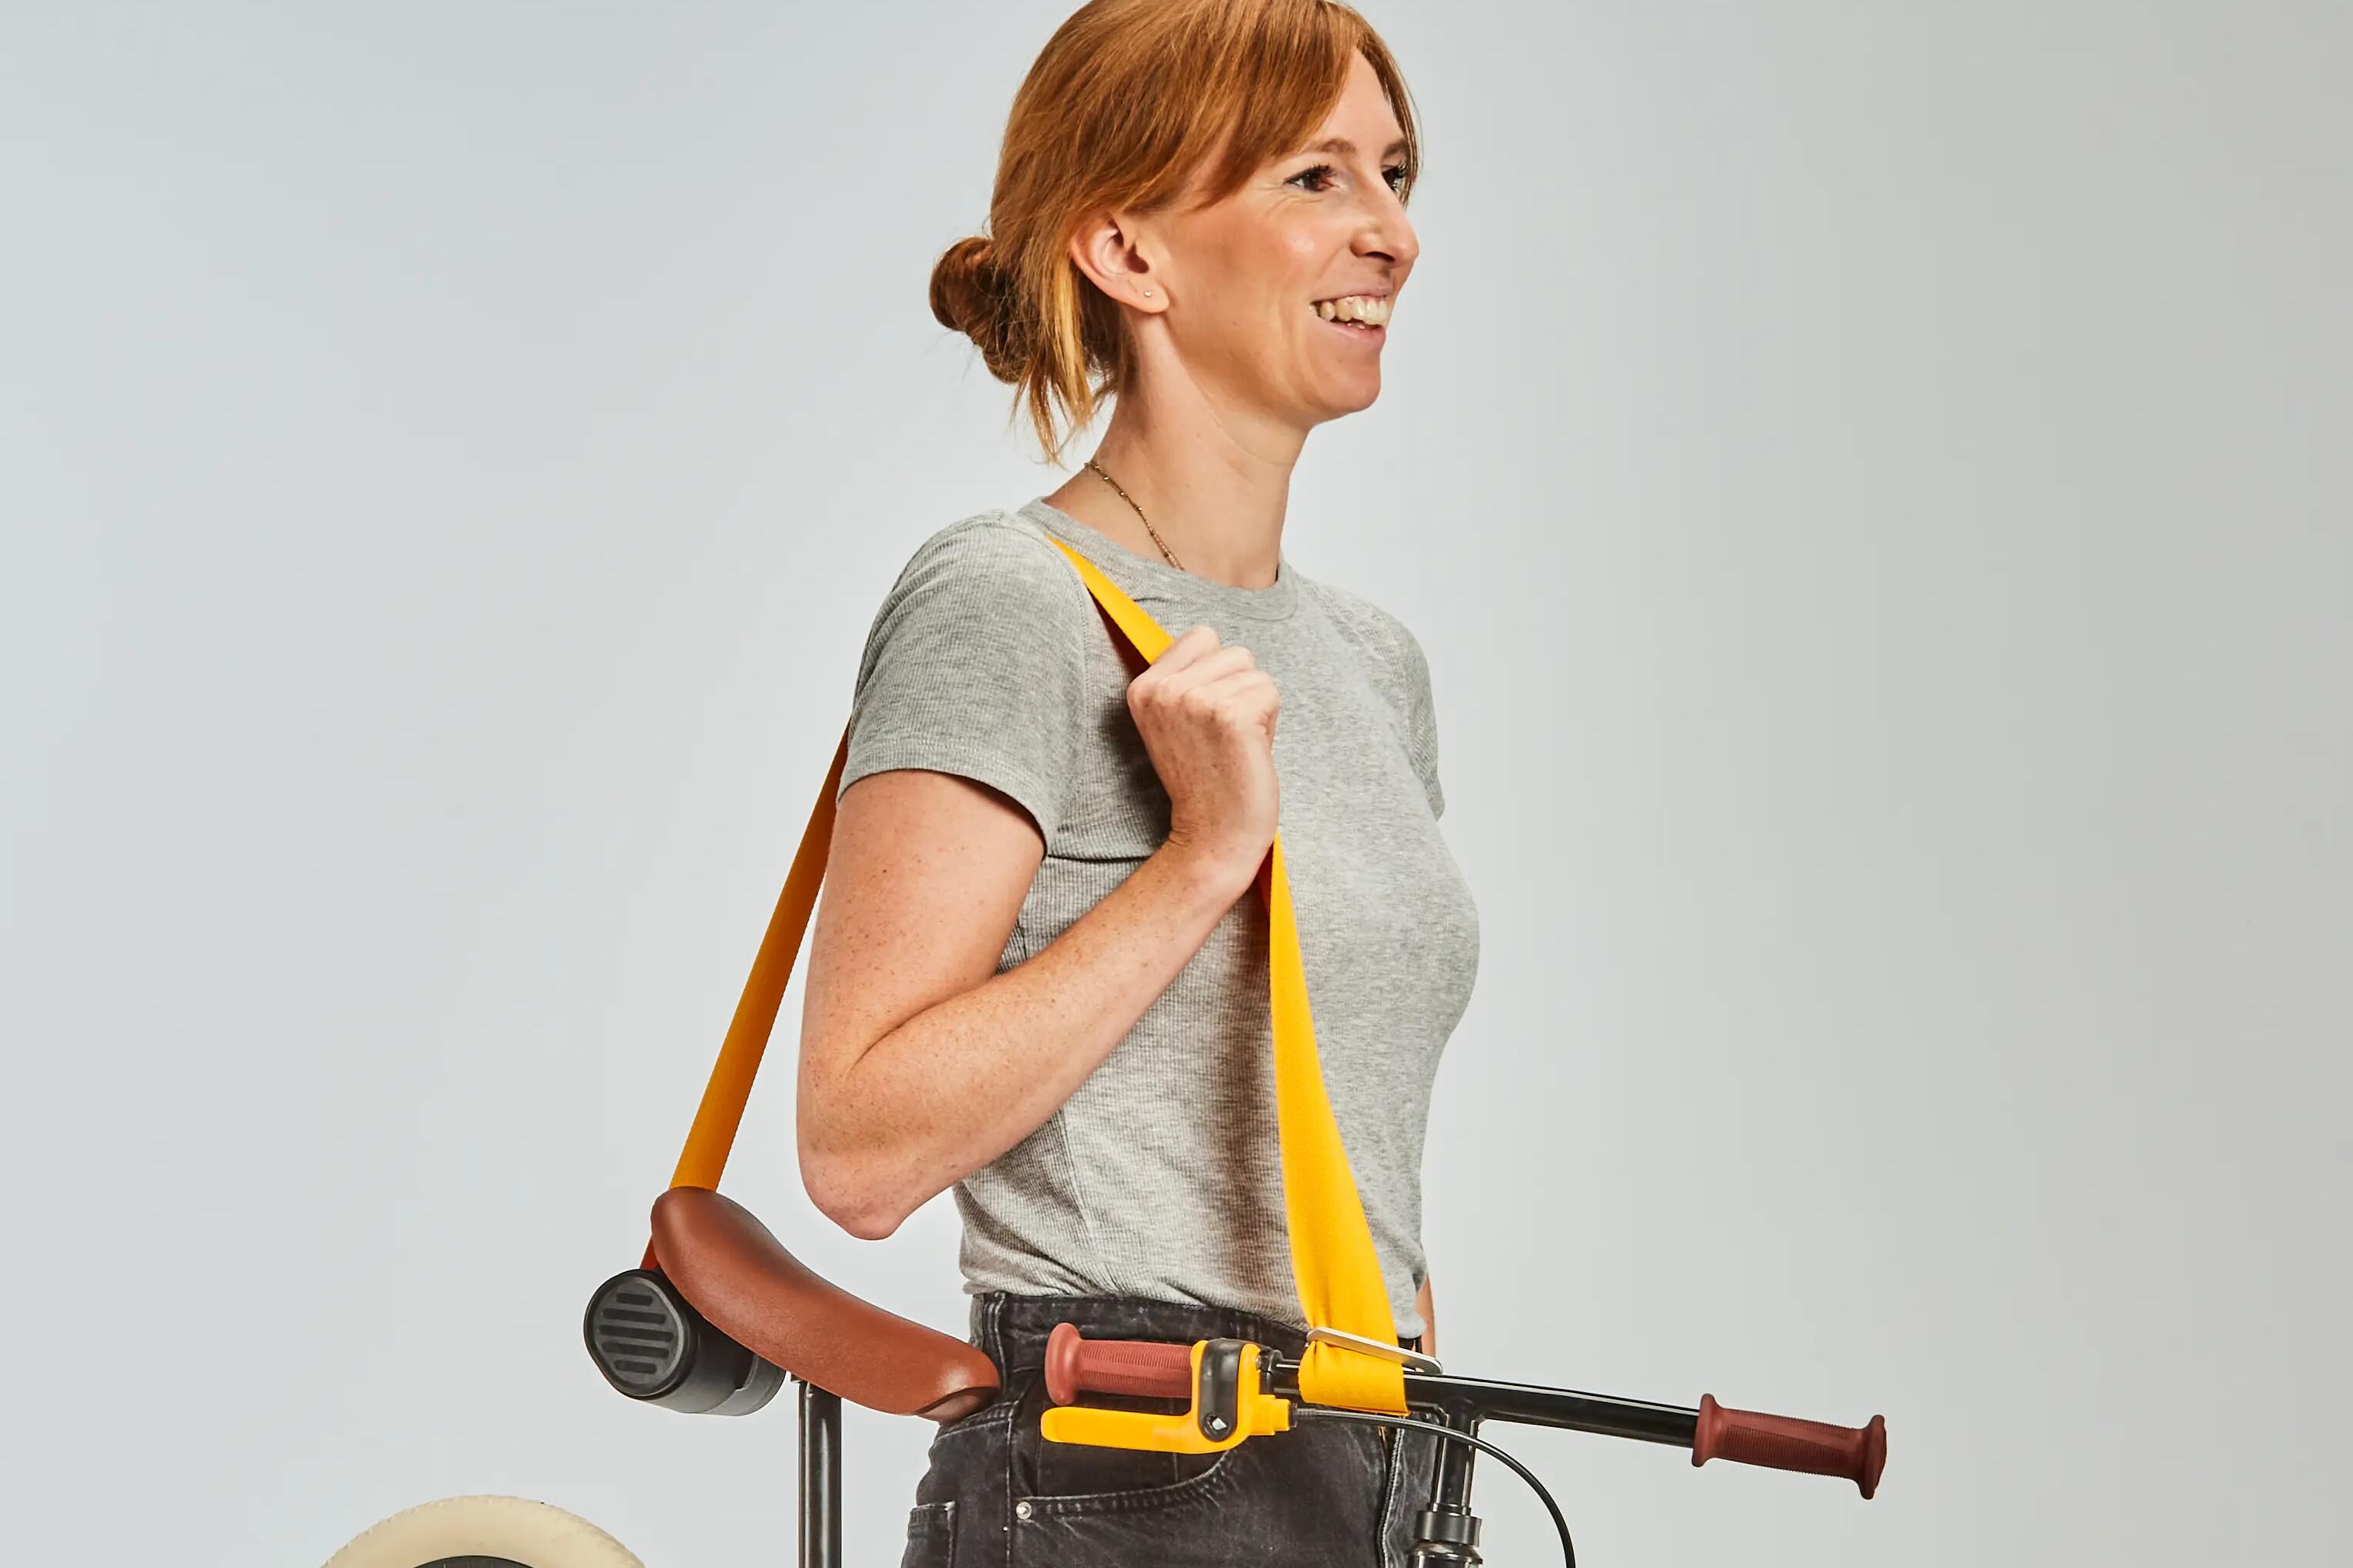
Feeling a little tired? That happens to the best of us!
Our team designed a carry strap that easily clips under the bike's saddle. If your child gets tuckered out or just wants to take a break, an adult can unroll the strap and carry the bike more easily.
Does your child love riding through puddles? We get it - nothing's more fun!
For maximum protection from splashes, you can install mudguards on their 14" bike.
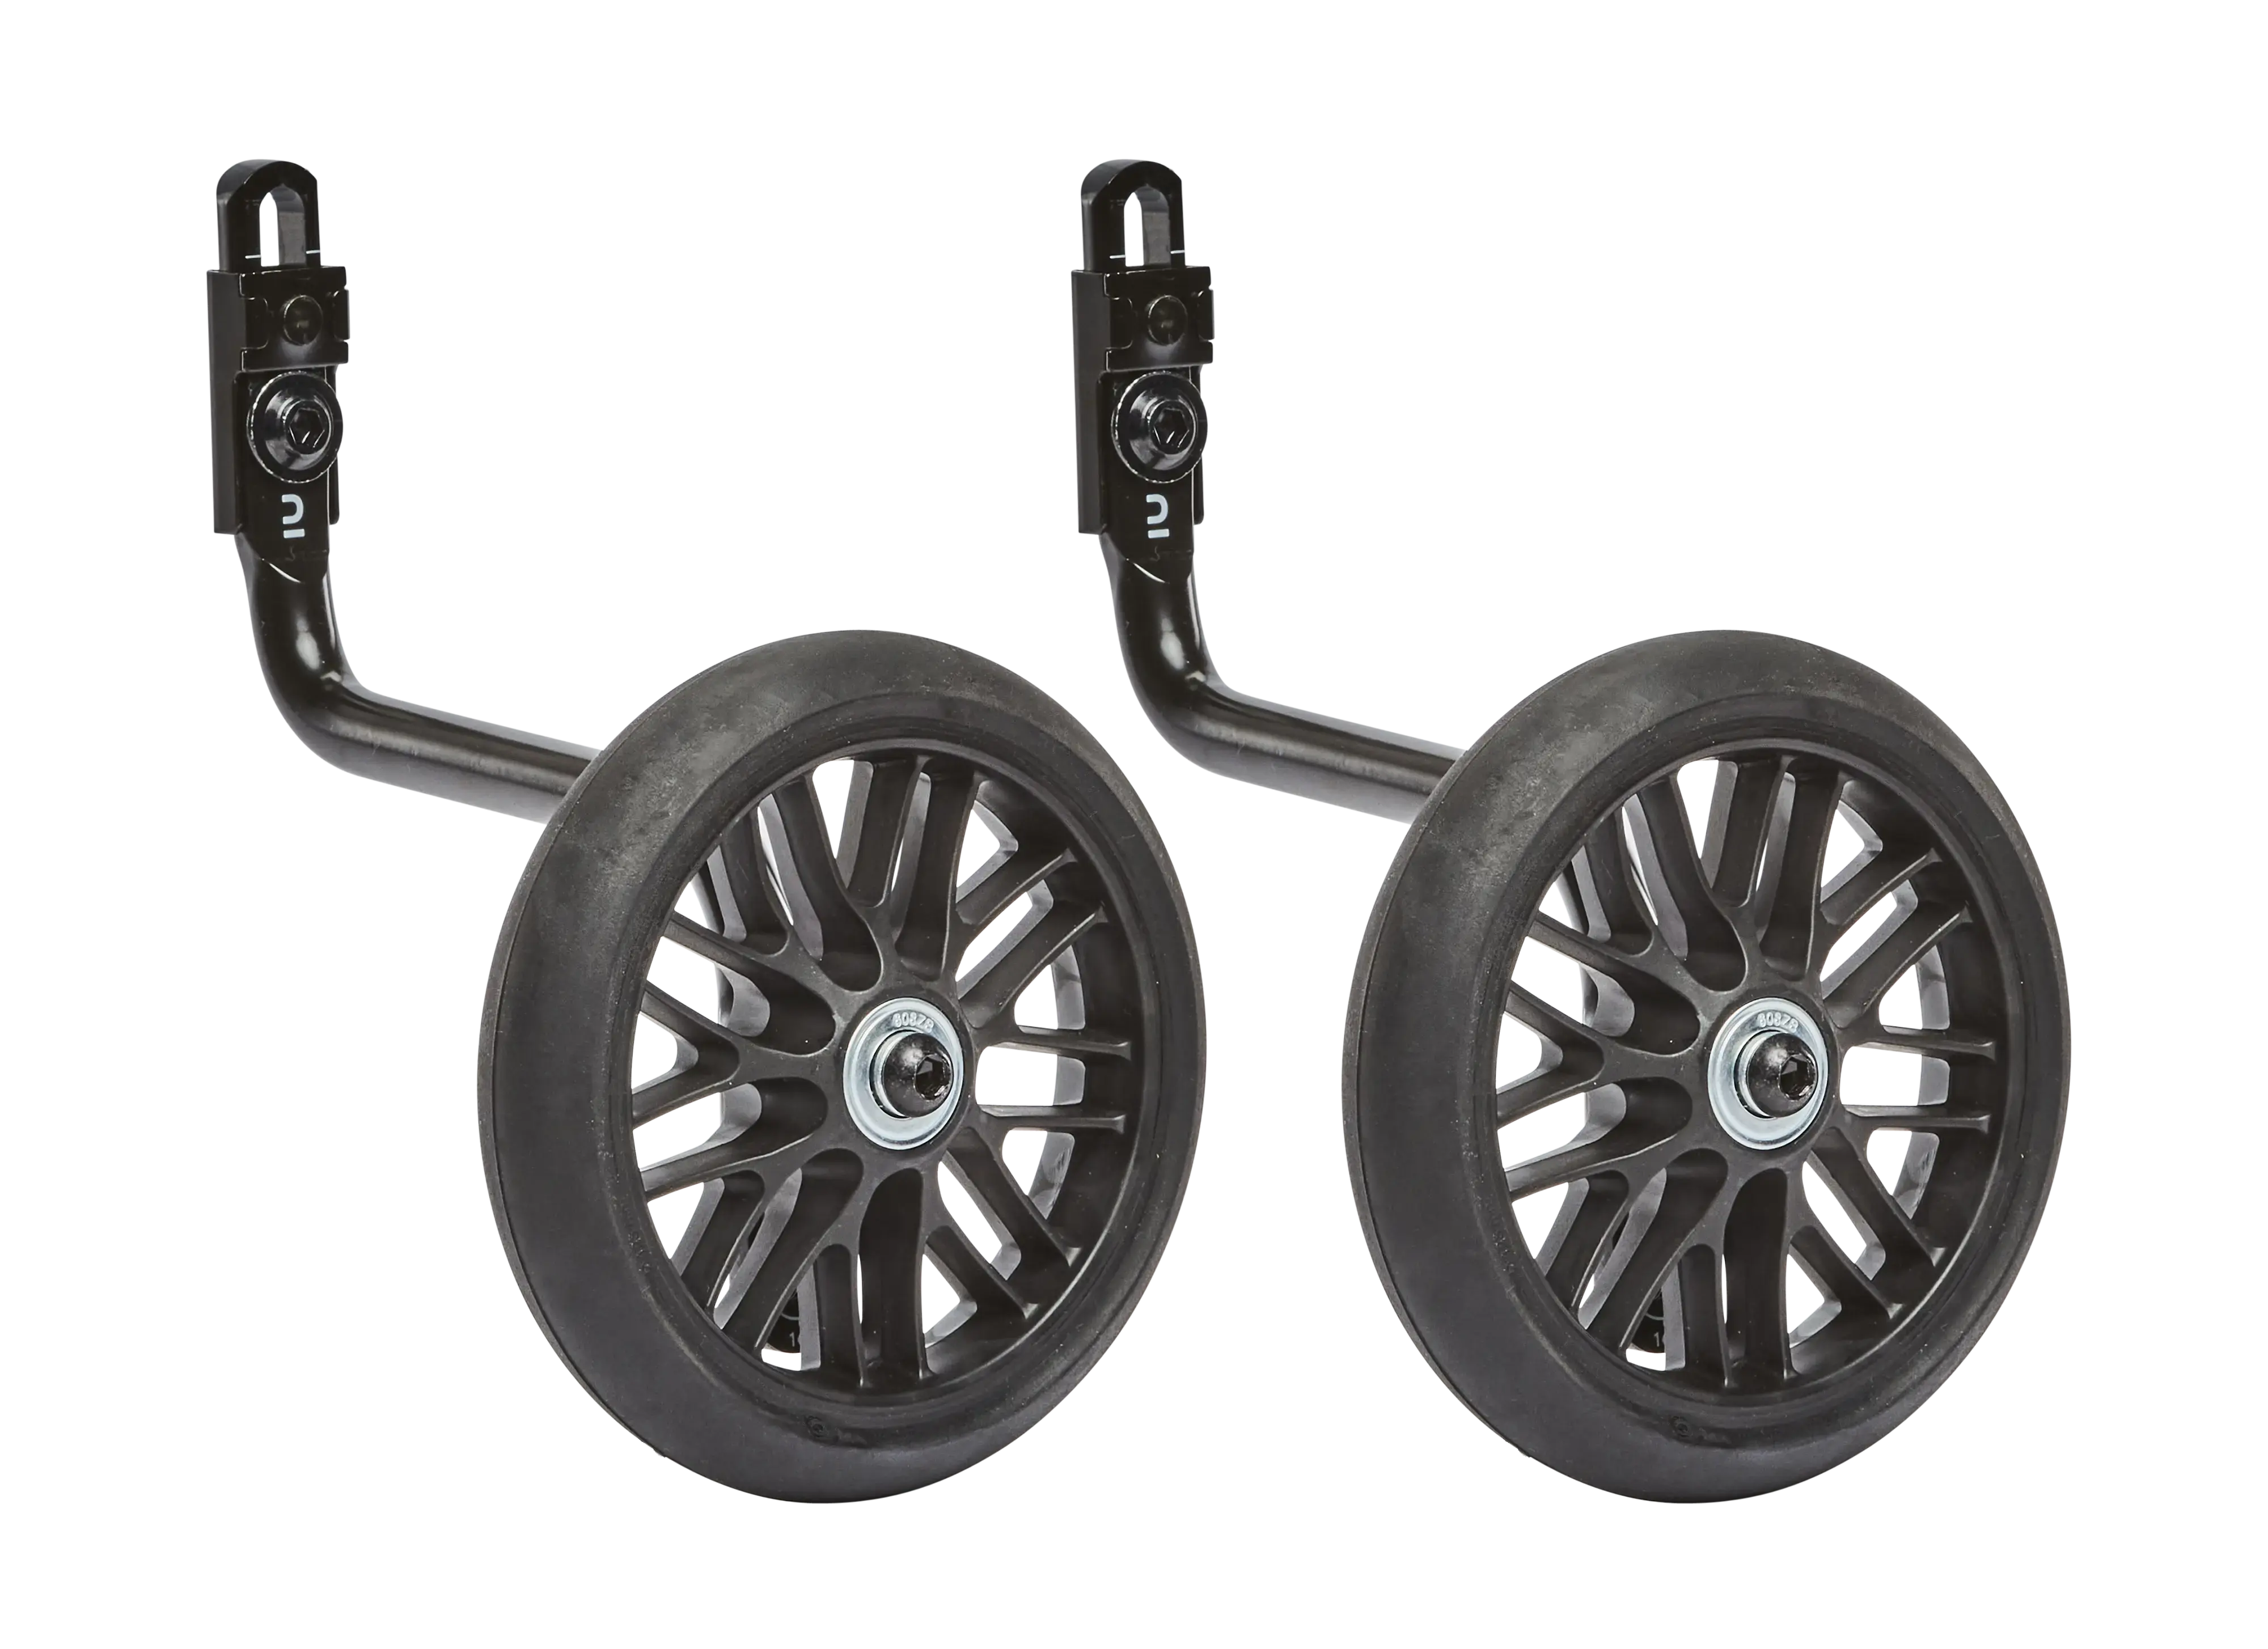
Want to add training wheels to your 14" children's bike? It can be done!Here are the training wheels that are compatible.
To install them, nothing is easier: ...
You can use an "all-in-one" type product (available at Decathlon stores) to unjam, clean, lubricate and protect your child's bike. It's a very handy product!
To grease the chain, turn the pedals while briefly "spraying" the chain along its entire length as it moves.
Let it dry for a few minutes before use.
If you notice that your child's bike is dirty after a few rides (mud, rain, dust, etc.), it's a good idea to take a few minutes to get it clean again. If you notice that your child's bike is dirty after a few rides (mud, rain, dust, etc.), it's a good idea to take a few minutes to get it clean again.
To remove dust, it's easy: simply wipe it down with a dry cloth. If it has mud on it or dirt that won't come off so easily, you can clean it with hot water, bike soap or shampoo, and a sponge (or wet rag). Wipe down the dirty parts of the bike (frame, fork, handlebar, wheels).
TIP: It's best to avoid hosing down your child's bike with a jet of water as this can damage some components.
When you're done, just wipe with a dry cloth to prevent rust.Also take the opportunity to check the tightness of the collars and wheels: are they tight enough? If not, you can easily retighten them with a spanner.
Wash with a wet cloth and soap or liquid dish soap, then dry with a dry cloth. That's it!
We recommend storing your 14" bike in a dry place. It's important to make sure that it doesn't get damp.
Why remove the chainguard on your 14" bike? This is an essential step in order to access the rear wheel when you need to replace the inner tube, for example.
REAR WHEEL ON CHILD'S BIKE:
STEP 1: Stand facing the right side of the bike. Using a 15 mm spanner, unscrew the right pedal (turn the spanner anti-clockwise).
Repeat on the other side: facing the left side of the bike, use a 15 mm spanner to unscrew the left pedal (turn spanner clockwise).
STEP 2: Using a flathead screwdriver, remove the elastomer ring above the chainguard, then slide it along the seat post. You can hook it onto the seat post clamp to keep it from falling back down.
Next, remove the second ring below the chainguard.
STEP 3: unscrew the chainguard nut (on the rear axle) using a 15 mm spanner on either side of the wheel.
Next, remove the washer. Be sure to position the crank towards the front (see photo) so that you can remove the chainguard more easily. You can now remove the chainguard. Grasp the back of the chainguard and pull it off. Repeat on the other side.
STEP 4: unscrew the nut holding the wheel using a 14 mm spanner. Next, remove the nut and the washer (this washer is grooved rather than flat).
STEP 5: push the rear wheel forward to loosen the chain. Remove the chain. Separate the wheel from the frame by pulling it towards the back (note that the brake pads will keep it connected to the bike). Remove the washer from the right side.
THE TYRE AND INNER TUBE ARE AT LAST ACCESSIBLE!
You can now change the tyre if needed or repair a punctured inner tube.
HOW TO CHANGE A TYRE OR INNER TUBE
Want to know how to assemble or use your bike? Download pdf instructions for your product by clicking here: