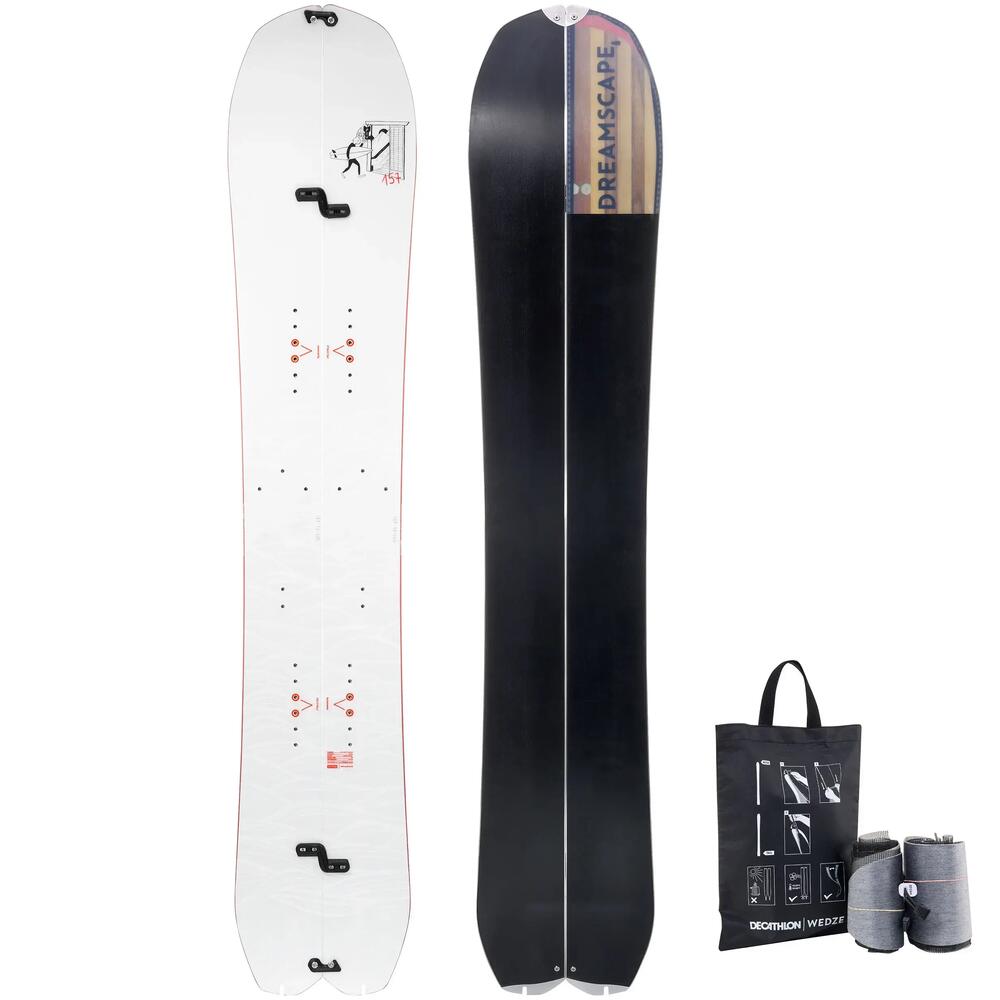
Maintain and repair your splitboard

REF: 8731383

MAINTAIN YOUR SPLITBOARD AND CHANGE YOUR SKINS

2023

Have you bought a splitboard and would like some advice on how to change the skins and maintain your splitboard?
Find all the information you need to help keep your splitboard equipment in good condition long-term.

splitboard skins

diy: Change your splitboard skins

Over time, the skins of your splitboard can wear out and become less efficient.

At Decathlon, we offer you a solution to change your skins by cutting them yourself to adapt to your splitboard.

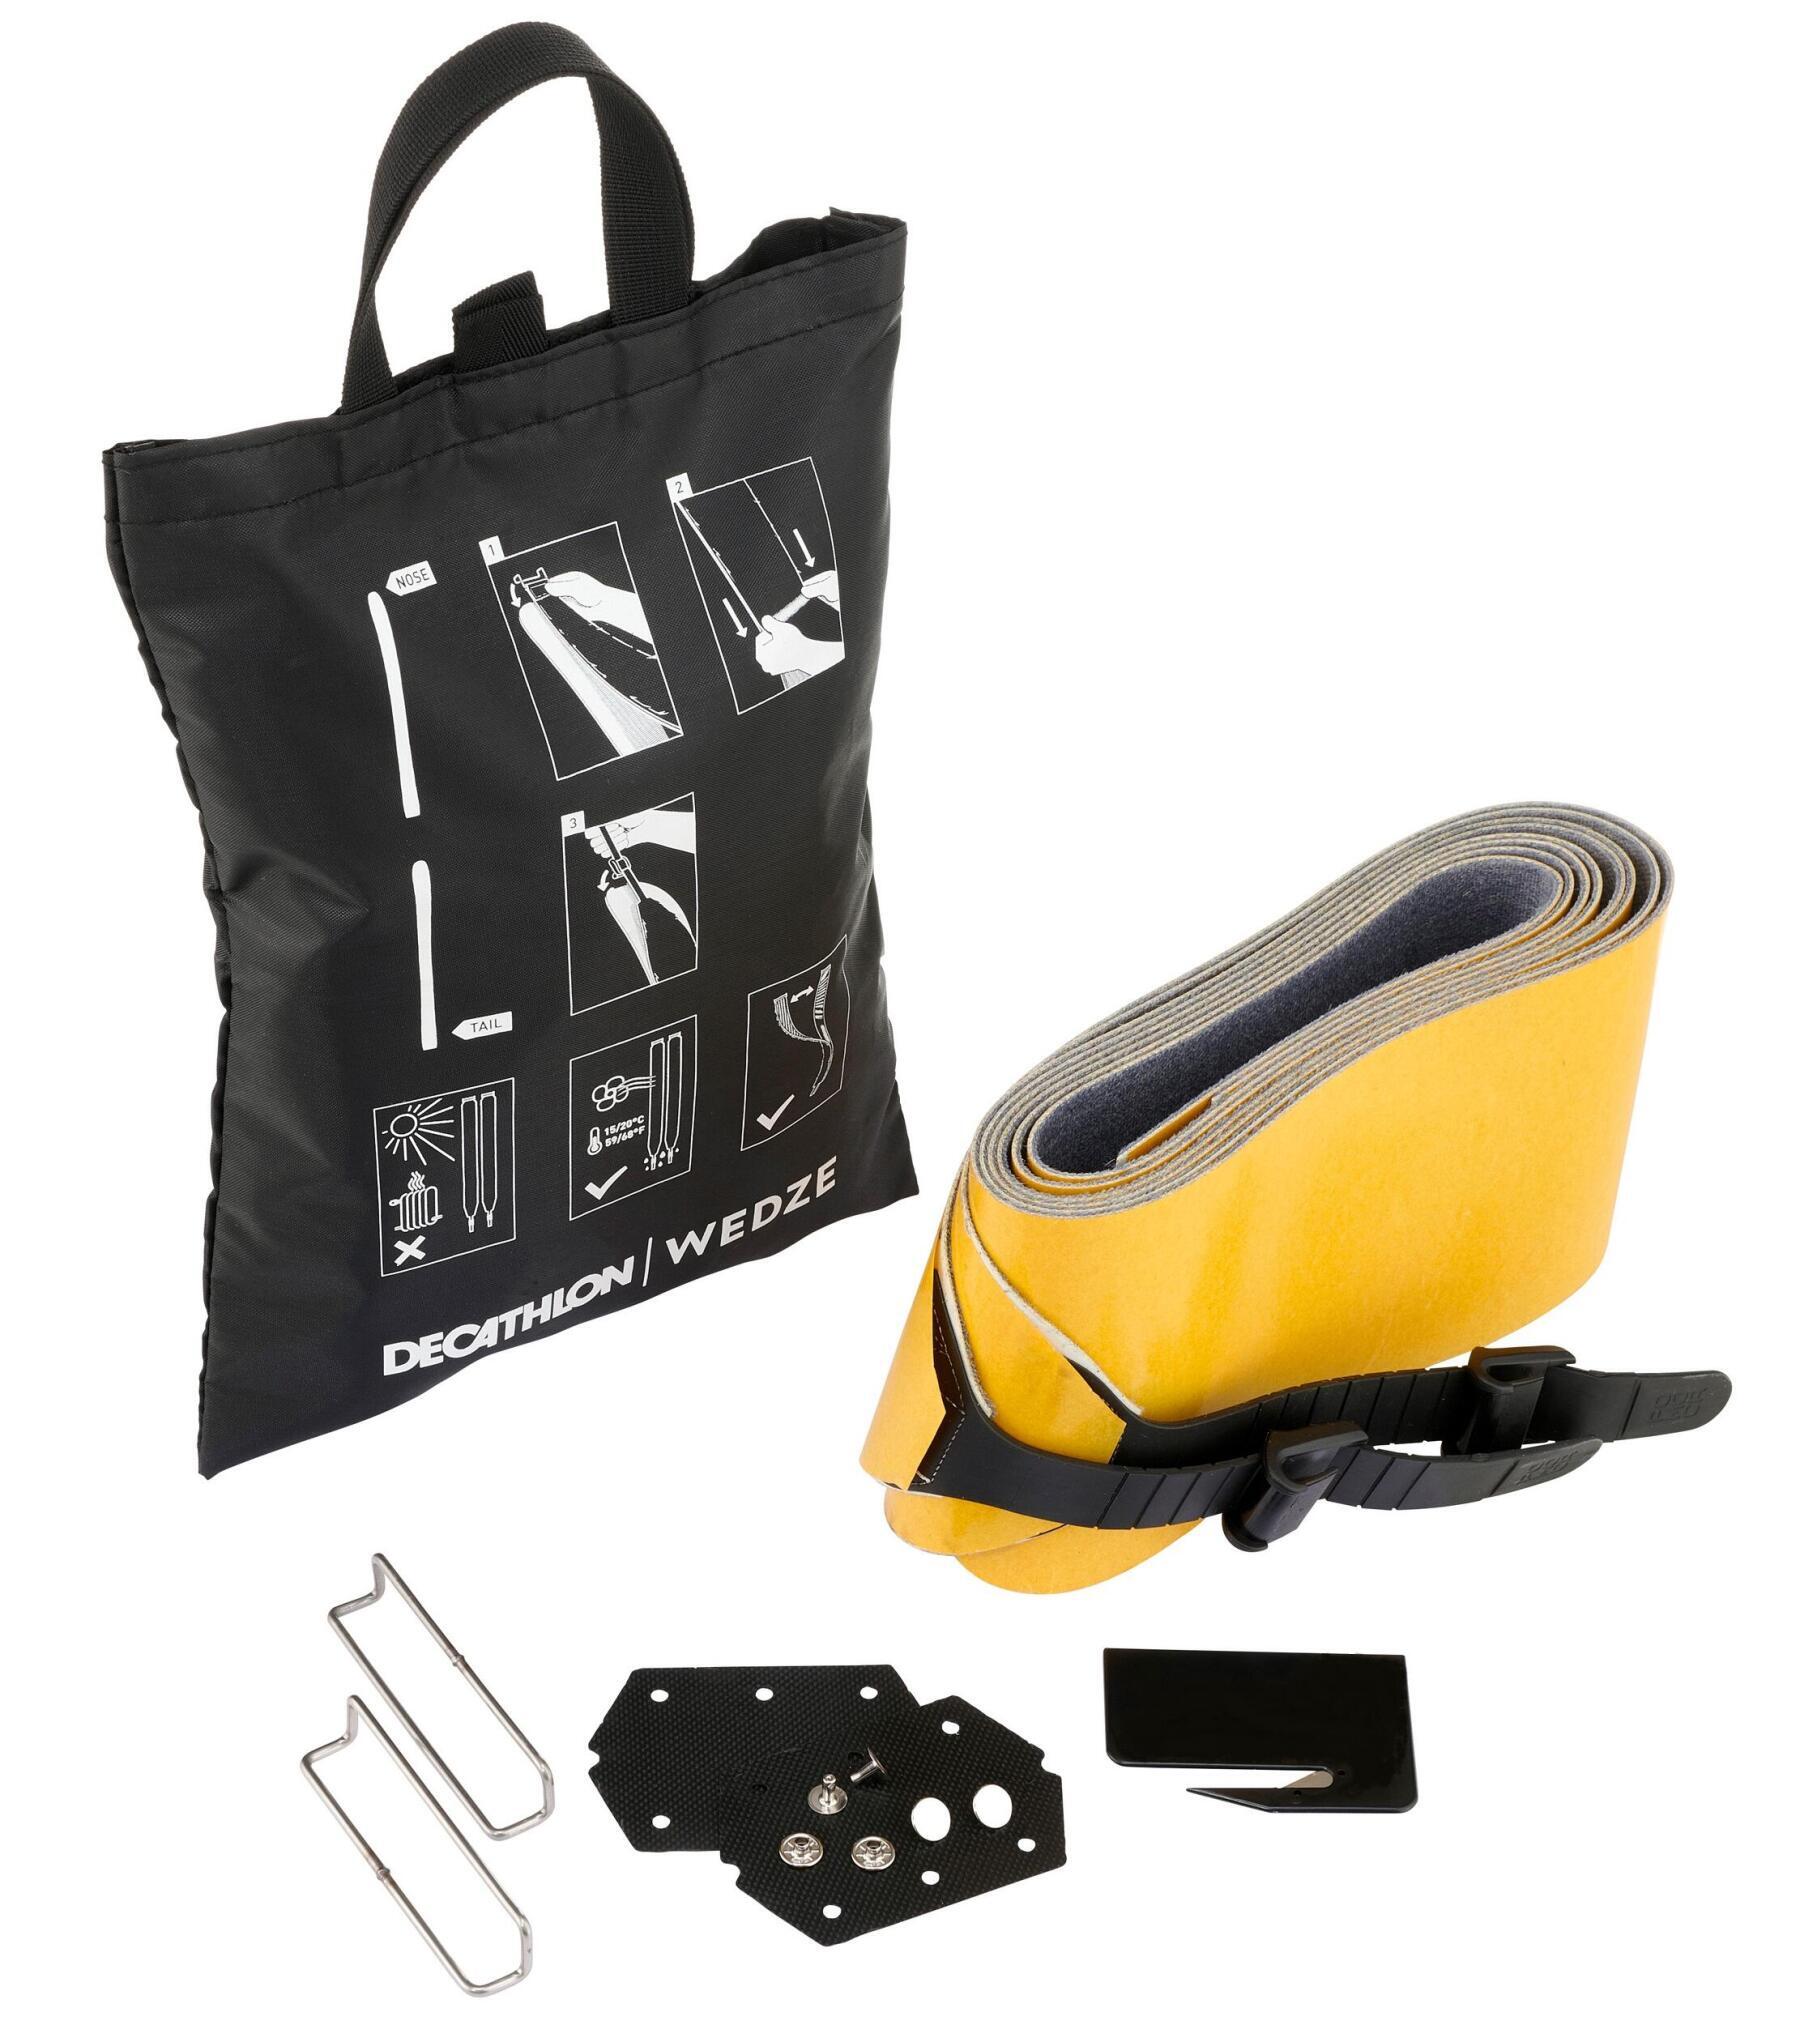
Just buy the pack of skins and follow the steps in our tutorial:
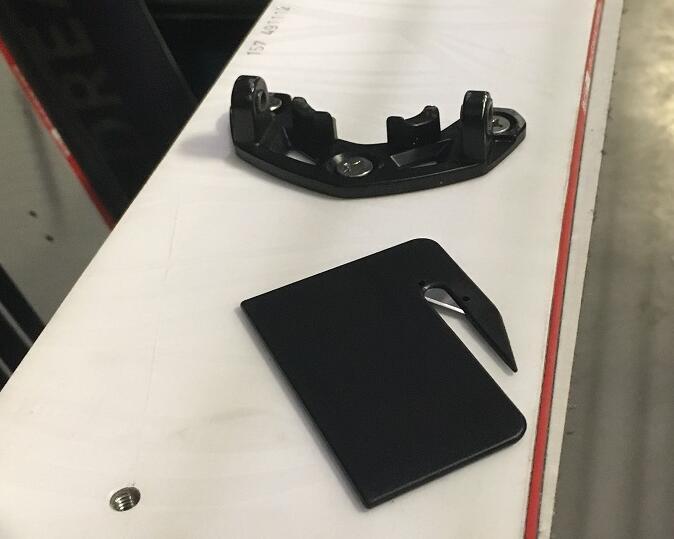
Here’s what you’ll need:

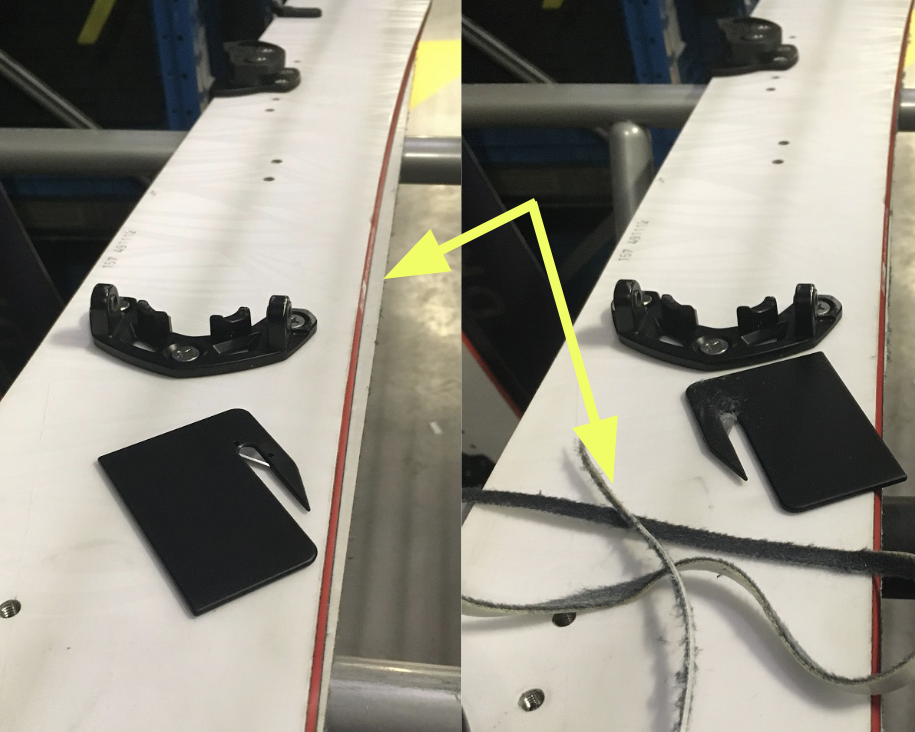
  • splitboard knives

    The splitboard knife with the skins

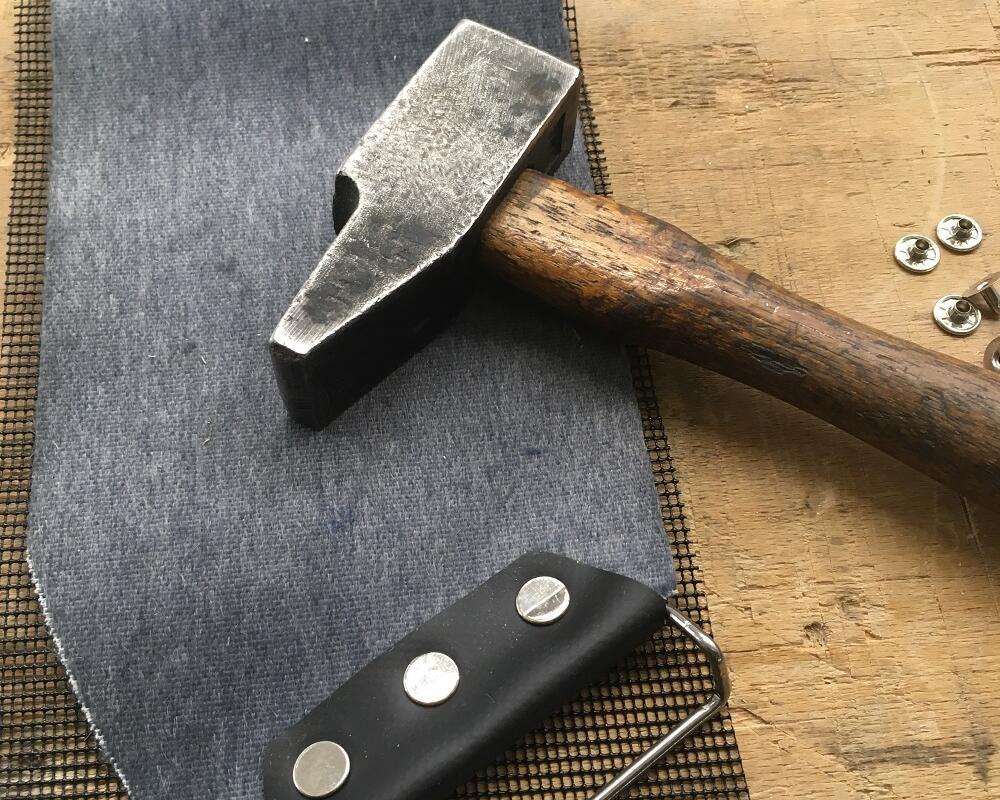
  • hammer

    A hammer

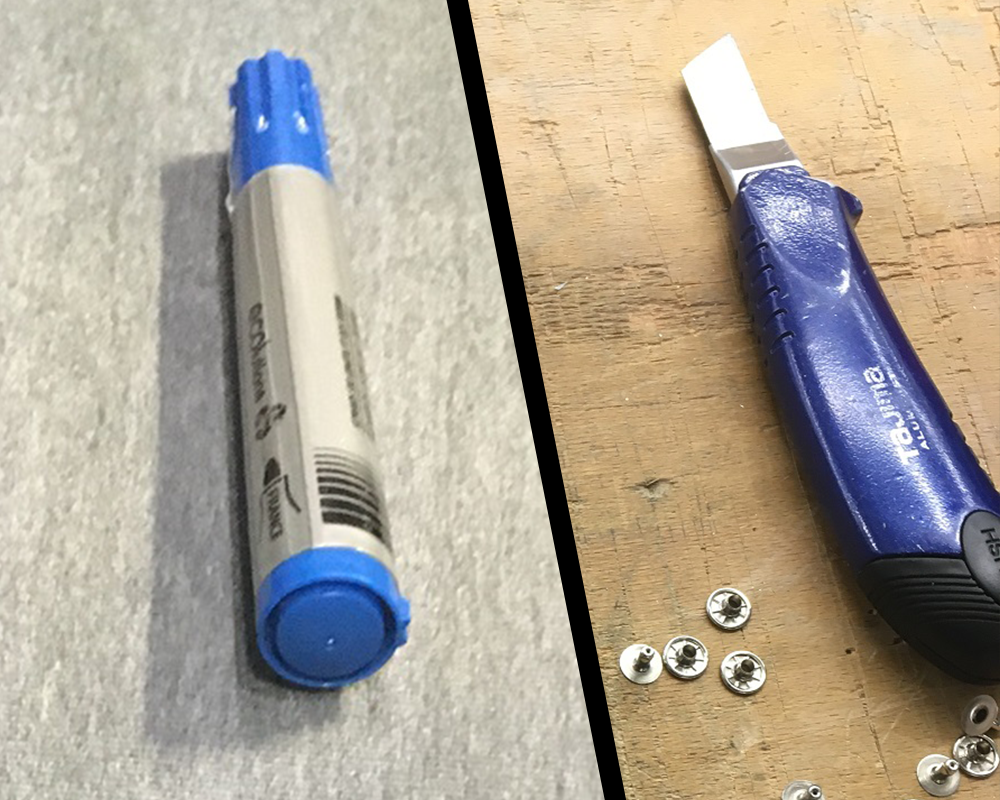
  • splitboard cutter

    A marker and cutter

Maintain and repair your splitboard and skins:instructions, repairs

1/ Cleaning the board base

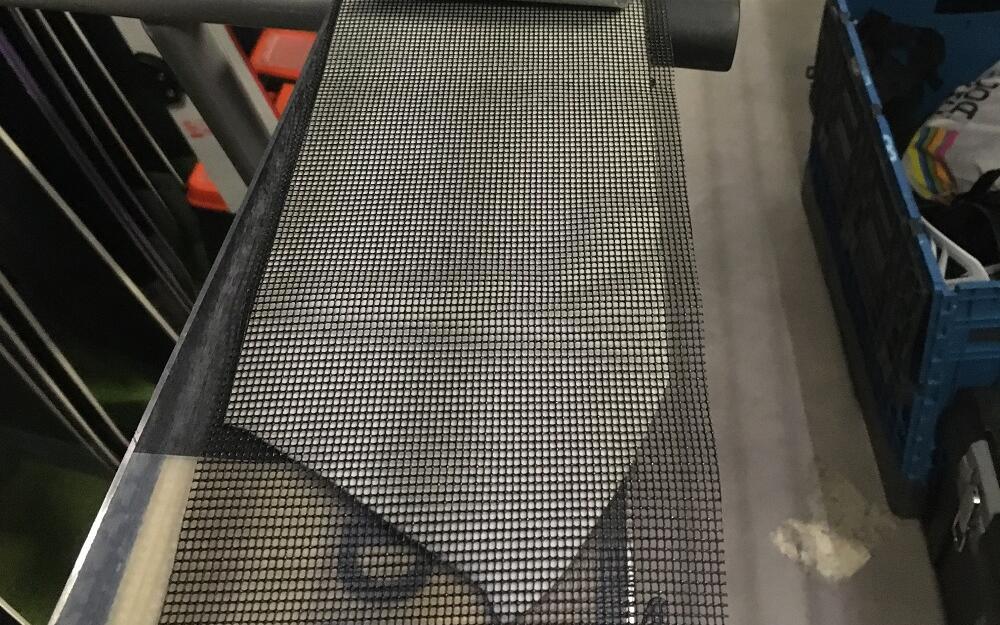
First of all, clean the splitboard base to prevent dust from sticking to the skins.
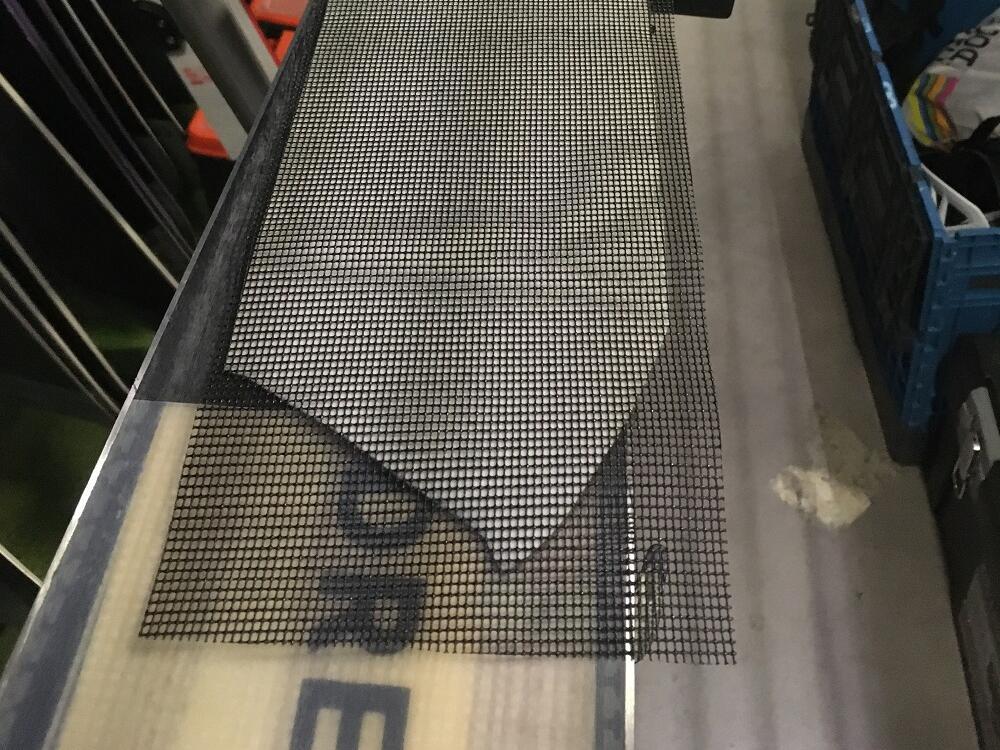
You can use the net to protect the skins from dust.

2/ Gluing the skins to the base

  • Maintain and repair your splitboard and skins:instructions, repairs

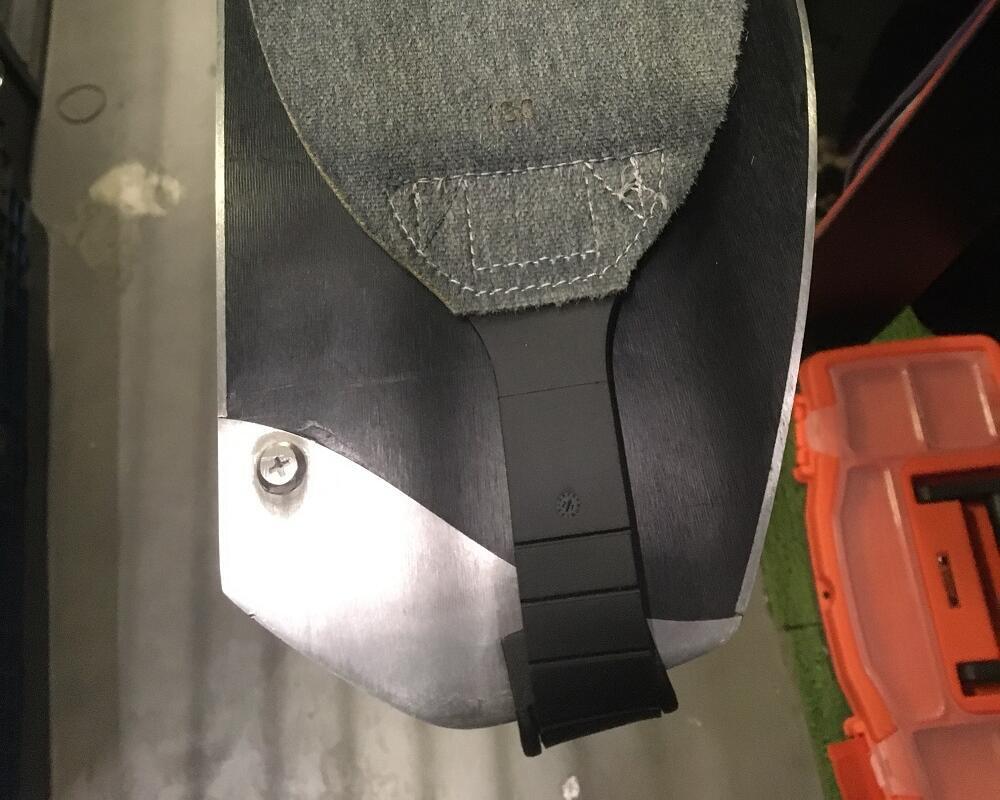
    Attach the skin

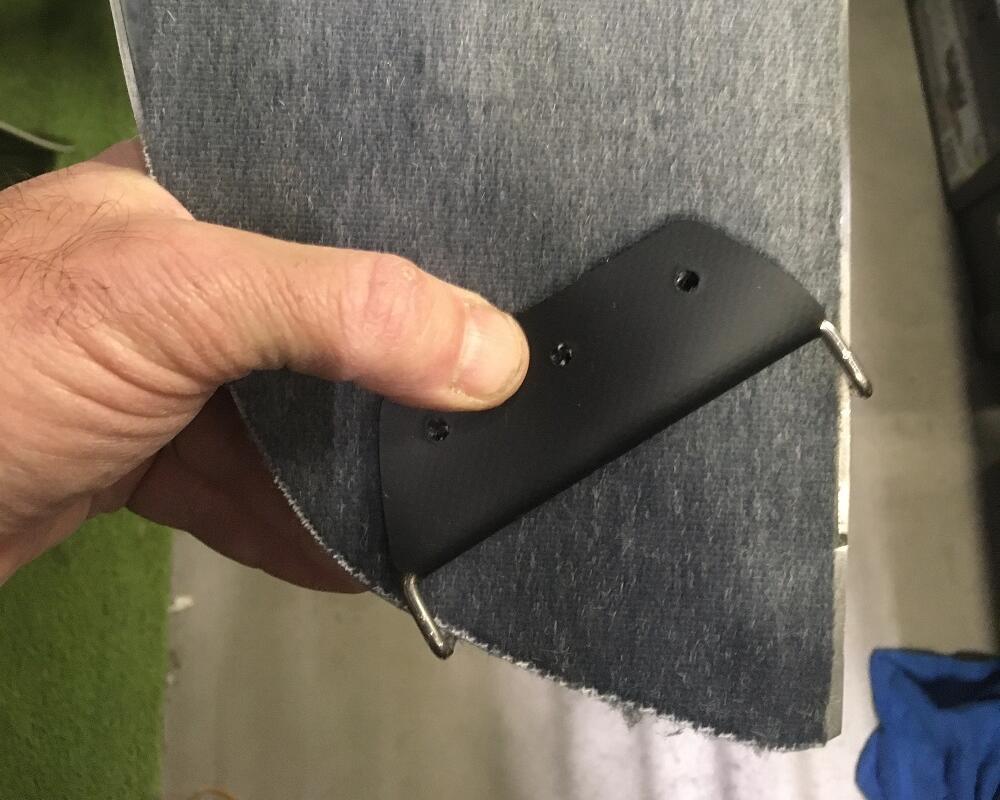
    Fix the loop or stirrup of your skin around the tip of the splitboard (even if there is a small angle).

  • Maintain and repair your splitboard and skins:instructions, repairs

    Do not cover the inner edges

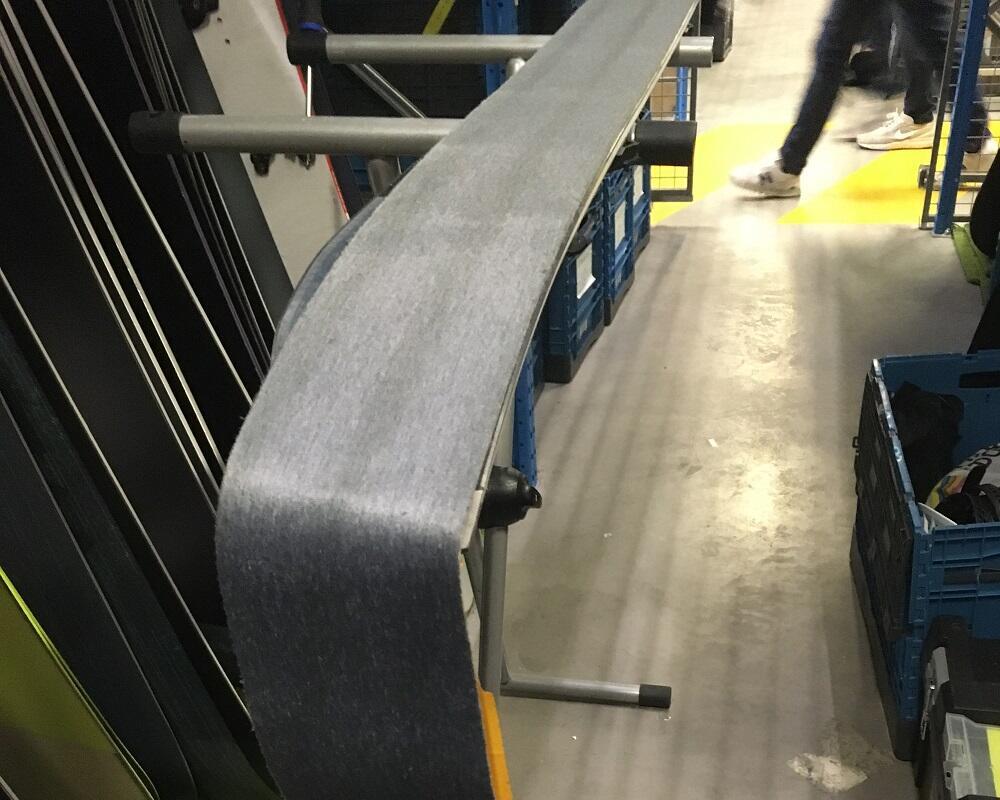
    Be sure to position the skin 3 mm from the inside of the ski, and 1.5 mm from the edges.

  • Maintain and repair your splitboard and skins:instructions, repairs

    Glue the skin on the inner length of the board

    Follow the metal edge on the inside of the ski to position and glue the skin along the whole length.

3/ Cutting the skins

  • Maintain and repair your splitboard and skins:instructions, repairs

    Cut lengthwise

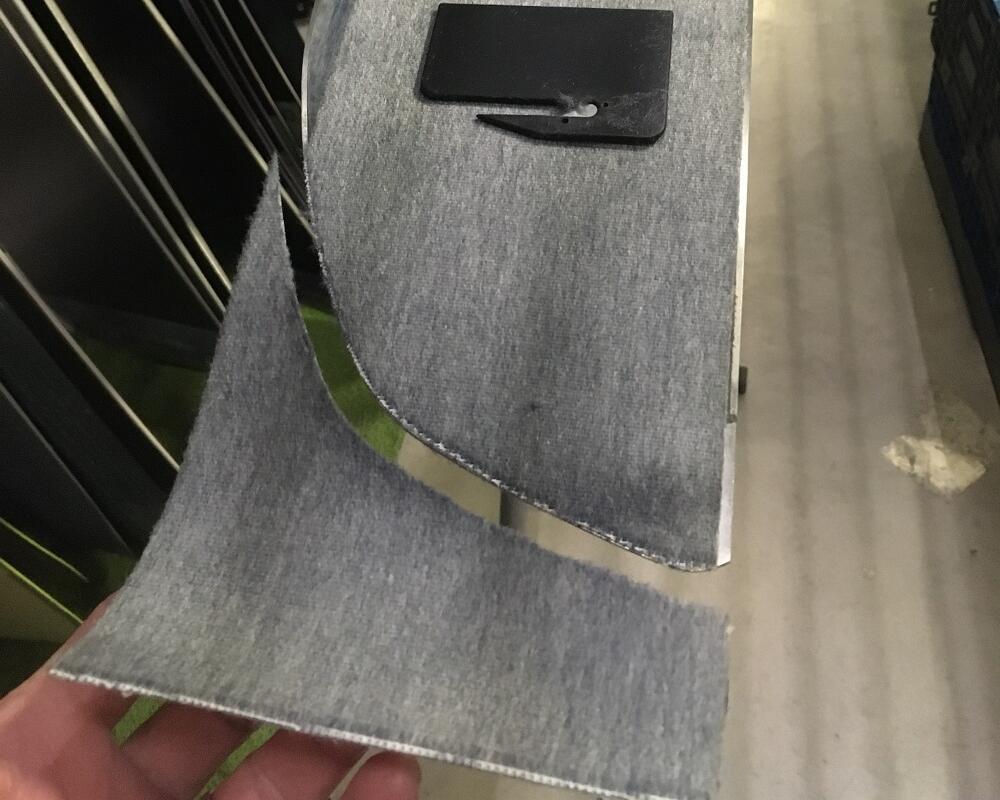
    With the cutter, cut the skin lengthwise leaving a margin of about 5 cm.

  • Maintain and repair your splitboard and skins:instructions, repairs

    Cut on the outer side

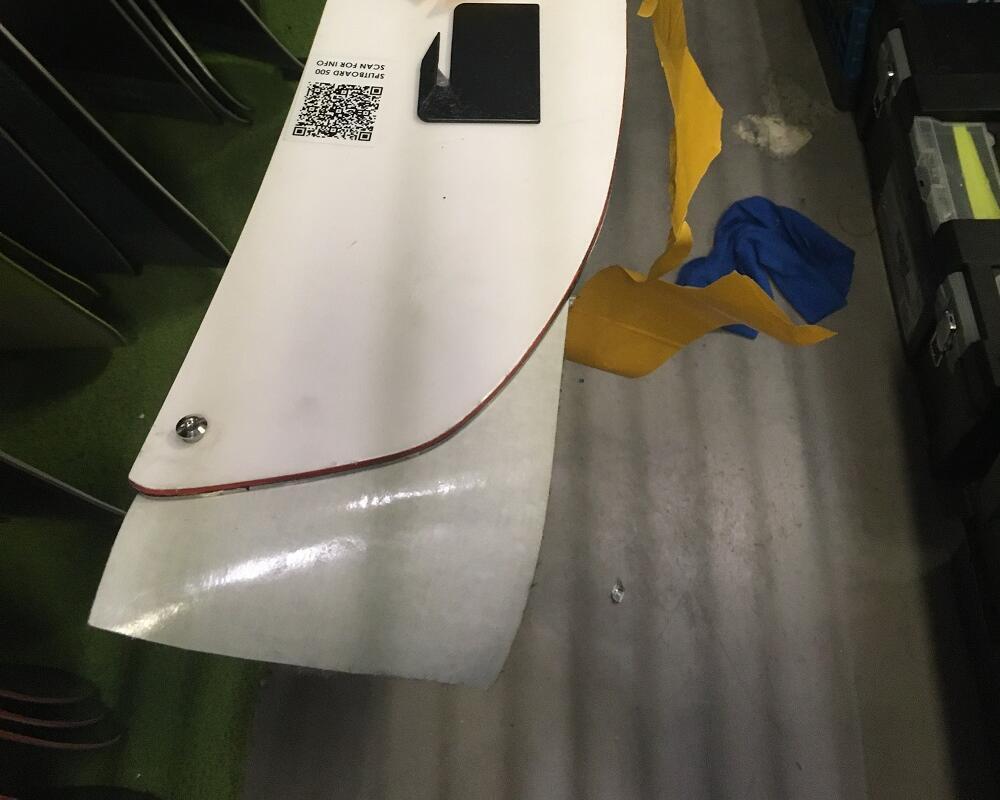
    With the cutter, cut the skin overhang along the metal edge of the outer side.

  • Maintain and repair your splitboard and skins:instructions, repairs

    Cut the nose

    Cut the nose part following the metal edges.

  • Maintain and repair your splitboard and skins:instructions, repairs

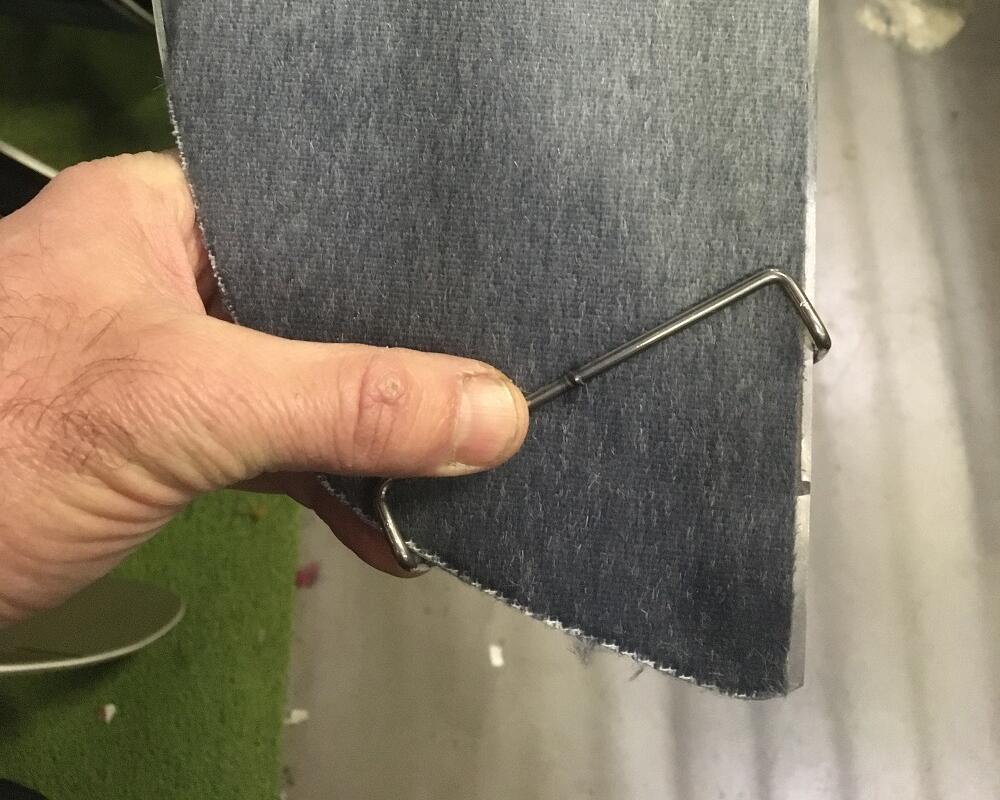
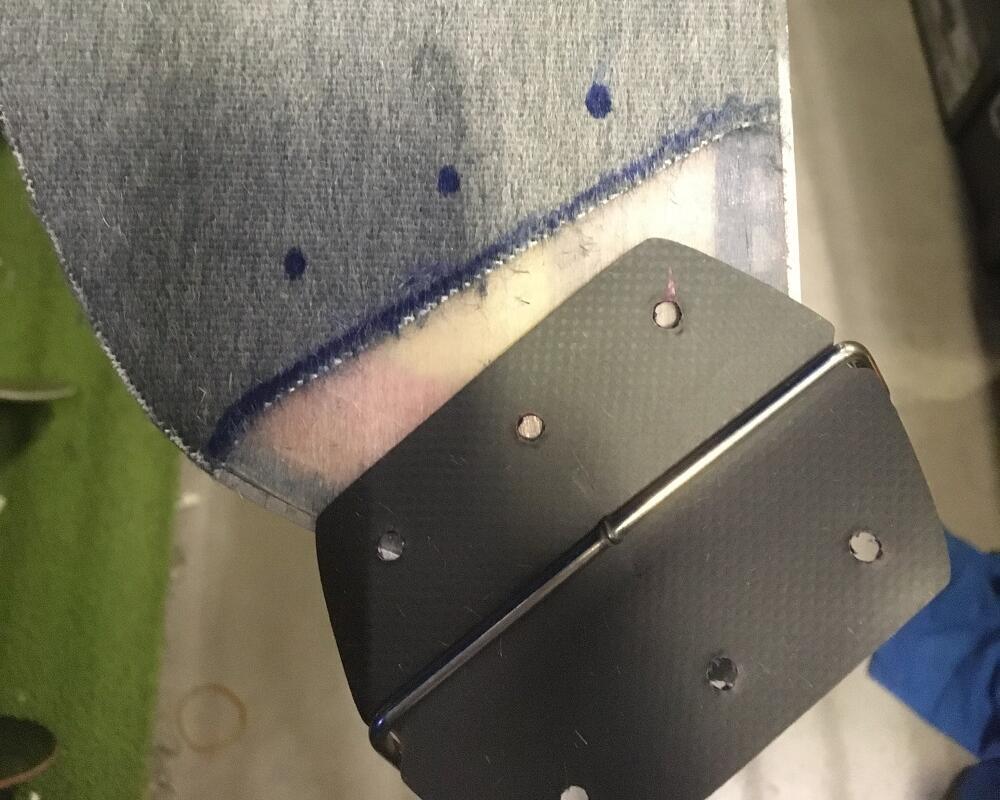
    Place the metal hook on top of the ski and find the balance point

  • Maintain and repair your splitboard and skins:instructions, repairs

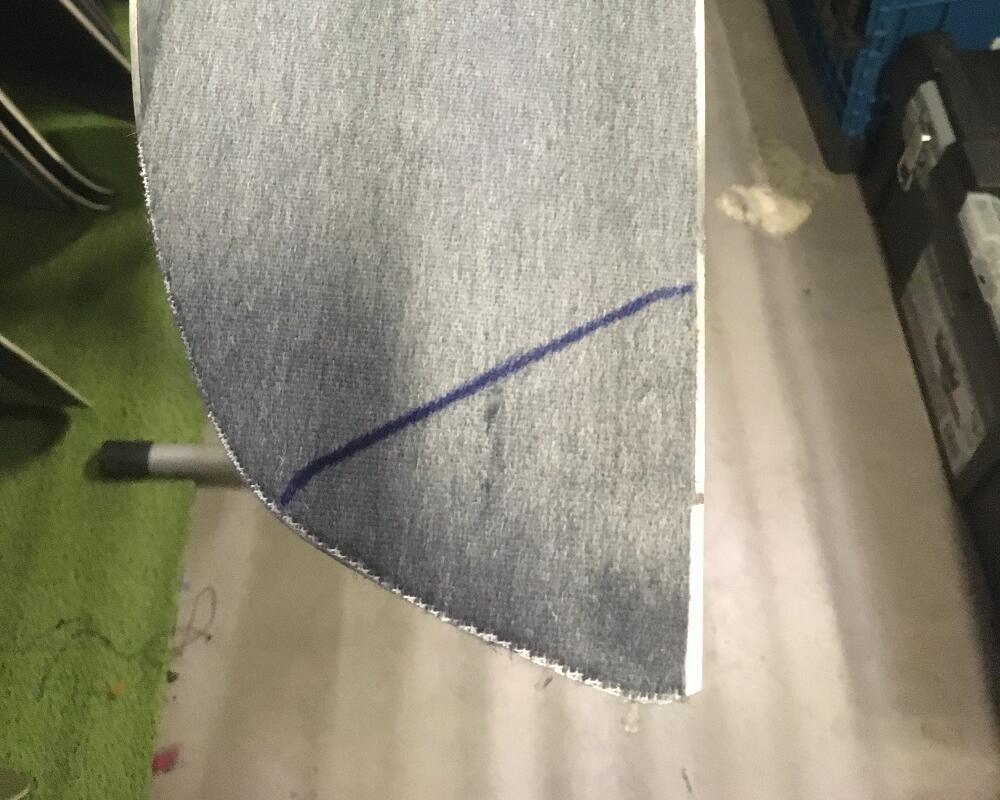
    With the marker, draw a line along the metal hook.

  • Maintain and repair your splitboard and skins:instructions, repairs

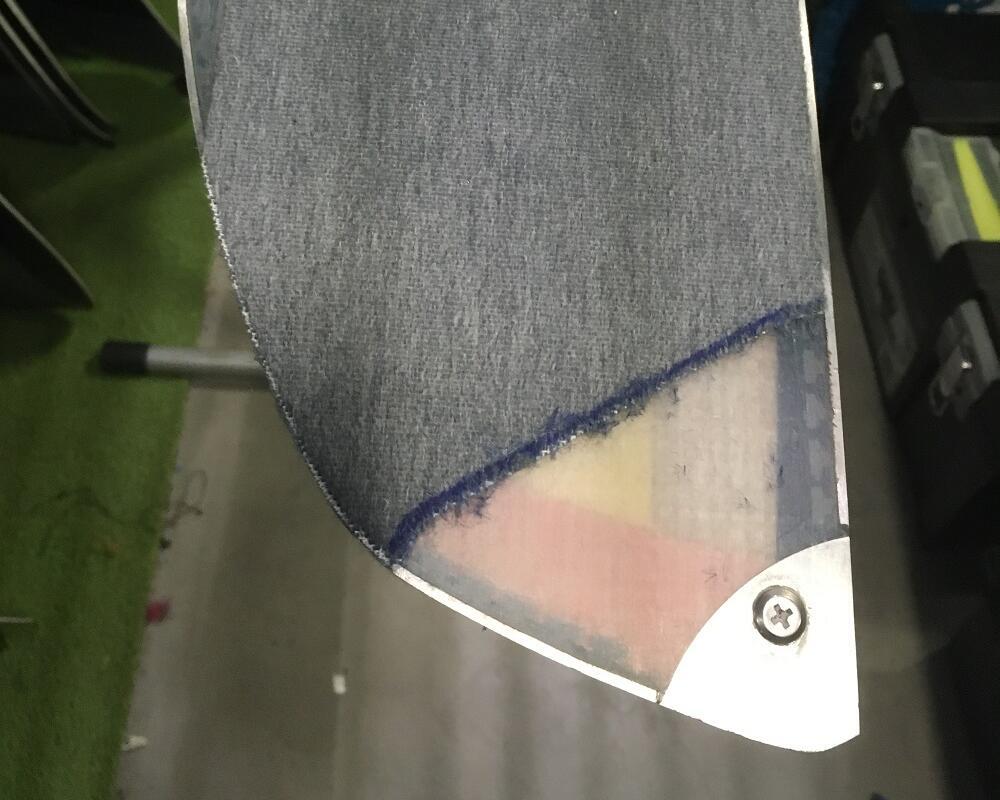
    Using a pair of scissors, remove the skin from the outer part of the line.

4/ Making the hook

  • Maintain and repair your splitboard and skins:instructions, repairs

    Replace the metal clip with the strong fabric (supplied with the pack).

  • Maintain and repair your splitboard and skins:instructions, repairs

    Using the marker, draw the 3 hole points.

  • Maintain and repair your splitboard and skins:instructions, repairs

    Peel the skin off the ski and use the net to protect the glue from dust.

  • Maintain and repair your splitboard and skins:instructions, repairs

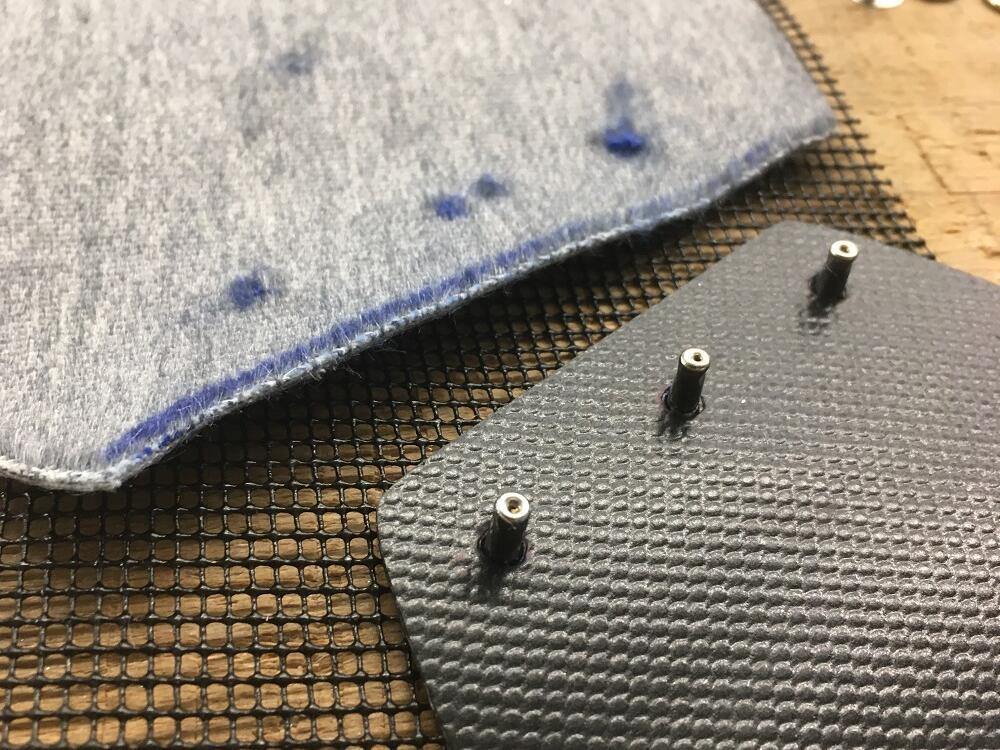
    Using the marker and the cutter, make 3 small holes.

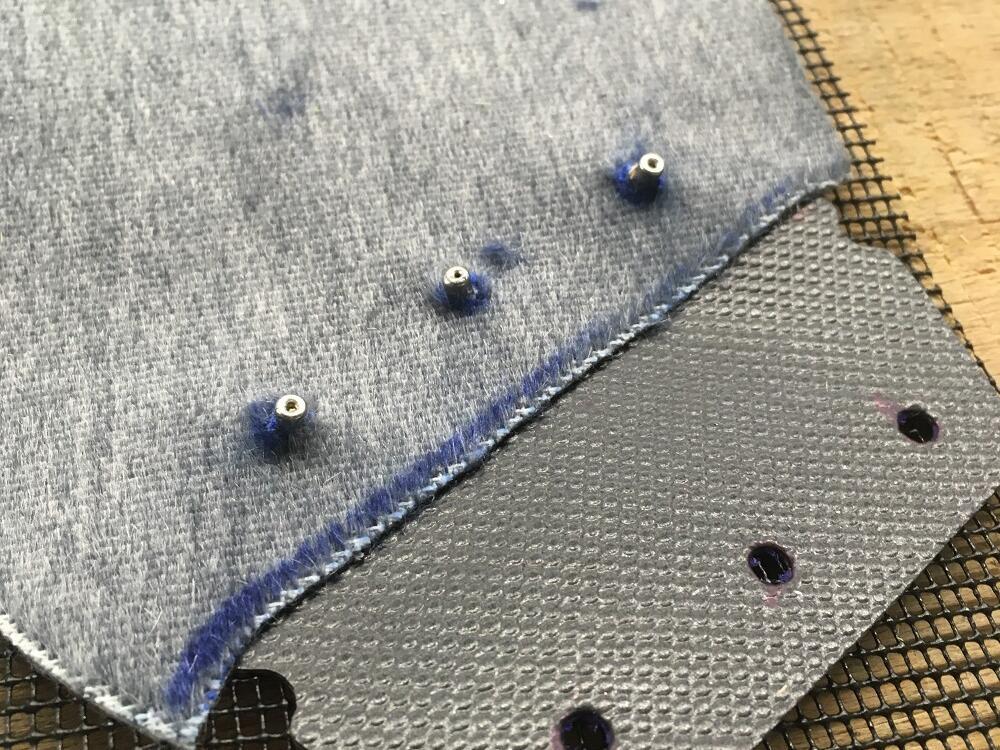
  • 4/ 

    Put the 3 screws in the plastic, then in the skins.

  • Maintain and repair your splitboard and skins:instructions, repairs

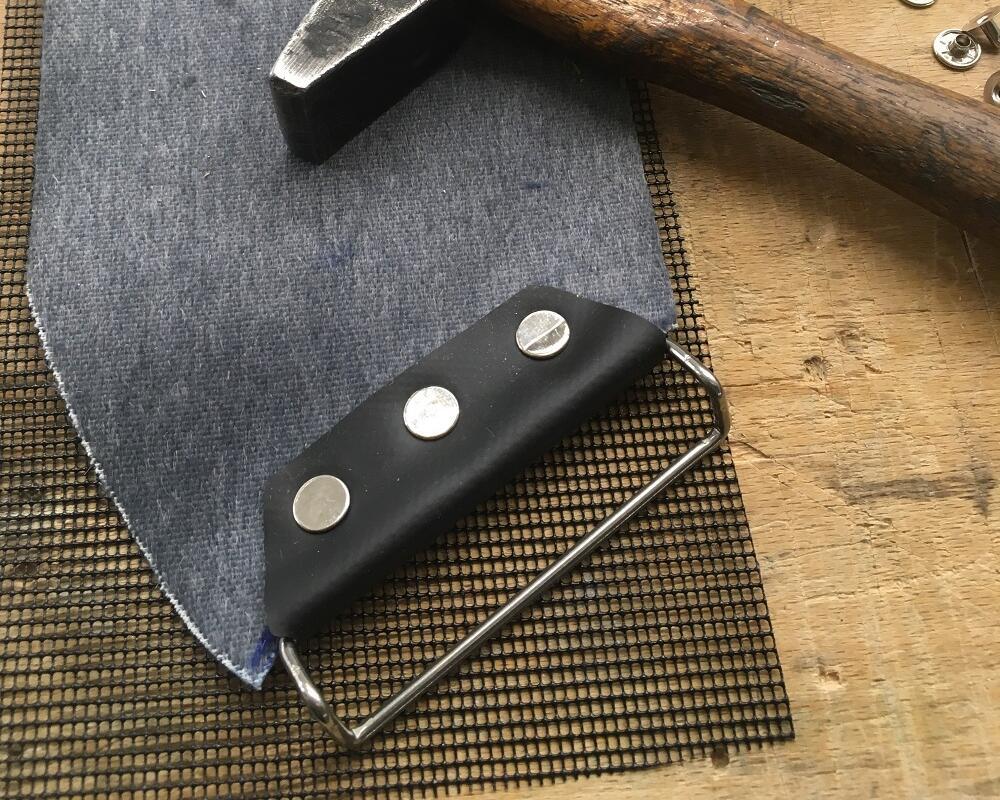
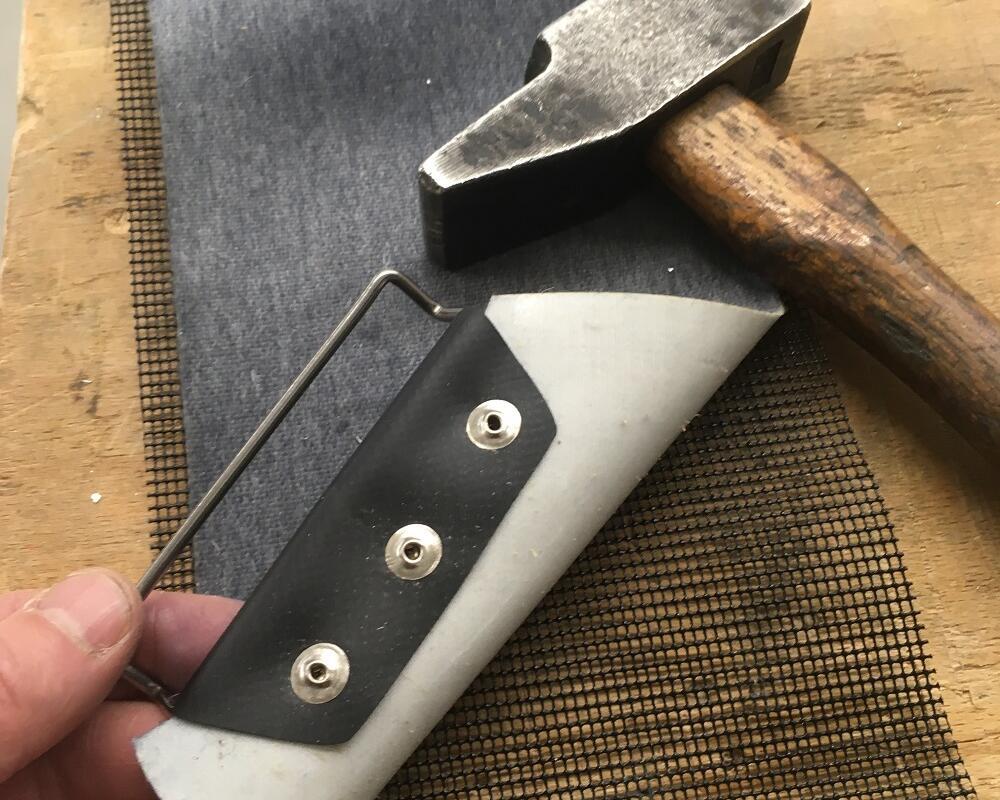
    Place the 3 heads on the 3 pins and hit with the hammer.

  • Maintain and repair your splitboard and skins:instructions, repairs

    This is the result!

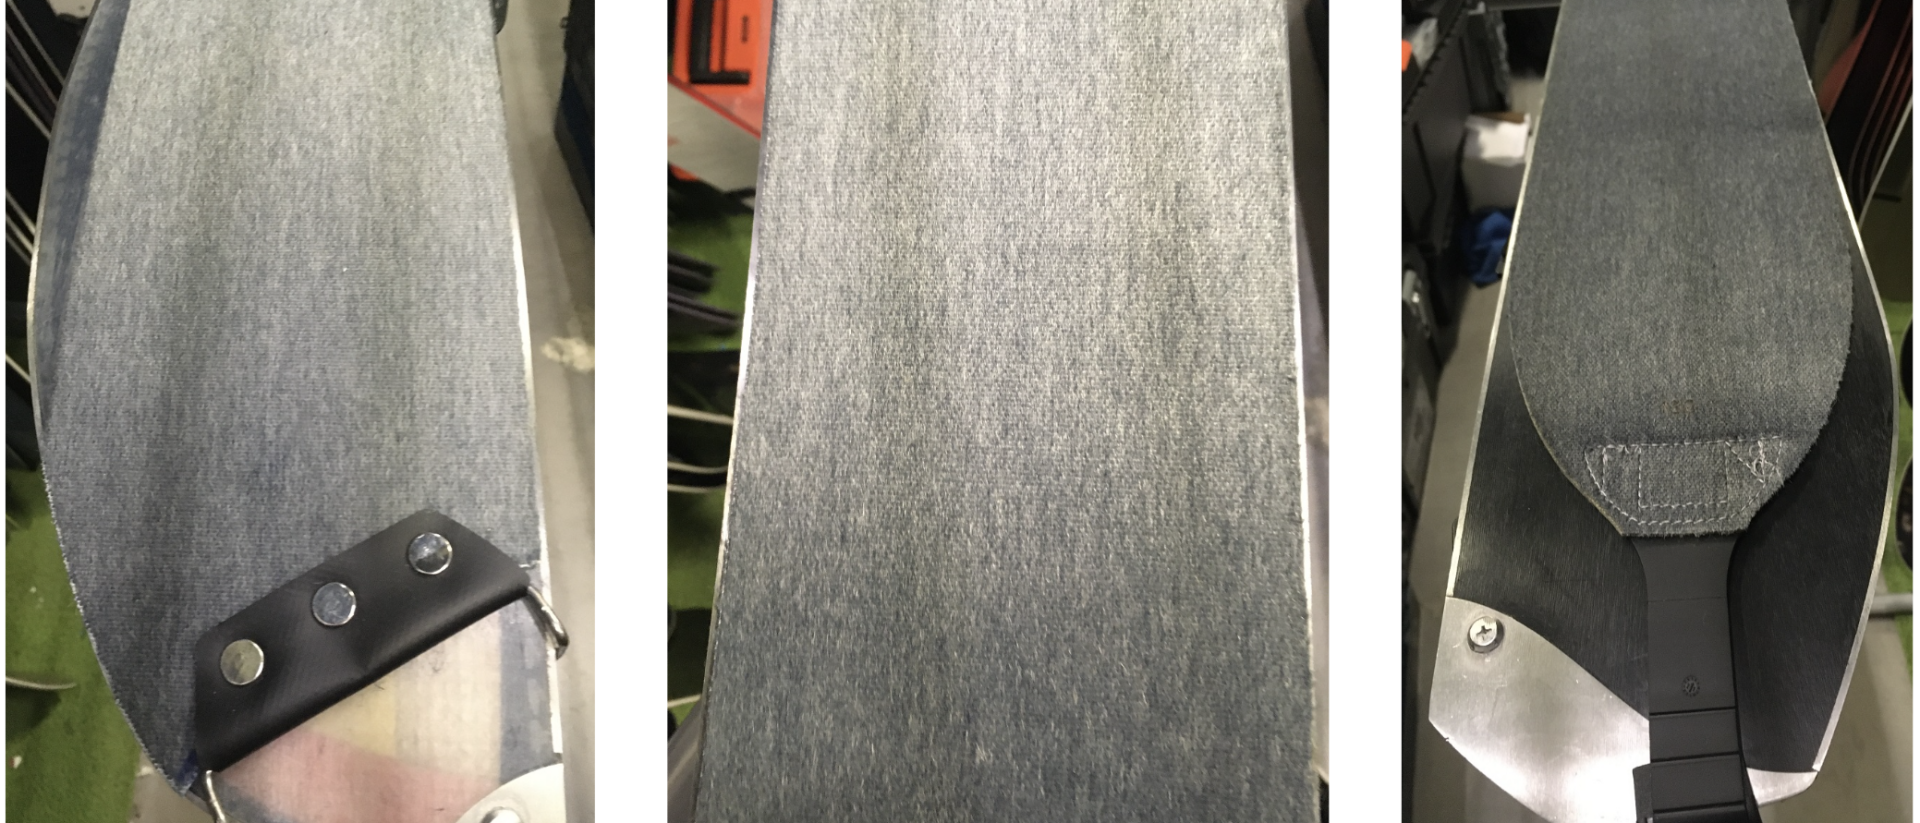
5/ Replace all the elements!

You can now put the skin back on the ski to check that nothing is sticking out and that everything is in place, at the tips, the nose and the tail.

Maintain and repair your splitboard and skins:instructions, repairs

That’s all there is to it!

Maintain and repair your splitboard and skins:instructions, repairs