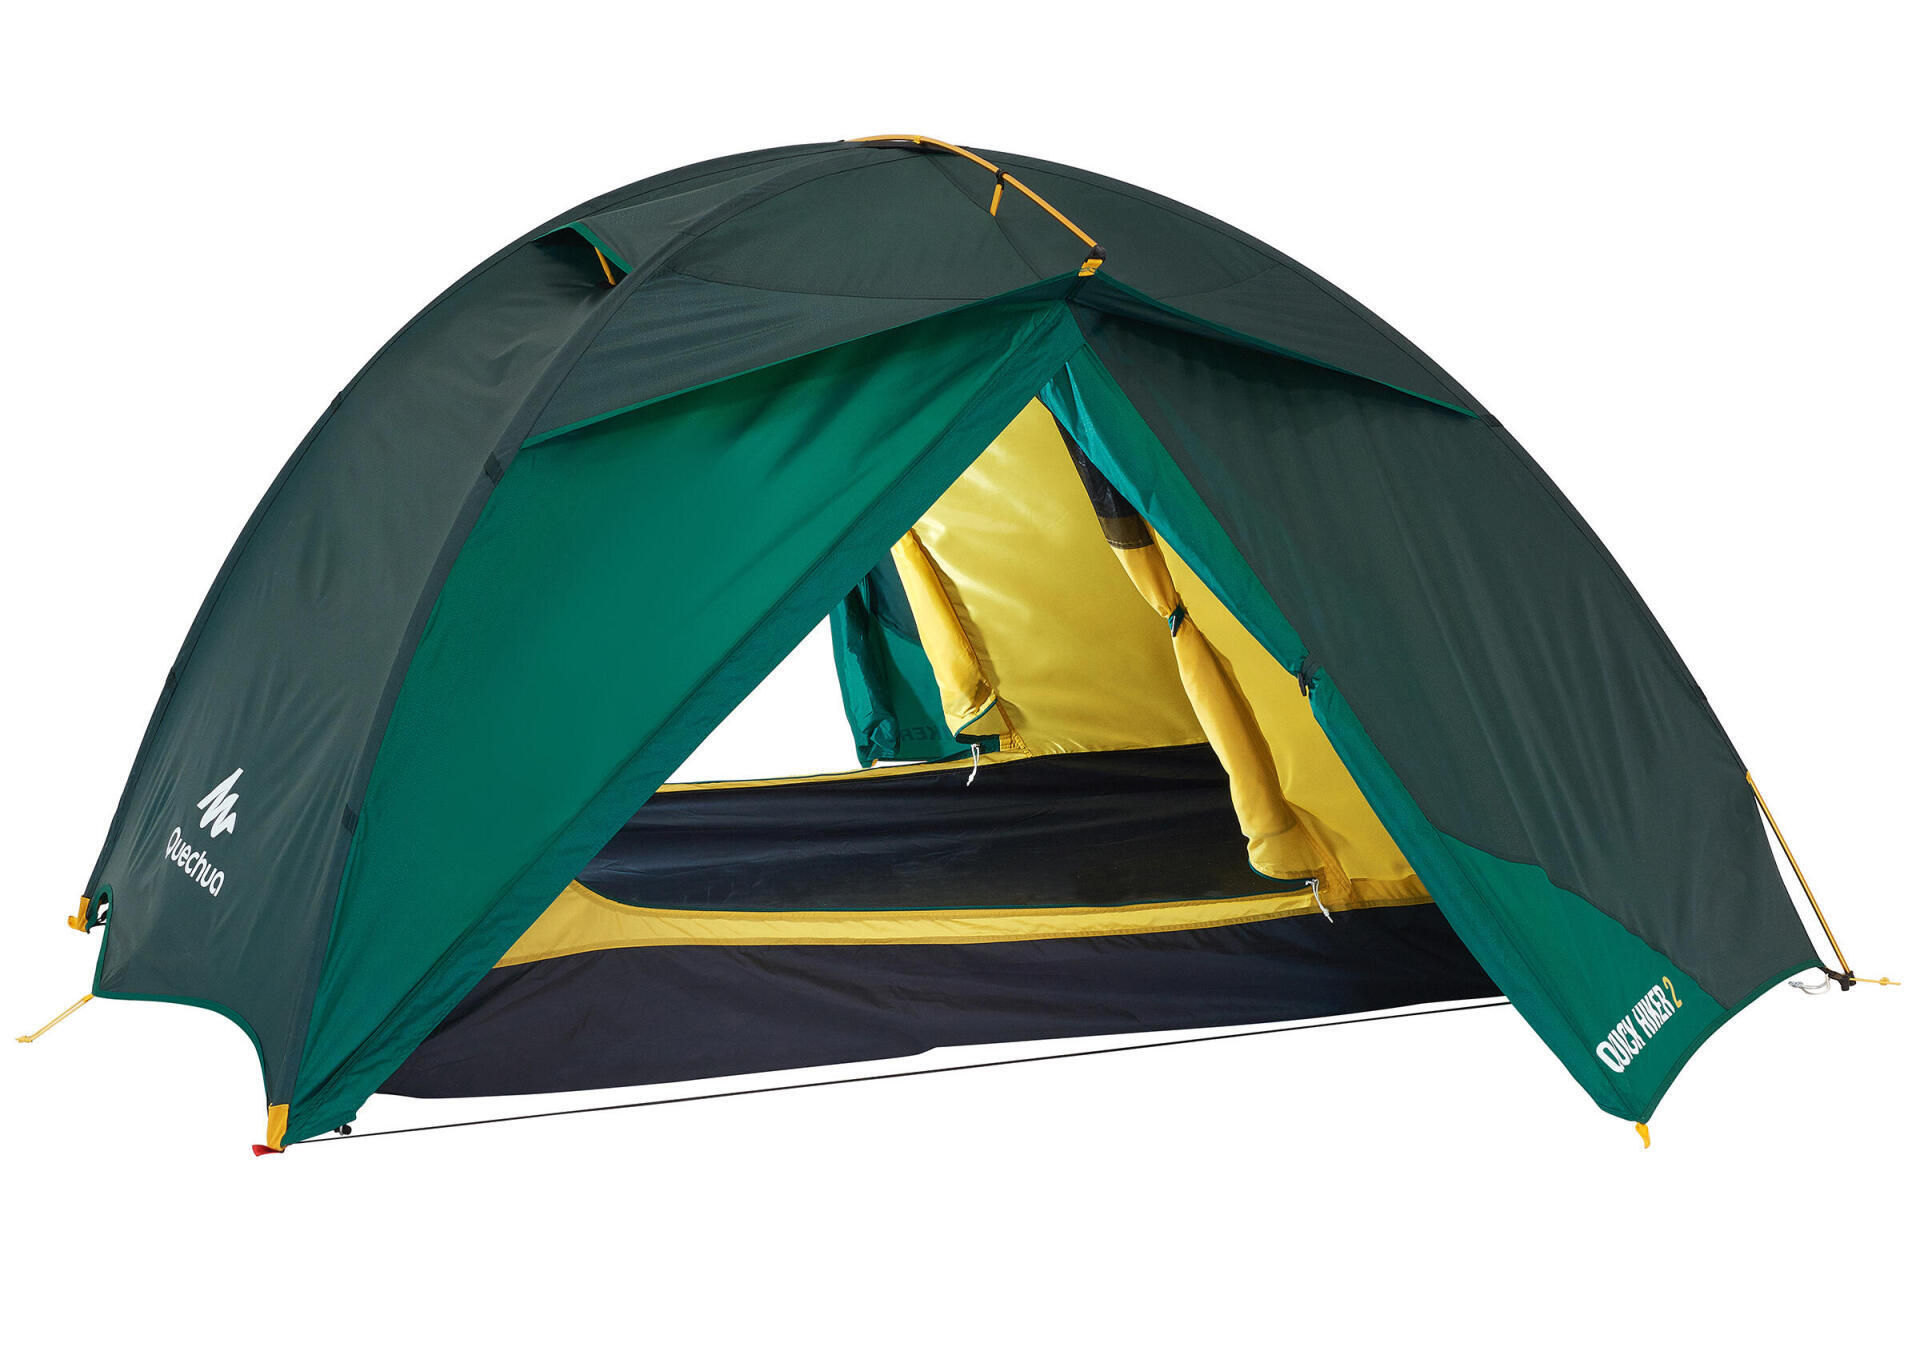
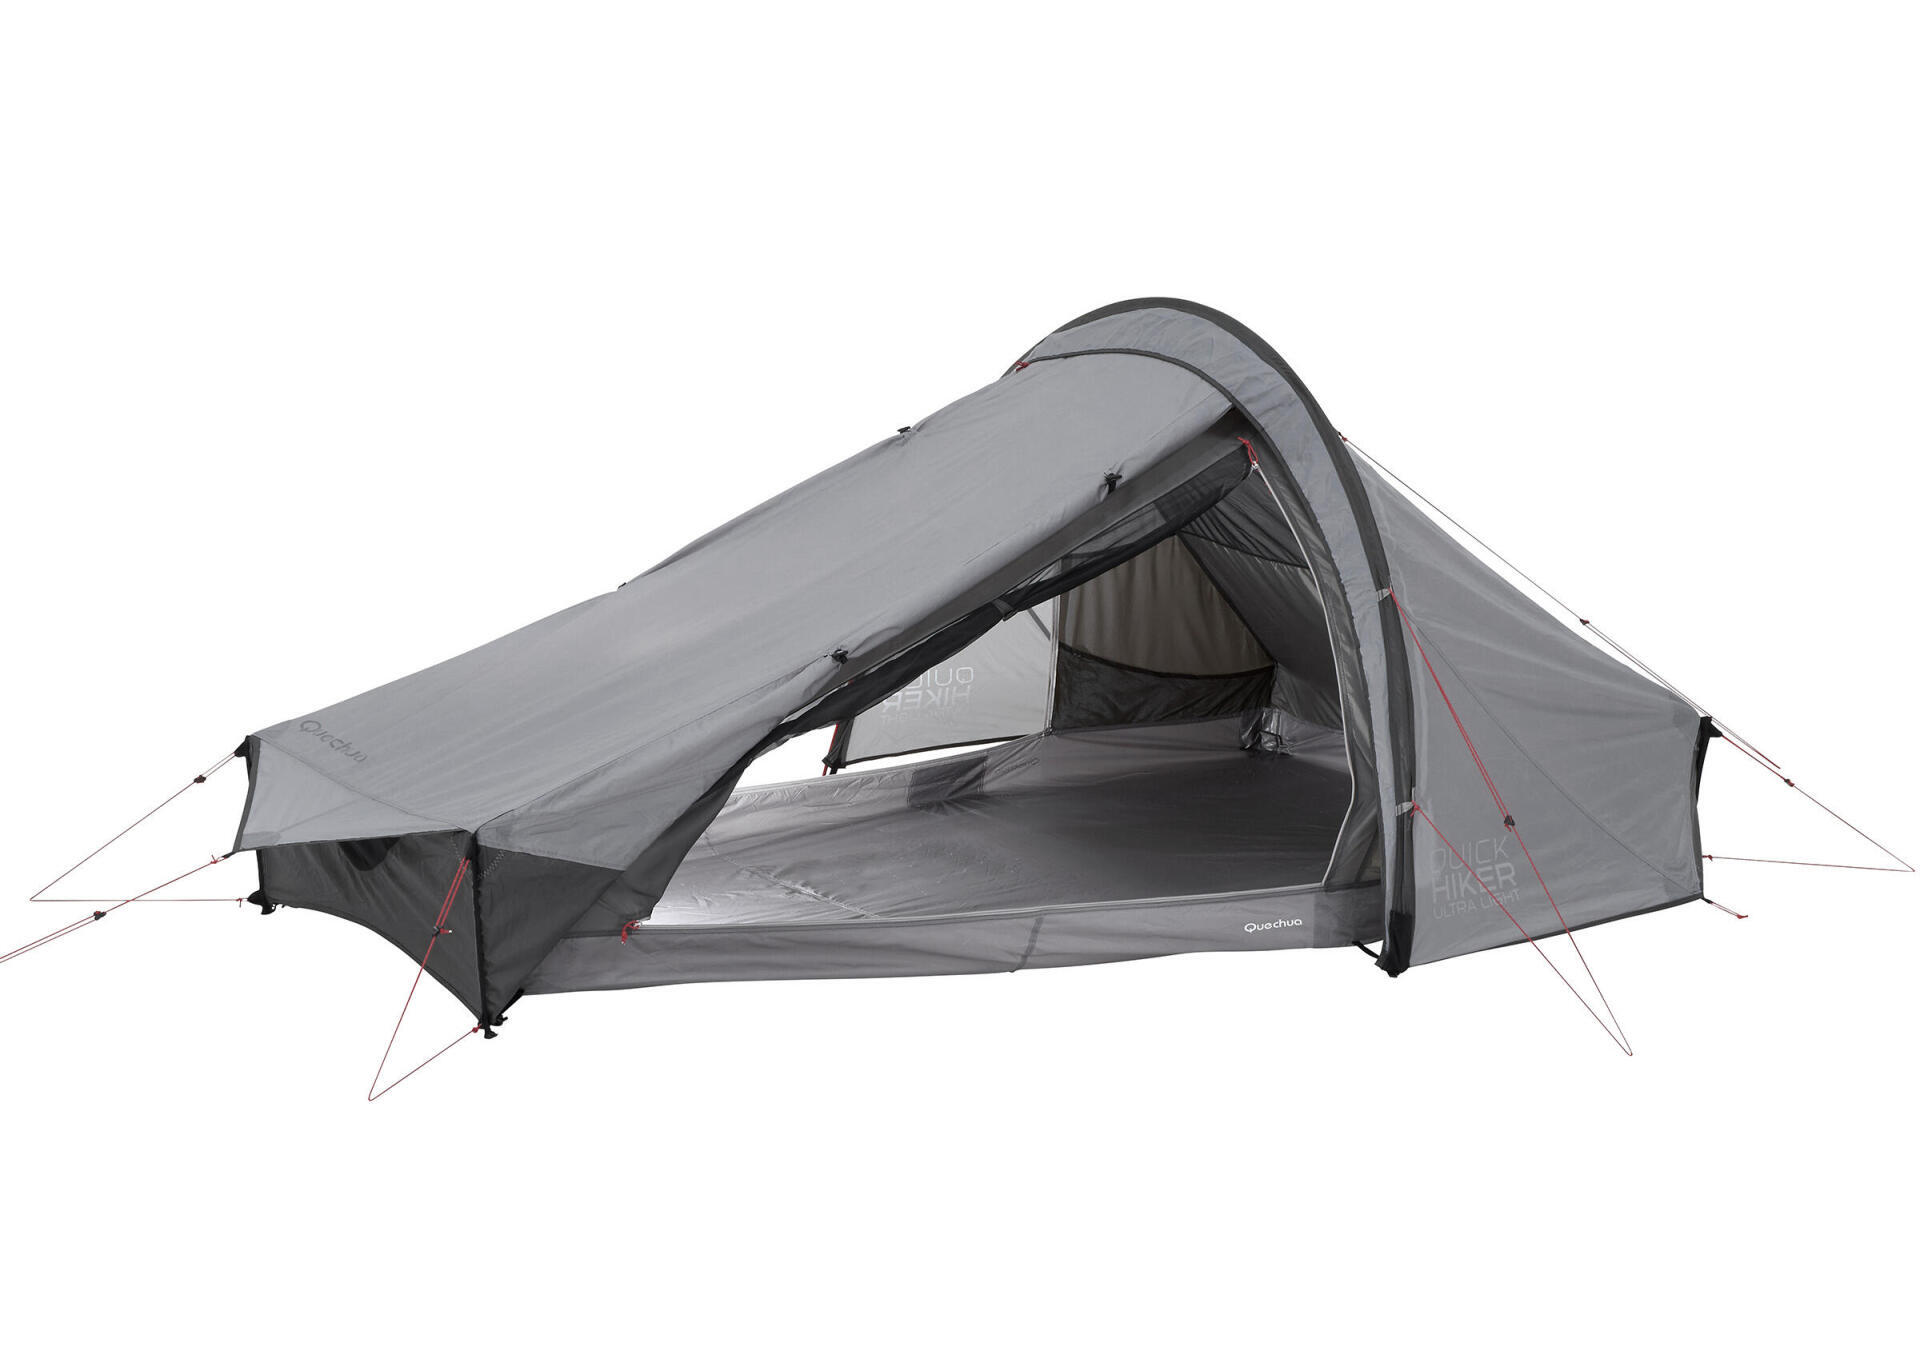
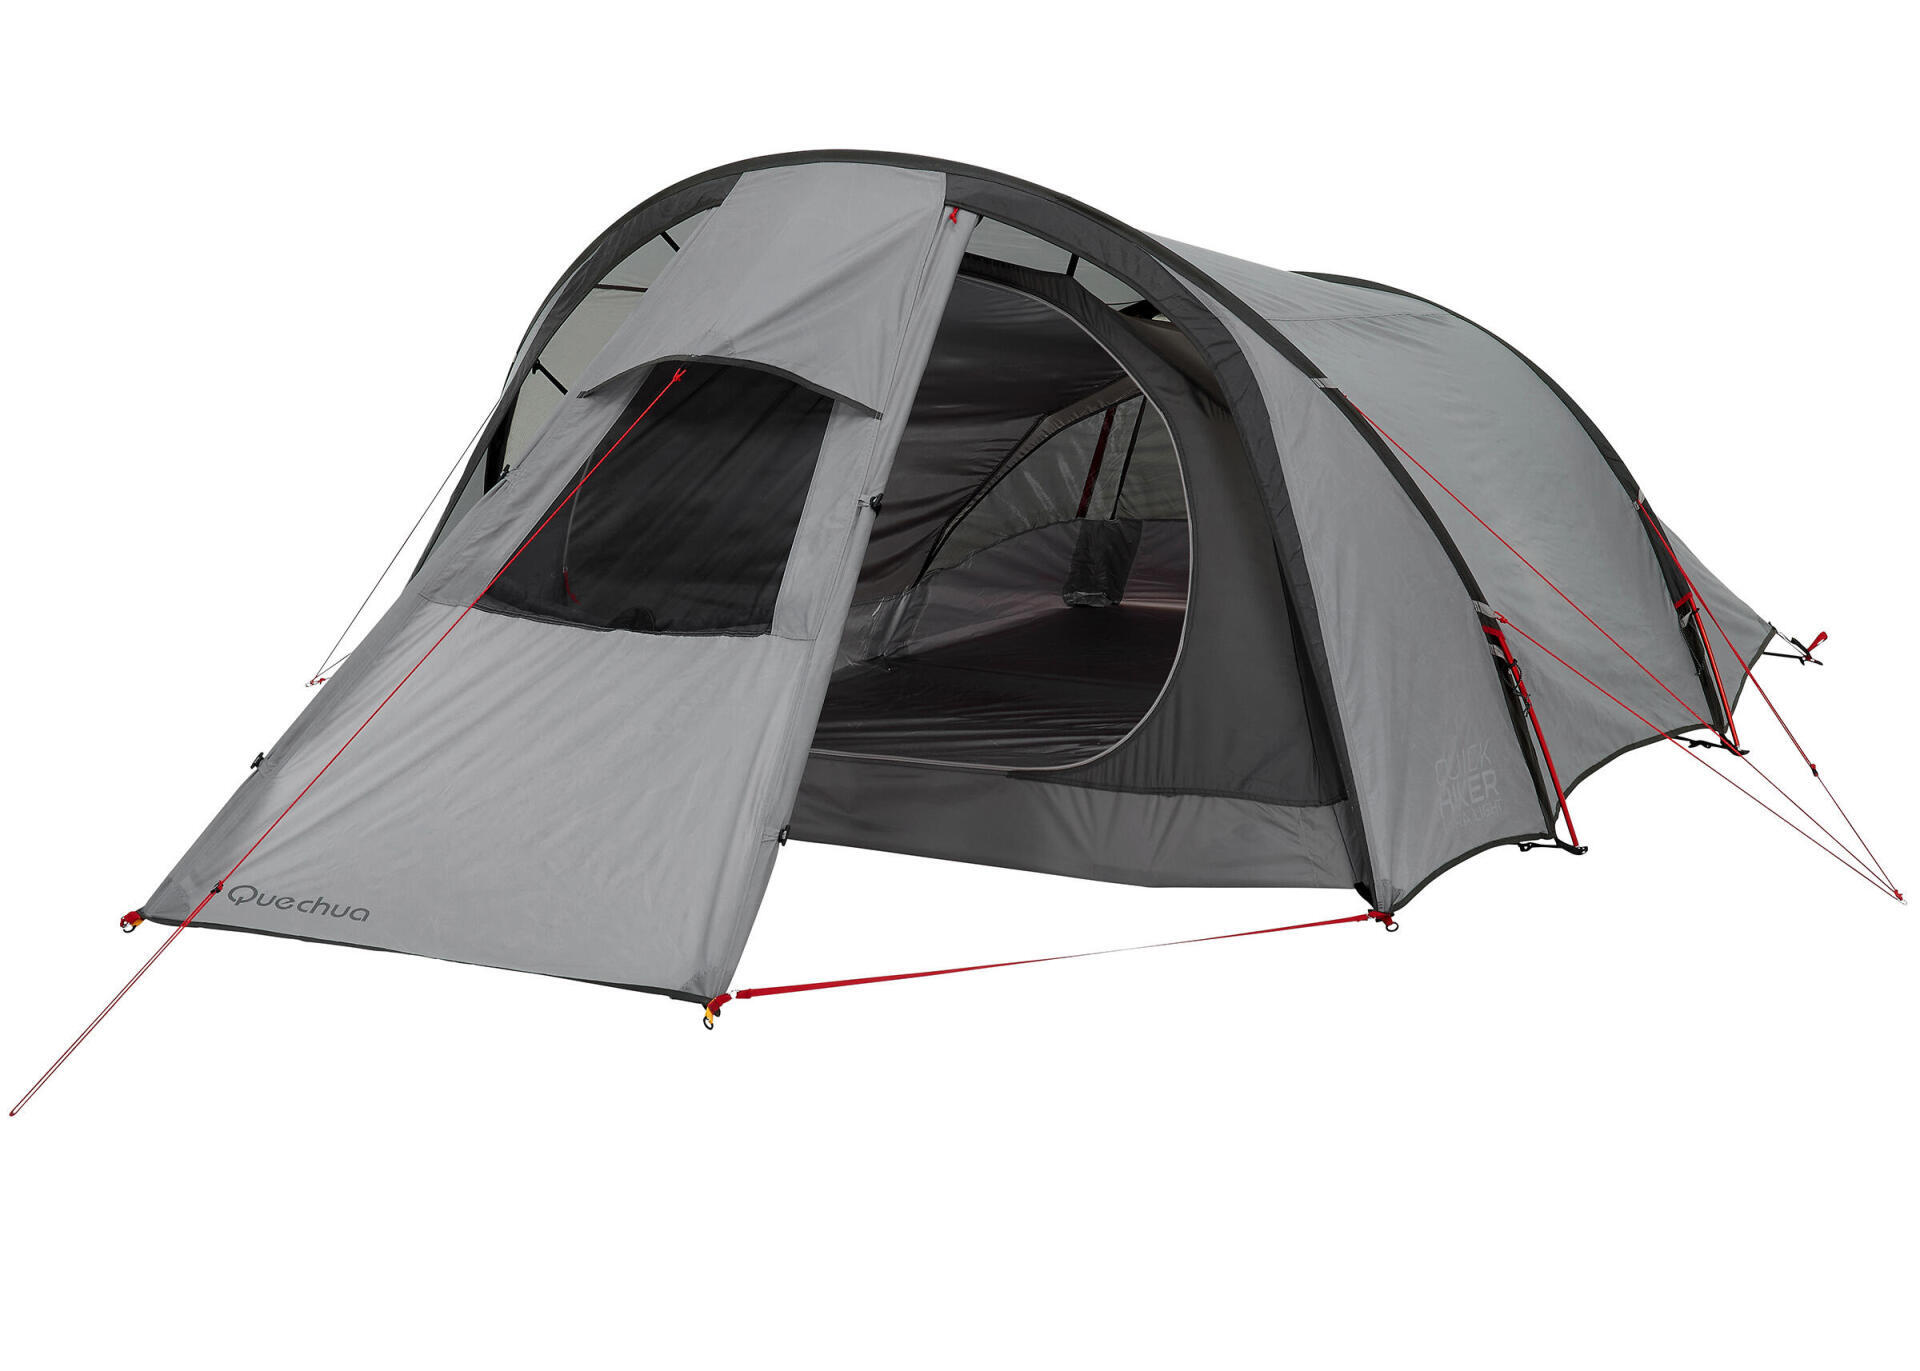
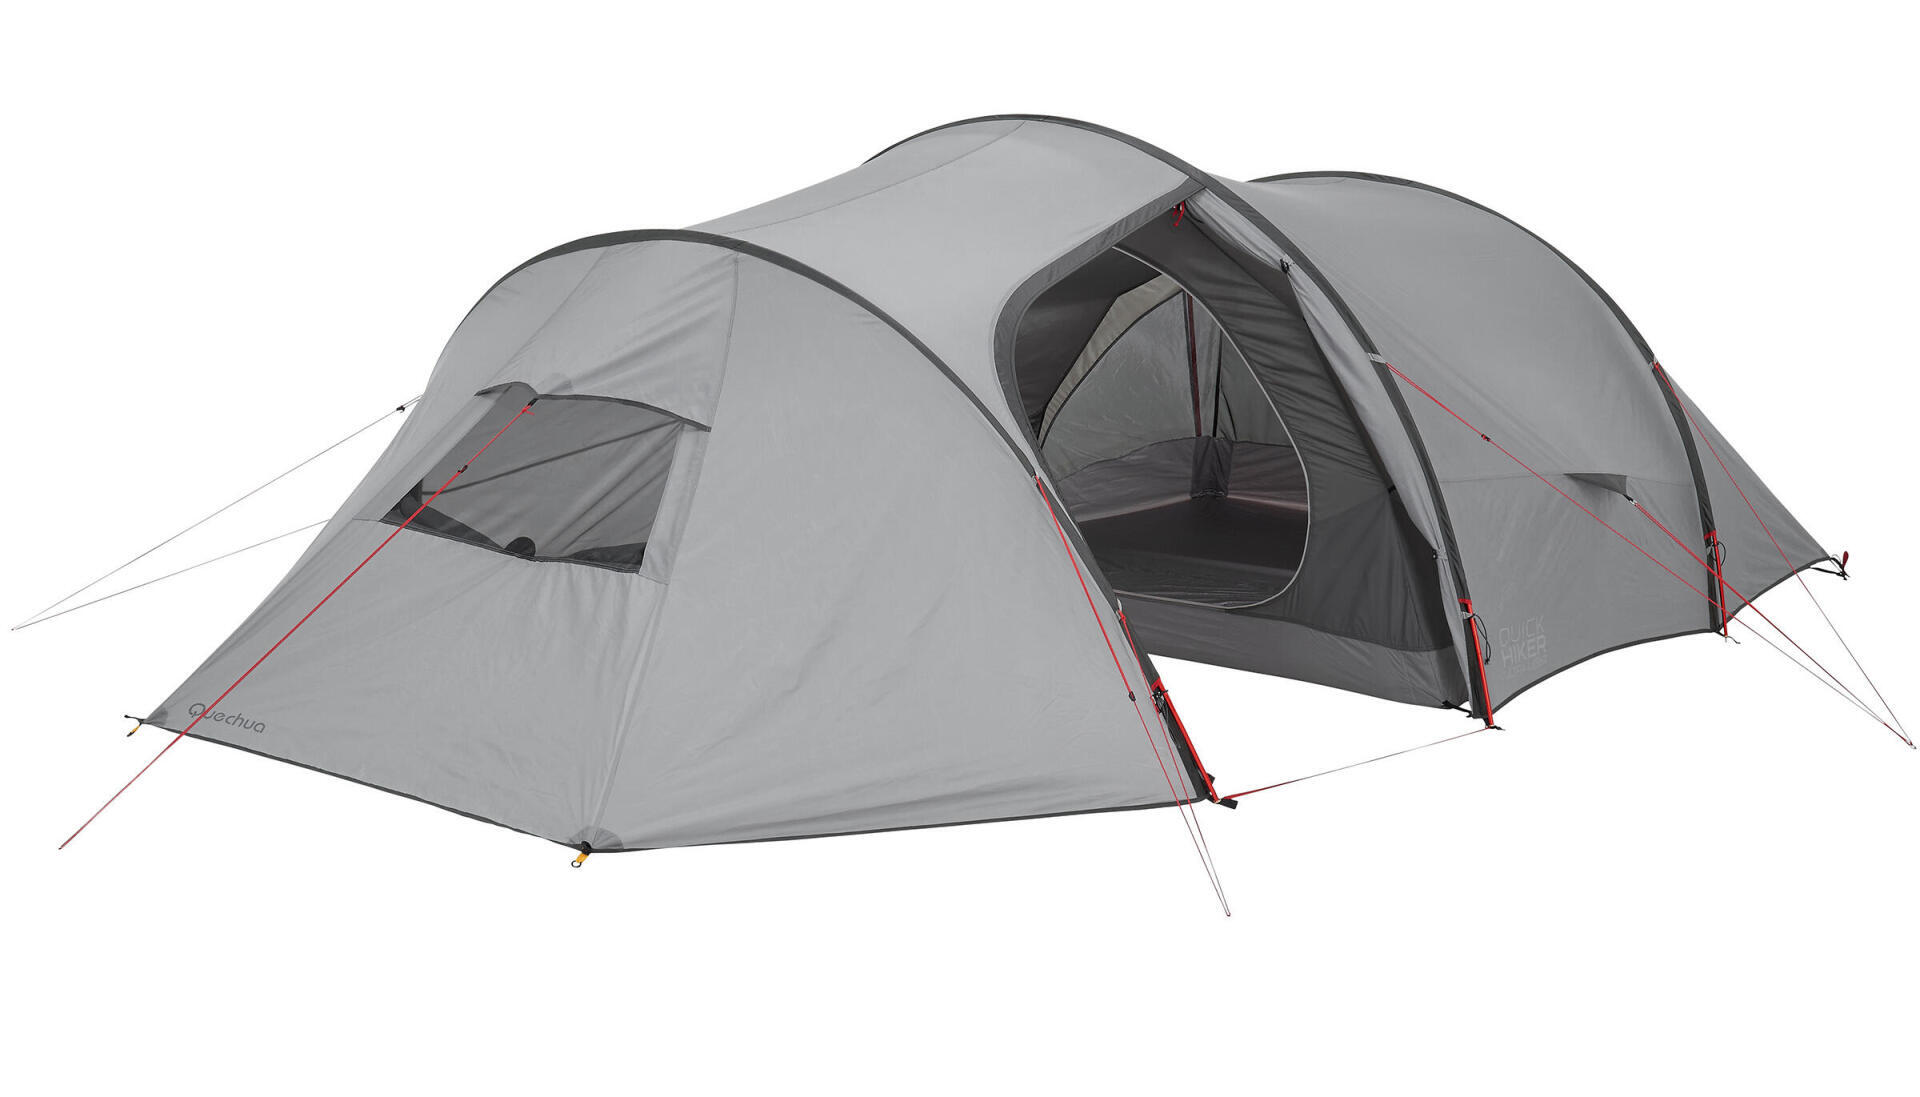
Pitching my trek tent
Check out the video on how to pitch our Quickhiker tents below! The principle is the same for all our models.
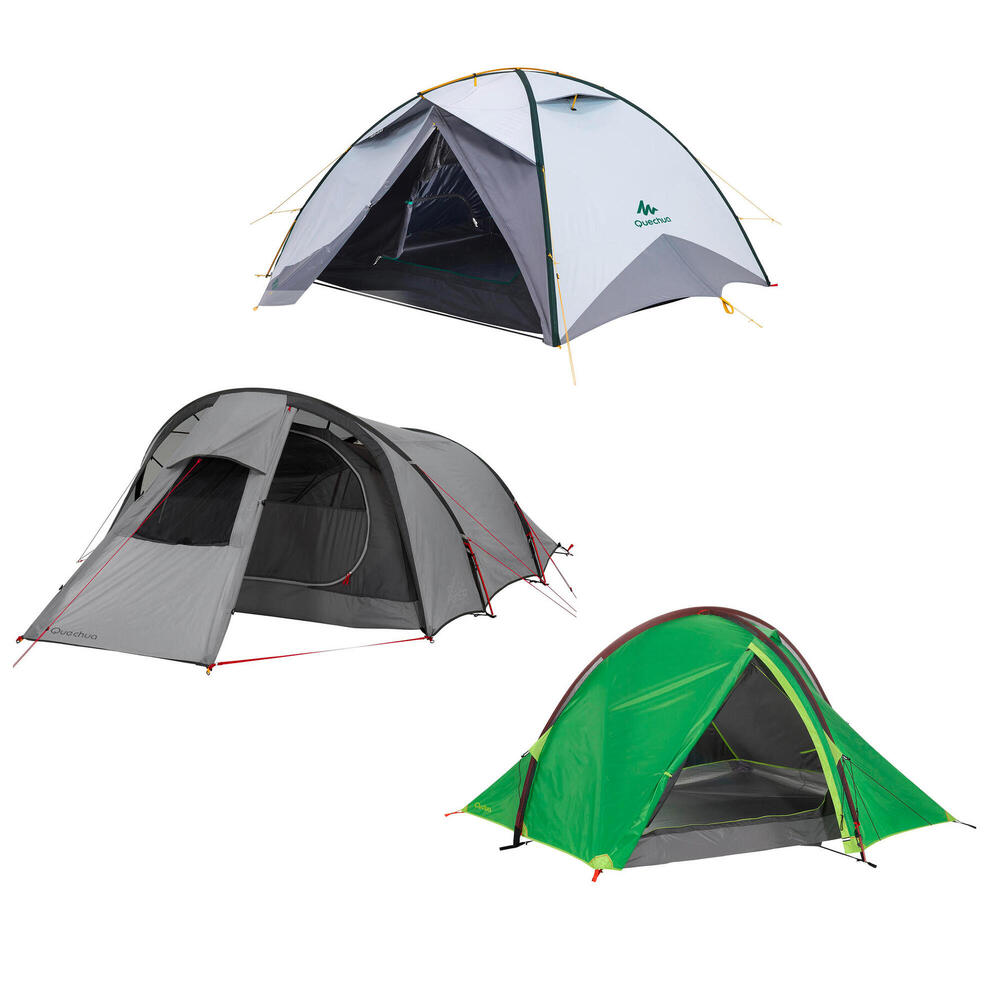
REF: 8386006, 8386007, 8386028, 8386029, 8206036
You've bought a Quickhiker trek tent and you have a question or have encountered a problem with your model? Don't worry, we are here to support you.
This information is compatible with all our Quickhiker tent models, regardless of capacity.
Check out the video on how to pitch our Quickhiker tents below! The principle is the same for all our models.
Quickhiker tents - pitching
Check out the video on how to strike our Quickhiker tents below! The principle is the same for all our models
Quickhiker tents - striking
To avoid unpleasant surprises when pitching your tent, it is good to carry out some checks before leaving home for peace of mind.
- Take your tent out of its bag to air it and reduce any bad odours, and clean
it if necessary (see our maintenance advice below).- Check the condition of your equipment: make sure that none of the tent poles are broken, that the guy ropes are not faulty, that you are not missing any tent pegs, etc.
- Inspect the fabric and the groundsheet to check that there are no holes
- Check the condition of the zips to see if they are working properly
Before pitching your tent, it is essential to choose an appropriate spot. So, we have listed some tips to help you find the perfect spot :
- Look for a flat and relatively clear ground (no stones, branches ...) to sleep well and not damage your tent
- Avoid pitching too close to a water point for many reasons: humidity, insects, the water level can rise up, etc.
- Reduce the exposure to the wind so that you don't get buffeted and opt for a relatively sheltered location, e.g. near undergrowth.
- The entrance of the tent should always be pointing away from the prevailing wind
- When it's cold, find a space that is exposed to the morning sun to avoid getting too cold.
To make it easier to pitch your tent, it is important to prepare the base well. Stretch the tent out on the ground by its bottom hooks to create a surface smooth, so that it can take shape correctly. What's more, fully assemble the tent poles before sliding them into the sleeves so that the pitching process is faster and more efficient.
Do not stretch the guy lines too much and leave them relatively loose so that the tent can withstand gusts of wind more effectively.
The pegs must be planted at 45° in the opposite direction of the tent to anchor to the ground better.
All our tents are tested in a laboratory to validate their waterproofness: a first test is carried out for 3 hours under 200 L of water per hour and per square met. The second test is carried out in real conditions by our experts.
In terms of wind resistance, our tents are also tested in a wind tunnel on a turntable.
More freshness and darkness to sleep better! Fresh & Black is a technology patented by Decathlon which allows the sun's rays to reflect and isolate light using specific materials. Therefore, we reduce the feeling of heat in your tent. To make the most of this technology, don't forget to ventilate your tent in the evening!
Recurring rain throughout the day, hot air that persists when the outside temperature drops, body heat… these are factors that can create condensation inside your tent. To avoid this phenomenon, here's some advice:
- Open the vents of your tent as much as possible, even when it's raining
- Avoid any creases when pitching your tent, as these favour the concentration of water drops
- Do not pitch your tent too close to a water point but rather in a sheltered place where temperature and humidity are regulated.
To remove the condensation already present, gently wipe off the droplets with a cloth and ventilate your tent as much as possible. Open the door and put the tent in a dry place so that it dries out.
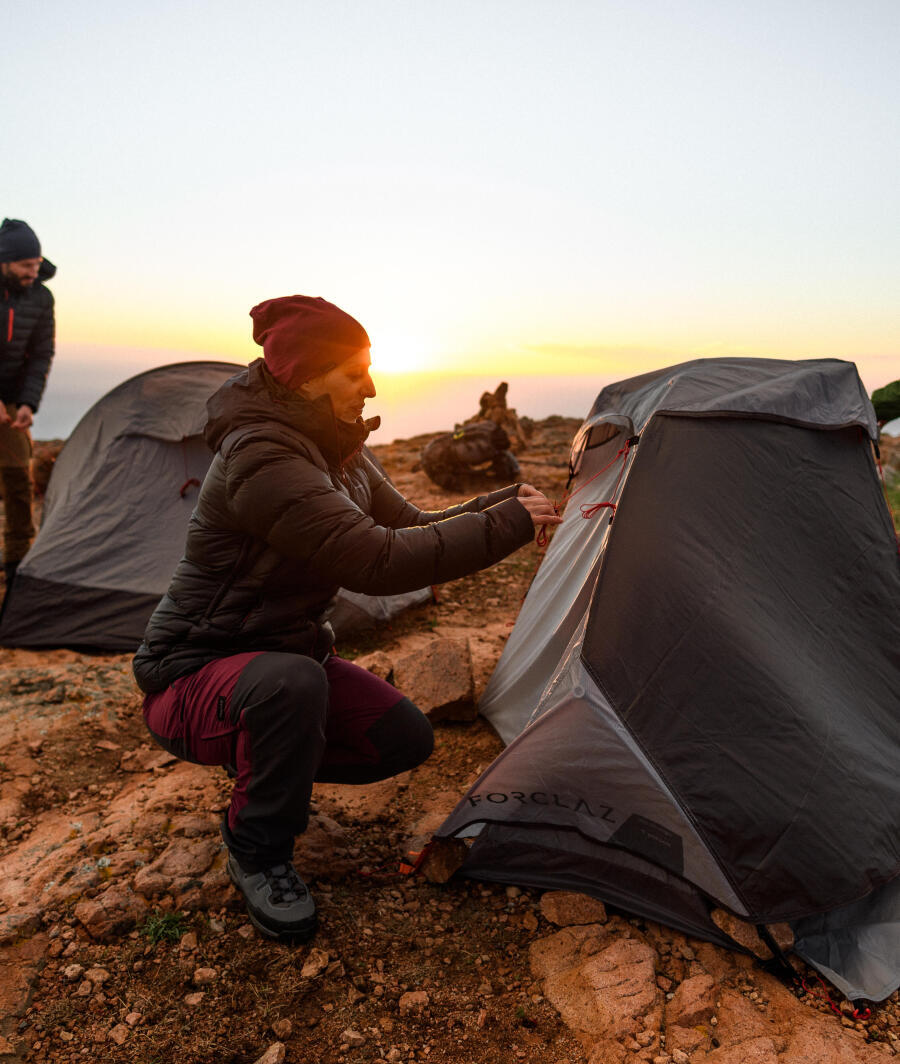
Using it correctly
Before pitching your tent, leave the front door closed to avoid stretching the canvas too much when you pitch the poles Do not tighten the guy ropes too much because too much tension on the canvas could damage it. Finally, do not leave the tent too exposed to the sun because UV light causes premature wear.
Cleaning
Do not use any cleaning products to wash your tent, but rather plain or soapy water if necessary. Make sure you rinse it well when you've finished.
Drying
It is important to dry your tent well after cleaning it to avoid traces of mold. If you have room at home, assemble it completely, open all the doors so that it drys quicker. If, on the contrary, you run out of space, detach the pieces one by one and extend them.
Finally, remember to dry the cover as well.
Storing
Store your tent in a dry place at room temperature. Remember to close the front door to prevent your tent from being too tight when you put it up again.
Re-waterproofing
Several factors can affect the waterproofness level of your tent, such as exposure to the sun, friction inside the cover or even natural wear.
Therefore, we advise you to apply a waterproofing spray on the canvas at least once a year.
Take advantage of the expertise of our employees and make an appointment online to benefit from one of the following workshop services.
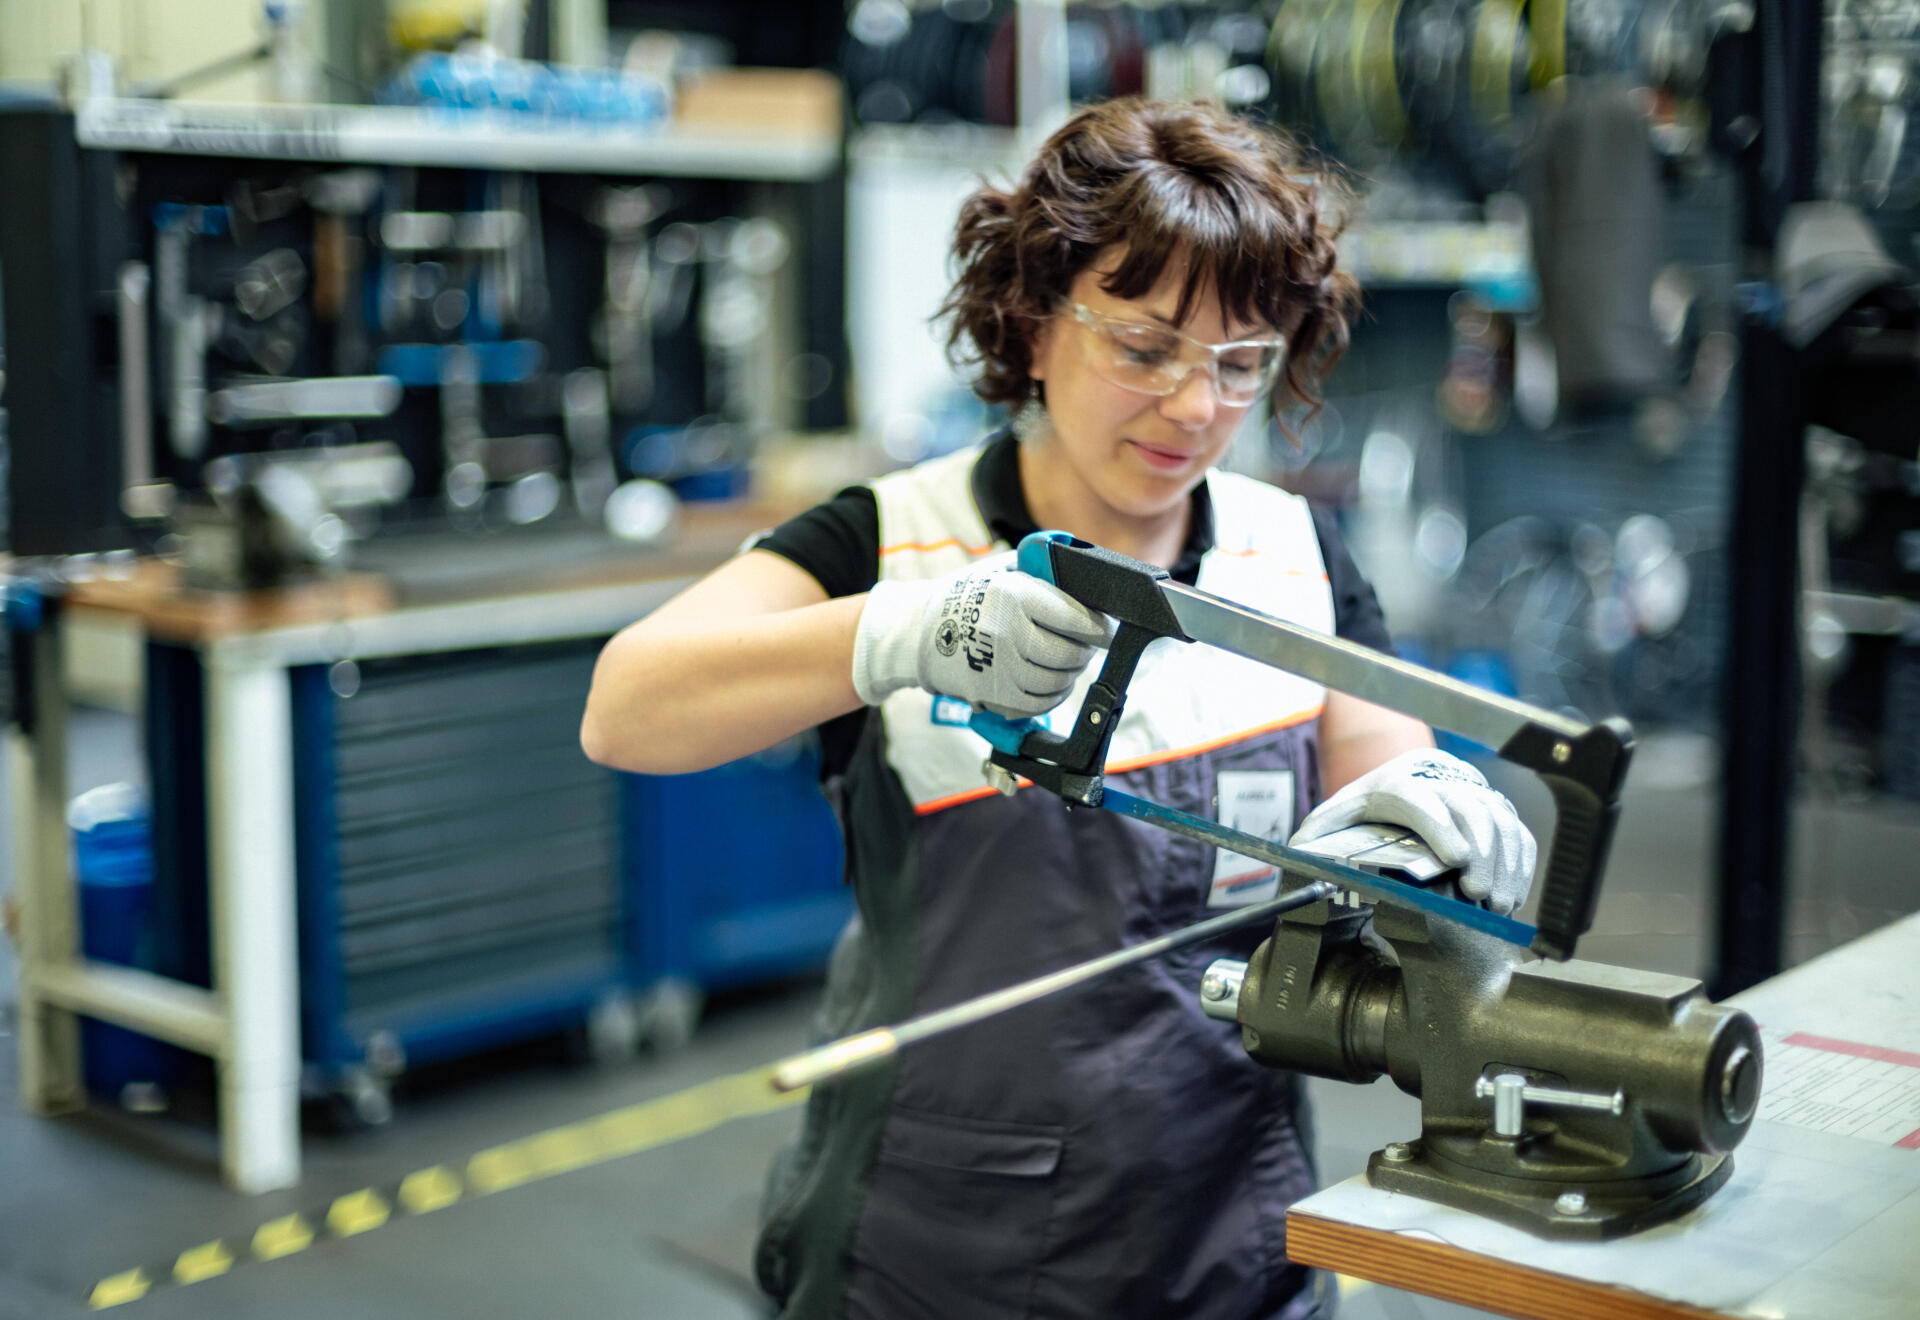
Replacing a tent pole section
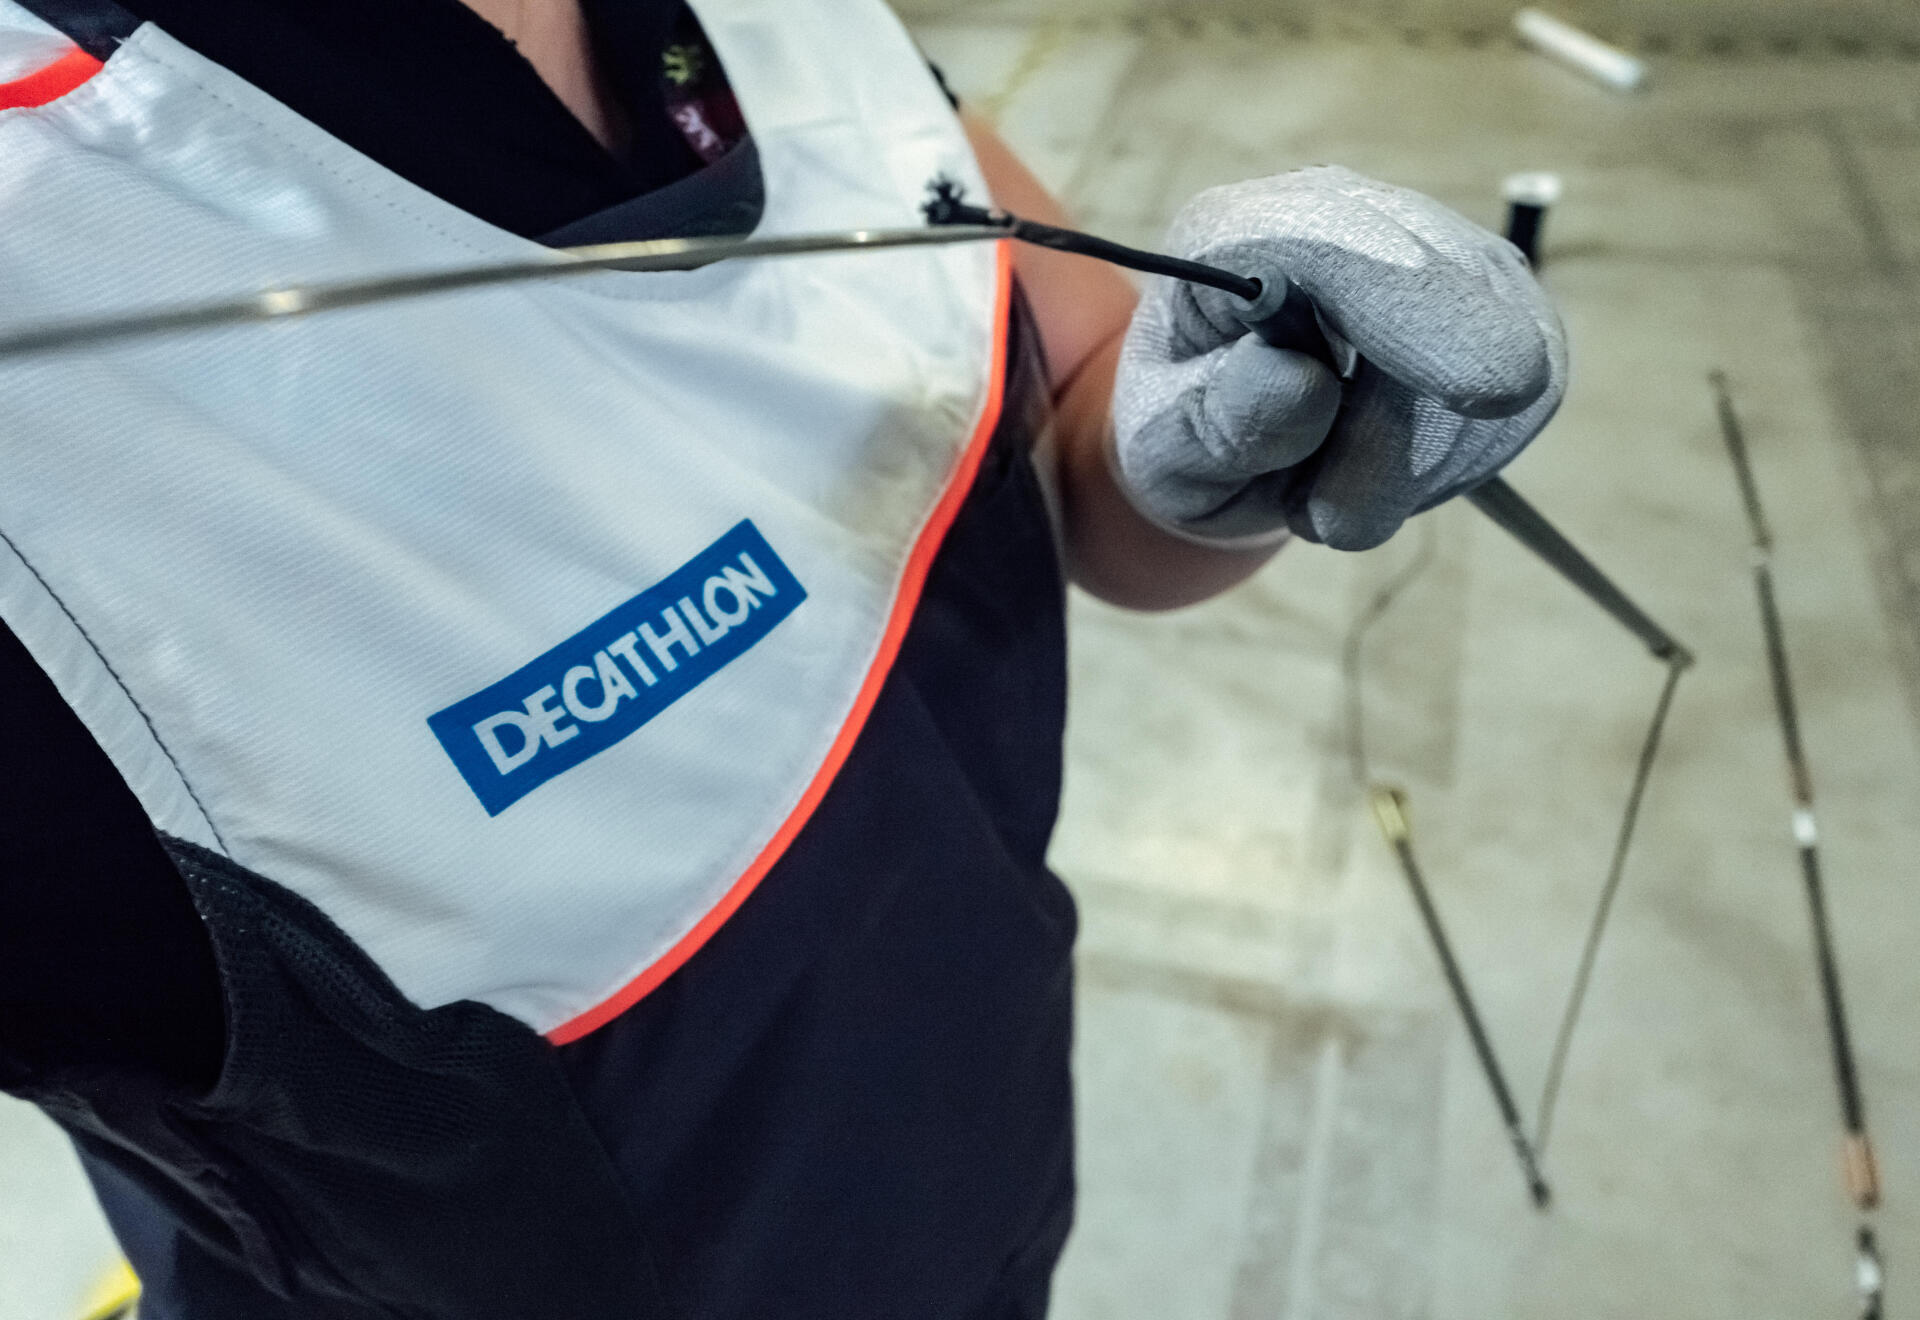
Replacing a tent pole elastic
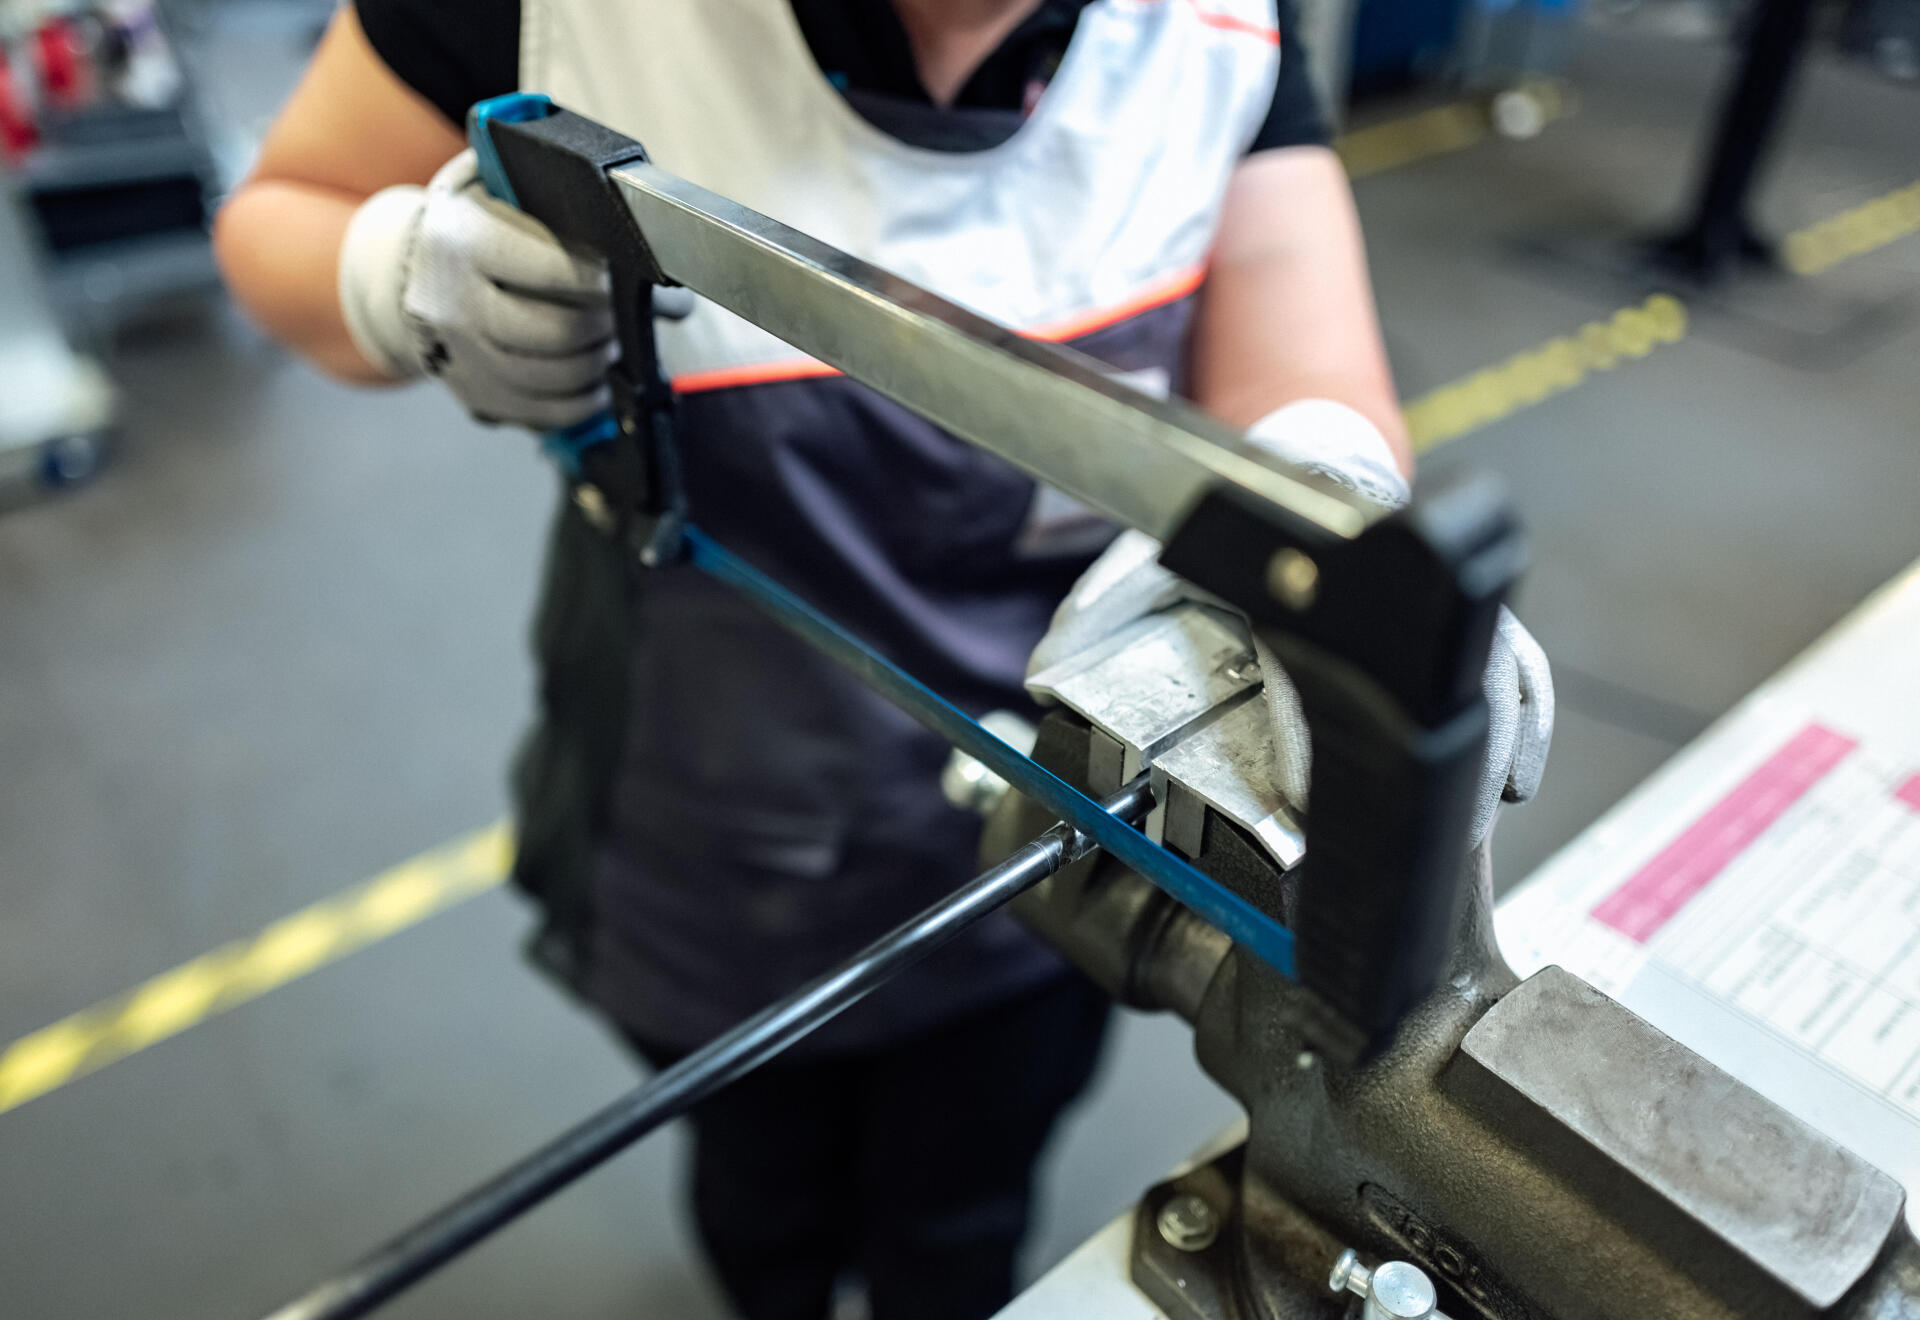
Pole assembly price
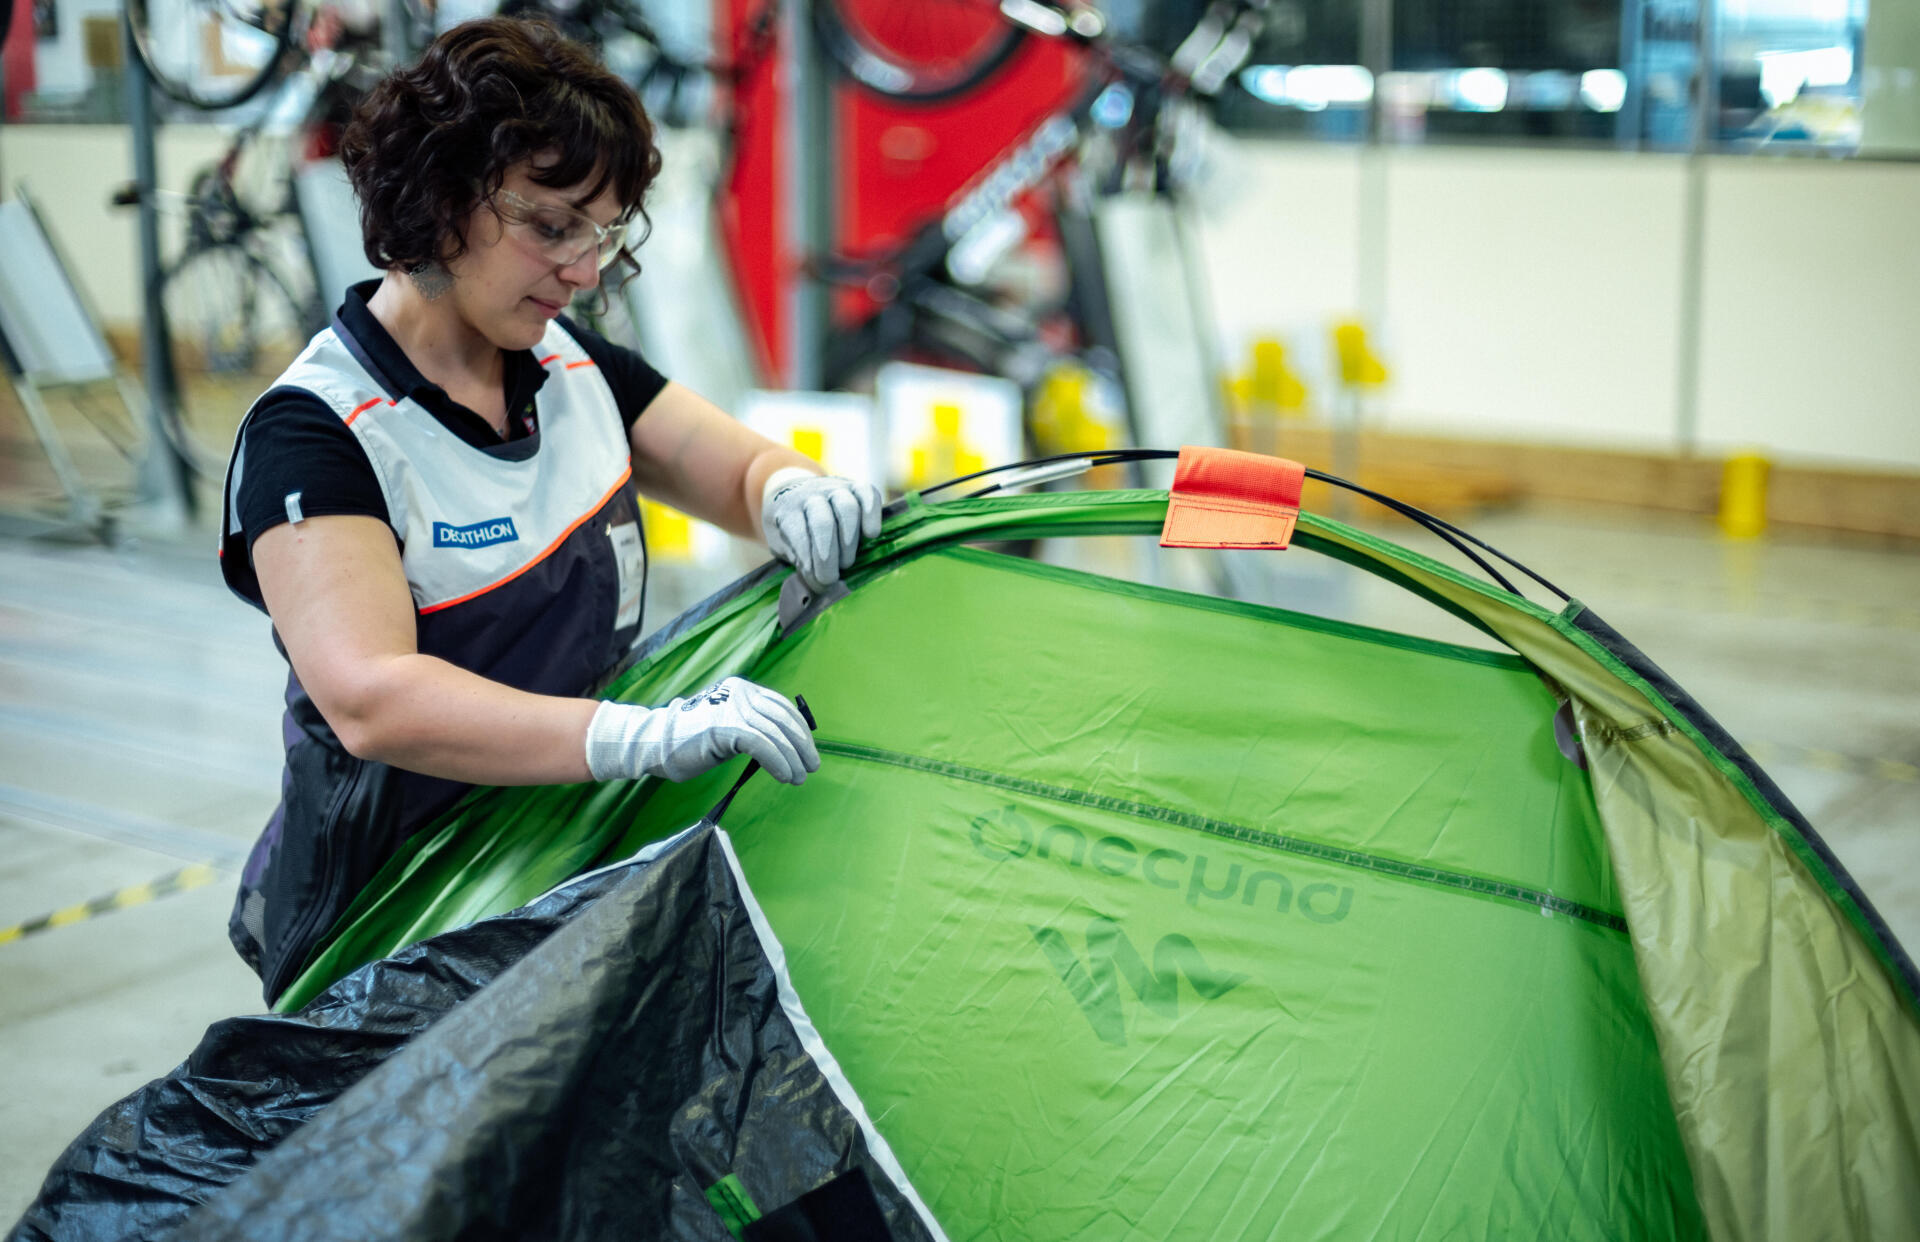
Replacing the flysheet
Choose the model of your tent and find all the compatible spare parts so you can carry out the repairs yourself. To repair the poles, there is a diagram that you can use to identify the faulty part and find out the correct length.
Check out the technical drawing of your tent by clicking here to work out which type of spare part matches your need.
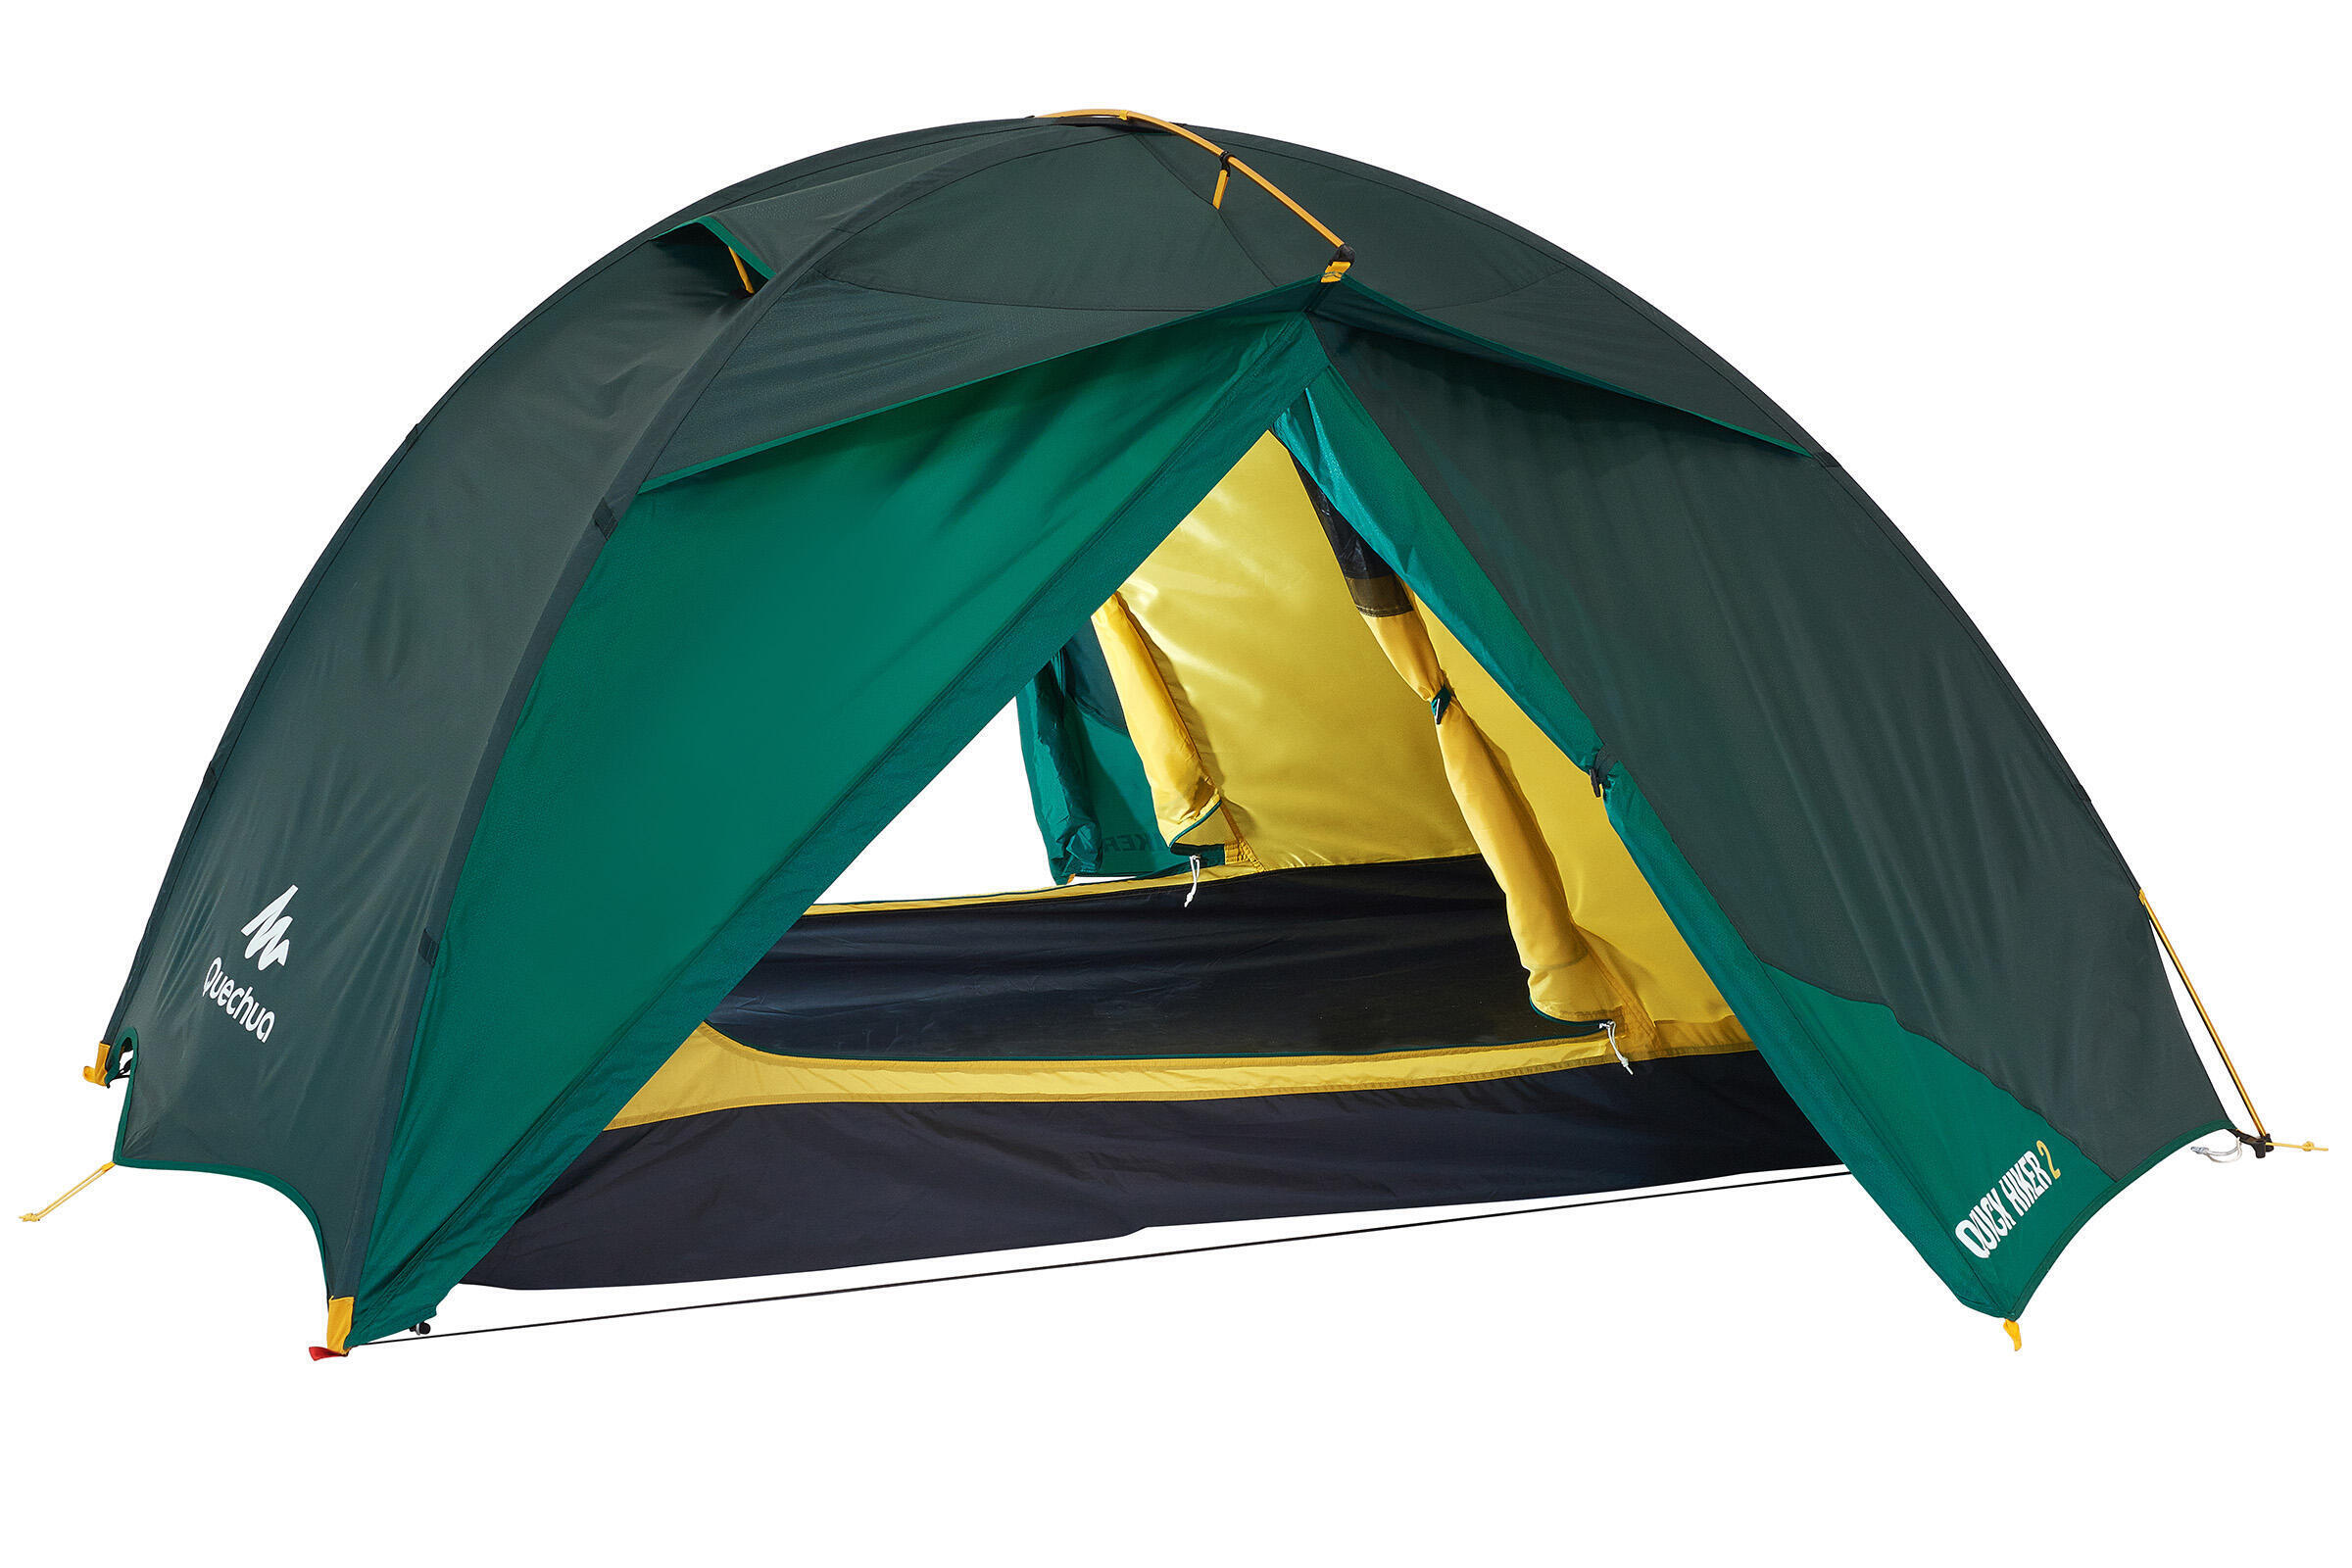
Check out the technical drawing of your tent by clicking here to work out which type of spare part matches your need.
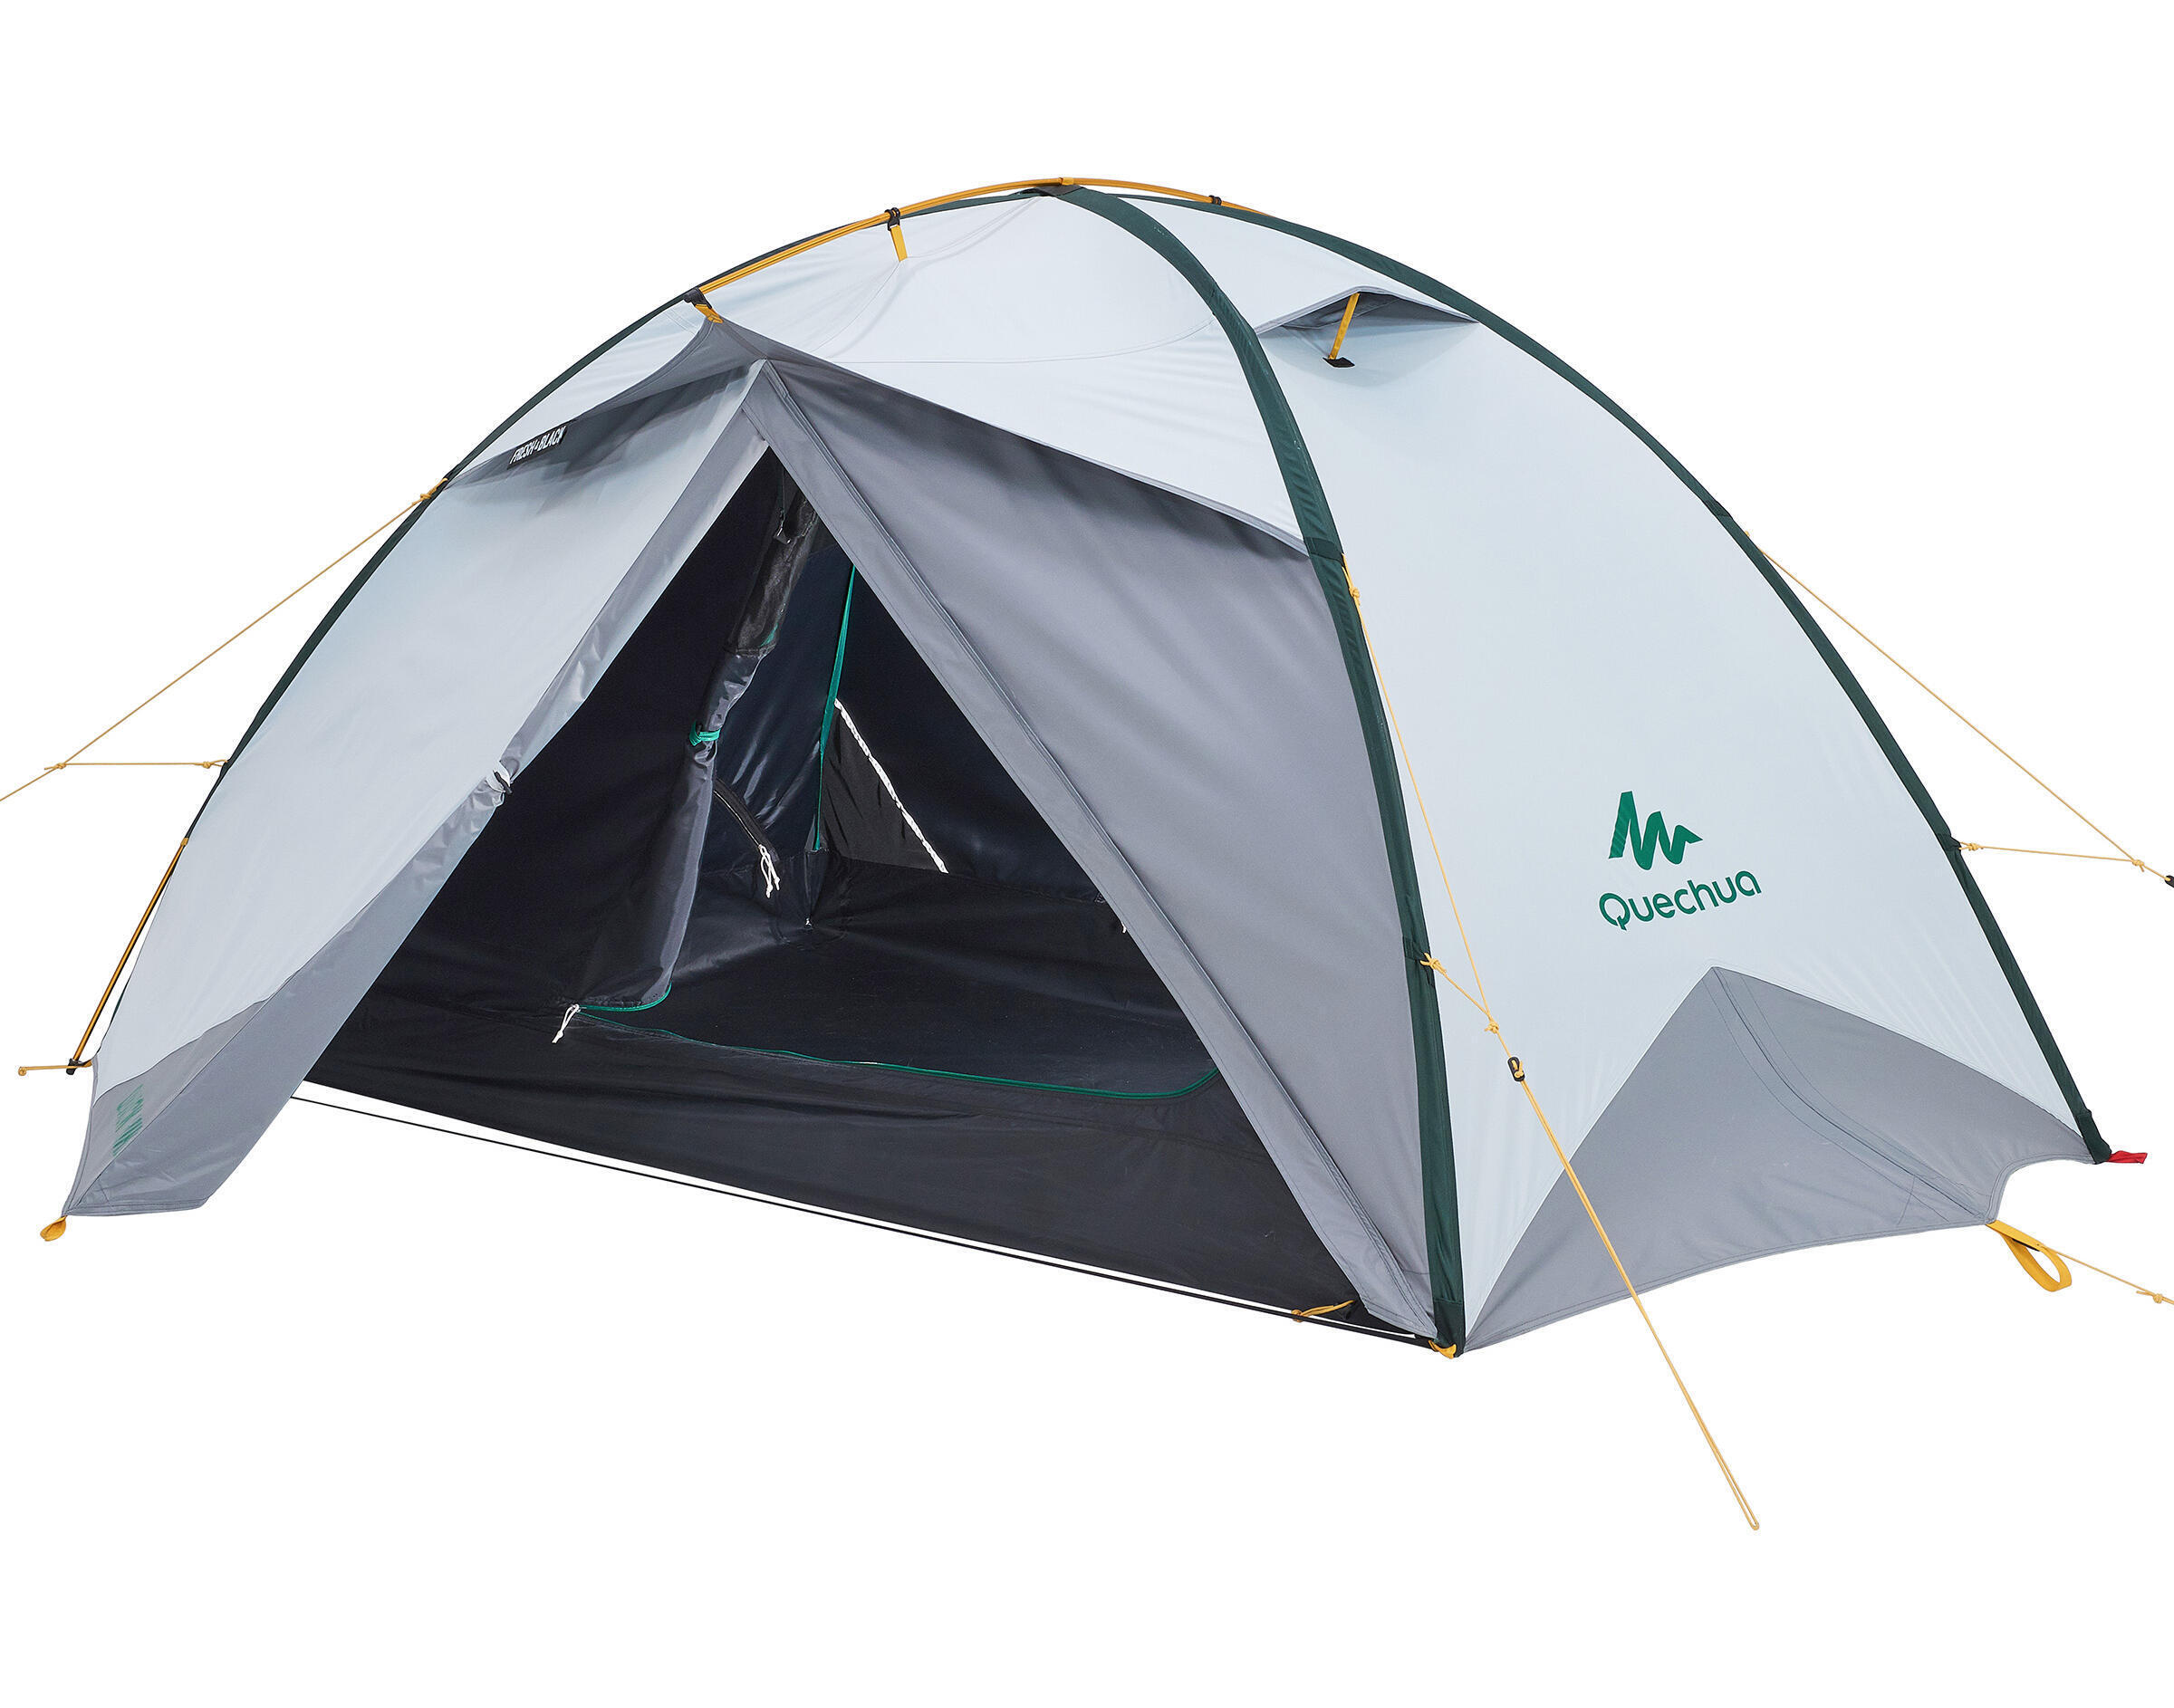
Find all the spare parts compatible with the Quickhiker by clicking the link below.
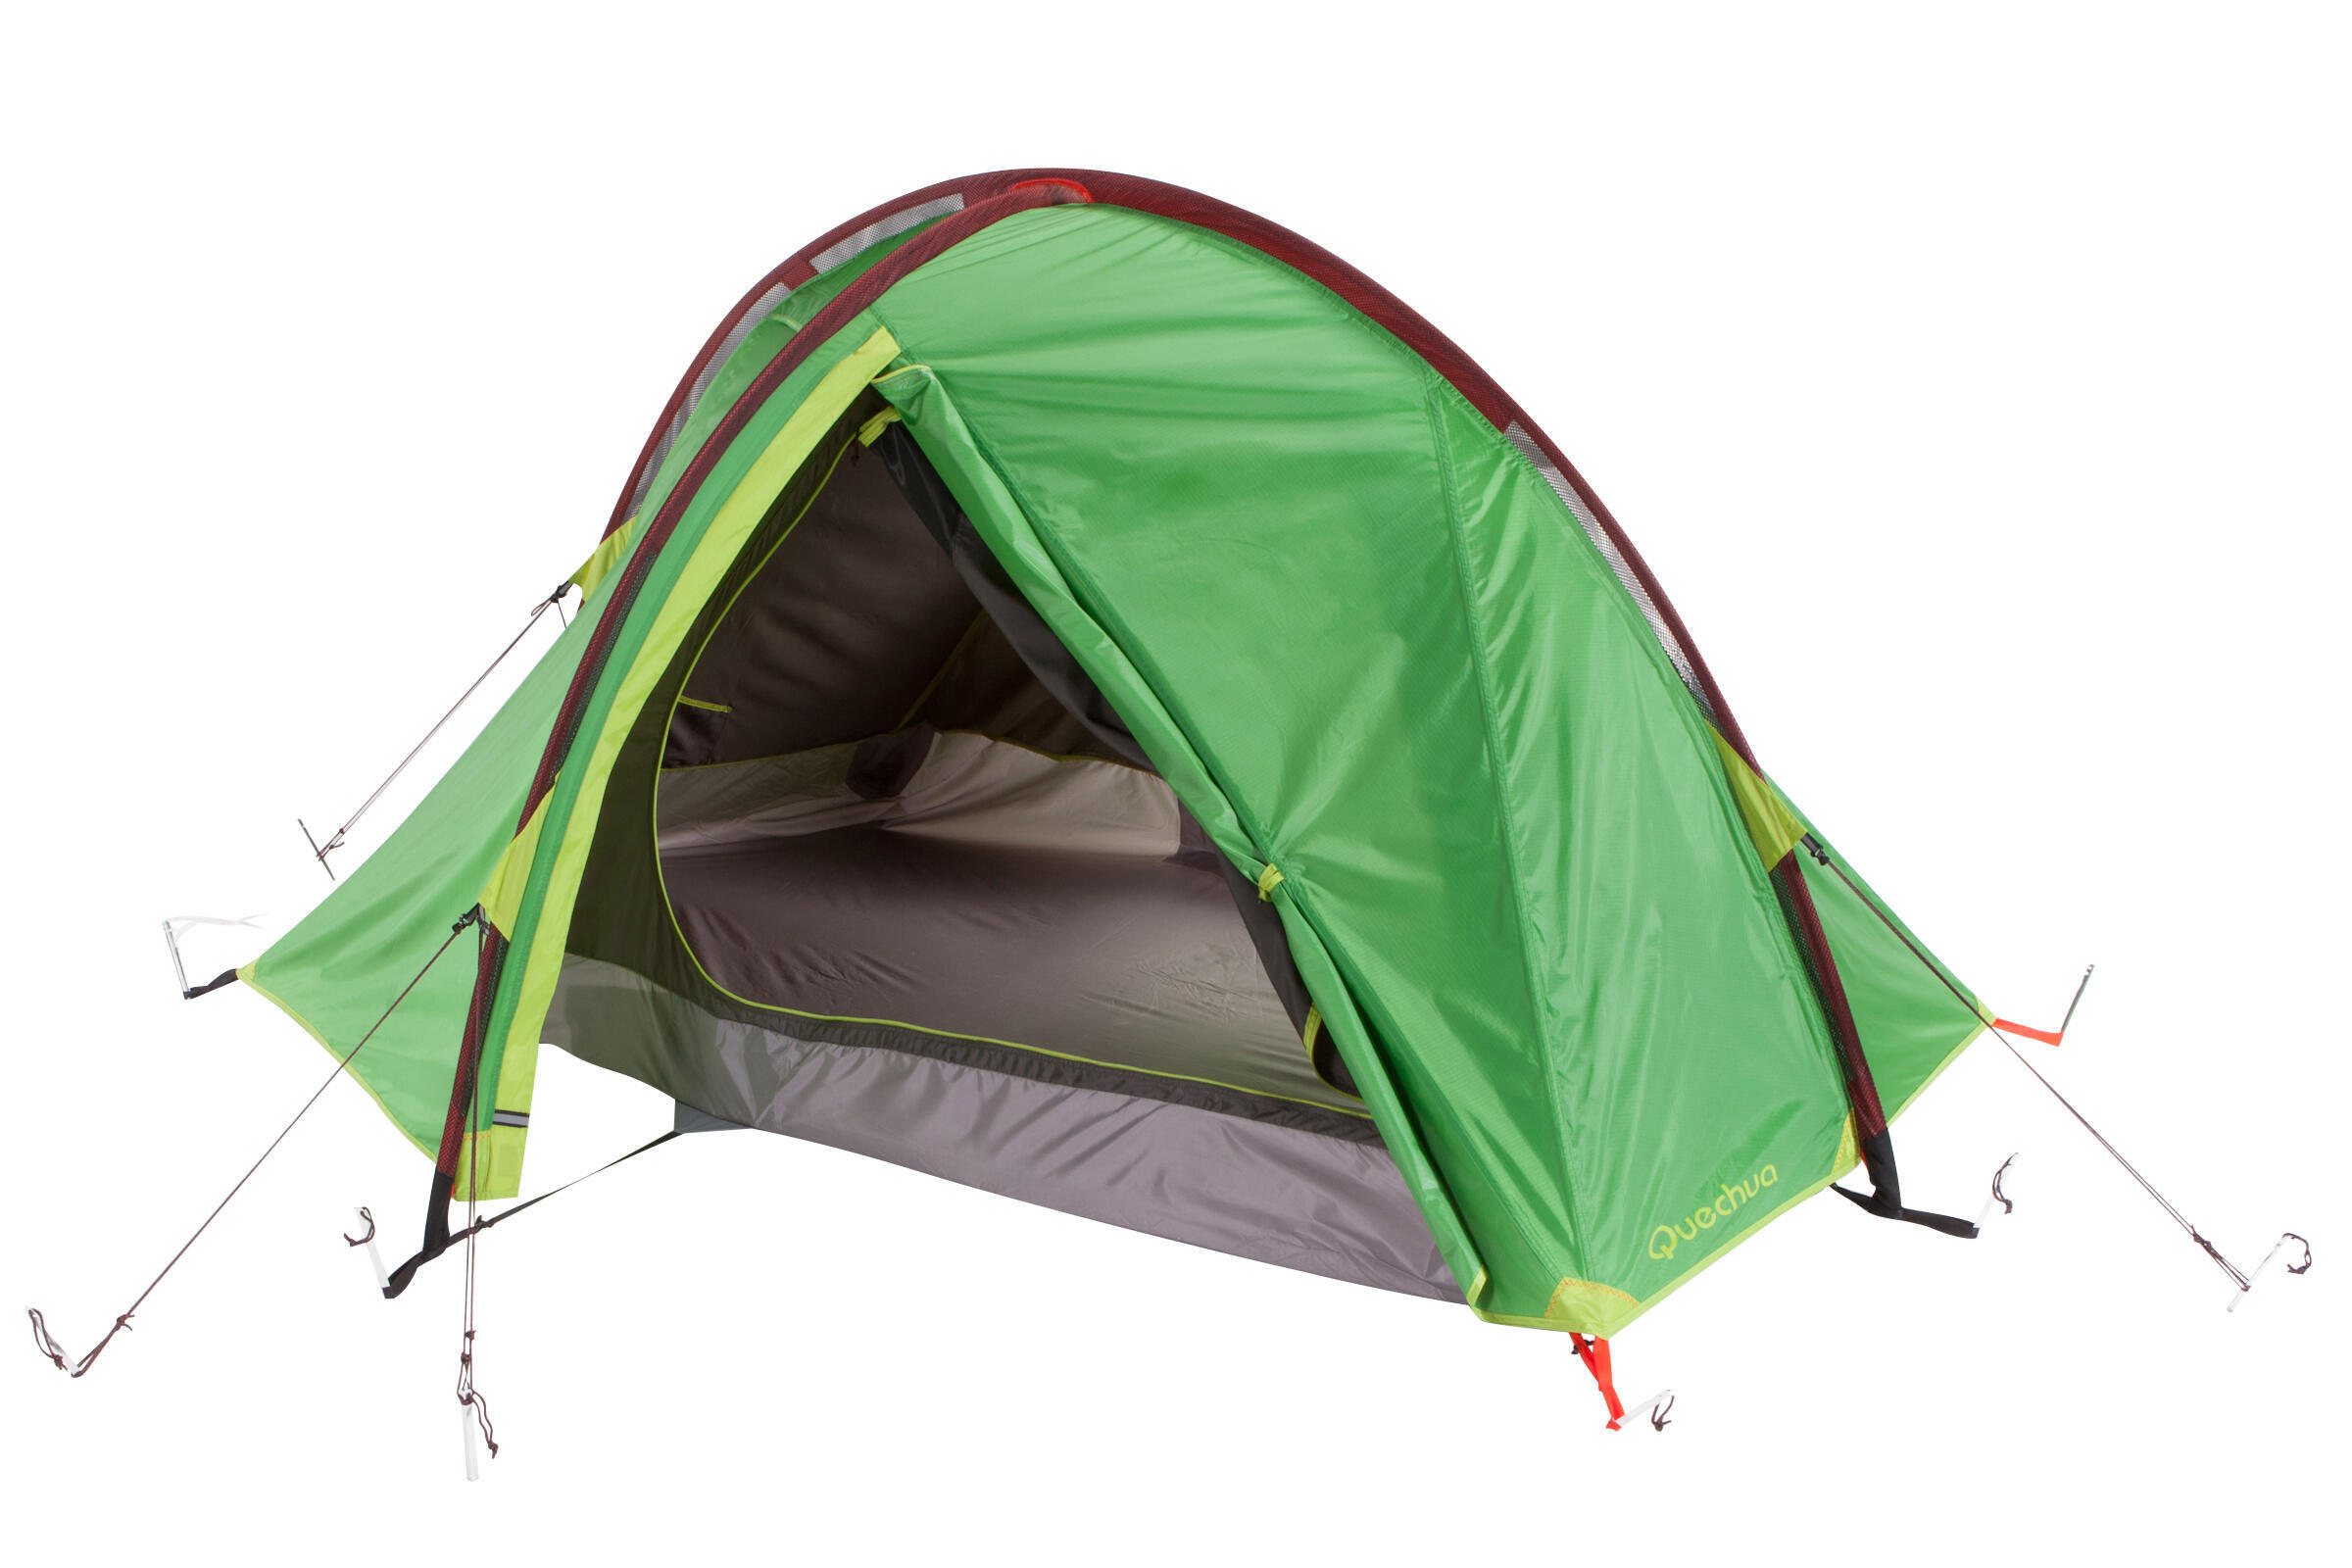
Find all the spare parts compatible with the Quickhiker by clicking the link below.

Check out the technical drawing of your tent by clicking here to work out which type of spare part matches your need.
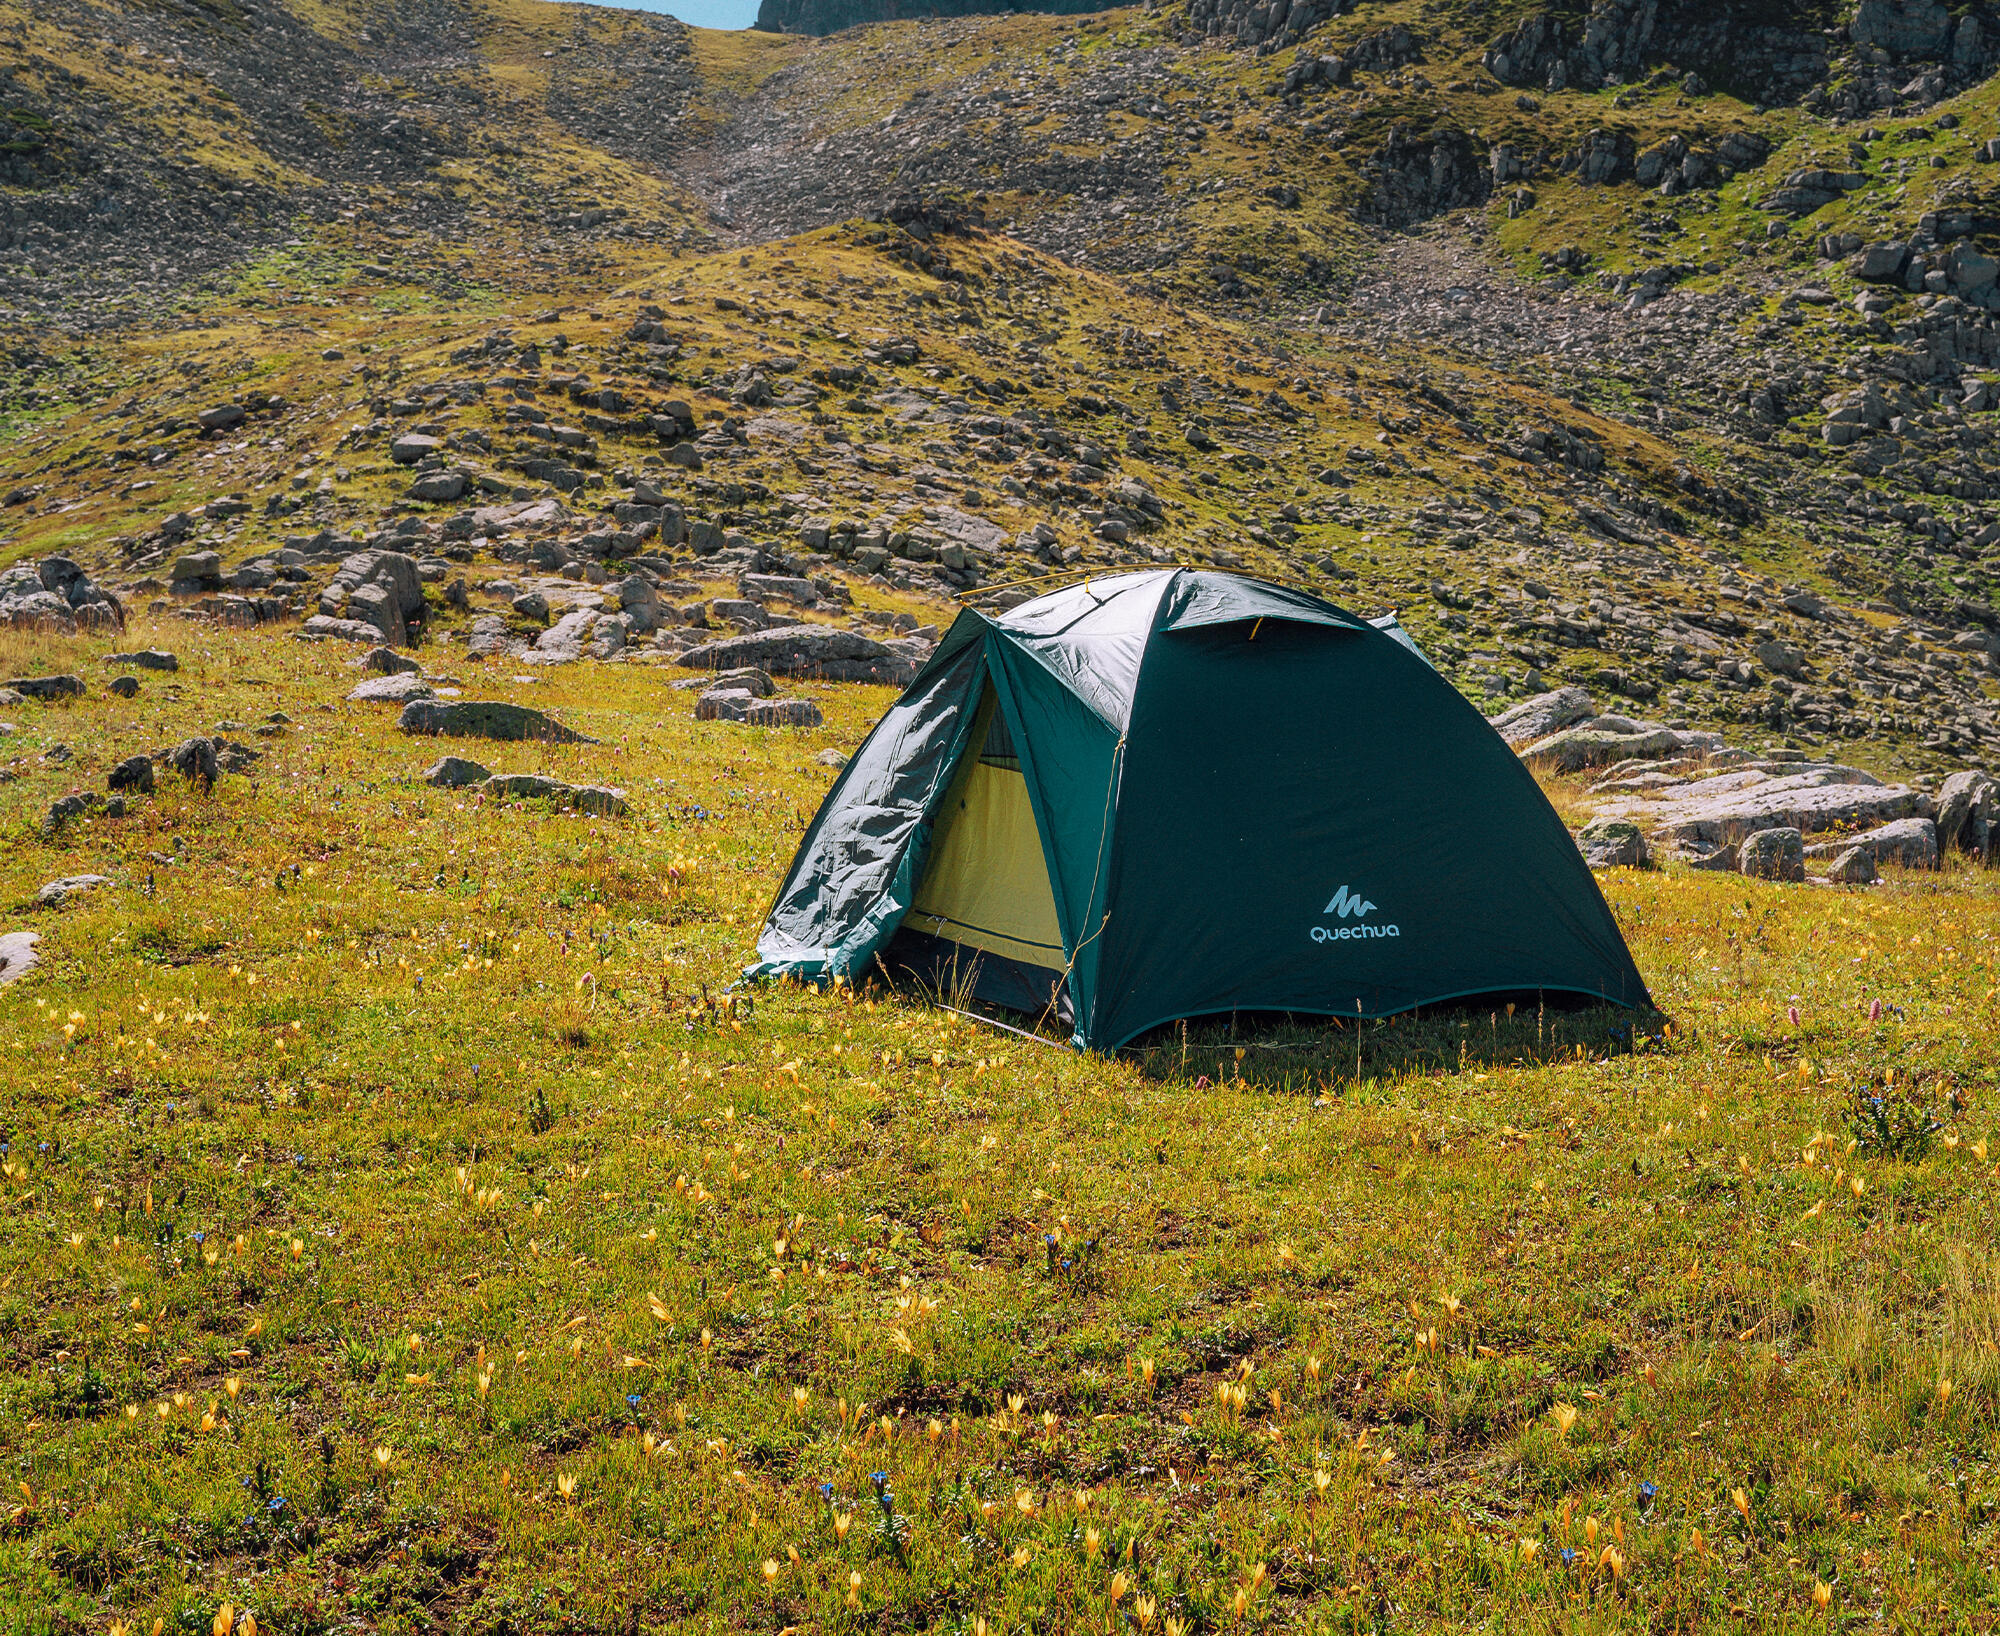
Check out the technical drawing of your tent by clicking here to work out which type of spare part matches your need.
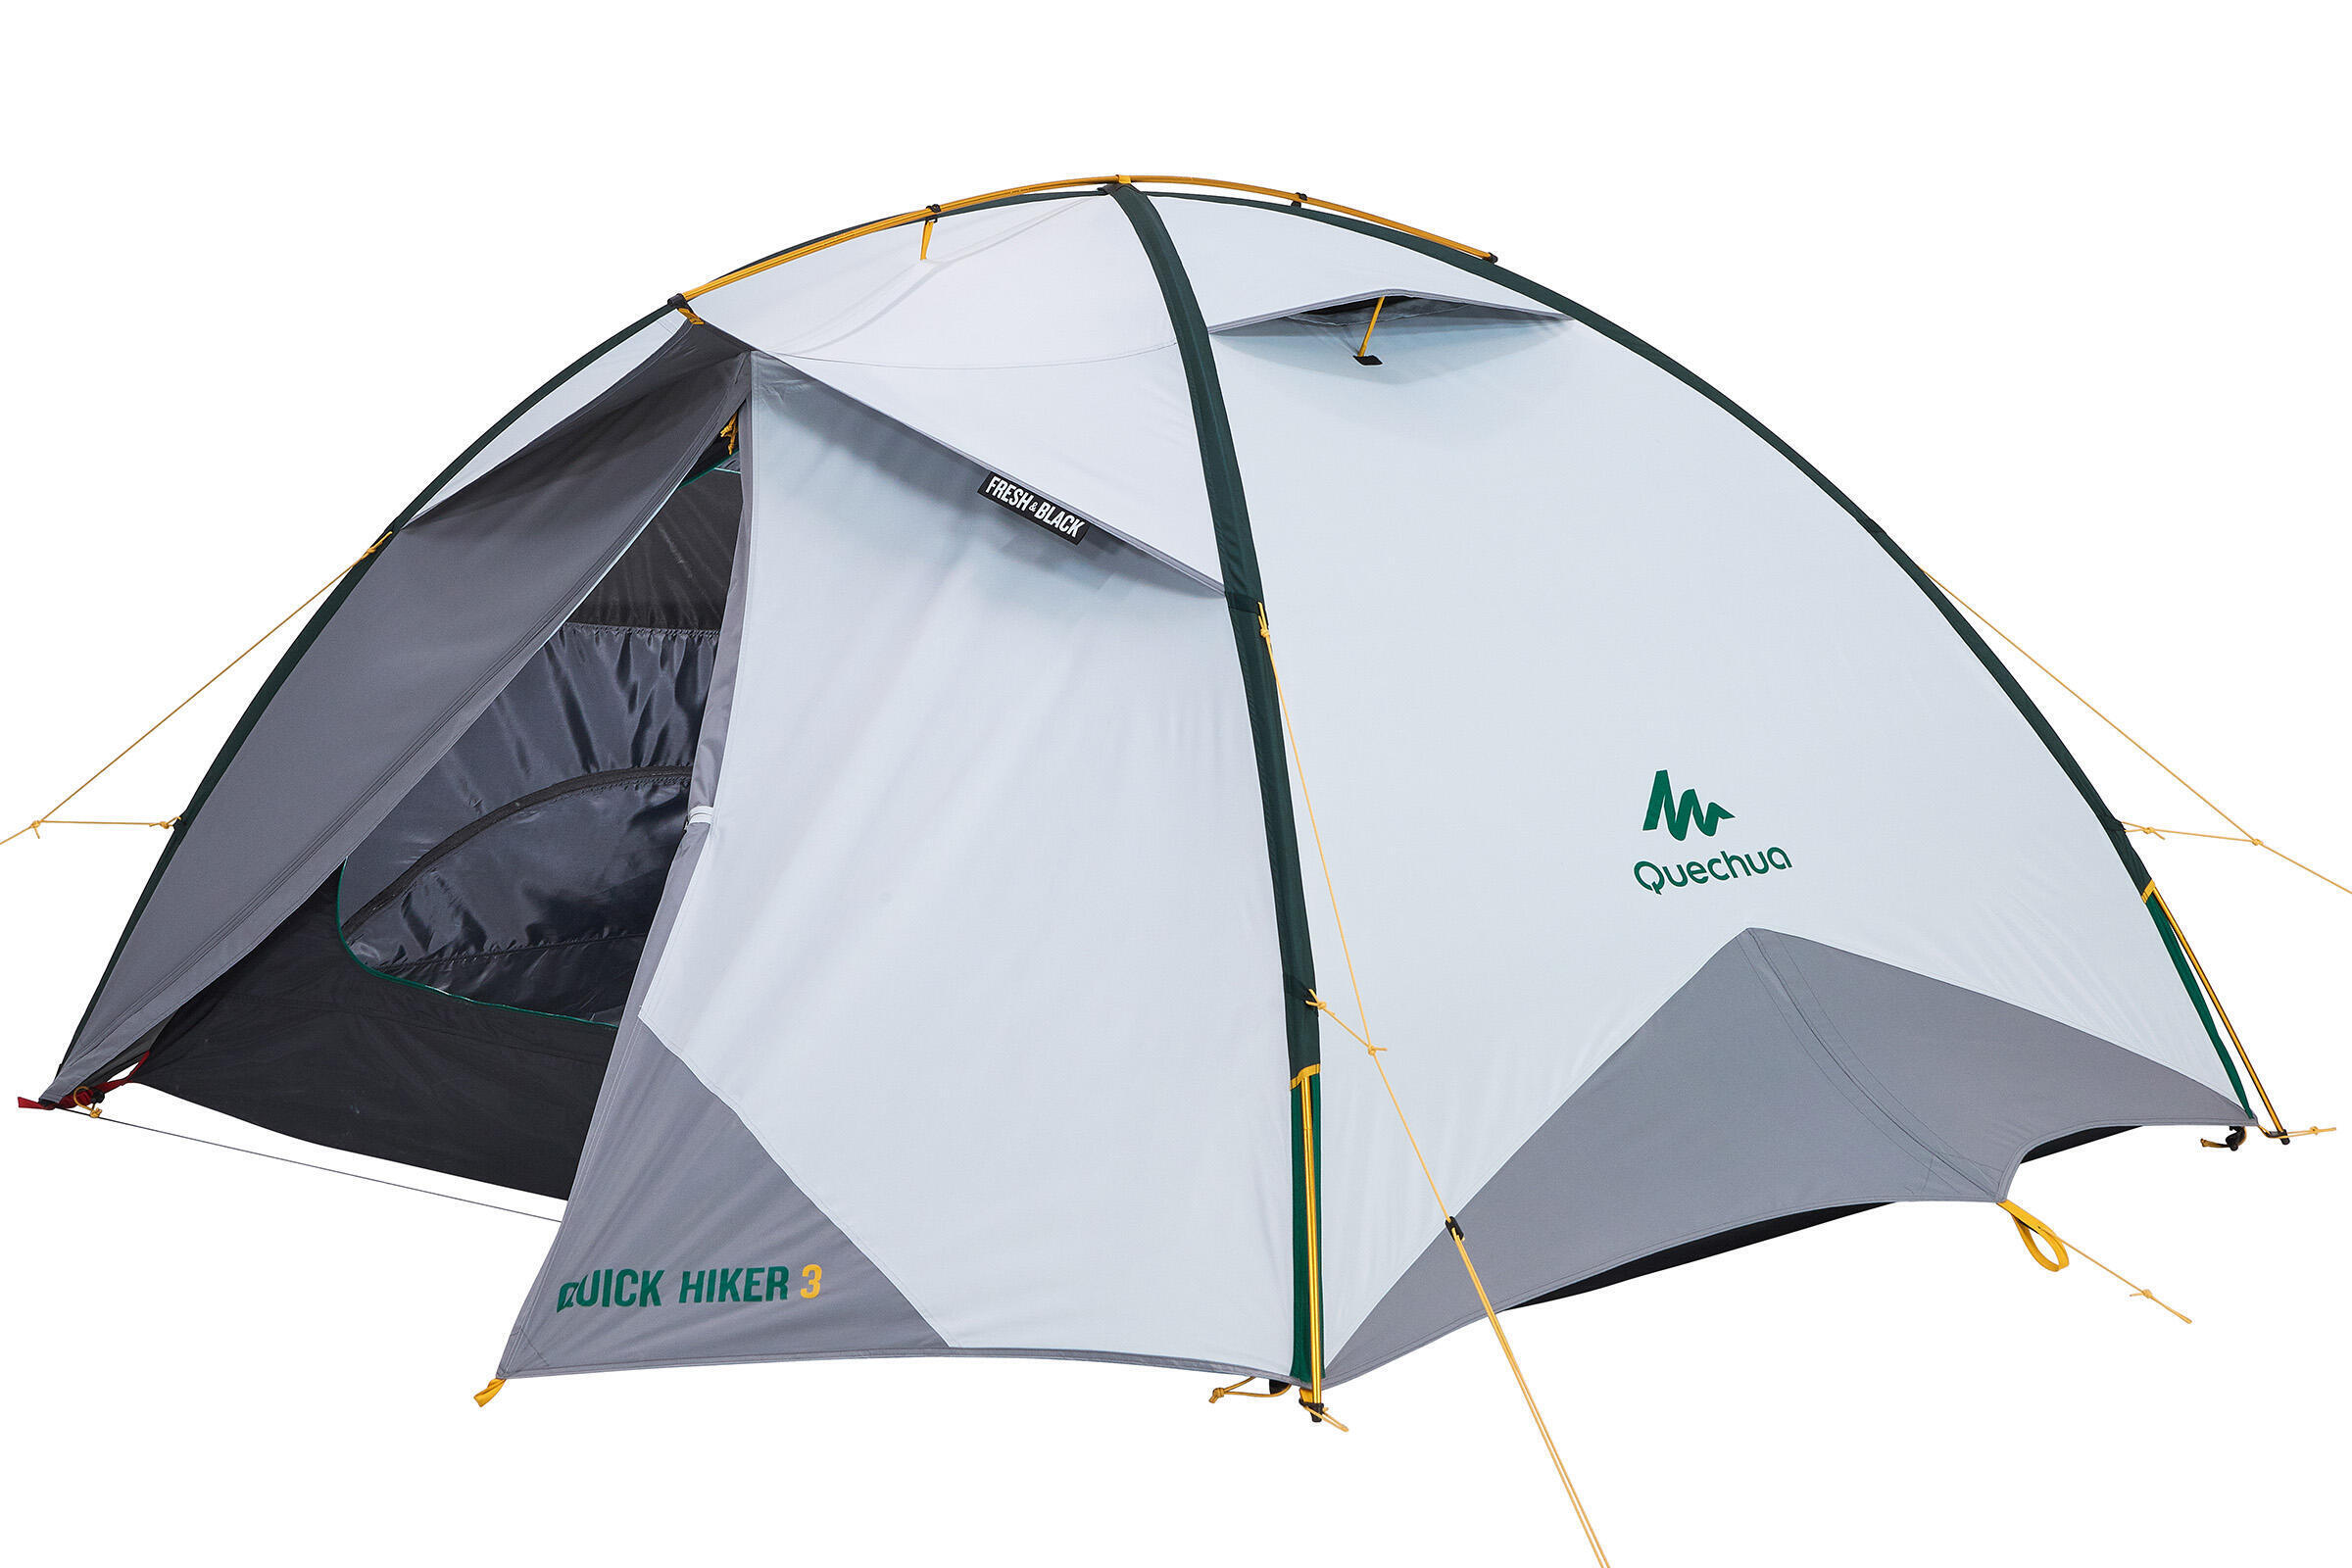
Check out the technical drawing of your tent by clicking here to work out which type of spare part matches your need.
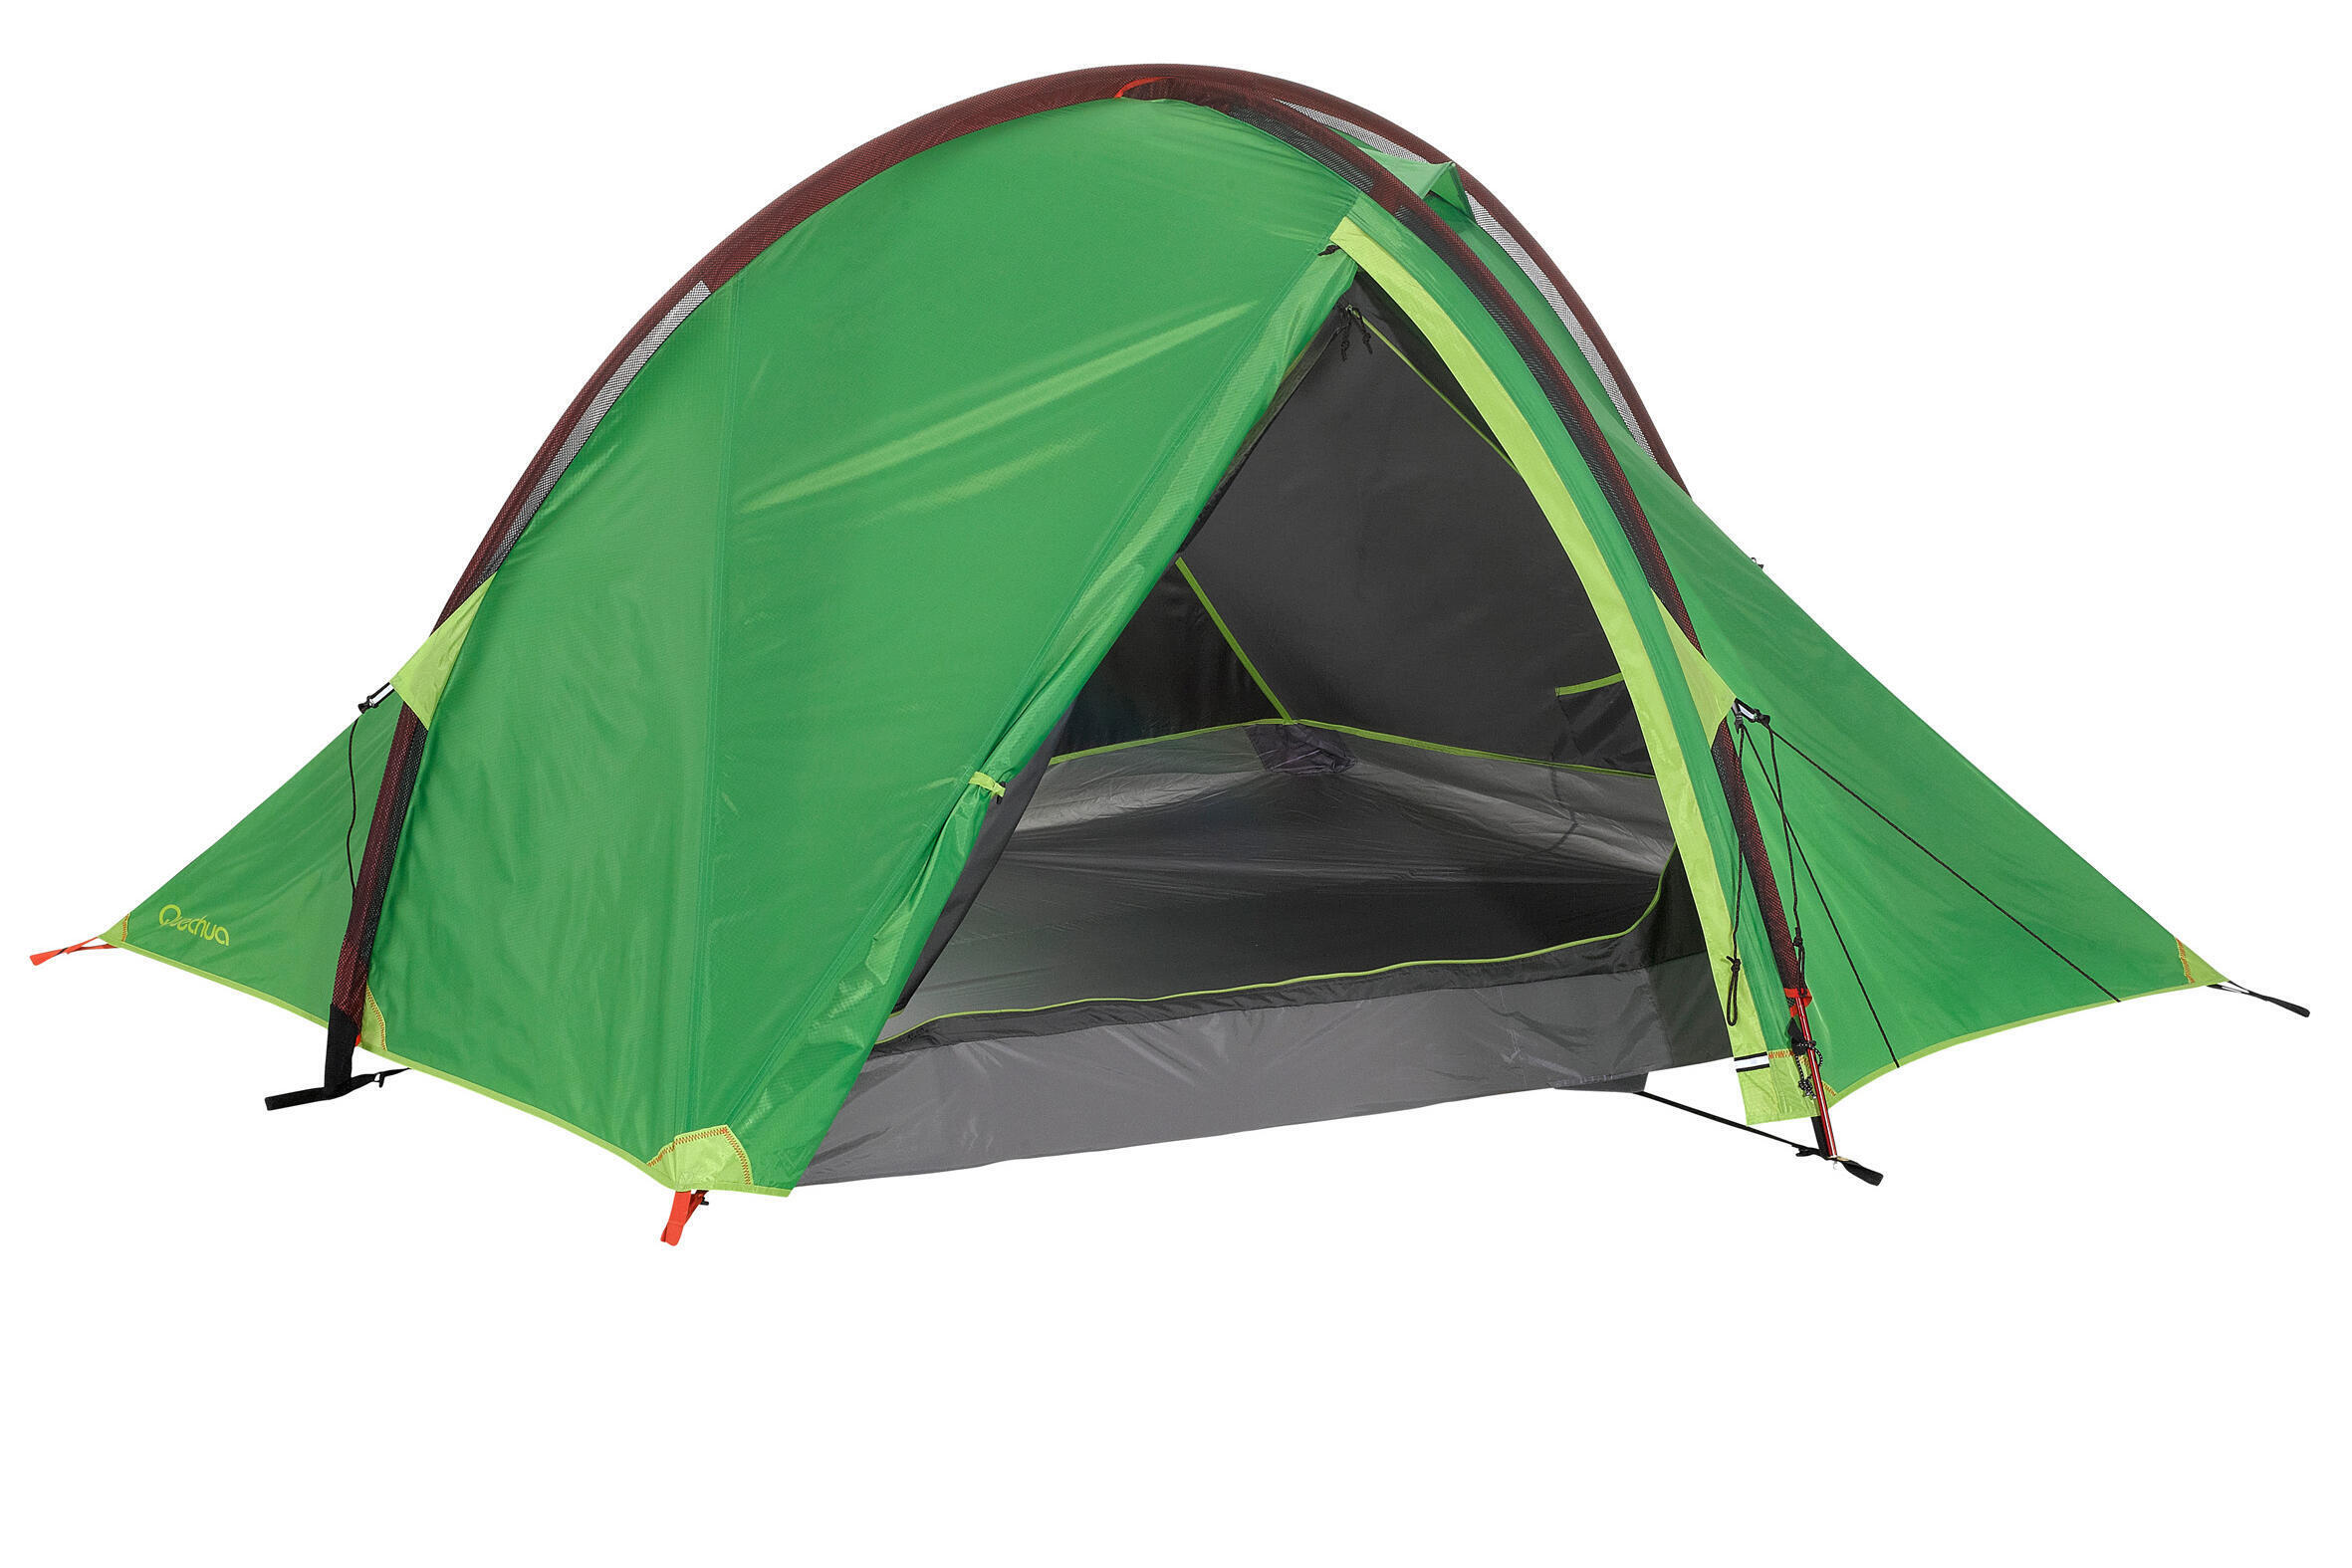
Check out the technical drawing of your tent by clicking here to work out which type of spare part matches your need.

Check out the technical drawing of your tent by clicking here to work out which type of spare part matches your need.
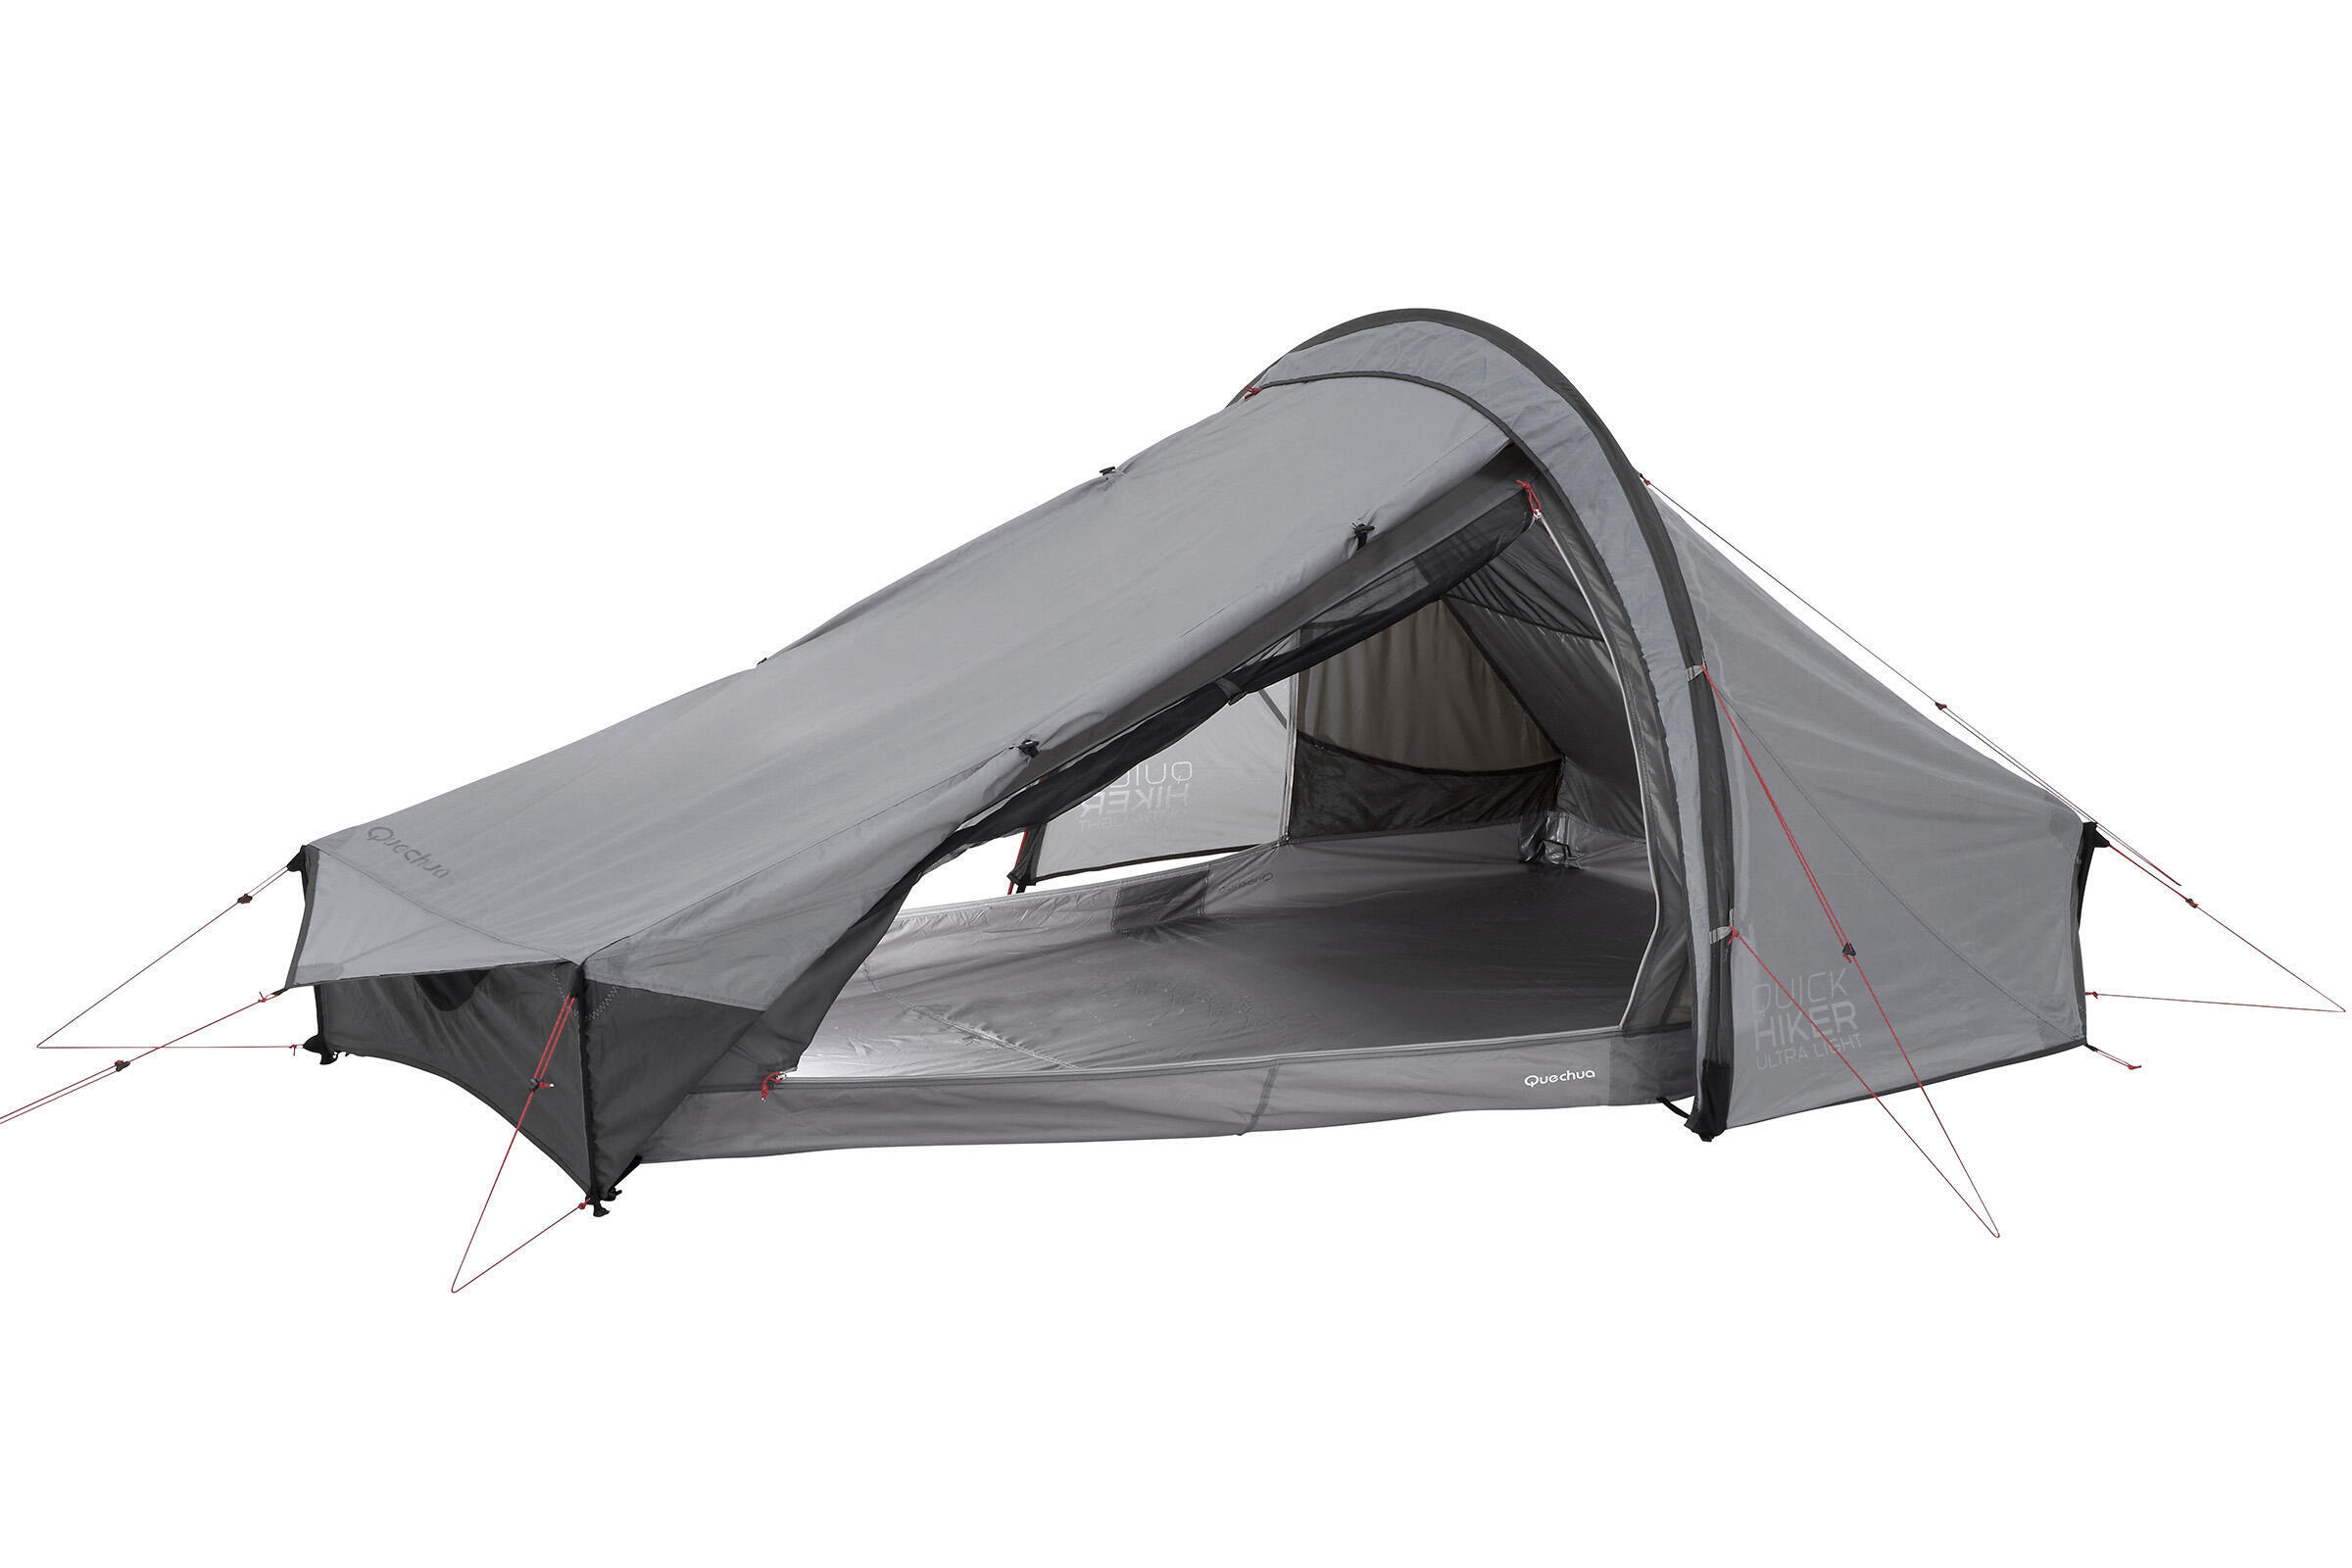
Check out the technical drawing of your tent by clicking here to work out which type of spare part matches your need.
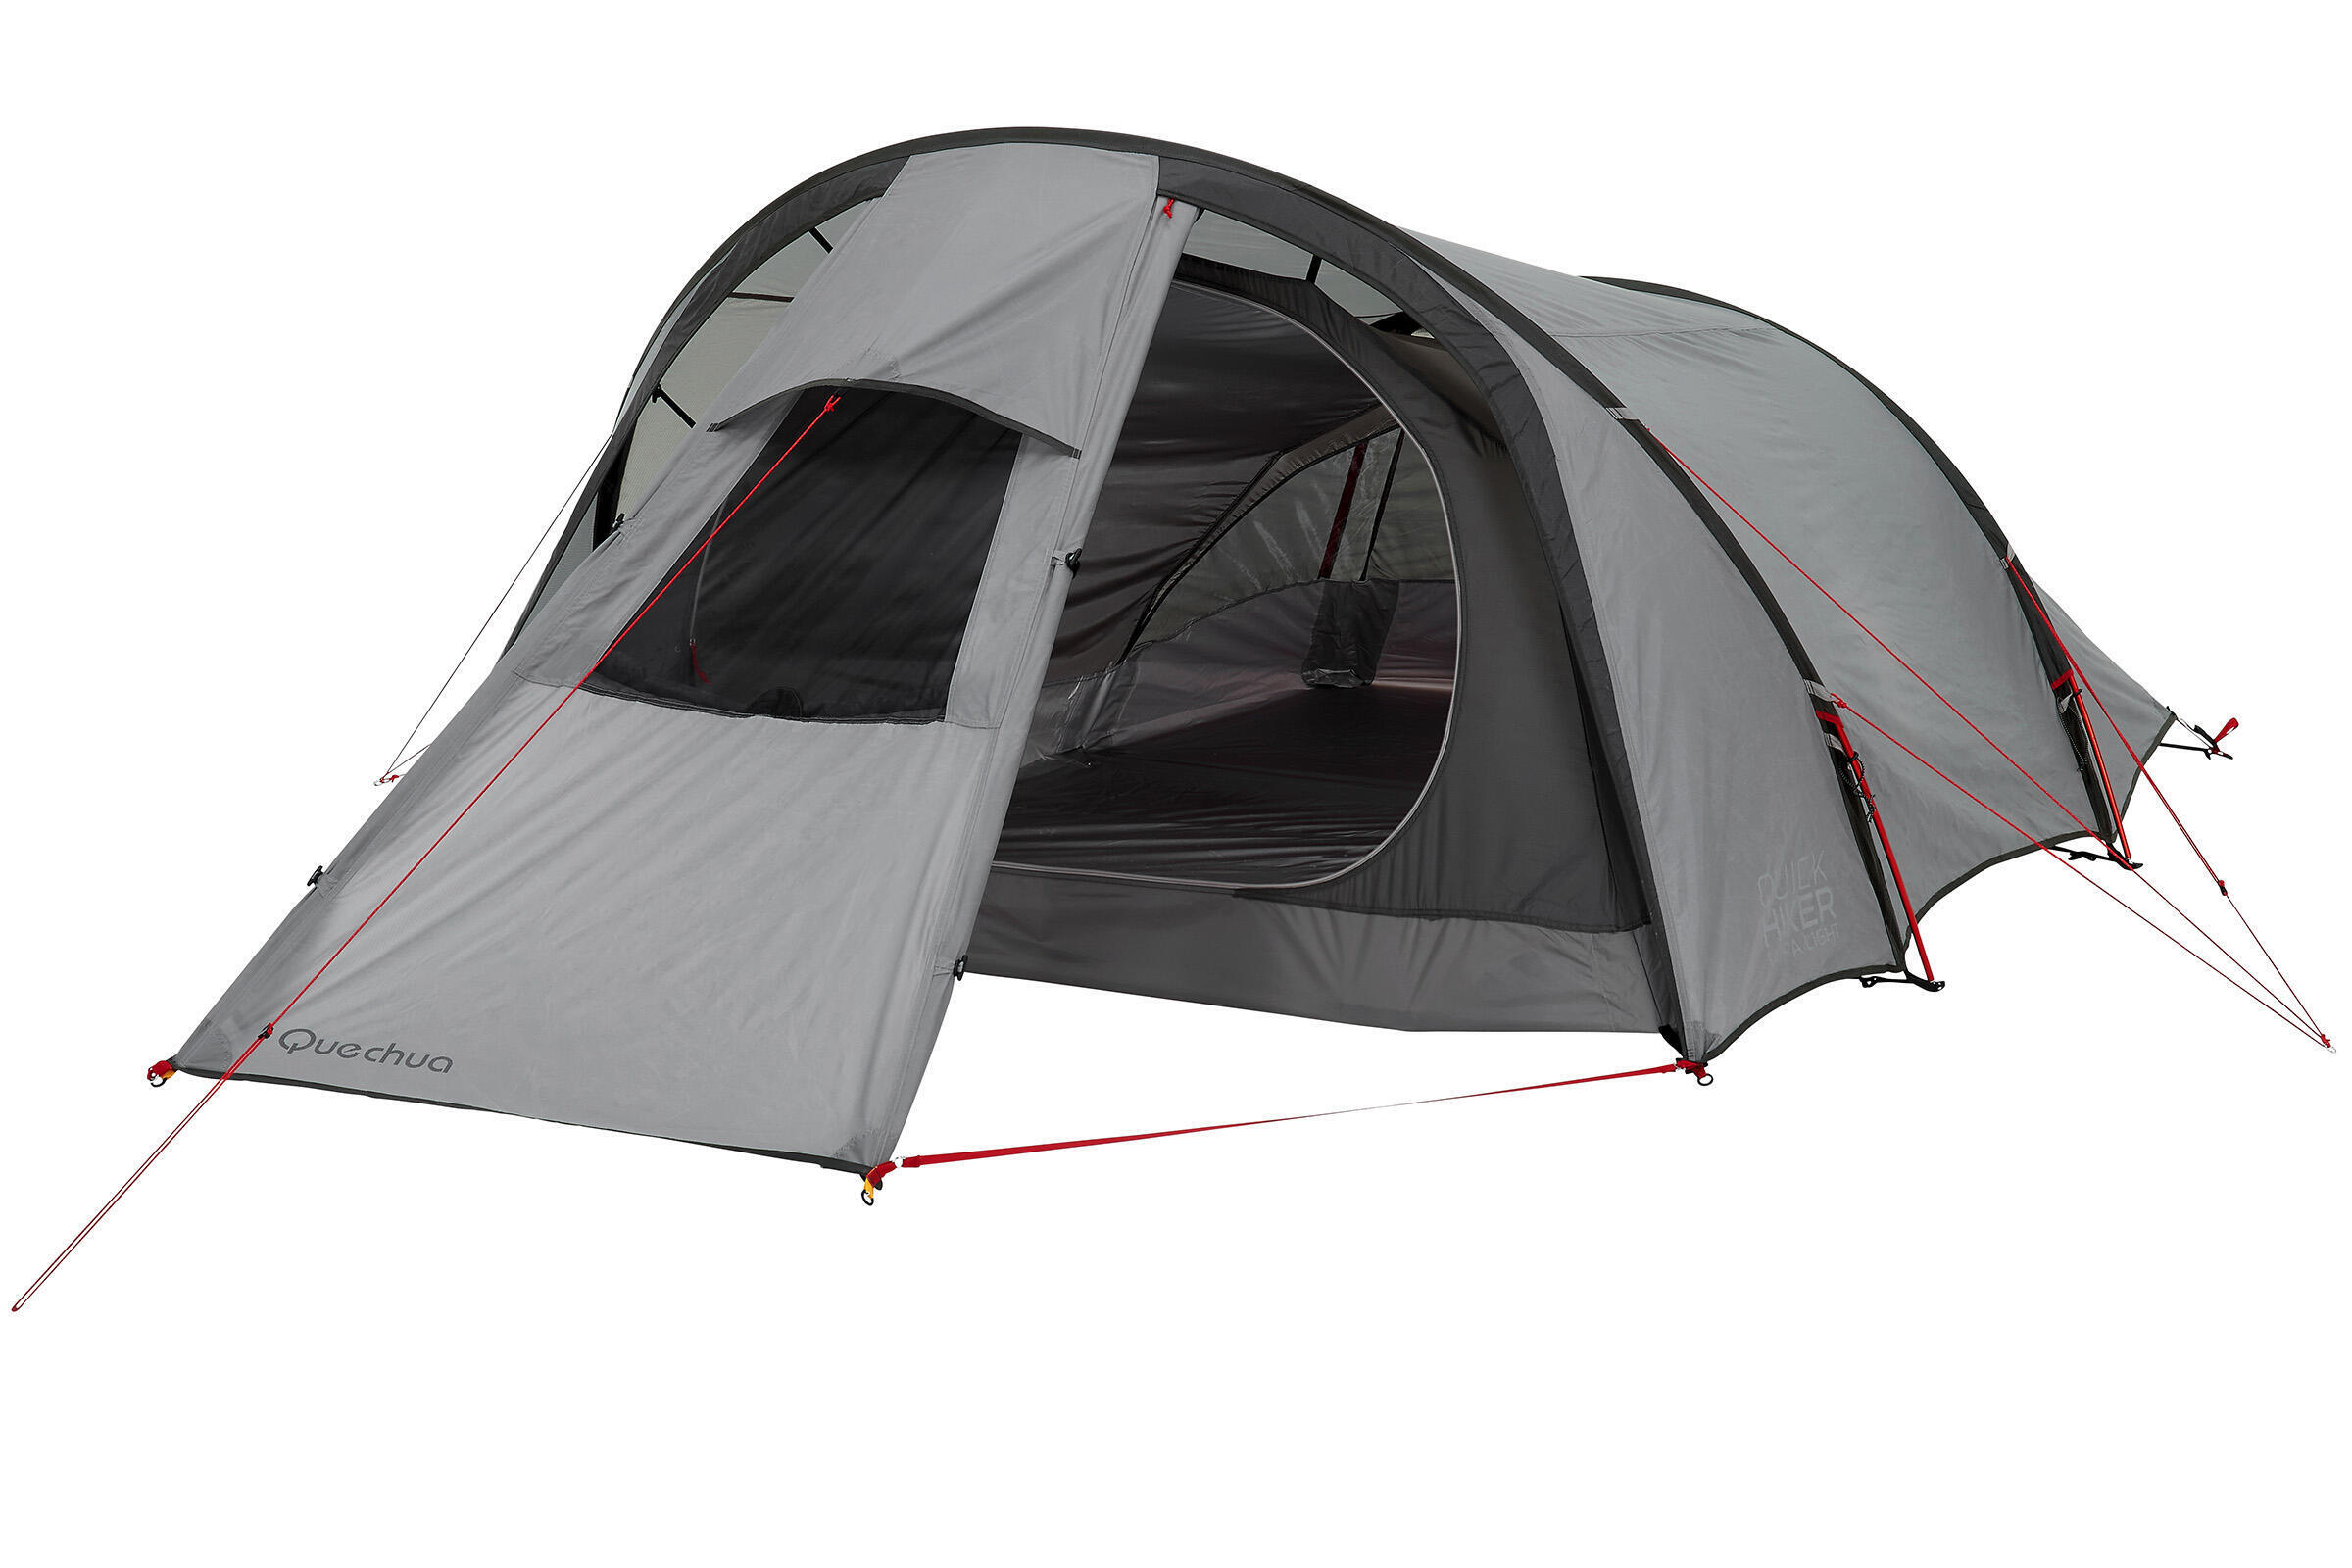
Check out the technical drawing of your tent by clicking here to work out which type of spare part matches your need.
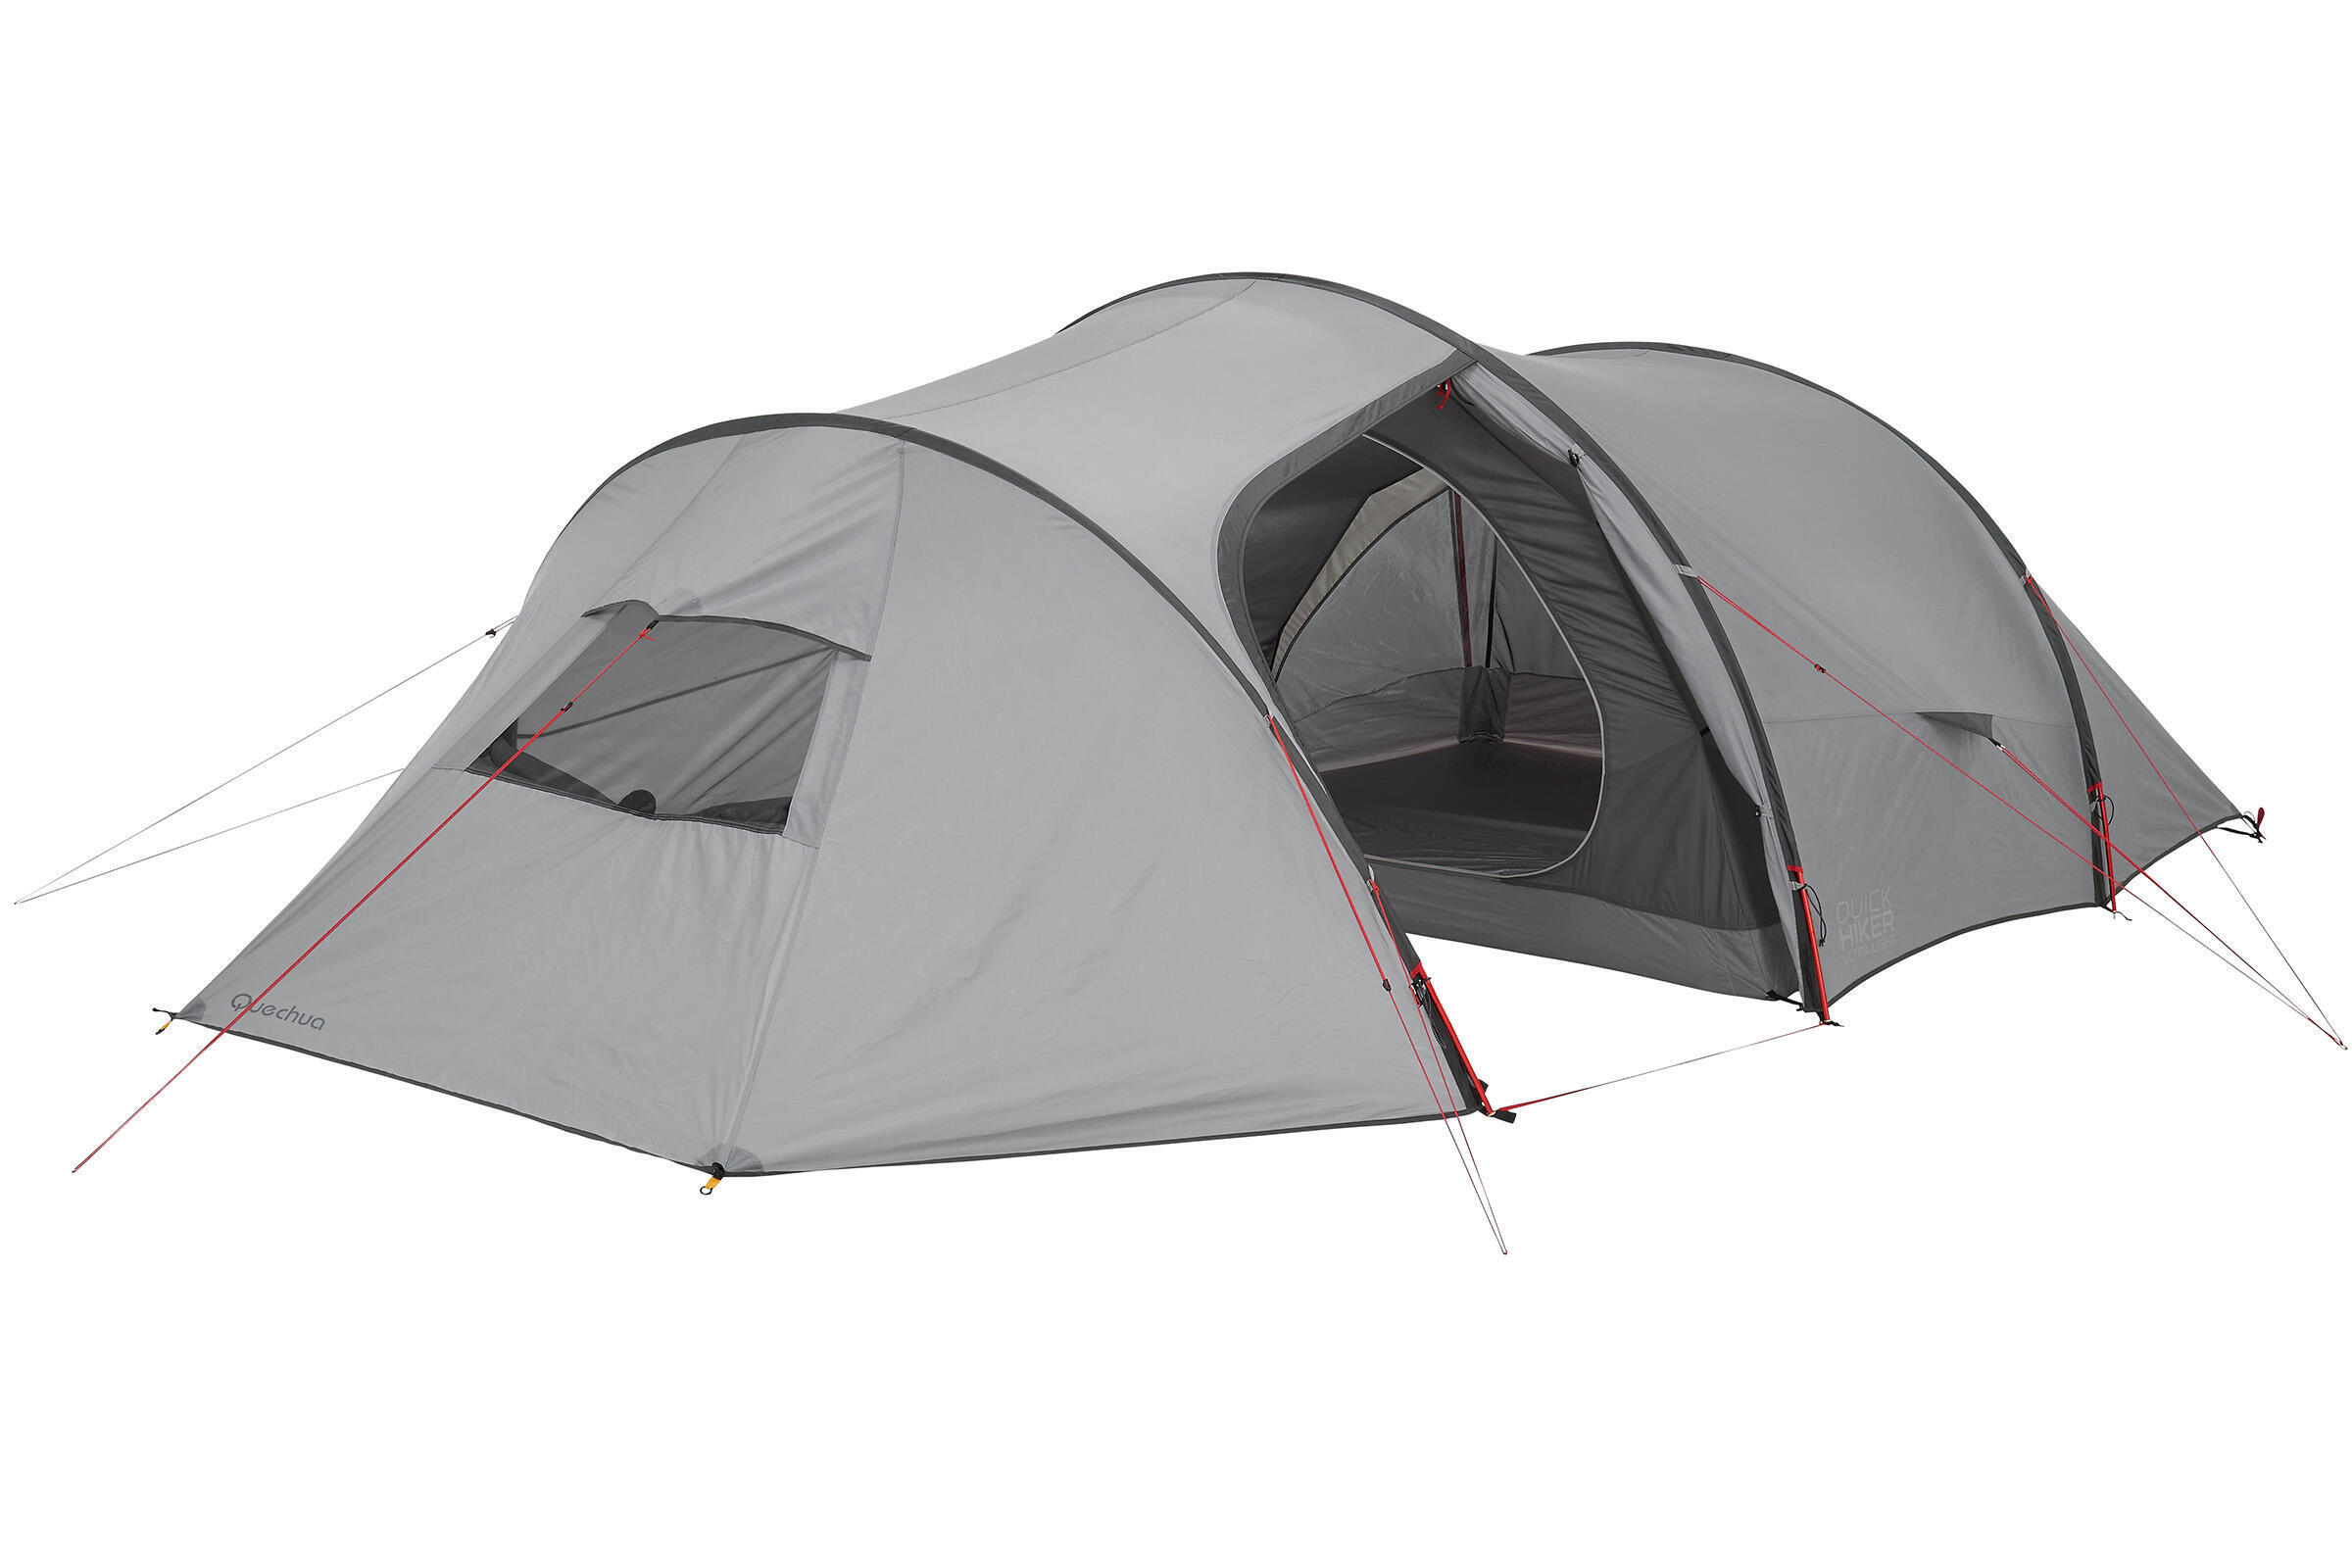
VIDEO REPAIRS
In the following videos, you will find all the explanations you need to carry out the various possible repairs.
Replacing an aluminium tent pole section
A RIP HAS FORMED IN MY FLYSHEET OR MY BEDROOM
You just need to apply a patch or adhesive to fill the hole. We recommend that you apply them on the inside of your flysheet or your bedroom for better adhesion.
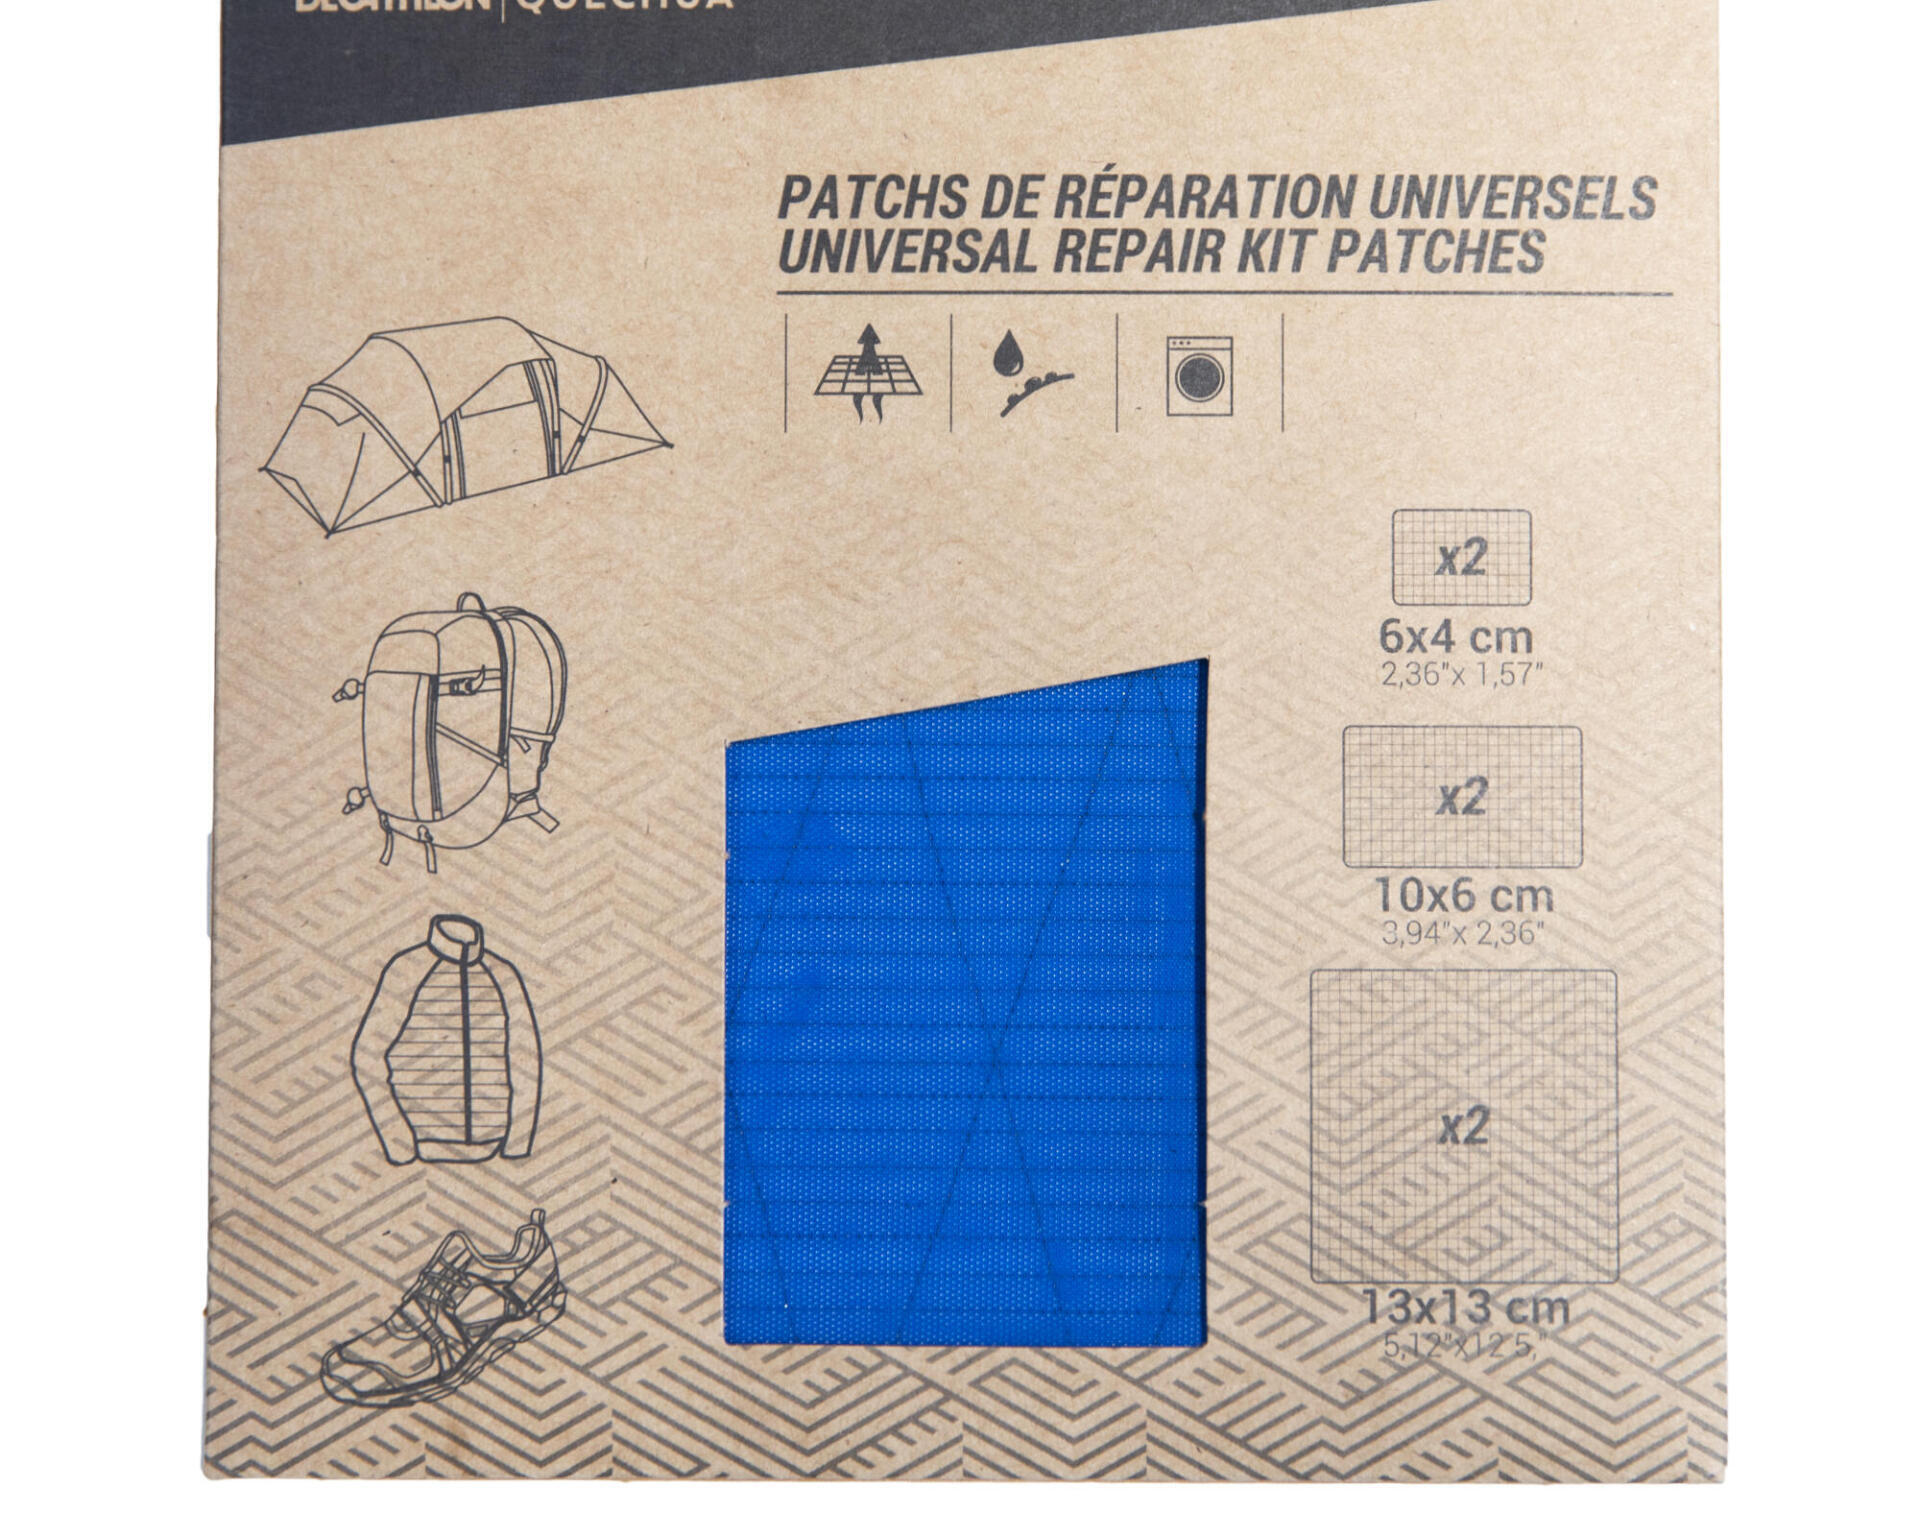
Self-adhesive repair patches
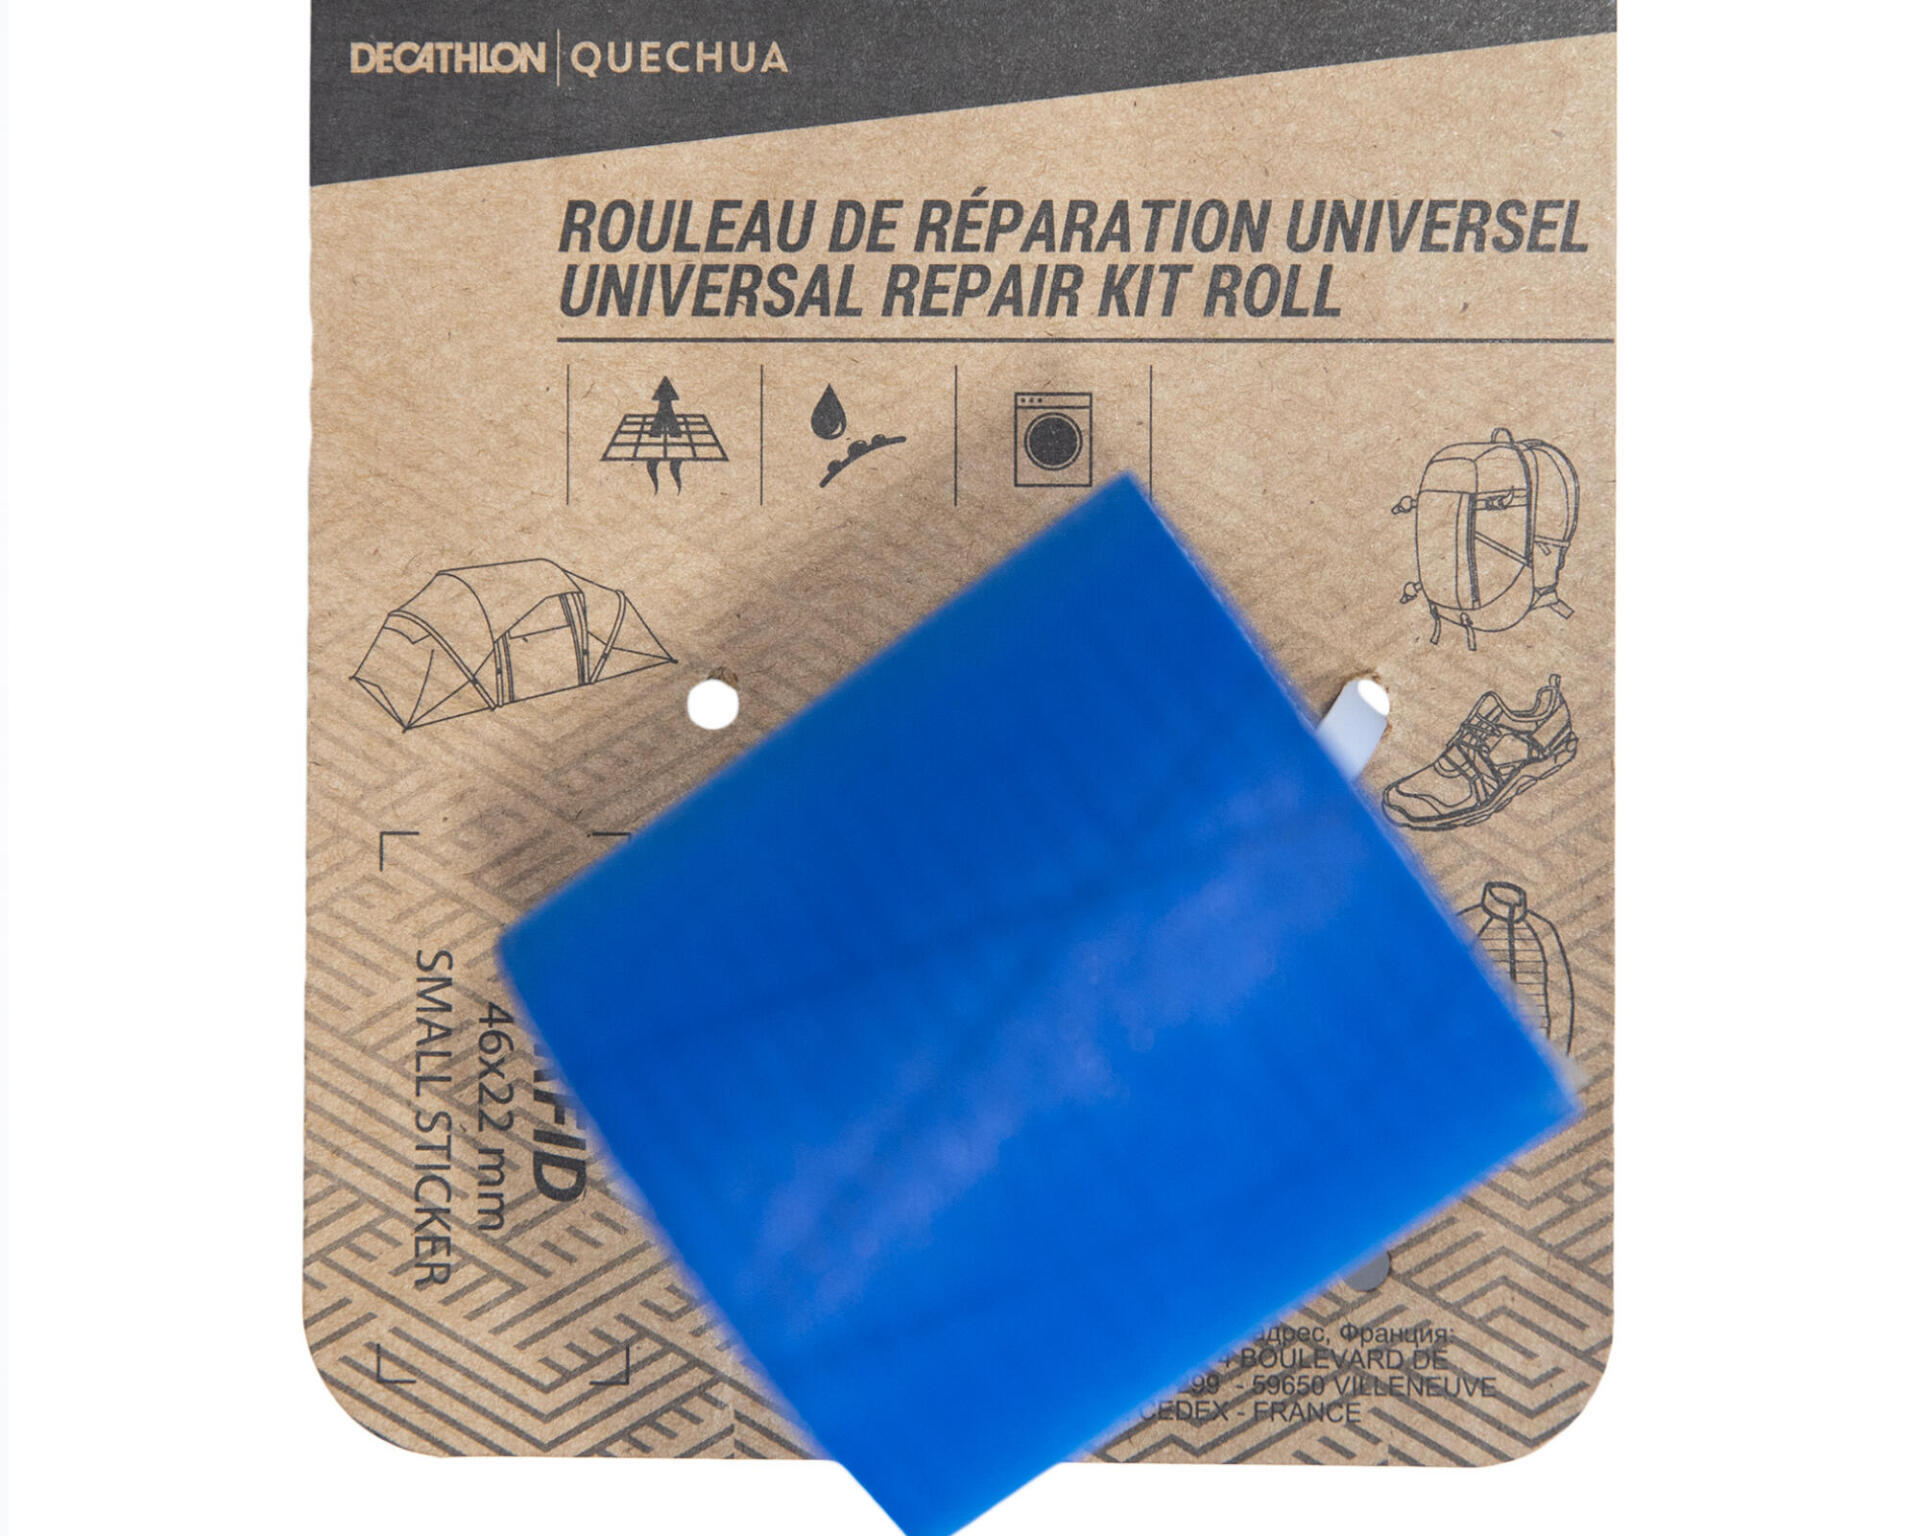
Self-adhesive repair tape
You've stopped using your tent and don't know what to do with it? Rather than throwing it away, don't hesitate to resell it second-hand on the Decathlon Second-hand platform! Fill in all the information about your product online. We will therefore offer you the best sales solutions, then you can drop off your product in the store to finalize the procedure.
