How to use your new crampons
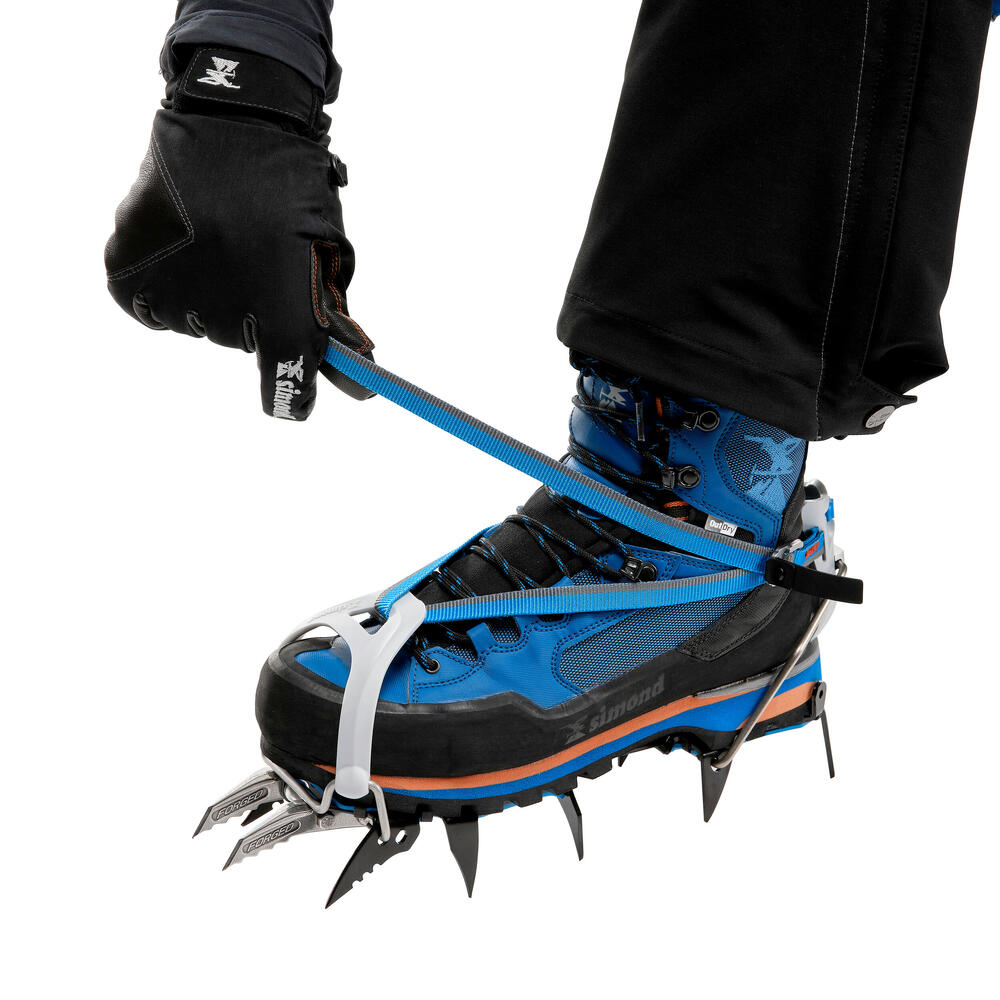
In this video, Mickael, a Simond crampons engineer, and Marion, a Simond technical partner, give your different tips on how to easily adjust your crampons. Find out how to change your binding systems to put the crampons on with a strap, automatically or semi-automatically but also how to fit and adjust them correctly to your shoes.
Want to know more. See our dedicated advice!