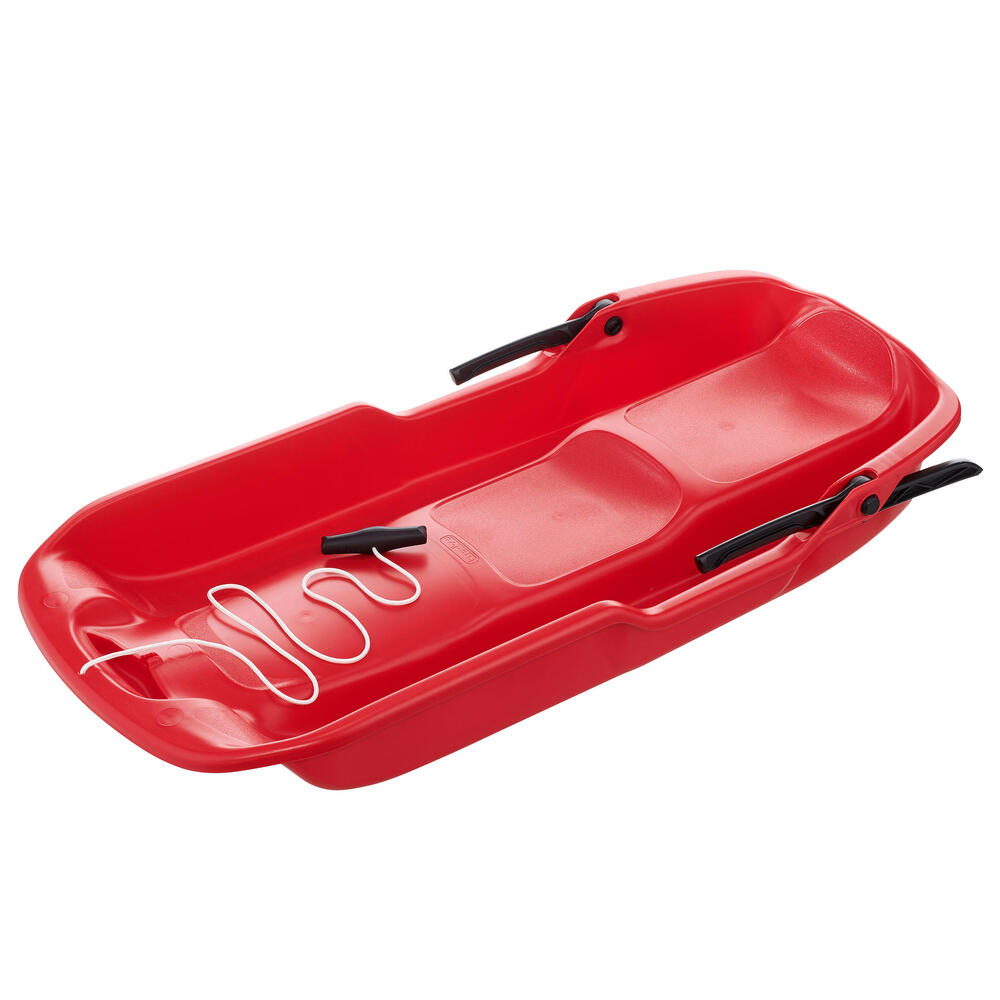
Repair the brake on the mrz 300 sledge
To change your mrz 300 brake, simply order the part online and follow the steps below.
The brake is sold individually and can be used on both the left and right sides of the junior or adult Trilugik sledge.
REF: 8493869
HAVE YOU BROKEN YOUR SLEDGE? DON'T THROW IT AWAY!
So you brakes couldn’t handle that speed? Did the strap snap or get lost during your last winter holiday? DECATHLON SLEDDING lets you repair your sledge by providing spare parts and tutorials. Why throw away the whole sledge when it can be easily repaired?
In an ecological approach, DECATHLON SLEDGING encourages the repair of its sledges. With the help of videos and step-by-step texts, rediscover your sledge in a new light, ready to hit the snowy slopes.
With the LUGIK tutorials, you'll know everything there is to know about repairing your sled.
The brake is sold individually and can be used on both the left and right sides of the junior or adult Trilugik sledge.
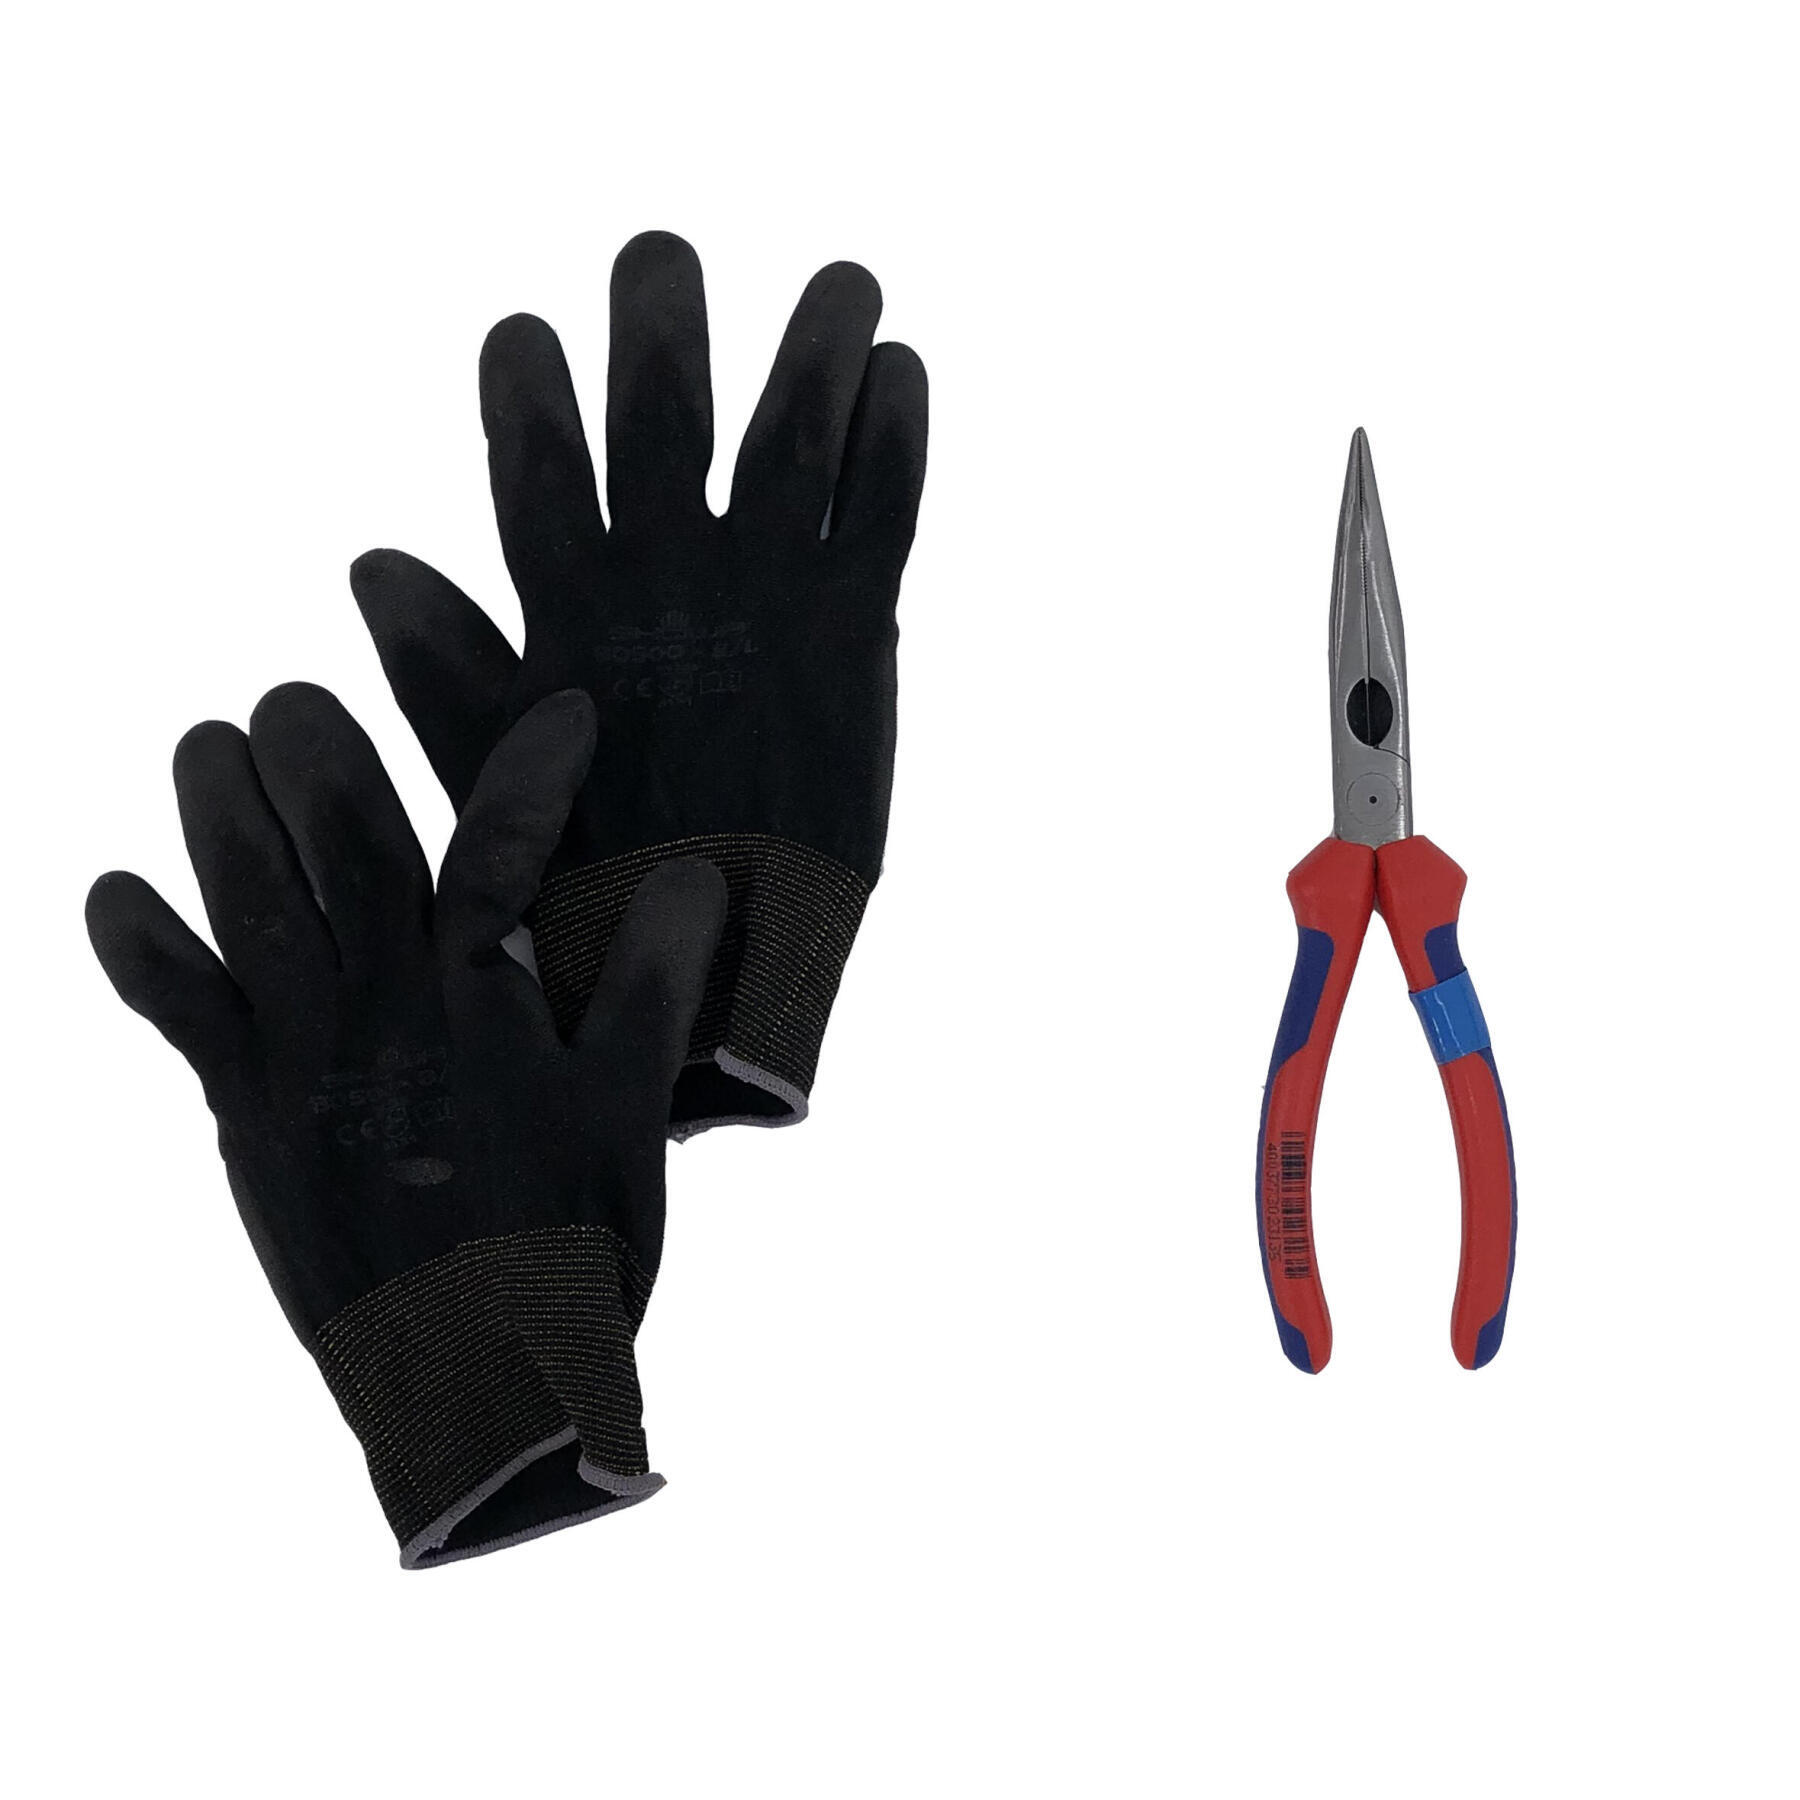
Make sure you have the following:
- Protective gloves
- Flat needlenose pliers
- A replacement MRZ 300 brake
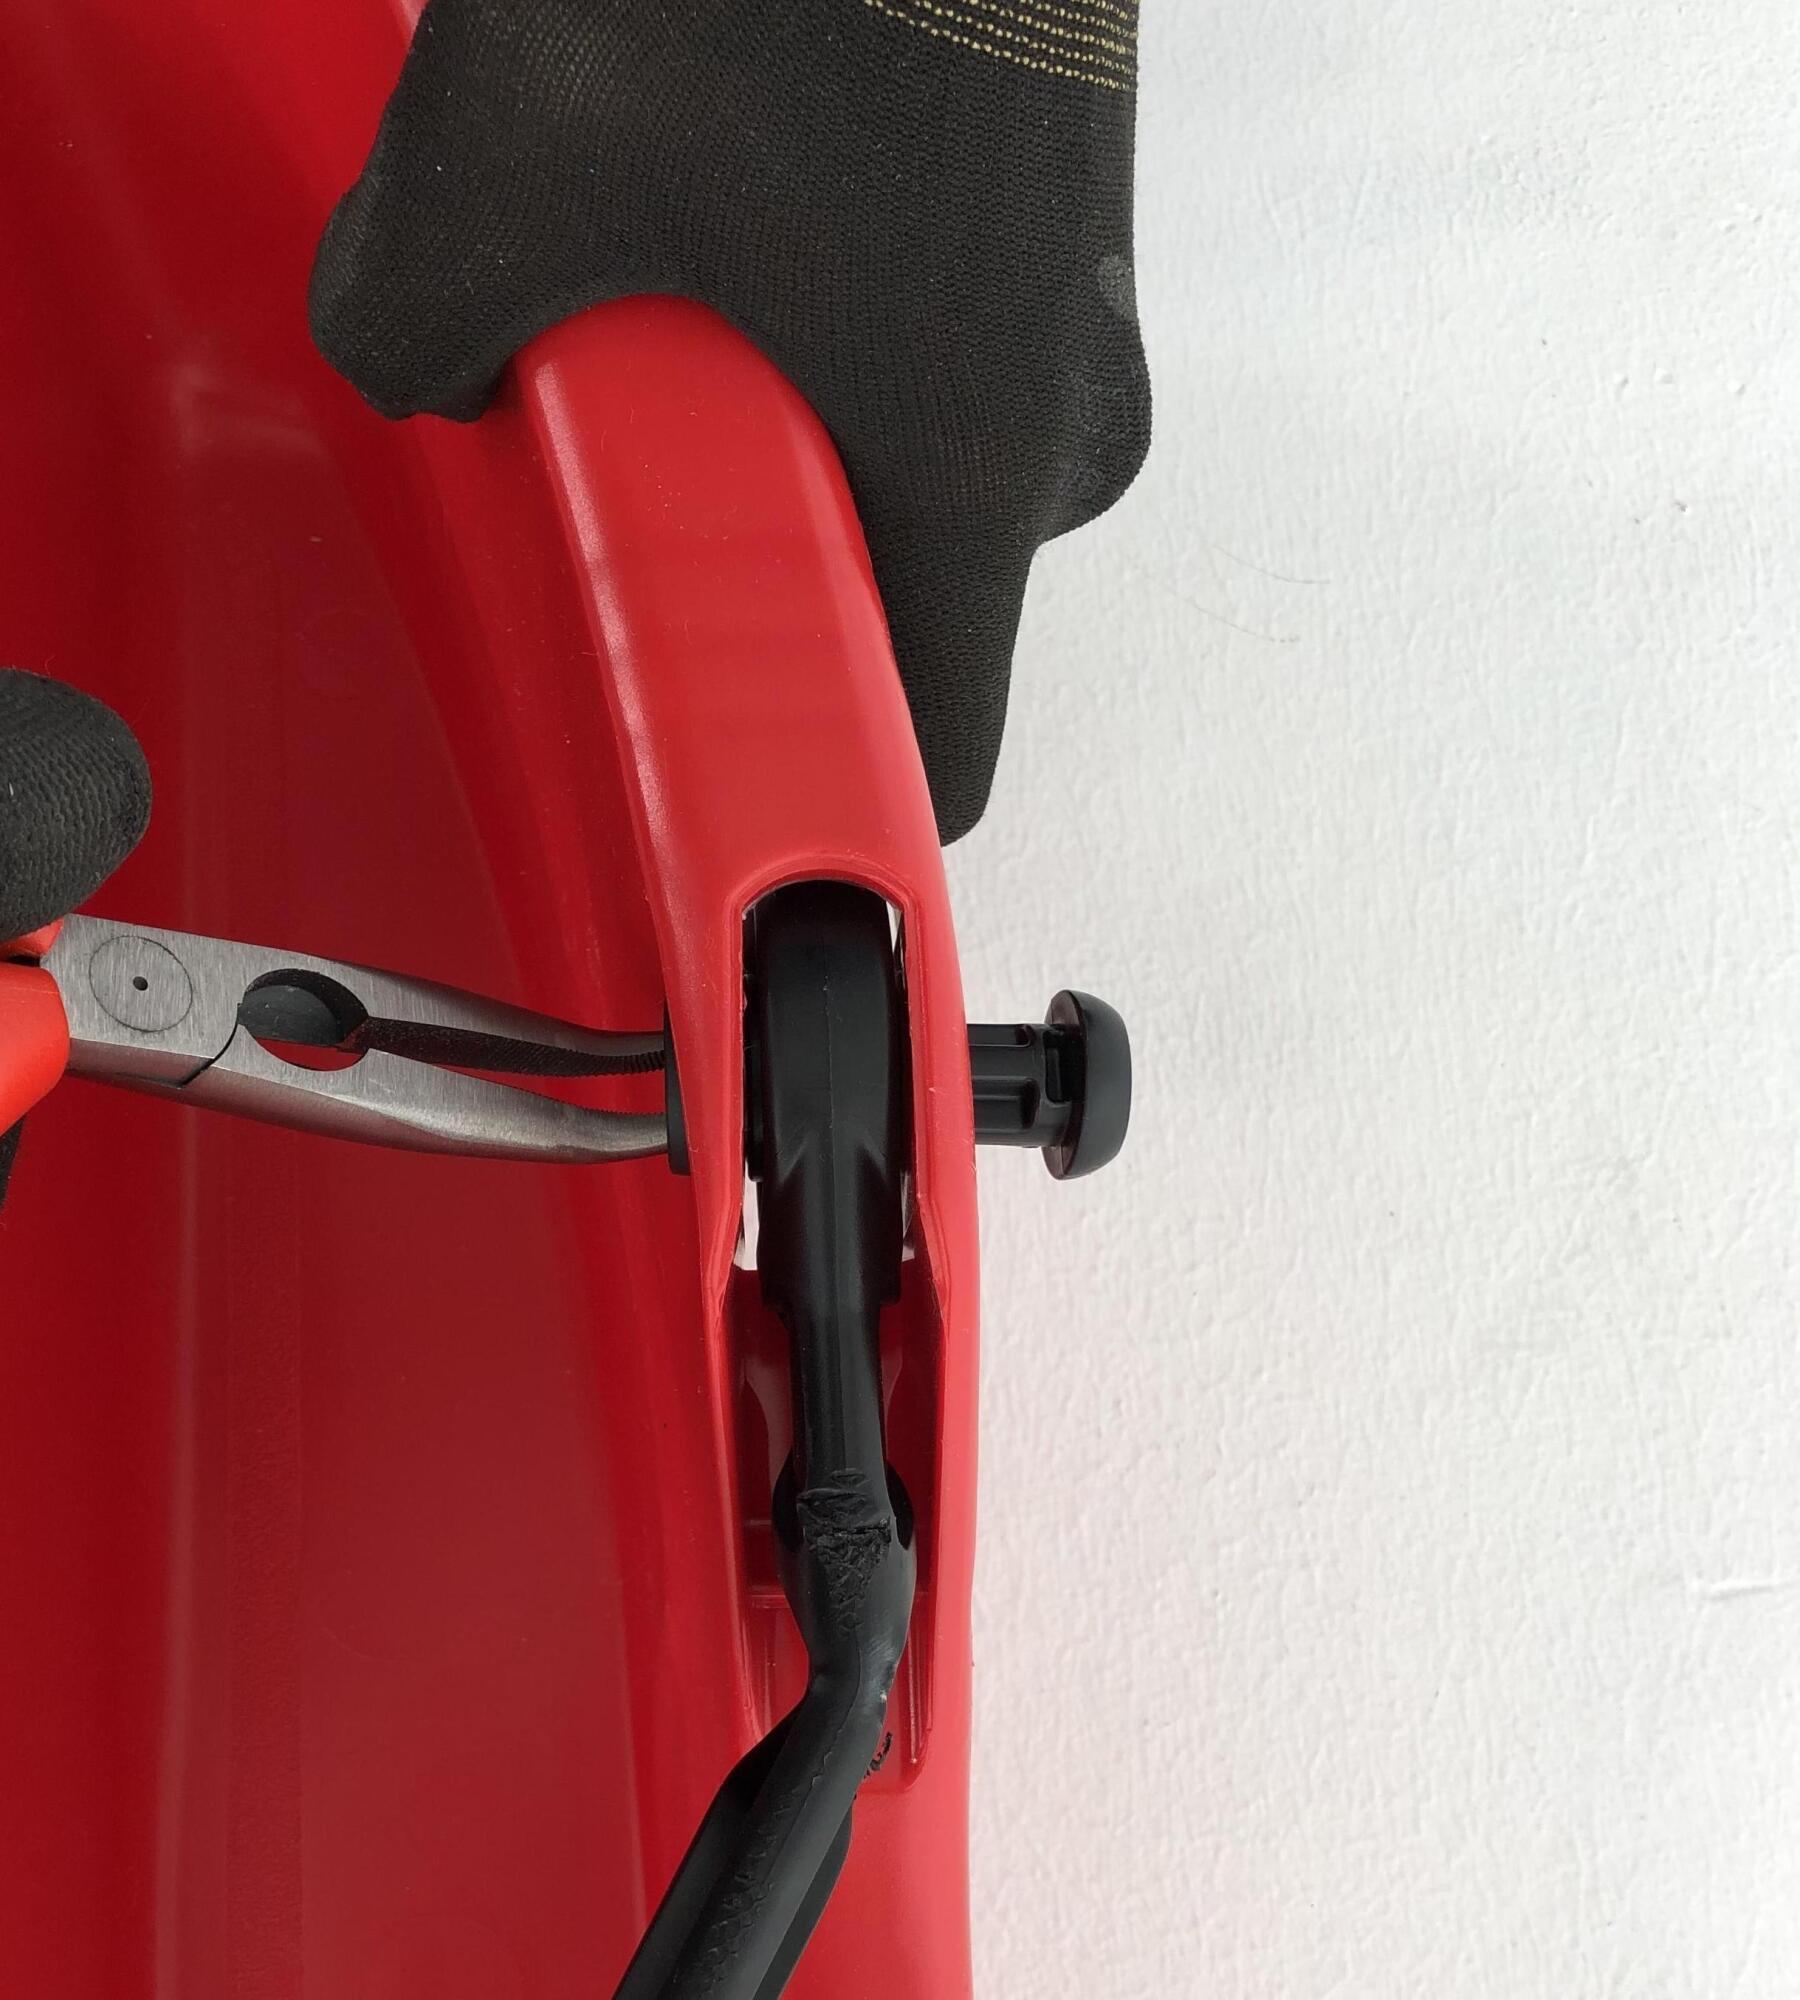
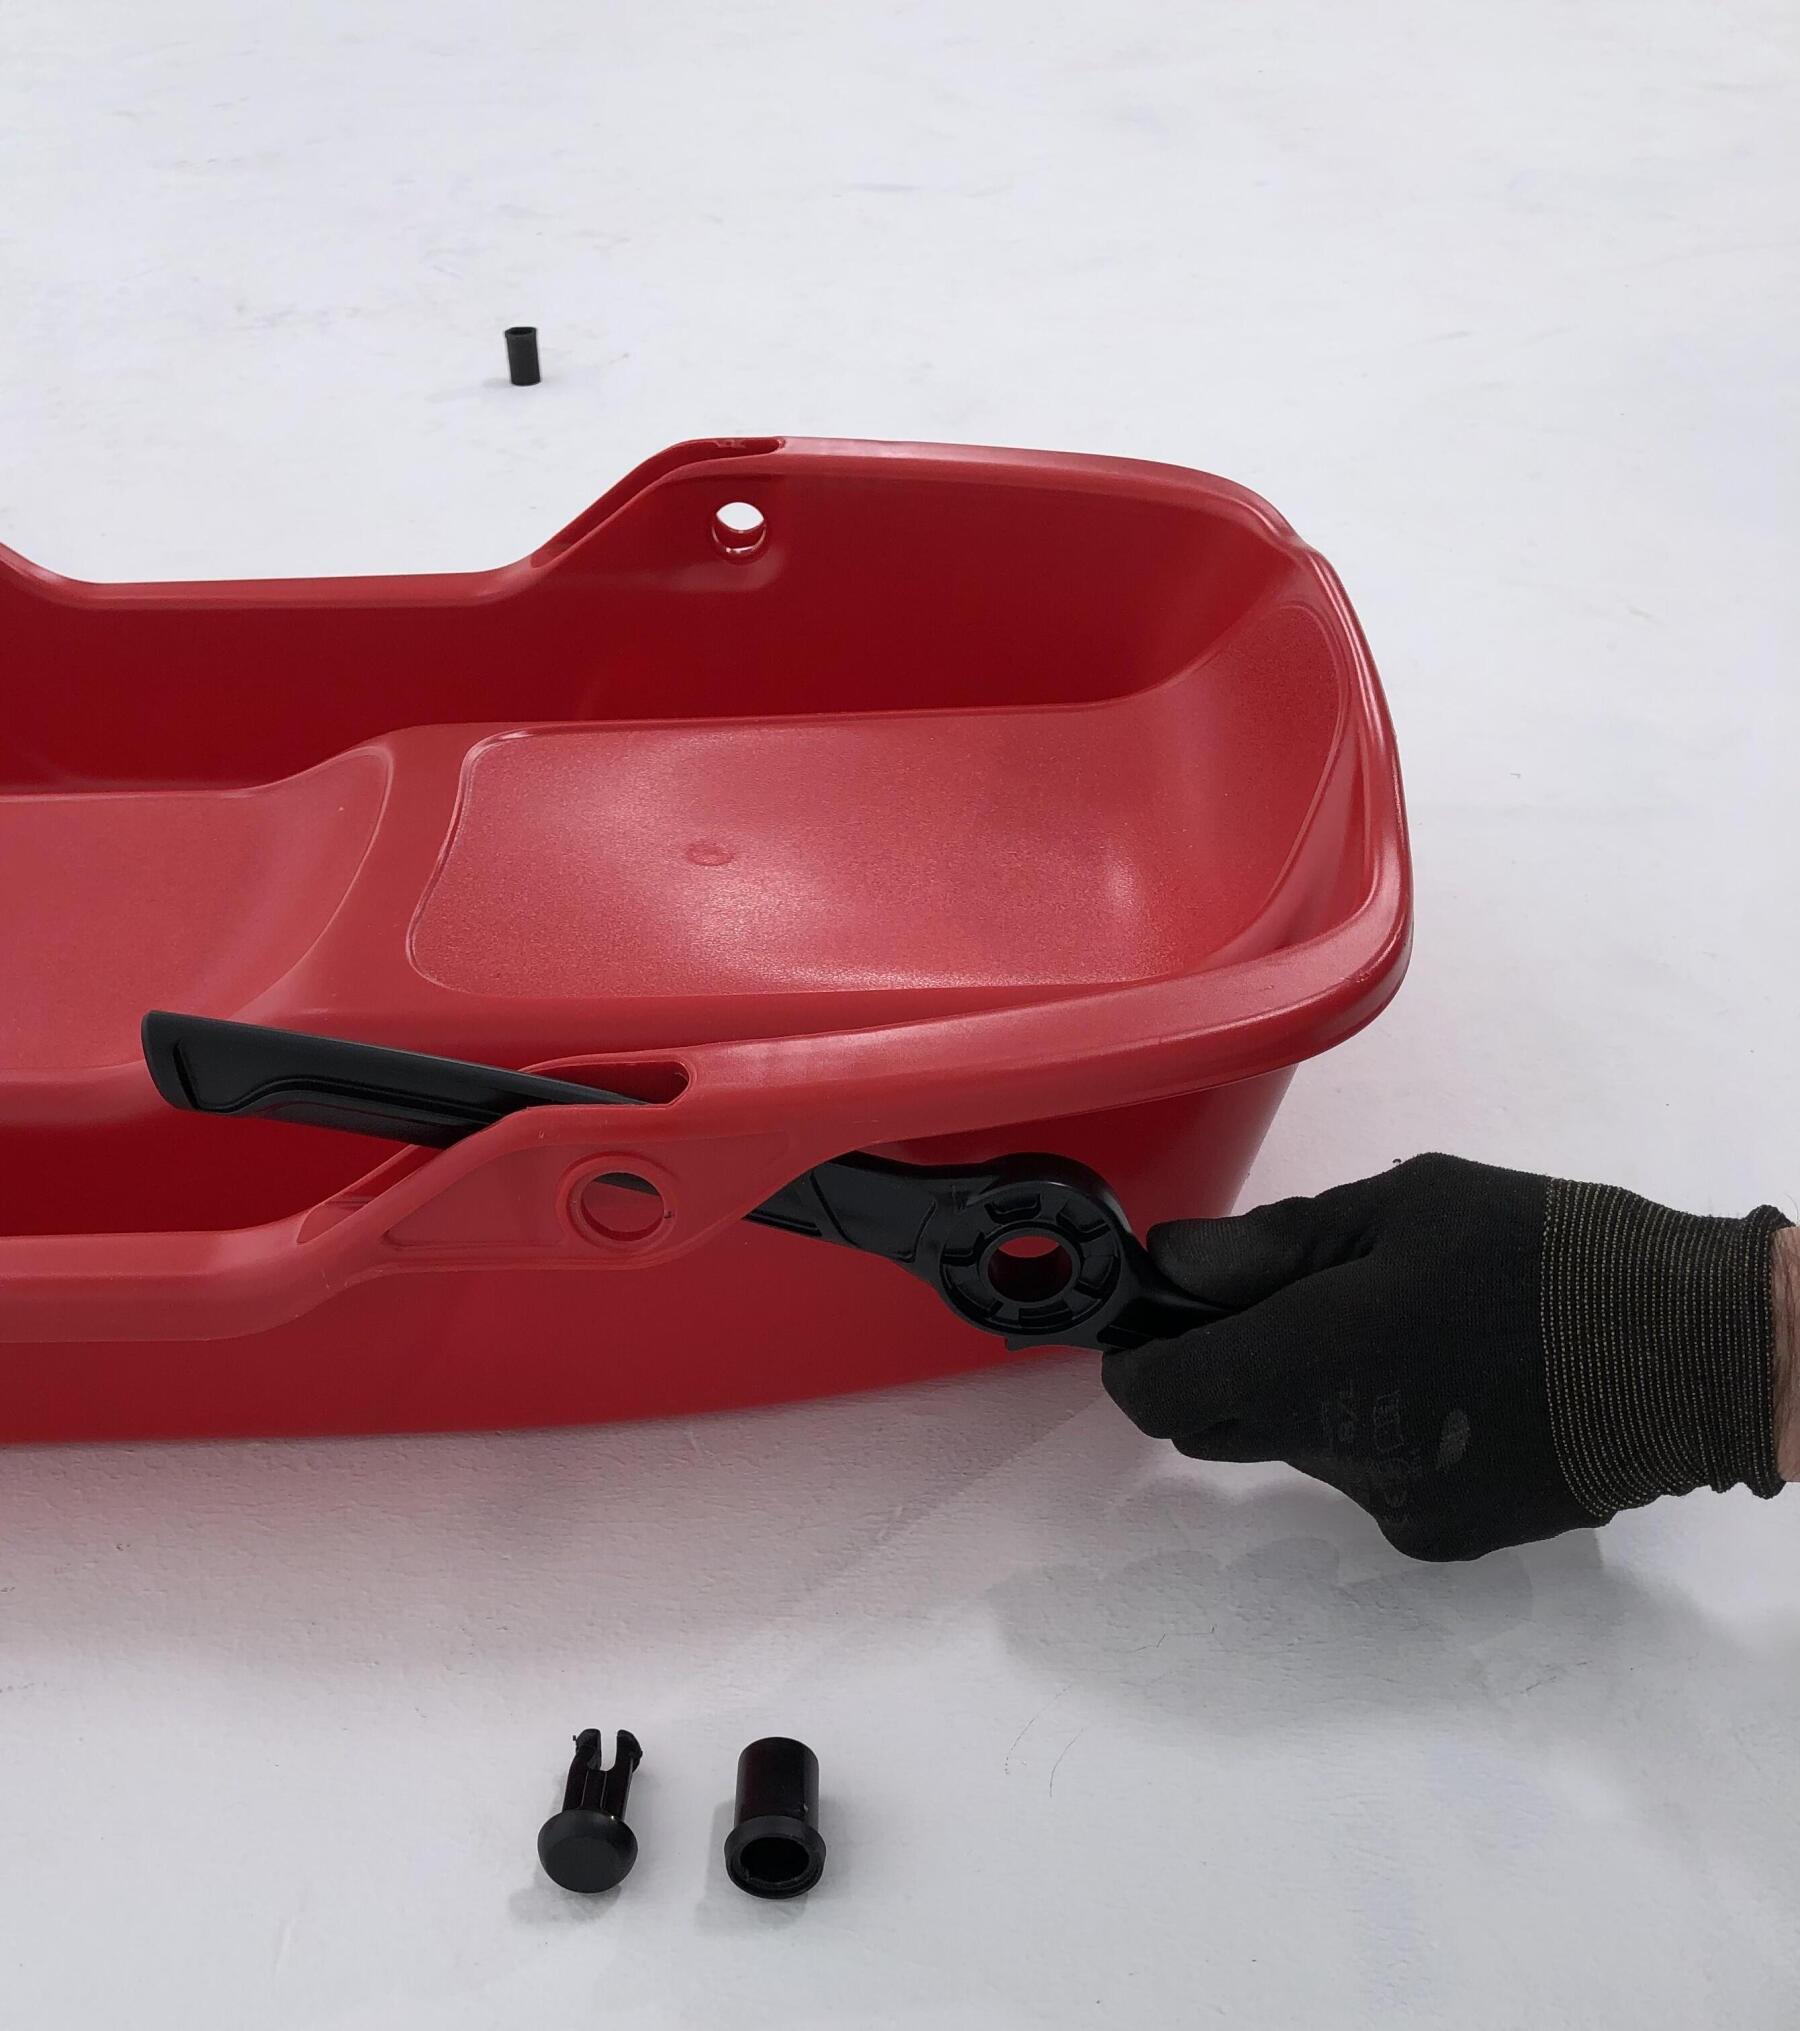
Using the pliers, hold the tip until it comes out the other end (see photo).
Remove the cylinder, then the brake
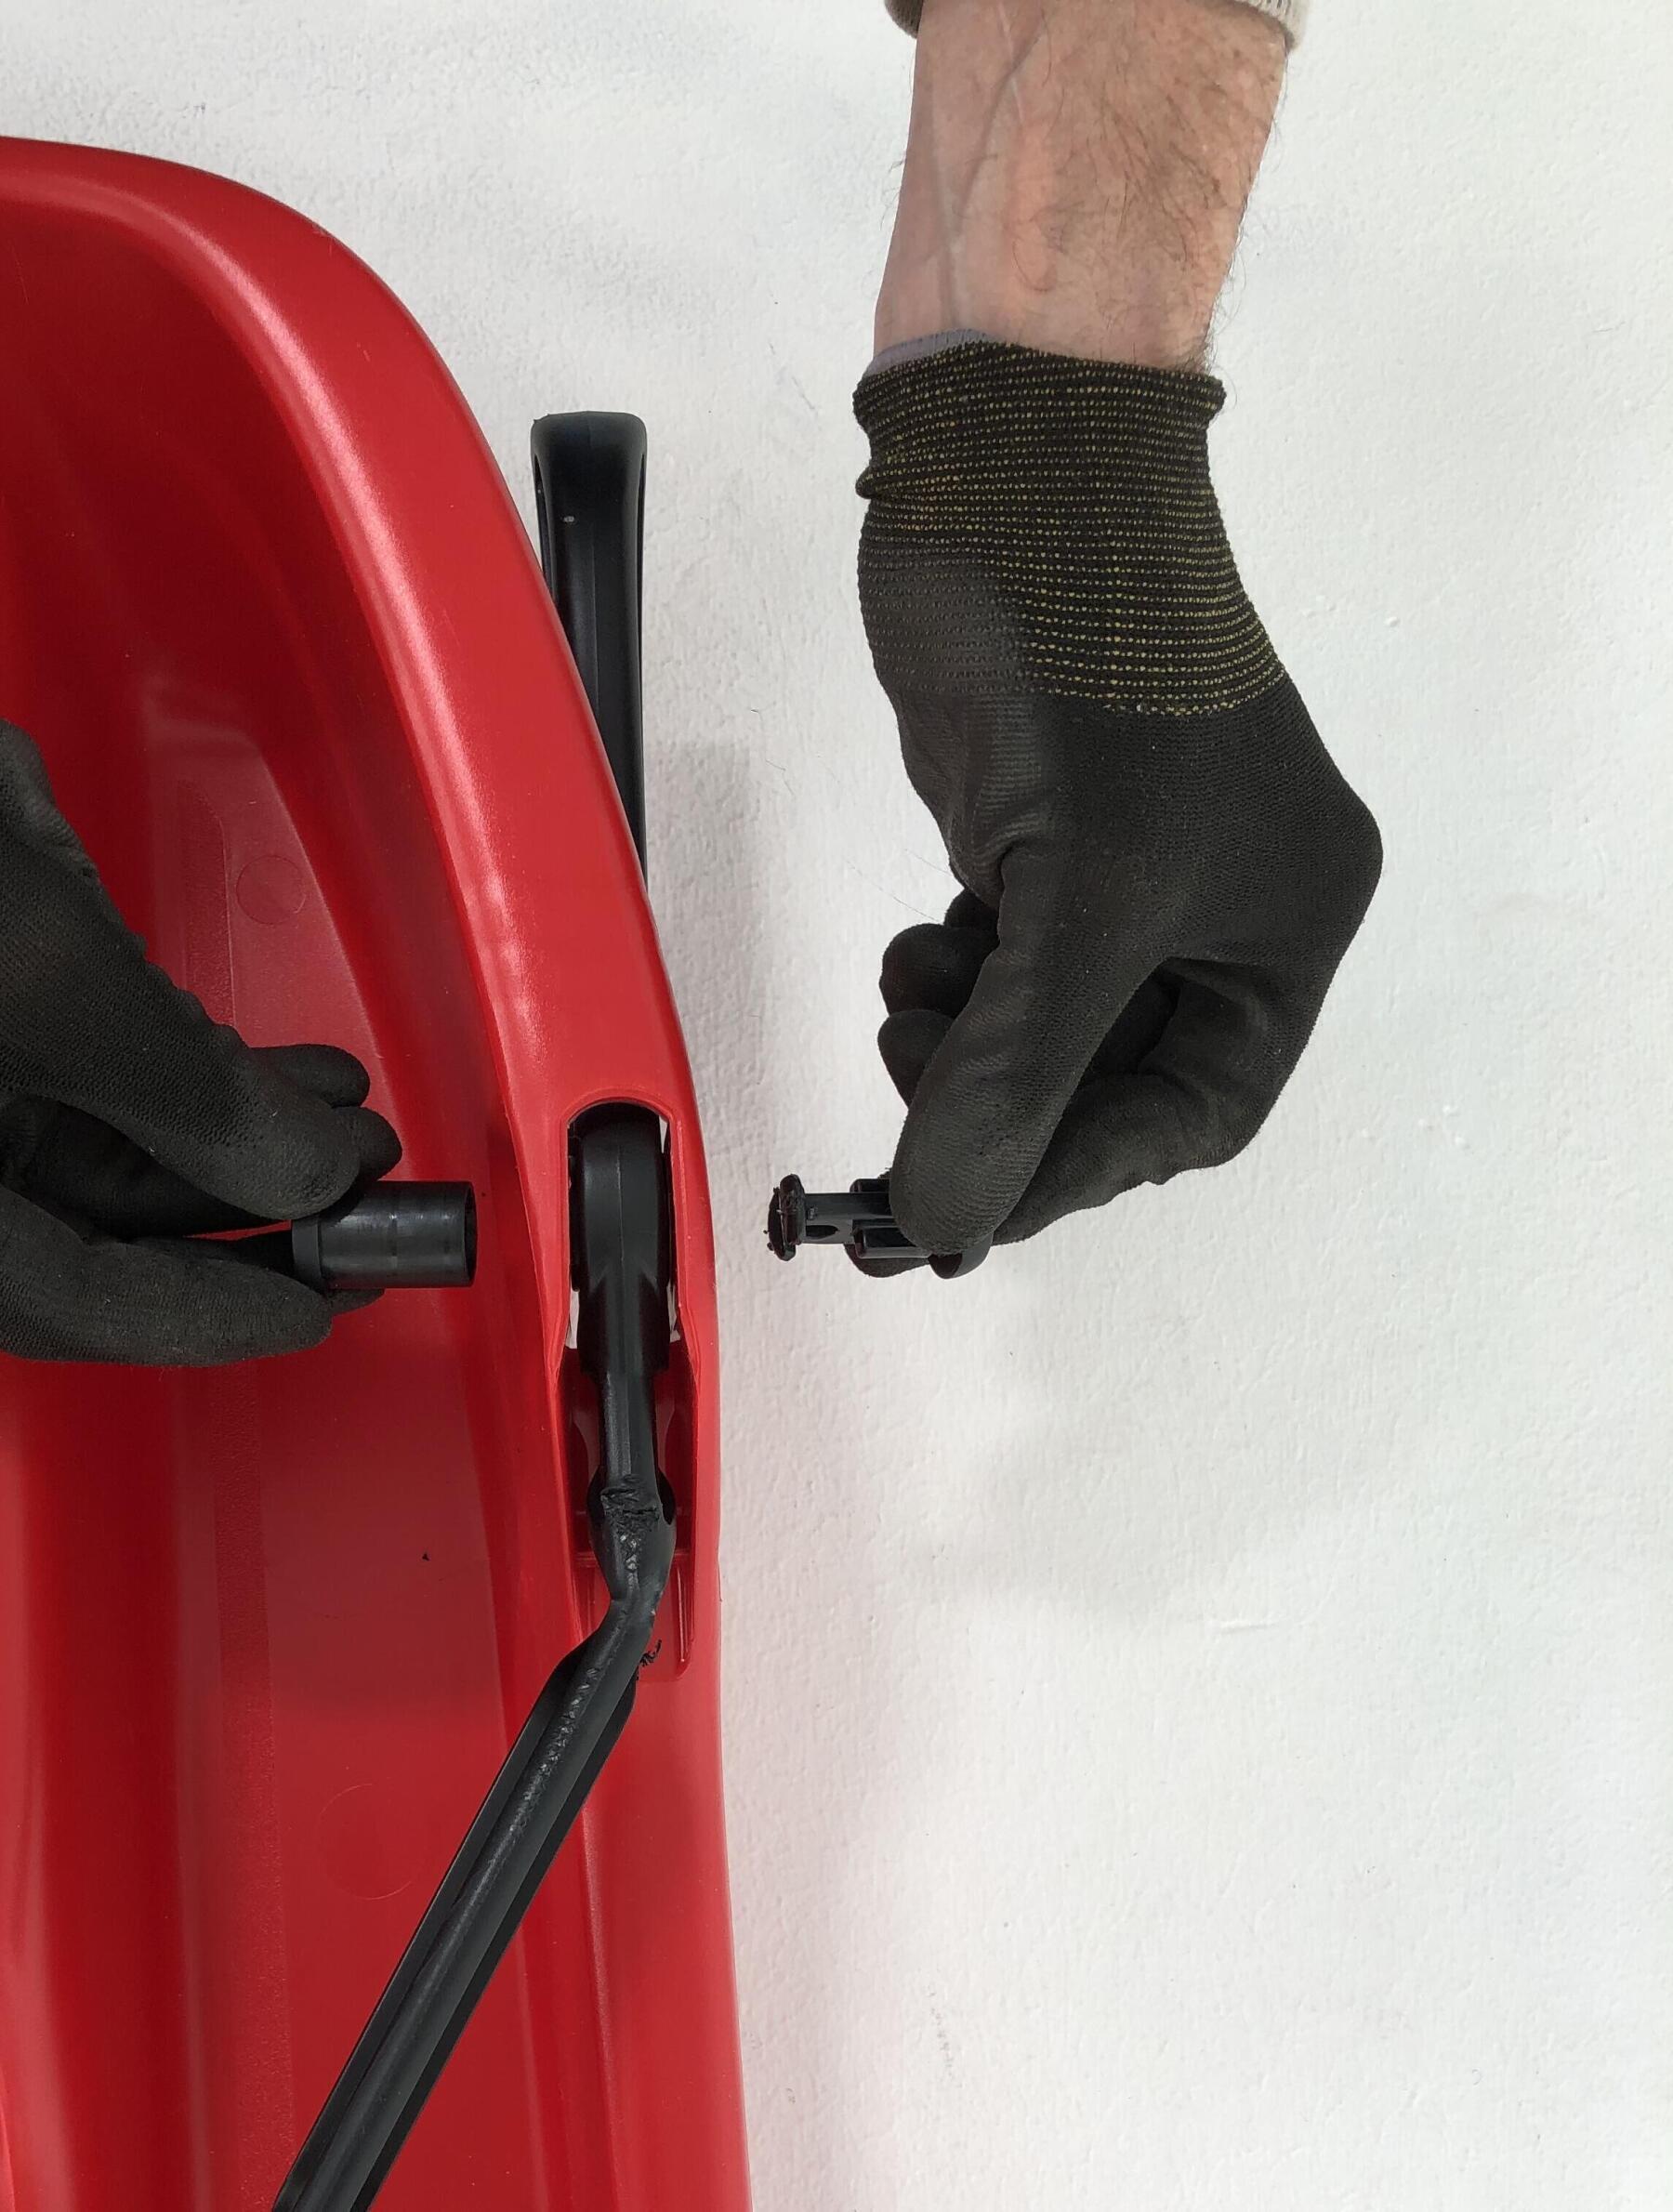
Replace the damaged brake with a new one (Reminder: the brake can be put on the right or left side of the sledge.)

Insert the new cylinder and end cap until you hear a "clip" sound.
Your brake is as good as new, so you can hit the sledging slopes again this winter.
To change your MRZ 300 pull-strap, simply order the part online and follow the step-by-step instructions.
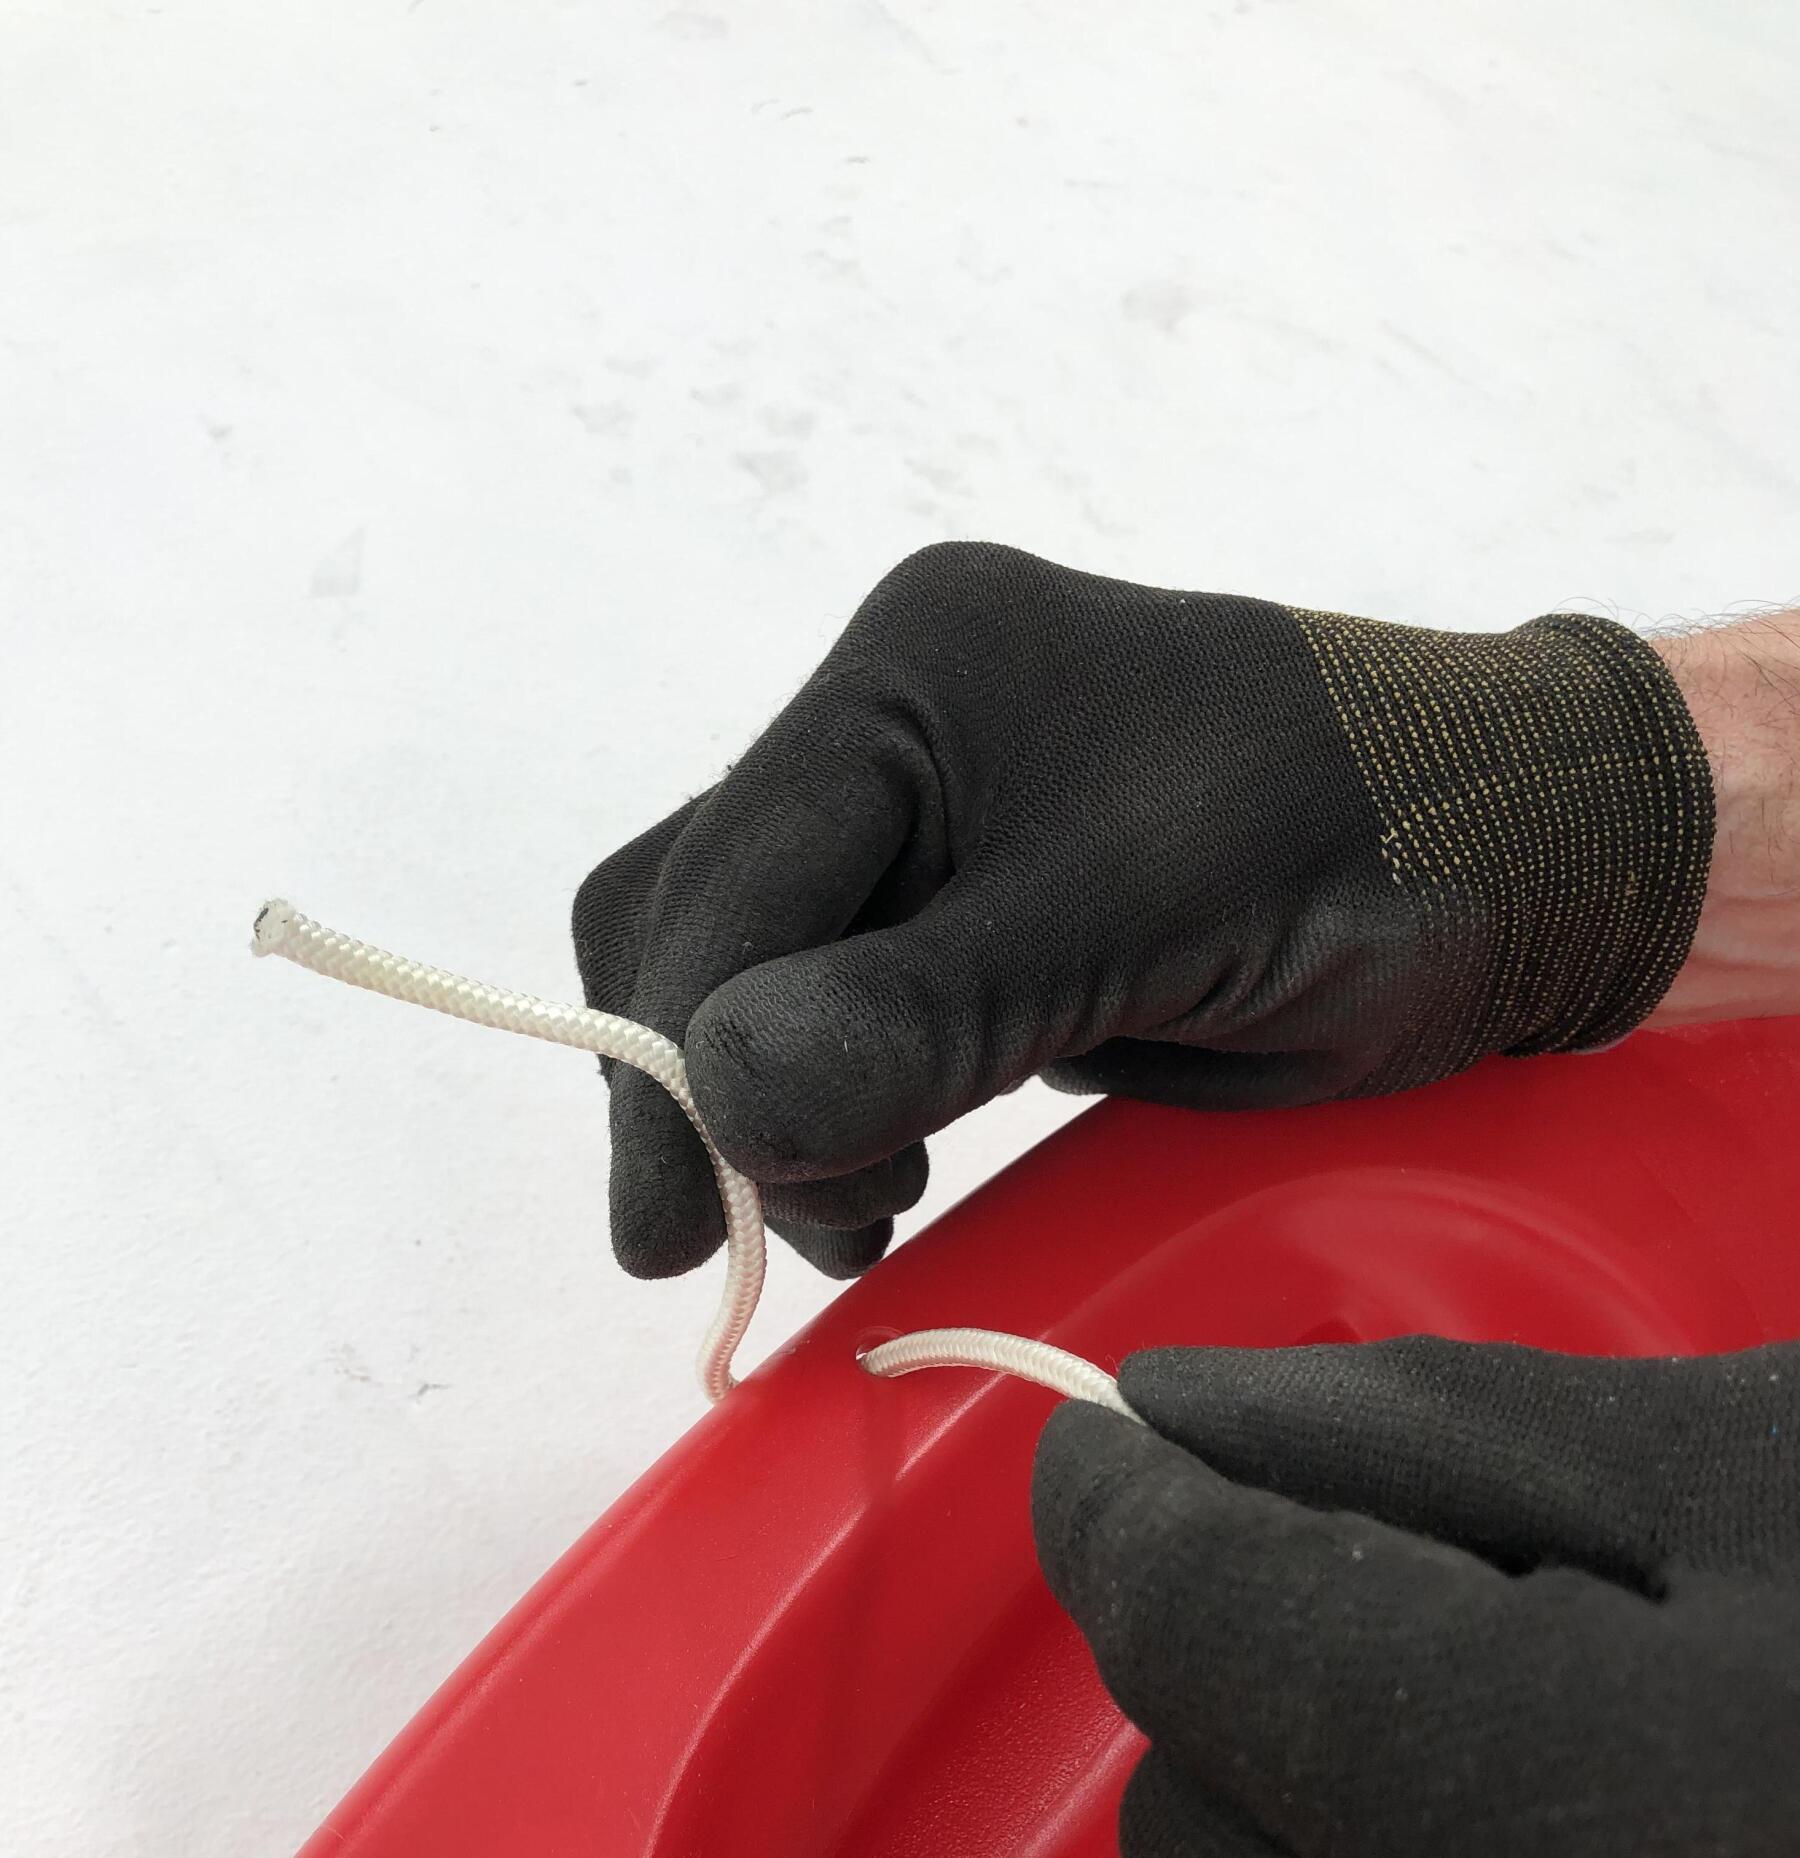
Remove your damaged pull-strap by cutting it off or removing the knot. Then, insert the new one as shown in the photo opposite.
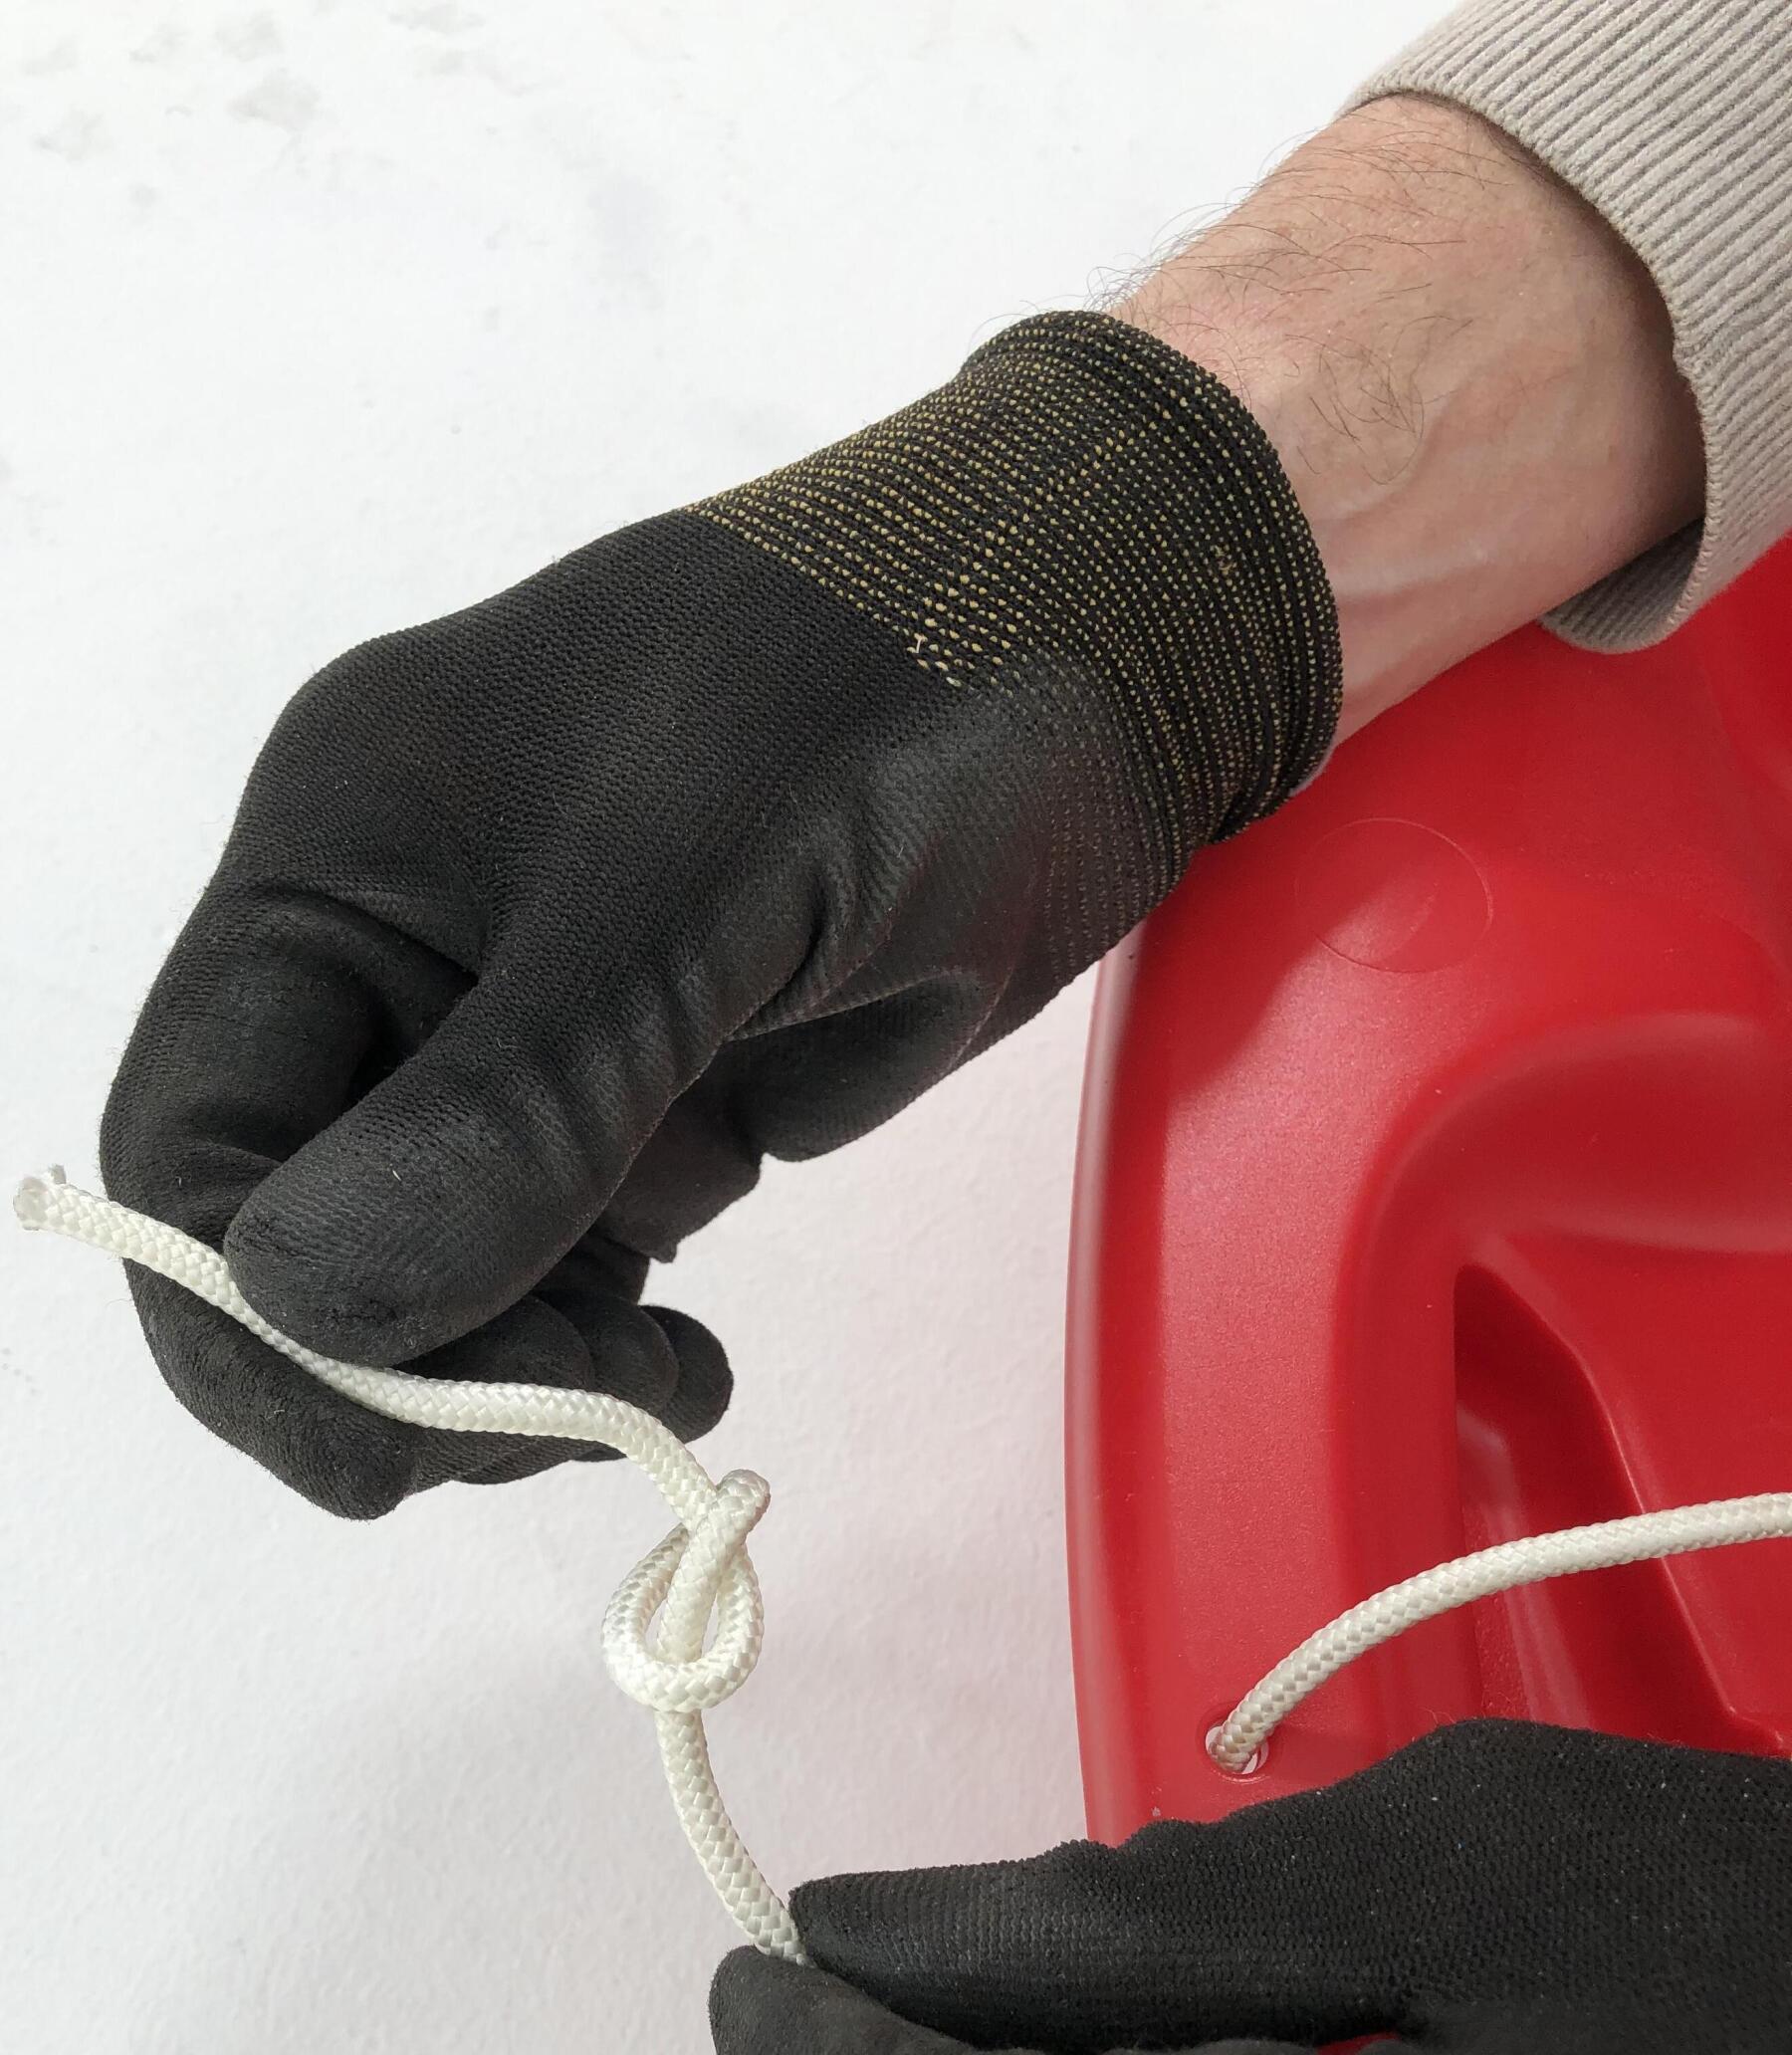
Pull the string under the sledge and tie a strong knot.
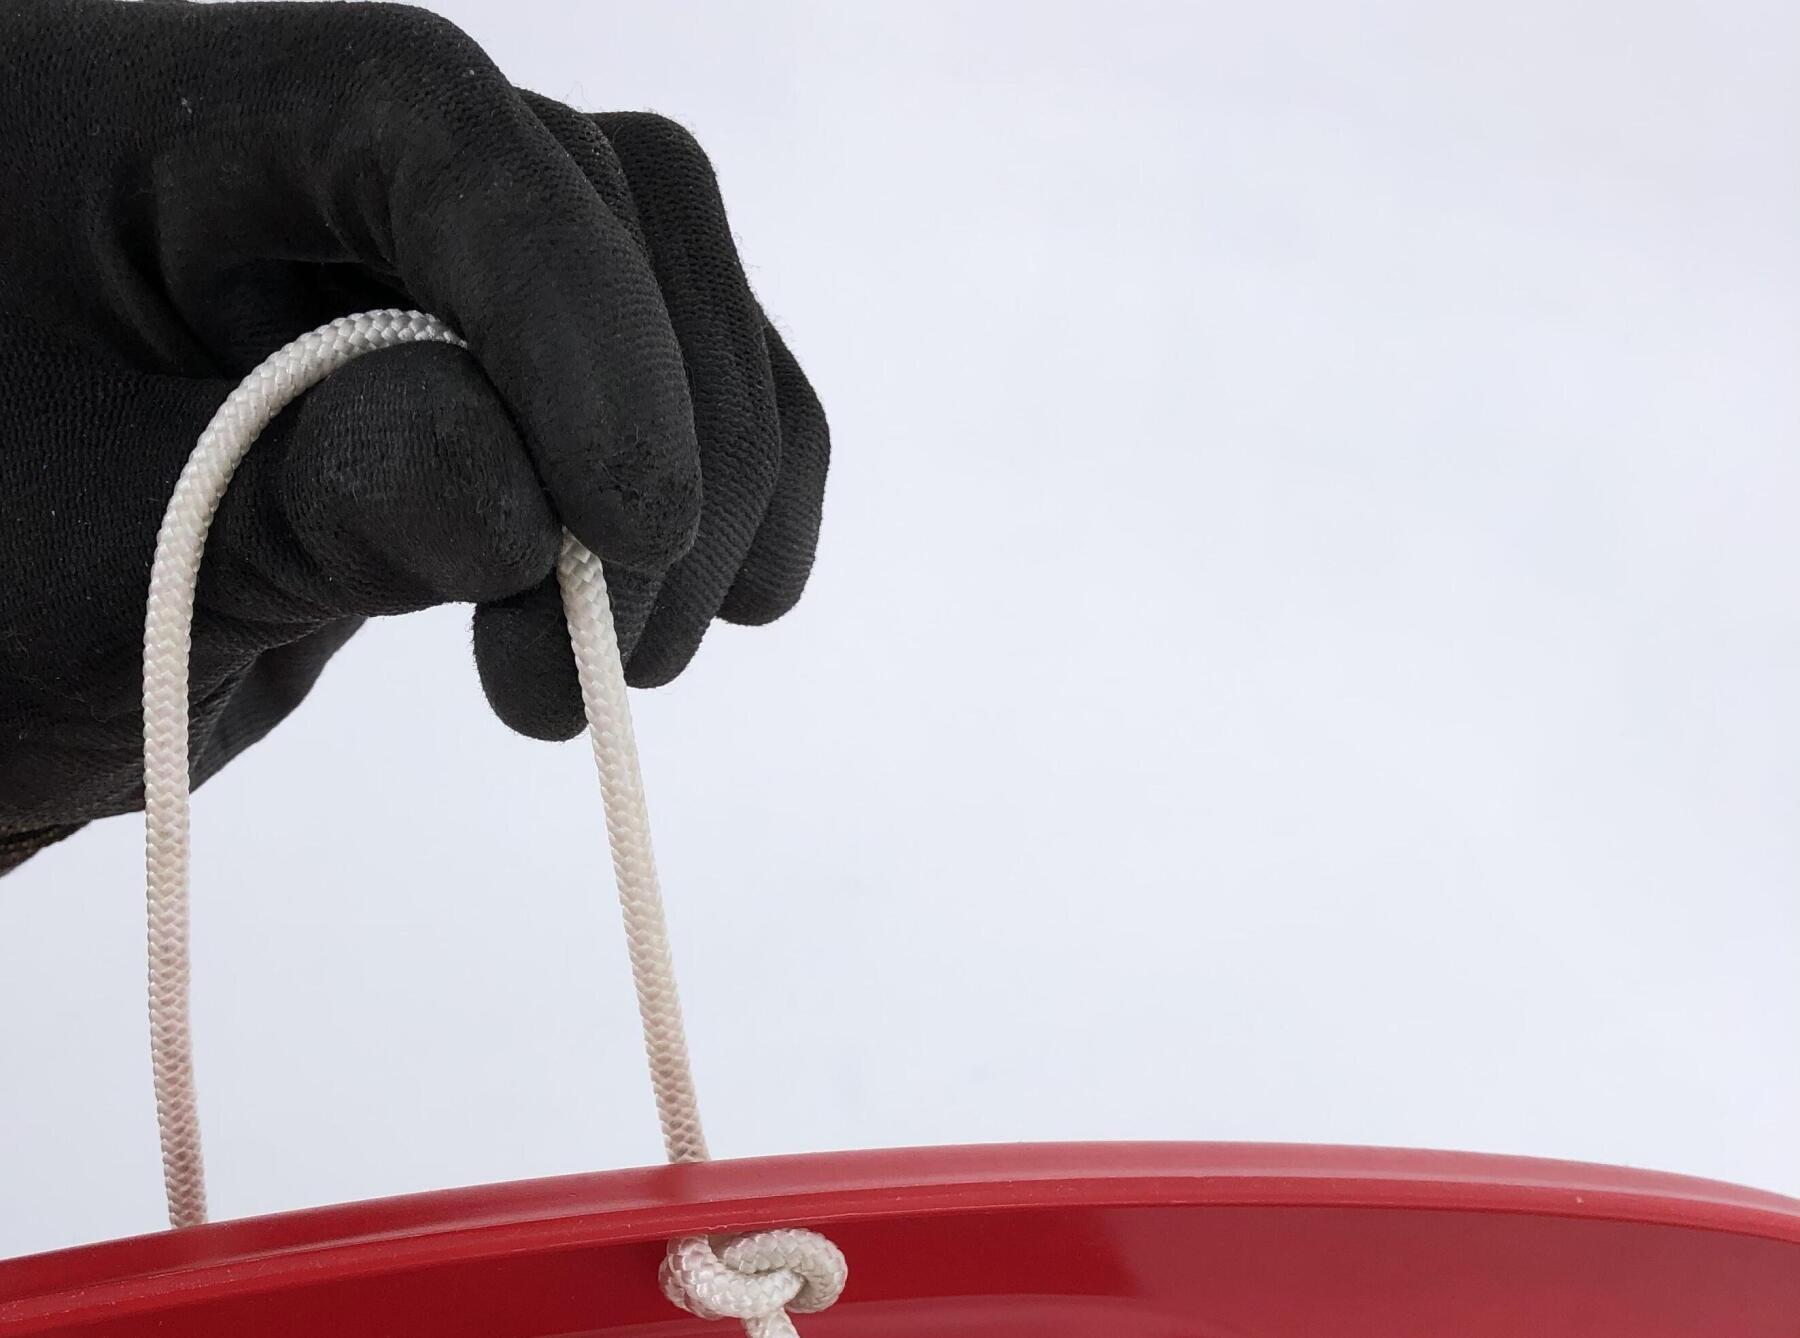
Make sure the knot is pulled very tight.