FIRST USE
To help you get to grips with your new ride, here are some tips on using your RC for the first time.
REF: 8785490
2021
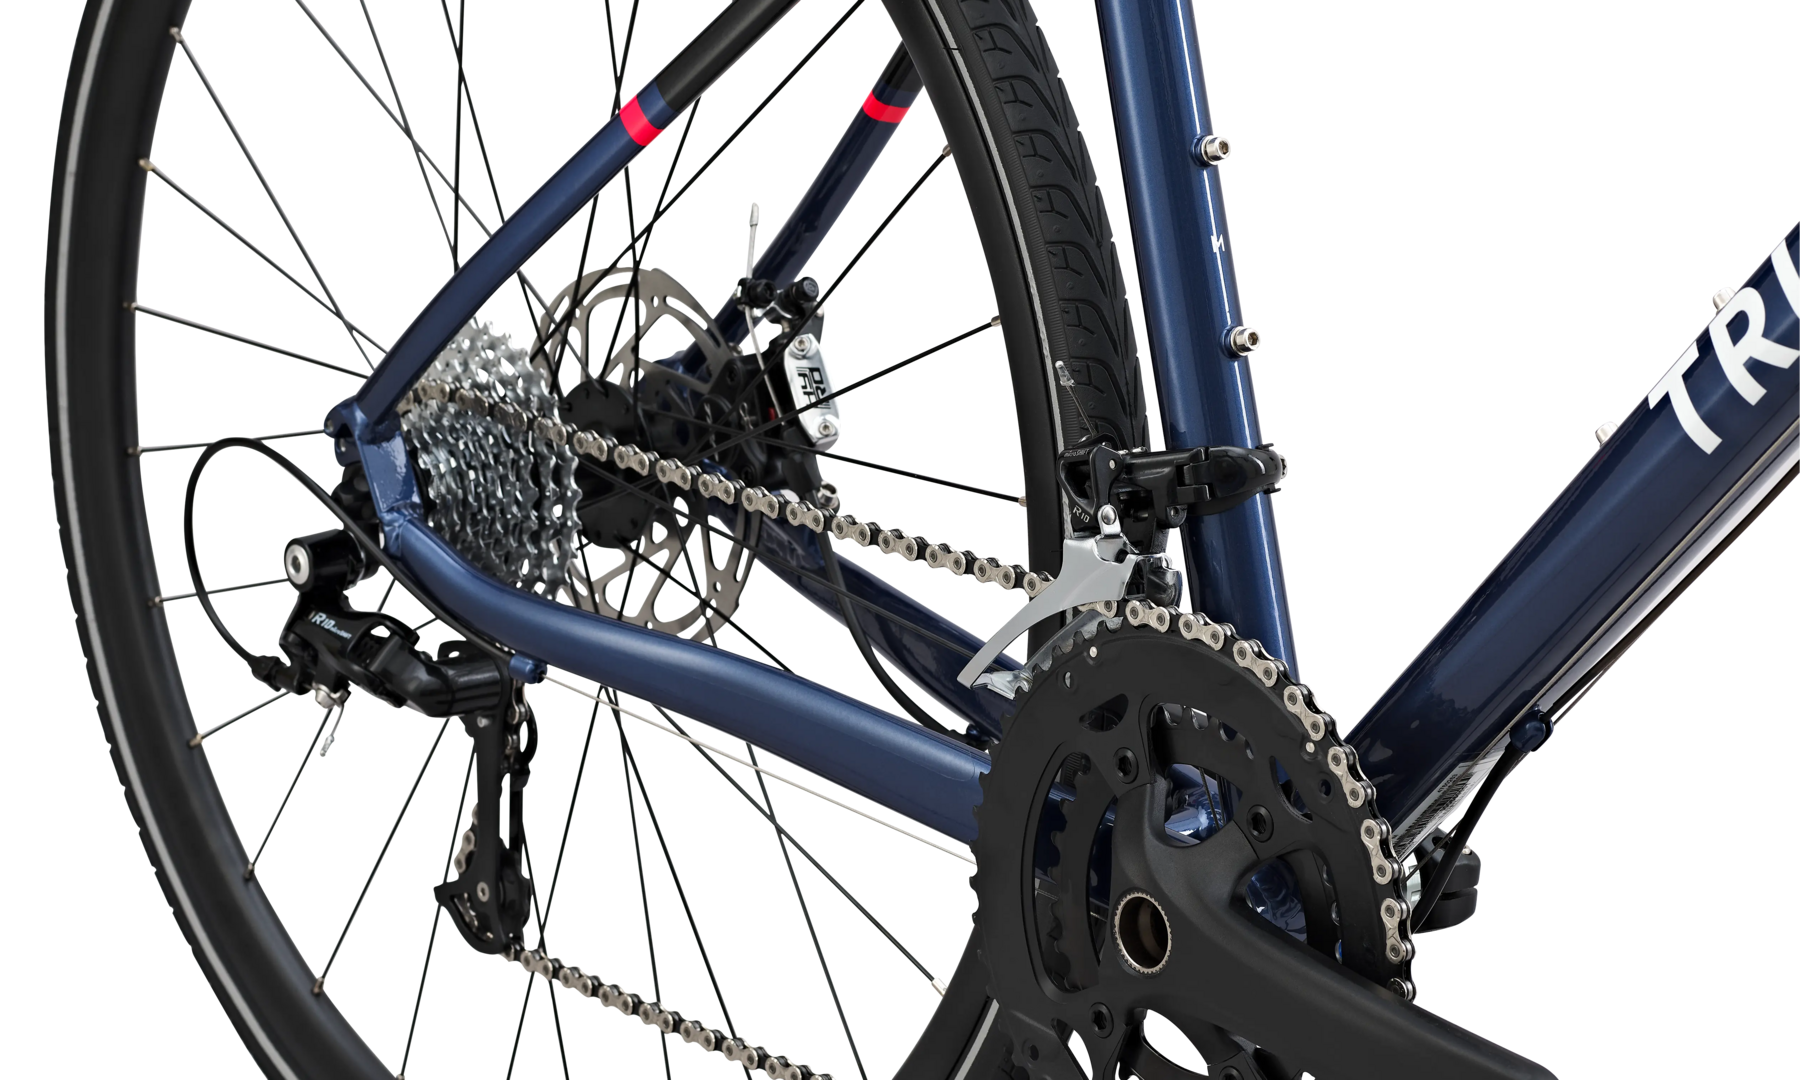
Welcome to the support sheet for your RC 520 Microshift 10-Speed.
This page contains all our very best advice for using, maintaining and repairing your RC 520: user guide, servicing, repairs and spare parts.
To help you get to grips with your new ride, here are some tips on using your RC for the first time.
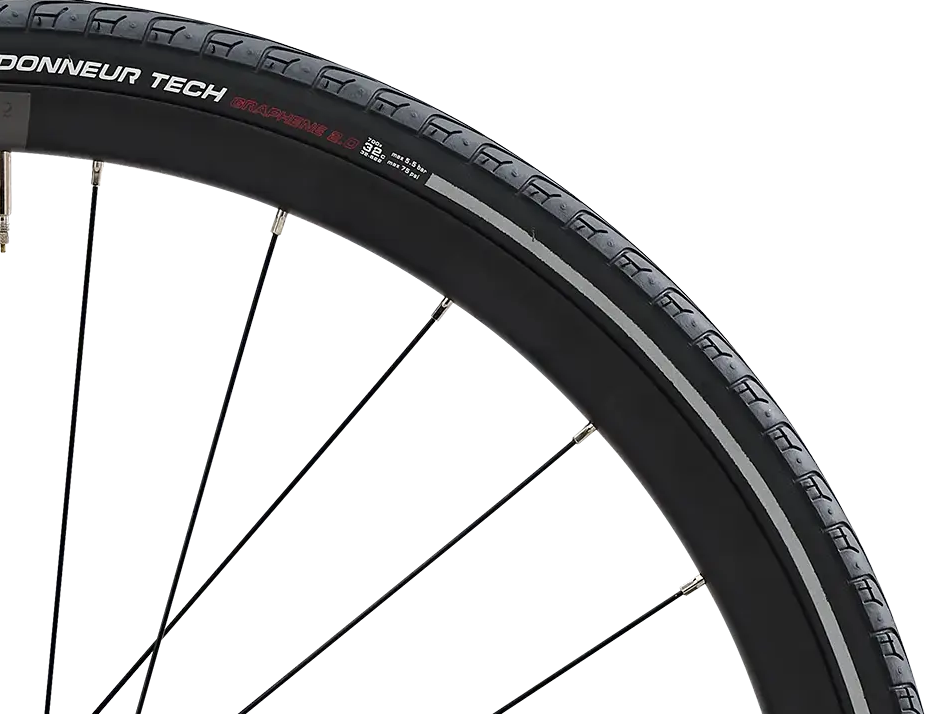
TYRE PRESSURE
For your first outing, remember to choose your tyre pressure, depending on the weather conditions and your weight.
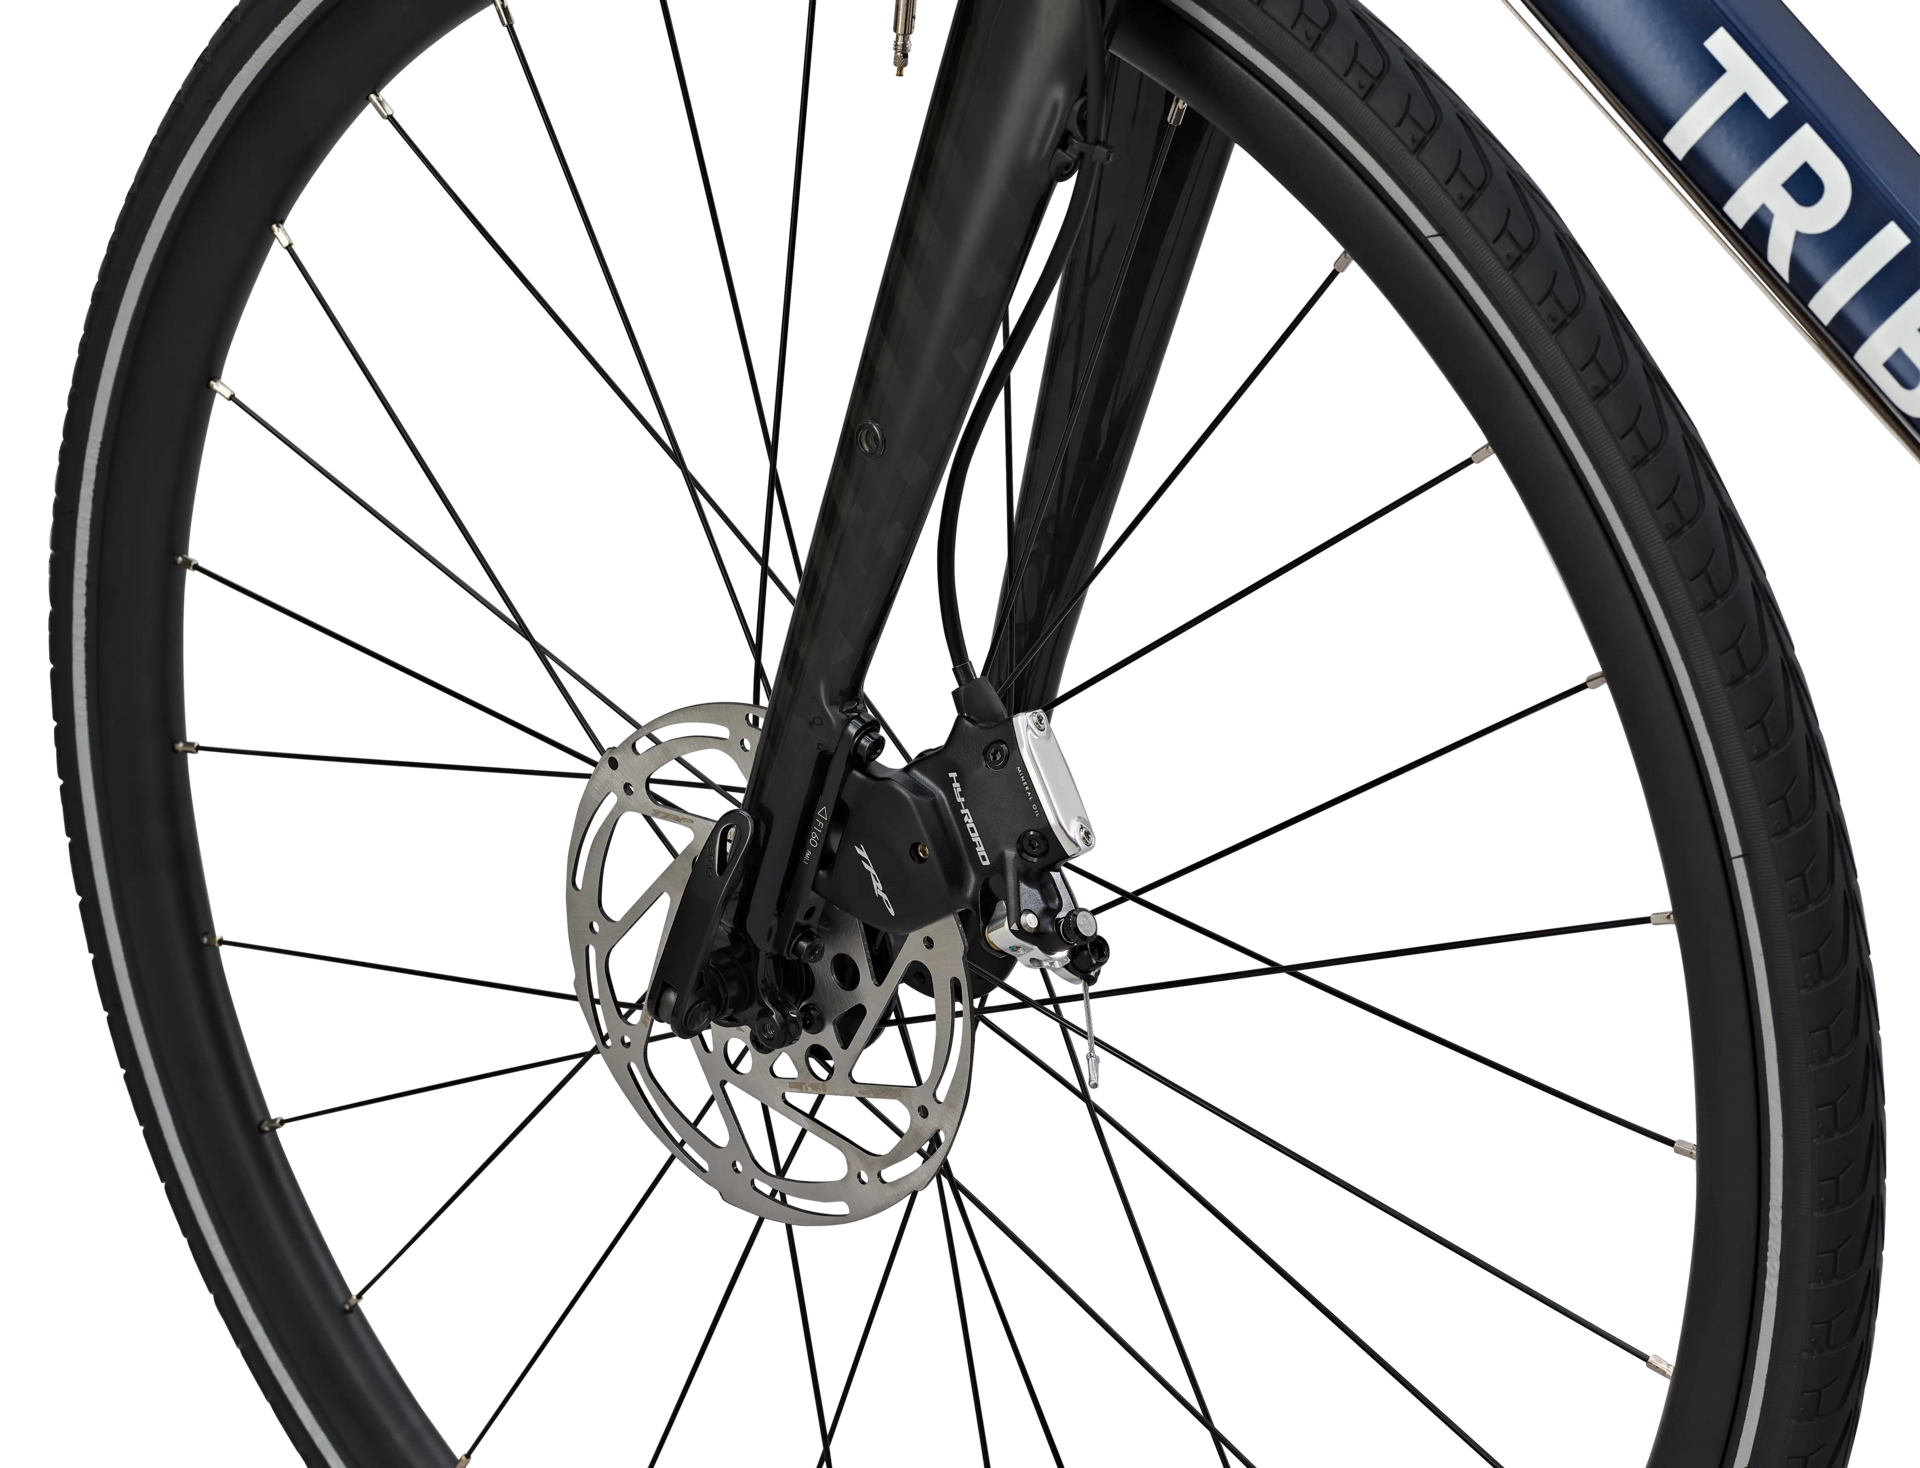
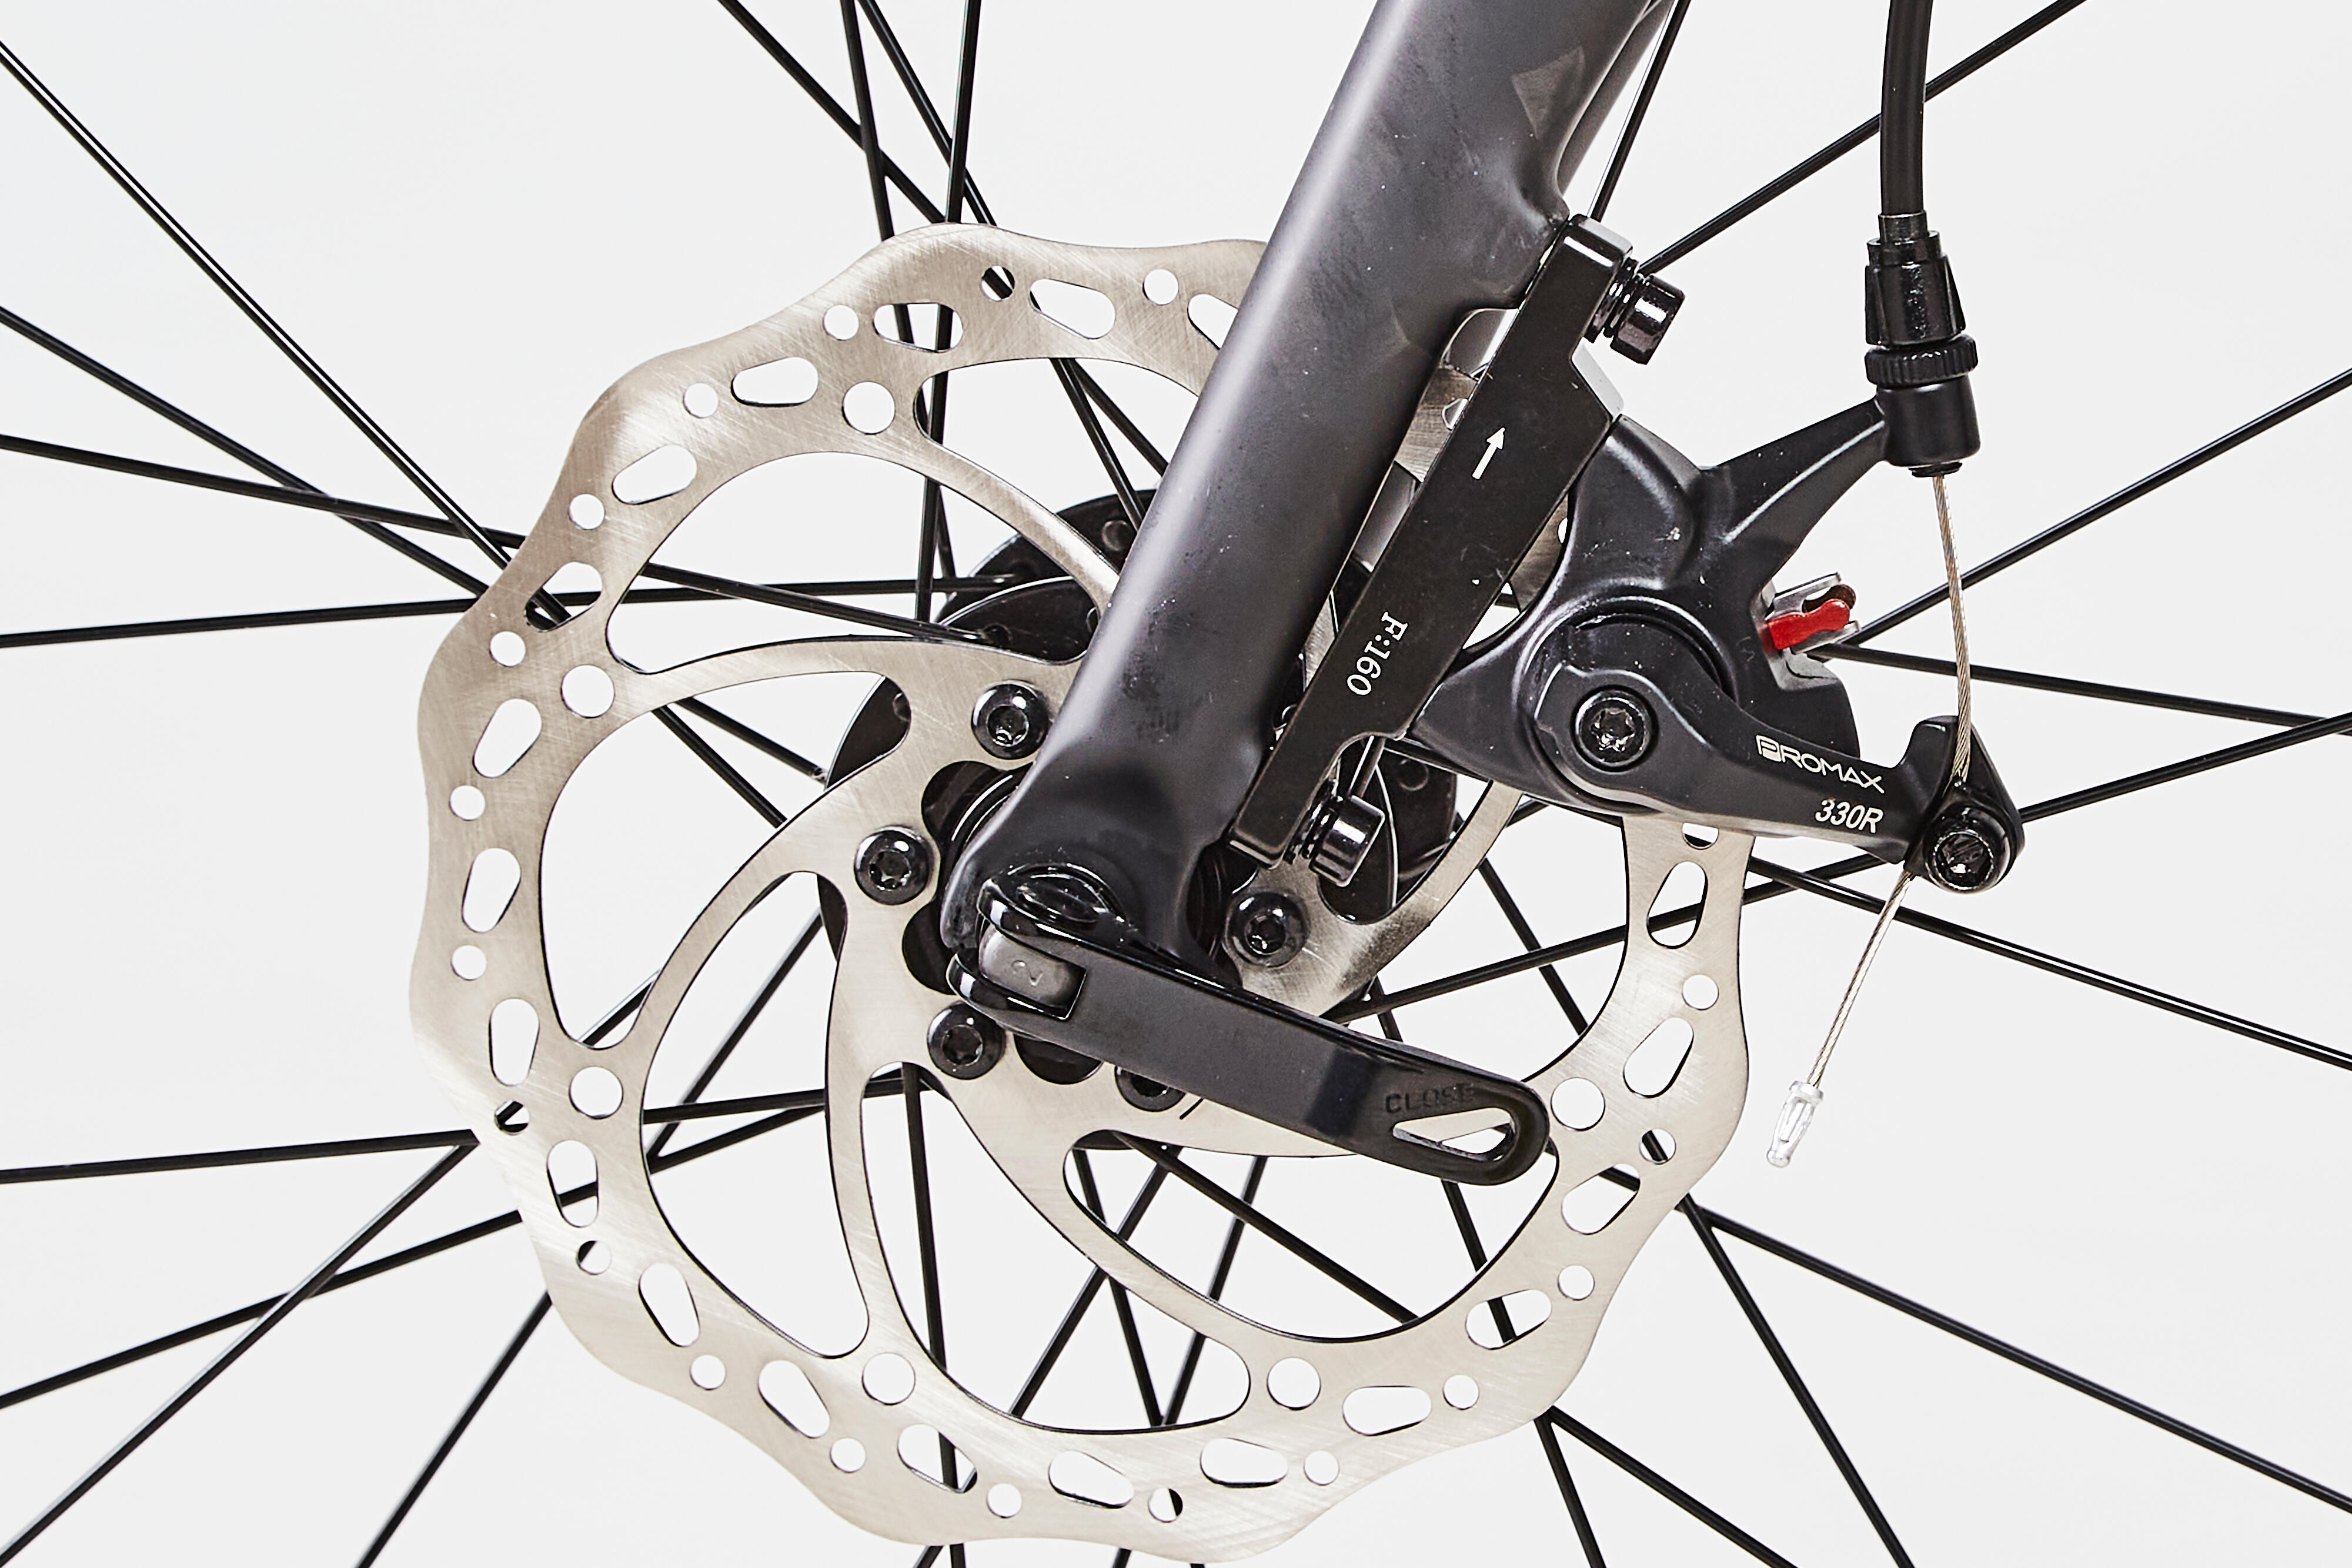
BEDDING IN THE BRAKE PADS
Bedding in the brake pads is vital when using a bike for the first time.
To run them in properly, we recommend you brake 20 to 30 times at over 25 km/h, without locking the wheel.Also make sure you don't stop between braking to avoid "freezing" and thus sticking the pads to your discs.
TORQUE SETTINGS
Please respect the torque settings, especially the settings for the stem/handlebars (please see the user guide), which can cause a fall if they are not tightened properly.
To set your position properly on the bike, carry a set of Allen keys with you on your rides.
All the essential adjustments for starting out right with your RC 520 10-Speed.
Maintaining your bike is essential if you want to expand its lifecycle. That starts with regularly cleaning your bike, the frame and drive train.
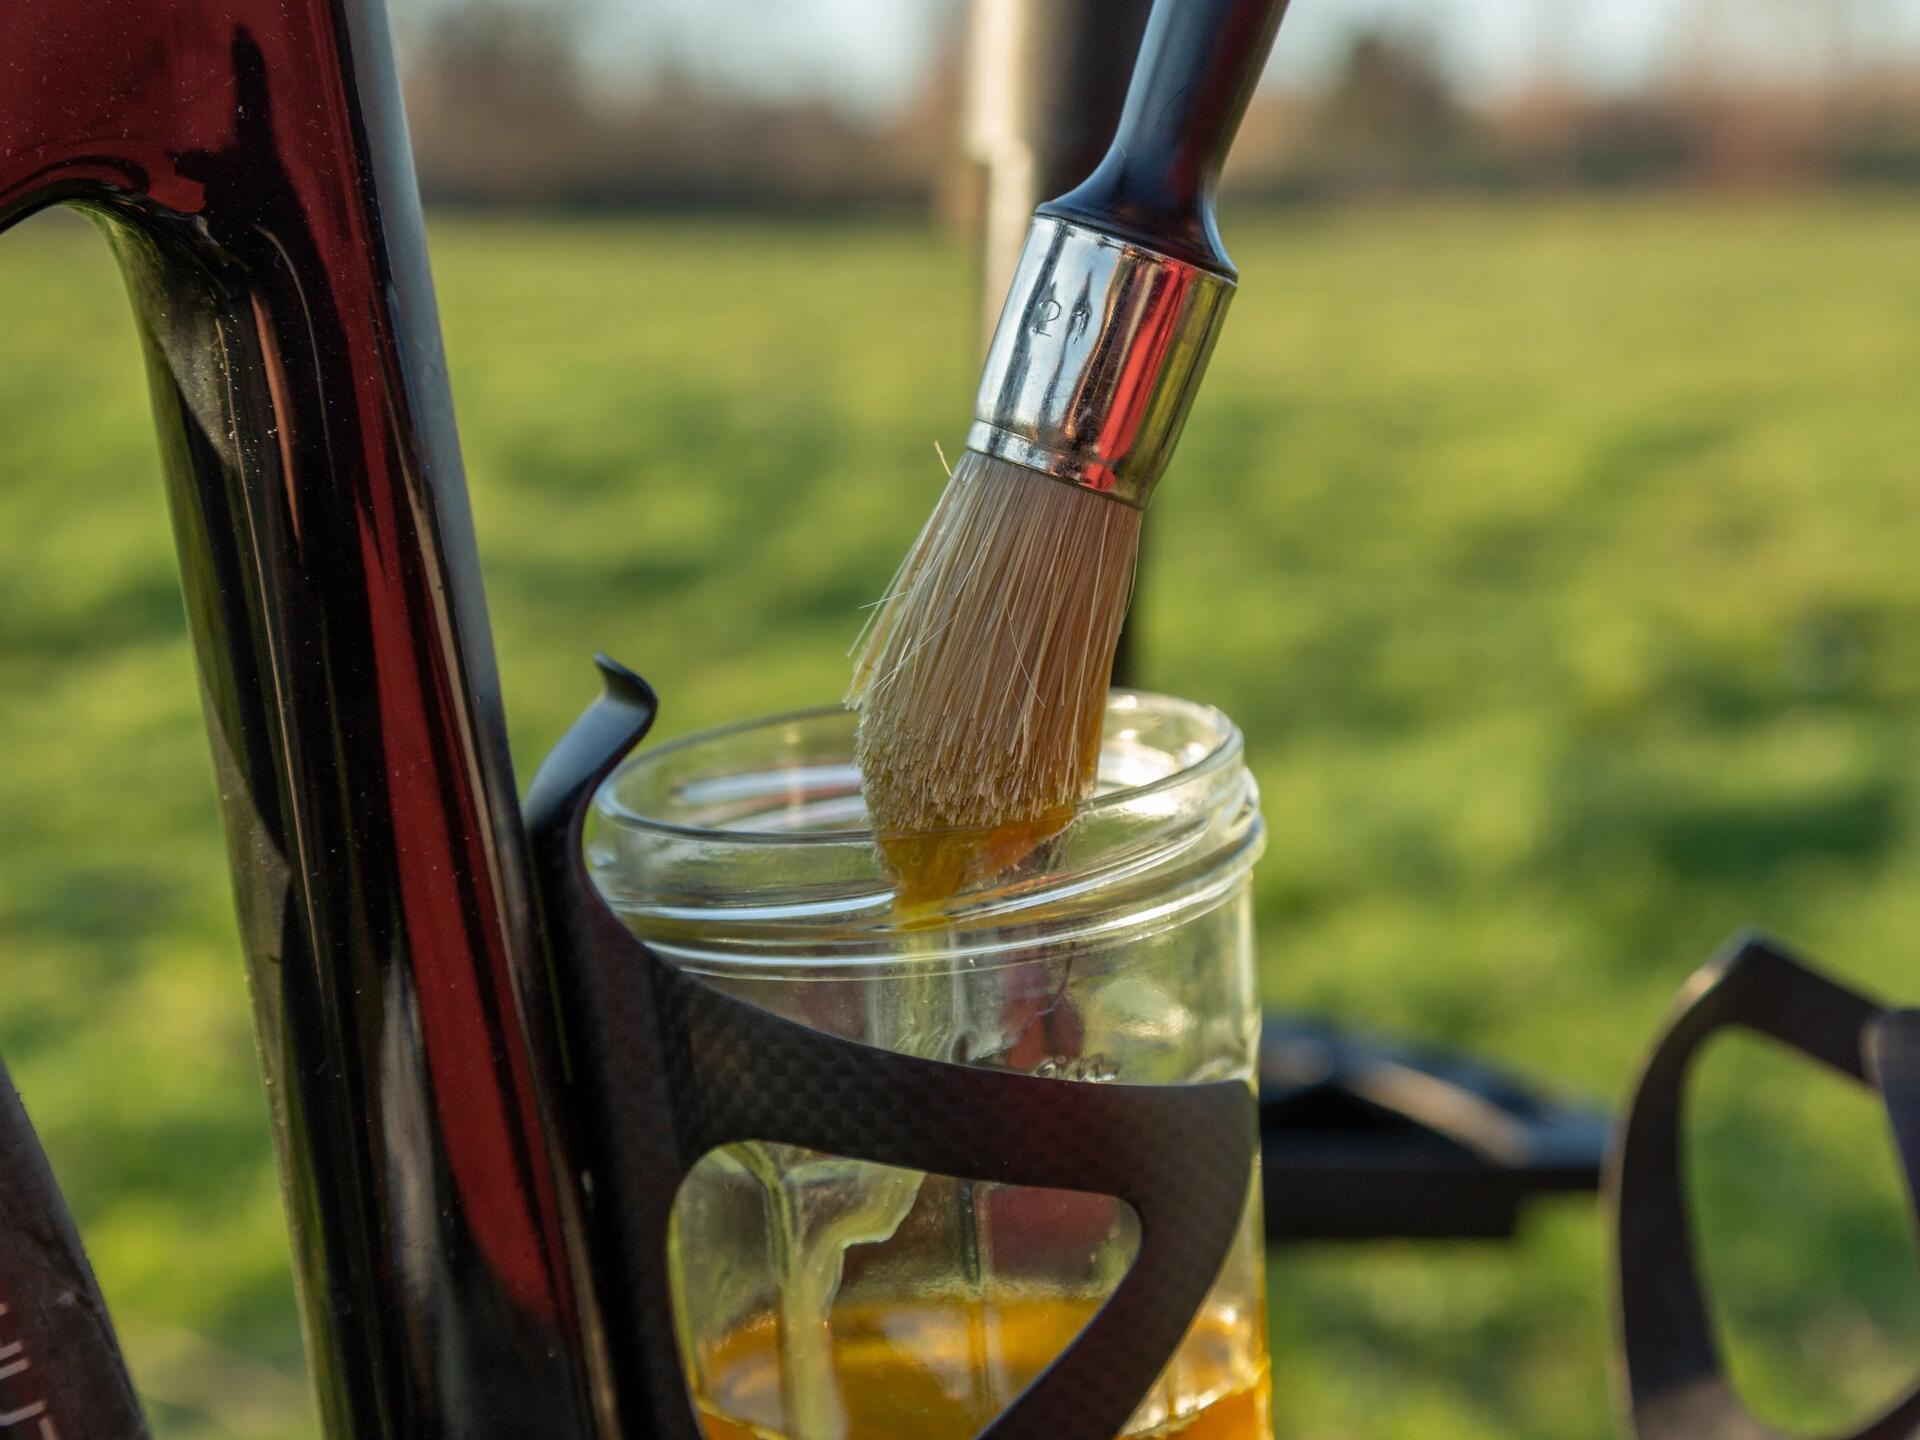
Step 1
Apply a degreaser to your drive train. Place a cloth on top of the brake discs to prevent them from being covered with degreaser.
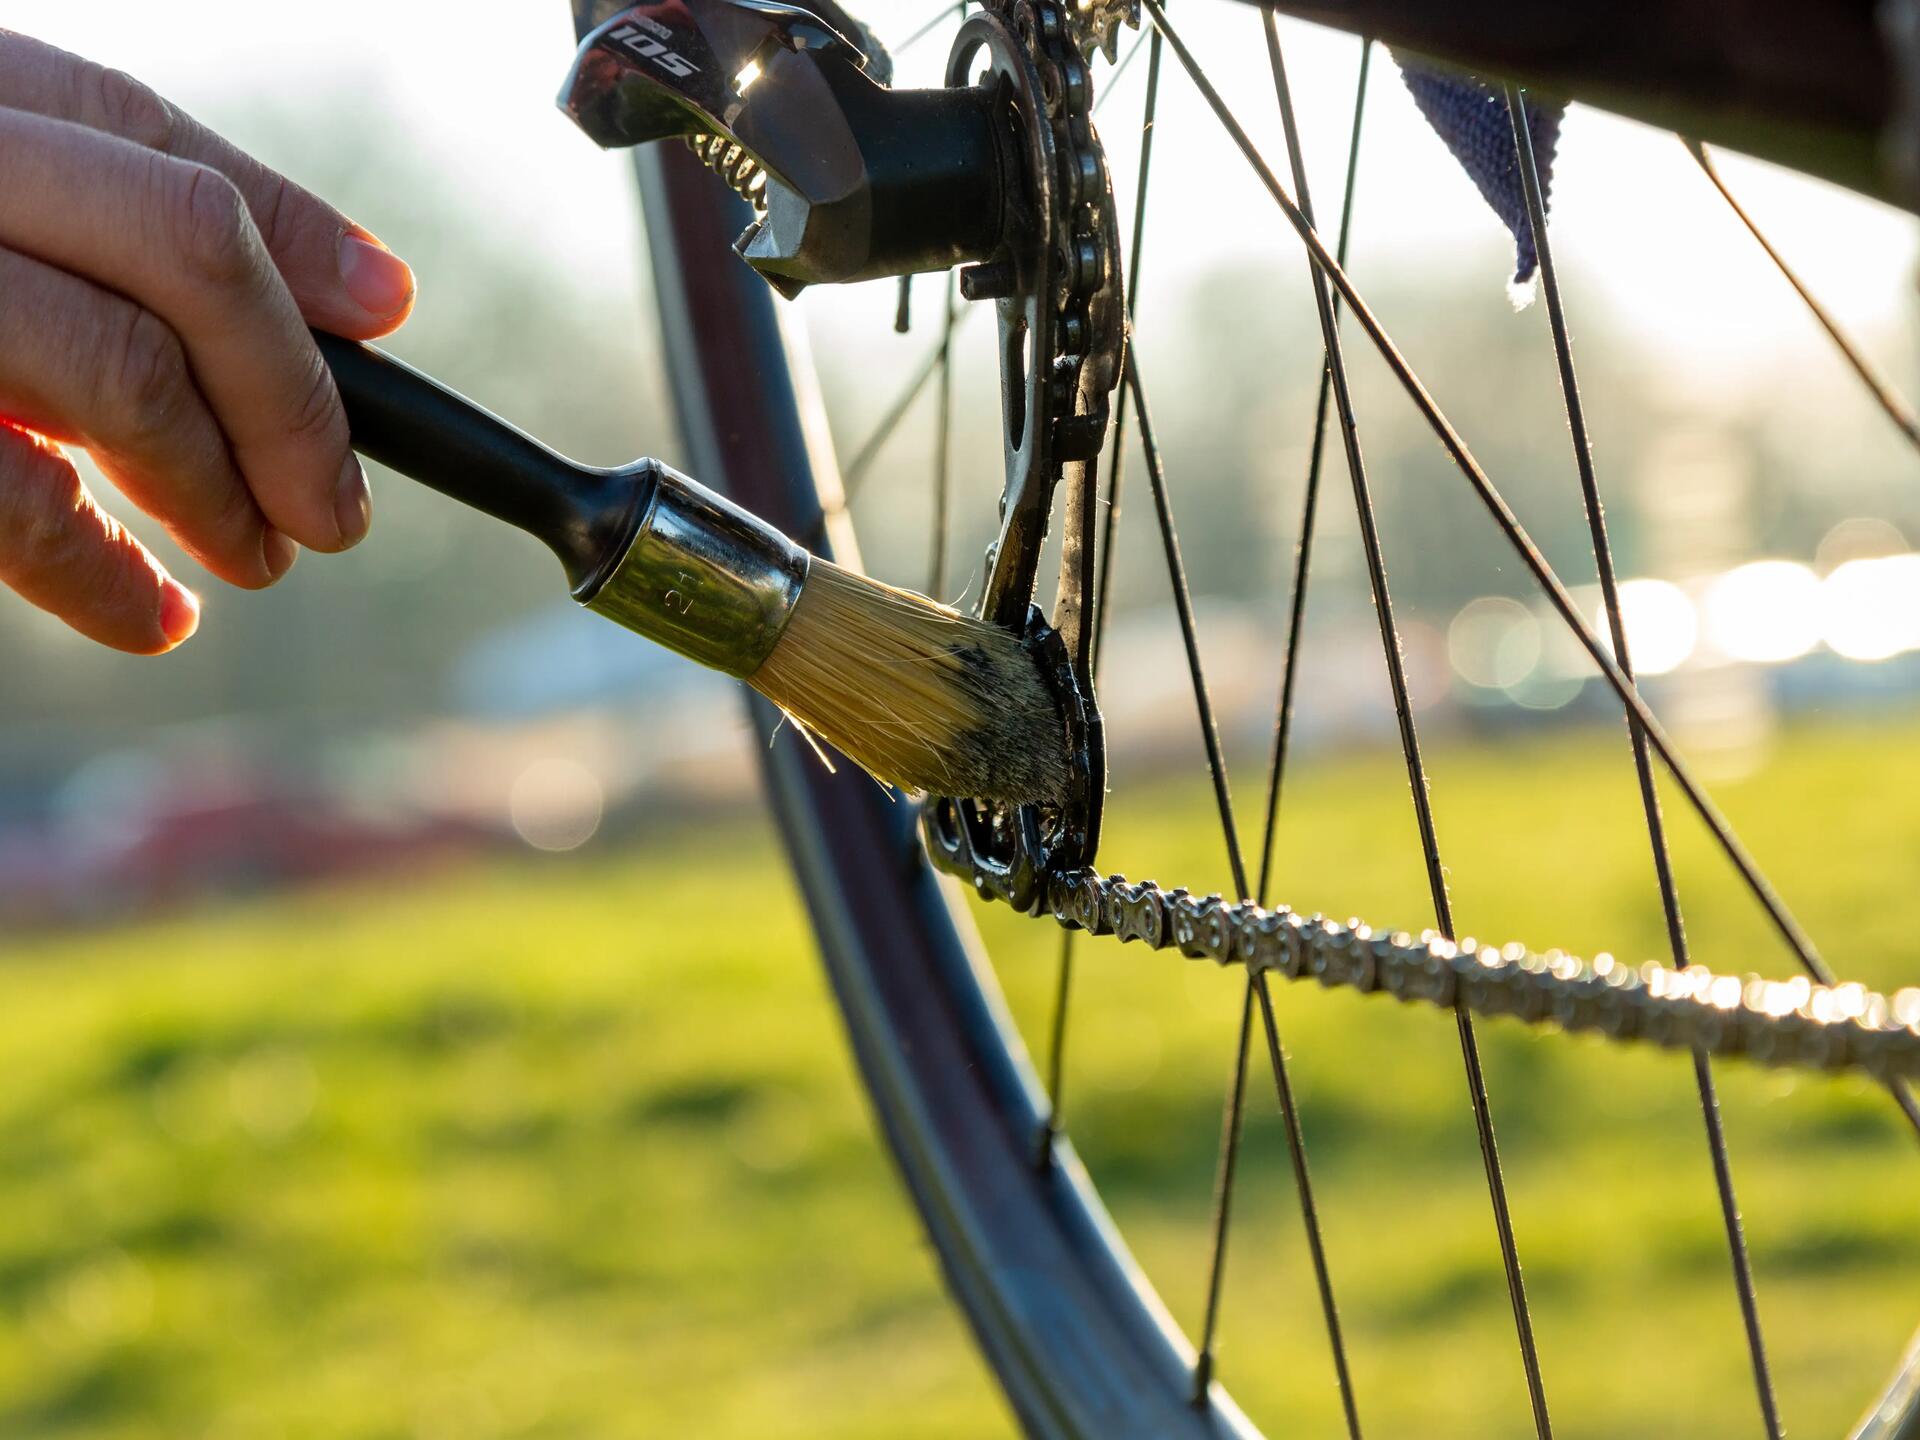
Step 2
Clean your drive train with the aid of a brush. Apply a suitable cleaning product to your frame.
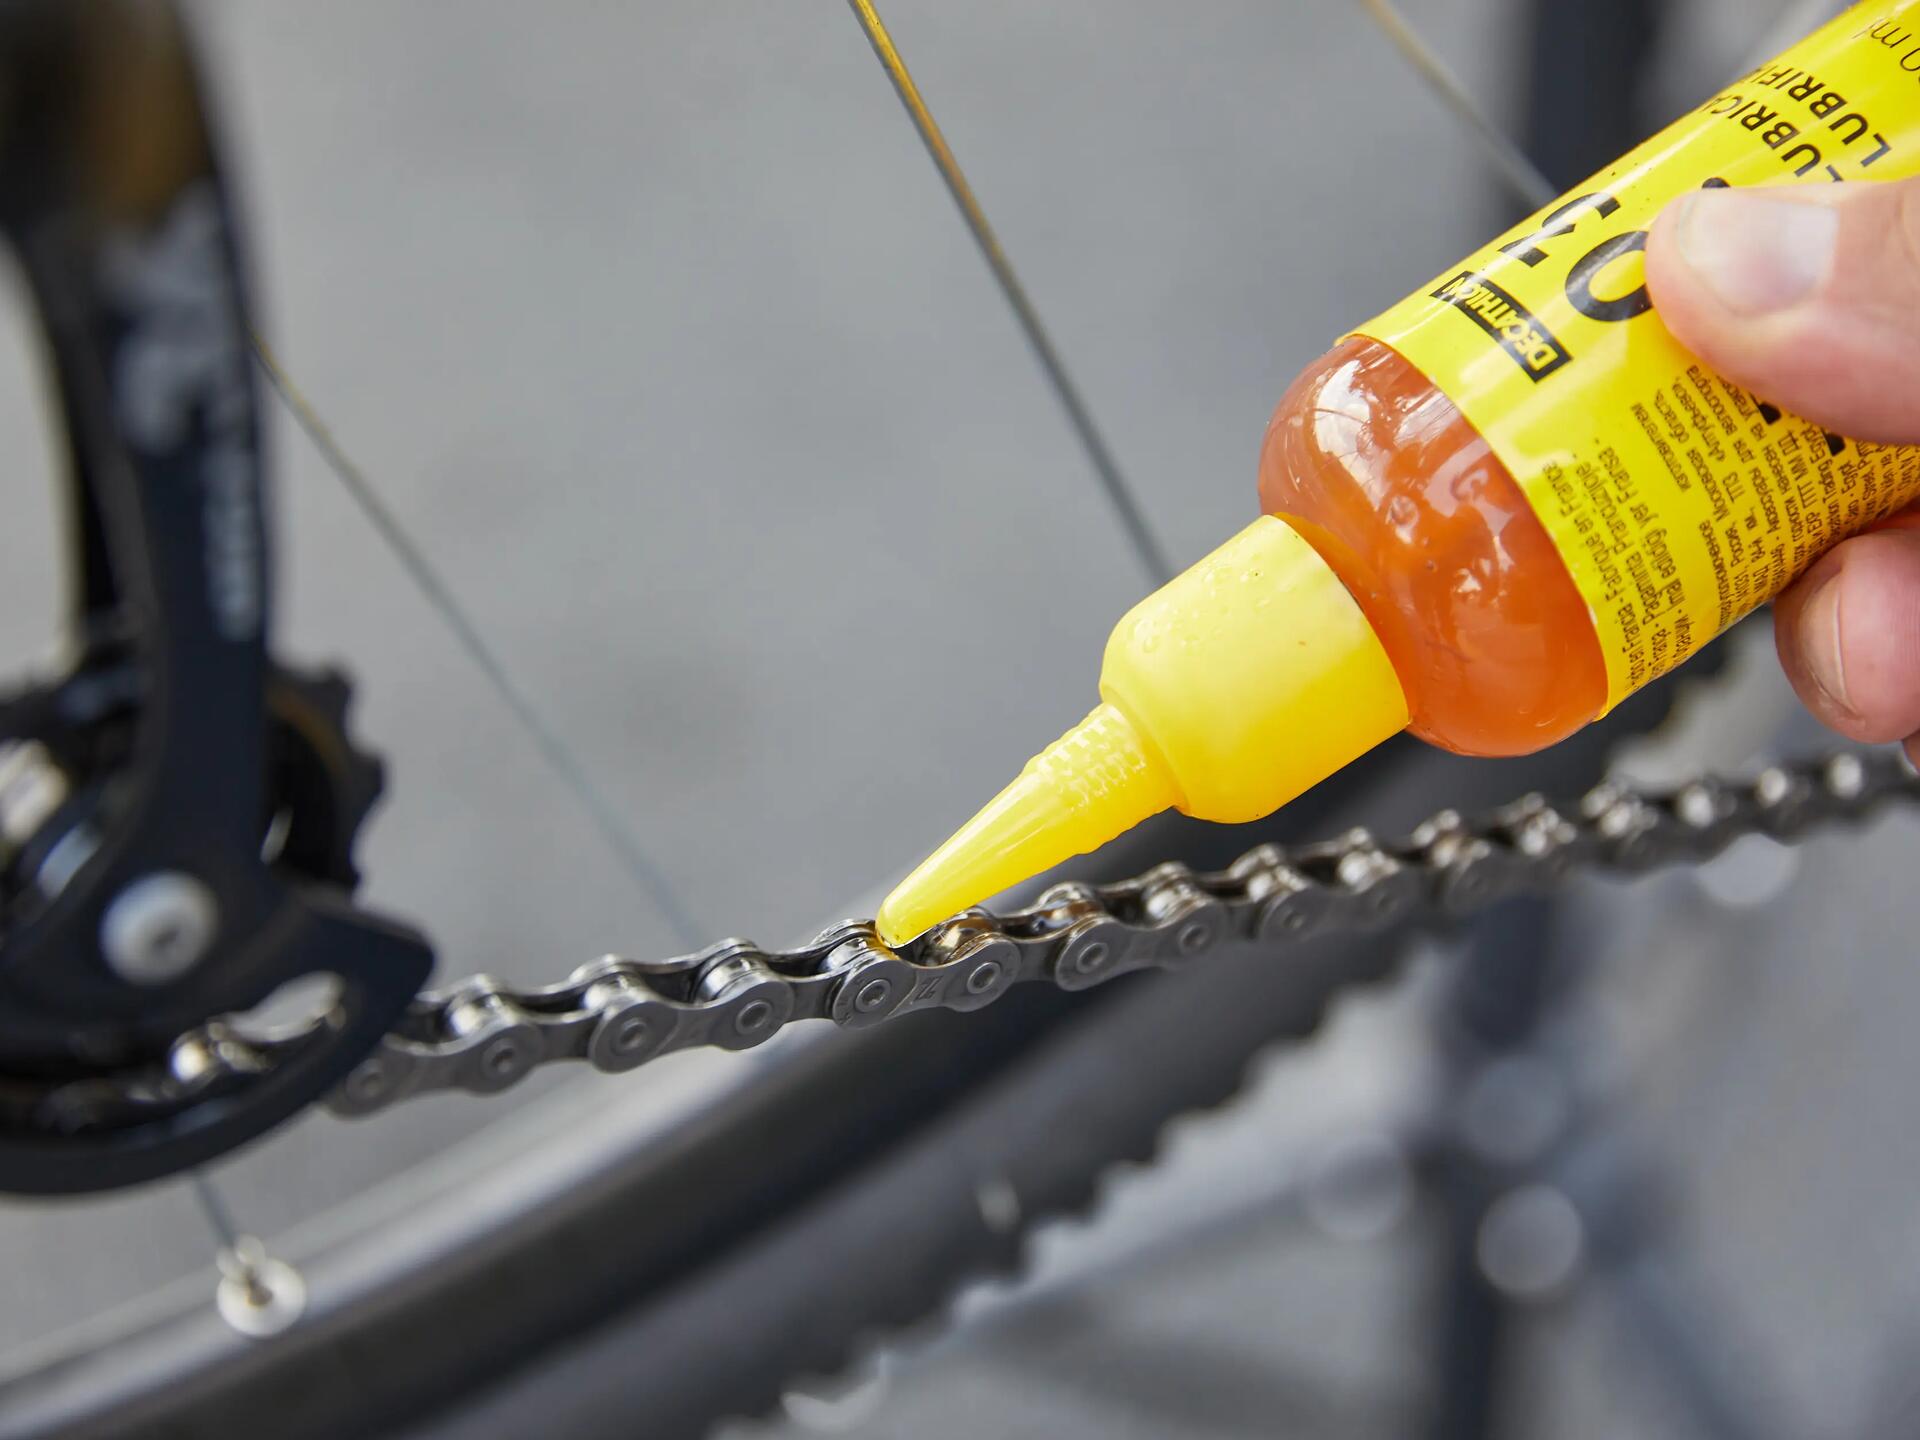
Step 3
Drying your bike and lubricating your drive train.
To maintain your bike correctly, you need to have the right tools.
Read the article below to find out what checks you need to make on your bike before going out for a ride:
The tyre is the only element in contact with the ground. To minimise the risk of it losing grip, it's essential to choose the right type of tyre, and adapt the pressure accordingly.
Check out our advice here:
Riding with worn tyres comes with risks:
Loss of grip.
Greater exposure to punctures.
In this article, we'll tell you how to spot a worn tyre:
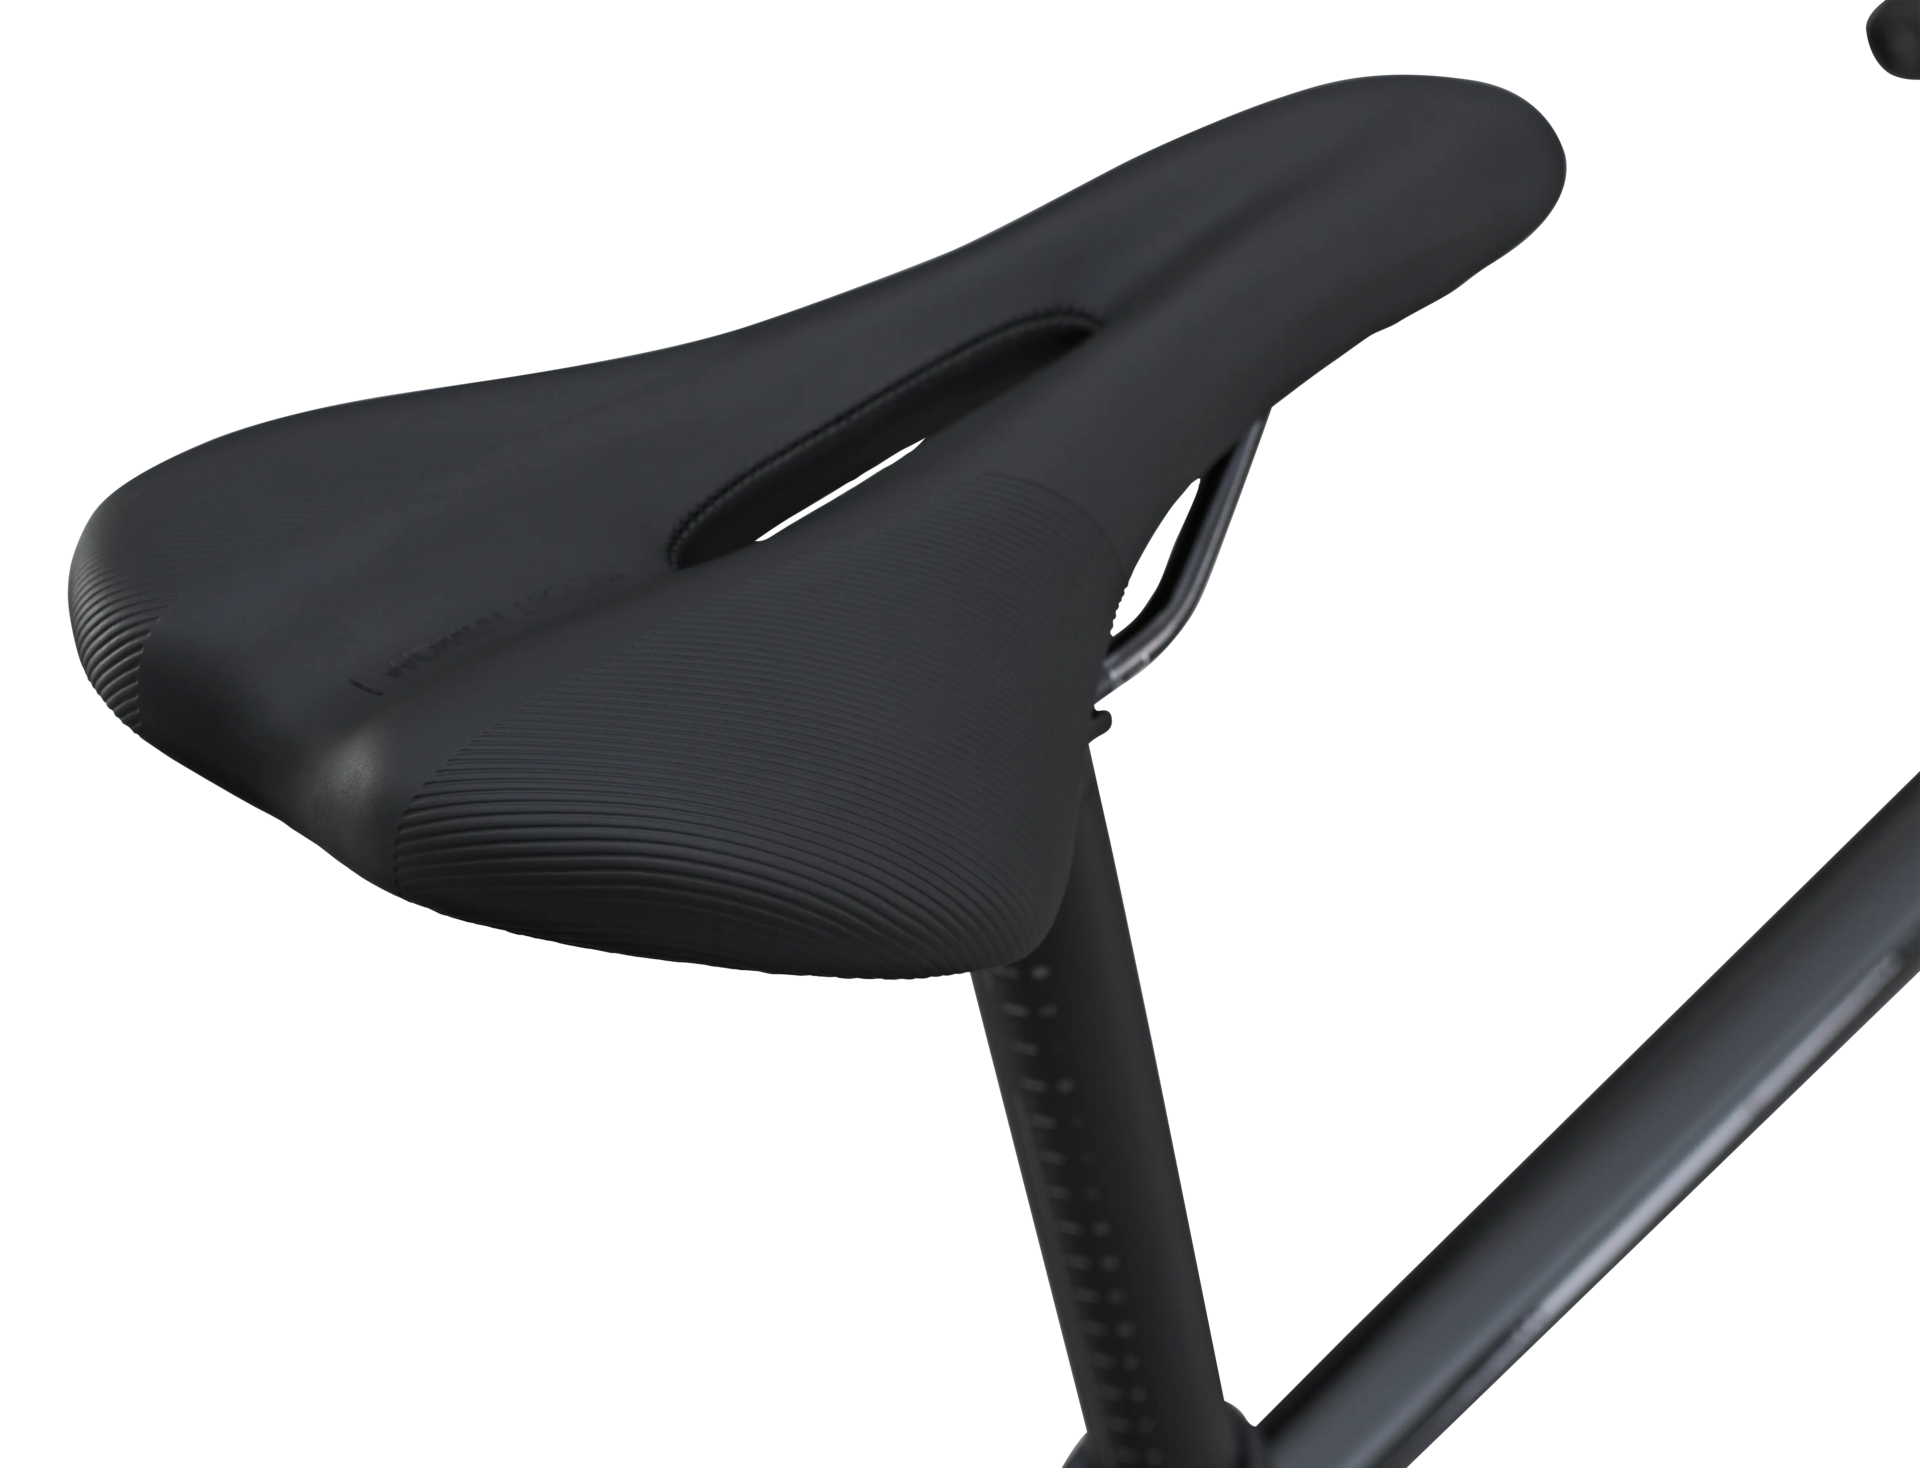
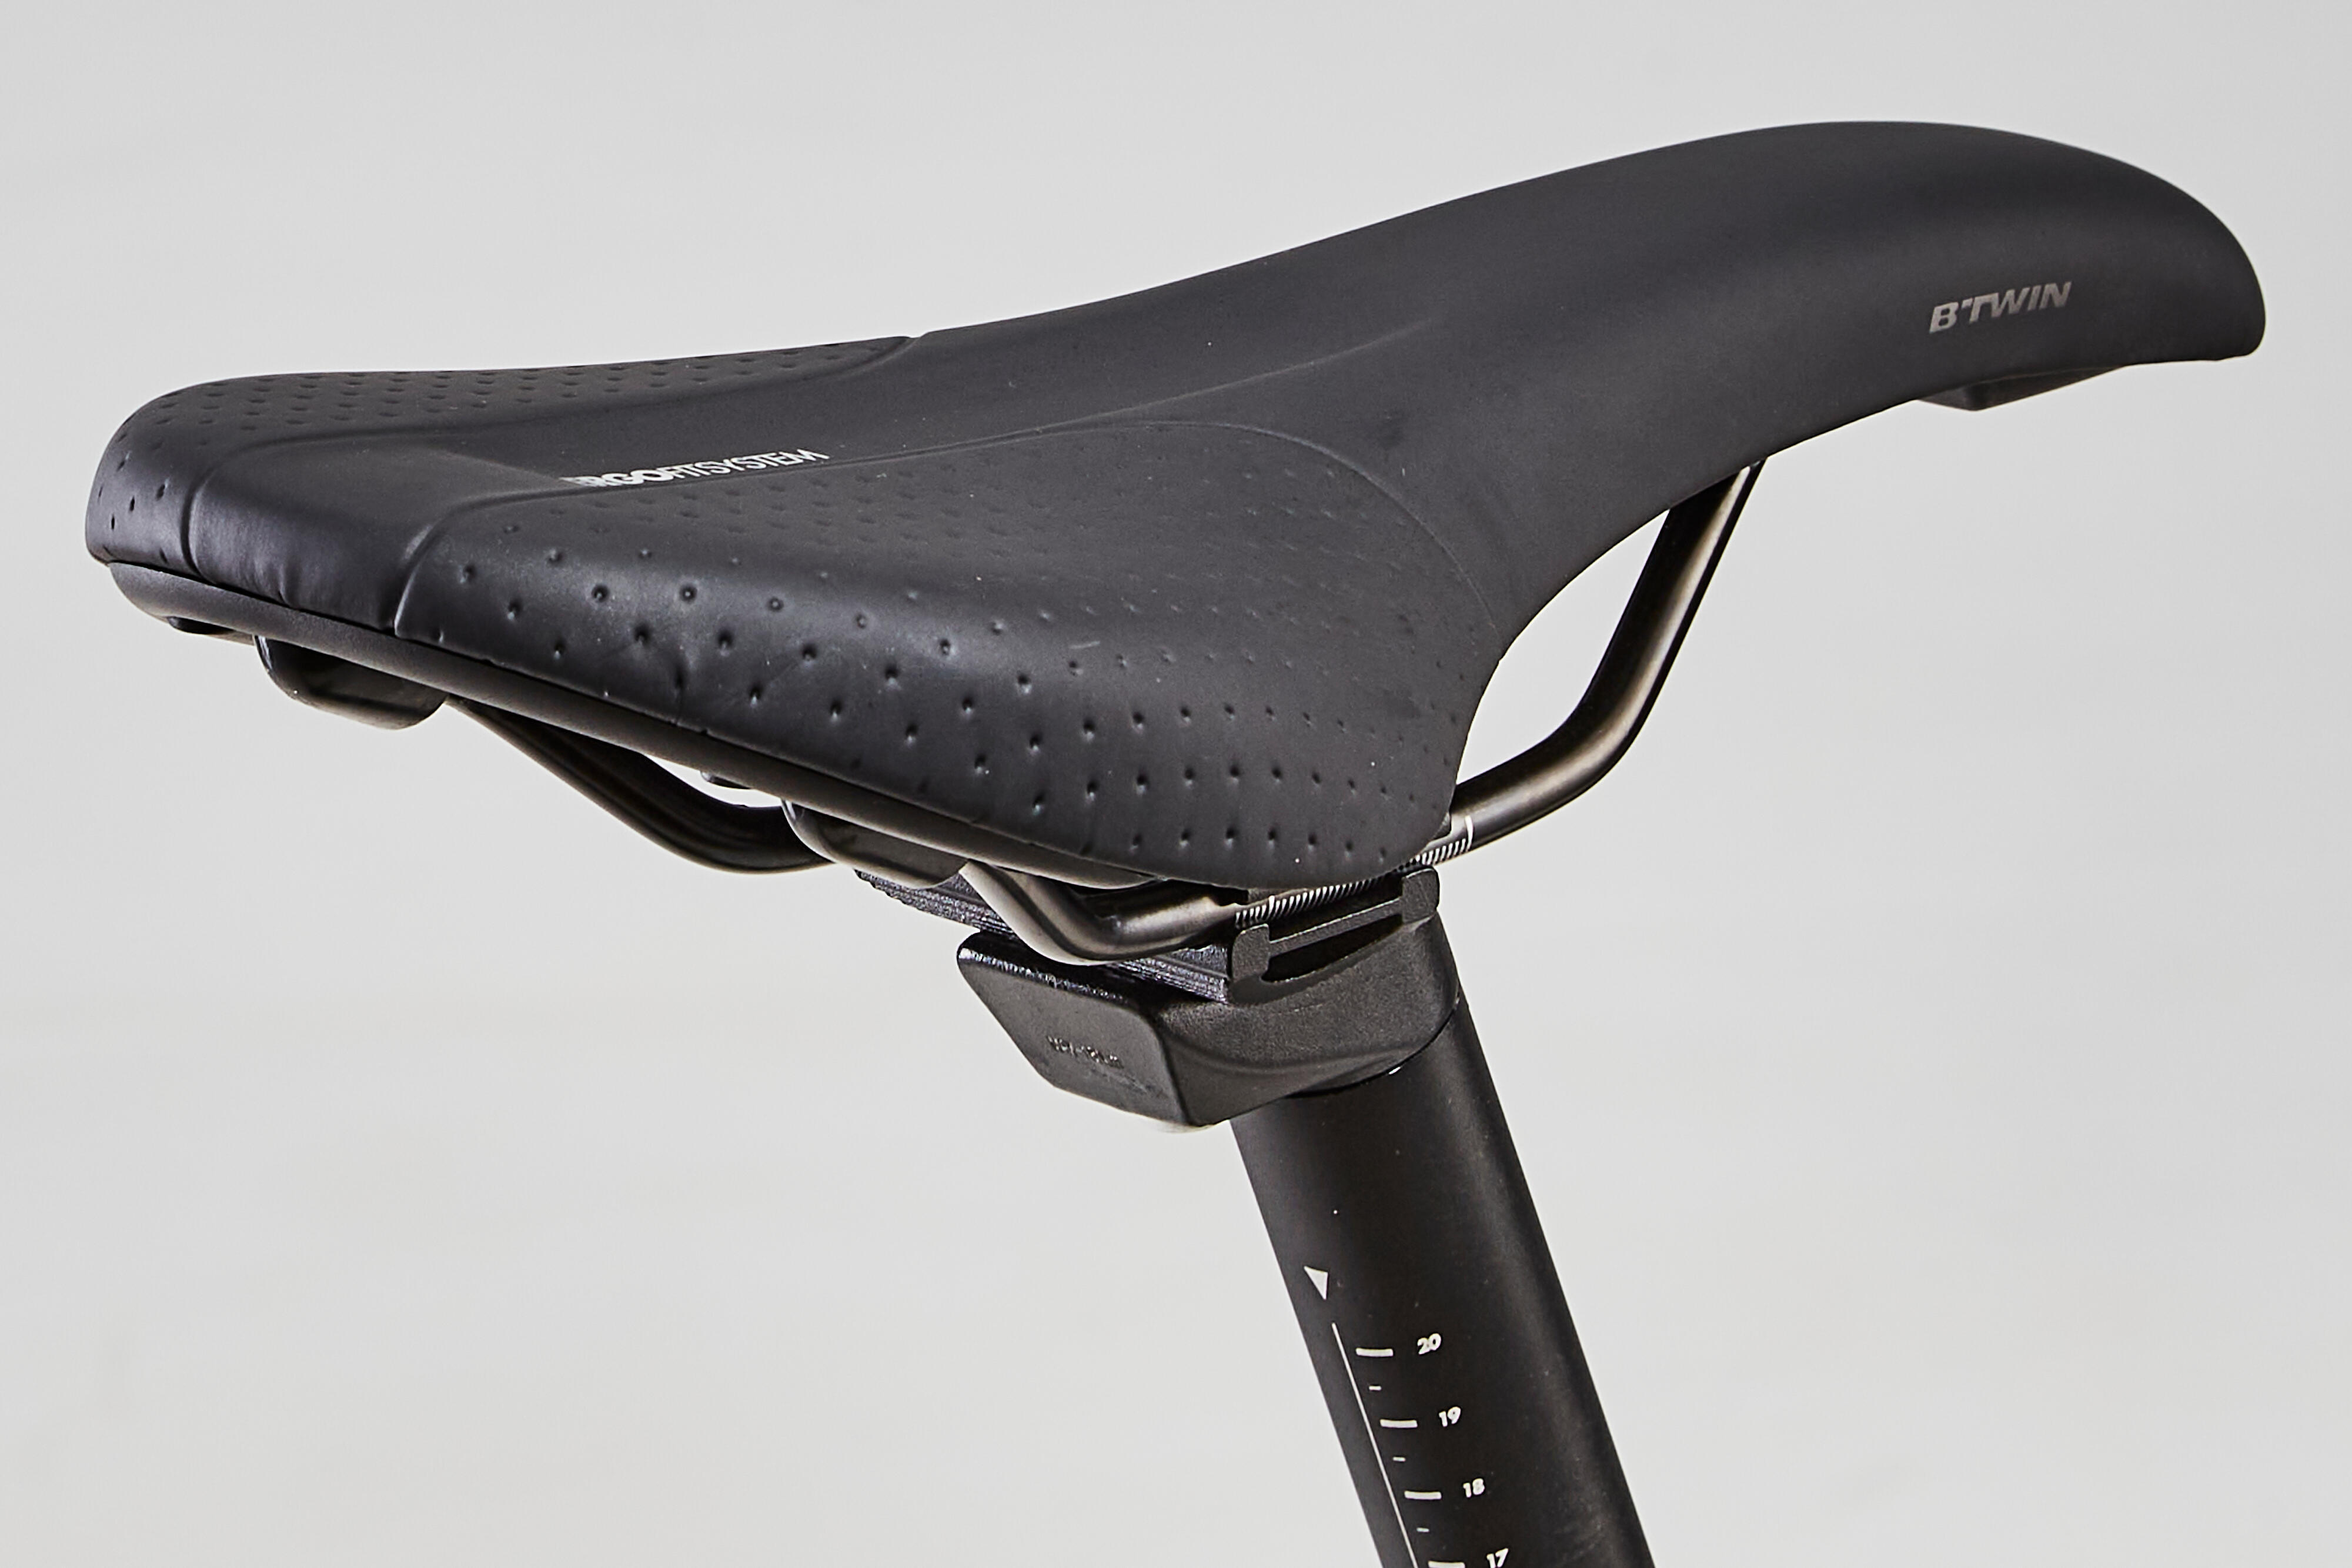
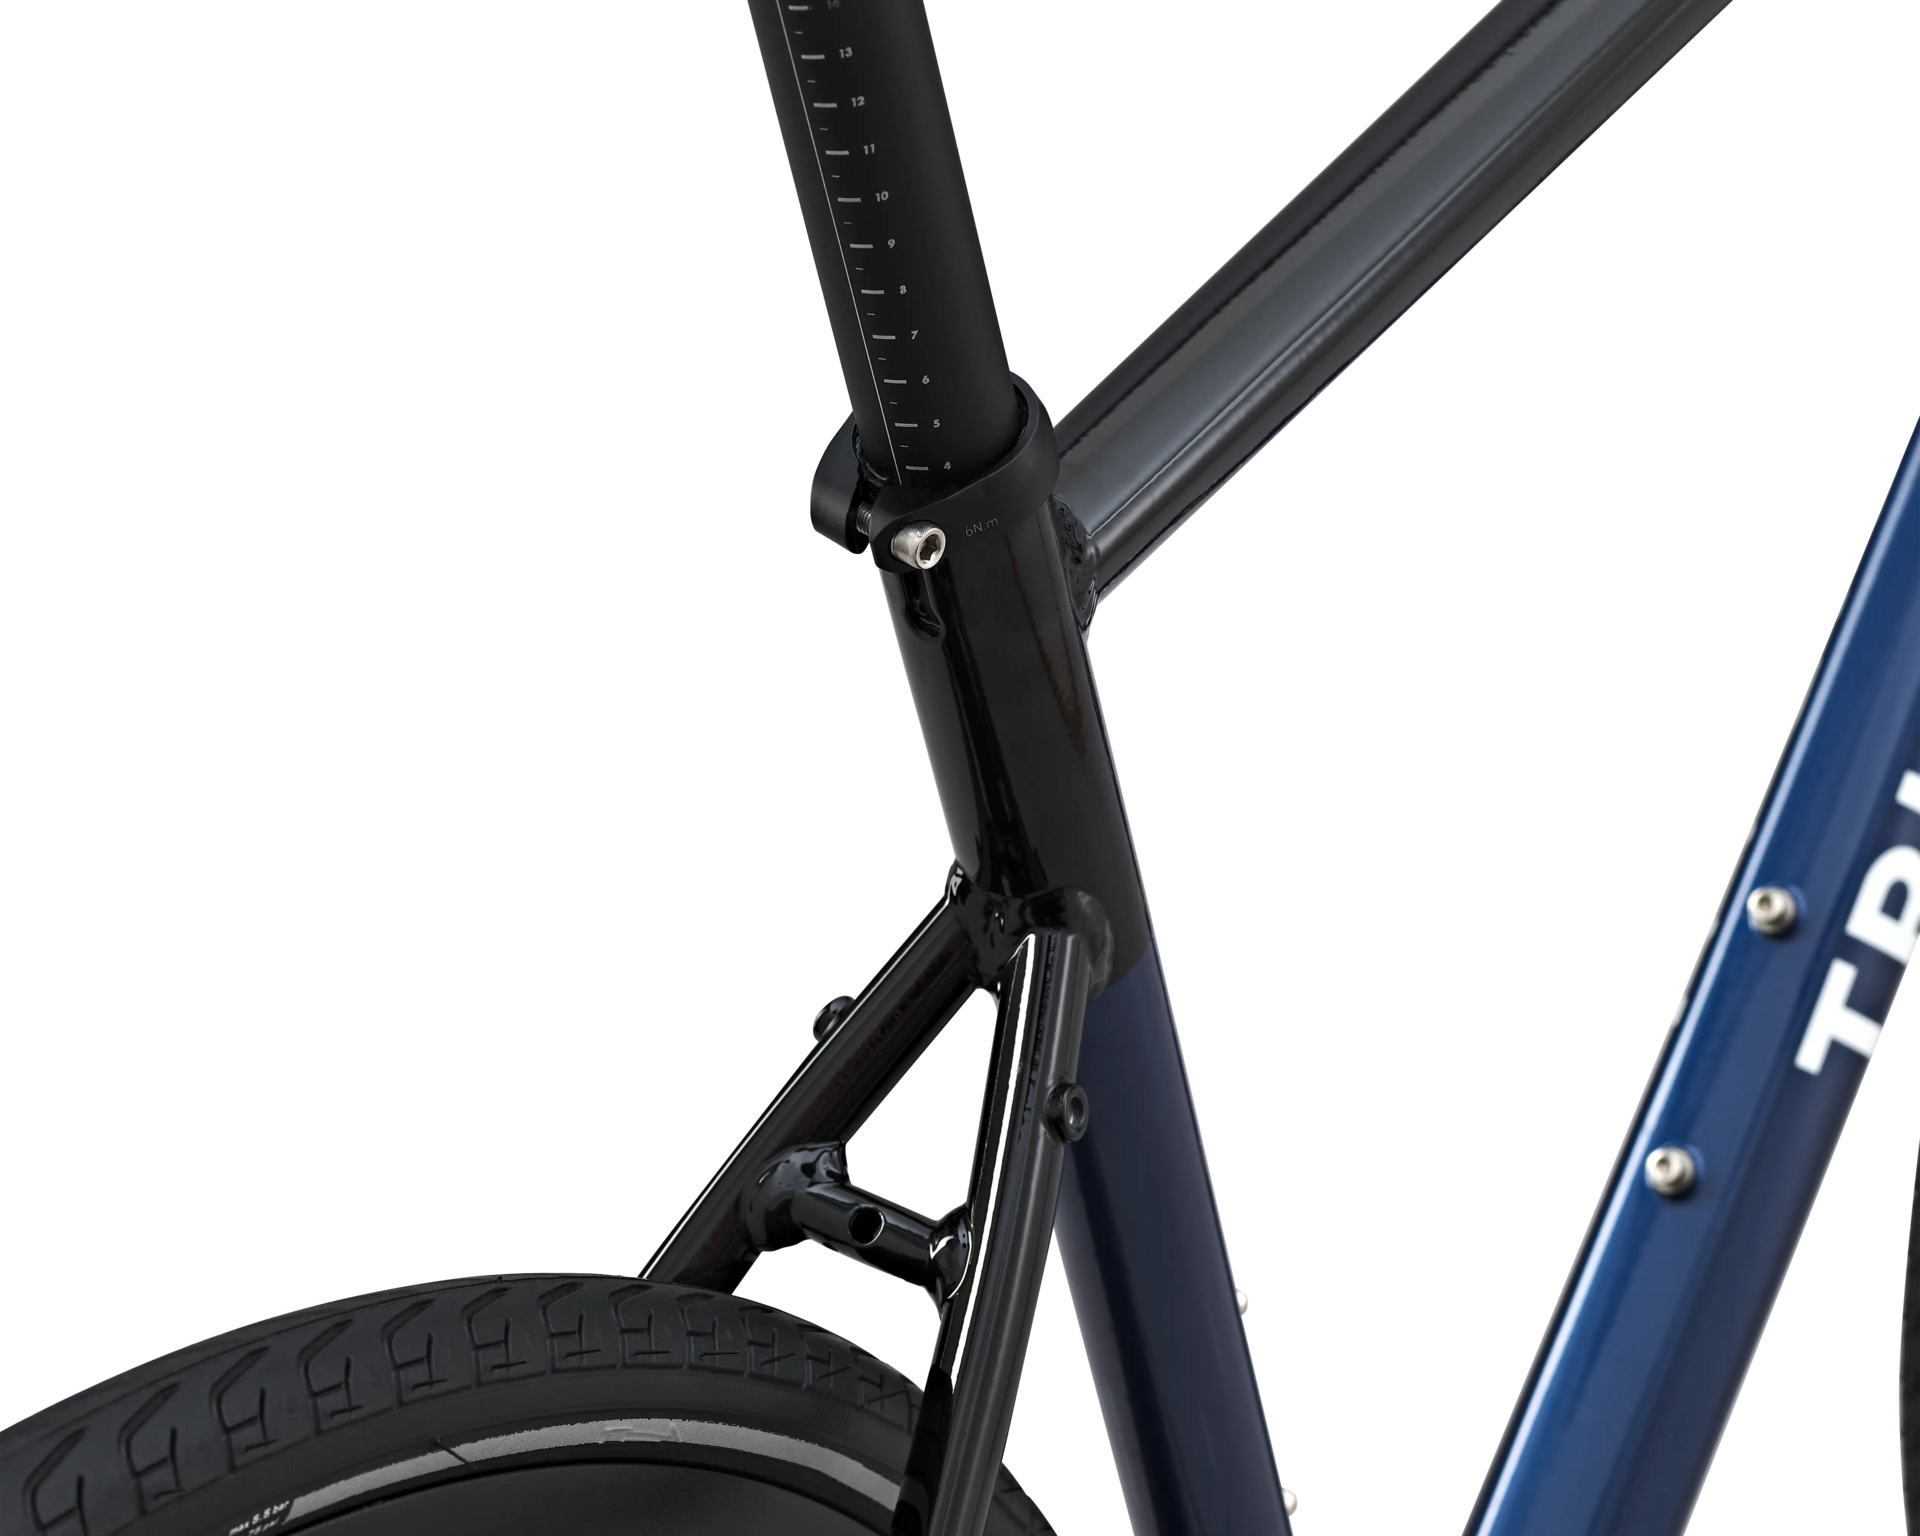
To set your saddle correctly it needs to be securely in place. A loose seatpost can easily drop down when you're out and about on your bike.
If you tighten it up too much, however, you run the risk of crushing the seatpost and damaging your bike.
The best way to tighten a seat post is to use a torque wrench. We recommend you tighten it to between 6 and 7Nm.
Take care not to exceed the maximum height indicated on the seat post.
The chain is an essential part of your bike's drive train. The following are tell-tale signs that you need to change it:
- The chain starts jumping.
- The chain has been on for more than 5,000 kilometres.
- Gear changes are not smooth.
To find out more read our article:
The following are all signs that you might need to change your brake pads:
- You don't have the same responsiveness as when you bought your RC and there's a lack of bite.
- Your bike makes a strange noise when you brake sharply.
- The thickness of the pad is below 0.5 mm.
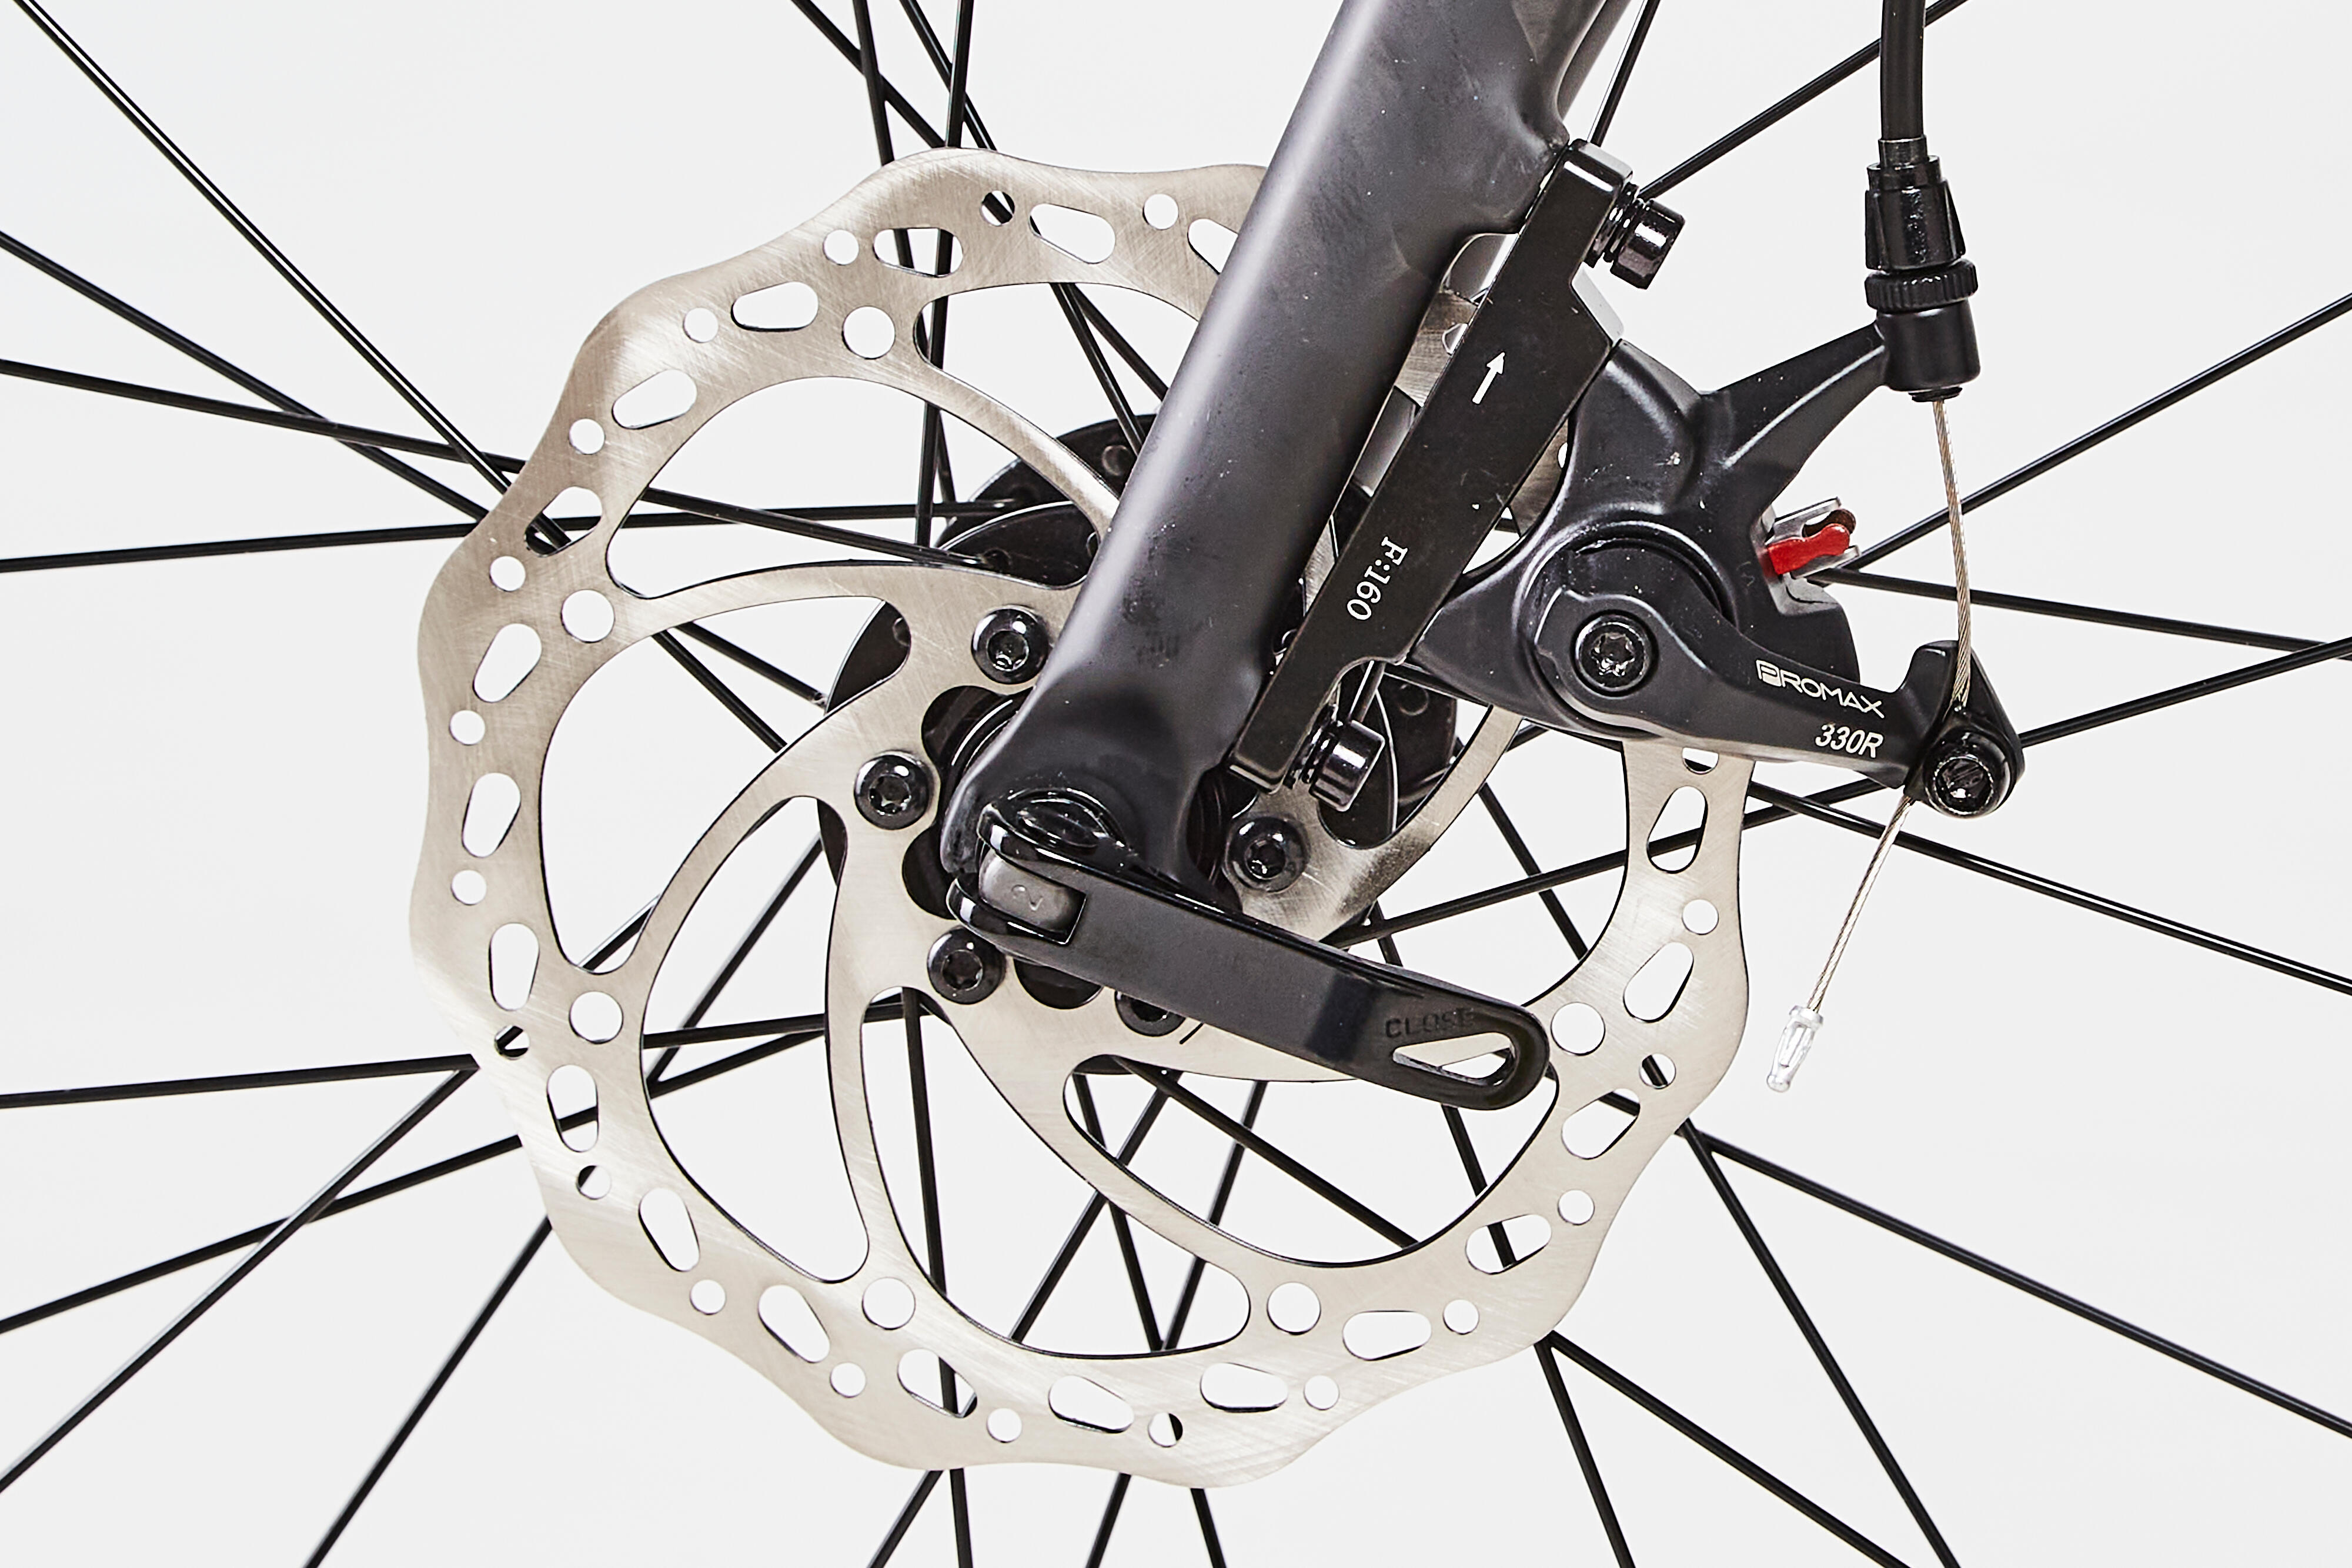
Although disc brakes are designed to wear out the brake pads and not the disc, the disc will eventually wear out where there is heavy use.
It can be dangerous to ride with an overly worn disc; it can give out if you brake suddenly or intensely.
The maximum wear value of the thickness of the disc is around 10% of its original value. We strongly recommend that you change it when the wear exceeds that figure.
To ensure your frame lasts longer, grease the bearings and abrasive parts of your RC bike regularly. You should be keeping a close eye on the following:
- Bottom bracket.
- Steerer tube.
- Wheel bearings.
- Seatpost.
If your drive train is too noisy and/or your gears don't shift properly, you certainly need to adjust your derailleurs.
Find out how in the following video:
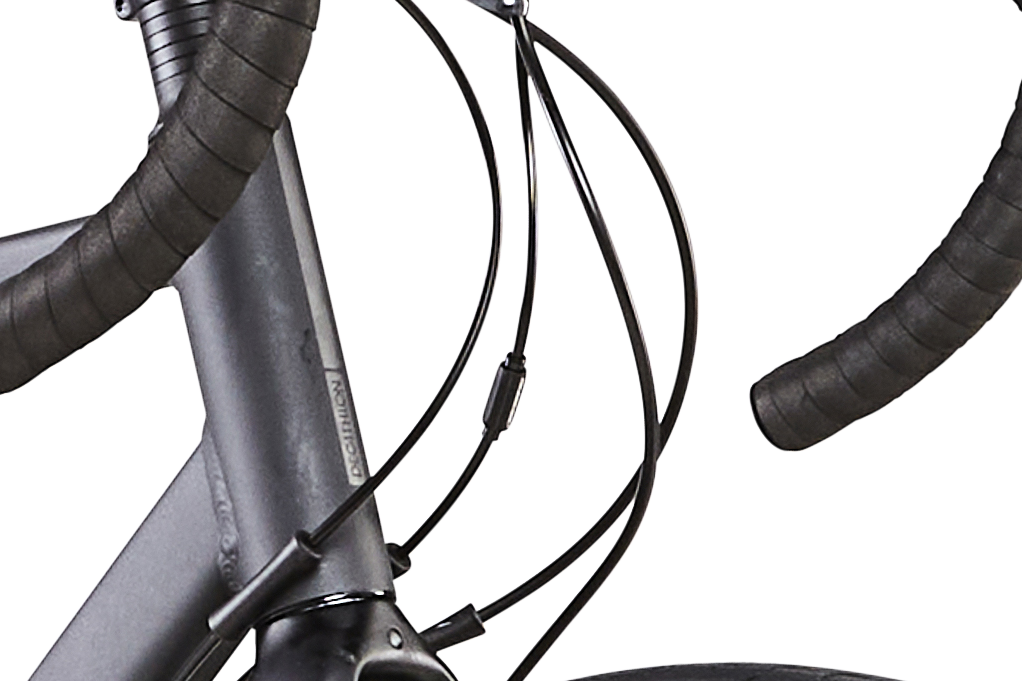
There is no special number of kilometres to know when to replace your cables.
It depends on your practice of cycle touring/sport cycling/competition;
But also depends on how delicately you change gears - that is, if you change gears very regularly during your rides or not.
The first signs of wear are:
Is it challenging to change gears?
Even after adjusting them!
That means it might be time to replace your cables before they give out in the middle of a ride.
Also, if you notice that a housing or a cable is fraying, don't wait to replace it
Are your pedals broken? Do you want to change your pedals for clipless ones? Here's our advice.
NB: please note that the screw thread on the left pedal is inverted and that the pedal thus screws on in an anti-clockwise direction. The right pedal has a standard thread.
Make sure to use the correct tool to remove your pedals as you will need to use some force to unscrew them.
If you pick up a puncture, our tutorial will tell you how to change your inner tube.
The tape on your handlebar will wear over time and you'll need to change it occasionally.
There are several things you can do if your brakes aren't working as well as they used to:
- Use a degreaser to clean the disc.
- Check the brake pads for wear.
- Check the tension of the cable.
Are your brake pads worn out? Want to replace them?
Check out the demonstration in this video:
If your disc makes noise:
- Check that your wheel is properly centred. To do this, loosen the wheel and tighten it up again.
- Check that the brake calliper is in the right position.
- Check the brake pads for wear.
- Check the tension of your brake cables.
If the gears are skipping, you should check the following:
- The wear on your drive train.
- The tension of the cables.
You then need to adjust the derailleur.
If your derailleur hanger is broken or bent, you need to change it.
Is your drive train worn? Do you need to change the number of cogs on your cassette?
Watch our tutorial to find out how to change your cassette.
Need to change your brake cables and/or housings?
Watch our tutorial:
Need to change your derailleur cables and/or housings?
Check out this tutorial:
Here's some useful advice on how to change your chain correctly.
If your disc makes noise:
- Check that your wheel is properly centred. To do this, loosen the wheel and tighten it up again.
- Check that the brake calliper is in the right position.
- Check the brake pads for wear.
- Check the tension of your brake cables.
Are your chainrings worn? Do you want to change the number of teeth?
It's easy to change your chainrings.
All you need to do is use an Allen key to unscrew the screws holding the chainrings in place.
Then install the new chainrings.
Watch the following video to learn how to change your front derailleur:

Find all the spare parts for your RC 520 10-Speed.

Bike instructions
Accreditation certificate
Van Rysel RC frame
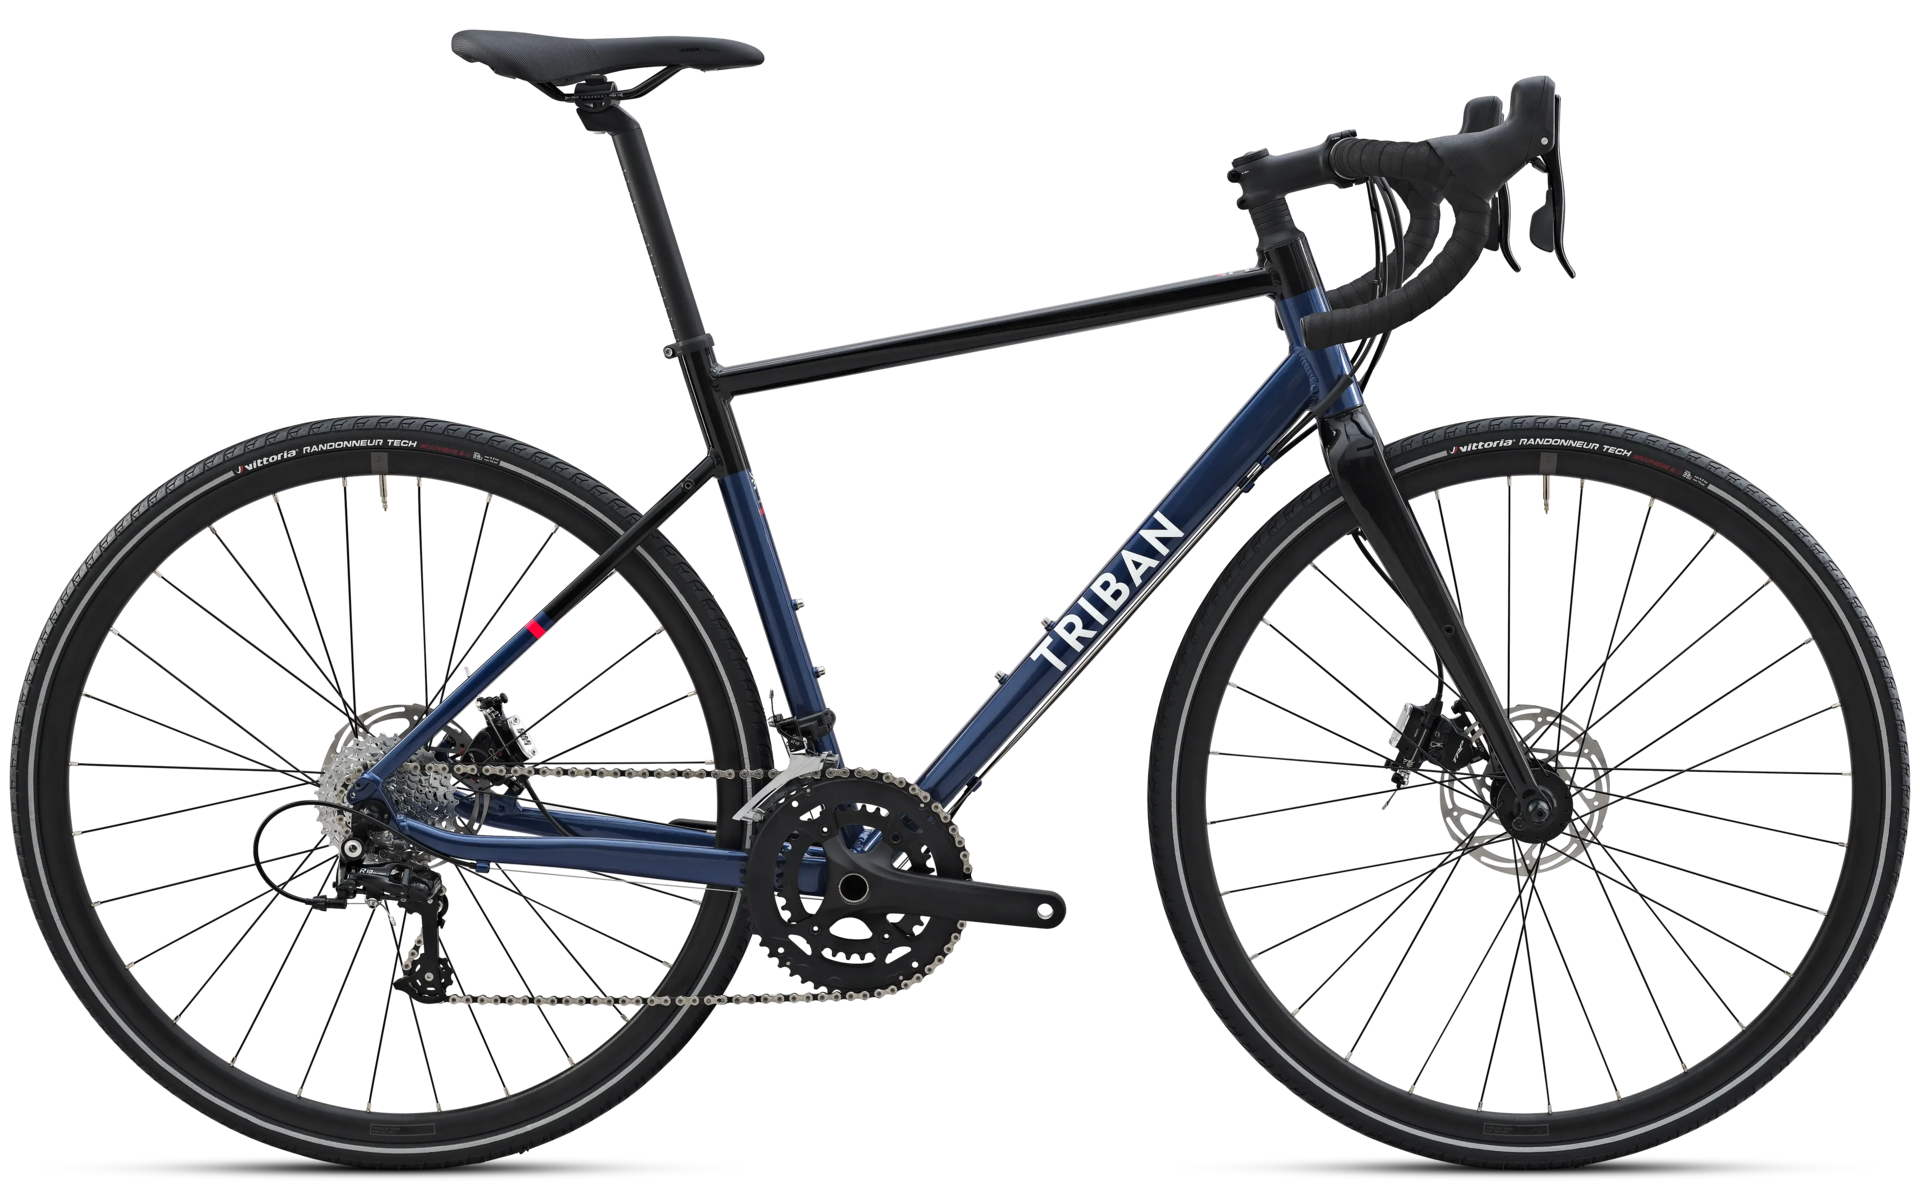

VAN RYSEL offers a 5-year warranty on your RC 520 frame.
All other parts have a 2-year warranty.