Assembly video
We don't yet have a specific video for this model, so here's the assembly video for a similar model. The components aren't exactly the same, but what you have to do to them is.
REF: 8575005, 8643286
2021
Need help assembling, maintaining, or repairing your bike?
Use our guides and videos to help out.
You'll also find instructions and compatible accessories for your bike.
You and your bike can set off on your adventures without a care in the world!
We don't yet have a specific video for this model, so here's the assembly video for a similar model. The components aren't exactly the same, but what you have to do to them is.
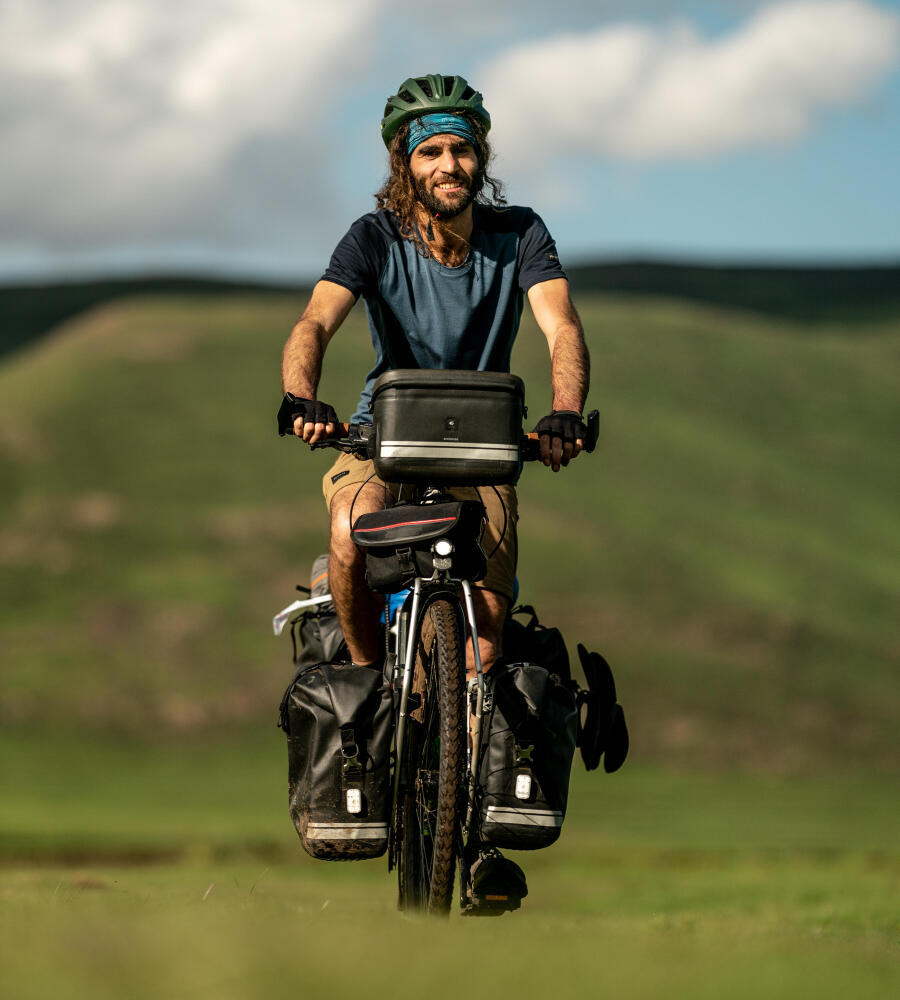
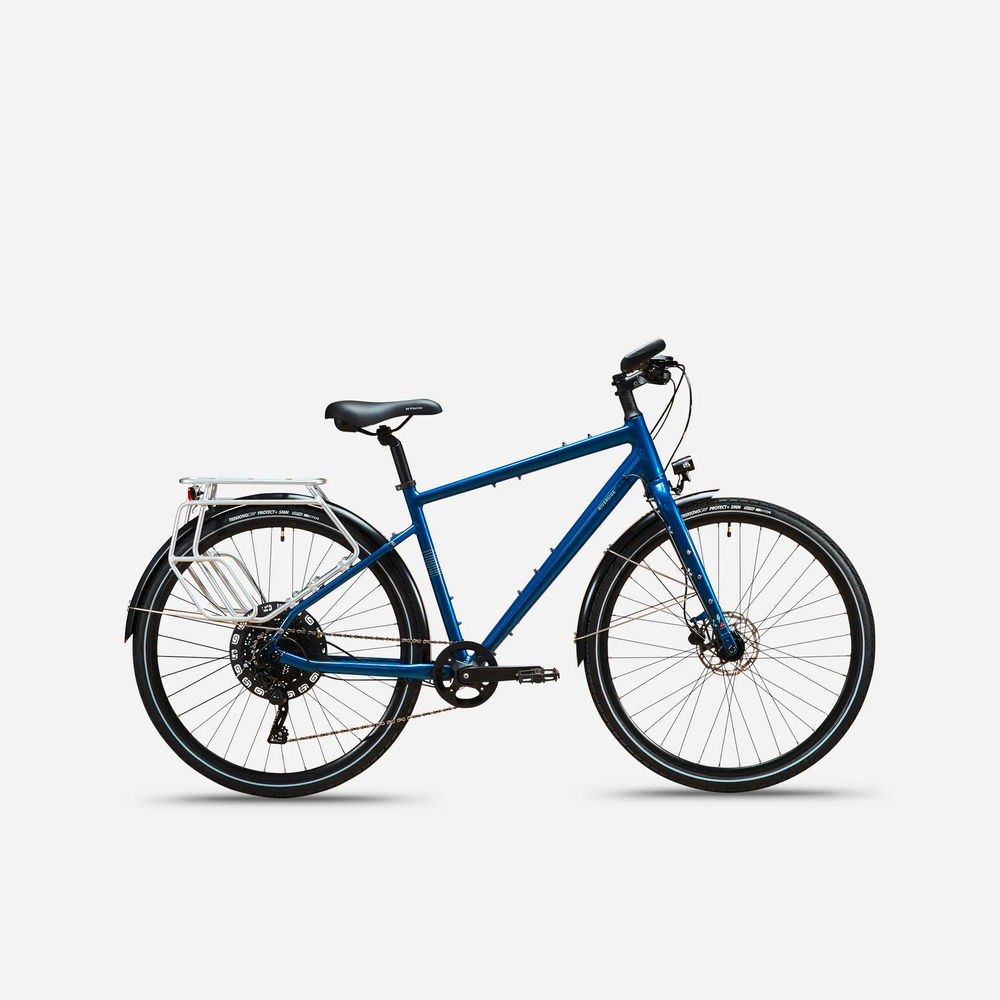
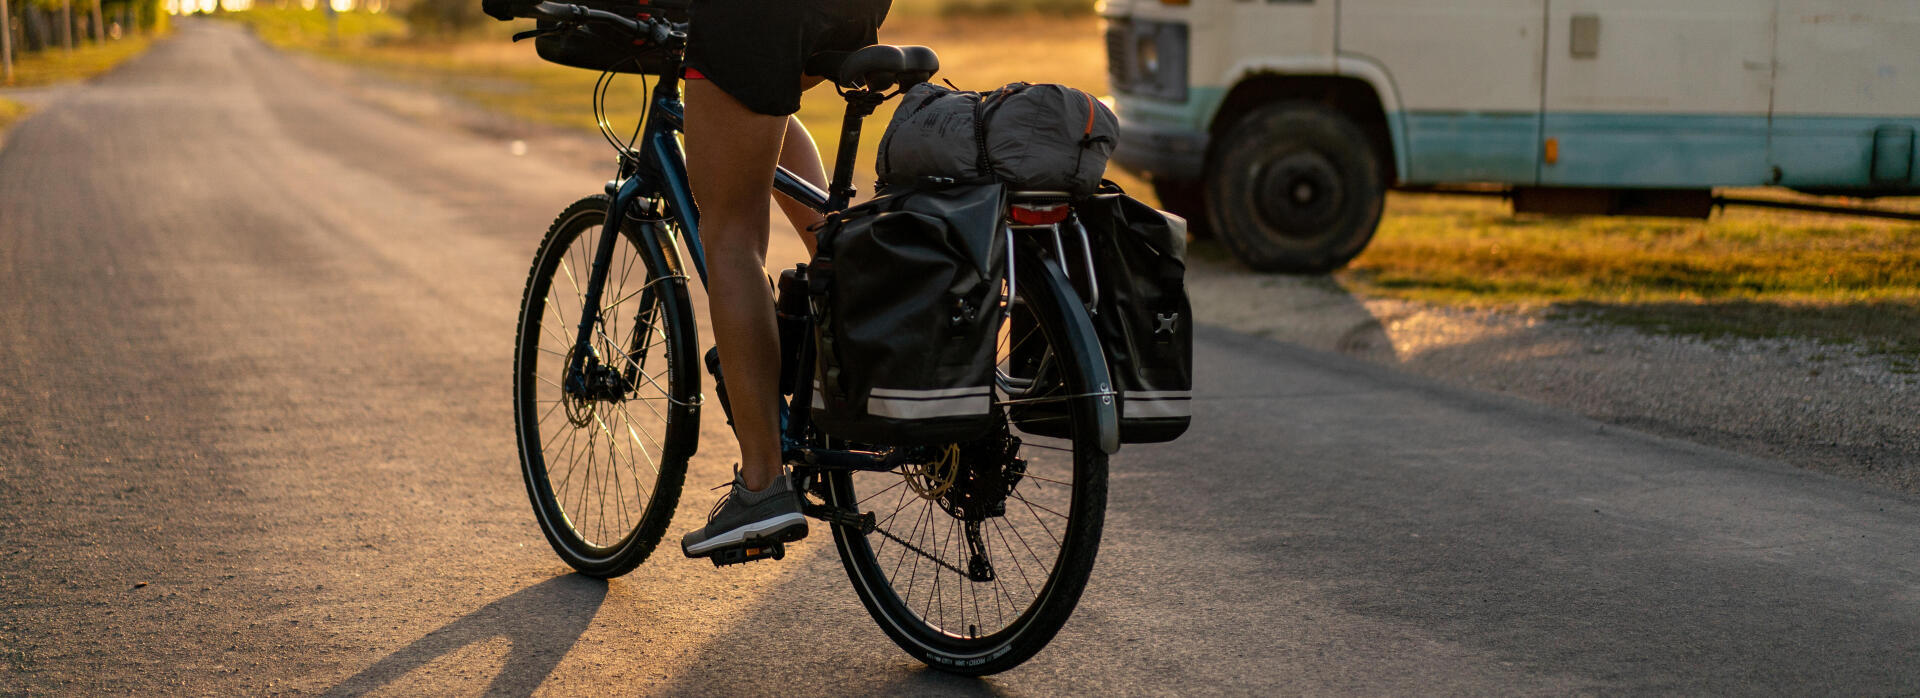
Riverside Touring 520
SETTING OUT ON A CASUAL RIDE OR LONGER TOUR ON YOUR RIVERSIDE BIKE?
Here are a few tips for you:
1- SAFETY
Wear a certified helmet, purchased recently; remember that the head is impacted in one out of every two falls!!
IMPORTANT: Helmets have a limited effective lifespan, even if they haven't been involved in a crash! Find out more when making your purchase.
- Set off with a bike that is properly adjusted and well maintained.
- Take your phone (fully charged!) to make a call should you need help.
- Map out your route ahead of time so you can take bike trails and paths that are free of cars as much as possible.
- Take a first aid kit (in a bag under the saddle, for example)
- If you'll be riding in the dark, make sure you have front and back lights mounted and operational.
2- COMFORT
- If you're just getting started with cycling: Start with one hour rides and gradually lengthen them as you gain experience.
- Wear clothing that is appropriate for the length of your ride, plus gloves.
- Don't try to push hard on the pedals. Instead, switch gears so you can pedal more easily and faster. You'll be able to go further for longer.
- Depending on the weather, bring along clothing to protect you from the cold or rain.
- Don't forget to do some stretches after your ride.
- STAY HYDRATED!!
3- ALWAYS TAKE A TYRE REPAIR KIT WITH YOU!
- A tyre pump. Some pumps will fit onto the frame's screws for the water bottle holder.
- 3 tyre levers, one inner tube, a Riverside 100 15mm spanner, which you can fit into a saddle bag.
Learn to make repairs yourself!! Watch the following video.
4- DRINK REGULARLY
- Attach a water bottle holder to your bike, and bring a bottle along so you can drink as you ride, or carry a water bottle in a backpack.
- Remember to drink water regularly (every 20 minutes and at least half a litre per hour)!
5- REMEMBER TO EAT
- Take some energy bars (you can carry them in a saddle bag or handlebar bag)
- Don't wait until you feel hungry to eat. Eat something every hour to give your muscles more energy.
Your bike is equipped with a wheel with a quick release mechanism. Please watch the first part of the video for instructions.
Storing your Riverside (for long periods)
Store your bike in a dry, sheltered place
Before you put it away, clean your bike to remove mud or sand that could corrode your bike.
Lubricate the chain. Spray "All In One" over the entire bike to protect it from corrosion.
Shift the derailleur to the smallest cog.
The recommended pressure is 2.5 bar. If you want to be more comfortable, you can drop the pressure to 2 bar. If riding on paved roads, you can go up to 4 bar.
Remember to inflate your tyres every 2 weeks.
Adjusting your seat to the correct height is important to avoid pain from pedalling in an uncomfortable position.
When you first get your bike from the store, the brake pads and discs are brand new and therefore the initial braking performance is very low (weak).
A sharp prolonged braking action (for example, during a descent) with brakes that have never before been used can cause the pads to overheat and to "freeze up".
To avoid this issue (which can render the brakes completely unusable), we recommend first "breaking in" your brakes. This takes about 10 braking actions per brake. For each braking action: apply a single brake to slow the bike down from about 25 km/h to 5 km/h without fully blocking the wheel. Repeat with the other brake.
Stable, rust-resistant treatment
If you want to charge your phone using your bike's dynamo, the Cycle2Charge USB charger is just what you need, and comes with some handy extra benefits. The inside of the device is made from anodised aluminium, while the outer coating is impact-resistant plastic. All of the materials are rust resistant and therefore perfect for long-term outdoor use. The device is made from several parts to keep it as stable as possible. The Cycle2Charge USB charger is easy to install – even for laypeople – and can be mounted straight onto your handlebar using its special bracket (sold separately). Even when wearing cycling gloves, your USB bike charger can be easily operated with just one hand, so you'll always be safe in traffic.

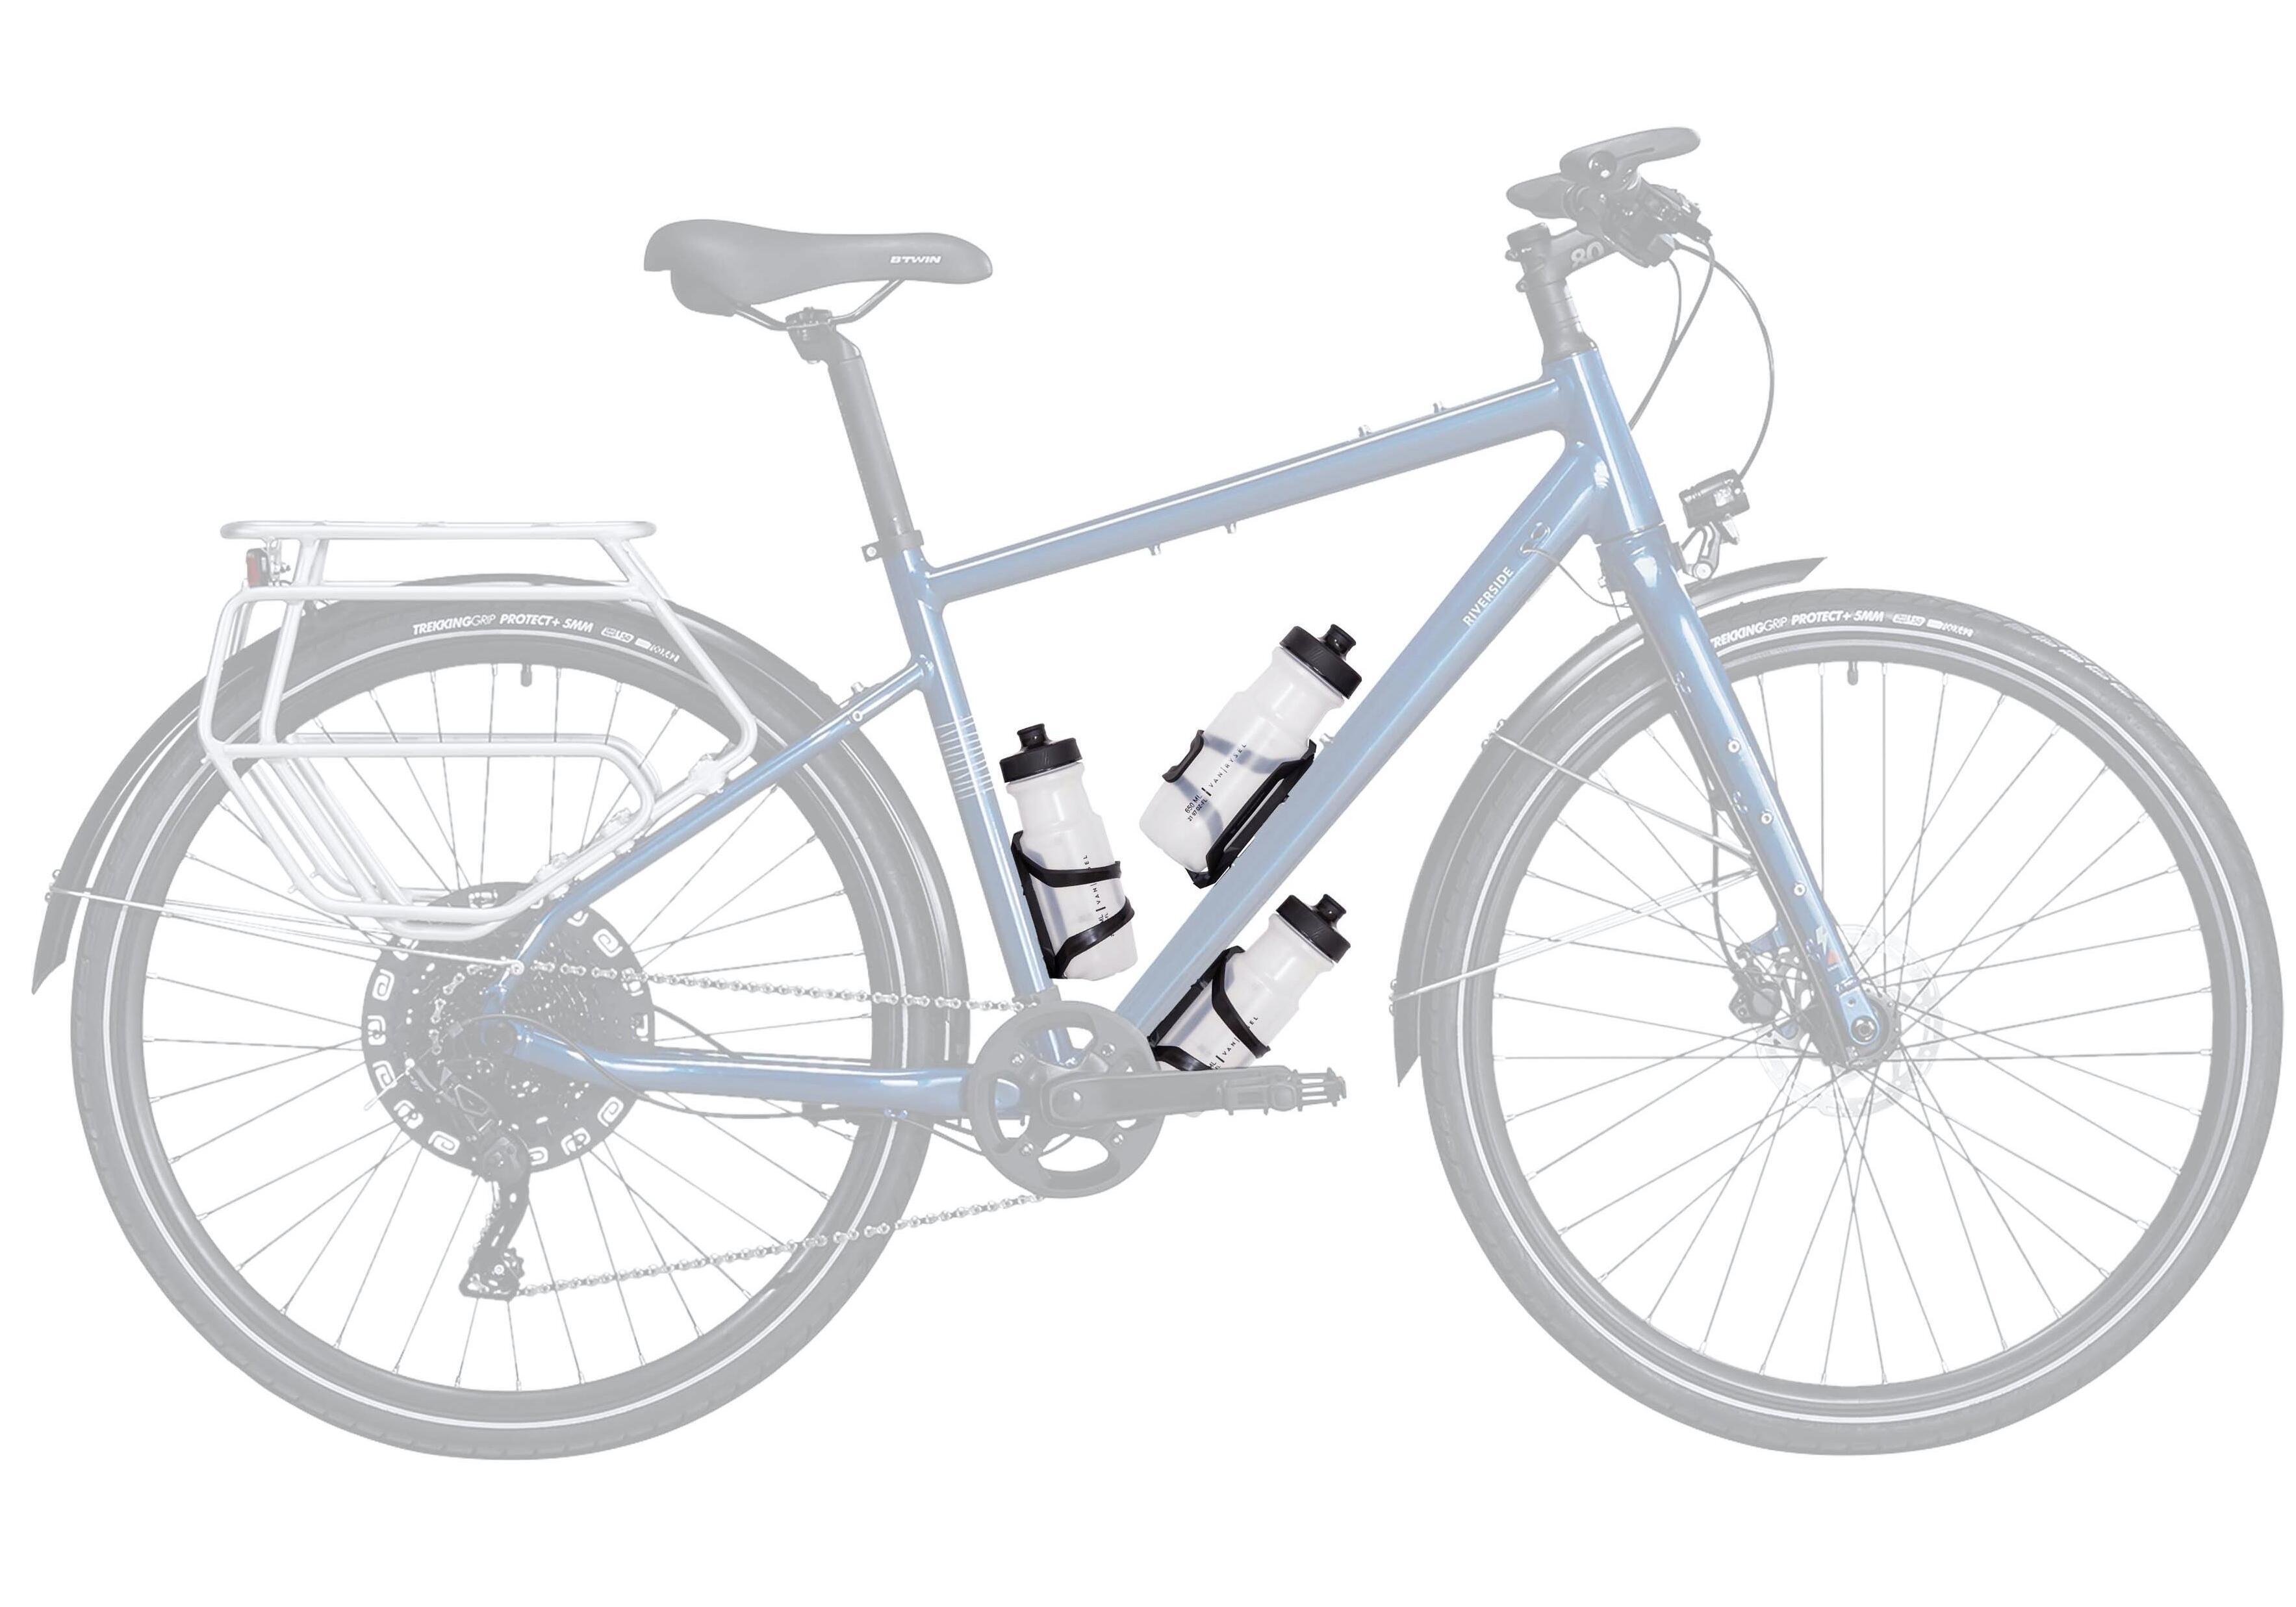
You can mount up to 3 handy bottle cages on the Riverside Touring 520
Servicing your Riverside Touring 520 will keep all of its parts working for as long as possible and ensure you have the most fun when riding. Failing to maintain your bike can lead to problems such as jammed cables, rust, leaks, premature wear, and more.
Your bike's parts will also last longer, which means a lower environmental impact.
As soon as you start using the bike, some components will move slightly.
This is why we offer a free check for your bike 6 months after purchase.
It's a good idea to do a complete cleaning of your bike from time to time. Following are step-by-step instructions on how to give your bike a deep cleaning. The more frequently you ride, the more often this type of cleaning is recommended.
Over the course of your bike's lifetime, as you put miles on it, you'll need to replace certain parts for safety reasons and to ensure everything works smoothly.
Every 100 km: Clean the chain and lubricate the drivetrain.
Every 2000 km: Replace the brake pads. Please visit your local Decathlon workshop to have them replaced, or you can also do it yourself following our tutorial.
Have your tyres replaced, or replace them yourself using our tutorial.
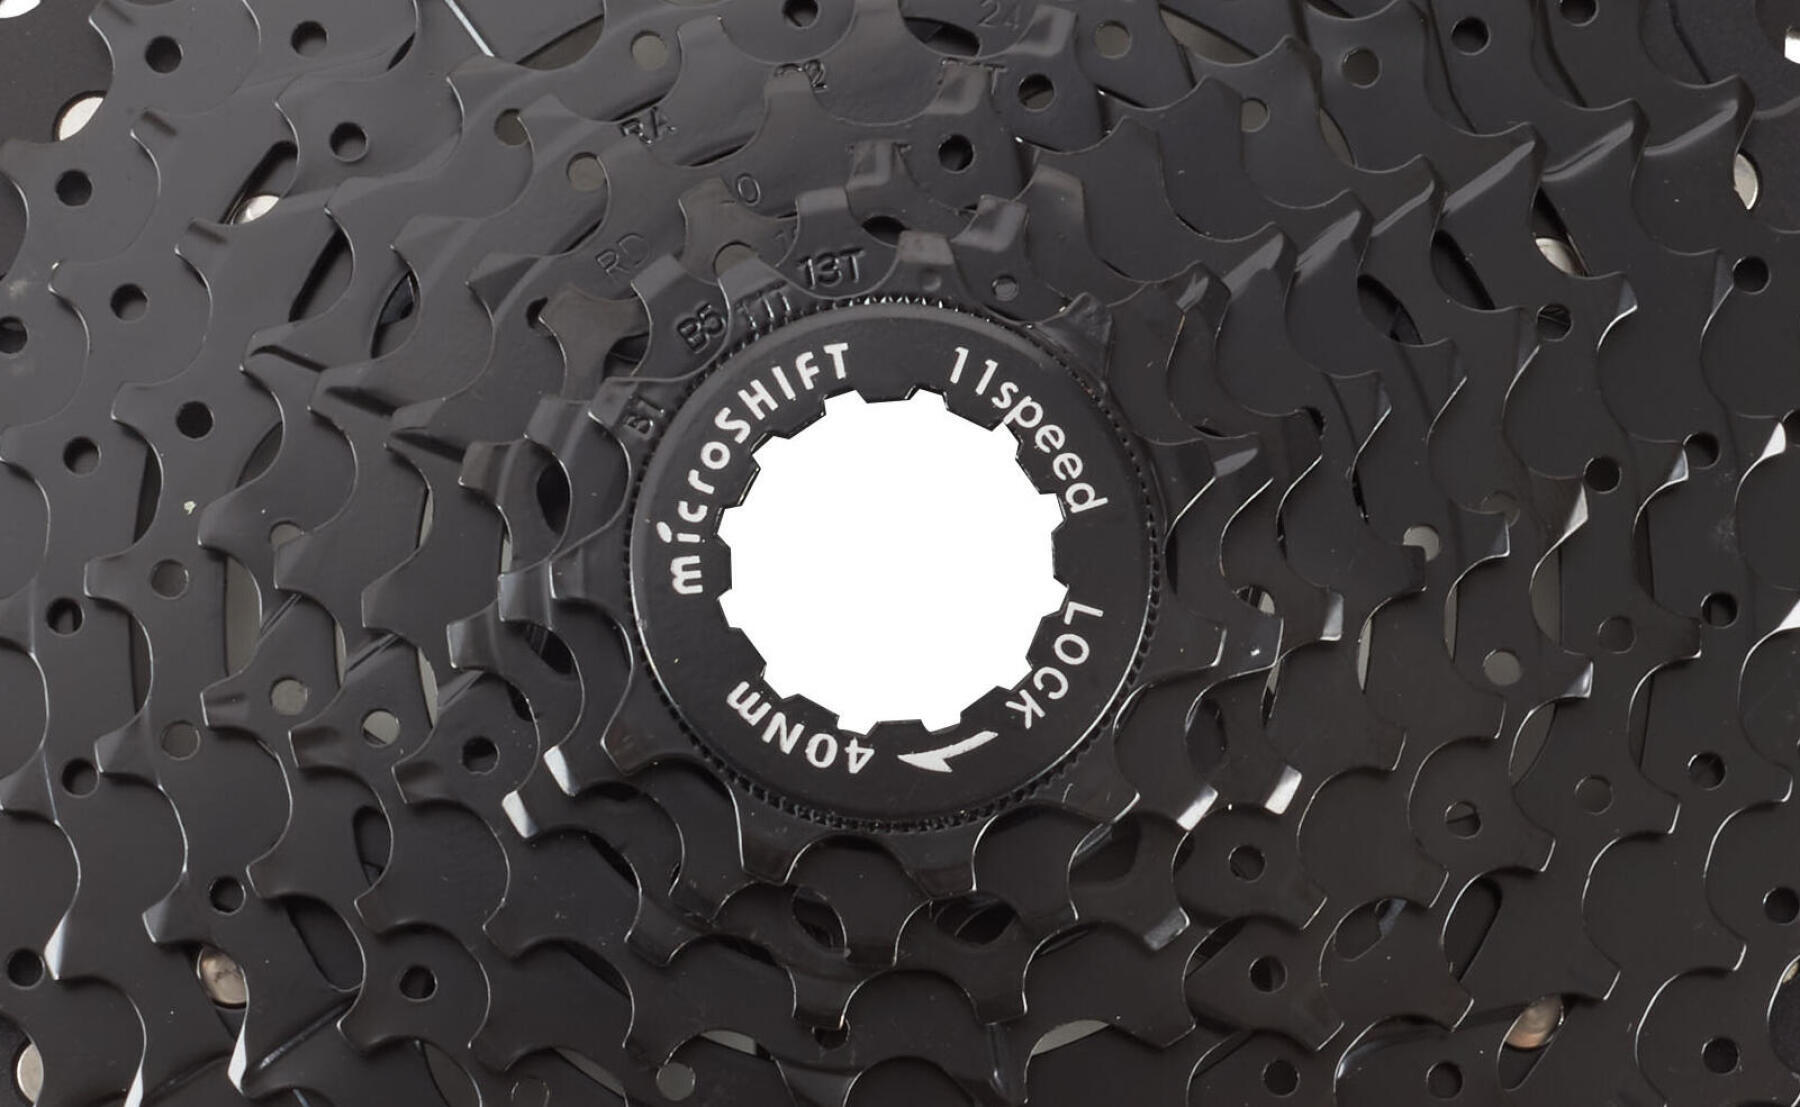
Every 5000 km: Have your chain and rear wheel cogs replaced (visit the nearest Decathlon workshop).
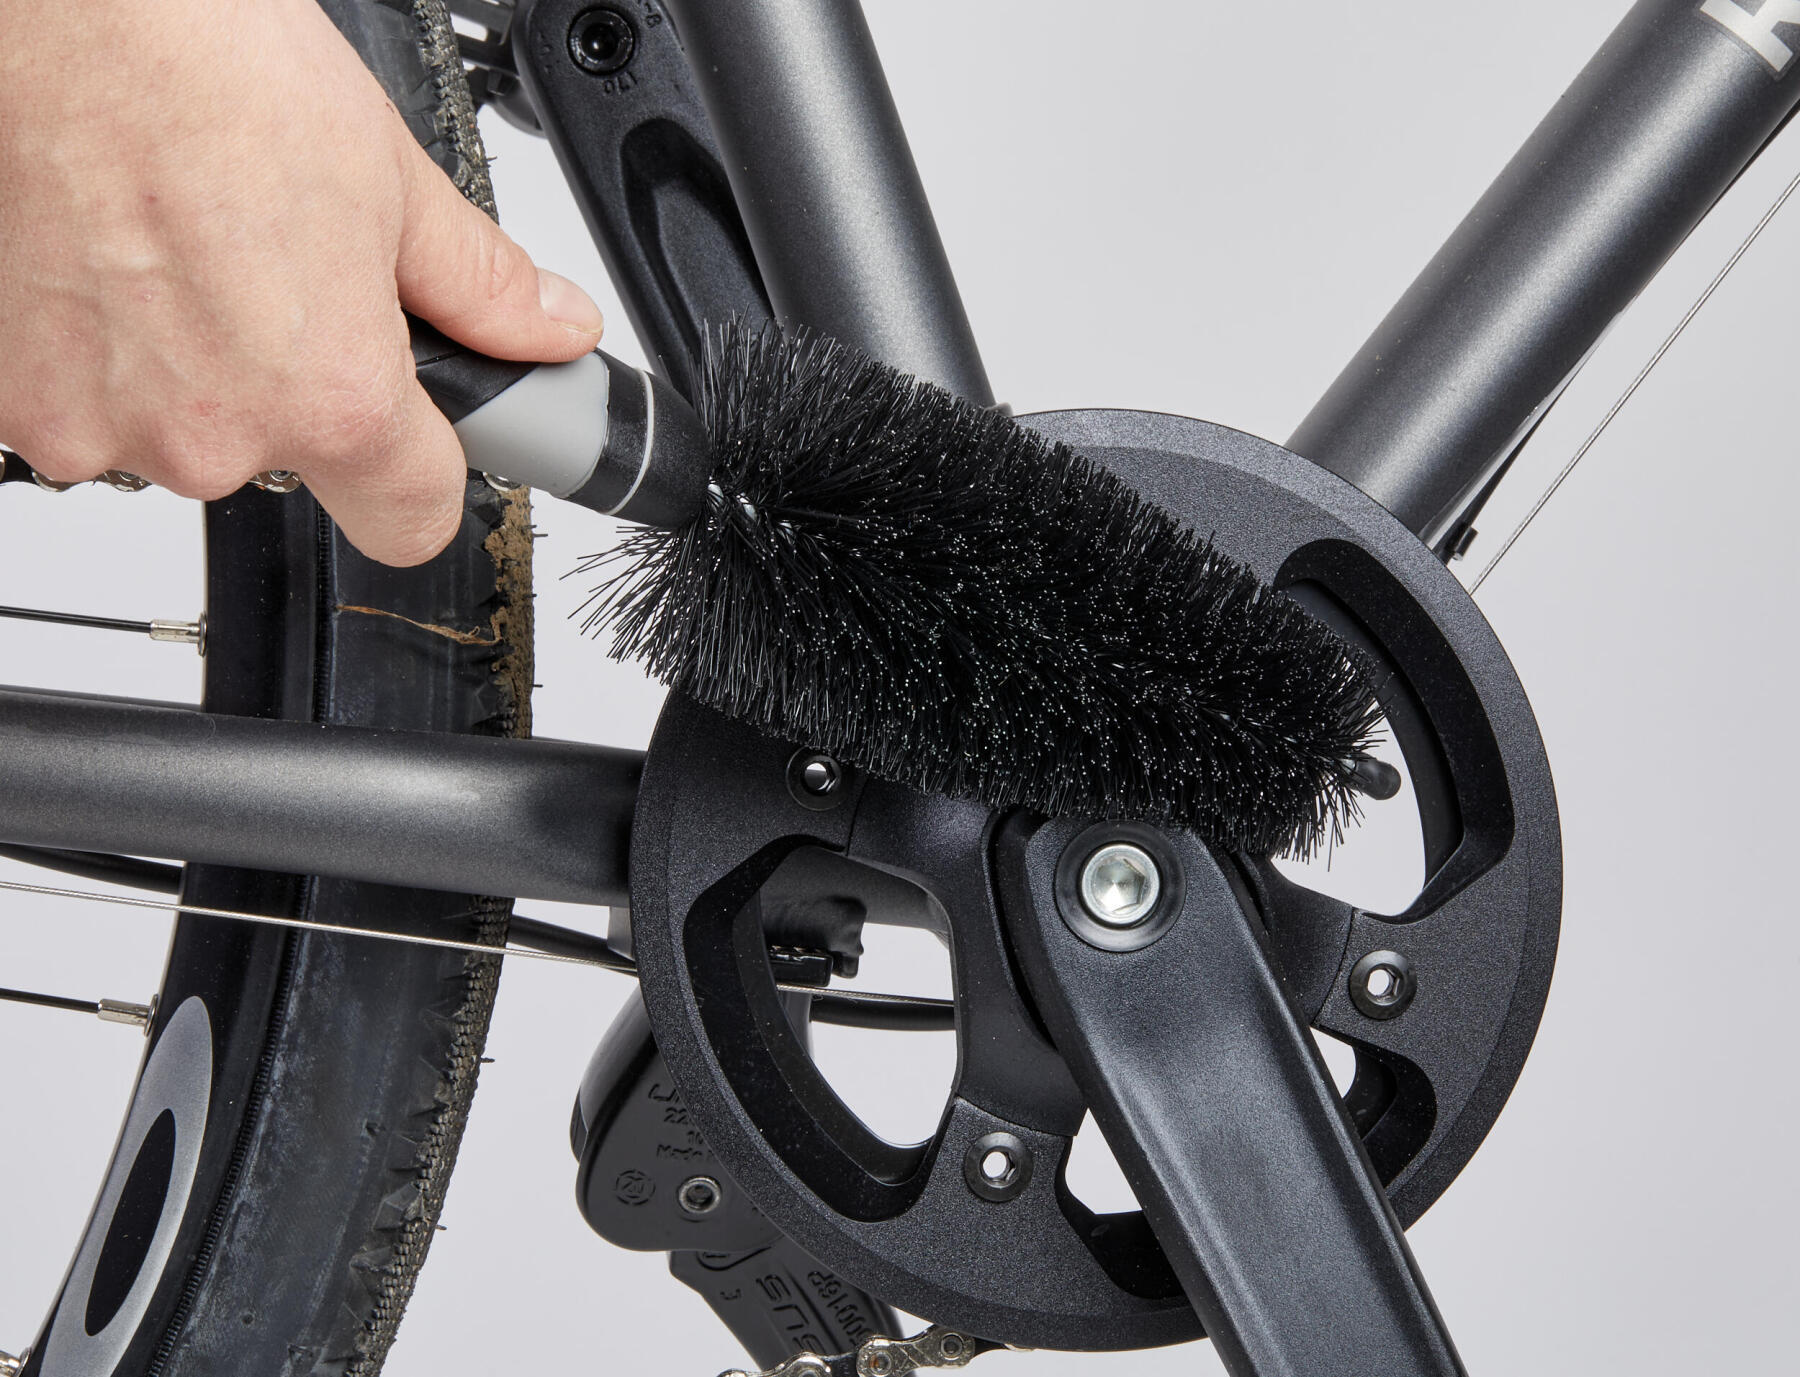
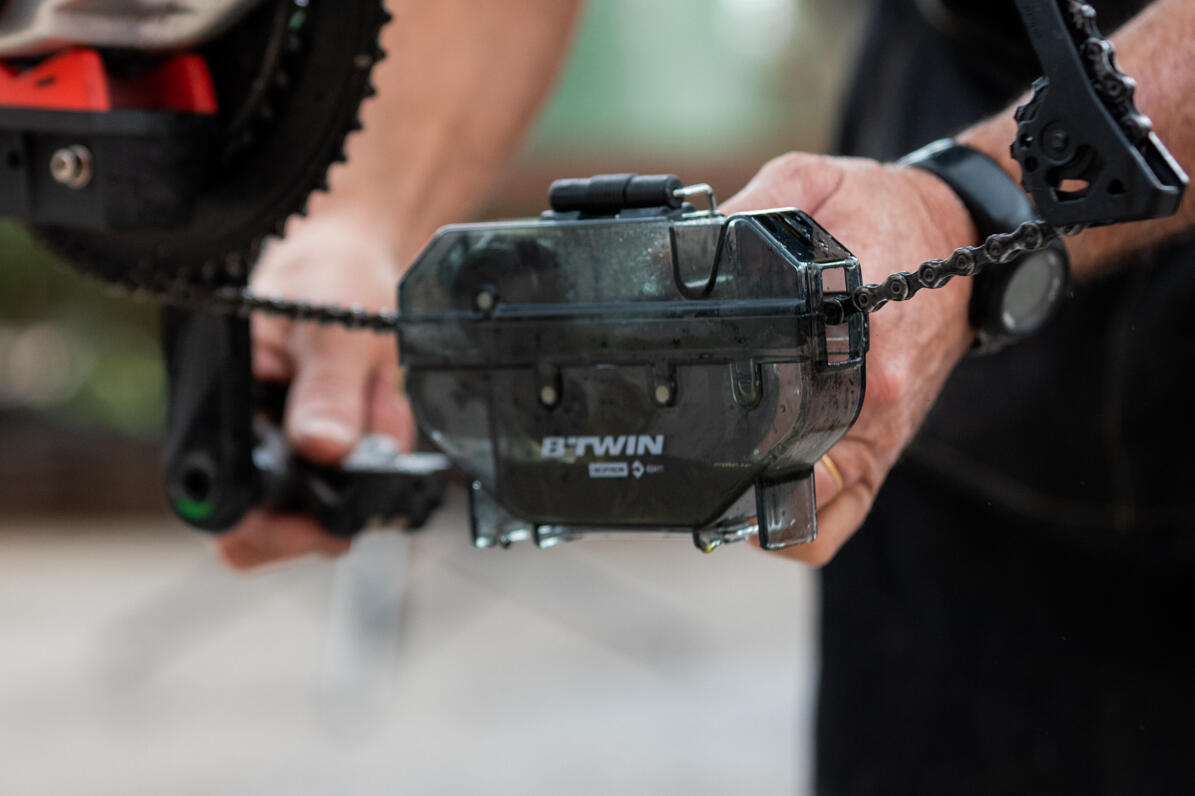
How to degrease your bike chain
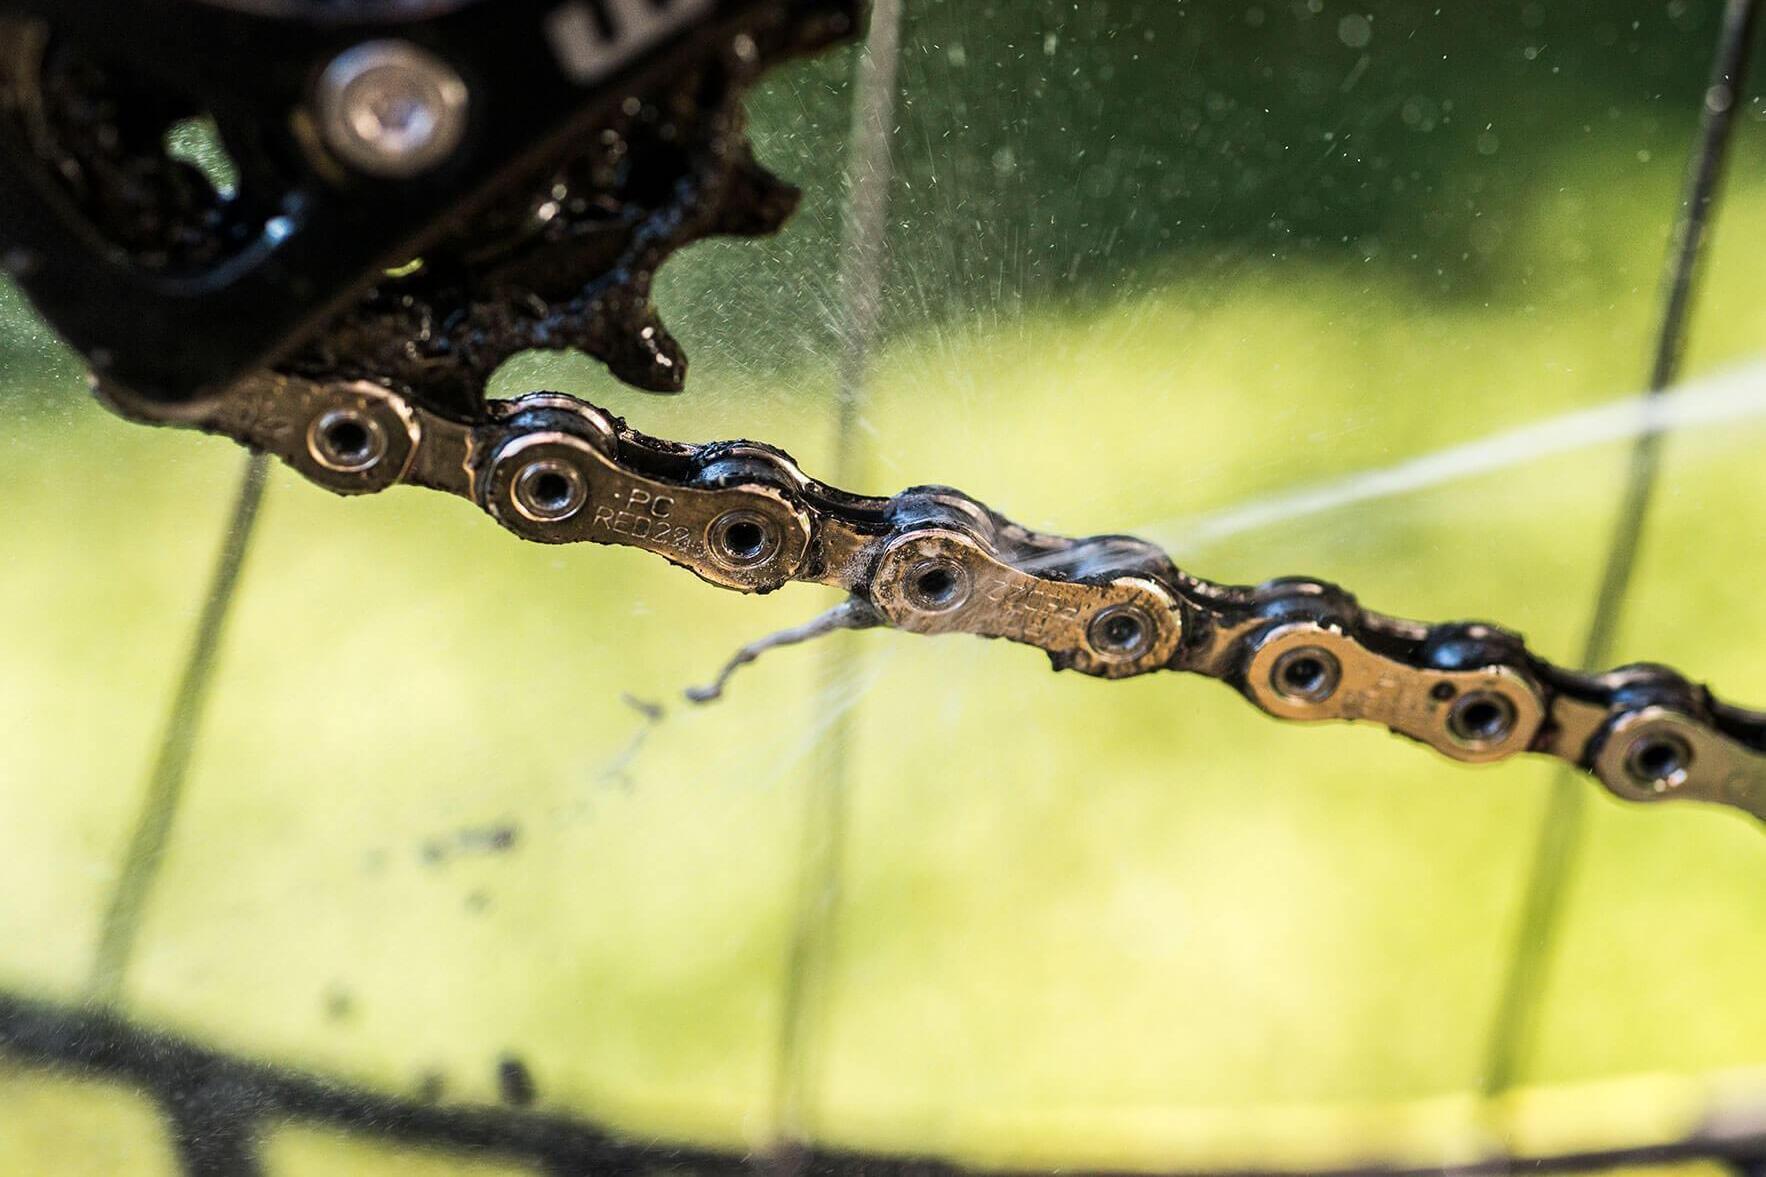
In order to properly degrease your chain, it's important to spray a degreasing product on the entire chain and drivetrain. Then, wipe the chain and the cassette with a clean cloth to remove grease and dirt. Depending on the general condition of your chain, be sure to clean any particularly dirty parts thoroughly!
Lastly, rinse it abundantly until you've gotten all the residue off. Sometimes even after spraying with cleaning product, some dirt might still remain,
so finish by letting it sit for a few minutes before wiping your chain down again with a dry cloth to fully remove any remaining residue.
To perform this task more efficiently and for a cleaner chain, we recommend using our chain cleaner.
We're going to show you a tried and tested method that's been approved by the mechanics on the VAN RYSEL | AG2R LA MONDIALE U19 team, our ambassadors.
After replacing your brake pads we recommend bedding them in so that they don't "seize up" (which would cause weaker braking power).
Your tyre might be quite rigid if it is old; it's okay to use some force to get it off.
To do this, you will need: a chain tool, a new chain, and a quick-link.
Place the chain on the last cog and on the smallest chainring.
Remove the quick-link using the pliers or chain tool, then take the old chain off the drivetrain.
Place the new chain on the last cog and on the smallest chainring. This will make it easier to determine its optimal length.
IMPORTANT: certain chains only fit in 1 direction, be sure to check the user guide.
The chain should pass close to the top pulley of the upper jockey wheel on the derailleur.
Once you've determined the correct length, use the chain tool to cut the chain.
Lastly, install the quick-link onto the chain, turn the pedal so as to position the quick-link on the upper part of the chain, and use your hand to apply pressure and ensure it is firmly locked in place.
Need equipment to repair or maintain your bike? Here are the essentials.
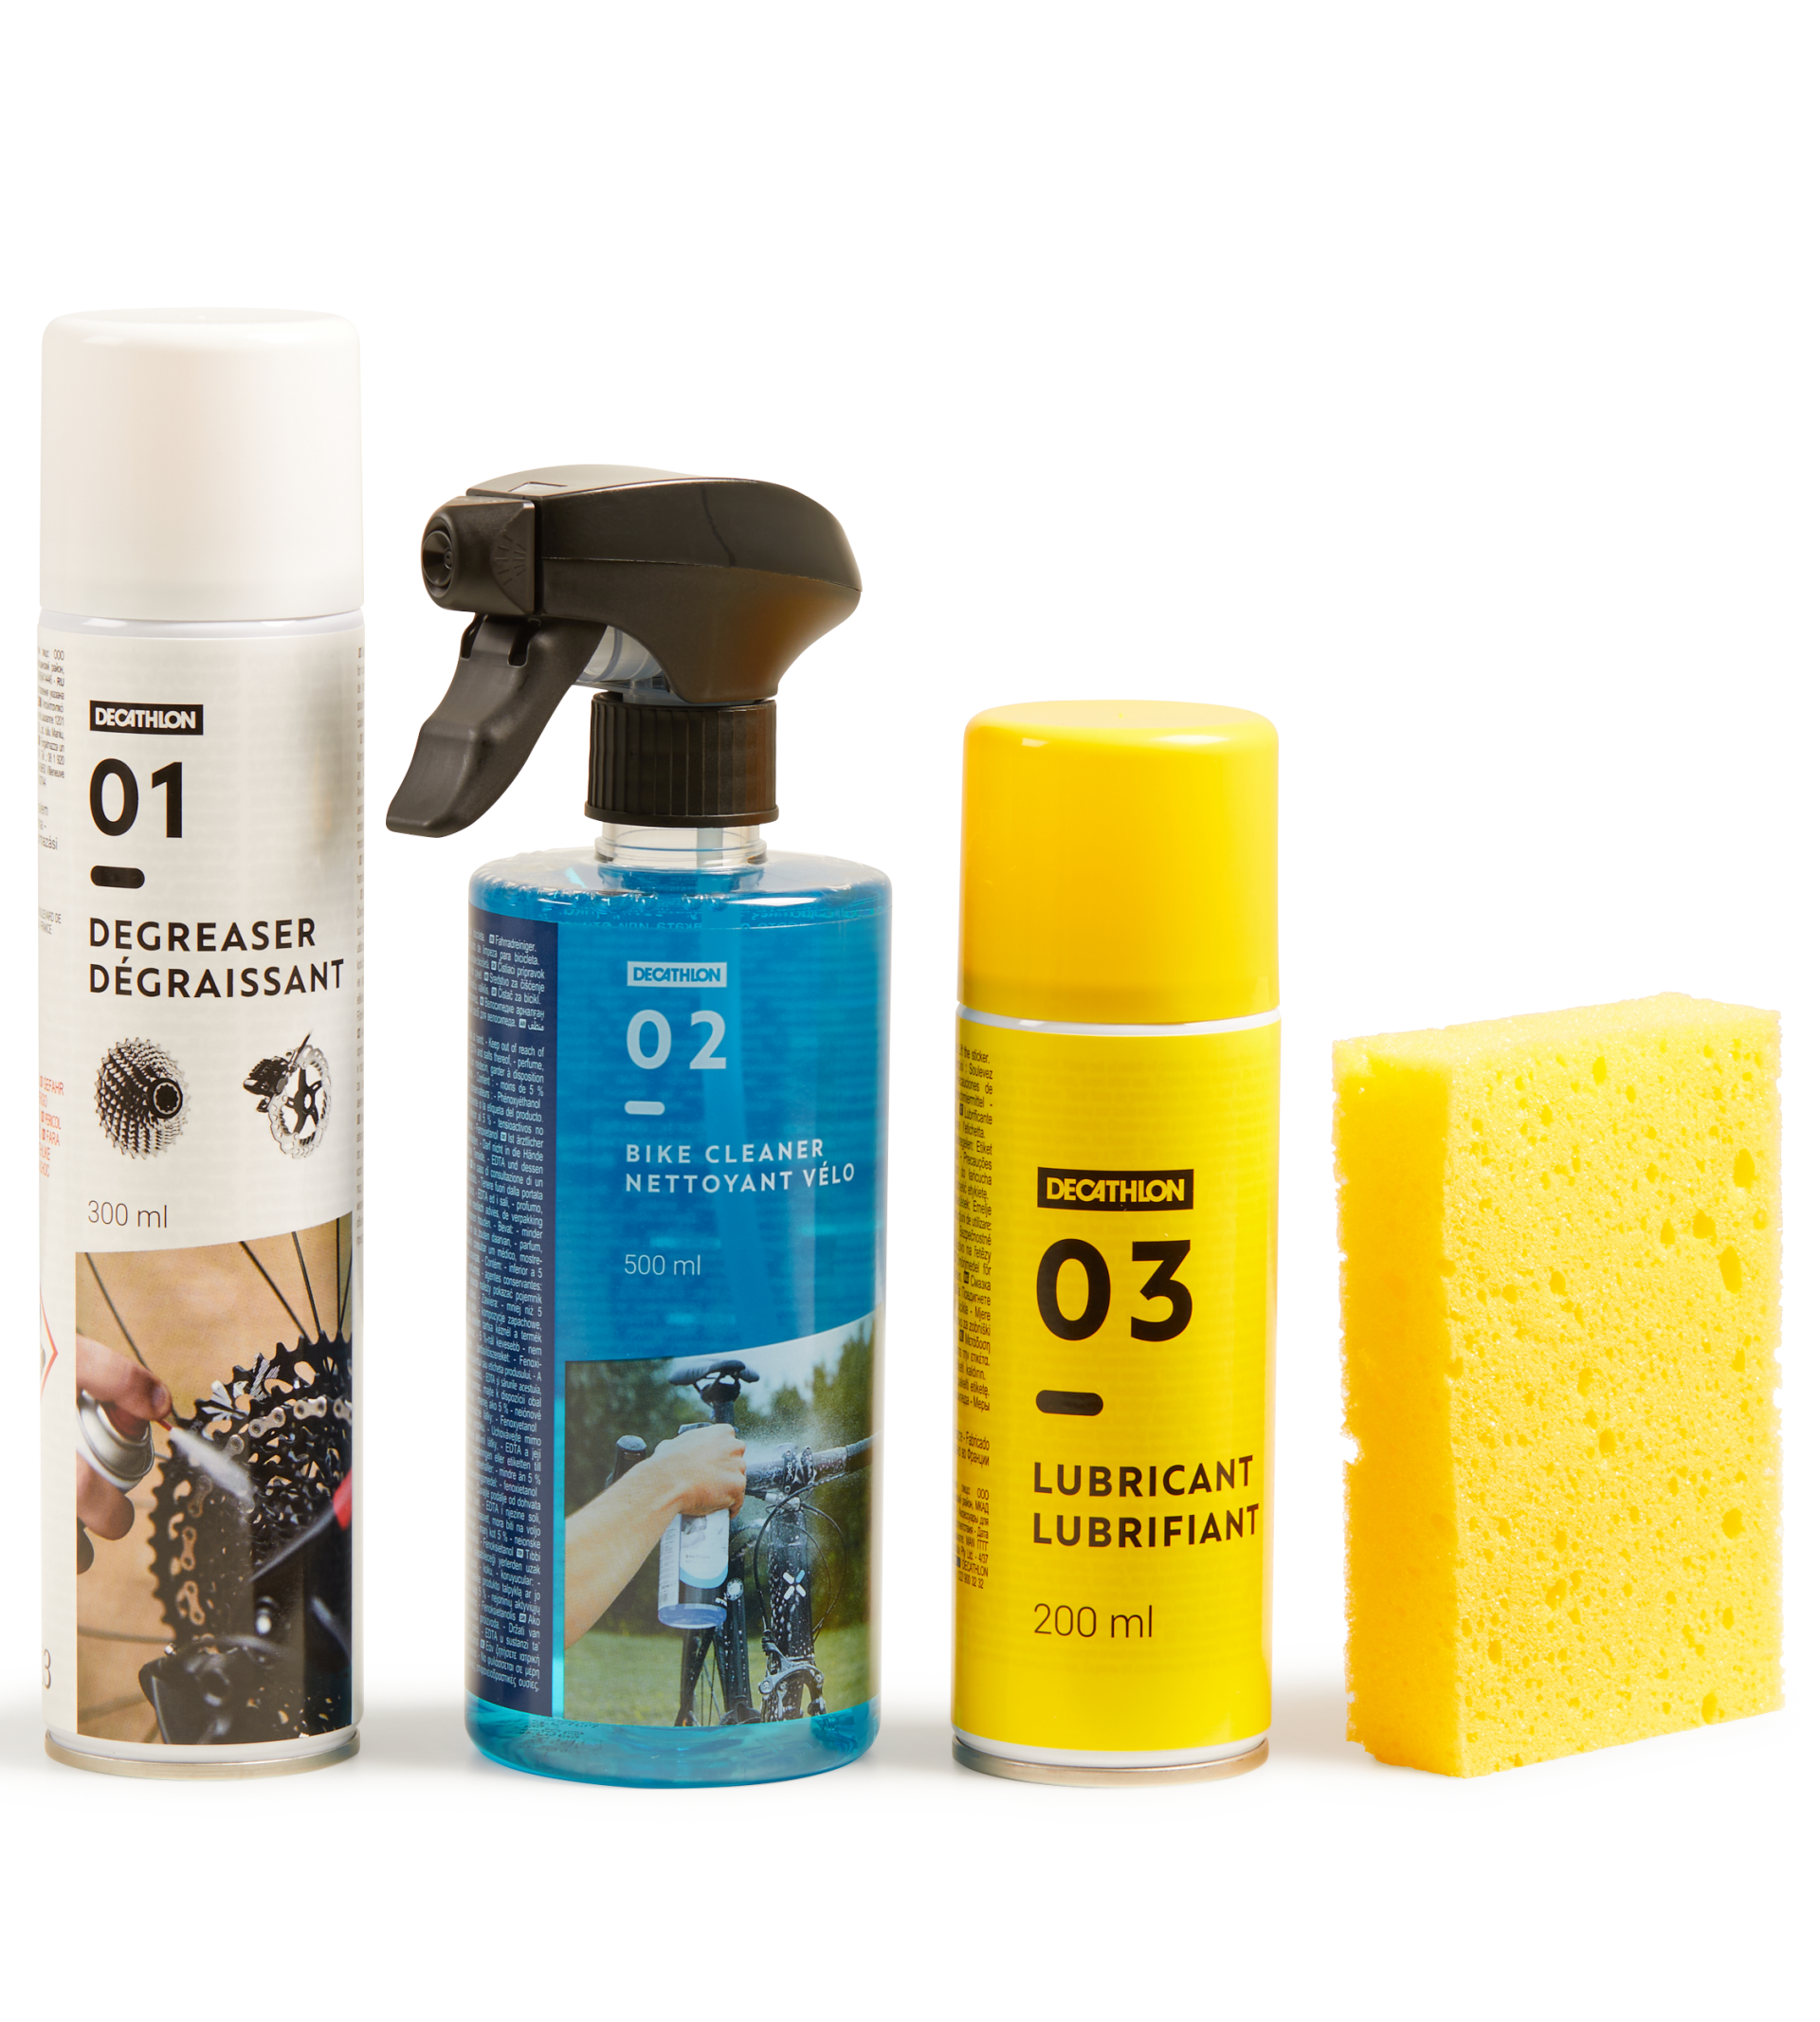
Bike care
products
Bike
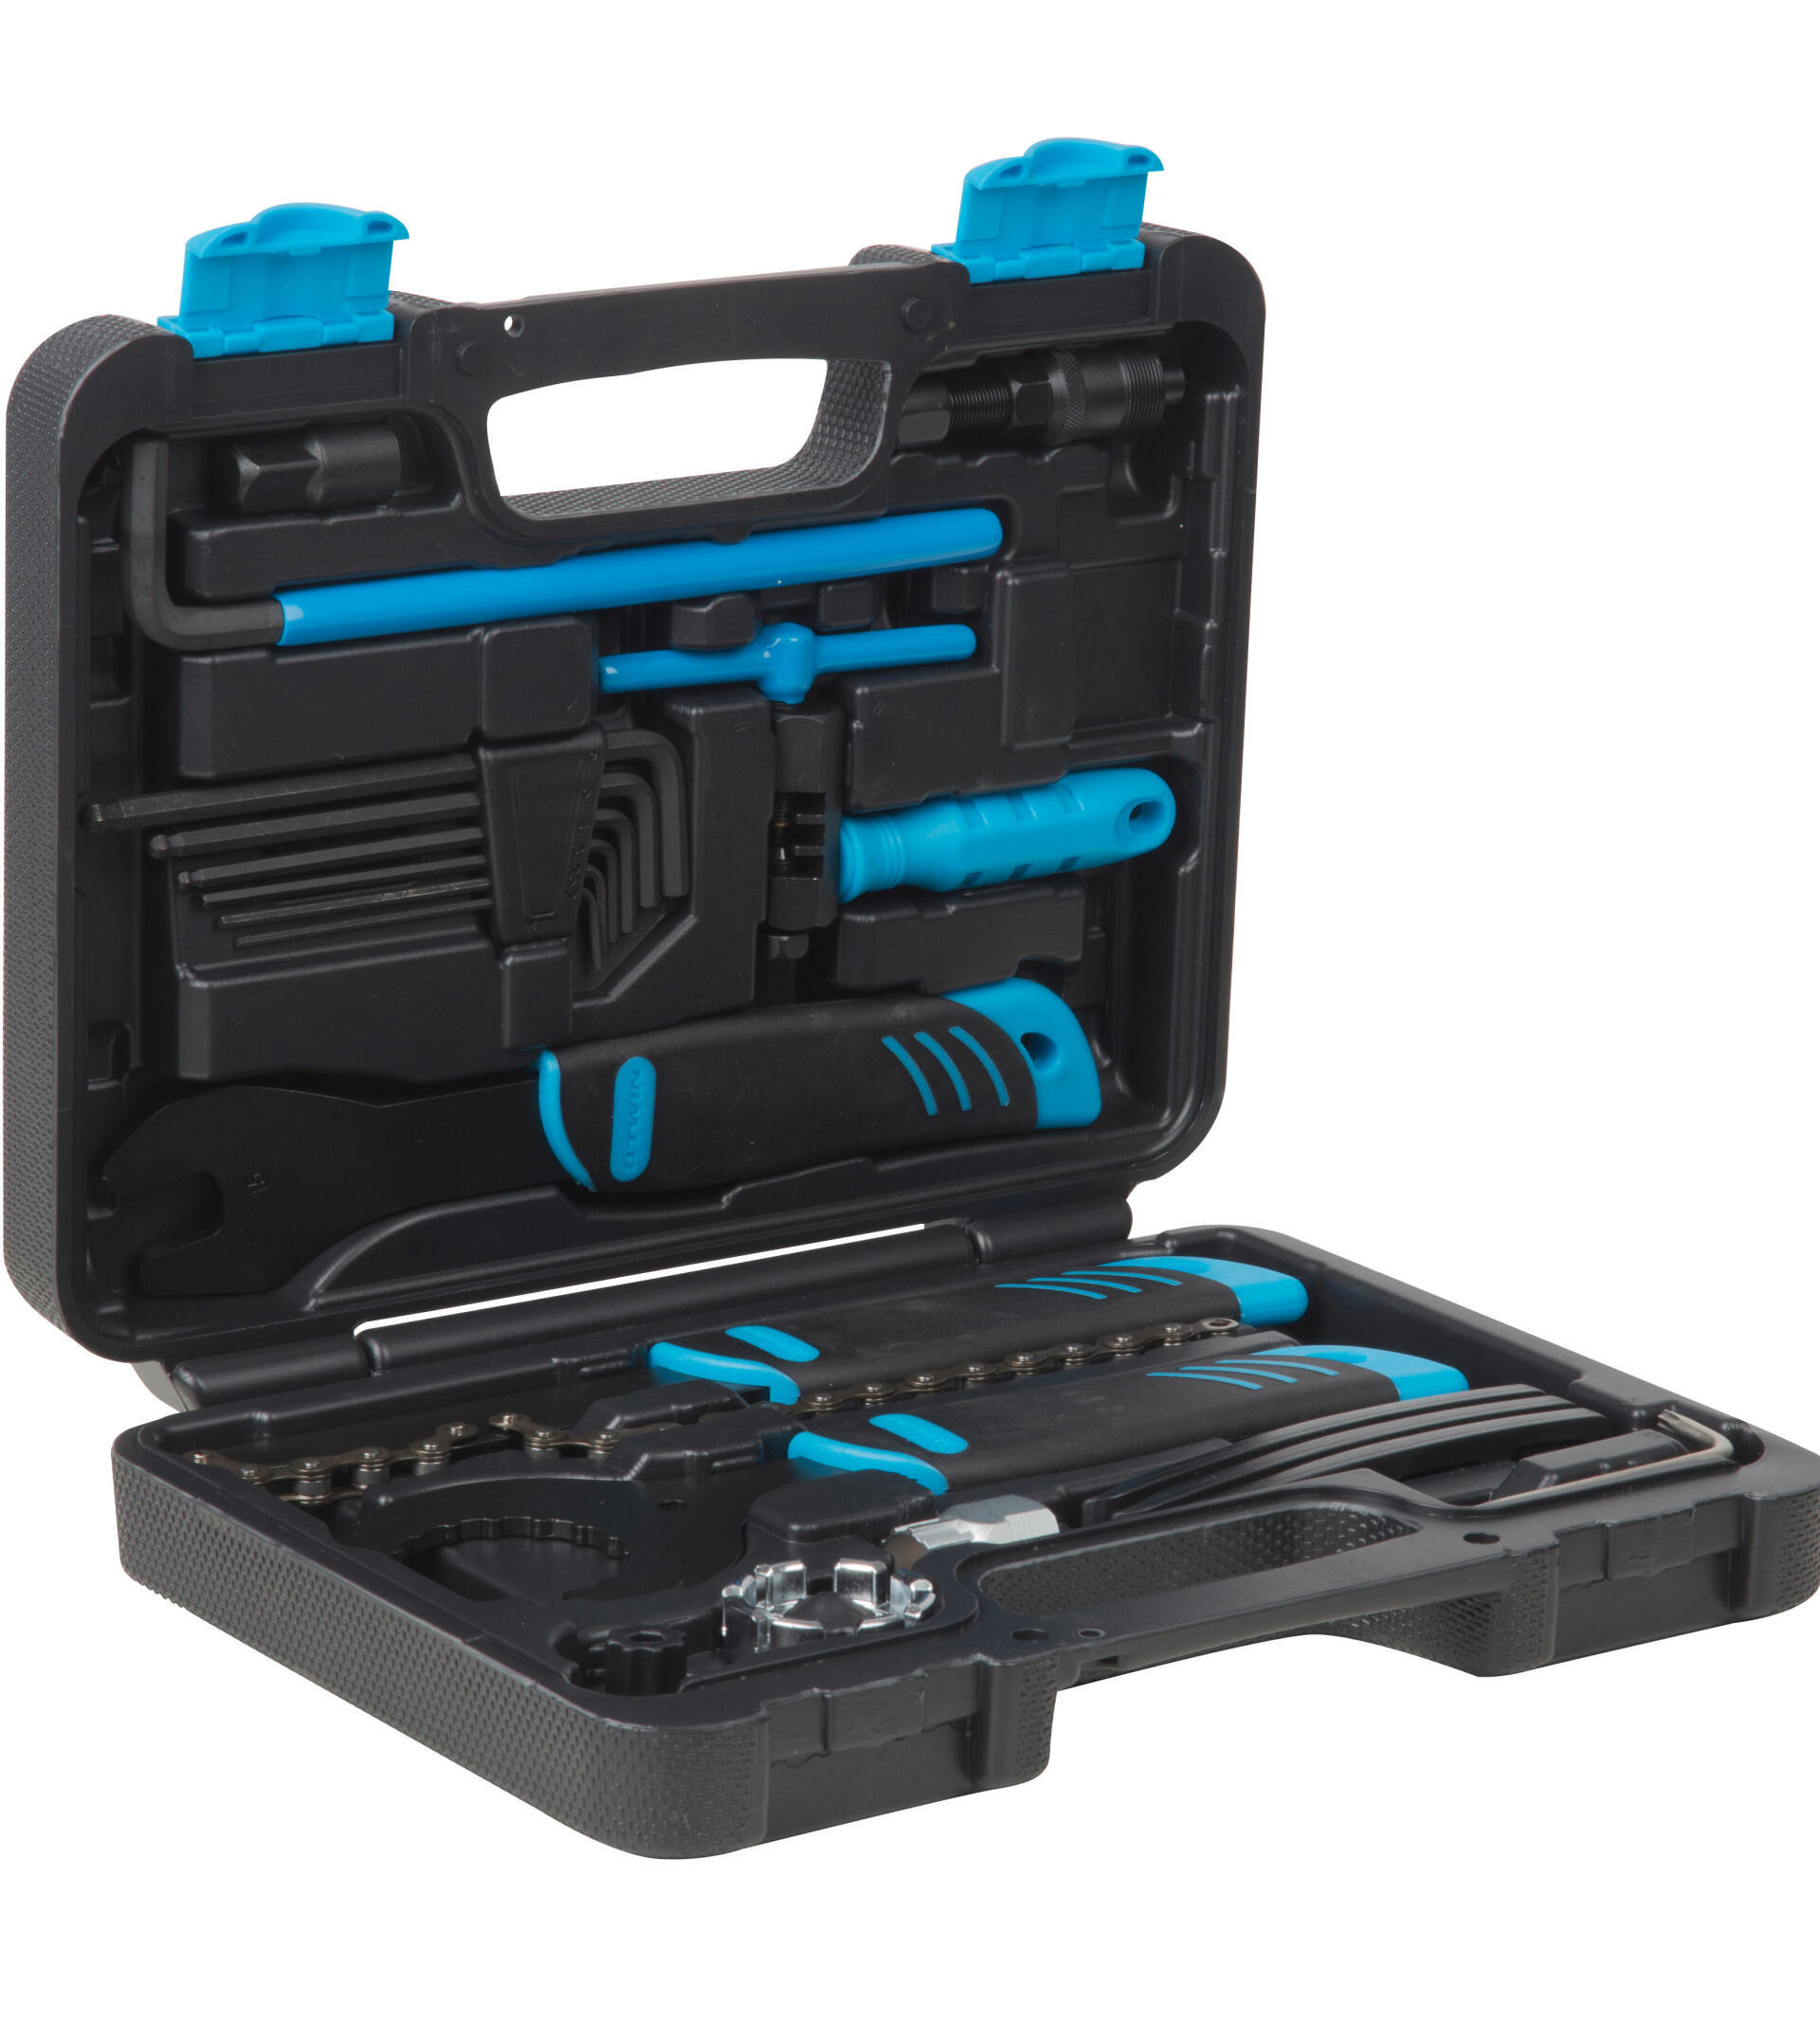
tools
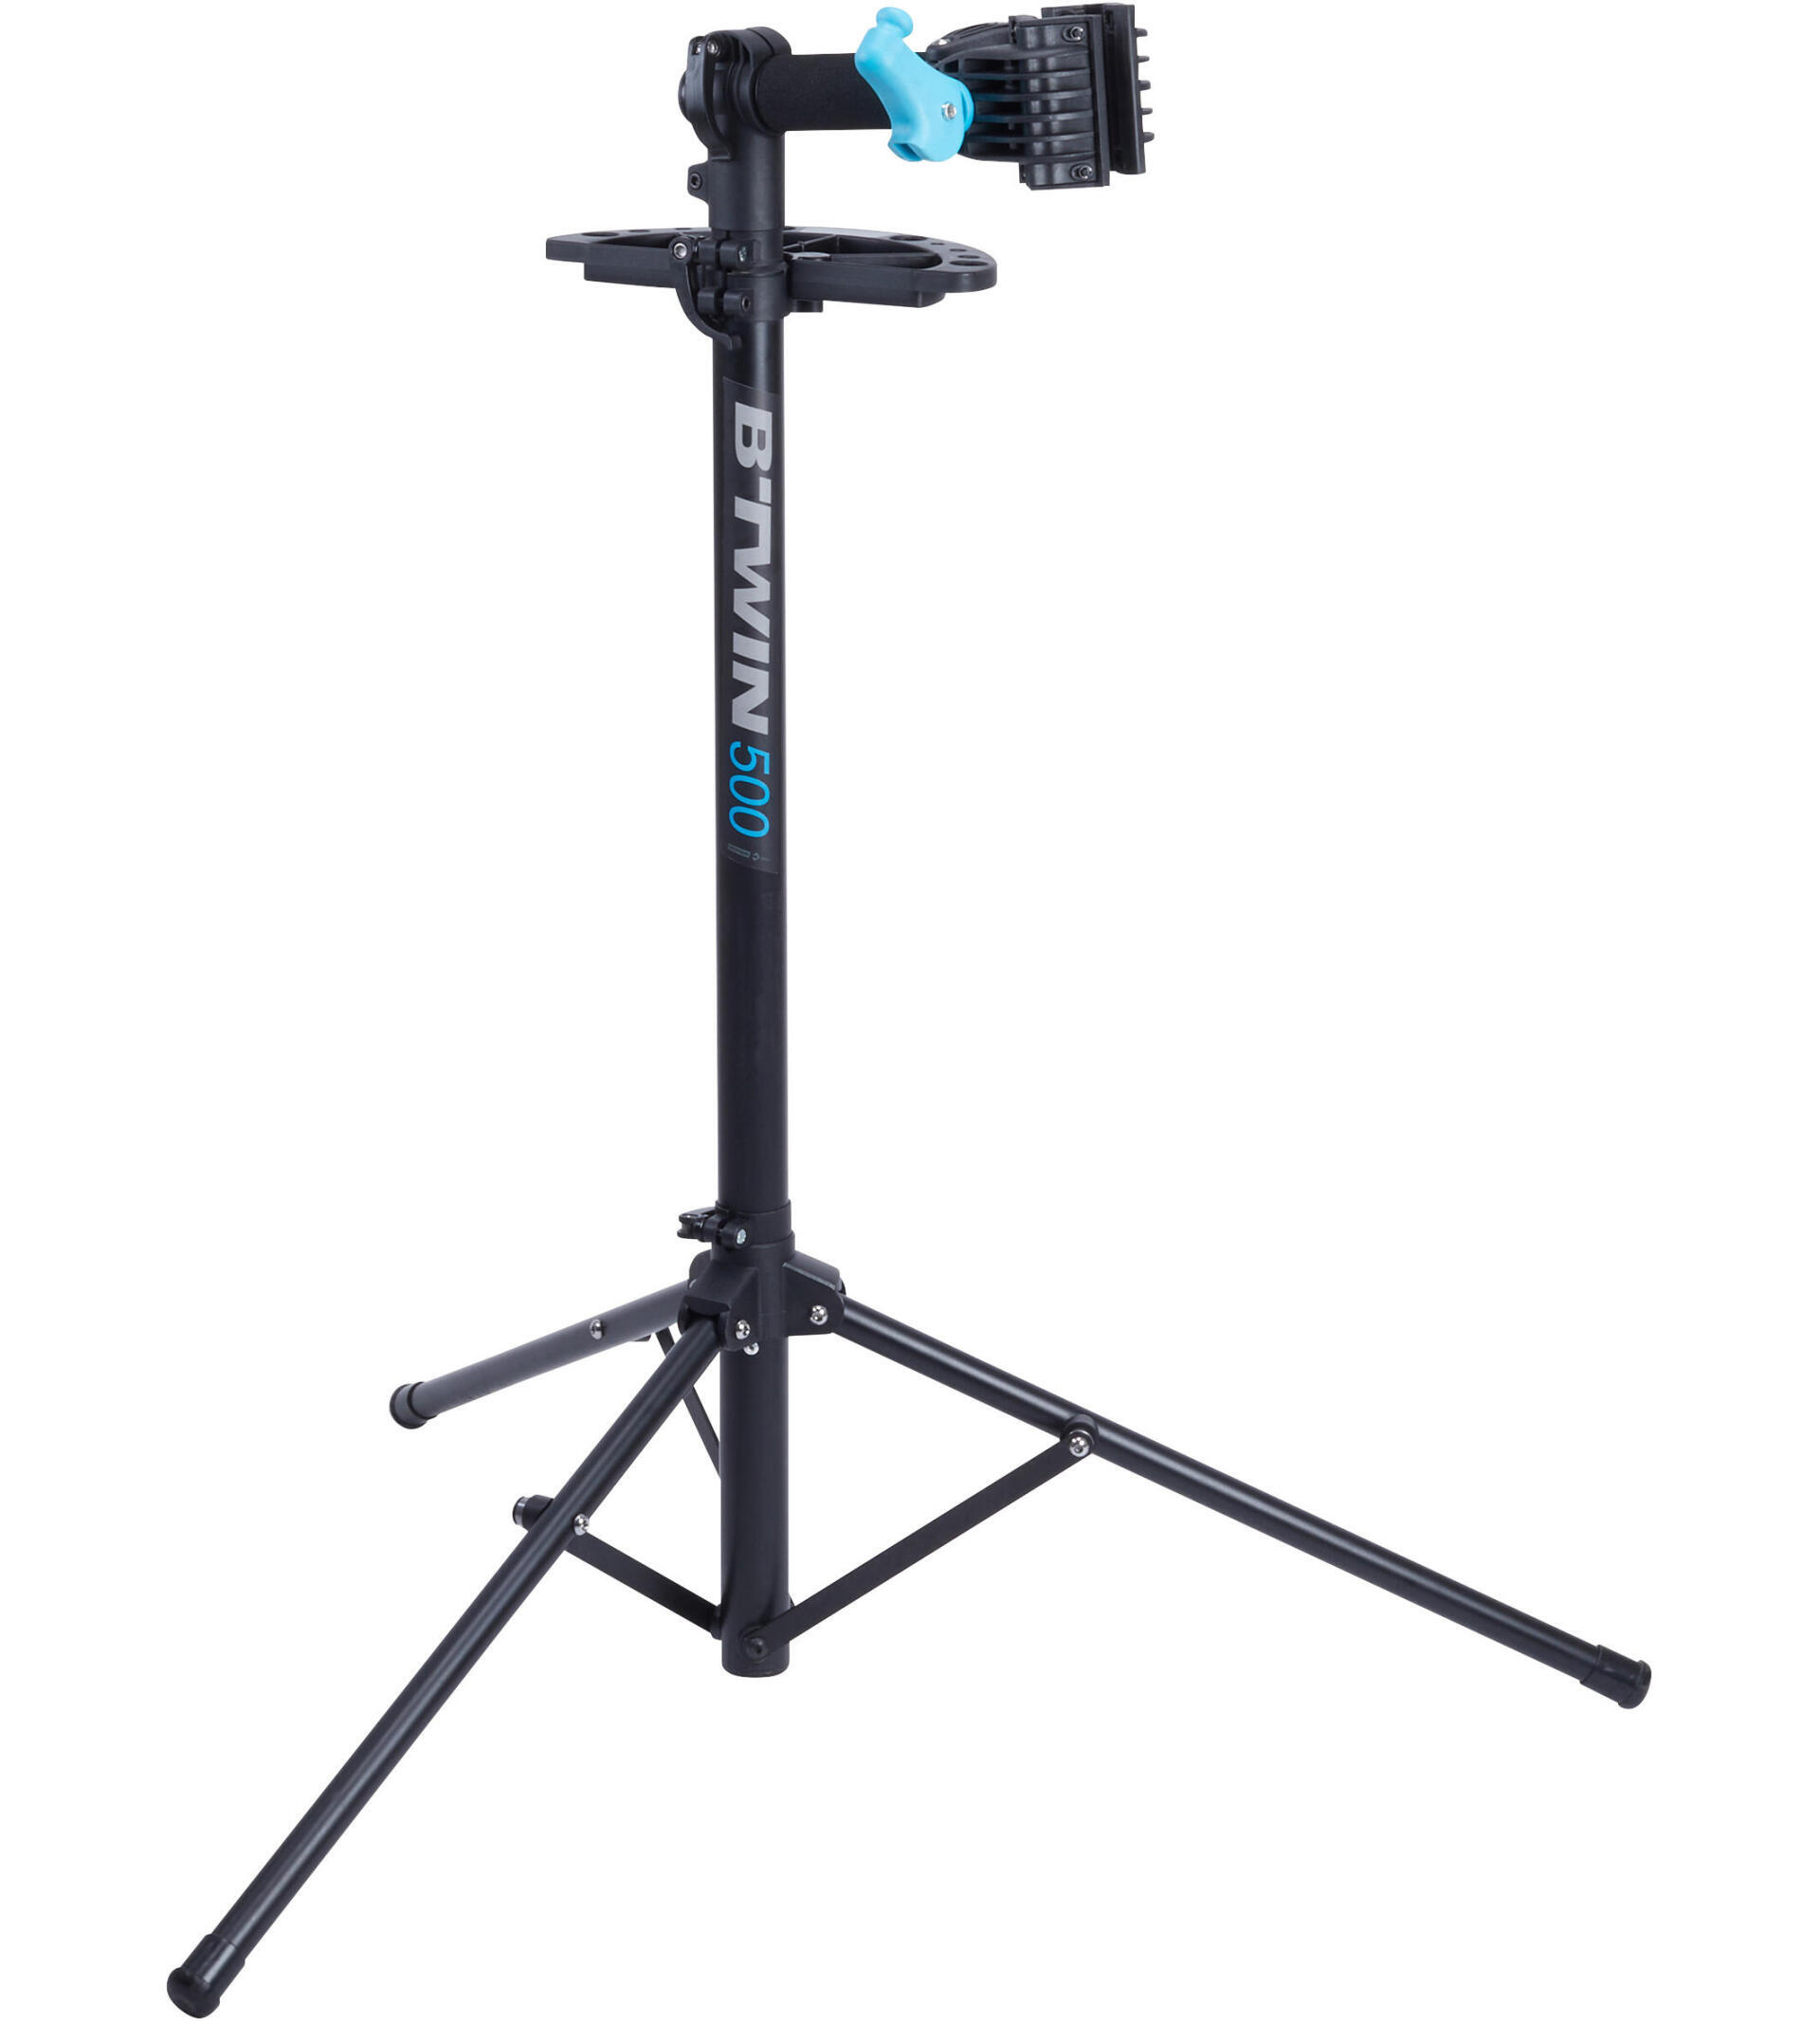
Workstand
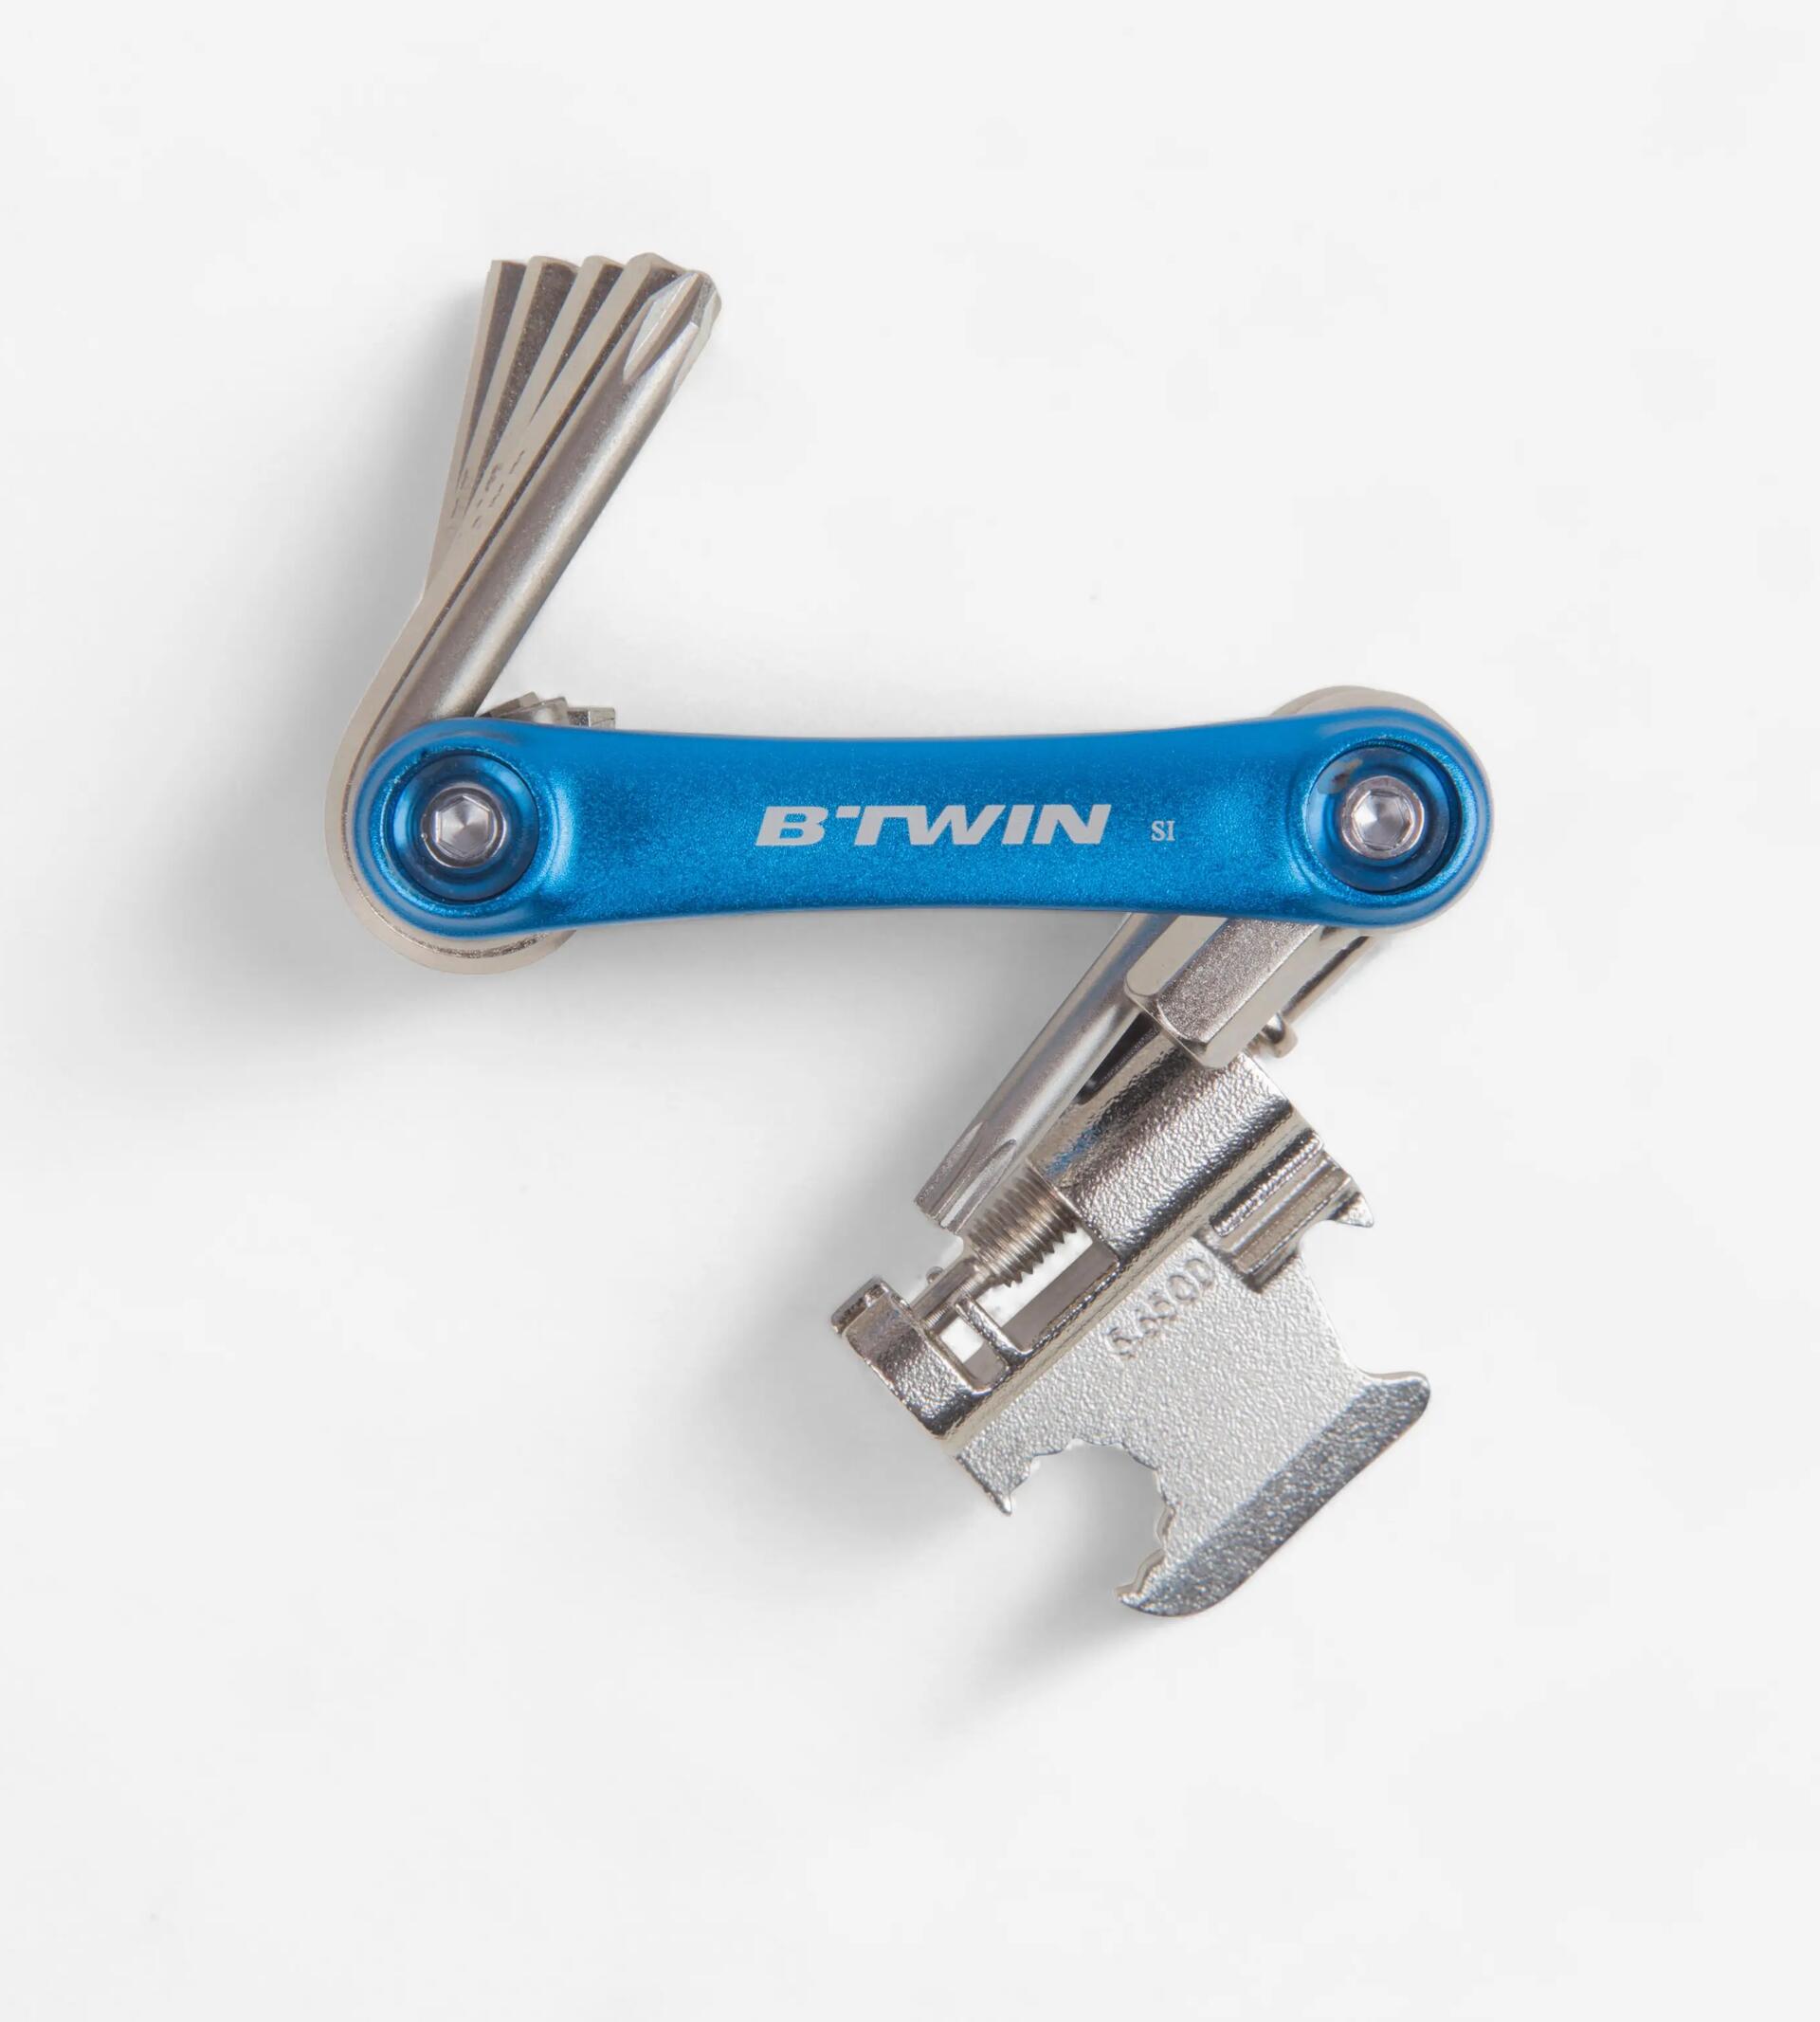
Multifunction
tools
When you take your new bike out for a ride for the first time, a lot of parts can shift and fall into place.
You'll hear the spokes on your wheels creak because of the residual torsion in them from the assembly process; this is normal.
Your wheels should not buckle or be twisted in any way. If this does happen, use the free check-up available to you within six months of purchase and call in at one of our Decathlon workshops to have your wheel repaired free of charge.
There could be several reasons why your gears (cogs) are not shifting correctly.
1. Incorrectly positioned cable housing caps can hinder the pulling action on the derailleur cable and cause the shifting of the gears to be off. If a housing end is out of position, push it back into place.
2. The cables or the housing may have seized up. If the chain isn't shifting down to the smallest cog, or the rear derailleur doesn't move when activating the shifters, then the cable and/or the cable housing has almost certainly seized up. In this case, the cable and housing need to be replaced.
3. Take your Riverside bike to a Decathlon workshop to have the derailleur adjusted.
4. You should also check that the derailleur hanger is not twisted. If it is, check the section "DERAILLEUR HANGER IS BROKEN".
NB: If you regularly ride your Riverside in wet or muddy conditions, or if you regularly wash your Riverside bike with abundant water, then your cables and cable housing will need to be replaced more frequently. Washing your bike using a high pressure hose is highly discouraged as it can push dirt and dust into the cable housing.
A bent hanger causes the derailleur to be out of alignment and therefore unable to function correctly.
Stand behind your bike and check the alignment of the derailleur.
If the hanger is twisted or broken, take your bike to a Decathlon workshop to have it replaced. A spare derailleur hanger is included with your purchase of a new Riverside bike.
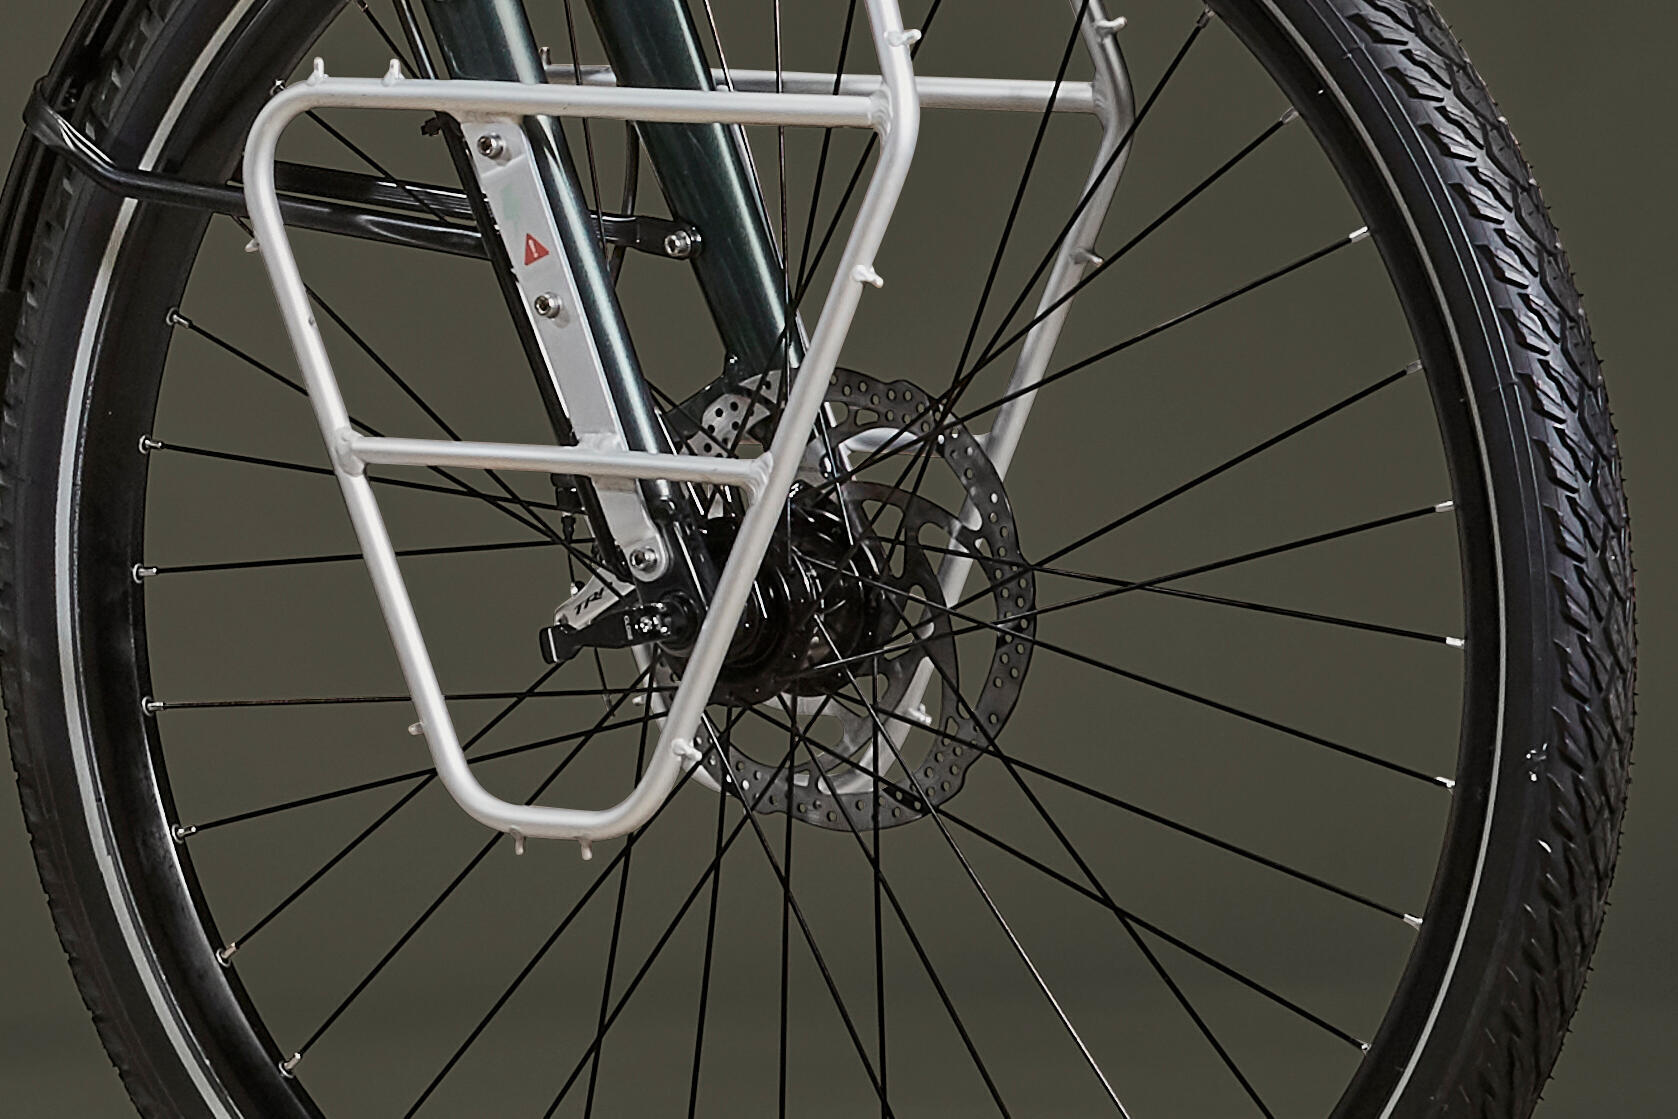
After buying a front pannier rack, you might find that the cable connecting the front light to the dynamo is now too short. You'll need to buy two cables to rectify the problem.
The reference numbers for these cables are 8646748 and 8336650
If you still haven't managed to solve the problem after following the tutorial, come see us in store and we'll be happy to help.
Your bike's frame, stem, handlebar and pannier racks have a lifetime warranty.
This warranty applies to normal use of your bike. Your bike is designed for regular cycling on roads and paths, so if you use your bike for a sport for which it is not intended, such as mountain biking (MTB) or downhill mountain biking (DH), and the frame cracks, the warranty will not apply.
The details of your warranty can be found at the link below.
Cycling isn't without danger. A branch could get caught in your derailleur. The benefit of the Riverside Touring 520 is that you have a whole range of spare parts available.
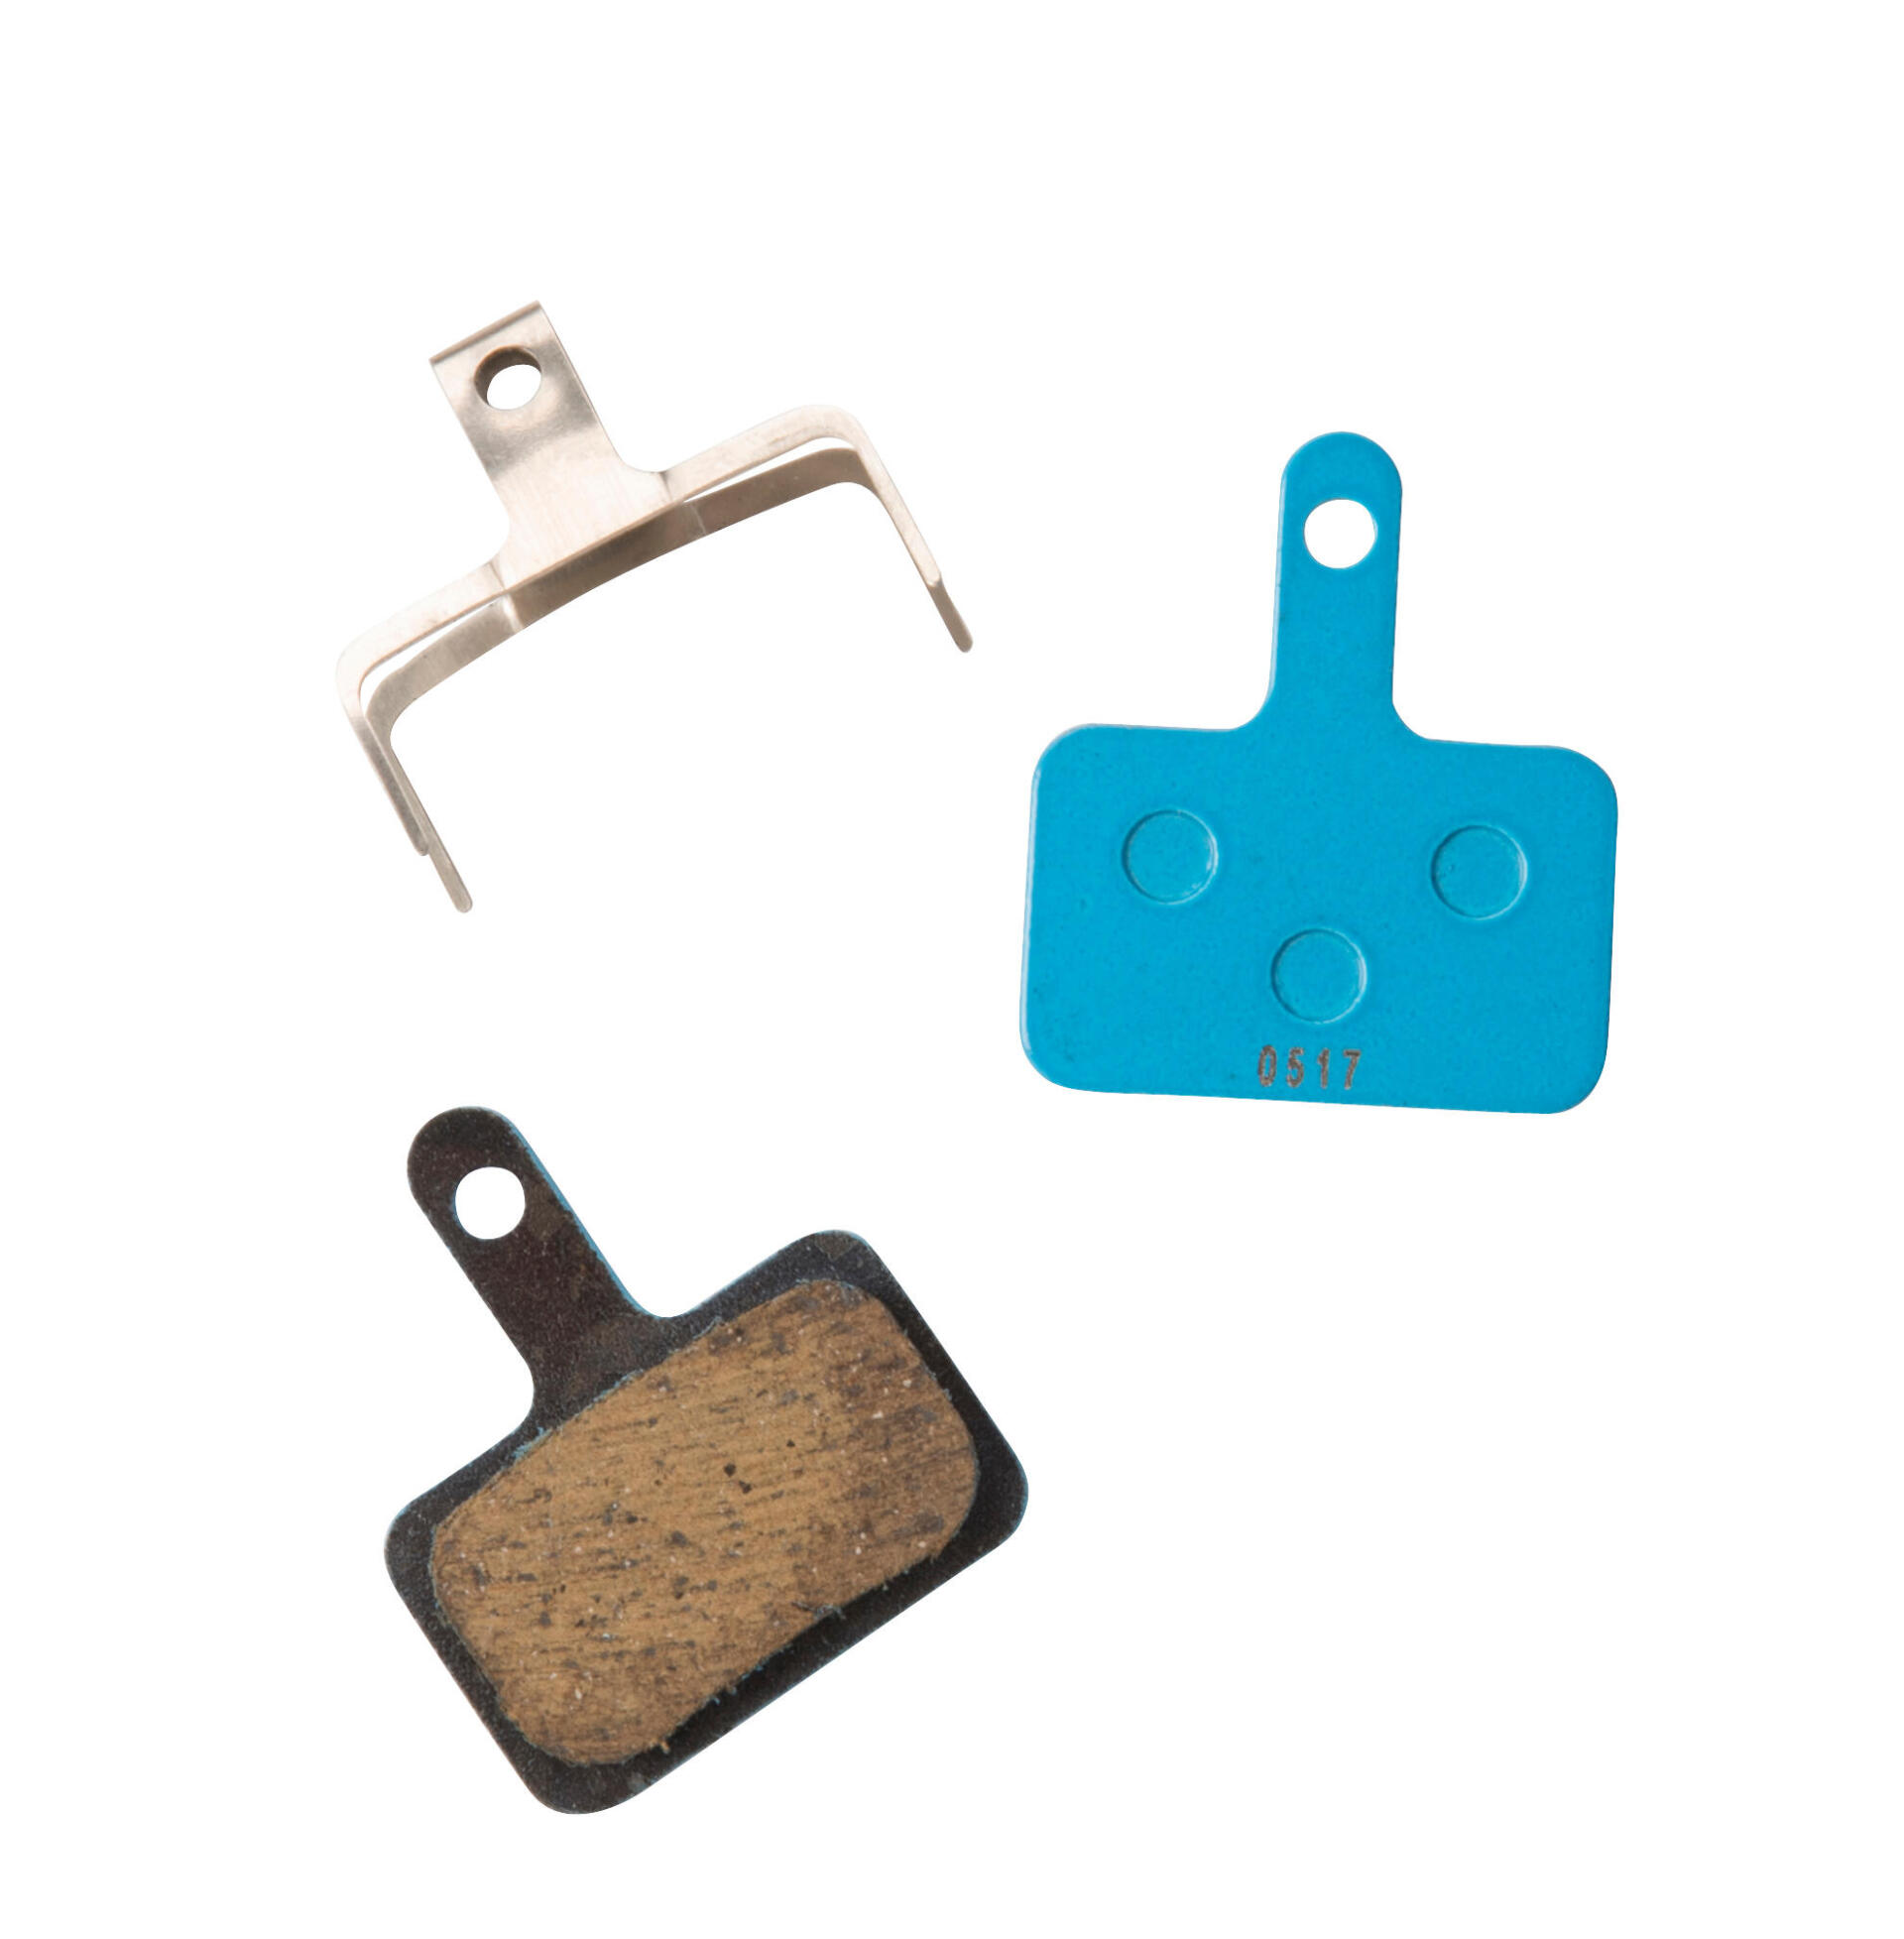
Brake pads
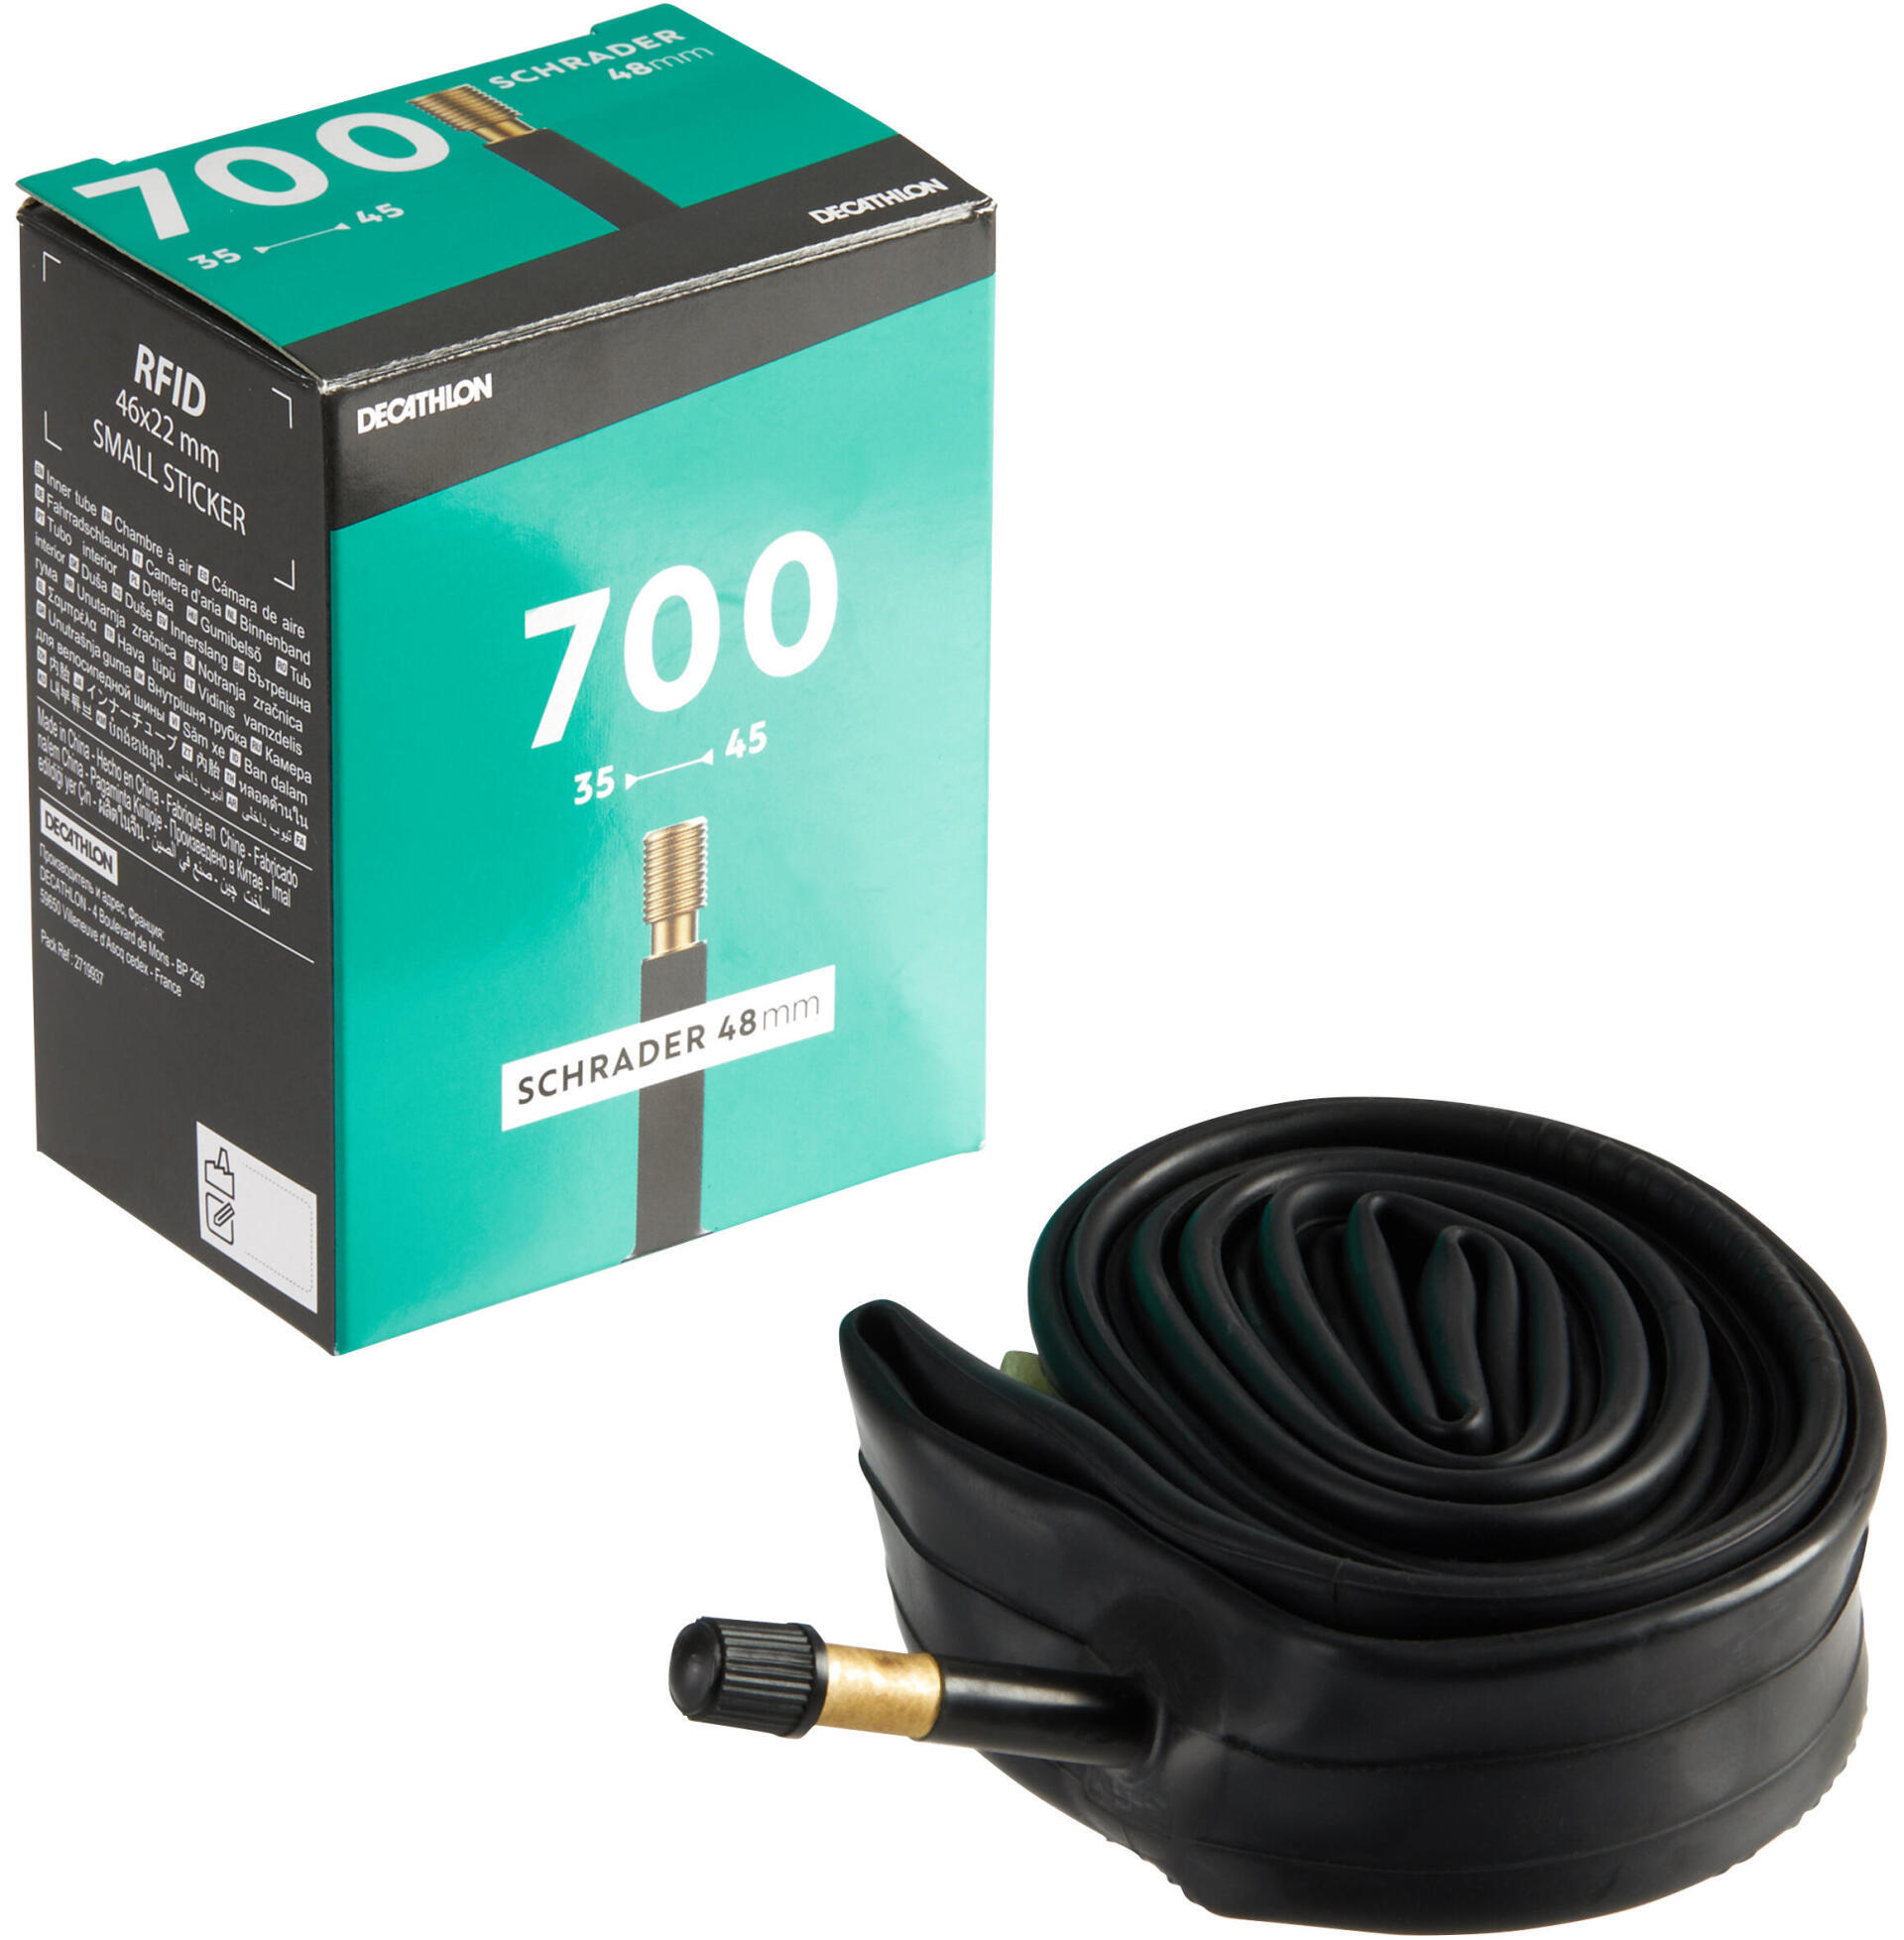
Inner tube
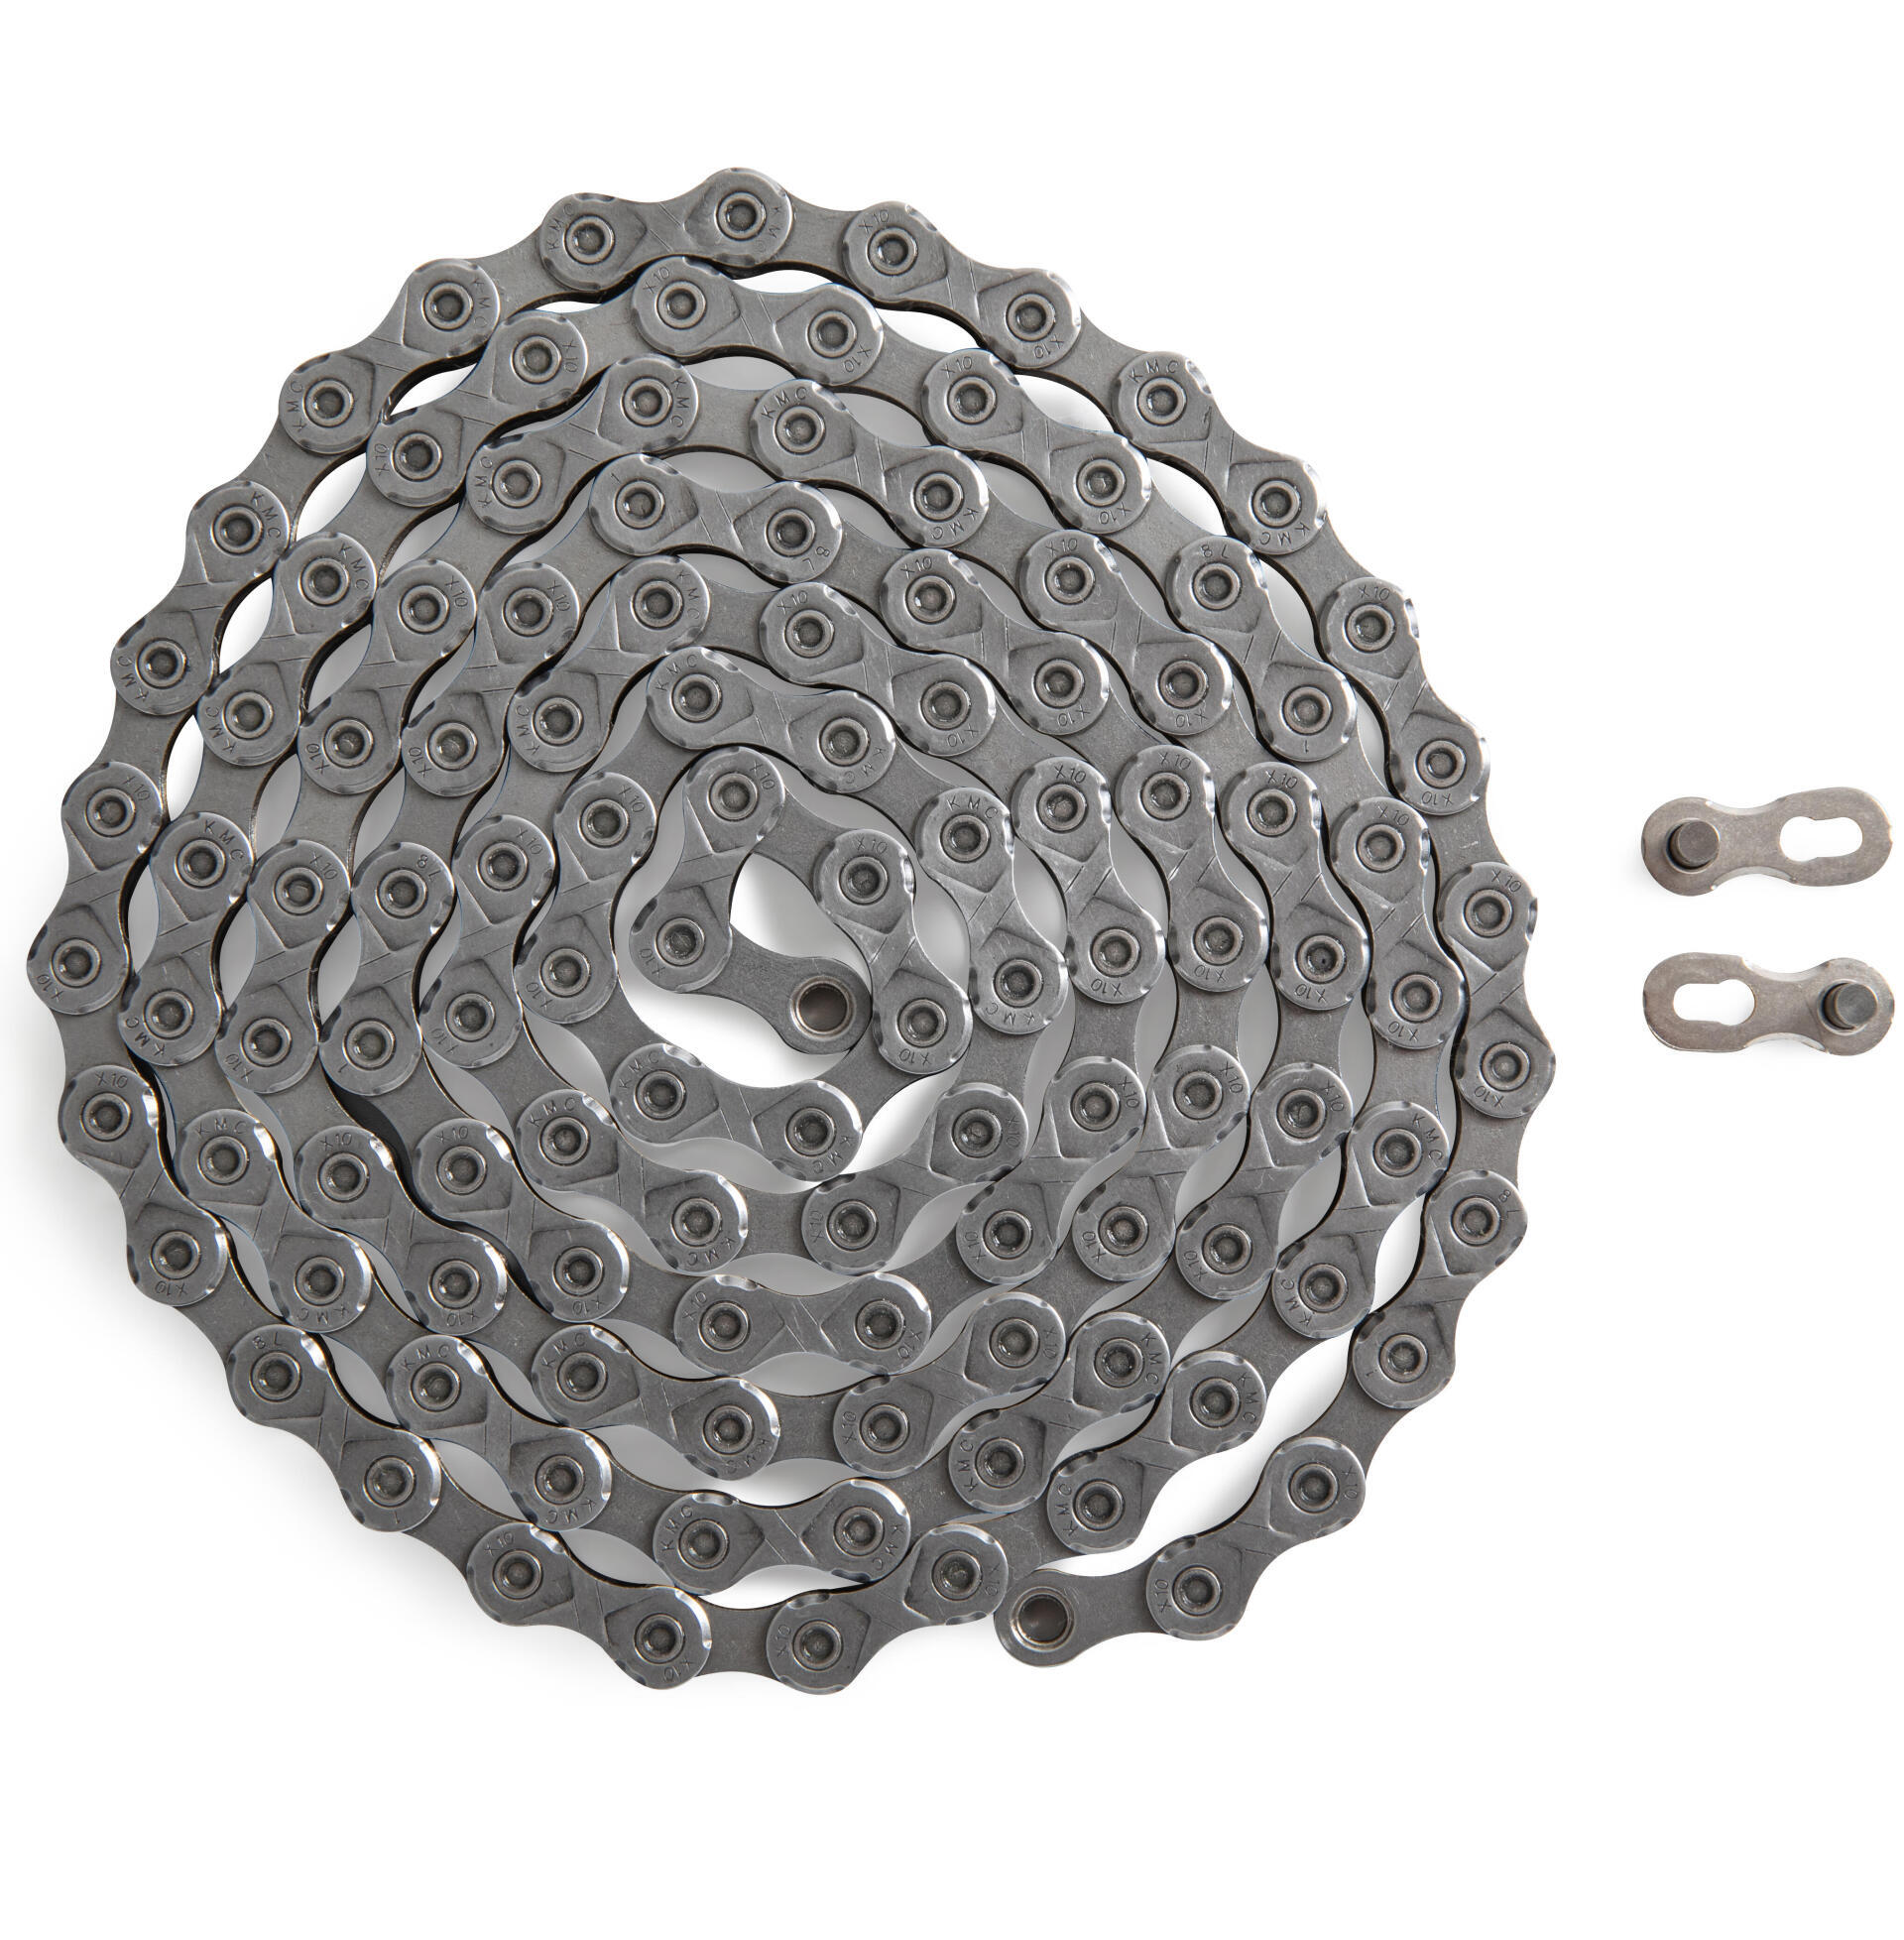
Chain
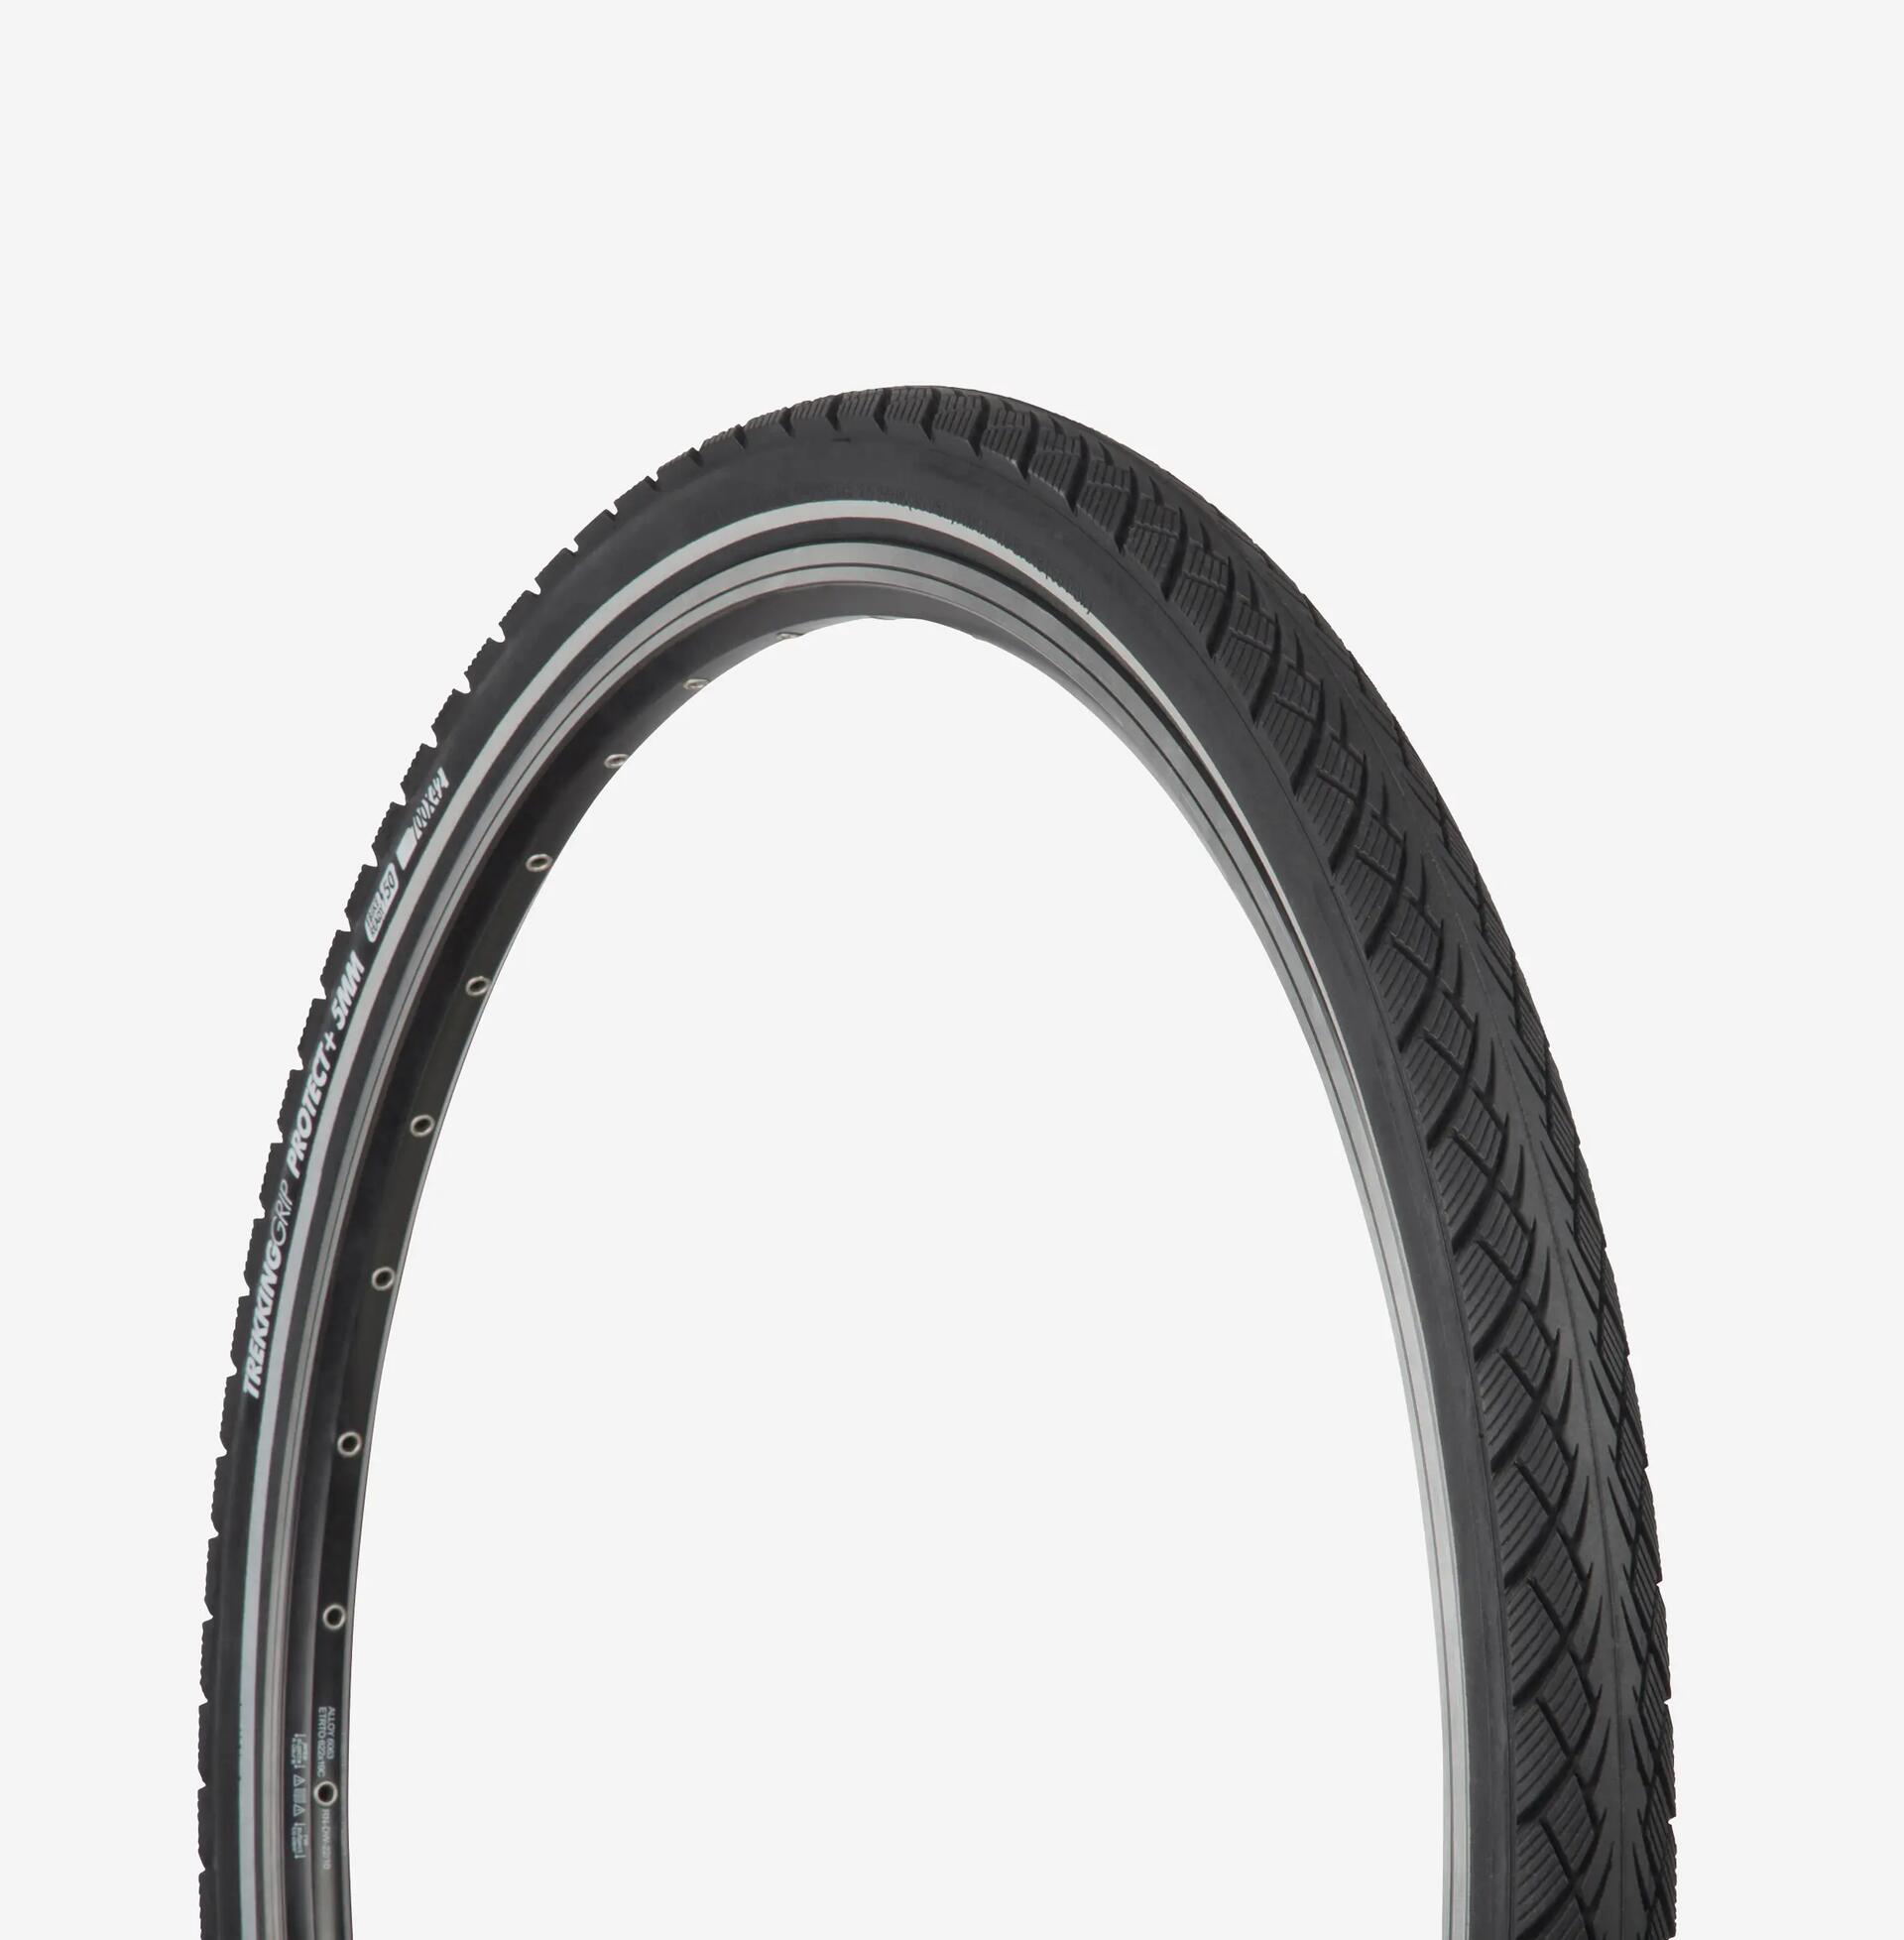
Tyre
NEED SPARE PARTS FOR YOUR RIVERSIDE TOURING 520?
We have selected a range of accessories that will help make your rides more pleasant and comfortable. Follow the link for all our compatible accessories.
Coming soon: new bike bags arriving shortly!
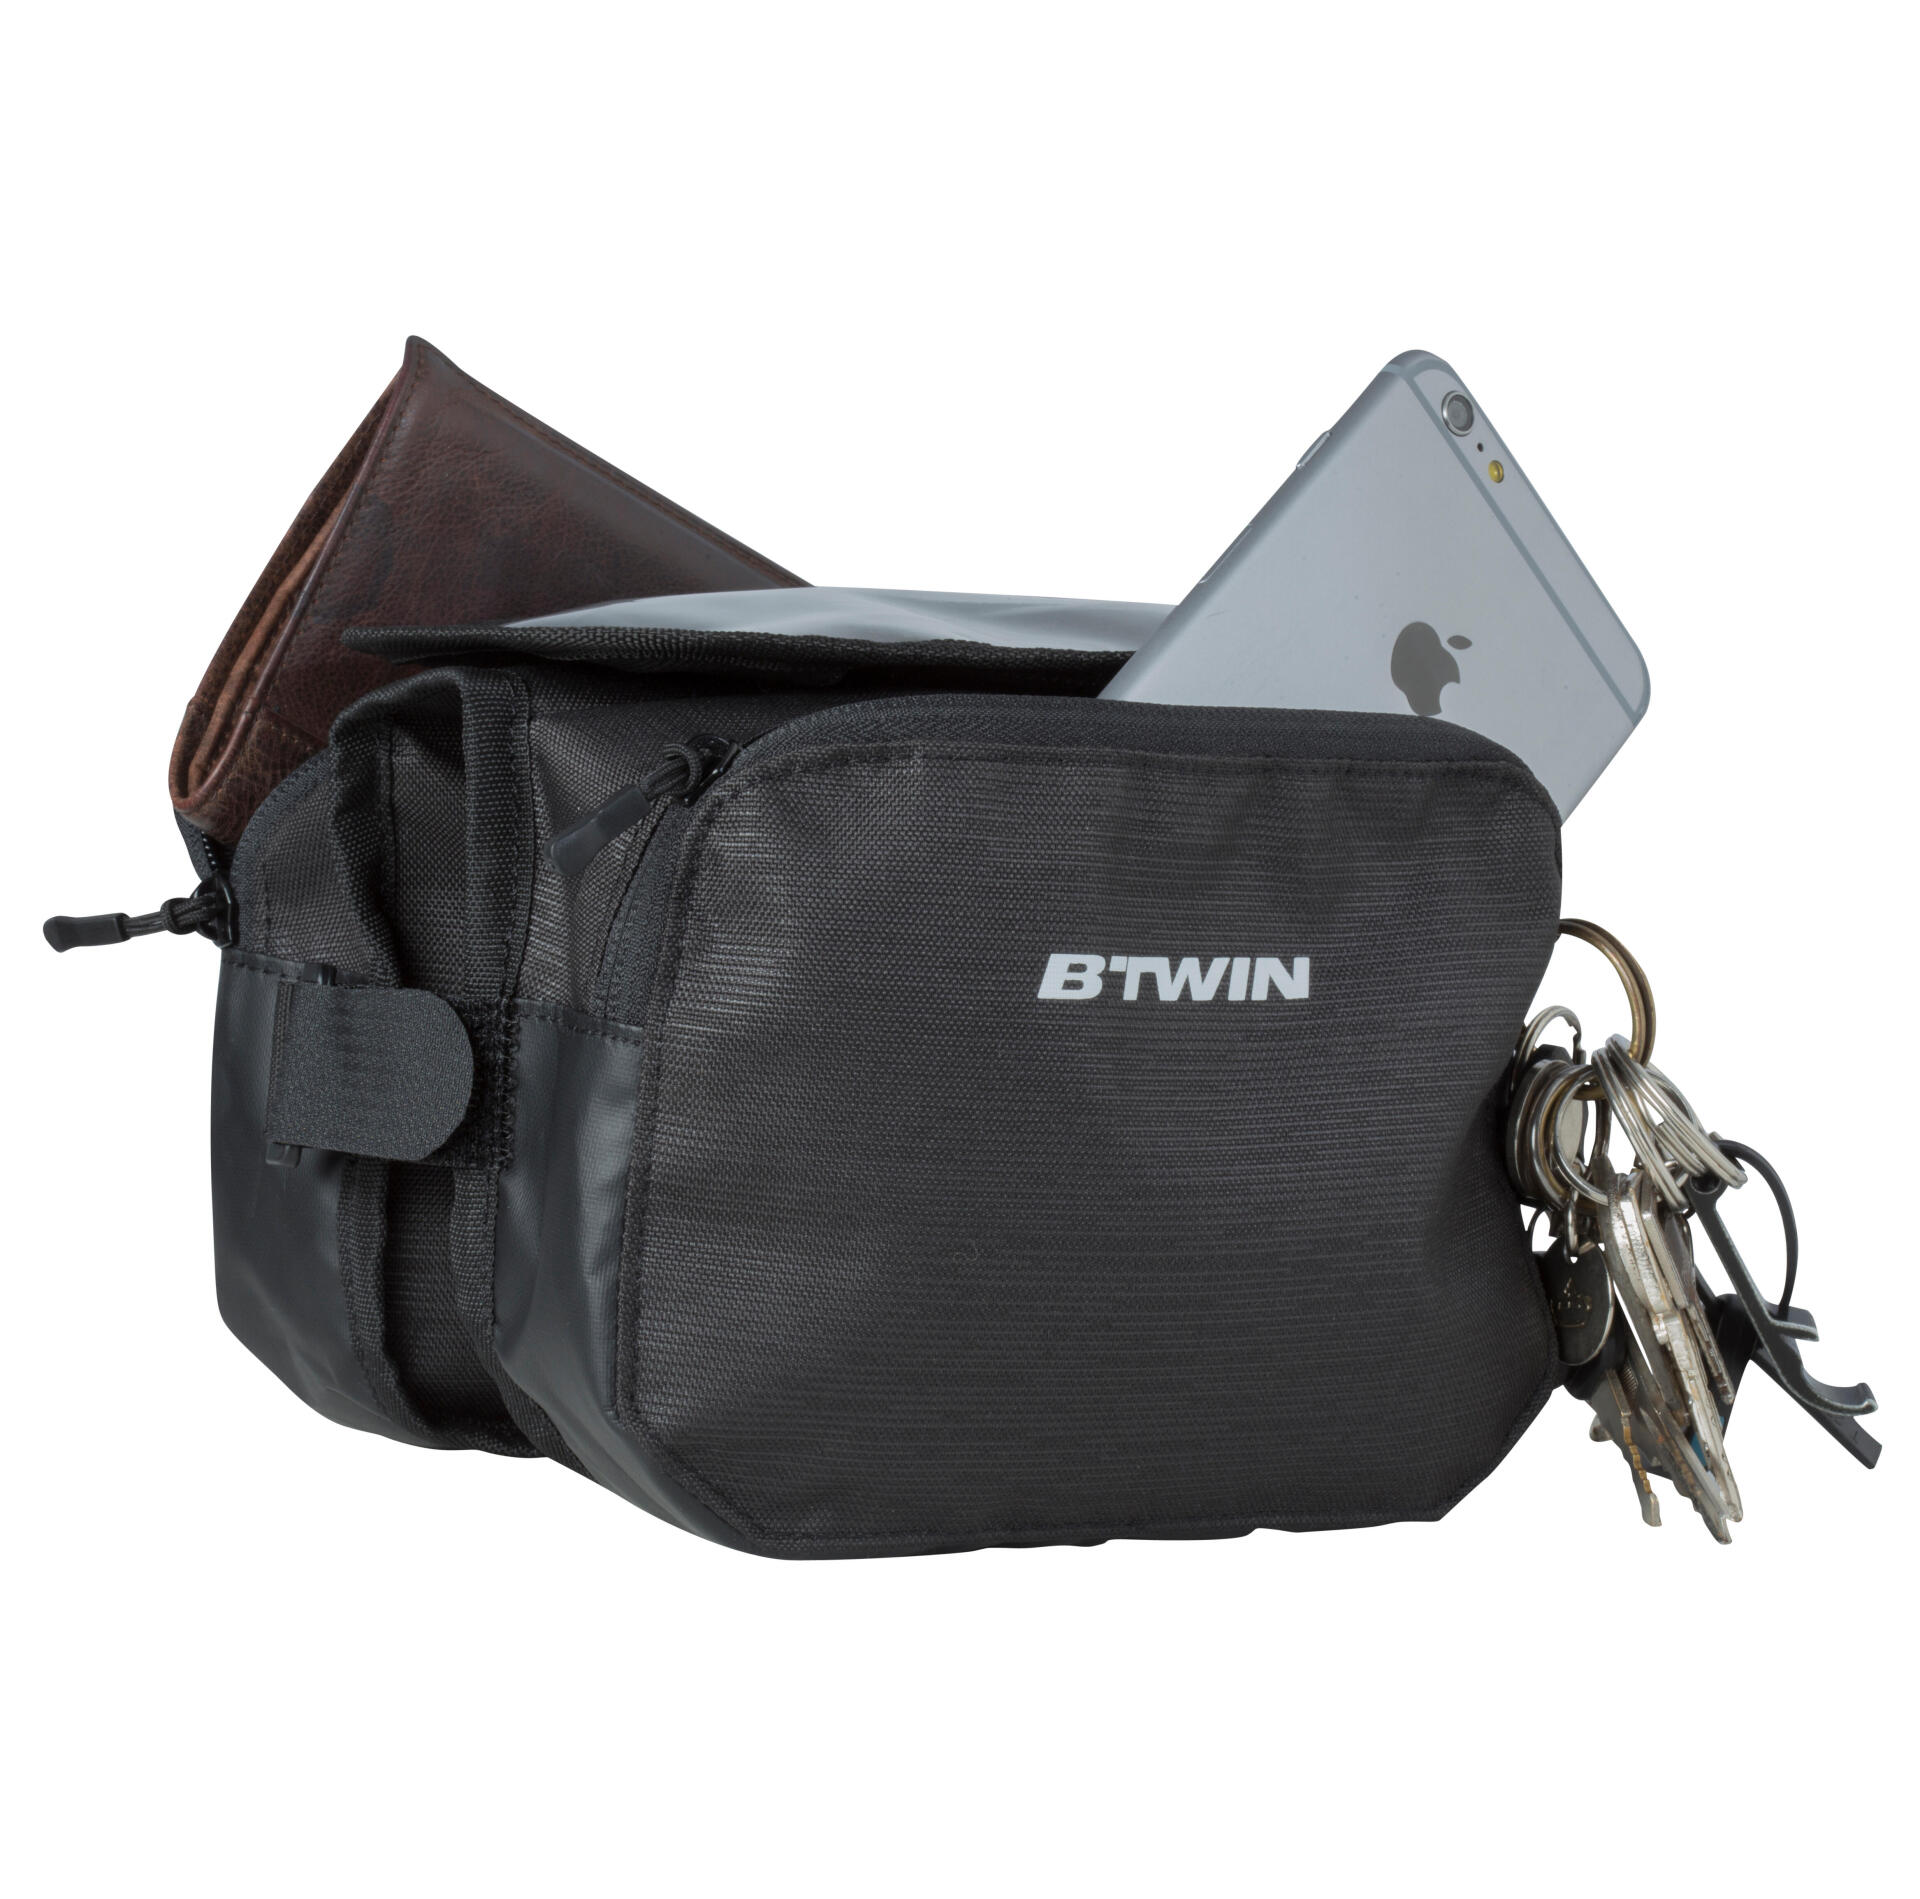
Frame bag,
handlebar bag
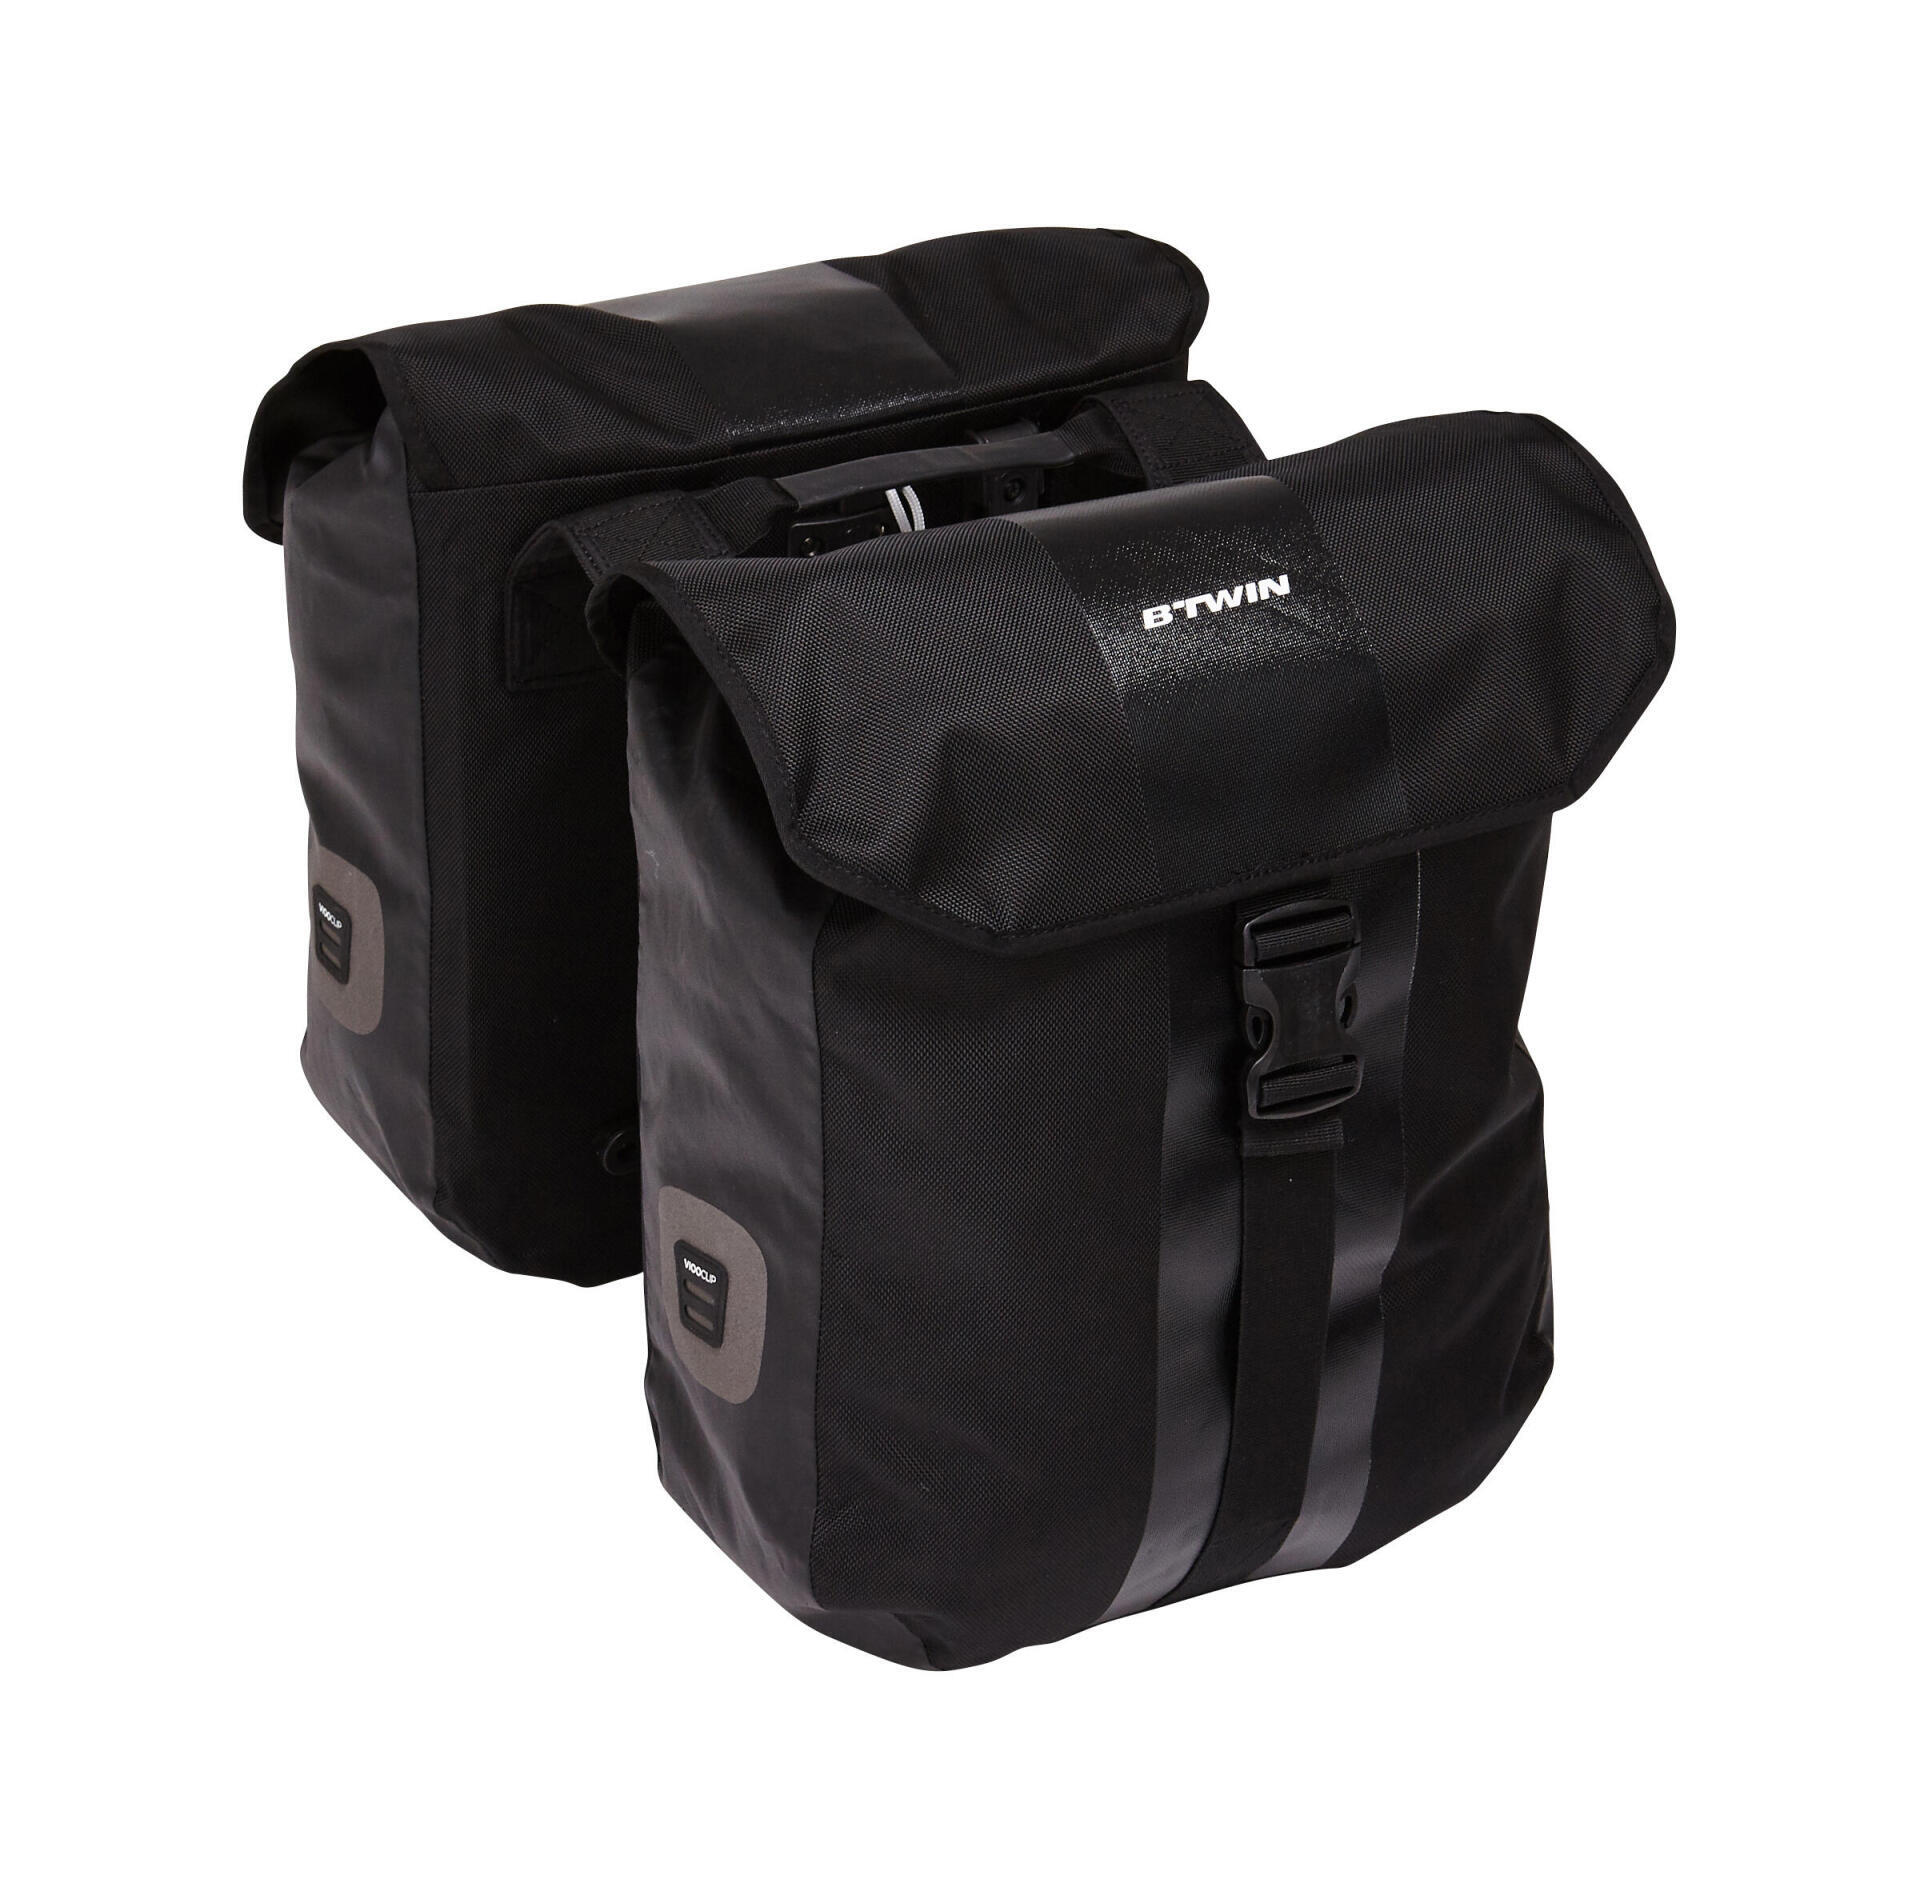
Bike baskets and bags
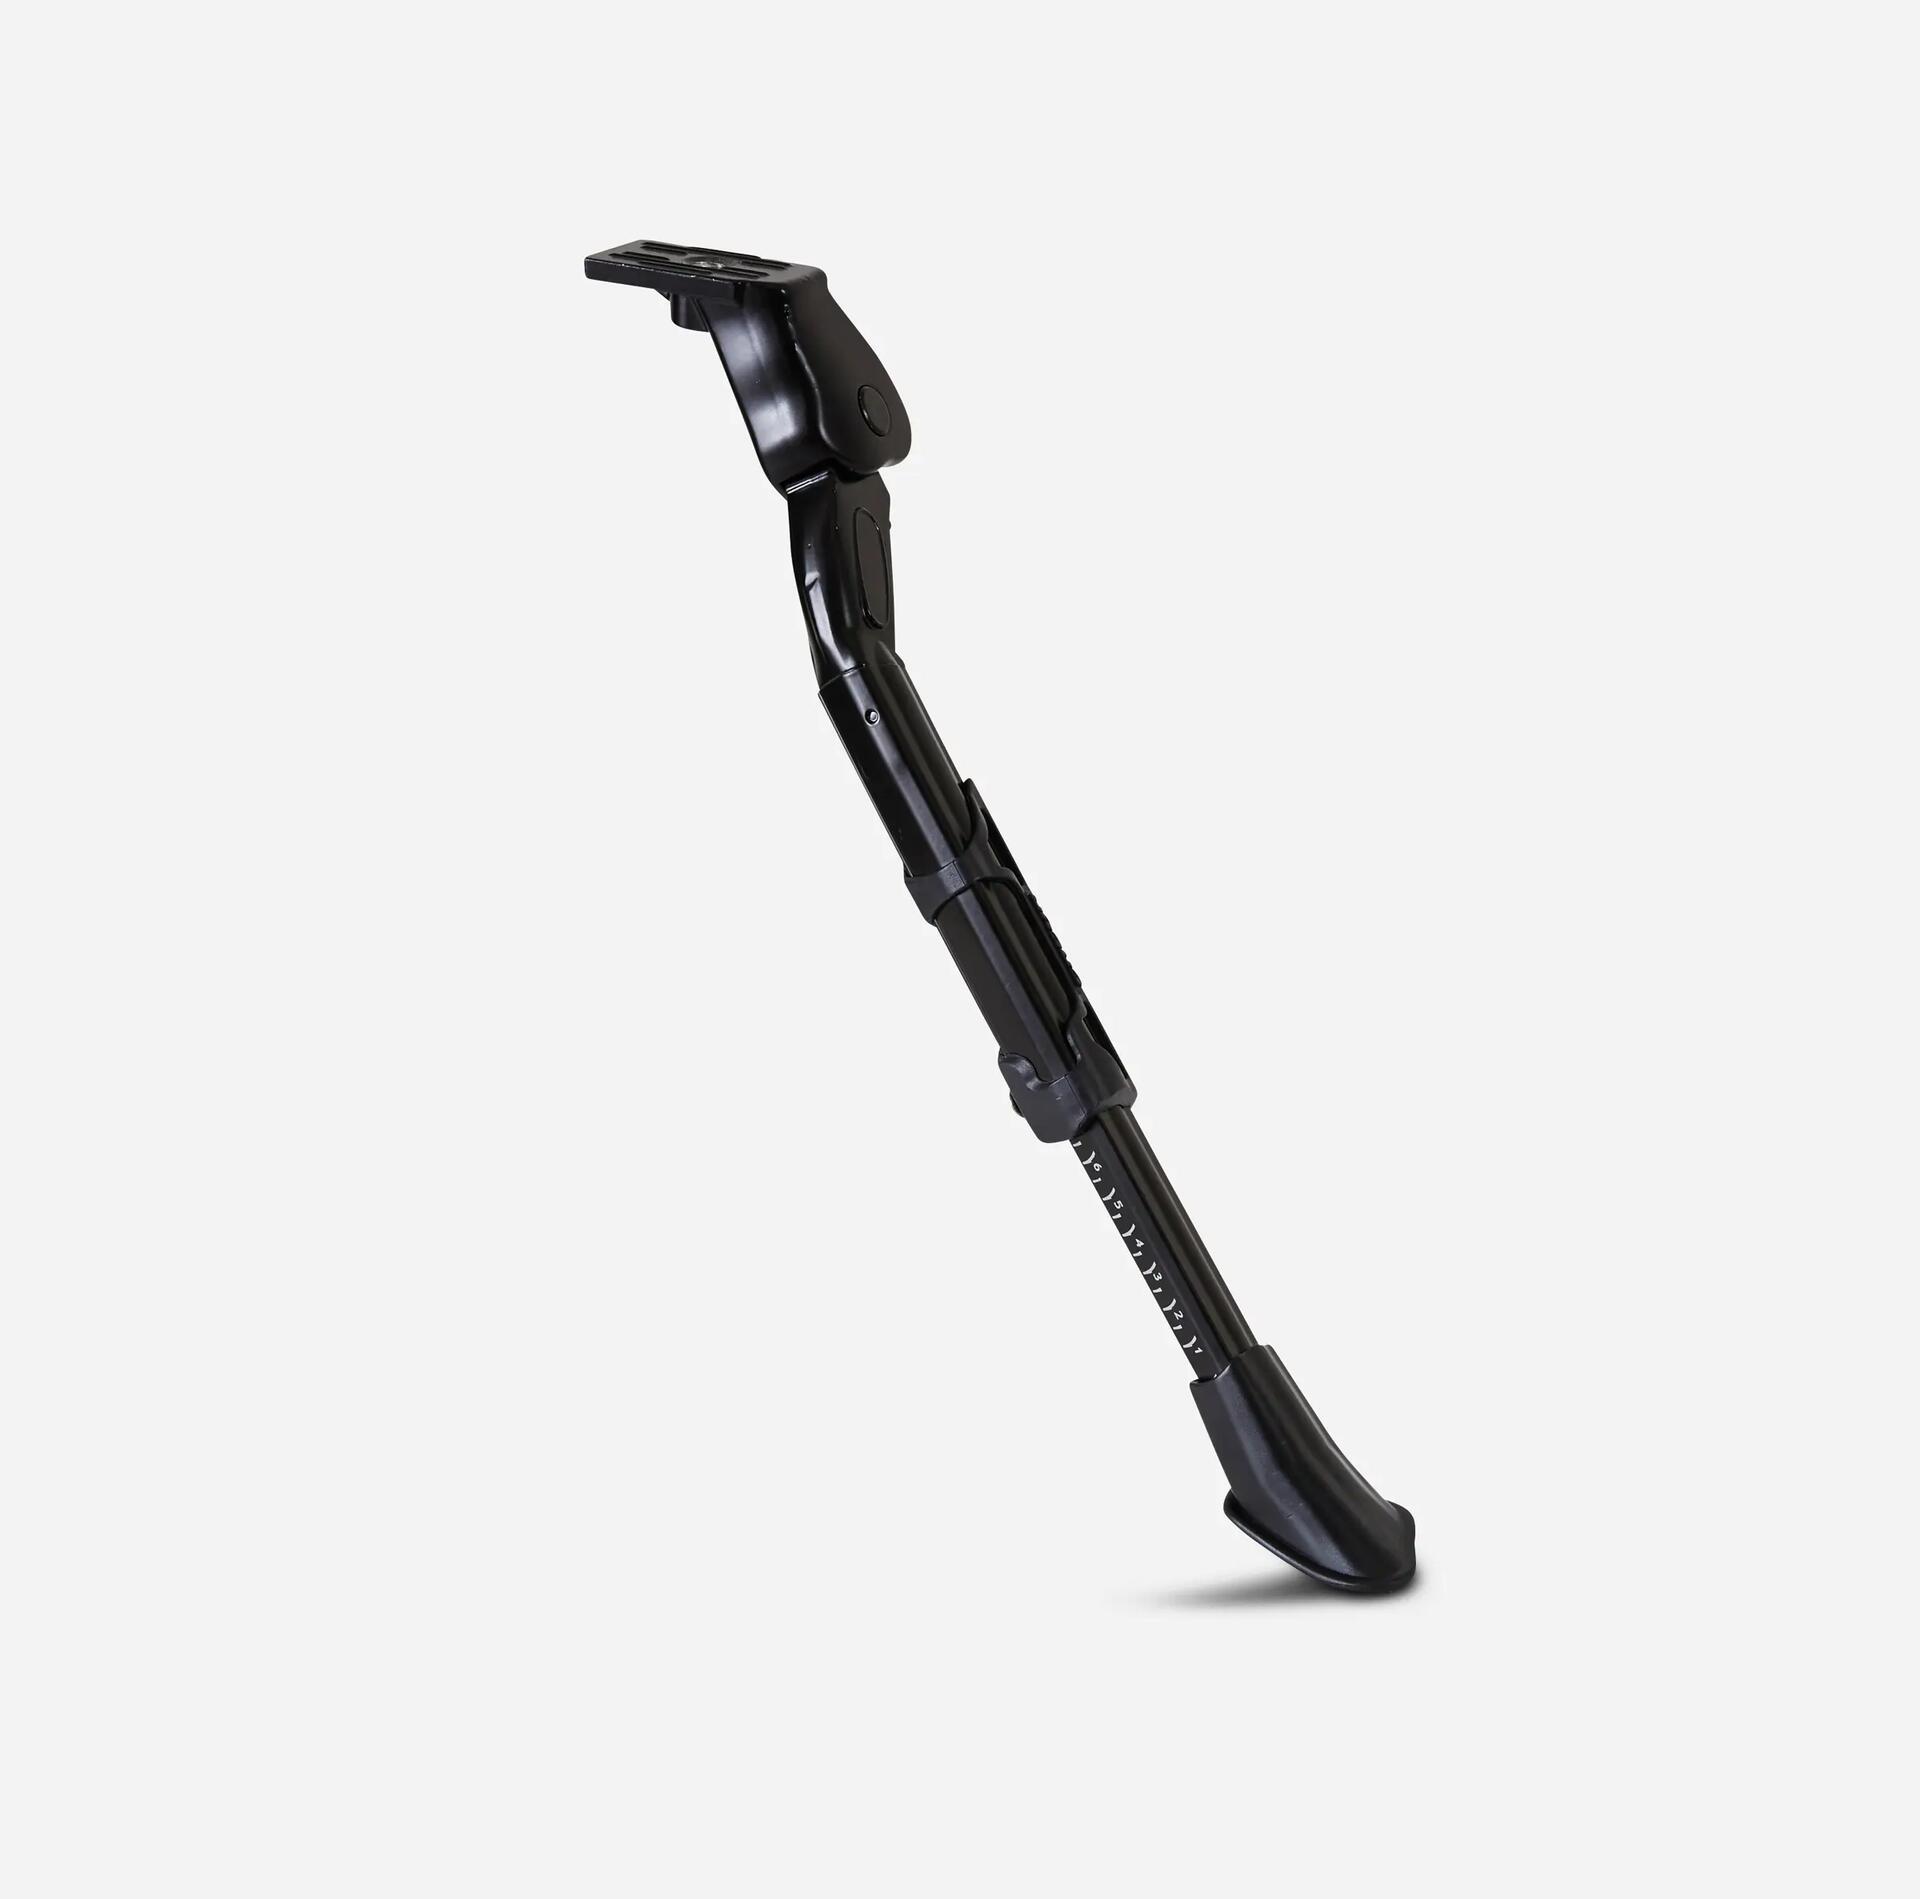
Stand
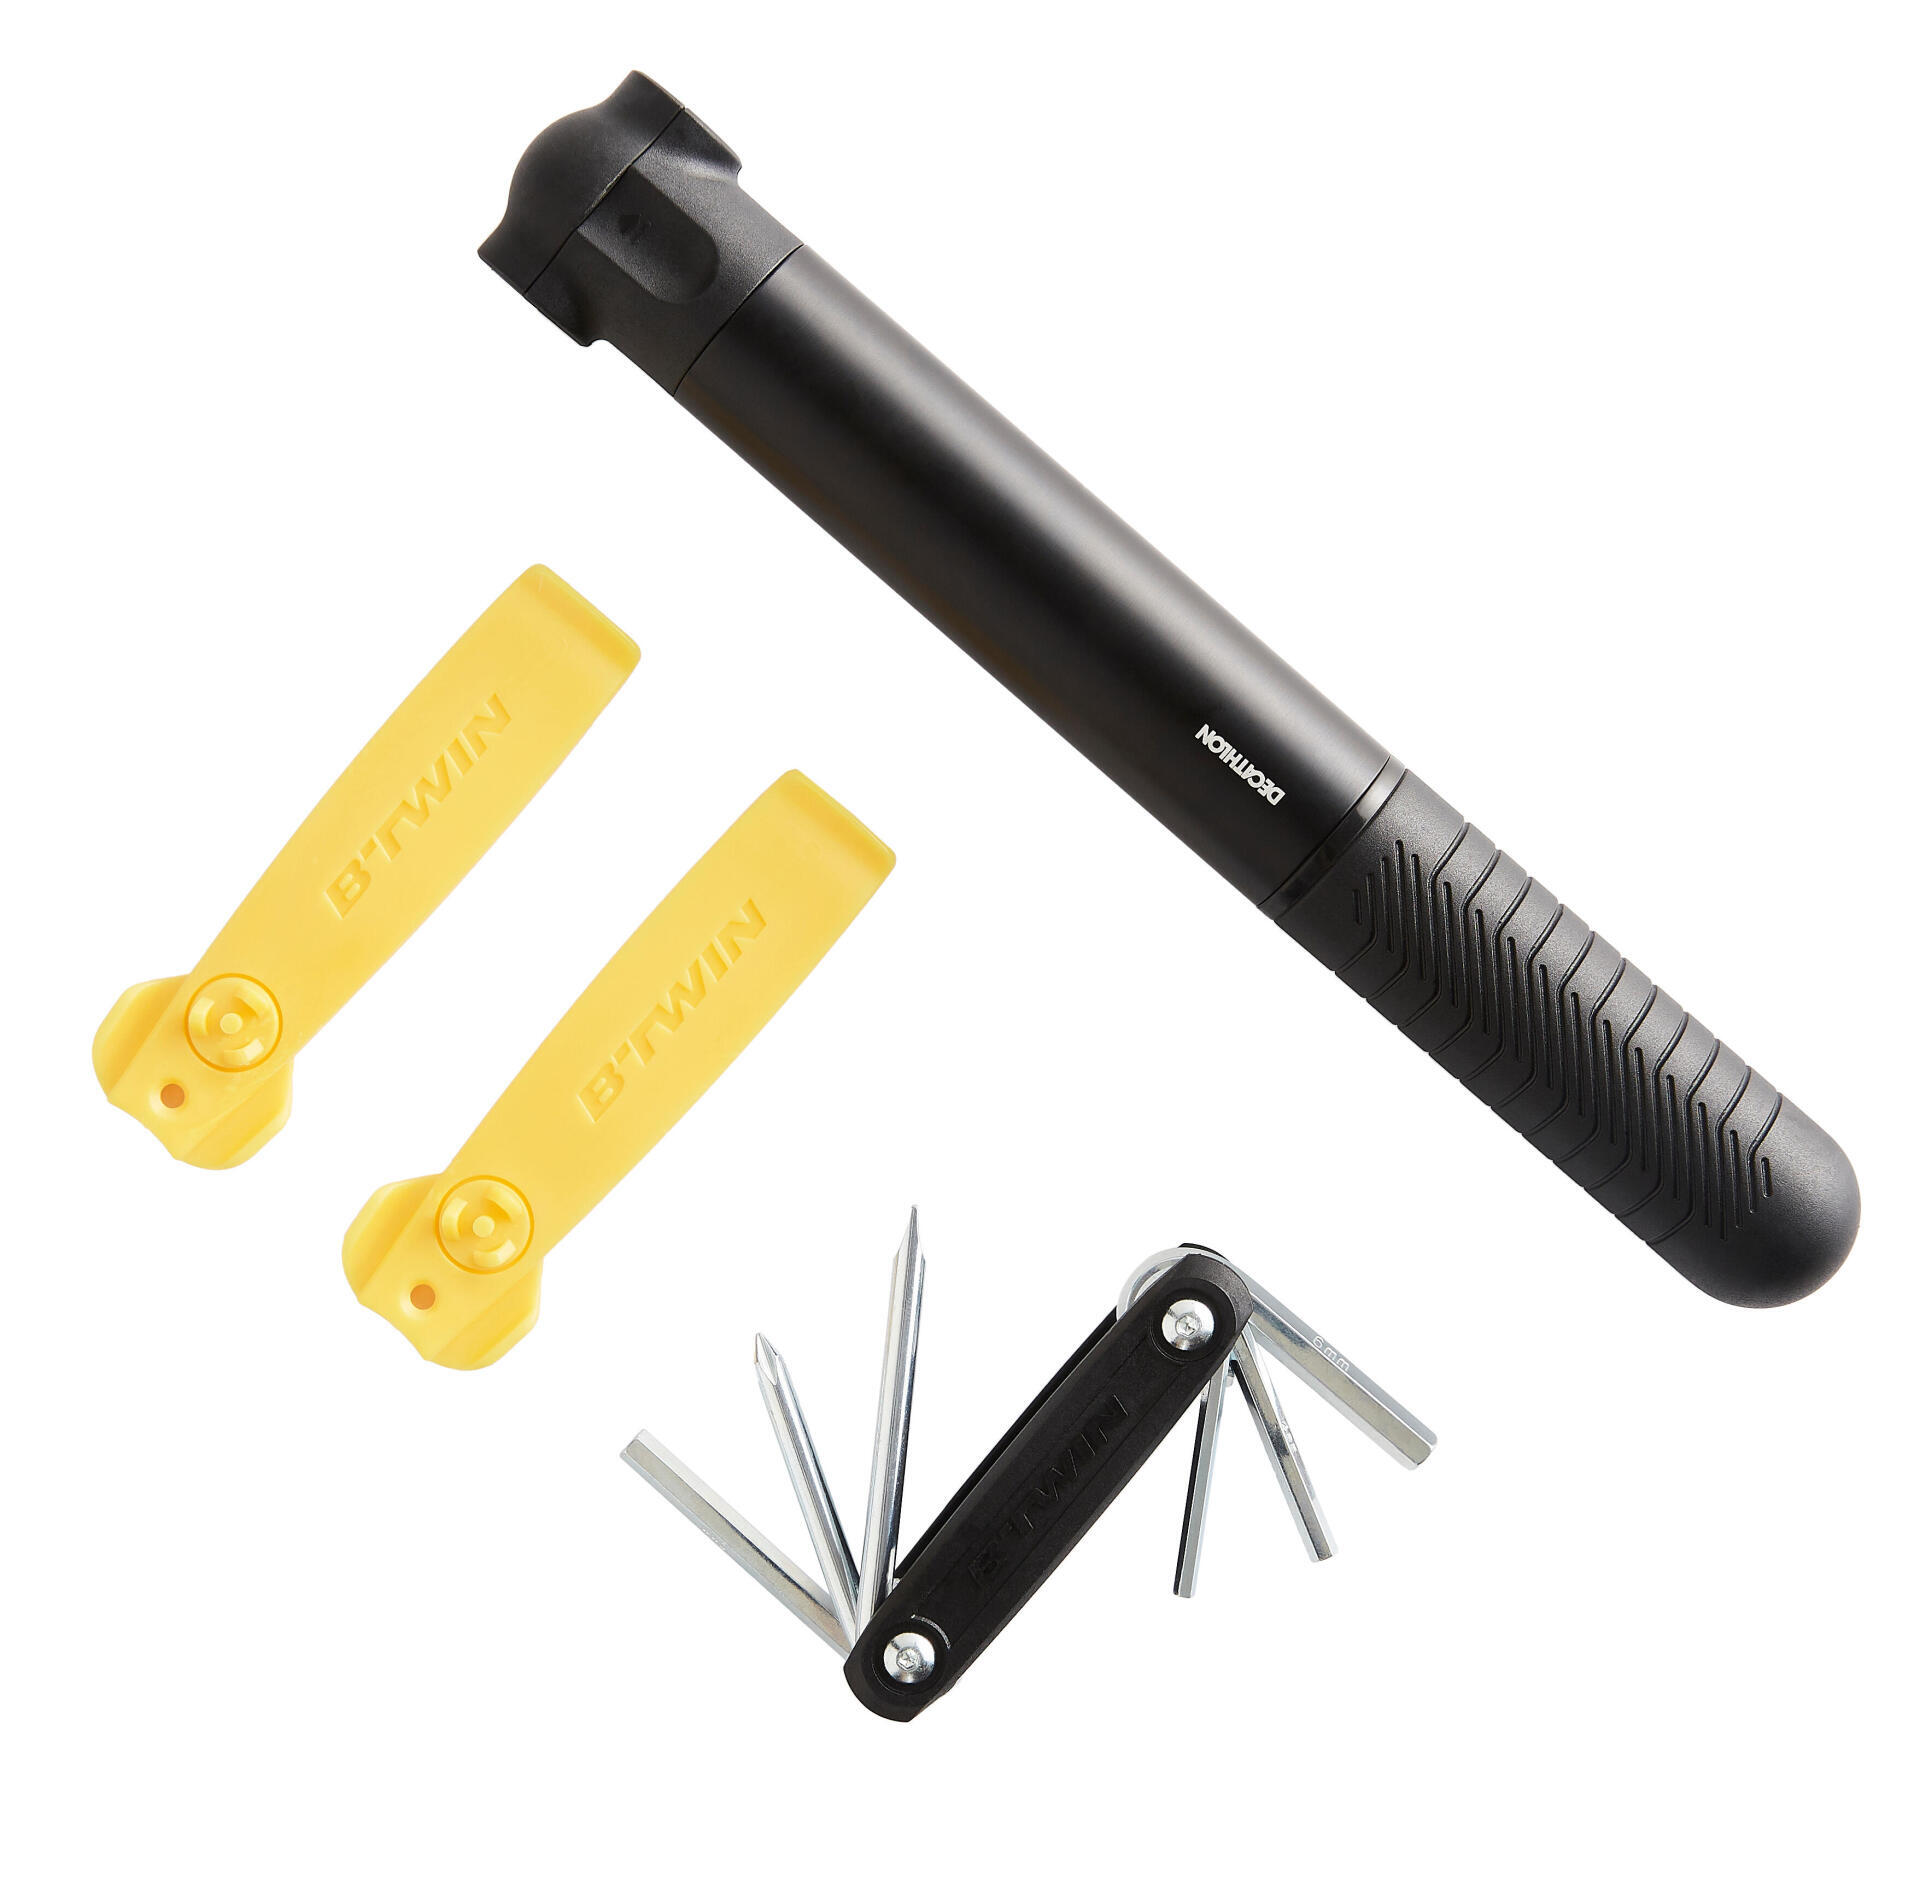
Pump
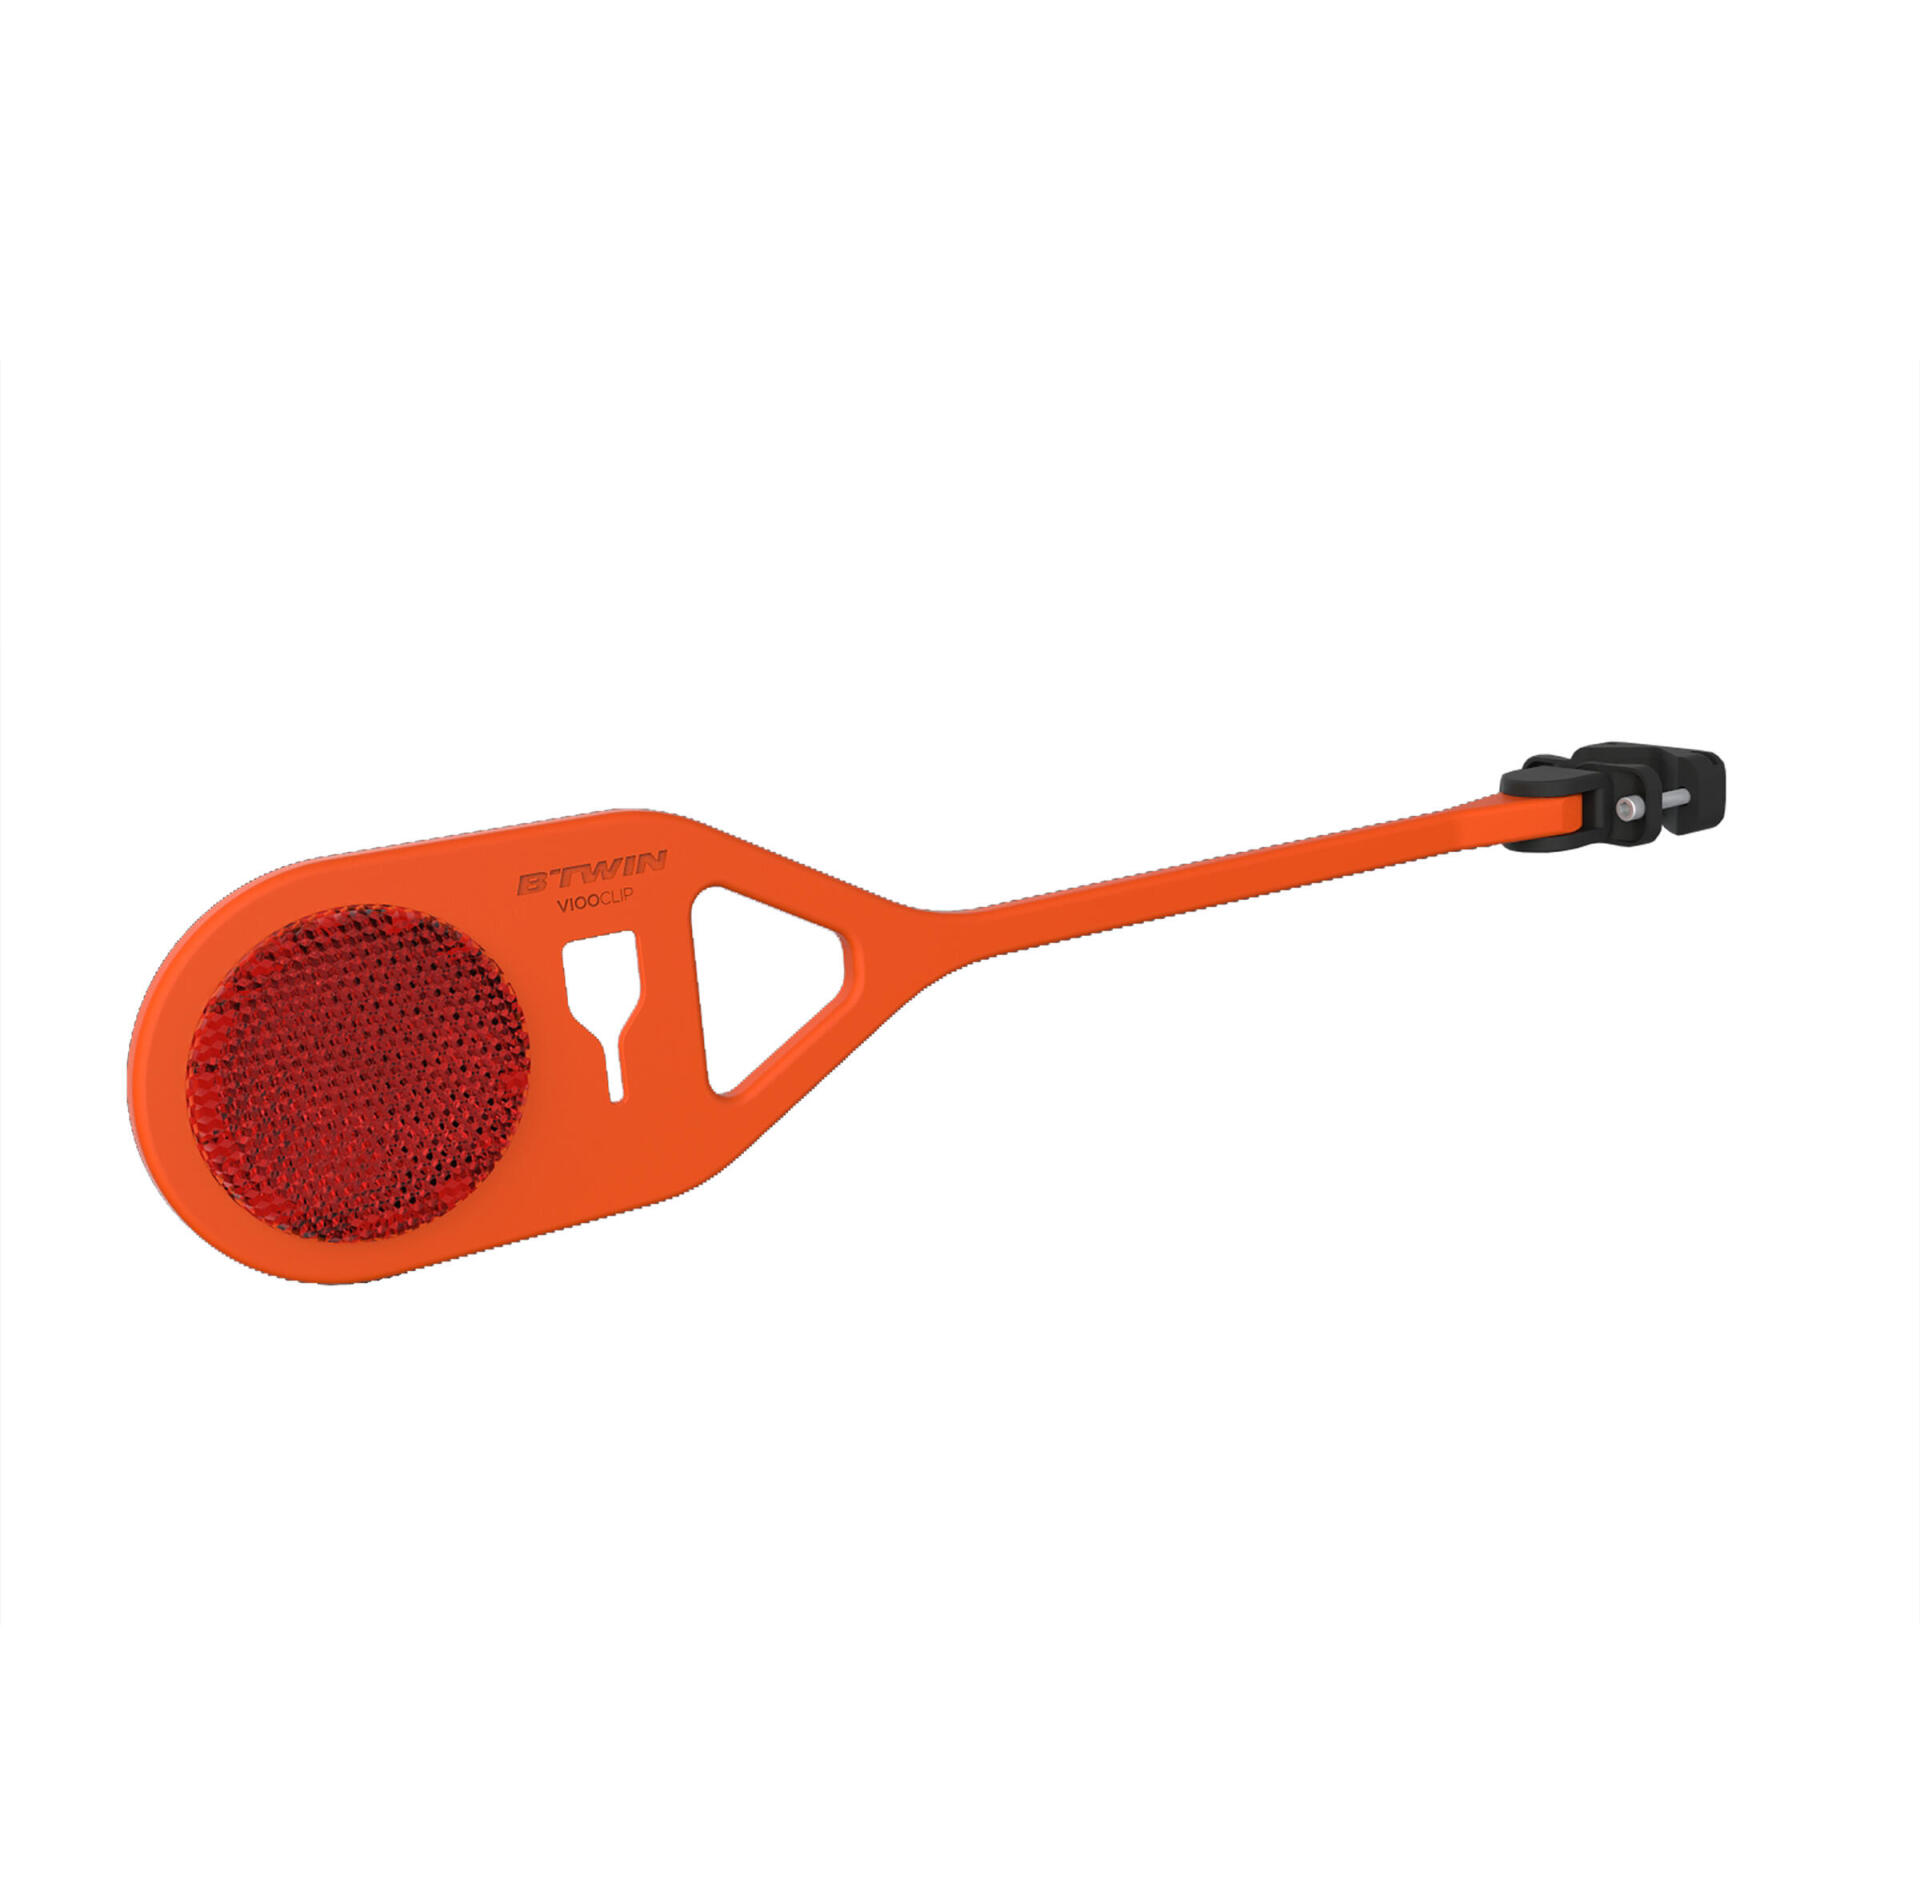
Safety and signalling accessories
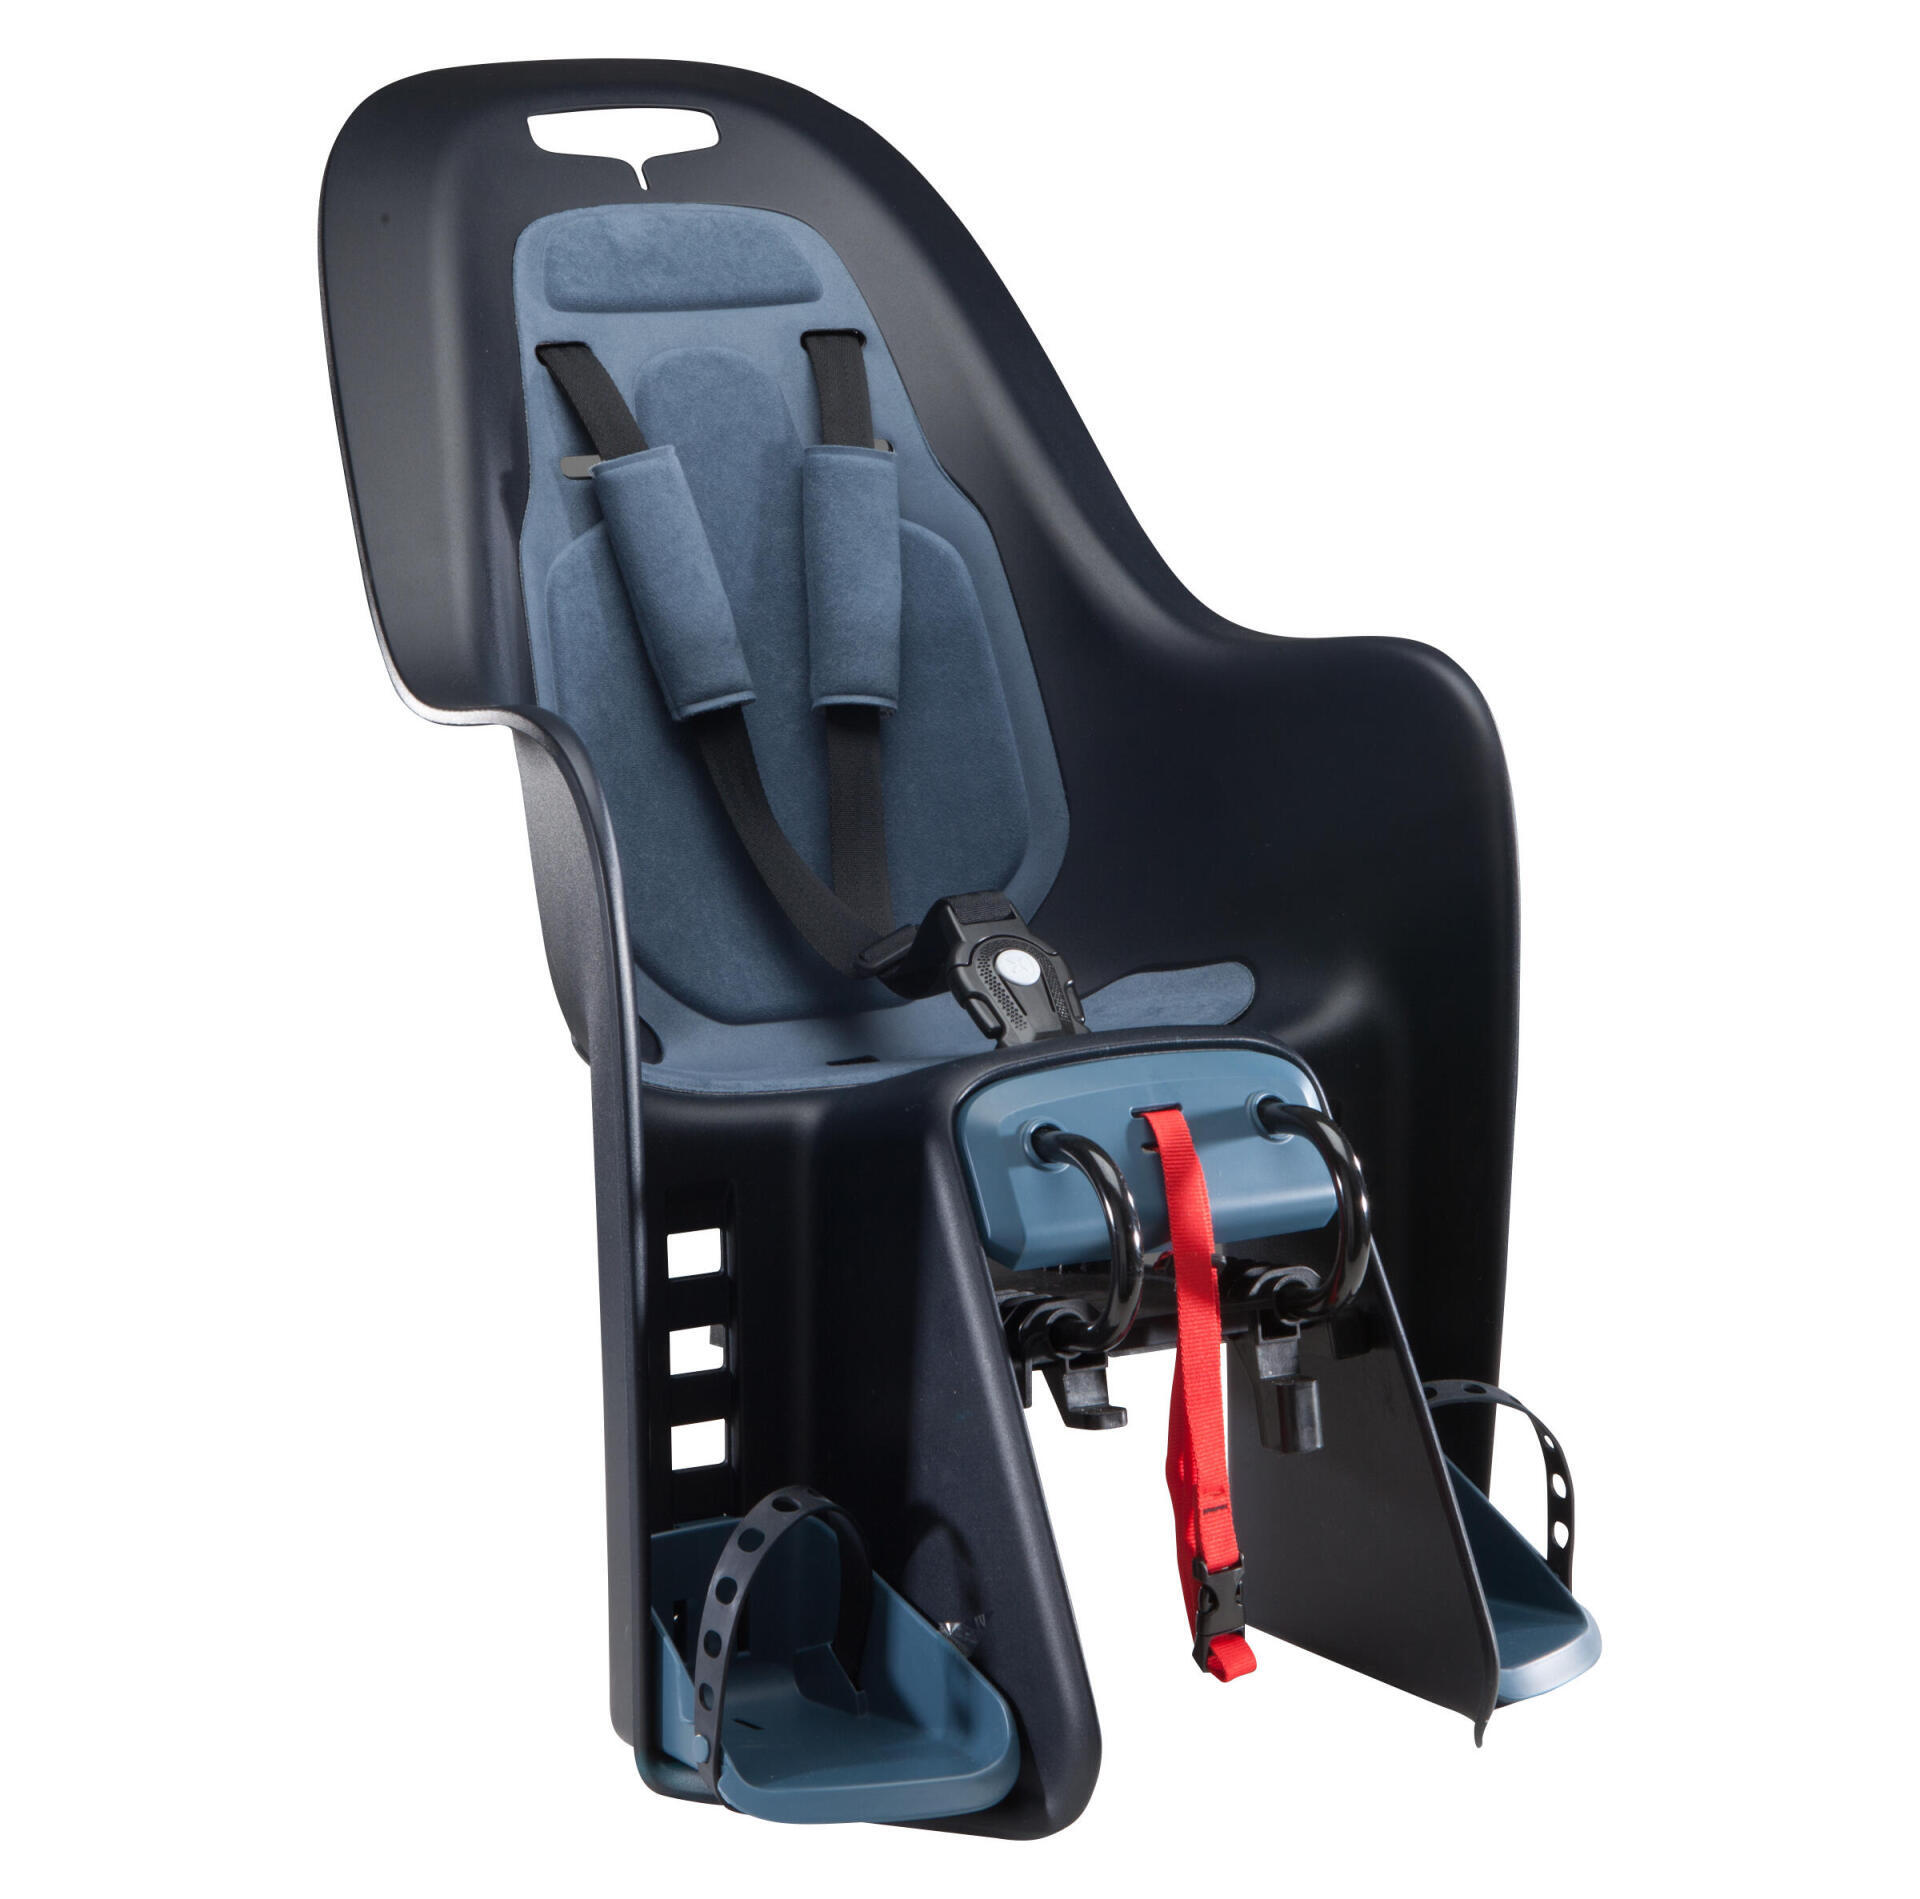
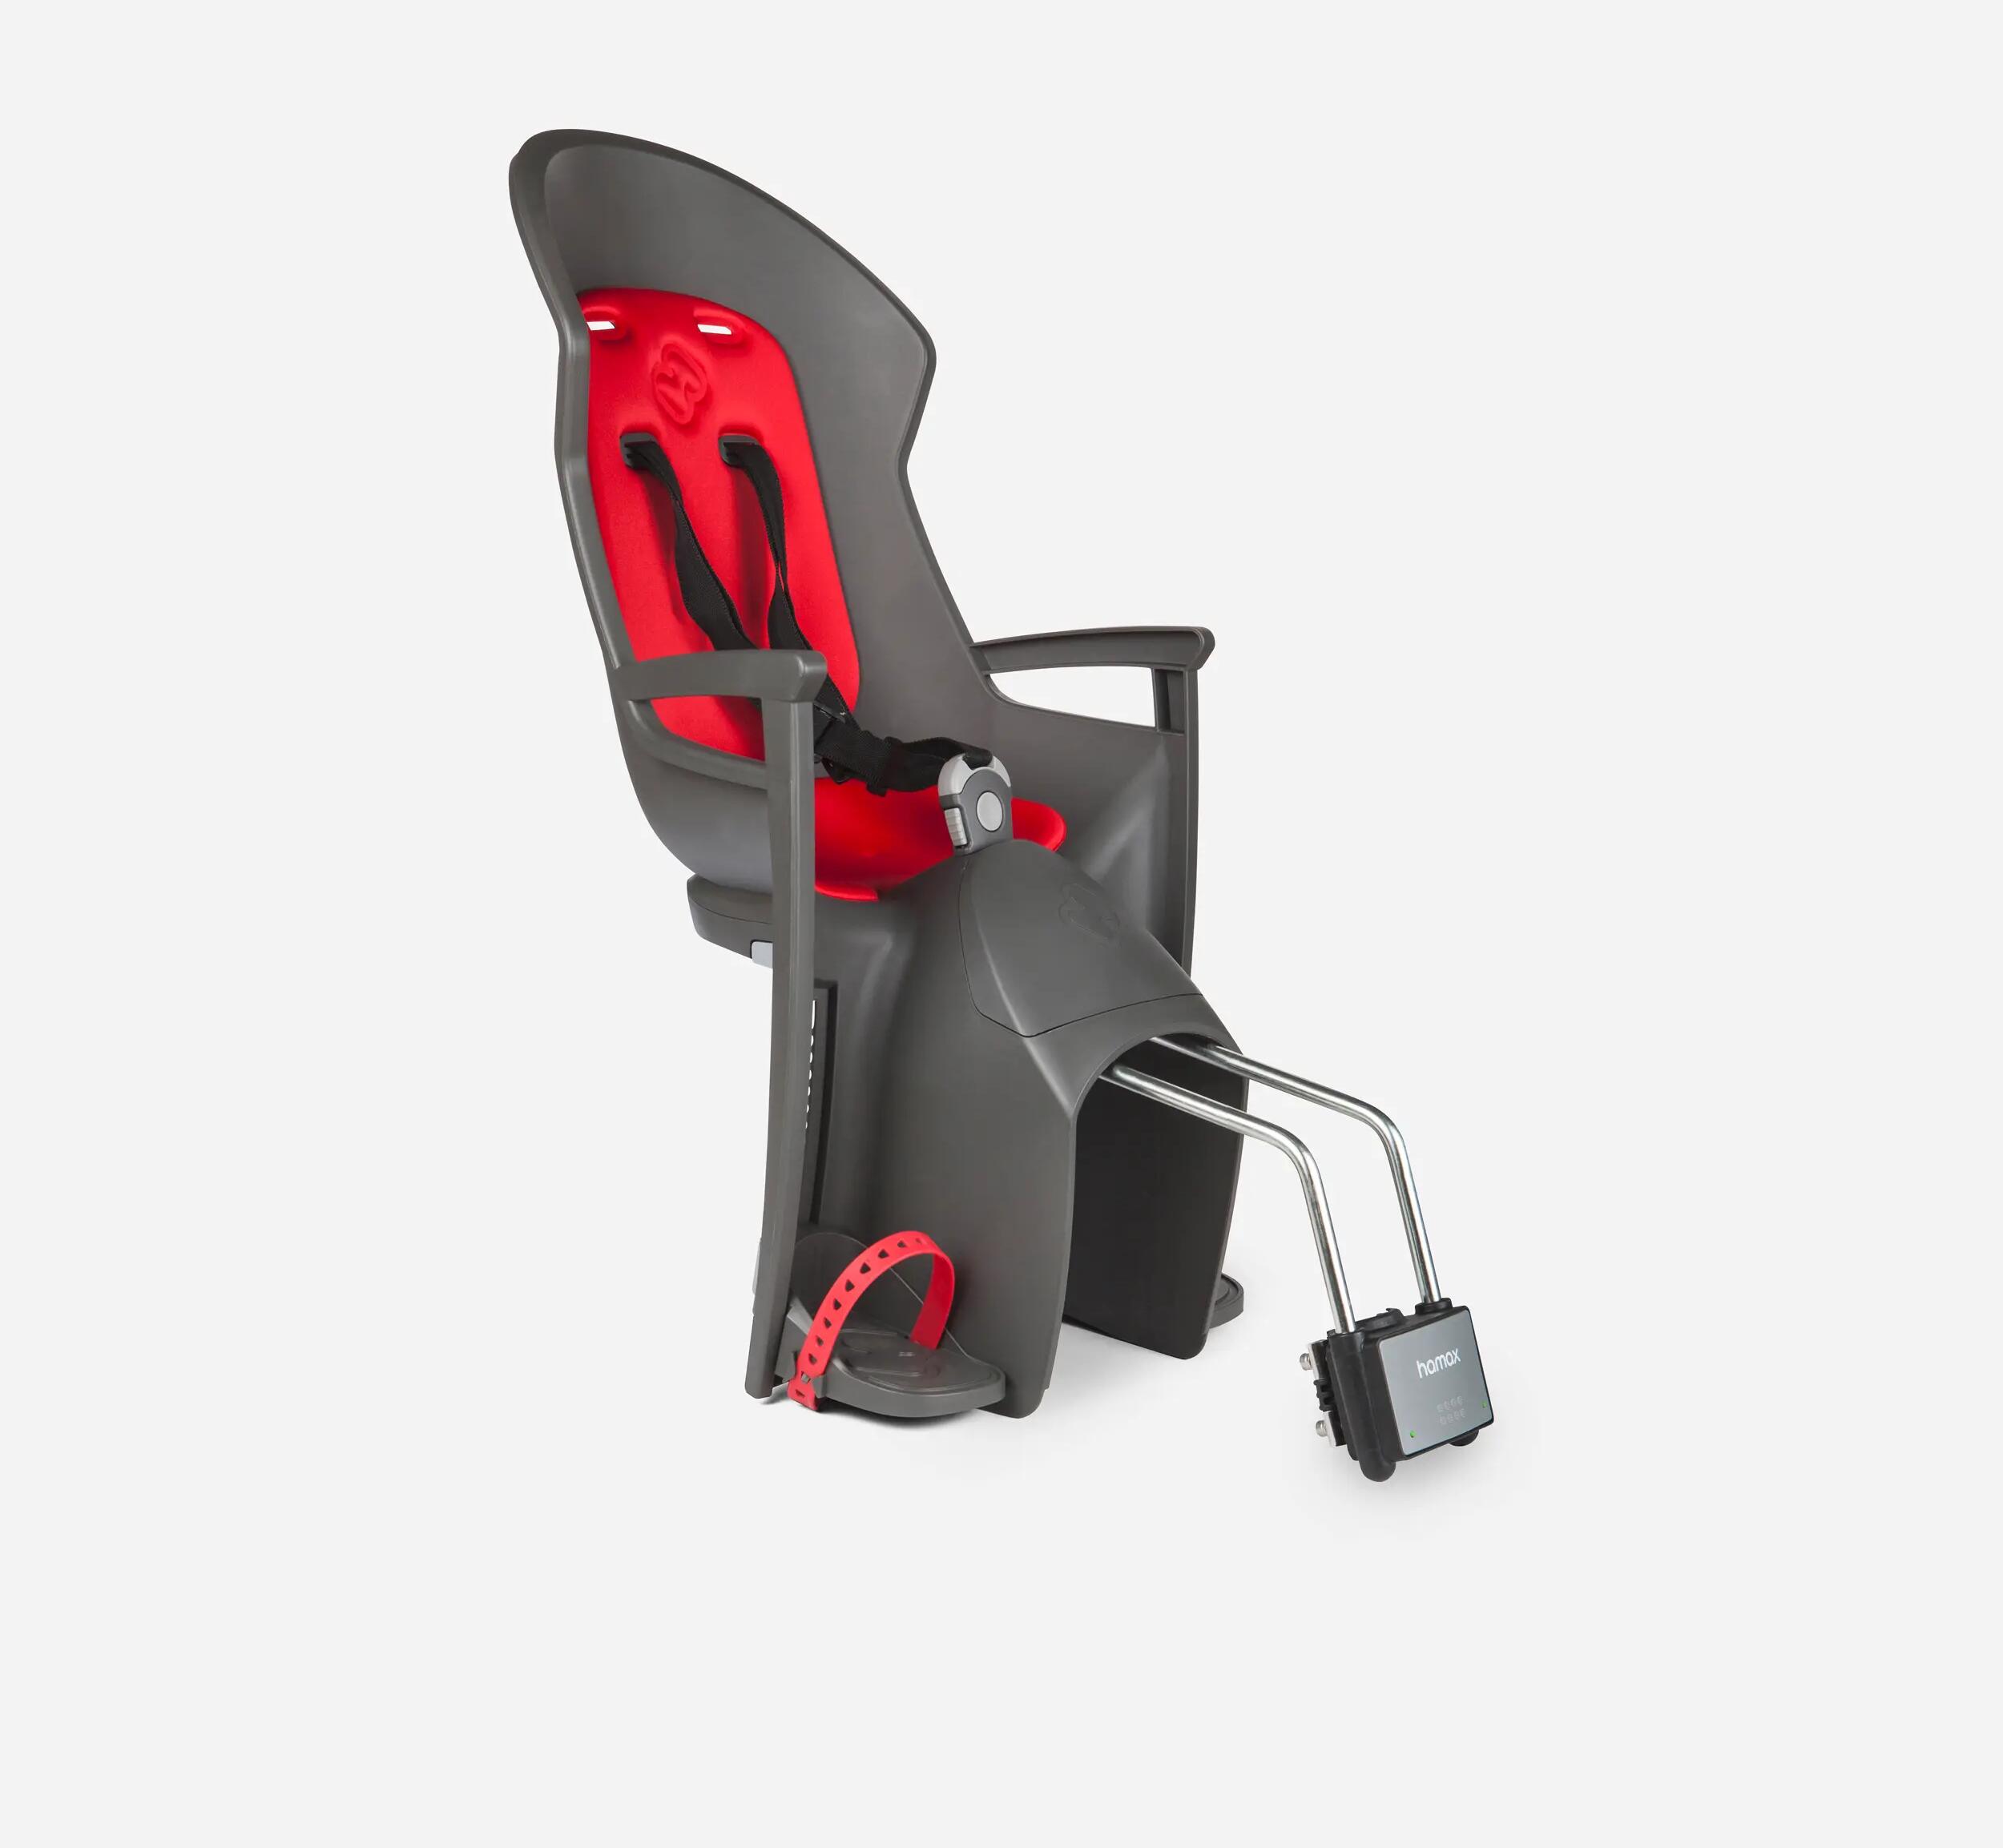
Child seat
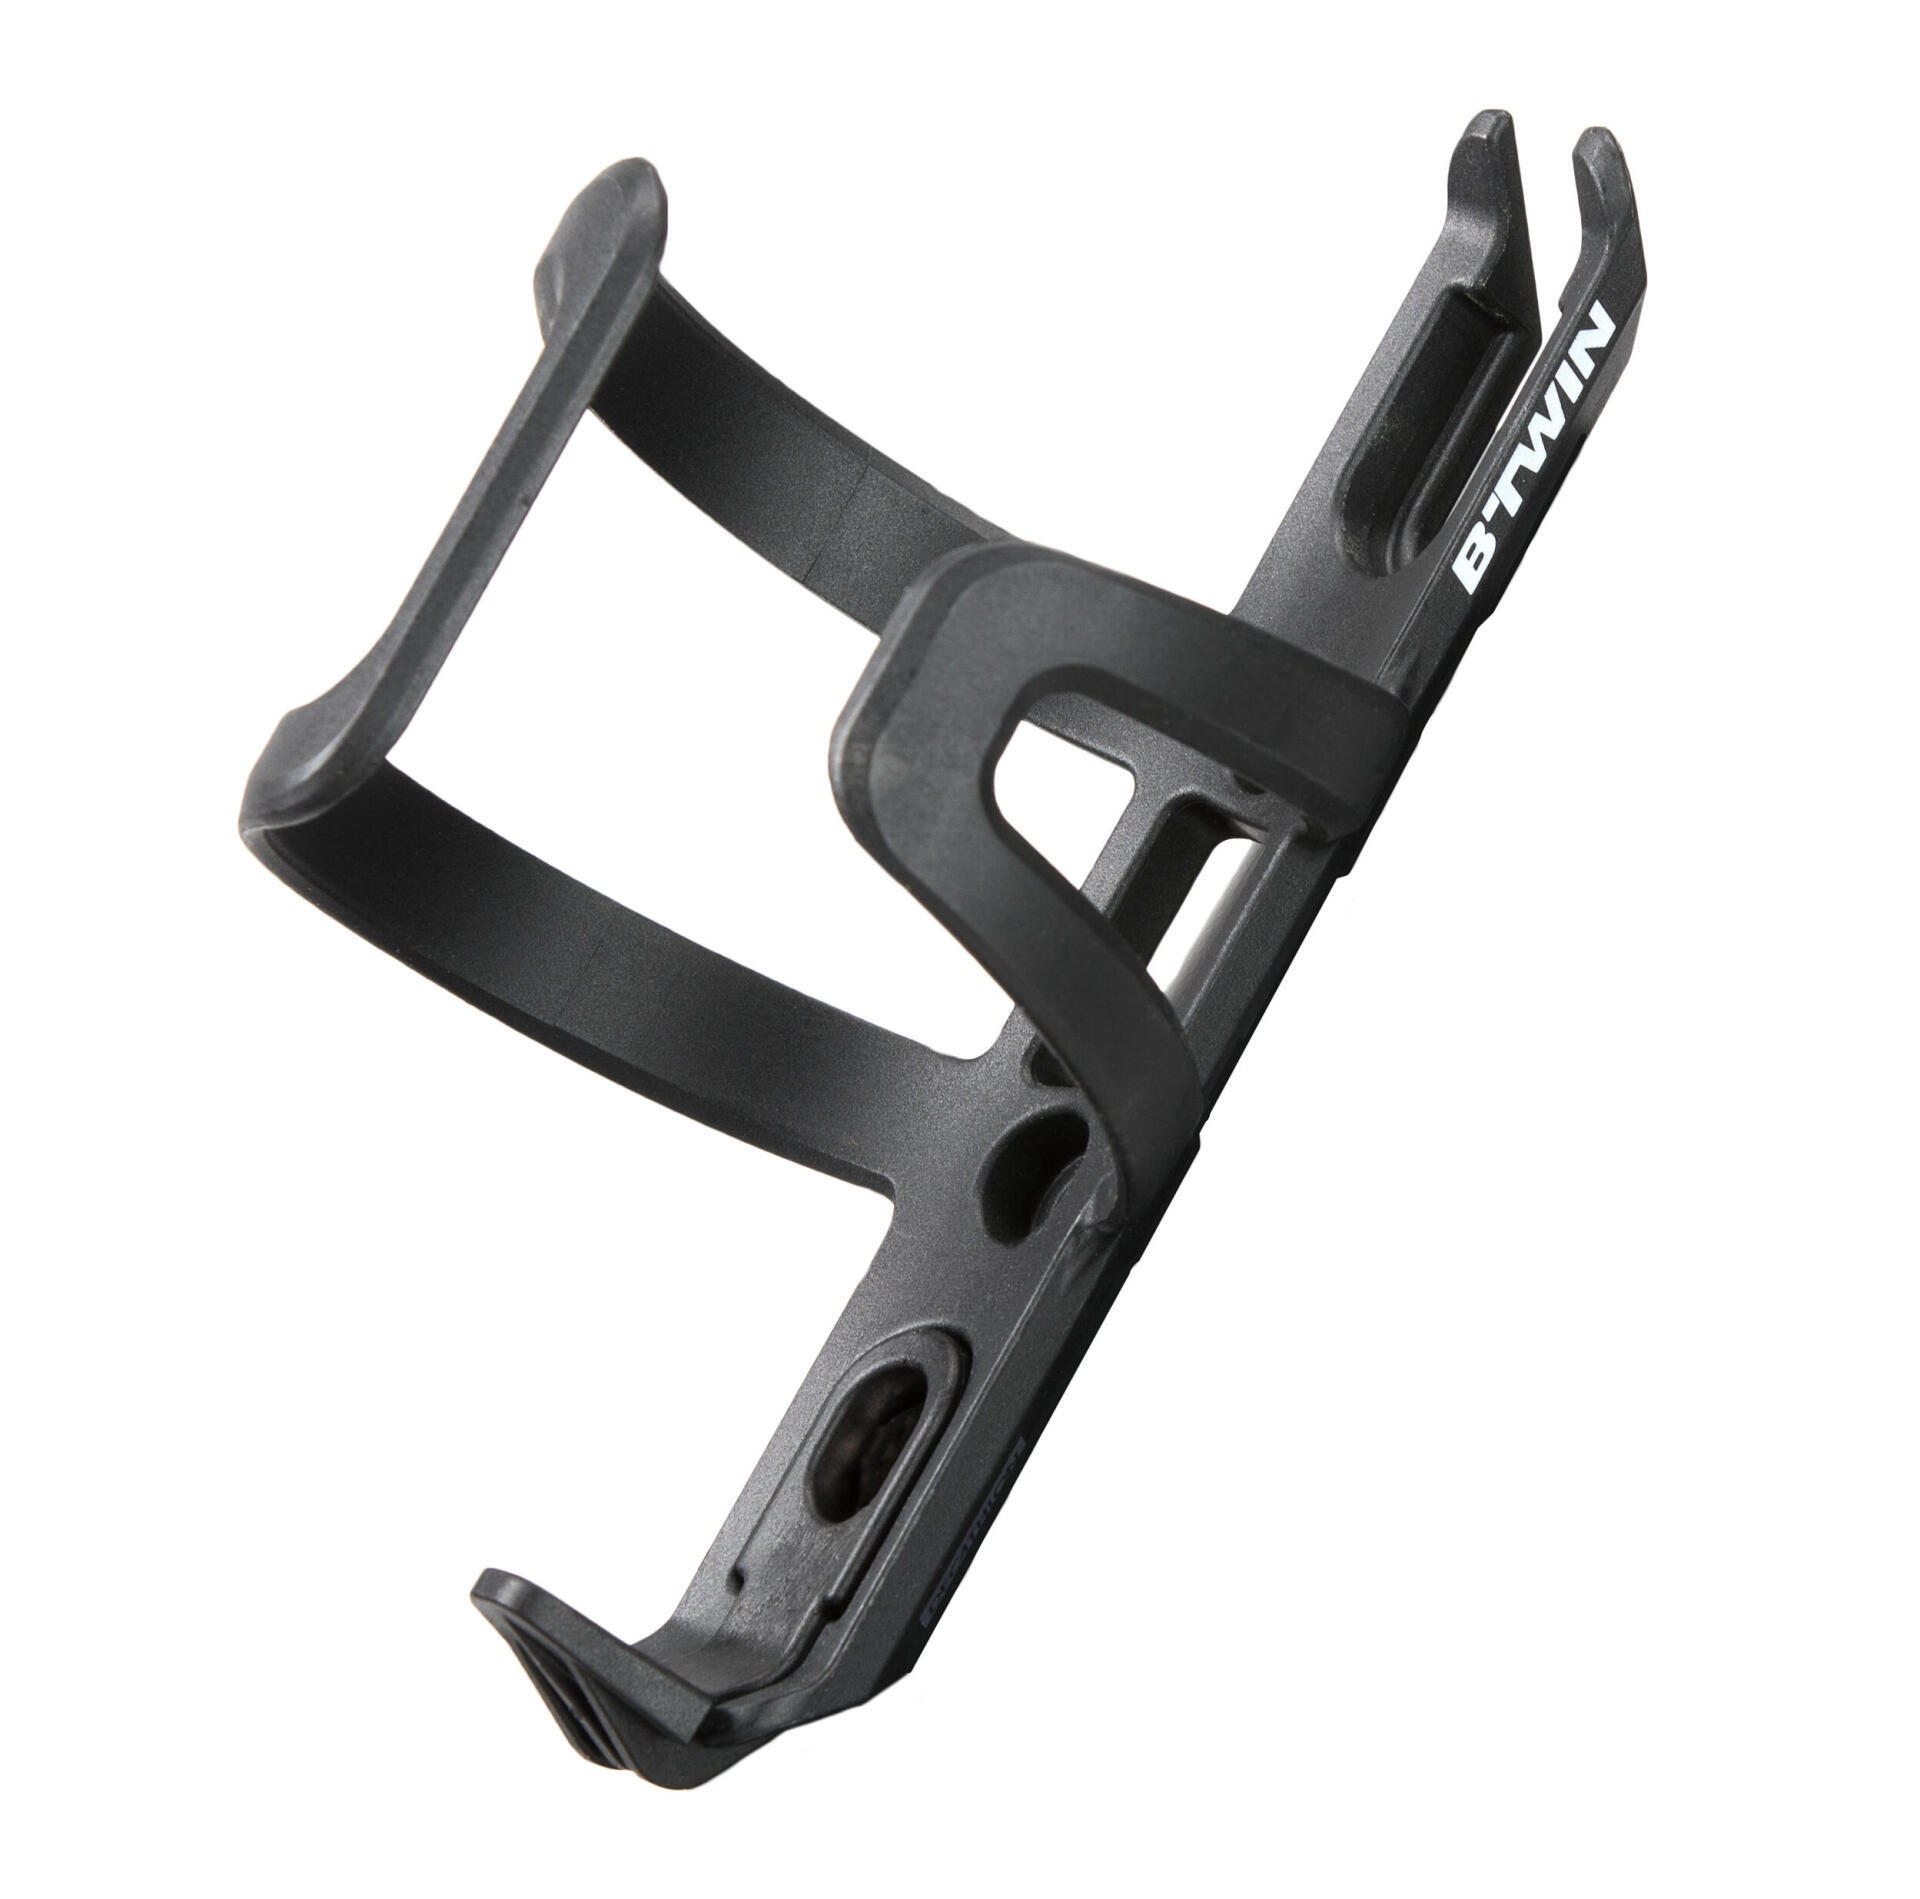
Bottle cage
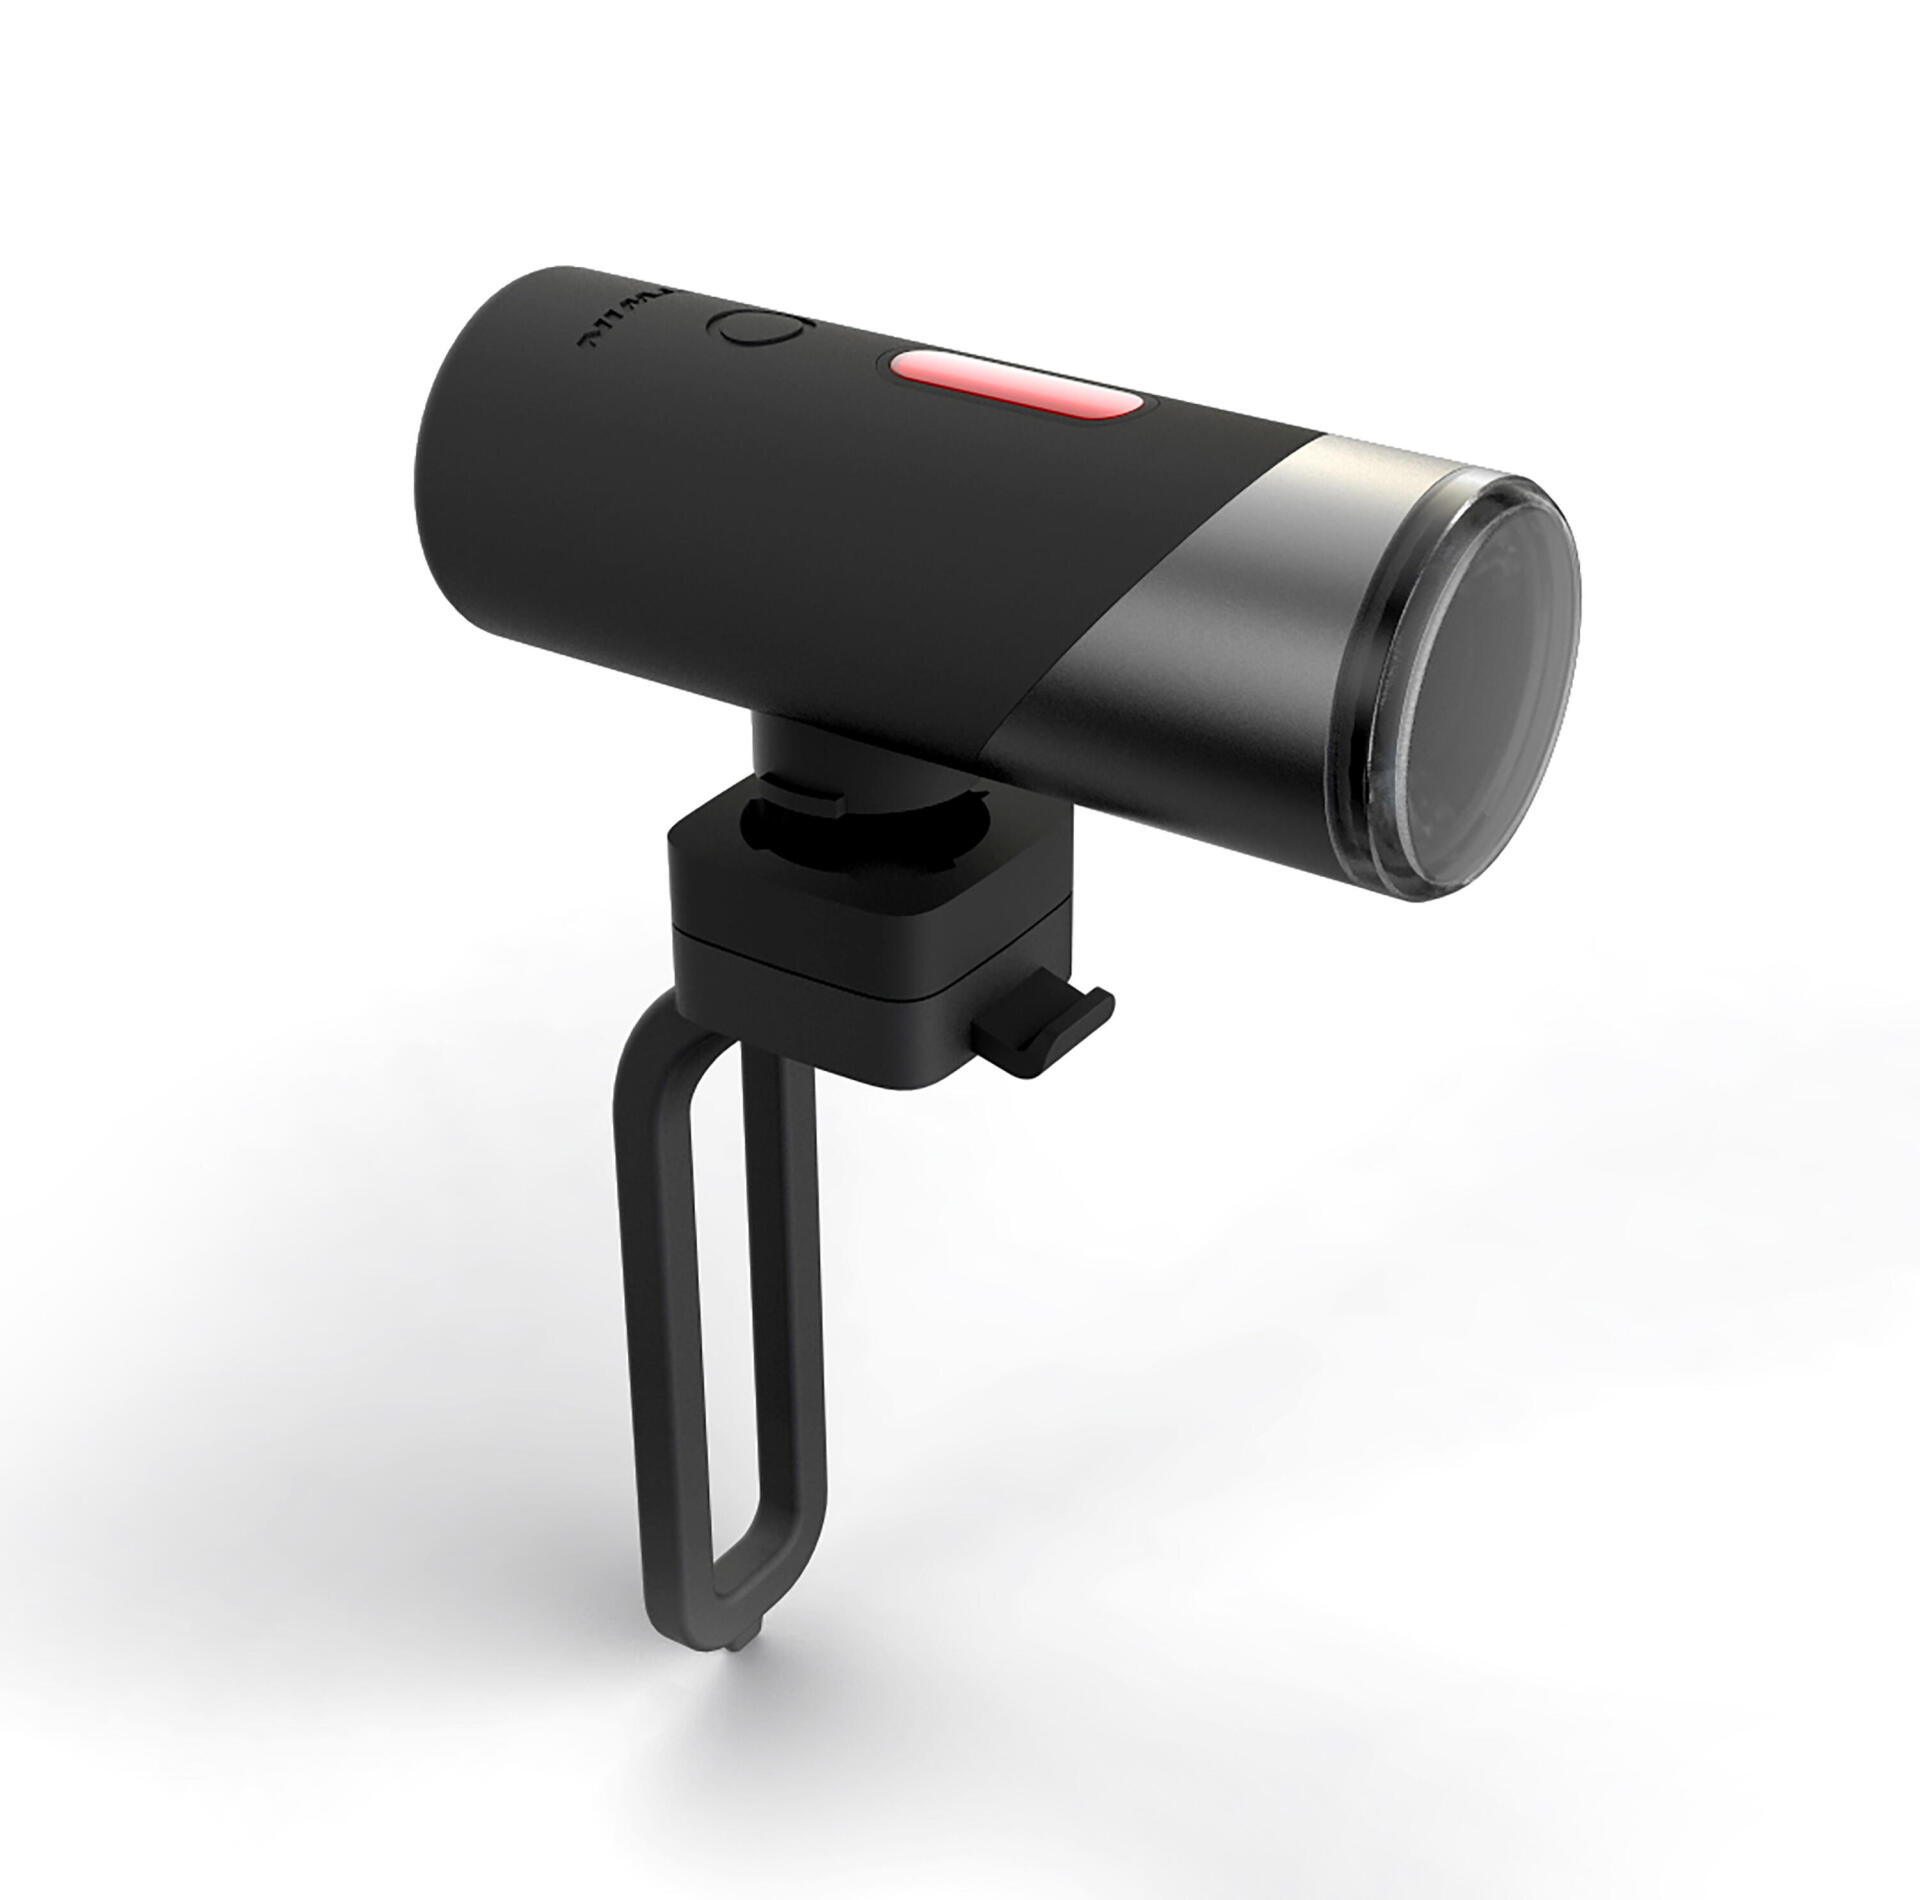
Bike light
.
Caution: if you have a size S bike and you want to mount a baby seat with a mount, you need to pay close attention to the saddle's height. We recommend using a baby seat that attaches to the pannier rack.
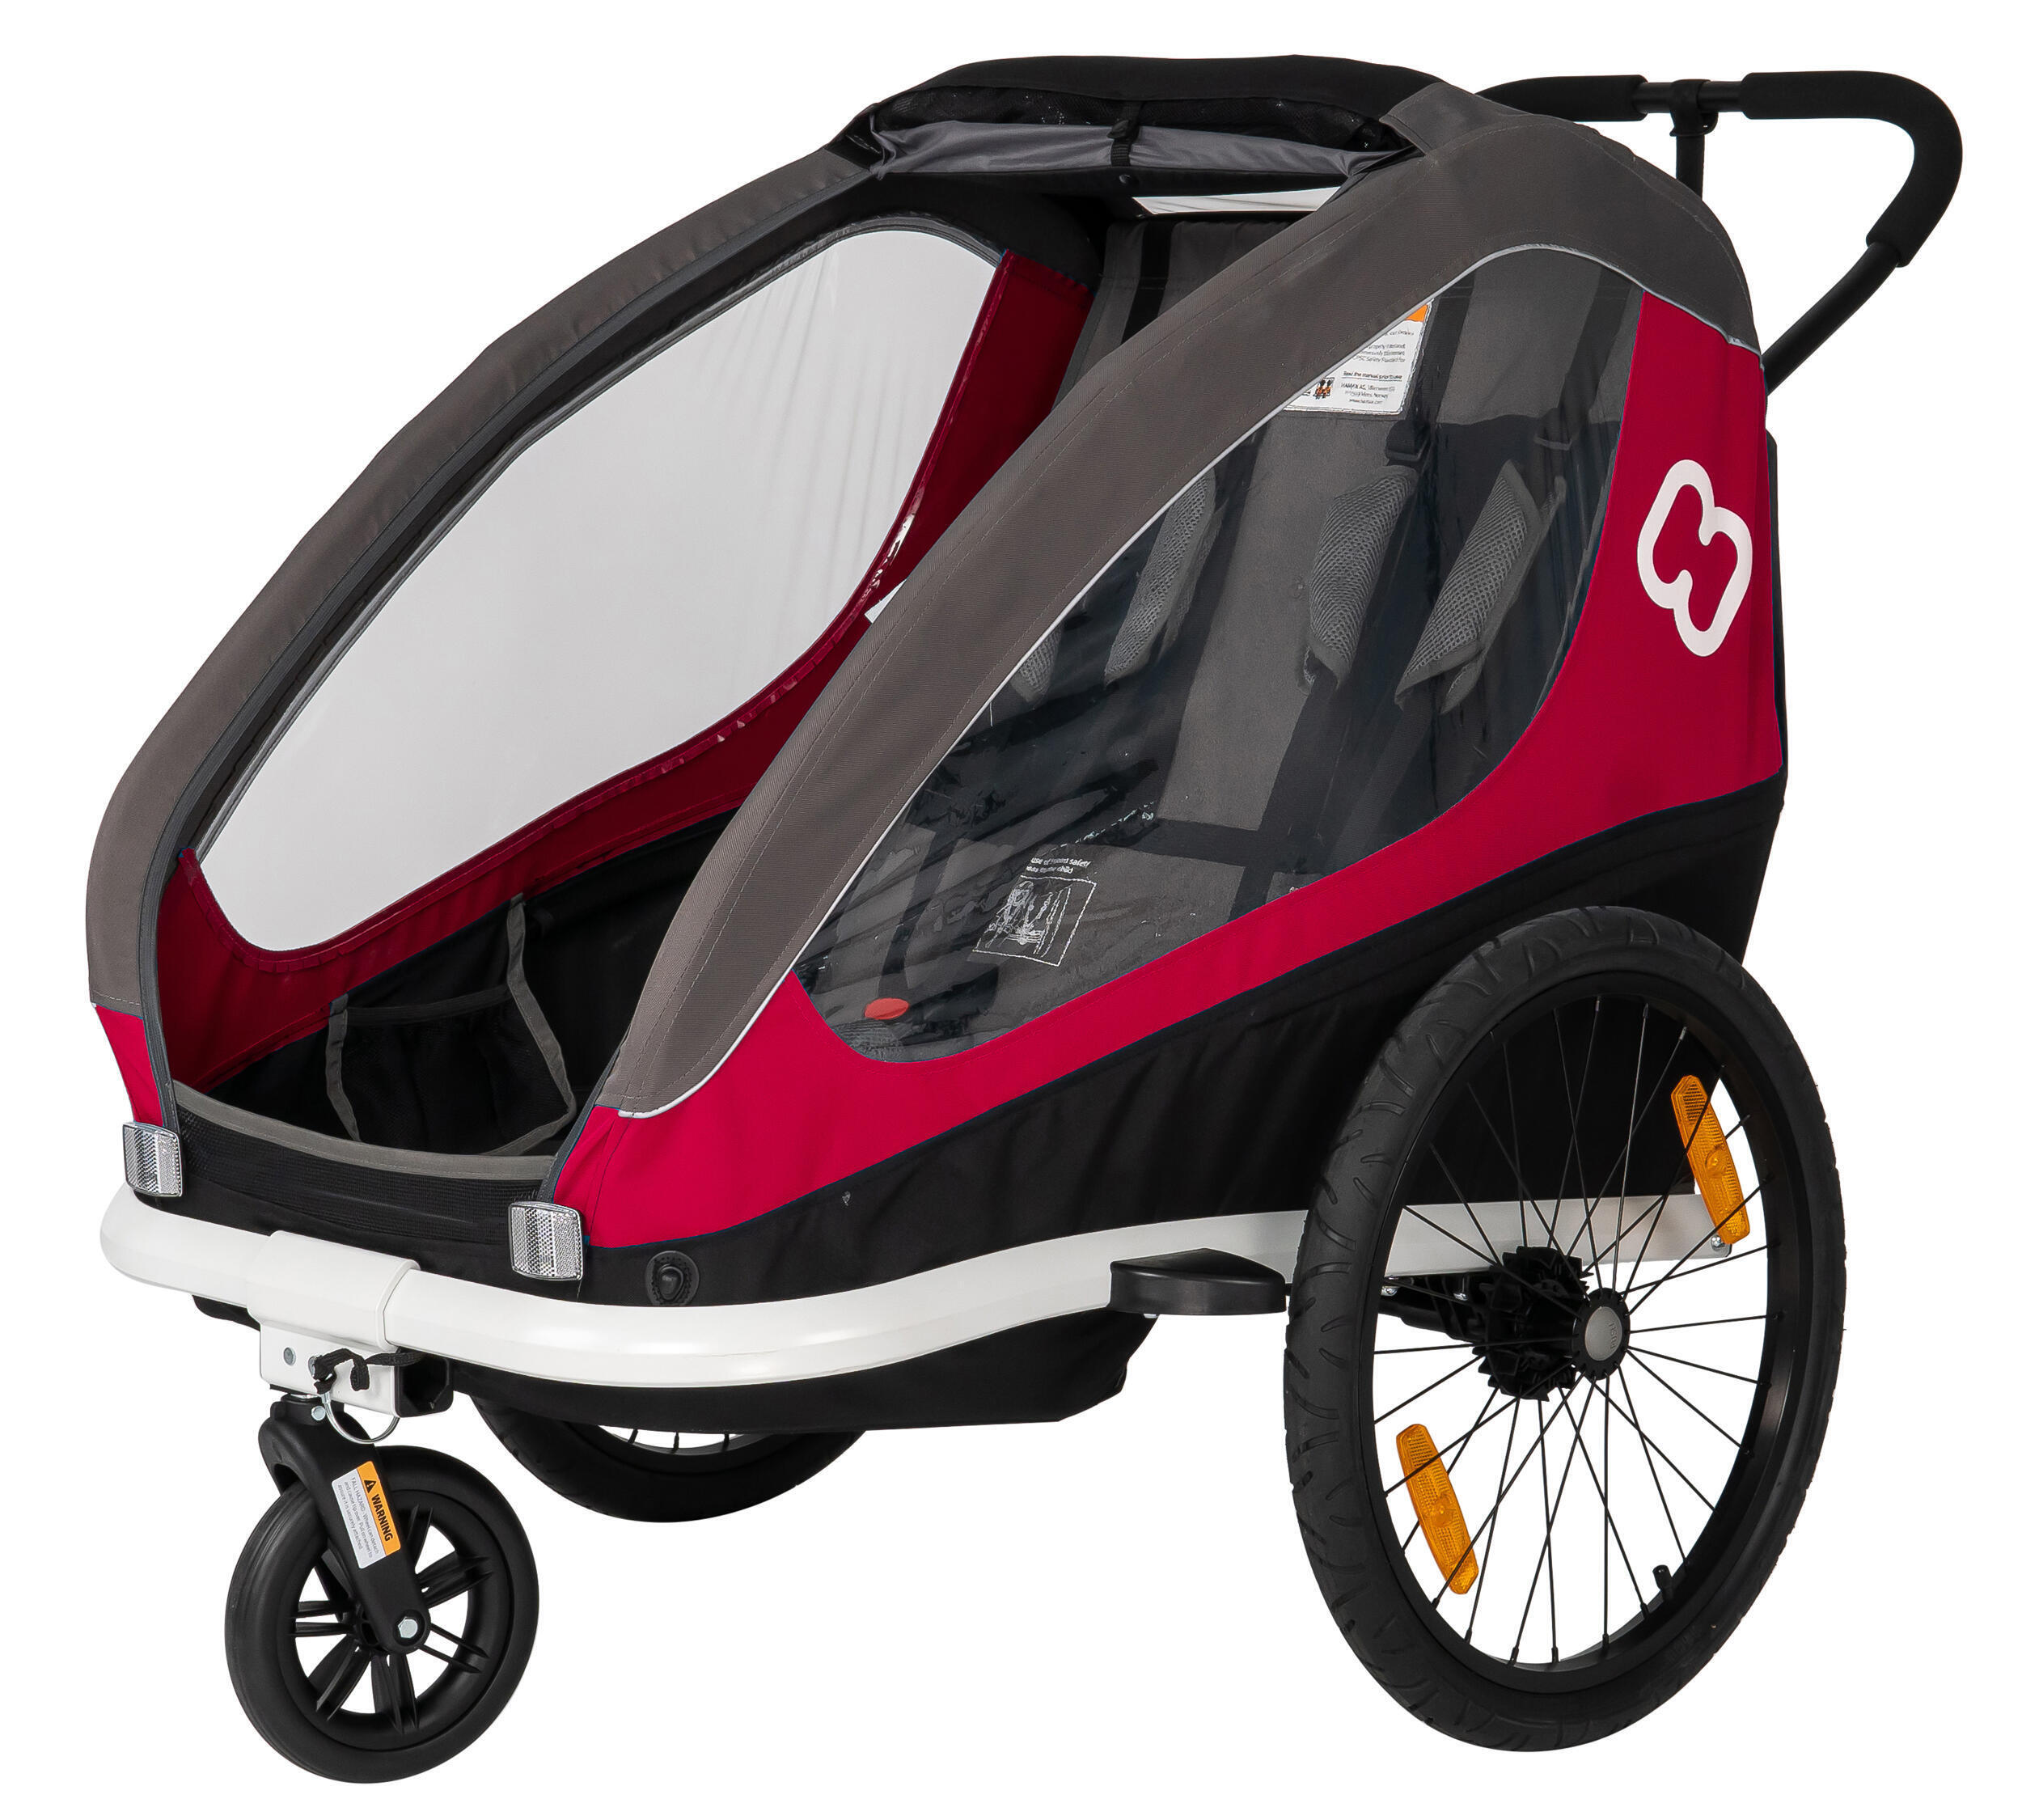
Do you fancy going on family bike rides? But your kids can't yet ride a bike? In that case, a bike trailer is just what you need to keep your kids sheltered and safe. Here are some tips to help you choose the right child trailer.Follow our guide!
IMPORTANT: You'll need to buy an adapter (reference number 8618363)
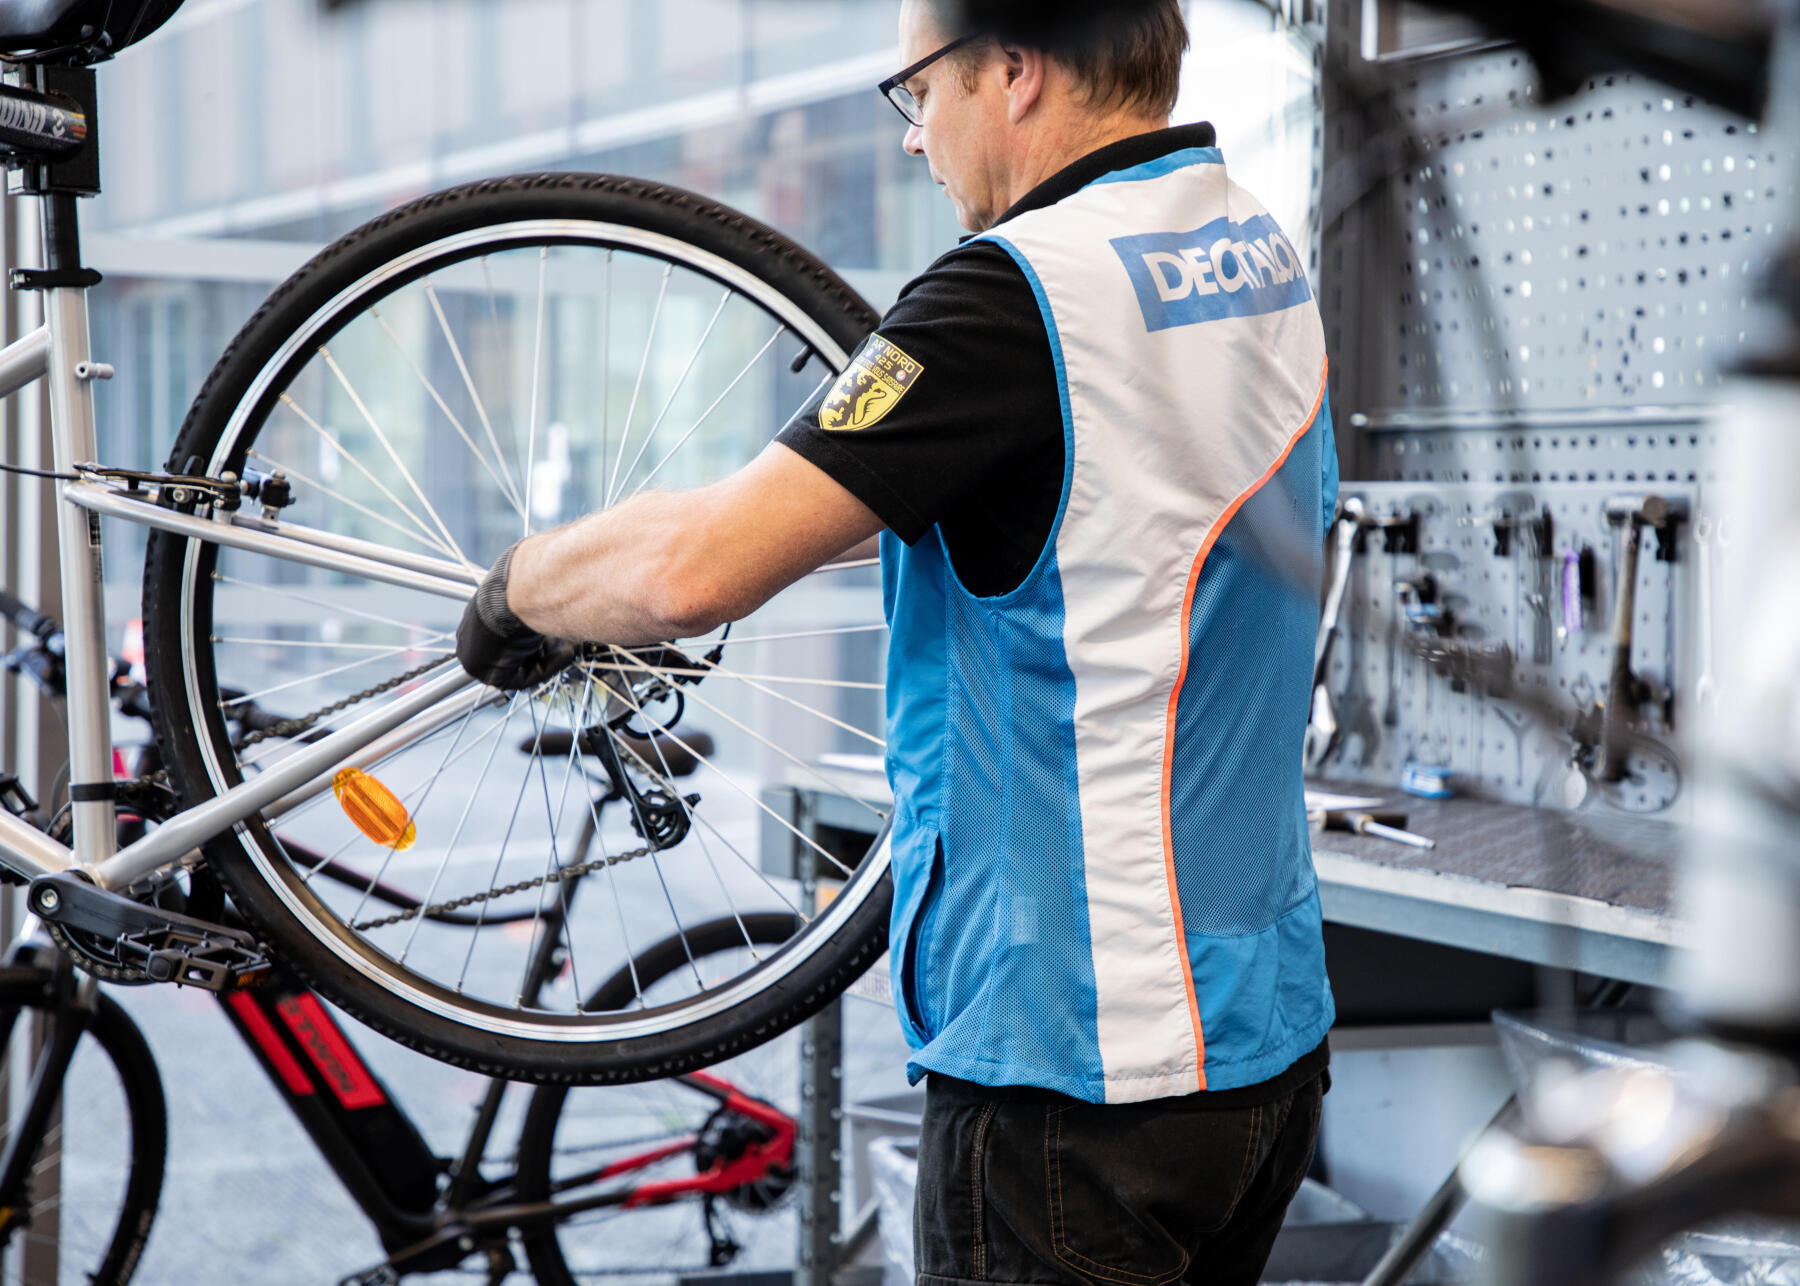
Every Decathlon store has a workshop that can service and repair your Riverside Touring 520. Here are all the services provided by our trained technicians:
Bike instructions

Brakes instructions
Derailleur instructions
Riverside is committed to reducing carbon emissions related to its bicycle production processes to the greatest extent possible.
Each part is designed to have the lowest carbon footprint possible.
The frame, stem, handlebar and pannier racks come with a lifetime warranty.