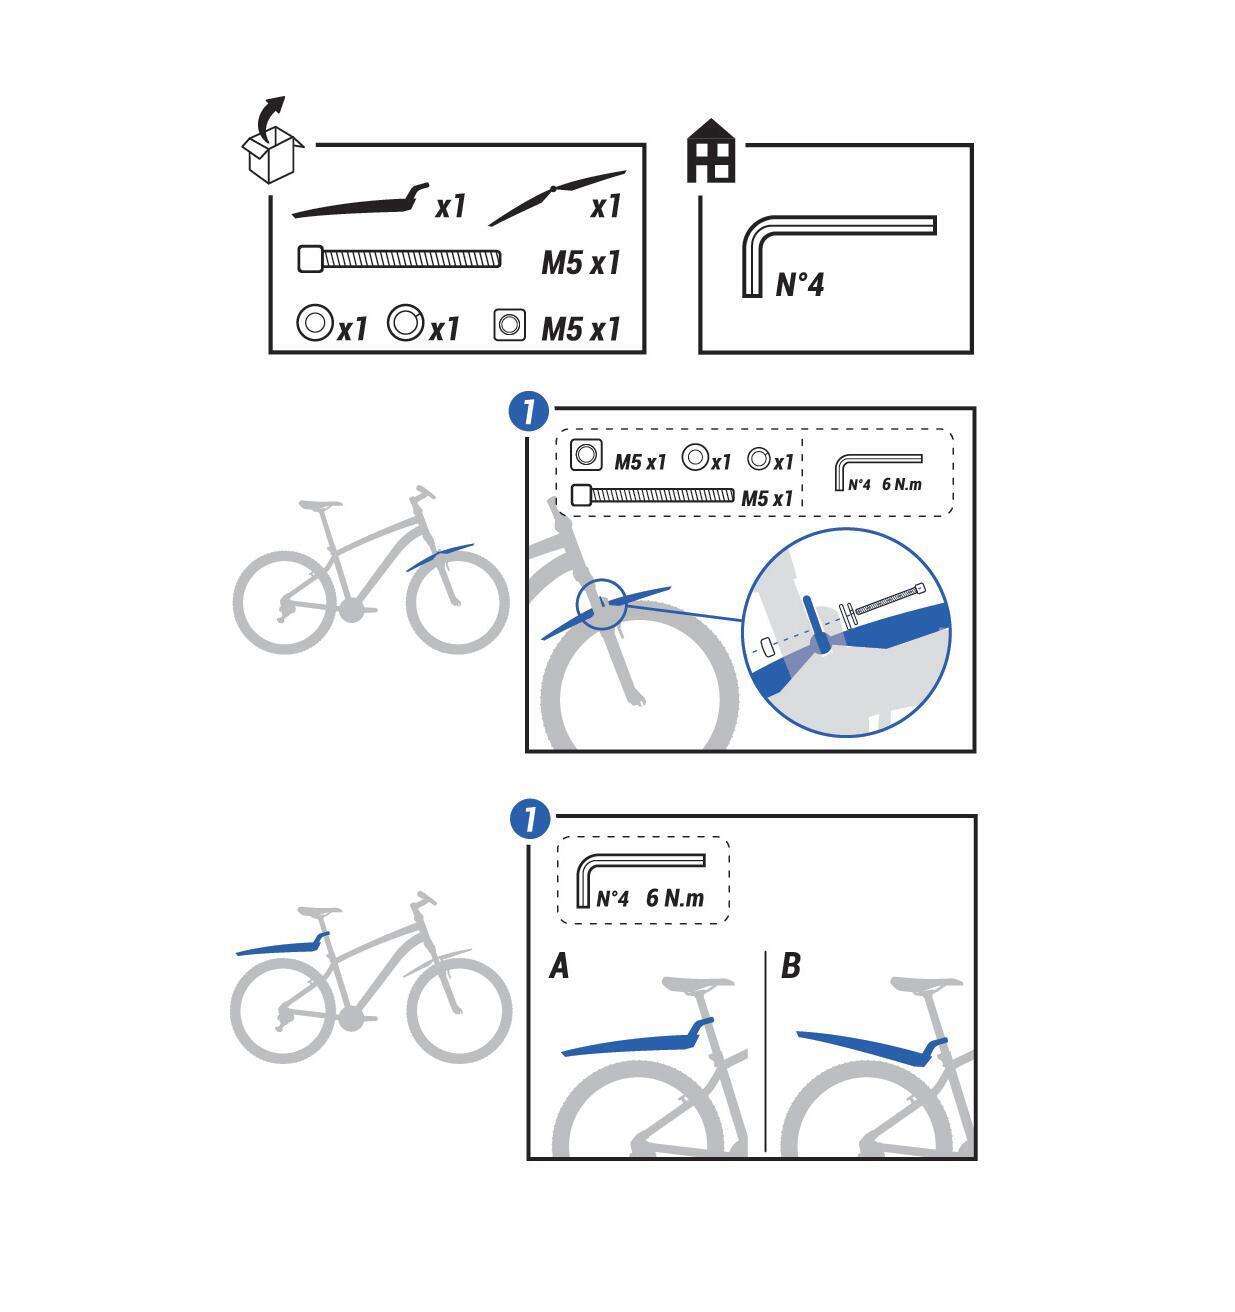
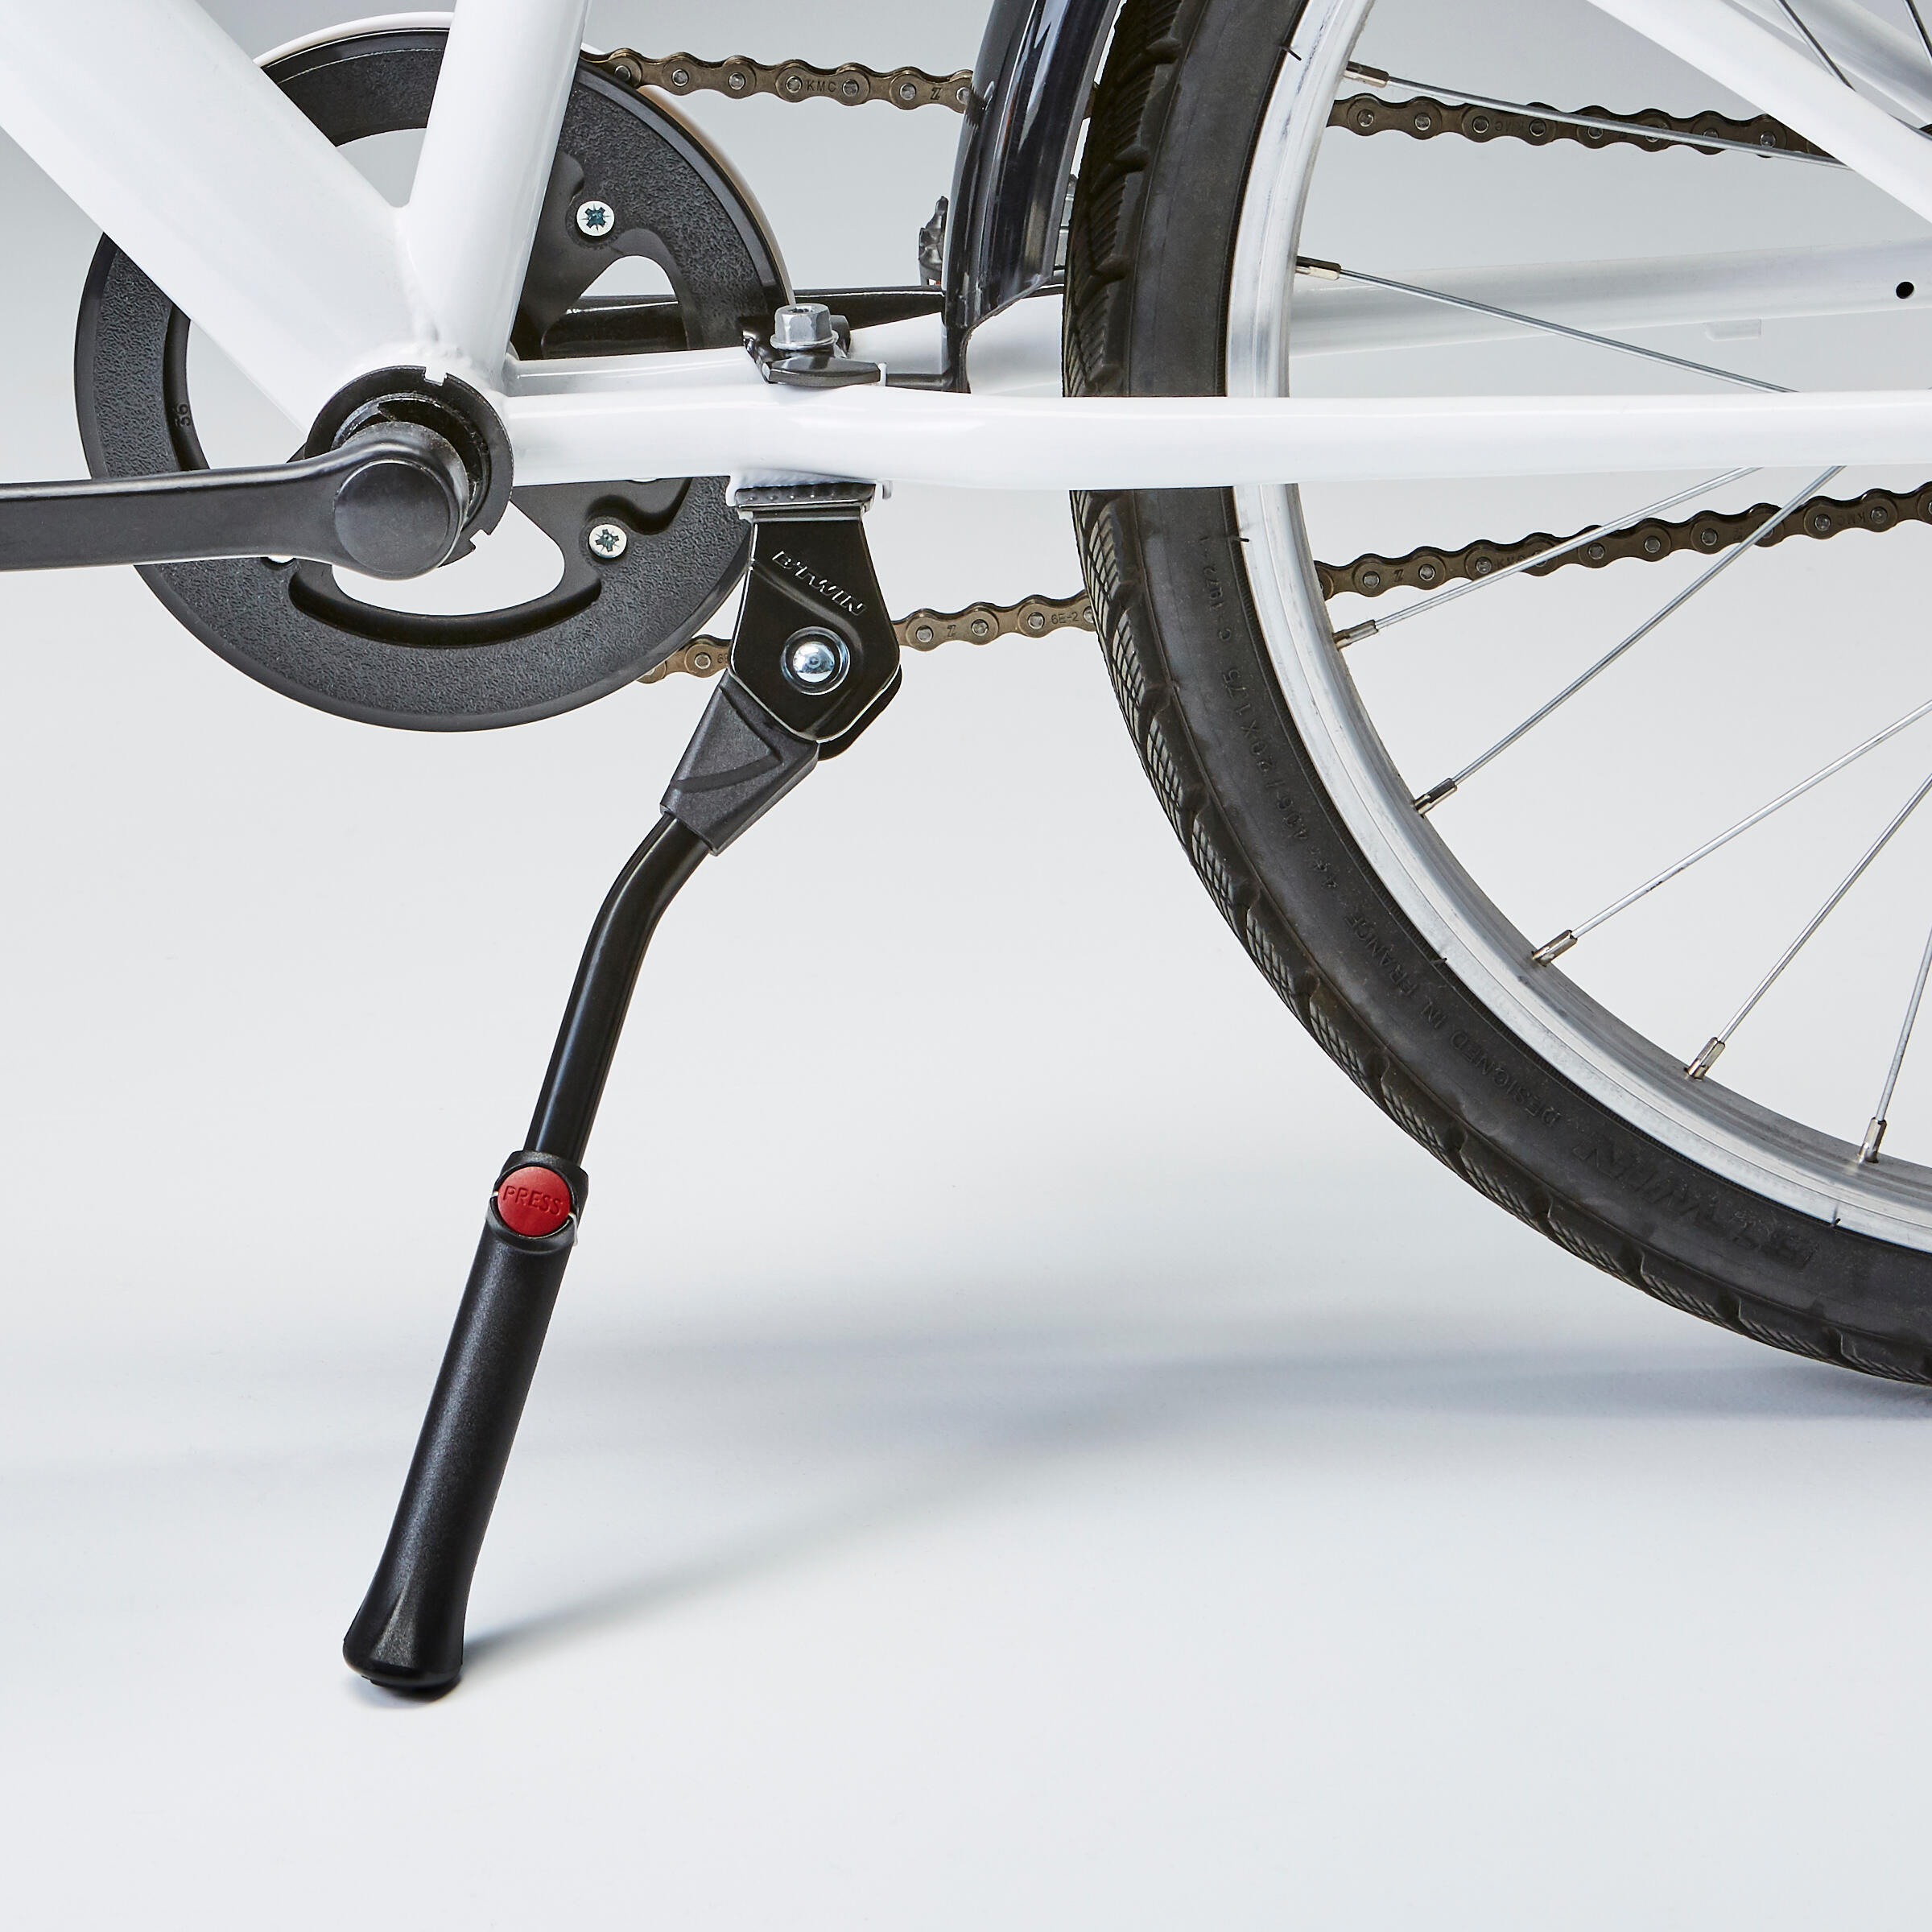
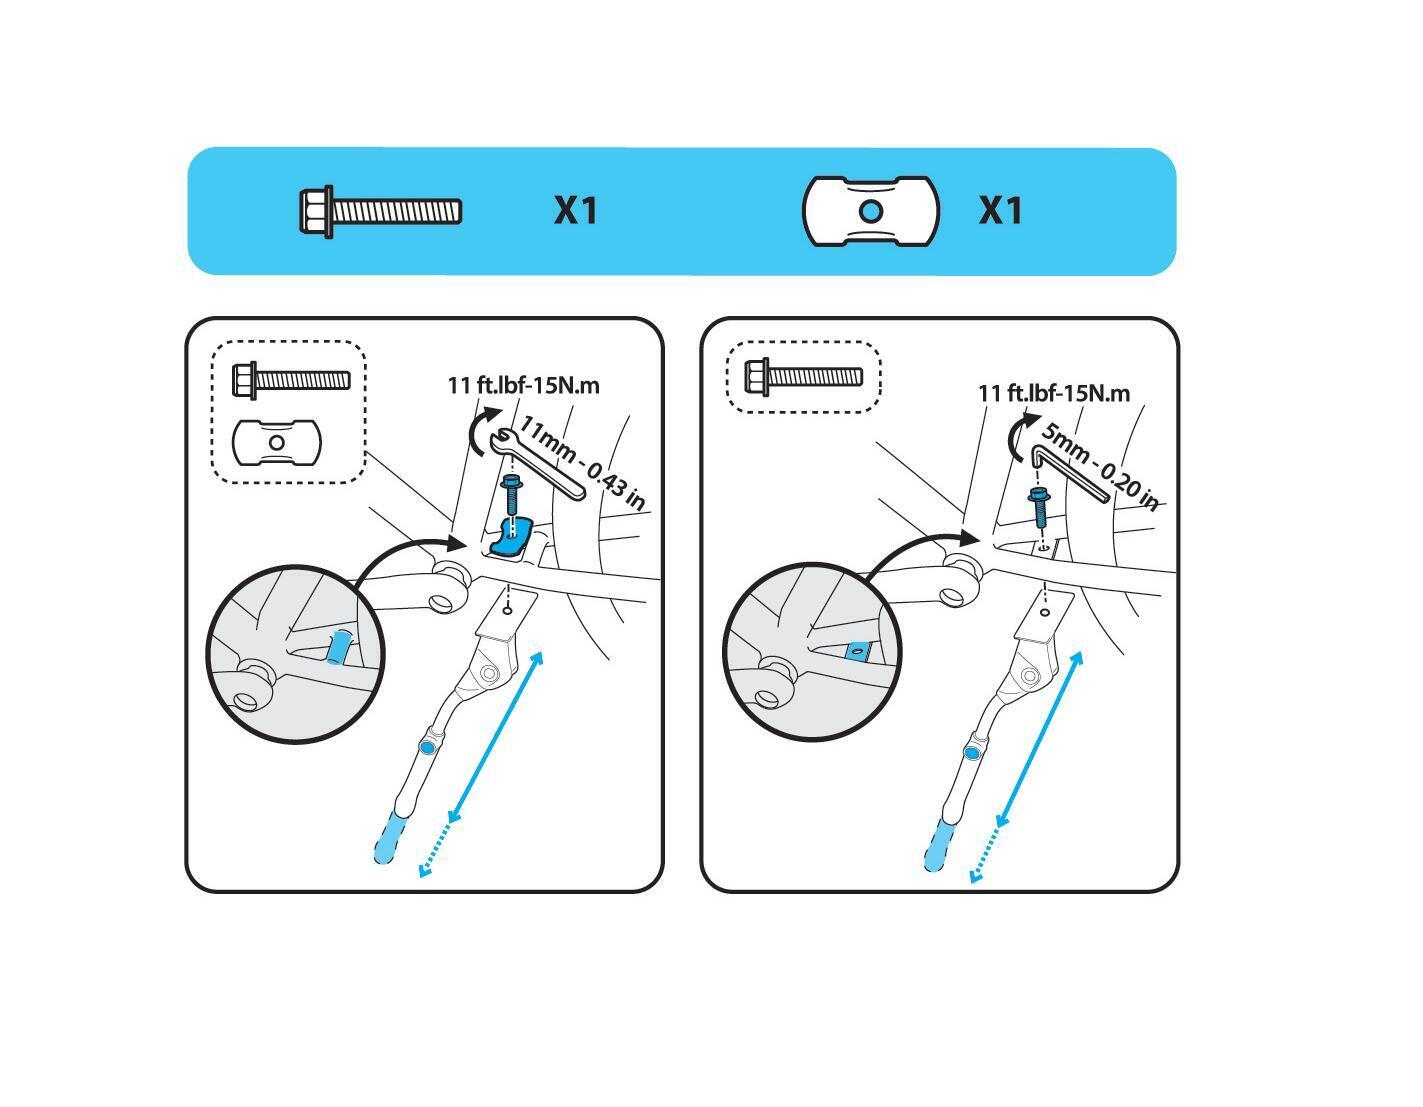
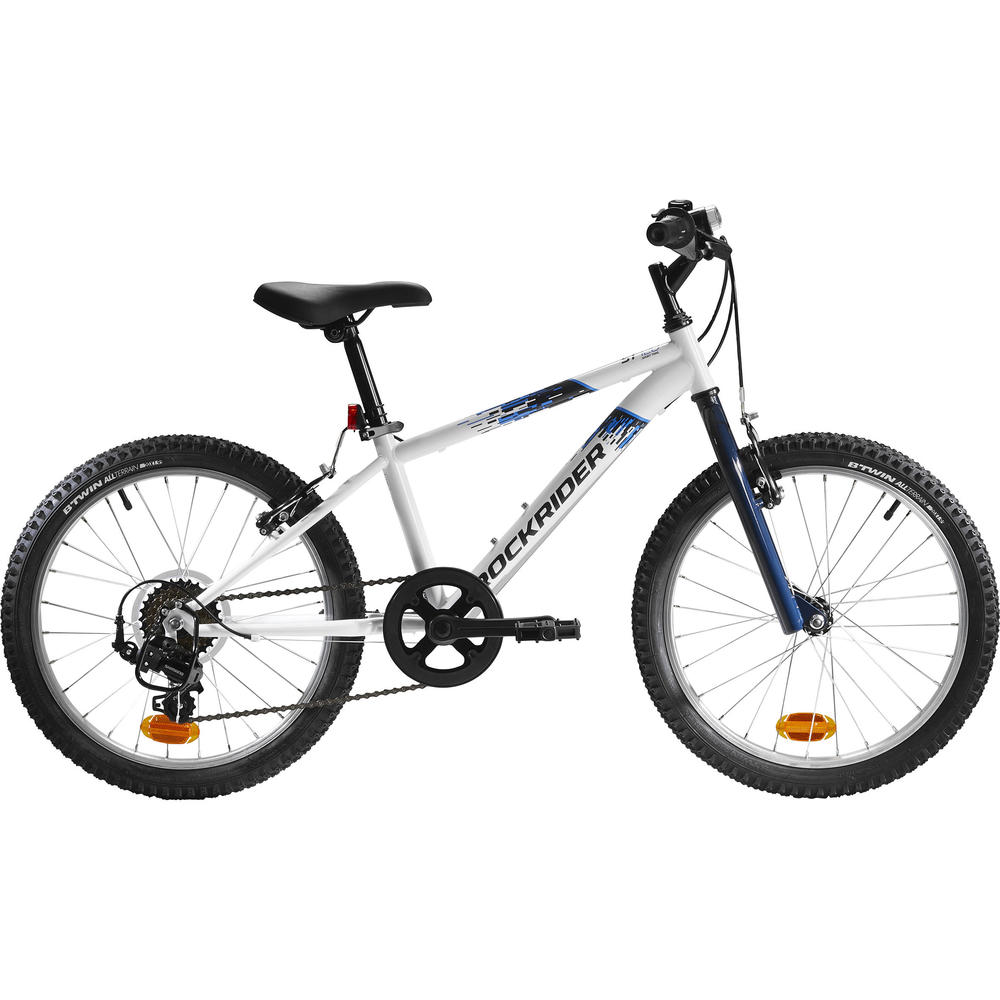
mtb_20_pouces_decathlon_blanc_rockrider

Ref: 8405034

ROCKRIDER ST 120 KIDS MOUNTAIN BIKE, 20-INCH - WHITE/BLUE

We have designed this mountain bike for kids aged 6 to 9 (120 to 135 cm) who want to start mountain biking. To help kids tackle their first climbs, our engineers have equipped this 20-inch bike with 6 speeds. It means you can ride hilly trails.

Glossary

Brake barrel adjusters

There are two barrel adjusters on each brake, situated on the brake levers. They are used to adjust the tension of the brake cable. Make sure you get the setting right when using the barrel adjuster. (The more the barrel is tightened, the tighter the cable).

Derailleur barrel adjuster

This barrel adjuster is located to the rear of the derailleur. It is used to adjust the tension of the derailleur cable. If the chain struggles on climbs, it means the cable is not tight enough. Tighten it by unscrewing the barrel. If the chain does not run smoothly on descents, then the cable is too tight. Turn the barrel to slacken the cable. A quarter turn is often all you need.

Brake cable noodle

The brake cable noodle is a stainless steel part that is used to guide the brake cable into the V-brake calliper. The noodle is set at a specific angle to ensure the cable can slip into position and offer effective braking. It can be replaced if damaged.

V-brake callipers

A V-brake is comprised of two callipers (one left calliper and one right). They are linked together in the middle, at the brake cable sleeve. 

Pull the brake cable housing out to release the callipers. This will allow you to take the wheel out easily.

V-brake-callipers
Stem bolt screws

The two screws secure the stem to the head tube on the fork.

stem-bolt-screws

First use

Adjusting the height of the saddle before your first ride

It's important to adjust the height of the seat post and the handlebar to fit your child's height. The mark indicating the minimum insertion point of the seat post, or the handlebar, into the frame, should never be visible for safety reasons (make sure that neither the seat post nor the handlebar extends past this minimum insertion level).

To determine the correct saddle height, sit your child on the bike with one heel resting on the pedal with the crank turned so that the pedal is at its lowest position. The seat height is correct when the child's leg is extended while in this position. Also while seated, check that the child can touch the ground with their toes

How to check that the brakes are correctly adjusted 

You can test the brakes on your child's mountain bike by taking it by the handlebars and walking with it, pulling the right lever to test the rear brake and the left to test the front. The wheels should stop moving when the respective lever is pulled. The brake pads should not rub against the sides of the rim when the brakes are not engaged.


Here's what to do if you notice that the braking isn't smooth or the wheels rub on the brakes: There is a barrel adjuster in front of the brake lever. Turn the barrel in a clockwise direction to tighten the brake for sharper braking. Turn the barrel in an anti-clockwise direction to loosen the brake for less sharp braking and to move the brake pads away from the rim


It's important to check your brakes regularly.

Adjusting-brakes-children's-mountain-bike-decathlon

What is the recommended pressure for 20" mountain bike tyres? 

The recommended pressure is always indicated on the tyre sidewall. We recommend inflating your tyres to the pressure indicated on each tyre, This may vary from tyre to tyre. 

You can check that your tyres have enough air in them simply by putting your child in the saddle. With their weight, the tyre should go down ever so slightly. 


Compatible accessories

1. Front and rear mudguards
Fitting mudguards on a mountain bike
how-to-fit-mudguards-mountain-bike
2. The stand
Fitting the stand
fitting-stand
3. The bottle cage: fitting one on a mountain bike

Fitting-the-bottle-cage-on-a-child's-mountain-bike

Maintaining your 20" mountain bike

Lubricating the chain on a children's mountain bike

You can use an "all-in-one" type product (available at Decathlon stores) to unjam, clean, lubricate and protect your child's bike. It's a very handy product! To lubricate the chain, turn the pedal and "spray" the product all the way along.  Then leave it to dry for a few minutes. If the chain is very dirty, clean it with a brush or a cloth and spray it again with "all-in-one" product.   Our tip: Avoid any contact with the brake pads and the braking area on the wheel rims.   Protect your bike: Apply all-in-one regularly to prevent rust from appearing.

Lubricating-the-chain-24"-mountain-bike

Washing your child's mountain bike

If you notice that your child's bike is dirty after a few rides (mud, rain, dust, etc.), it's a good idea to take a few minutes to get it clean again as needed.   If it's covered in dust, just use a dry cloth to clean it. If there's mud or other dirt that's harder to get rid of, you can clean it with a bucket of hot water, a sponge (or a cloth) and some bike wash or shampoo. You can clean parts such as the frame, fork, handlebars and wheels.   DID YOU KNOW? We strongly recommend against using a pressure washer to clean your child's bike: It may damage the functions of components such as the headset and the bottom bracket and put your child in danger.    When you've finished washing the bike all you have to do is wipe it down with a dry cloth to prevent rust from appearing. You might want to apply fresh lubricant to the moving parts (chain, headset, bottom bracket). 

Changing the brake pads

V-Brake pads are available as spare parts. To change them, simply follow the steps in the video. 

Changing the brake pads

How to check the condition of your tyres

You should always check the tyres before you take your bike out.  If they're flat, check to see if they have a puncture. To do this, blow them up as much as you can. If they go flat quickly, you will have to take the wheel off and then the tyre, and change or repair the inner tube.  If they go flat slowly, check the surface of the tyre for the presence of sharp objects or shards of glass. You will then need to take the wheel off and then the tyre, and change or repair the inner tube. Take care when removing the sharp object or shard of glass causing the puncture.    Even if they're not flat, we recommend you check the pressure of the tyres (see section above).    DID YOU KNOW? The useful life of rubber depends on how it is used and stored. If you can see cracks in the tyres, we advise you to replace them with new ones. 

How to store your bike

We recommend you keep your bike in a dry place.  You should check that it doesn't get damp. The lifespan of your child's bike depends on how it is used, maintained and stored. The more damp and saline (sea air) the conditions, the more the child's bike will be prone to corrosion and the shorter its useful life.   It's important, therefore, to keep it stored, clean and dry, in a place that is not damp.    DID YOU KNOW? You shouldn't hang up bikes with telescopic forks by the front wheel. Hang them up by the rear wheel. This will ensure your fork lasts longer. 

There is a problem

What to do if you have a puncture changing an inner tube

If you suffer a puncture, stop immediately in a safe place to prevent the rim from being damaged.  Turn the bike upside down and set it down on the ground on the saddle and handlebars. Release the brakes to allow the wheel to come out. Squeeze the V-brake callipers together and release the noodle.  For the front wheel, remove from the fork and then change the inner tube (see explanatory video).  For the rear wheel, position the derailleur on the smallest cog. Loosen the wheel and then change the inner tube (see explanatory video).    As a last resort, you can always use puncture repair spray though this won't work if the inner tube is torn. 

Changing an inner tube on a child's mountain bike.

The gears are not shifting smoothly. what should be done? 

If changing gears is a struggle, it's because the rear derailleur doesn't align properly with the cogs.    Check the cable and housings: If the housing ends are out of position they can obstruct the derailleur cable and stop the gears from changing. Simply slip them back into their housing. If the derailleur is not moving even after you have engaged and disengaged the grip shifter, it probably means that the cable and its housings have seized up. You will need to have the cable and housings replaced.   It's possible that the derailleur hanger has been bent or knocked out of shape. This makes it impossible to change gears. Our advice is to take the bike to the workshop at your nearest Decathlon store and have the hanger straightened.    It's also possible that the derailleur is not working properly. If that's the case, put the bike upside down on the saddle and handlebars and release the pedals (or preferably put it on a bike stand if you can). Activate the shifter/trigger (depending on your bike's configuration) to move the chain on to the smallest cog. The barrel adjuster is located to the rear of the derailleur. It is used to tighten and loosen the derailleur cable, respectively moving the derailleur up or down. Adjust the barrel until the gears shift correctly. 

The brake lever is touching the handlebars. what should be done?

If the brake lever is too slack, too limp or is touching the handlebar without much pressure being exerted on it, use the barrel on the brake lever to adjust the tension of the brake cable, as shown in the video below.   Unscrew the barrel and the locknut until the cable is sufficiently tight and the brake lever is firm but not too hard. Once you've got the tension right, tighten the locknut firmly against the brake lever to secure the setting. 

ROCKRIDER 120 20-INCH MOUNTAIN BIKE - WHITE

Haven't been able to fix your problem or find what you need?

Please contact one of our technicians who will be happy to help

ROCKRIDER 120 20-INCH MOUNTAIN BIKE - WHITE

Our btwin commitments

ROCKRIDER guarantees the frame, handlebar and stem of your mountain bike for life (in normal conditions of use).

The guarantee for other parts is two years.

As soon as your child starts using the bike, some components will move slightly. It's for that reason that we offer a free check of your mountain bike six months after purchase.