mtb_26_pouces_decathlon_rockrider

Ref: 8600059, 8615537

26" ROCKRIDER 500 MOUNTAIN BIKE

The Rockrider 500 26-inch mountain bike is perfect for kids aged 9 to 12 as they explore all types of terrain. Take a look through our tips on assembling, servicing and repairing your child's mountain bike.

Have you just taken delivery of your new mountain bike and need to mount the handlebar and pedals? How do you adjust the saddle height to fit your child correctly?  Whether it's the orange or blue model, check out our advice on adjusting their MTB with the greatest of care.

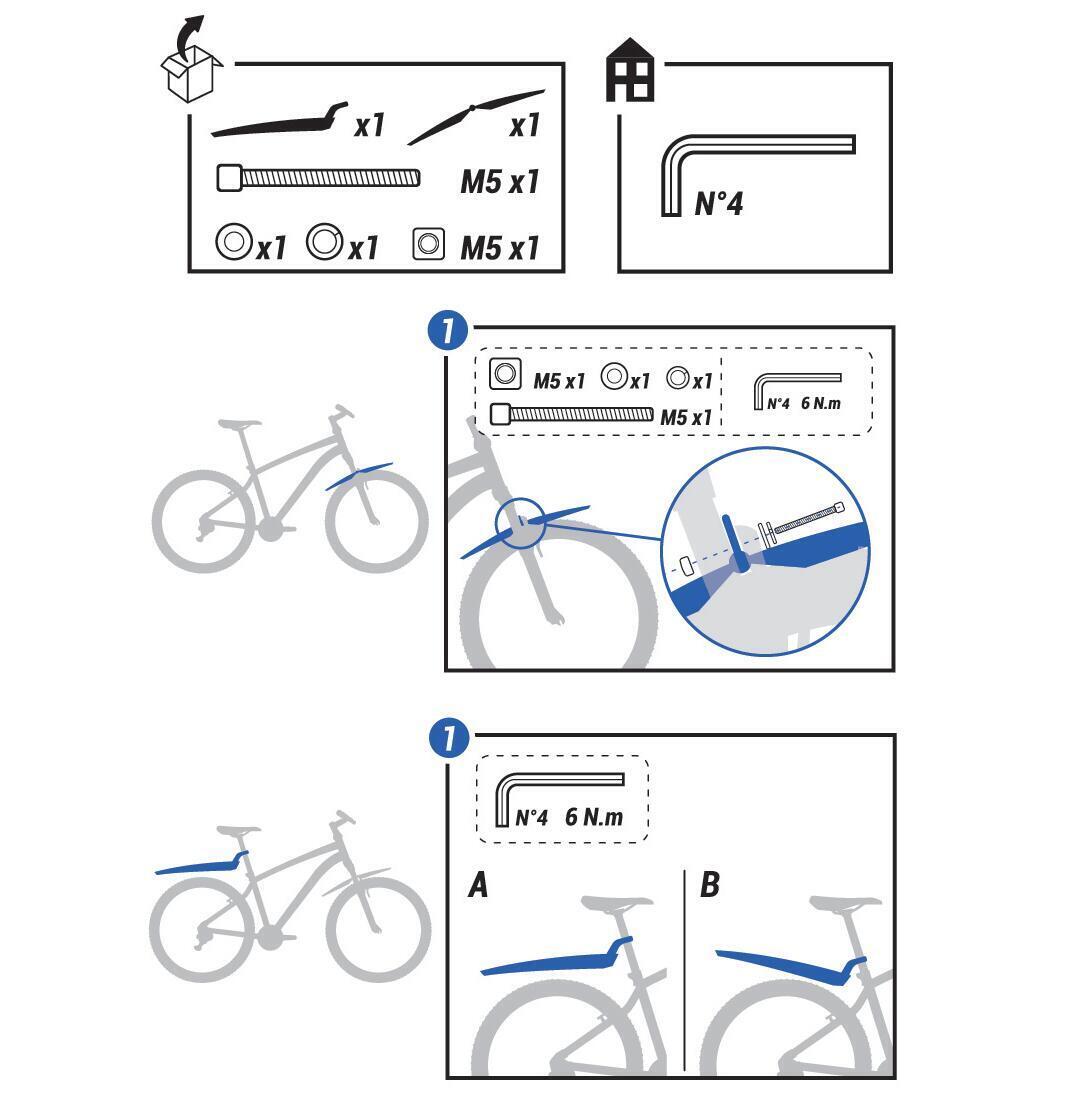
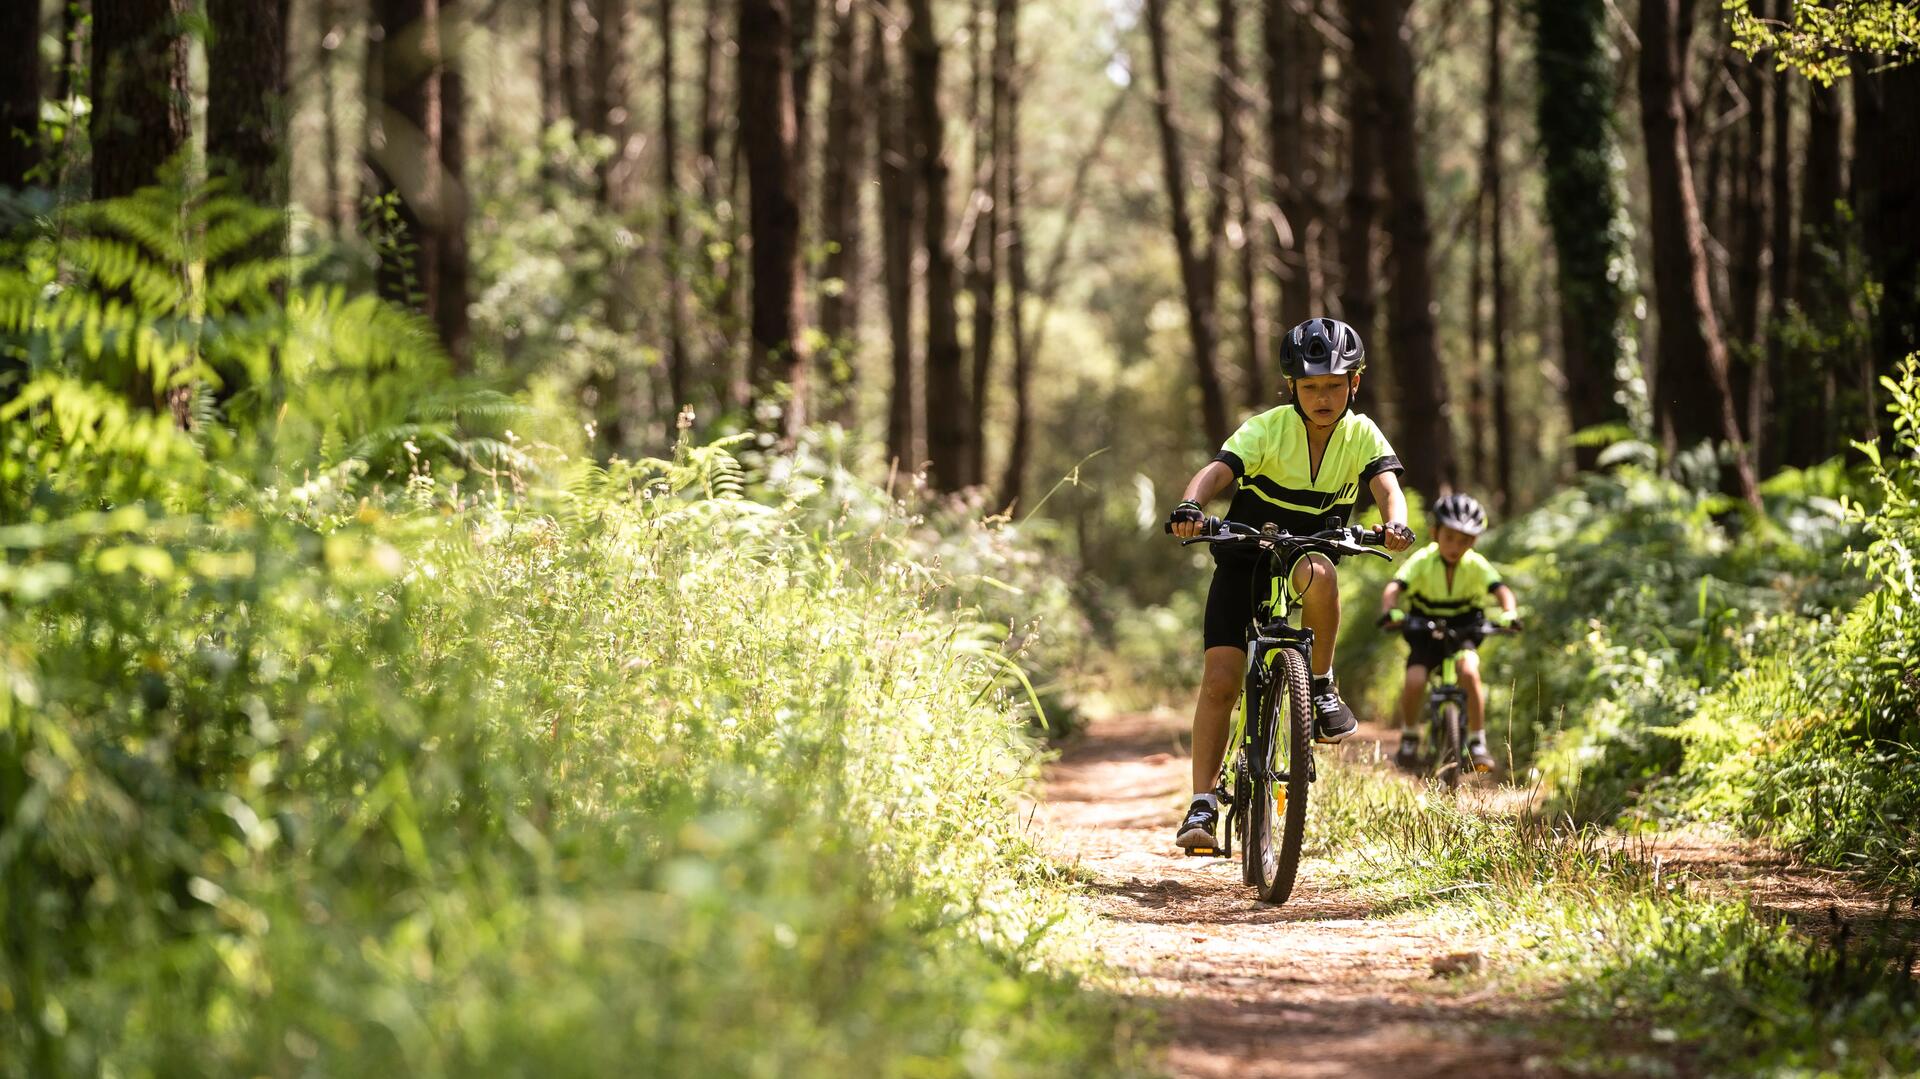
Assembling the 20" mountain bike: how to fit the handlebar and pedals

Did you order online? To deliver as quickly as possible, your bike has been shipped pre-assembled. There are just 2 things you need to do before you can get started! It takes just a few moments to assemble your mountain bike. Follow our guide:

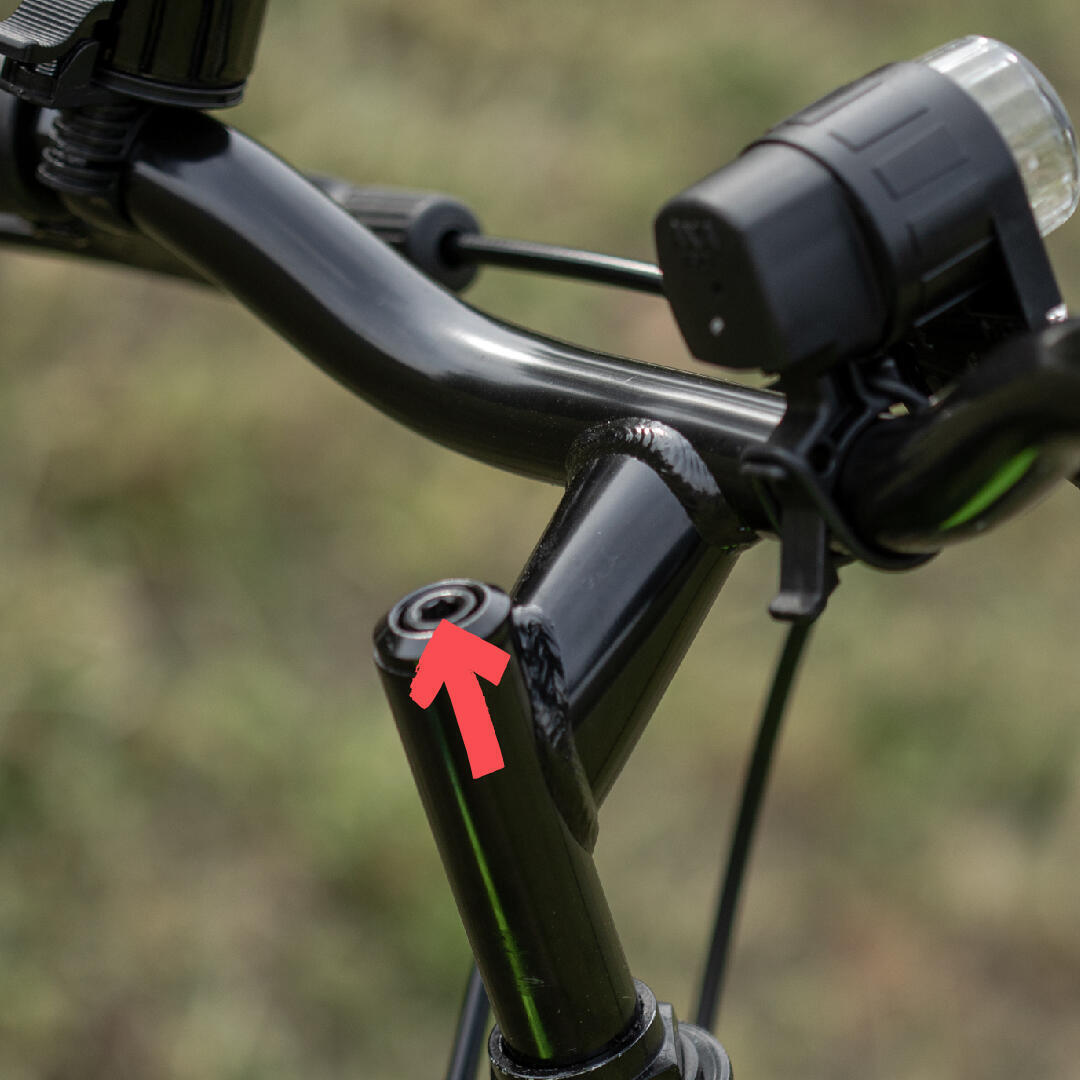
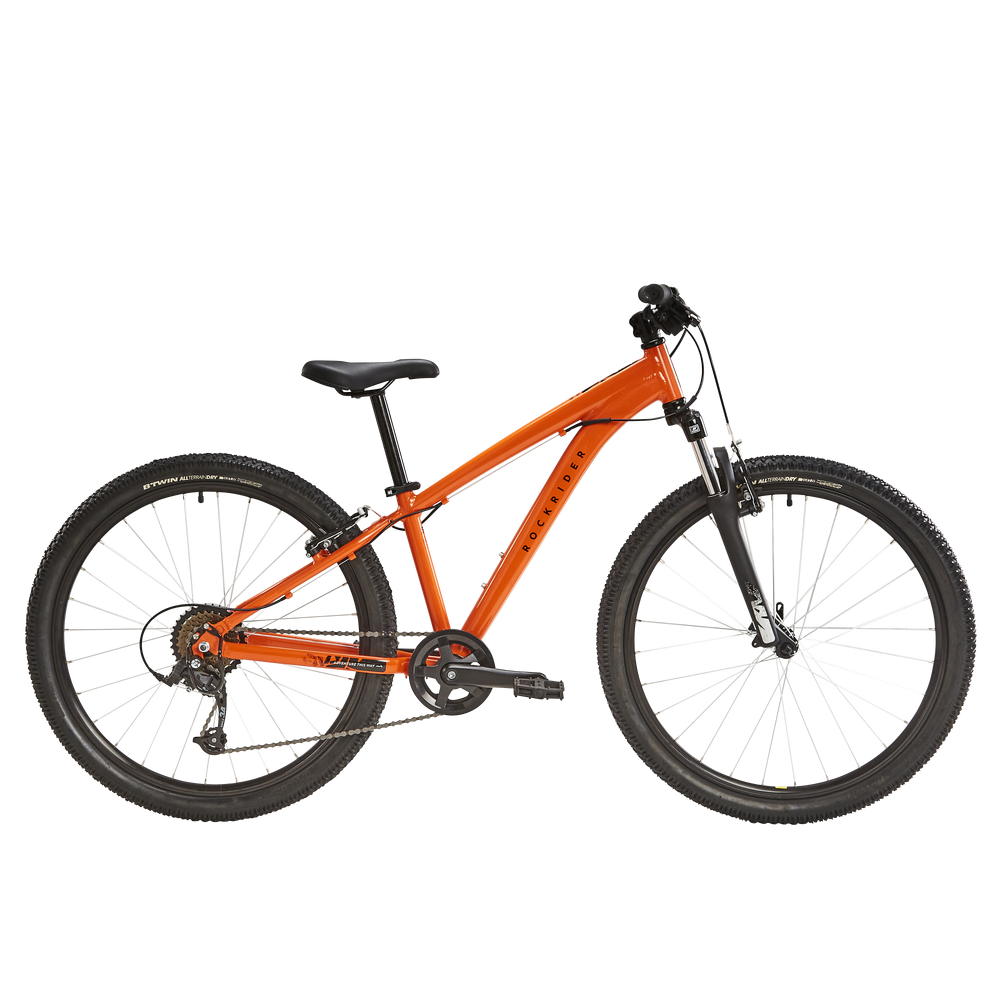
Mount the bike's handlebar
- Slide the stem tube into the head tube on your bike's frame.
- Use a 6 mm Allen key to tighten the screw on your stem (there shouldn't be any play).
- Check that the handlebar is tight and in line with the wheel by holding the wheel between your knees and trying to twist the handlebar.

Mount the bike's pedals
The "left" and "right pedals are marked so that you can tell them apart. It's important to note that the left and right pedals are threaded in different directions so that they don't come unscrewed as you ride.
- Insert the pedal into the crank
- Use the Allen key to tighten the pedal from the inside of the crank (the other side to the pedal)
- To make sure it's done up, tighten the nut (between the crank and pedal) using a 15 mm spanner.

20" ROCKRIDER 500 mountain bike

Brief bike components glossary

Brake barrel adjusters

There are two barrel adjusters on each brake, situated on the brake levers. They are used to adjust the tension of the brake cable. Make sure you get the setting right when using the barrel adjuster. (The more the barrel is tightened, the tighter the cable).

mountain bike brake barrel adjuster
Derailleur barrel adjuster

This barrel adjuster is located to the rear of the derailleur.
It is used to adjust the tension of the derailleur cable. If the chain struggles on climbs, it means the cable is not tight enough. Tighten it by turning the barrel.
If the chain does not run smoothly on descents, then the cable is too tight. Turn the barrel to slacken the cable.

Our advice is a quarter turn is often all you need.

mountain bike derailleur barrel adjuster
Brake cable noodle

The brake cable noodle is a stainless steel part that is used to guide the brake cable into the V-brake calliper.

The noodle is set at a specific angle to ensure the cable can slip into position and offer effective braking.

This part will get damaged over time but can be replaced.

kids mountain bike brake cable noodle
Stem bolt screws

The bolt secures the stem to the bike's head tube. To tighten or loosen it, you'll need a size 5 Allen key.

20-inch bike stem bolt

First ride: 3 tips before you set off

Adjusting your mountain bike's saddle: how high should the saddle be?

Your position on your bike affects how enjoyable cycling is, so it's important to adjust the saddle based on your child's height.  You should never be able to see the minimum insertion marker on the seat post. Make sure the saddle is no further out than this minimum distance.

Adjust the saddle height in just 4 steps:
1. Sit your child on the saddle with one heel on the pedal (pedal in its lowest position) and the other foot on the floor.
2. Undo the quick release clamp.
3. Raise or lower the saddle, making sure your child's leg is straight when the pedal is at its lowest. Your child's toes should be in contact with the floor at all times.
4. Do up the quick release clamp. If it's not tight enough, turn it clockwise before clamping it shut again.

How to check that the brakes are correctly adjusted

To test the brakes, hold the bike by the handlebar and roll it forwards. Squeeze the right lever for the rear brake or the left for the front brake. The wheels should stop moving when the respective lever is pulled. The brake pads should not rub against the sides of the rim when the brakes are not engaged.

What if the brakes aren't working well or the wheel is rubbing? Here's what to do:
There's an adjustment dial in front of the brake lever.
 If you turn the dial clockwise, that will tighten the brake (= more powerful braking).
Turning the dial anticlockwise will loosen the brake (= weaker braking action and pads further from the rim).

Brakes are placed under a lot of strain when mountain biking, so you should check them regularly.

Need to find out more about maintaining the brakes? Find out more in our article!

Adjusting-brakes-children's-mountain-bike-decathlon

What is the recommended pressure for 20" mountain bike tyres? 

The recommended pressure varies depending on the type of tyre and is written on the tyre's sidewall.
For this type of kids' mountain bike, the recommended pressure is between 2 and 3.5 bars.

It's normal for the tyre to deflate by itself when it's not being used. This is why we recommend checking the tyre pressure before each ride. Kids will have so much more fun with their mountain bikes when the tyres are nice and pumped up!


READY TO GET GOING!

Compatible accessories

1. Front and rear mudguards

For wet or muddy rides, we recommend kitting out your child's bike with a mudguard in the right size. Find the compatible mudguard for 20-inch mountain bikes here

Fitting mudguards

Mount your mudguards in 5 minutes flat! To mount the right mudguards for your child's bike, you'll need a 4 mm Allen key (or the one on your "multitool"). The other parts are supplied with your mudguard.

MOUNTING THE FRONT MUDGUARD
1. Place the mudguard between the tyre and the fork with the two holes aligned. Make sure your mudguard is attached in front of the fork.
2. Put firstly the small washer then the large washer over the bolt.
3. Insert the bolt into the fork.
4. Screw the nut from behind the fork, holding the bolt with your Allen key.

MOUNTING THE REAR MUDGUARD
1. Use your 4 mm Allen key to undo the mudguard's ring mount
2. Adjust the height of the mudguard so that it's at least 5 cm from the tyre
3. Fix the ring mount around the seat tube

NB: you might want the mudguard to be further from or closer to the tyre depending on your preferences.

Ready to ride without getting dirty!

COMPATIBLE ACCESSORIES
2. The stand

Your choice of stand should be based on the size of your child's mountain bike.
You can find the compatible stand for the Rockrider 500 20-inch mountain bike on our website:

bequille_velo_enfant
Fitting the stand

You can mount the stand using either a 5 mm Allen key or an 11 mm spanner.

MOUNTING THE STAND:
1. Position the top of the stand under the hole on the frame, just behind the hub and in front of the rear wheel.
2. Place the rectangular nut on top of the chain stay.
3. Slide the bolt into the nut, frame and stand, and tighten using your Allen key or spanner.

fitting-stand
3. Which is the right bottle cage and how do you fit it?

This bottle cage lets you put the bottle in and take it out sideways, to better suit smaller bikes. Need help mounting the bottle cage? Follow our guide

Fitting-the-bottle-cage-on-a-child's-mountain-bike

4. Do you need new handlebar grips?

Handlebar grips are useful for comfort as well as controlling the bike. If they're damaged or slide by themselves, it's a good idea to change them! Check out handlebar grips suitable for your 20-inch MTB on our website. 

Do you already have some? Check out how to change them in our video👉

Maintaining your 20" mountain bike

Lubricating the chain on a children's mountain bike

You can use an "all-in-one" type product (available at Decathlon stores) to unjam, clean, lubricate and protect your child's bike. It's a very handy product!

To lubricate the chain, turn the pedal and "spray" the product all the way along. 
Then leave it to dry for a few minutes. If the chain is very dirty, clean it with a brush and/or a cloth and spray it again with "all-in-one".

Our advice: avoid any contact with the brake pads and the braking surface on the wheel rims. This product's lubricating effect may reduce the friction required to brake effectively.
Protect your bike in the long term by regularly applying all-in-one to prevent rust from building up.

Dirty mountain bikes: how to wash them

Muddy, dusty and rainy rides can leave your child's bike very grubby. So don't hesitate to regularly spruce it up (every 2 or 3 rides).

Is it all dusty? Simply use a dry cloth to wipe it over.

If there is more persistent mud or other dirt, get yourself a bucket of hot water and a sponge (or a wet cloth) with soap or bike shampoo. You can then clean the dirty parts of the bike (frame, fork, handlebar, wheels). We recommend against using pressure washers (such as Karchers) as they could damage some of your bike's components.

Finished? To stop rust building up, dry your bike with a cloth.

Changing the brake pads

Like with all brake pads, the rubber on V-brake pads wears out over time (and with use). Replacement pads are available to purchase.

To change them, follow the advice of Yacine, a workshop technician at Decathlon!

How to check tyre wear

We recommend checking the state of your bike's tyres before each ride.

If a tyre is flat, check that it isn't punctured. To do this, blow it up as much as you can.
1. If it goes flat quickly, you will have to take the wheel off and then the tyre, and change or repair the inner tube.
2. If it goes flat slowly, check the surface of the tyre for the presence of sharp objects or shards of glass. You will then need to take the wheel off and then the tyre, and change or repair the inner tube. Take care when removing the sharp object or shard of glass causing the puncture.
3. Even if they're not flat, we recommend you check the pressure of the tyres (see section above).

DID YOU KNOW?
The useful life of rubber depends on how it is used and stored. If you can see cracks in the tyres, we advise you to replace them with new ones. 

How to store your bike

The lifespan of your child's bike depends on how it's used, looked after and stored.

We recommend storing your child's mountain bike in a dry place. You should check that it isn't getting damp. The damper and saltier the conditions you use and store it in (e.g. by the sea), the more it'll rust and the less time it'll last.

DID YOU KNOW?
Bikes with a suspension fork shouldn't be hung up by the front wheel as this could wear out the suspension. To make them last longer, hang them by the back wheel to protect the fork.

There's a problem

What to do if you have a puncture changing an inner tube

If you get a puncture, stop immediately in a safe place to prevent the rim from being damaged. 

1. Turn the bike upside down on its saddle and handlebar.
2. Release the brakes to allow the wheel to come out. To do this, squeeze the V-brake callipers together and release the noodle.
3. For the front wheel, remove from the fork and then change the inner tube (see explanatory video). For the rear wheel, position the derailleur on the smallest cog. Loosen the wheel and then change the inner tube (see explanatory video).

As a last resort, you can always use puncture repair spray for tool-free inner tube repair, though this won't work if the inner tube is torn. 

The gears are not shifting smoothly. what should be done?

If the gears aren't shifting smoothly, it's probably due to the rear derailleur not guiding the chain properly.

Check the cable and housing:
- Housing ends that are out of position can obstruct the derailleur cable when it is being pulled and prevent the gears from shifting smoothly. If a housing end is out of position, push it back into place.

- If the derailleur is not moving even after you have engaged and disengaged the grip shifter, it probably means that the cable and its housing have seized up. You will need to have the cable and housing replaced.


- It's possible that the derailleur hanger has been bent or knocked out of shape. This makes it impossible to change gears. Our advice is to take the bike to the workshop at your nearest Decathlon store and have the hanger straightened. 
- It's also possible that the derailleur is not working properly. In this case:
1. Turn the bike upside down on the saddle and handlebars to release the pedals (or, even better, put it on a bike stand).
2. Activate the shifter/trigger to move the chain onto the smallest cog.
3. The barrel adjuster is located to the rear of the derailleur. It is used to tighten and loosen the derailleur cable, respectively moving the derailleur up or down.
4. Adjust the barrel until the gears shift correctly. 

Need to understand the gesture in video? Follow the guide a bit further down👇!

The brake lever is touching the handlebars. what should be done?

If the brake lever is too spongy, it will touch the handlebar very easily. We recommend adjusting the tension of the brake cable using the barrel adjuster on the brake lever.

Loosen the barrel and the locknut to adjust the cable tension so that the brake lever is firm but not too hard.

Better? Once you've got the setting right, tighten the locknut against the brake lever. 

Visit a Decathlon workshop

Need a hand?

OUR IN-STORE WORKSHOPS ARE HERE TO HELP!

Spare parts

Need to change one of the parts on your bike?
Find the compatible (and matching!) spare parts for your bike by selecting your model.

Instructions for use

Want to know how to assemble or use your bike? Download pdf instructions for your product by clicking here:

Rockrider 500 26-inch mountain bike: Repairs, assembly, instructions, spare parts (duplicate)

Haven't been able to fix your problem or find what you need?

Please contact one of our technicians who will be happy to help

20" ROCKRIDER 500 mountain bike black

Our
btwin commitments

ROCKRIDER provides a lifetime warranty on the frame, handlebar and stem of your mountain bike (under normal conditions of use).

All other parts have a two-year warranty.

When you start riding your bike, some components will move slightly. This is why we offer a free tune-up of your mountain bike within six months of purchase.