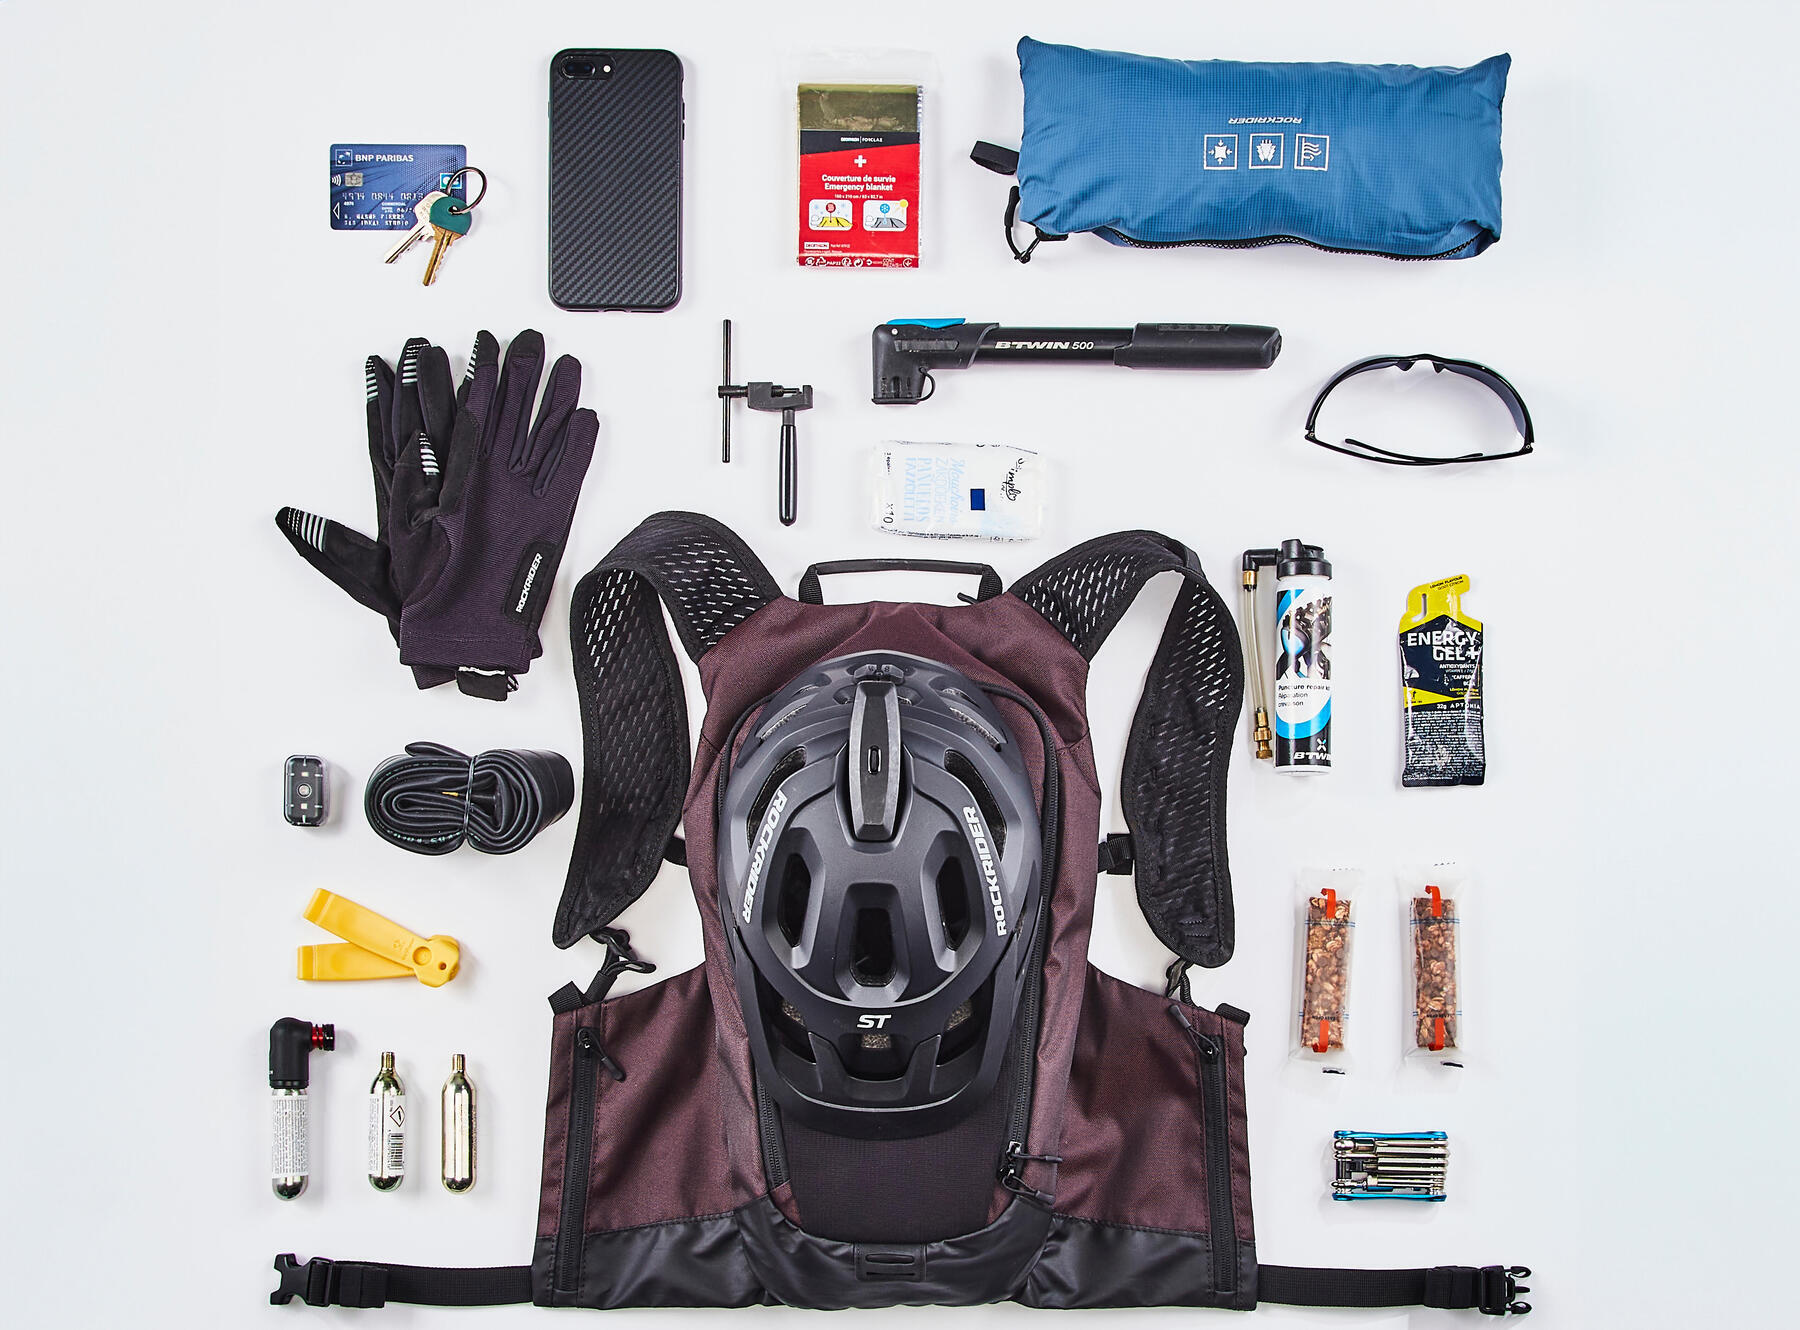
The right equipment in case of a hiccup
If you're going to be able to deal with punctures, a broken chain or any other snag, you're going to need the right kit. Here's a selection of products that can get you out of various sticky situations.

REF: 8364732
2020
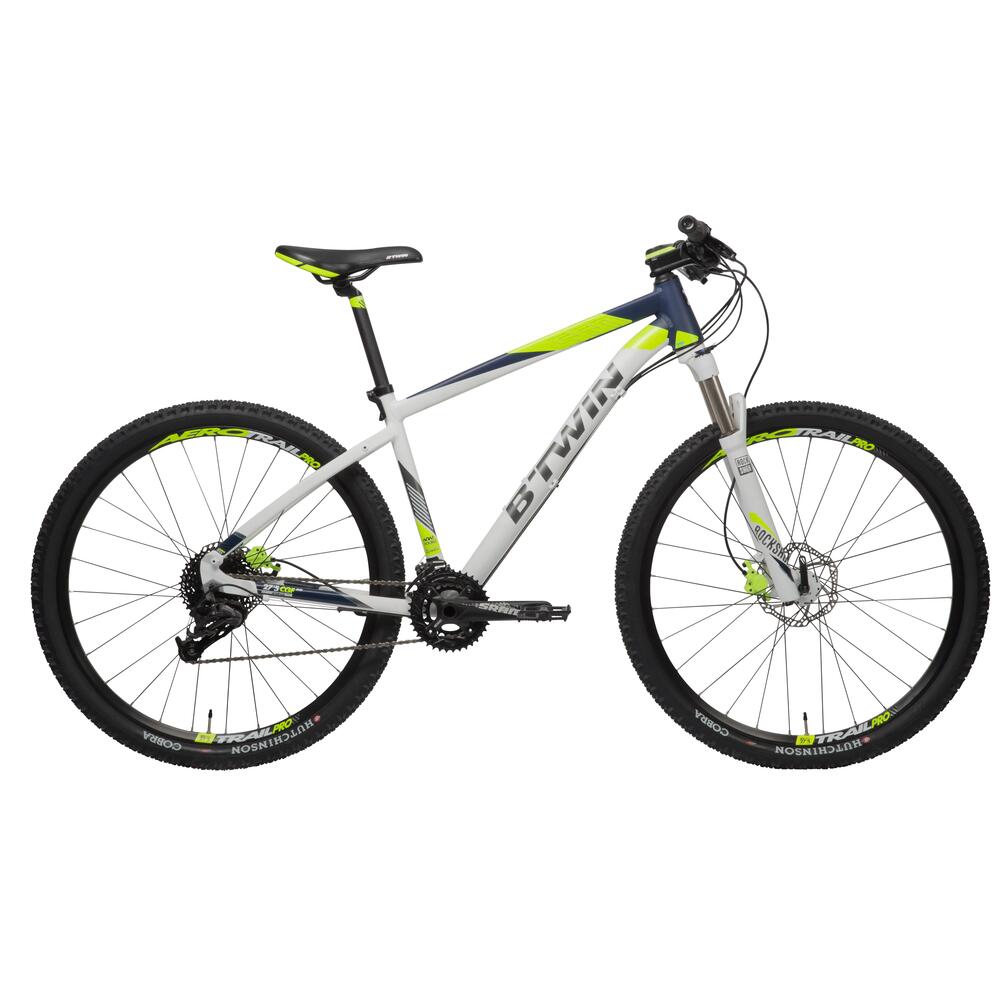
ROCKSHOX fork with remote lockout and 2x10 speeds.
Light, precise frame, ROCKSHOX fork, wheels and drivetrain. ERGONOMIC grips, saddle, seat clamp and remote lockout: a must for COMFORT to boost PERFORMANCE.
The recommended average tyre pressure is 1.8 bar.
INFLATING-YOUR-TYRES-ROCKRIDER-ST540-MOUNTAIN-BIKE
Your handlebar is set in the highest position to help keep your back raised, which is the most comfortable position for riding.
For improved aerodynamics and more effective pedalling, you can lower your handlebars to lower your body. This will cause you to lean forward and adopt a racing position.
Follow the steps in this video to move the headset spacers below the stem and lower the handlebars on your bike.
ADJUSTING-HEIGHT-HANDLEBARS-ROCKRIDER-ST540-MOUNTAIN-BIKE
ALIGNING-YOUR-HANDLEBAR-ROCKRIDER-ST540-MOUNTAIN-BIKE
Your ST 540 bike frame is fitted with a quick-release lever.
Stand next to your saddle. Tilt the quick-release lever to unlock it. Pull the saddle up or push it down to bring it level with your pelvis.
Tilt the lever again to lock it.
To make sure you get it right, take a look at our tutorial video.
ADJUSTING-SADDLE-HEIGHT-ROCKRIDER-ST540-MOUNTAIN-BIKE
ADJUSTING-SADDLE-TILT-ROCKRIDER-ST520-MOUNTAIN-BIKE
The brake pads and discs on a new bike are new themselves and don't work to their full potential.
POSITIONING-YOUR-BRAKE-LEVERS-ROCKRIDER-ST540-MOUNTAIN-BIKE
CHANGING-YOUR-PEDALS-ROCKRIDER-MOUNTAIN-BIKE

If you're going to be able to deal with punctures, a broken chain or any other snag, you're going to need the right kit. Here's a selection of products that can get you out of various sticky situations.
When you take your new bike out for a ride for the first time, a lot of parts move around and fall into place. You'll hear the spokes on your wheels creak because of the residual torsion in them. Your wheel should not buckle in any way at all. If it is, let your local Decathlon workshop know when you take your bike for its free service (six months after purchase) so that they can adjust it for you.
There could be several reasons why your gears are not shifting smoothly or properly.
1- Check the positioning of the cable end caps Poorly positioned cable end caps can disrupt the derailleur cable and stop your gears shifting properly. If one of the end caps is out of place, use your hands to put it back in the correct place as shown below.
2- The cable and housing may have jammed up If your gears are struggling to shift onto the smallest chainrings, and the derailleur doesn't move even when you press the gear shifter, then the cable and the housing have probably jammed up. In this case, the cable and housing should be replaced. Take your mountain bike to a Decathlon workshop or replace them yourself with the help of this tutorial. If you regularly use your mountain bike in wet or muddy conditions or if you wash it a lot, then you will need to replace the housing and cables more often.
3- Adjust the front derailleur

There could be several reasons why your gears are not shifting smoothly or properly.
1- Check that the derailleur hanger isn't bent. A bent hanger causes the derailleur to be out of alignment and therefore unable to function correctly. Stand behind your bike and examine the alignment of the derailleur as shown in the picture below. If the derailleur hanger is bent, visit a Decathlon workshop to have it replaced.
2- Check the position of the cable end caps Poorly positioned cable end caps can disrupt the derailleur cable and stop your back gears shifting properly. For the rear derailleur, there are 4 cable end caps to check. If a cable end cap is out of place, use your hand to put it back in the right place.
3- The cable and housing may have seized up If you have a hard time shifting gears to the smallest cogs (the highest speed, since gears are numbered from largest to smallest), or the derailleur does not move even after pressing the gear shifter, the cable and housing have almost certainly seized up. In this case, the cable and housing should be replaced. Visit a Decathlon workshop to have this sorted out. If you regularly use your mountain bike in wet or muddy conditions or if you wash it a lot, then you will need to replace the housing and cables more often.
4- Adjust the rear derailleur

If the brake lever is too slack, too limp or is touching the handlebar without much pressure being exerted on it, use the barrel on the brake lever to adjust the tension of the brake cable, as shown in the video below. Unscrew the barrel and the locknut until the cable is sufficiently tight and the brake lever is firm but not too hard. Once you've got the tension right, tighten the locknut firmly against the brake lever to secure the setting.
There are several reasons why your fork might be too hard. 1- Adjustments Visit the "adjusting your fork" section to easily adjust the stiffness to suit your preferences. 2- Basic maintenance You should regularly lubricate your fork. Squirt some oil on the pivots of the fork and move it around to work the oil into the blades. 3- Full maintenance If adjusting your fork and performing some basic maintenance isn't enough, you should give your fork a more thorough service as shown in the video below. Adjusting and maintaining your fork is done at your own risk and Decathlon cannot be held liable if you perform maintenance work incorrectly. If you are not sure how to do any of the maintenance procedures, please visit your nearest Decathlon workshop.
Your suspension fork will work best above 5°C. In temperatures below this, the suspension can harden up and stop working so well, but it won't get damaged. It should start working normally again once you get back above 5°C. If you detect a fault, however, or you are not sure if your fork is in good condition, take it to your nearest Decathlon workshop and have it checked.
These videos show you how to perform your own repairs and replace parts.
- Fitting/removing a rear wheel - Repairing a puncture
- Changing an inner tube - Adjusting the height of the handlebar
- Repairing a chain - Replacing the derailleur hanger
Don't forget to check out our YouTube channel for even more video content.
FITTING/REMOVING A REAR WHEEL

Need to change some parts? You'll find all our spare parts for the ROCKRIDER 560 WHITE right here.
Instructions for use

Please contact one of our technicians who will be happy to help