ROCKRIDER E-ST 520 MOUNTAIN BIKE

REF: 8615093

ROCKRIDER E-FEEL 900 S ELECTRIC MTB

2024

Find all the documents, instructions and advice you need to prepare, maintain and repair your E-FEEL 900 S electric mountain bike!

First use

Connecting your phone to your e-bike

You can connect your smartphone to your electric mountain bike via Bluetooth. This gives you the full e-bike experience, including:

The SHIMANO E-TUBE application allows you to personalise your configuration and update the app

The SHIMANO CONNECT Lab application allows you to display different charts and maps by downloading data on your outing to the cloud associated with SHIMANO ID. The application analyses and manages your cycling data to help you become a better cyclist.

First use
Inflating your tubular tyres

Having the right tyre pressure is particularly important on an electric bike.
The wheels have a lot of weight on them because of the combination of the motor and bike.

On the original inner tube assembly (tubular):

To reduce the risk of punctures and ensure your bike can achieve its maximum range, we recommend inflating your tyres to a pressure of between 1.4 and 1.8 bar.

If you're looking for more traction and comfort, you can lower the pressure. If you're looking for more battery life and pedalling performance, you can inflate the tyre a bit more.

Take care not to exceed the maximum OR minimum pressures displayed on the sidewall of your tyre.

An under-inflated tyre can cause the inner tube to get pinched and can damage the rims when riding over obstacles, while an over-inflated tyre can explode the inner tube or tyre, or deform the rim over the long term.

A well-inflated tyre is essential for cycling. So remember to frequently check your tyre pressure.

INFLATING THE TYRES IN A TUBELESS ASSEMBLY

TUBELESS is a great way of getting the most out of your tyres. The pressure is lower (by about half a bar) than with tube-type tyres. As it's less inflated, the tyre's "carcass" will be able to come into contact with the floor. And it won't be stopped by the inner tube. Switching to tubeless is a good way to improve riding comfort, efficiency and grip while reducing the risk of punctures.

With a tubeless set-up, the aim is to lower the pressure to get the most out of the tyre without the rim touching the floor as you go over obstacles.
Follow the pressure recommendations in the table below and fine-tune things based on how it feels to you.

Take care not to inflate your tubeless tyres above 3 bar as this could cause your aluminium rims to deform.
A well-inflated tyre is essential for cycling. So remember to frequently check your tyre pressure.

First use
ADJUSTING YOUR FORK

Your fork needs to be adjusted according to your riding style, the terrain and your tastes, and most important according to your weight.

There are 3 things you can adjust on your fork: the preload, the rebound and the compression

The preload determines the hardness of your fork. As it's an air spring, you'll need to compress the air to adjust its hardness. You will therefore need a high-pressure shock pump. Never use a car tyre inflator or air compressor for this stage as it could damage your fork. The air valve can be found on the top of the fork's left stanchion.

The bounce dictates the speed at which the suspension returns to its original position after damping an impact. It is adjusted by a small knob under the fork (see photo).

The compression varies the speed at which the suspension compresses. It can be adjusted using the blue wheel on the fork's crown.

To find out more about adjusting your suspension, follow this link and we'll explain everything you need to know! 

ADJUSTING YOUR SHOCK ABSORBER

To make your mountain bike behave predictably, your fork's sag should correlate with your shock's sag. The process is almost identical to that for your fork:

Once you've figured out the correct settings, you'll need an extra pair of hands and a high-pressure pump designed for suspension systems, as well as a ruler or measuring tape.

First, pump your suspension according to the recommended settings indicated on your shock. Ask someone to hold the MTB so you can get onto it. Once seated on the bike, measure how far the shock goes in. Lower your suspension's pressure to increase your sag, and inflate it to reduce your sag.

Our design teams recommend a SAG of 30%. Like with the fork, for a softer, more comfortable ride, you'll want a high sag (between 30% and 35%). For a more competitive ride, you'll need it to be harder (between 25% and 30%).

NB: The valve's cap is there to protect the valve from dust. It doesn't do anything to retain the pressure. So there's no point doing it up too tight!

BEDDING IN YOUR BRAKES

When your bike leaves the shop with its shiny new brake pads and discs, their braking power is weak. A sharp prolonged braking action (for example, during a descent) with brakes that have never before been used can cause the pads to overheat and to "glaze over".

To ensure that your brakes perform, we recommend that you bed them in. This takes about 10 gentle braking actions per brake. For each braking action, apply a single brake to slow the bike down from about 25 km/h to 5 km/h without fully blocking the wheel. Repeat with the other brake.

If you can see a thin, shiny layer on the top of your brake pads, this probably means that they're glazed. To avoid having to throw them away, you can deglaze them by sanding them lightly with some relatively fine sandpaper (P120). Remember to wear gloves and a mask when sanding your brake pads. Then simply remount your brake pads and bed them in again.

BEDDING IN YOUR BRAKES
Adjusting the stem height

Your handlebar comes set to the most raised position, which is the most comfortable position for riding.

For more efficient pedalling, you can lower your handlebar so that your body leans forward and adopts a more racing-like position.

To do this, simply move the spacers on the underside of the stem.

ALIGNING YOUR HANDLEBAR

Proper handlebar alignment will prevent arm and shoulder pain as well as improving your mountain biking experience. Check out this video to learn how to align your handlebars.

POSITIONING YOUR BRAKE LEVERS

Properly positioning your brake levers is important for safety and comfort on your bike. Check out this video to learn how to orient your brake levers.

ADJUSTING THE HEIGHT OF YOUR SADDLE

Adjusting the height of your saddle will improve your comfort and performance on the bike.

Stand next to your saddle. Tilt the quick-release lever to unlock it. Pull the saddle up or push it down to bring it level with your pelvis. Tilt the lever again to lock it. To make sure you get it right, take a look at our tutorial video.

Note that your bike is fitted with a dropper seatpost, so take care not to pull the seatpost too far or, on the contrary, not to push it too far. You run the risk of pulling too hard on the cable or jamming it.

ADJUSTING THE TILT OF YOUR SADDLE

Adjusting the tilt of your saddle will improve your comfort and performance on the bike. Check out this video to learn how to adjust the tilt of your saddle.

CHANGING YOUR PEDALS

Follow this video to learn how to replace your pedals. 

If you are choosing clipless pedals, practise clipping and unclipping your shoes in order to prepare for possible falls when riding. 

Switching to tubeless

To reduce the risk of your inner tube being punctured or pinched, and to improve grip and comfort, you may want to consider making your mountain bike wheels tubeless.

Your wheels and tyres are tubeless ready, which means that the rim-sealing tape is already in place and the tyre is tubeless compatible. All you need is a pair of Presta tubeless valves and some sealant (puncture prevention liquid). Remember to wear gloves and goggles to protect yourself in case you get a blowout.

To go tubeless, follow these steps:

1. Remove the wheel
2. Take the inner tube off the rim
3. Check that the rim tape is properly stuck on and that there aren't any bubbles or tears
4. Insert a tubeless valve through the rim hole (from inside the rim)
5. Add between 60 and 90 ml of anti-puncture liquid sealant (depending on the width of the tyre)
6. Put your tubeless tyre back on
7. Inflate the wheel quickly to ensure that the tyre sticks to the rim.
Please note, never exceed 3 bars of pressure, or you risk exploding your tyre or damaging your rims.

If it seems too tricky, just visit your nearest Decathlon workshop and ask them to do it for you.

ROCKRIDER E-FEEL ELECTRIC MTB

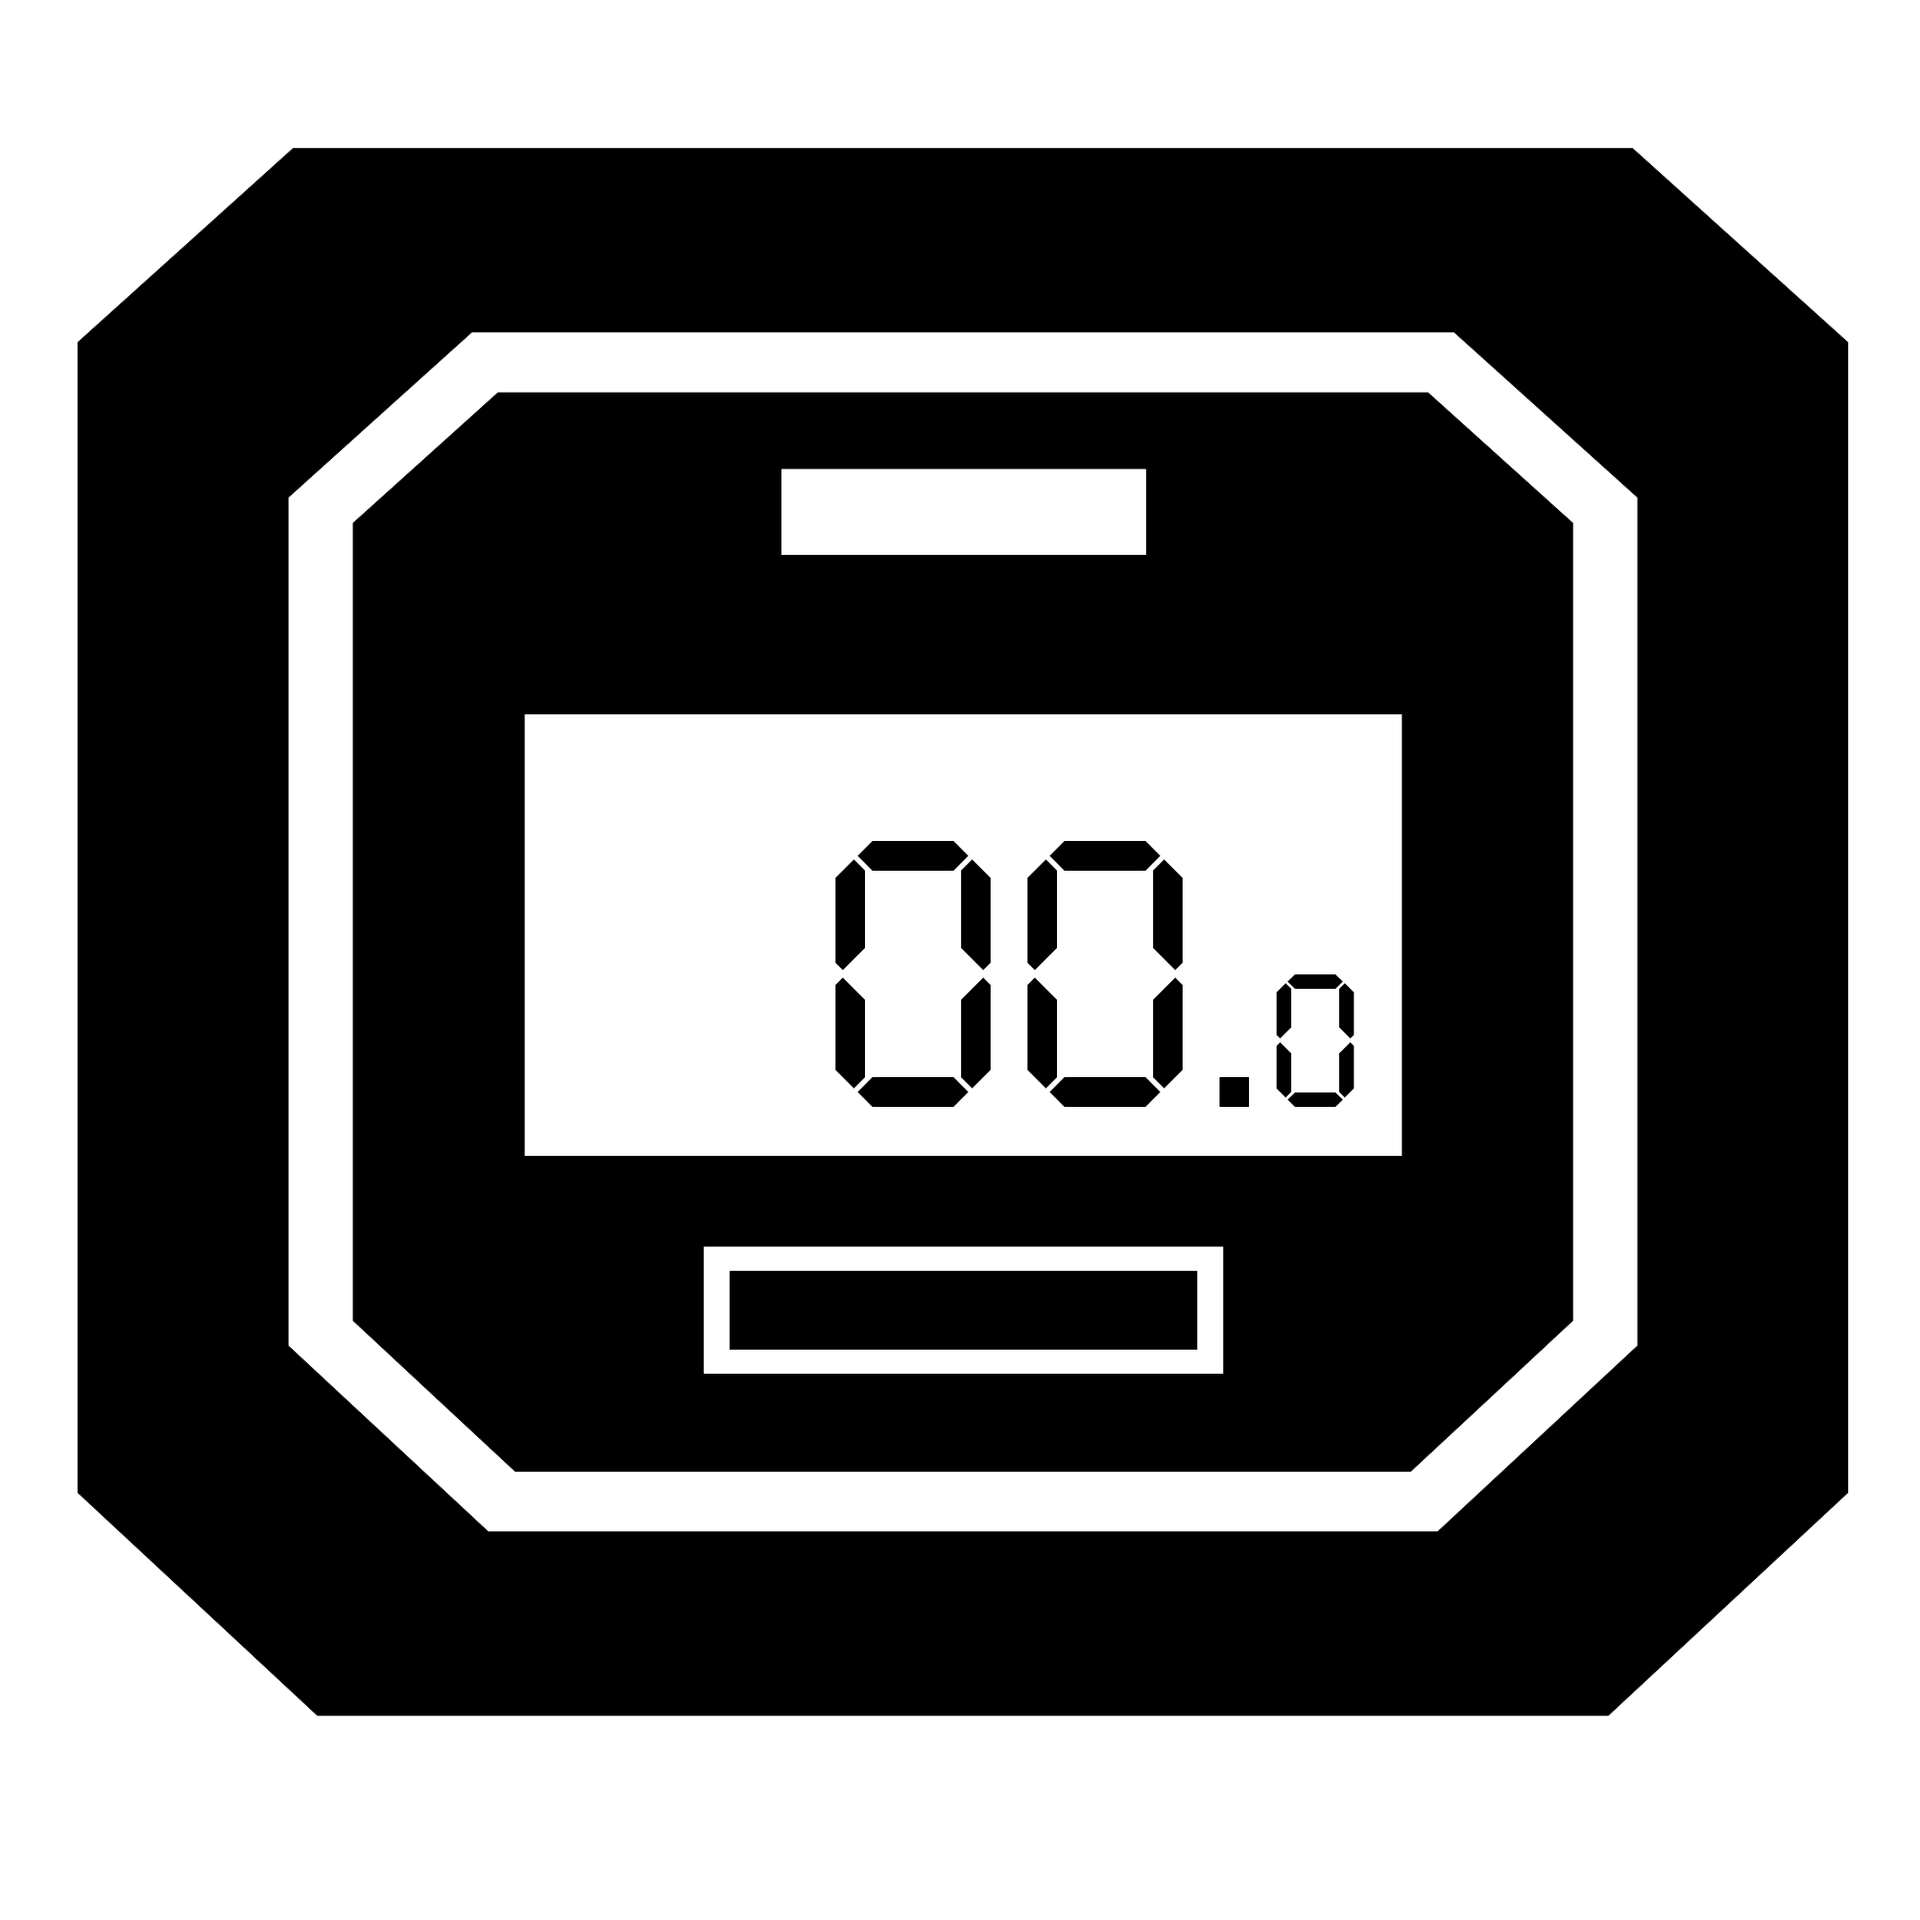
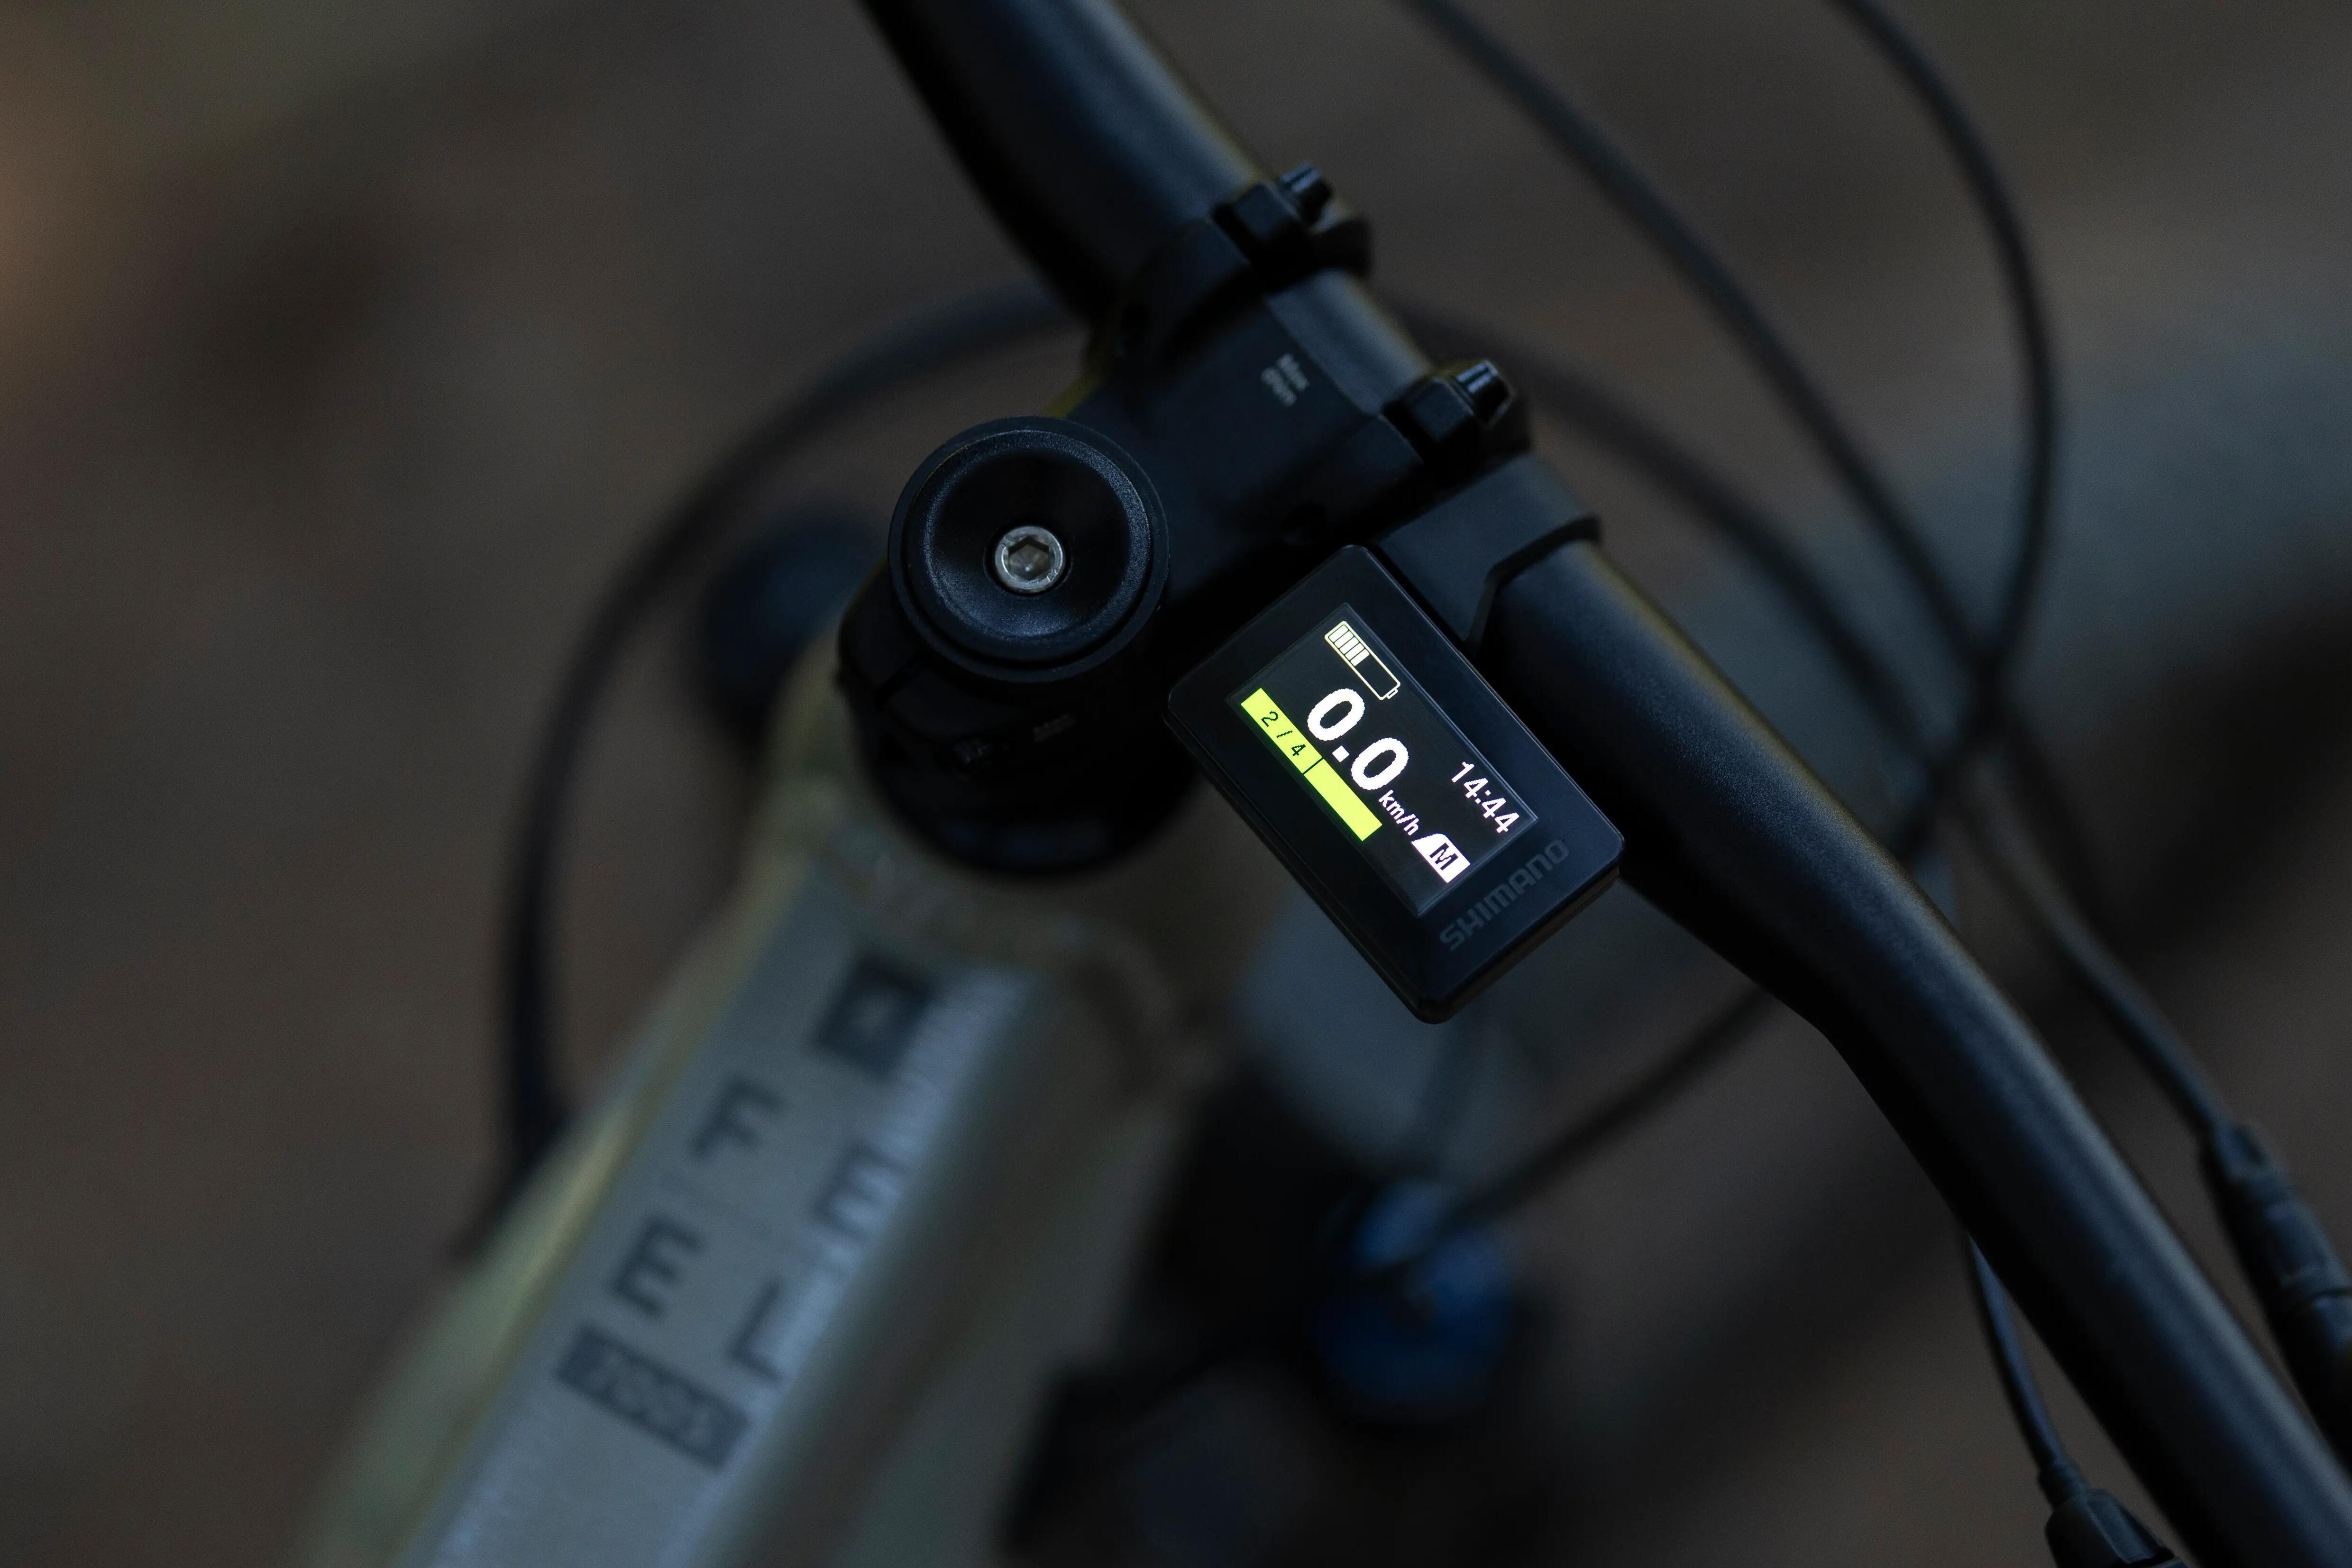
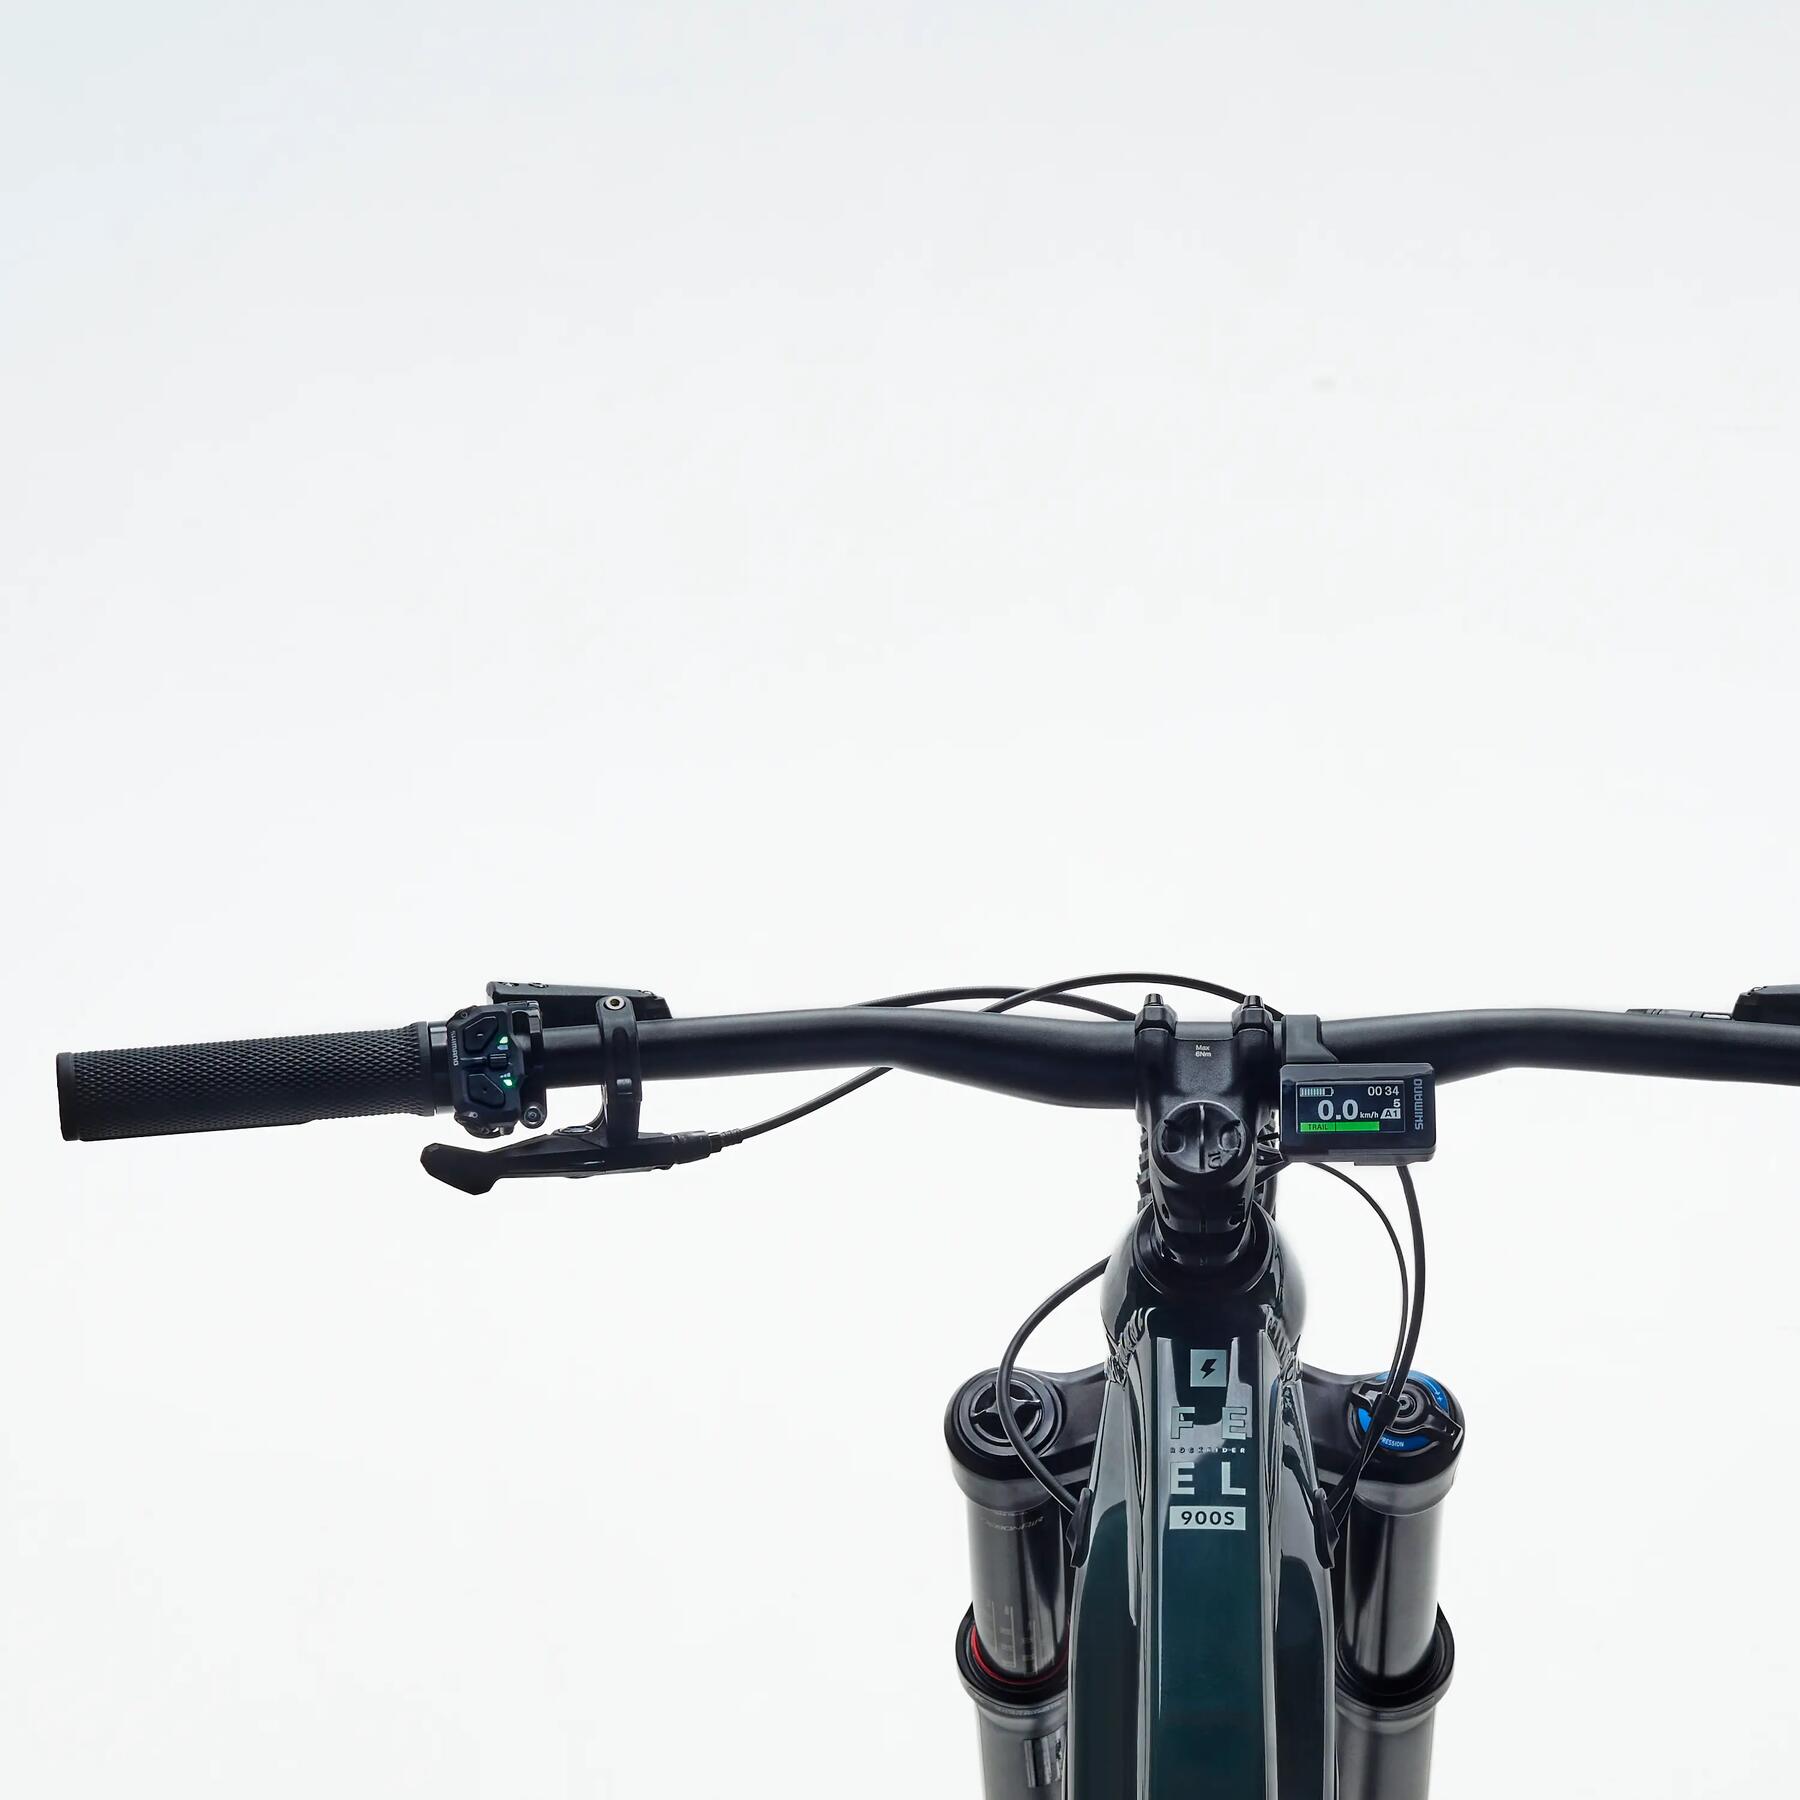
Operating the screen

The Stop/Start button at the top left of the controller allows you to turn your screen on and off. You need to hold the button down.

Use the up arrow ˄ and the down arrow ˅ on the remote control to switch between the different assistance modes
On the original profile, the OFF mode is where the motor is deactivated and the BOOST mode is the most powerful mode, with 350% assistance.
Our engineers have configured two extra profiles - 'EXPL' and 'FEEL'
The EXPL profile is designed for those who like to go touring and who pedal fluidly
The FEEL profile is designed for those who prefer using their bike for all mountain/enduro, this profile is much more dynamic and spaces out motor power over 5 modes instead of 3.

By holding down the ˅ button, the Pedestrian Mode is activated. Simply push the ˅ again to allow your bike to move forward freely. This feature makes it easier for you to push your bike when you're on foot.

The button in the centre of the remote control allows you to change the screen display

To find out more, check out your EAMTB user guide!

Questions about your battery? 

HOW LONG DOES IT TAKE THE BATTERY TO CHARGE?

With the original charger, it takes 4 hours to charge your battery to 80% and 5.7 hours to charge it to 100%

CAN YOU RIDE WHEN YOUR BATTERY IS FLAT?

It's an electric-assist bike. That means it's entirely possible to ride without this assistance.
However, you may well notice the additional weight of the assistance system.

CAN YOU LEAVE YOUR CHARGER CONNECTED TO THE BATTERY EVEN AFTER IT HAS FINISHED CHARGING?

To avoid any electrical hazards, we advise against leaving your bike/battery plugged into the mains for more than 24 hours.
When the battery is fully charged, the charger stops charging.

SHOULD YOU WAIT UNTIL YOUR BATTERY IS COMPLETELY FLAT BEFORE CHARGING IT?

No. Lithium-ion batteries have no memory effect. So they can be charged at any time.
We recommend charging your battery after each ride to keep it working well.

DOES THE BATTERY CHARGE WHILE CYCLING?

No, it doesn't have a dynamo. Some systems let you charge the battery as you ride or brake, but this doesn't generate much power.

WHAT SHOULD YOU DO WITH THE BATTERY WHEN IT WEARS OUT?

When your battery wears out, take it to your local Decathlon store, which will send it to a specialist facility to be recycled.

HOW SHOULD YOU STORE YOUR BATTERY?

You must store and charge your battery in a cool (between 10°C and 25°C), dry place, out of direct sunlight.
To avoid deep discharge, which may cause it to malfunction, do not put the battery away when less than 10% charged.
Ideally, charge it to 60% and remember to charge the battery (even if it's not being used) at least once a year to prevent deep discharge and loss of the battery's capacity.

WHAT IS THE LIFETIME OF YOUR BATTERY?

Your battery comes with a two-year guarantee.At the end of 1000 charging cycles, Shimano guarantees a range that is still higher than 60% of that of the new battery. 

(1 cycle = 1 charge to 100% + 1 discharge to 100% or 2 charges to 50% + 2 discharges to 50%)

equipment-mountain-bike-st520-rockrider

THE RIGHT EQUIPMENT IN CASE OF A HICCUP

You need to have the right equipment with you when you're out and about on your mountain bike so that you can take care of a puncture, a broken chain or any other type of setback. Here's a selection of products that can get you out of a tight spot or two.

HAVE A PROBLEM?

> ELECTRICAL

YOUR BATTERY WON'T CHARGE

1. CHECK THE BATTERY > CHARGER > MAINS SOCKET CONNECTION
Make sure the charger you are using is an original one provided by Decathlon.
Connect the charger to the battery and to a mains socket.
LED is on= the battery is charging.
LED flashing= the battery or charger has a problem

2. CHECK THAT THERE IS NO DIRT PREVENTING CHARGING
The charger's and the battery's connectors should be clean. There should be no dirt preventing contact between the battery and its charger.

ONE OR MORE LEDS ON YOUR BATTERY IS/ARE FLASHING

The battery LEDs indicate the battery charge level. A flashing LED indicates that the battery is charging

THE SCREEN IS SHOWING AN ERROR CODE

An error code may appear on your screen. Try shutting down your screen and then restarting it. If the issue continues, remove the battery and then re-insert it. 
If the error code is still showing on your screen, please go to the Shimano online support with the following link.

If the problem continues or you are unable to perform the action, please visit one of our Decathlon workshops for a repair.

LOW OR REDUCED RANGE

1. Make sure you are following the recommendations for using and storing your bike.
Your electric bike's range depends on a number of factors:
> THE LOAD ON THE BIKE: The range will be reduced if the bike is carrying too much weight.
> THE TYPE OF ROUTE: The range is reduced on climbs.
> THE TYRE PRESSURE: The battery will last longer with tyres that are correctly inflated.
> THE OUTDOOR TEMPERATURE: The range is reduced in colder weather (up to -50%).
> THE BOOST MODE USED: It is advisable to reduce the power assistance mode when the battery charge is low.
> FOLLOWING THE INSTRUCTIONS FOR CHARGING AND STORING YOUR BATTERY.

2. An old battery can have reduced performance.
The distance you can travel will therefore be reduced. Visit your Decathlon workshop to give your battery a check-up.

> MECHANICS

YOUR WHEEL IS BUCKLING AFTER SEVERAL RIDES

When you take your new bike out for a ride for the first time, a lot of parts can shift and fall into place.

One such part is the spokes, which can sometimes be heard creaking. This is caused by the residual twist from assembly.

Your wheels should not be buckled in any way at all. Come along to the workshop to straighten it out!

WheelBuckling
YOUR GEARS ARE NOT SHIFTING PROPERLY

Your transmission is an electric transmission connected to the motor. You adjust the stopper in the same way as with a conventional derailleur, but the "cable tension" is managed from the screen.

You can follow the Shimano instructions for adjusting your derailleur.

ROCKRIDER E-FEEL 900 S TEAM EDITION

MAINTAINING YOUR MOUNTAIN BIKE

Servicing your bike will keep all of its parts working for as long as possible and ensure you have the most fun when riding. Aside from the aesthetic aspect of having a clean bike, failing to service it can lead to problems, and problems lead to accidents, so you must always check for jammed cables, rust, leaks, premature wear, etc.

Good maintenance is good for your performances, while your bike's parts will also last longer, which means a lower environmental impact.

When you start riding your bike, some components will move slightly. Remember to check regularly that everything is tightened correctly.

HOW TO CLEAN YOUR ELECTRIC MOUNTAIN BIKE

To clean your bike properly, you'll need some bike cleaner, a sponge and a brush.

Rinse off the bike with a hose and apply the bike cleaner. Next, use the sponge and brush to work the cleaner in. It's essential to give the bike cleaner some time to act before rinsing the bike off.
When hosing the bike off, make sure you do so from a few steps away so as not to damage the mechanical components.
Lastly, dry your bike using a soft, clean cloth.

To wash your electric mountain bike, it is important to leave the battery on the bike. This will protect the leads from water!
Do not use a pressure washer as water could get into the ball bearings and permanently damage the electrical components.

CORRECTLY STORING YOUR ELECTRIC MOUNTAIN BIKE

It is essential to properly store your mountain bike to improve its lifespan, particularly if it is an electrical assistance bike.

After your ride, we recommend:
> Clean off any mud and sand to prevent your bike from rusting.
> Dry and lubricate your drive train (being sure not to get any on the brakes) to protect it from rust and corrosion.
> Store your mountain bike in a cool dry place.

For winter storage, we have a few other tips to add:
> Put the derailleur on the small cog to release the tension on the cables.
> Ideally, charge the battery to 60%.
> You can coat your bike in a thin layer of Vaseline, focusing on the spokes and hub, the rims, the handlebar, and the stem. Use a clean cloth, slightly soaked in oil; this will protect the components from dust.
> Hang your mountain bike by the frame to limit pressure on the tyres and prevent possible fissures.

IMPORTANT: Cool does not mean cold! Avoid overly hot or cold temperatures at all costs. Do not store your mountain bike in the sun and be careful of winter freeze.
The garage can be a good solution, as long as it stays dry and does not freeze in winter; otherwise, store it inside your house.

STORING YOUR ROCKRIDER E-ST 900 CORRECTLY
IMPROVING BATTERY LIFESPAN

To improve the lifespan of your battery as much as possible, we recommend:

- Reducing your use of it (a mountain bike is not a scooter!)
- Charging the battery with the original charger, and ensuring that the charger is in good condition
- Storing your MTB with a charge level around 60% (do not leave the battery plugged in beyond 100% and do not store it totally discharged)
- Storing your MTB in the shade or in cool rooms.

When transporting it, also consider removing the battery from your mountain bike and storing it inside your vehicle.

IMPROVING BATTERY LIFESPAN
CHANGING THE BRAKE PADS

On disc brakes, you need to change the pads regularly. Depending on how heavily you use your brakes, the wear on the pads will be affected. 

If you feel a loss of "bite", a loss of performance, or a squeak in your brakes, your pads may be worn out. To be sure, check the thickness of the pad. If there is less than one or two millimetres left, replace it.

You can replace your brake pads yourself by following this video, or you can bring your EAMTB to a Decathlon workshop so that one of our technicians can replace them. 

Rockrider e-ST900 Electric Mountain Bike
SERVICING YOUR FORK

The fork is one of the mountain bike components that works the hardest, so it needs thorough maintenance to keep you safe and comfortable on technical trails. We therefore recommend giving it a regular check-up.

There are several thing's you'll need to do to keep your fork going for as long as possible:

> After each ride, clean any dirt off the dampers and dust seals. This will minimise the risk of dirt getting into the blade. You can also add PTFE lubricant to stop the seals drying out. Wipe off any excess as you don't want it to pick up dust.

> Between 25 h and 50 h of riding, you can dismantle the forks, clean the plungers and forks completely and lubricate the forks again. This maintenance is more complex, since it requires you to disassemble the fork. We recommend dropping off your MTB at one of our Decathlon workshops to prevent any risks of damaging your fork.

CHECKING CHAIN WEAR

A worn chain will struggle to change gears and will wear out the cassette and chainring prematurely.

You can check how worn your chain is by using a wear indicator. Simply place the indicator's notch between two links and let the other end drop onto the chain. If it fits neatly between two links, the chain is worn and it's important to change it soon, before it damages the cassette and chainring.

We recommend changing your chain when it's 50% worn. Above 75%, you should change the chain, cassette AND chainring, which is why it's best to regularly change your chain: this stops you having to replace your entire drive train.

If you use your EAMTB for mobility, use all the different cogs on the cassette, or a lighter assistance mode. It is very common for users to need to replace their entire cassette because the small cog is worn out prematurely due to an assistance mode that is too often in turbo mode, or because the small cog is too worn compared to the others.

Rockrider e-ST900 Electric Mountain Bike

Compatible accessories

ROCKRIDER E-ST 900 MOUNTAIN BIKE
BOTTLE CAGE

You can fit your AE MTB with a side-entry bottle cage.

Rockrider e-ST900 Electric Mountain Bike
THULE EASYFOLD BIKE RACK 

Your bike is compatible with the THULE Europower bike rack available at Decathlon stores.

This bike rack can hold up to two electric bikes.

Bike rack
Rockrider e-ST900 Electric Mountain Bike

NEED HELP?

INSTRUCTIONS AND CERTIFICATE OF COMPLIANCE

Rockrider e-ST900 Electric Mountain Bike
instructions diagram

Need the mechanical instructions for your E-FEEL 900 S mountain bike?

INSTRUCTIONS AND CERTIFICATE OF COMPLIANCE

Need the certificate of conformity for your E-FEEL 900 S mountain bike?

ROCKRIDER E-FEEL 700S: user guide, repairs

Need the user instructions for your motor?

INSTRUCTIONS AND CERTIFICATE OF COMPLIANCE

Need the user instructions for your brakes?

ROCKRIDER E-FEEL 700S: user guide, repairs

Need the user instructions for your display?

INSTRUCTIONS AND CERTIFICATE OF COMPLIANCE

Need instructions for your braking system?

INSTRUCTIONS AND CERTIFICATE OF COMPLIANCE

Need instructions for your fork? 

ROCKRIDER E-FEEL 700S: user guide, repairs

Need instructions for your shock?

INSTRUCTIONS AND CERTIFICATE OF COMPLIANCE

Need instructions for your drive train? 

INSTRUCTIONS AND CERTIFICATE OF COMPLIANCE

Need the torque for your frame?

ROCKRIDER E-FEEL 700S: user guide, repairs

Need instructions for your dropper seat post?

ROCKRIDER E-FEEL 700S: user guide, repairs

Need the instructions for your mountain bike wheels?

Rockrider e-ST900 Electric Mountain Bike

Our commitments

Rockrider provides a lifetime warranty on your MTB's frame, handlebar and stem (under normal conditions of use).

All other parts have a 2-year warranty.

Your feedback matters!

Whether it's good or bad, we want to know. Here's why your feedback is so important:

  • Rockrider e-ST900 Electric Mountain Bike

    To have your say at any
    time

    Your feedback tells us how you feel about the quality of our products!

  • Your feedback matters!

    to help other sports users

    Your feedback helps other customers decide which product is right for them!

  • Your feedback matters!

    to help improve our products

    We use your feedback to improve the design of our new products!