Unselected
vtt_rockrider_EXPL50

REF: 8754796, 8802150, 8802151, 8803702, 8803704

ROCKRIDER EXPL 50 MOUNTAIN BIKE

2024

Designed to help you break new ground on your first forays into mountain biking. Push yourself and have fun as you take on the obstacles in your path and soak up nature.

Unselected

First use

INFLATING YOUR TYRES

The recommended average tyre pressure is 2.0 bar.

If you're looking for more comfort and grip AND/OR if you weigh under 70 kg, you can reduce the pressure by 10% but without dropping below 1.8 bar (the minimum recommended pressure). On abrasive terrain, however, this will increase the risk of punctures.

You should check the pressure of your tyres regularly.

ADJUSTING THE HEIGHT OF YOUR HANDLEBARS

Your handlebar comes set to the most raised position, which is the most comfortable position for riding.

For improved aerodynamics and more efficient pedalling, you can lower your handlebar so that your body leans forward and adopts a more racing-like position.

ALIGNING YOUR HANDLEBAR

Check out this video to learn how to align your handlebars.

ADJUSTING THE STIFFNESS OF YOUR FORK

The BTWIN U-Fit fork has been designed to make adjusting it as easy as can be.
A genuine innovation: just turn the thumbwheel on the fork until your weight appears in the window.

This will make the spring harder or softer, in line with your weight.

BEDDING IN YOUR BRAKES

There's no need to bed in your V-brakes and pads.

You should know, however, that when the pads come into contact with the black trim on your rims for the first time it will make quite a noise.

Don't worry, though. As you use your bike and apply the brakes more and more, a fine film of rubber will form over the rims and the noise will gradually disappear.

ADJUSTING THE HEIGHT OF YOUR SADDLE

Check out this video to learn how to adjust the height of your saddle.

How to set up your 90 degrees saddle ?

CHANGING YOUR PEDALS

Check out this video to learn how to replace your pedals.

CAN YOU FIT DISC BRAKES?

Your EXPL 50 mountain bike has been designed to help you break new ground on your first forays into mountain biking, thanks to specially adapted V-Brake technology.

Unfortunately, you can only fit your bike with disc brakes if you change the fork (for the front brakes) and frame (for the rear brakes).

Unselected
equipment-mountain-bike-st520-rockrider

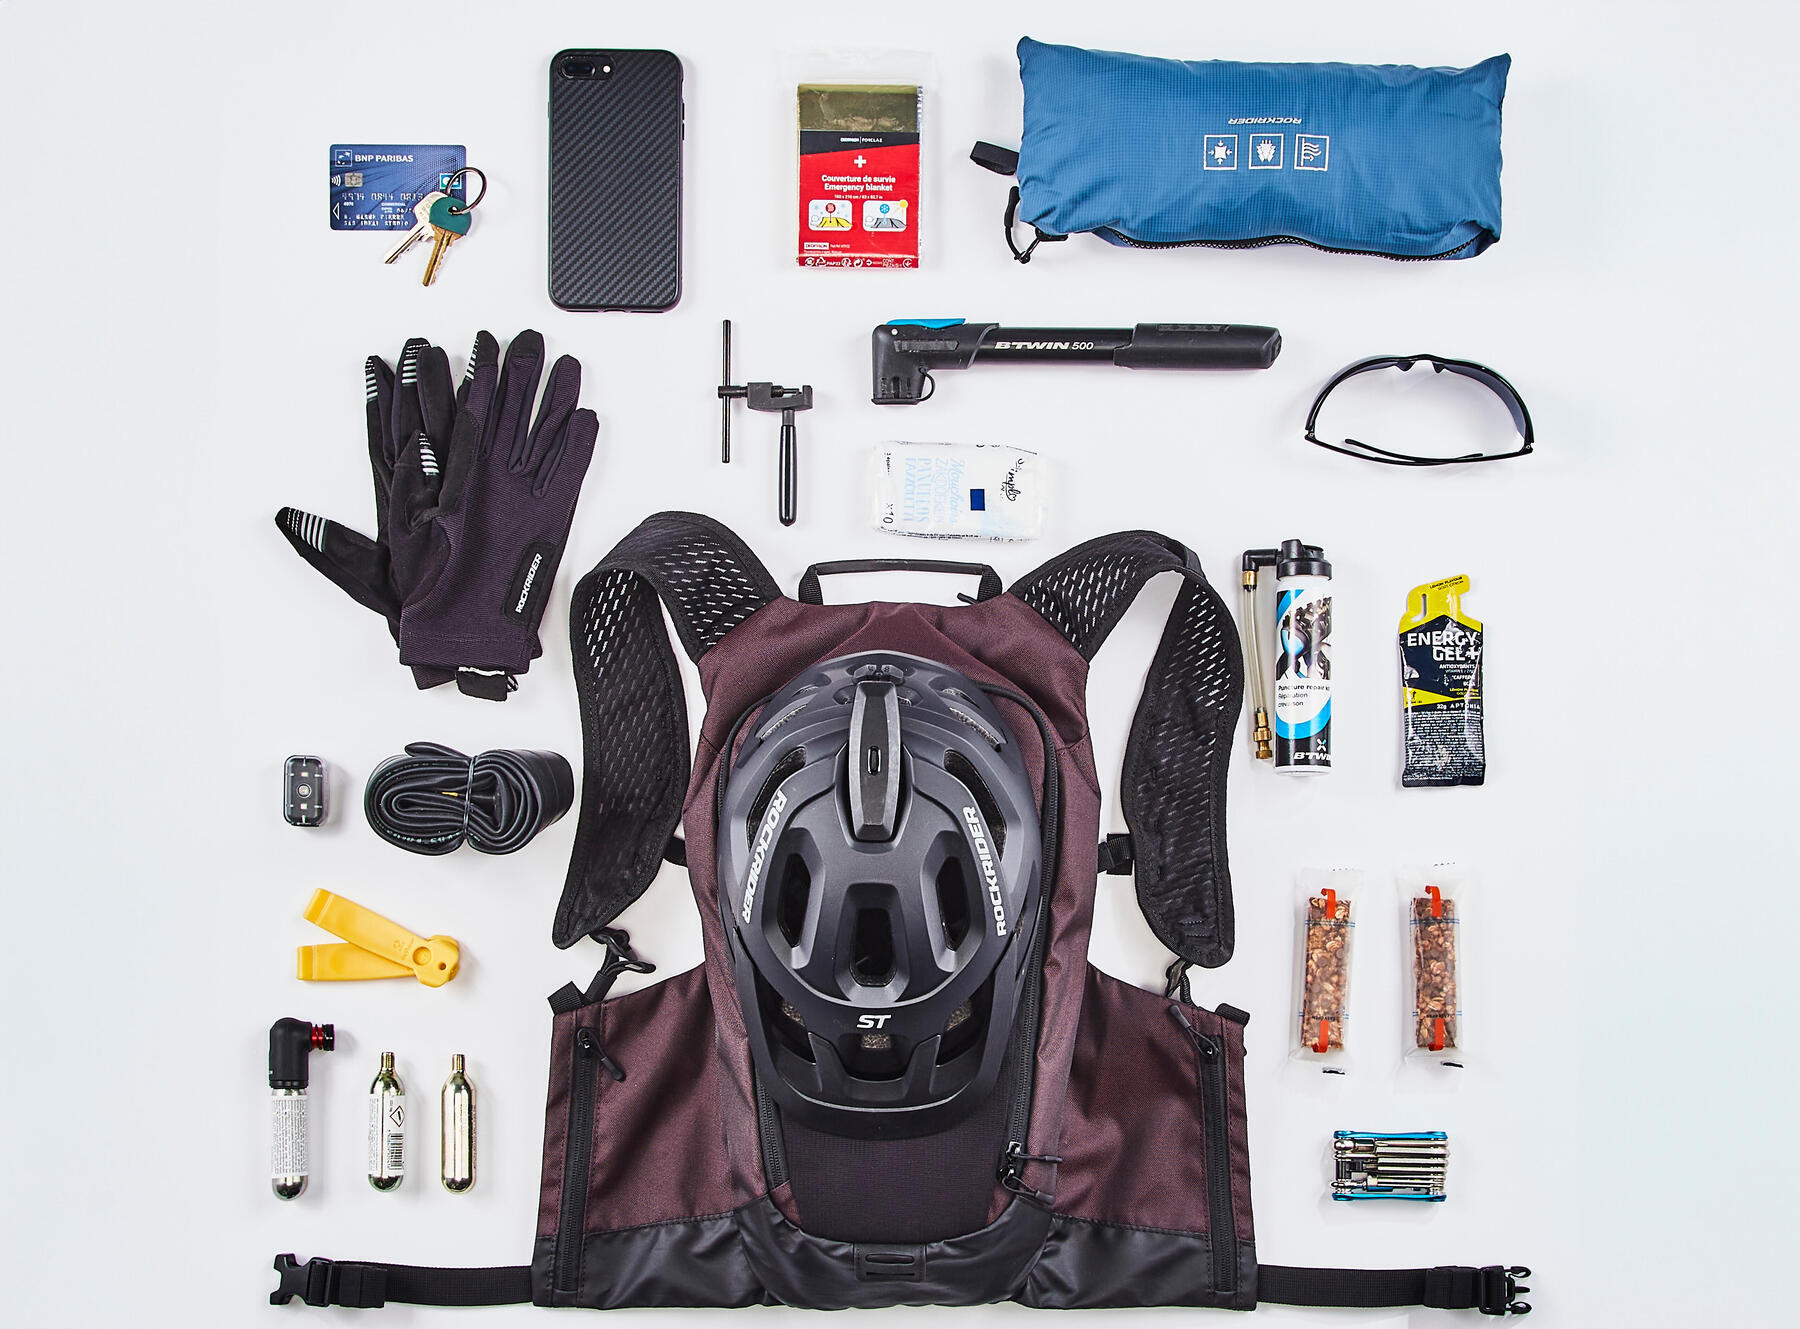
THE RIGHT EQUIPMENT IN CASE OF A HICCUP

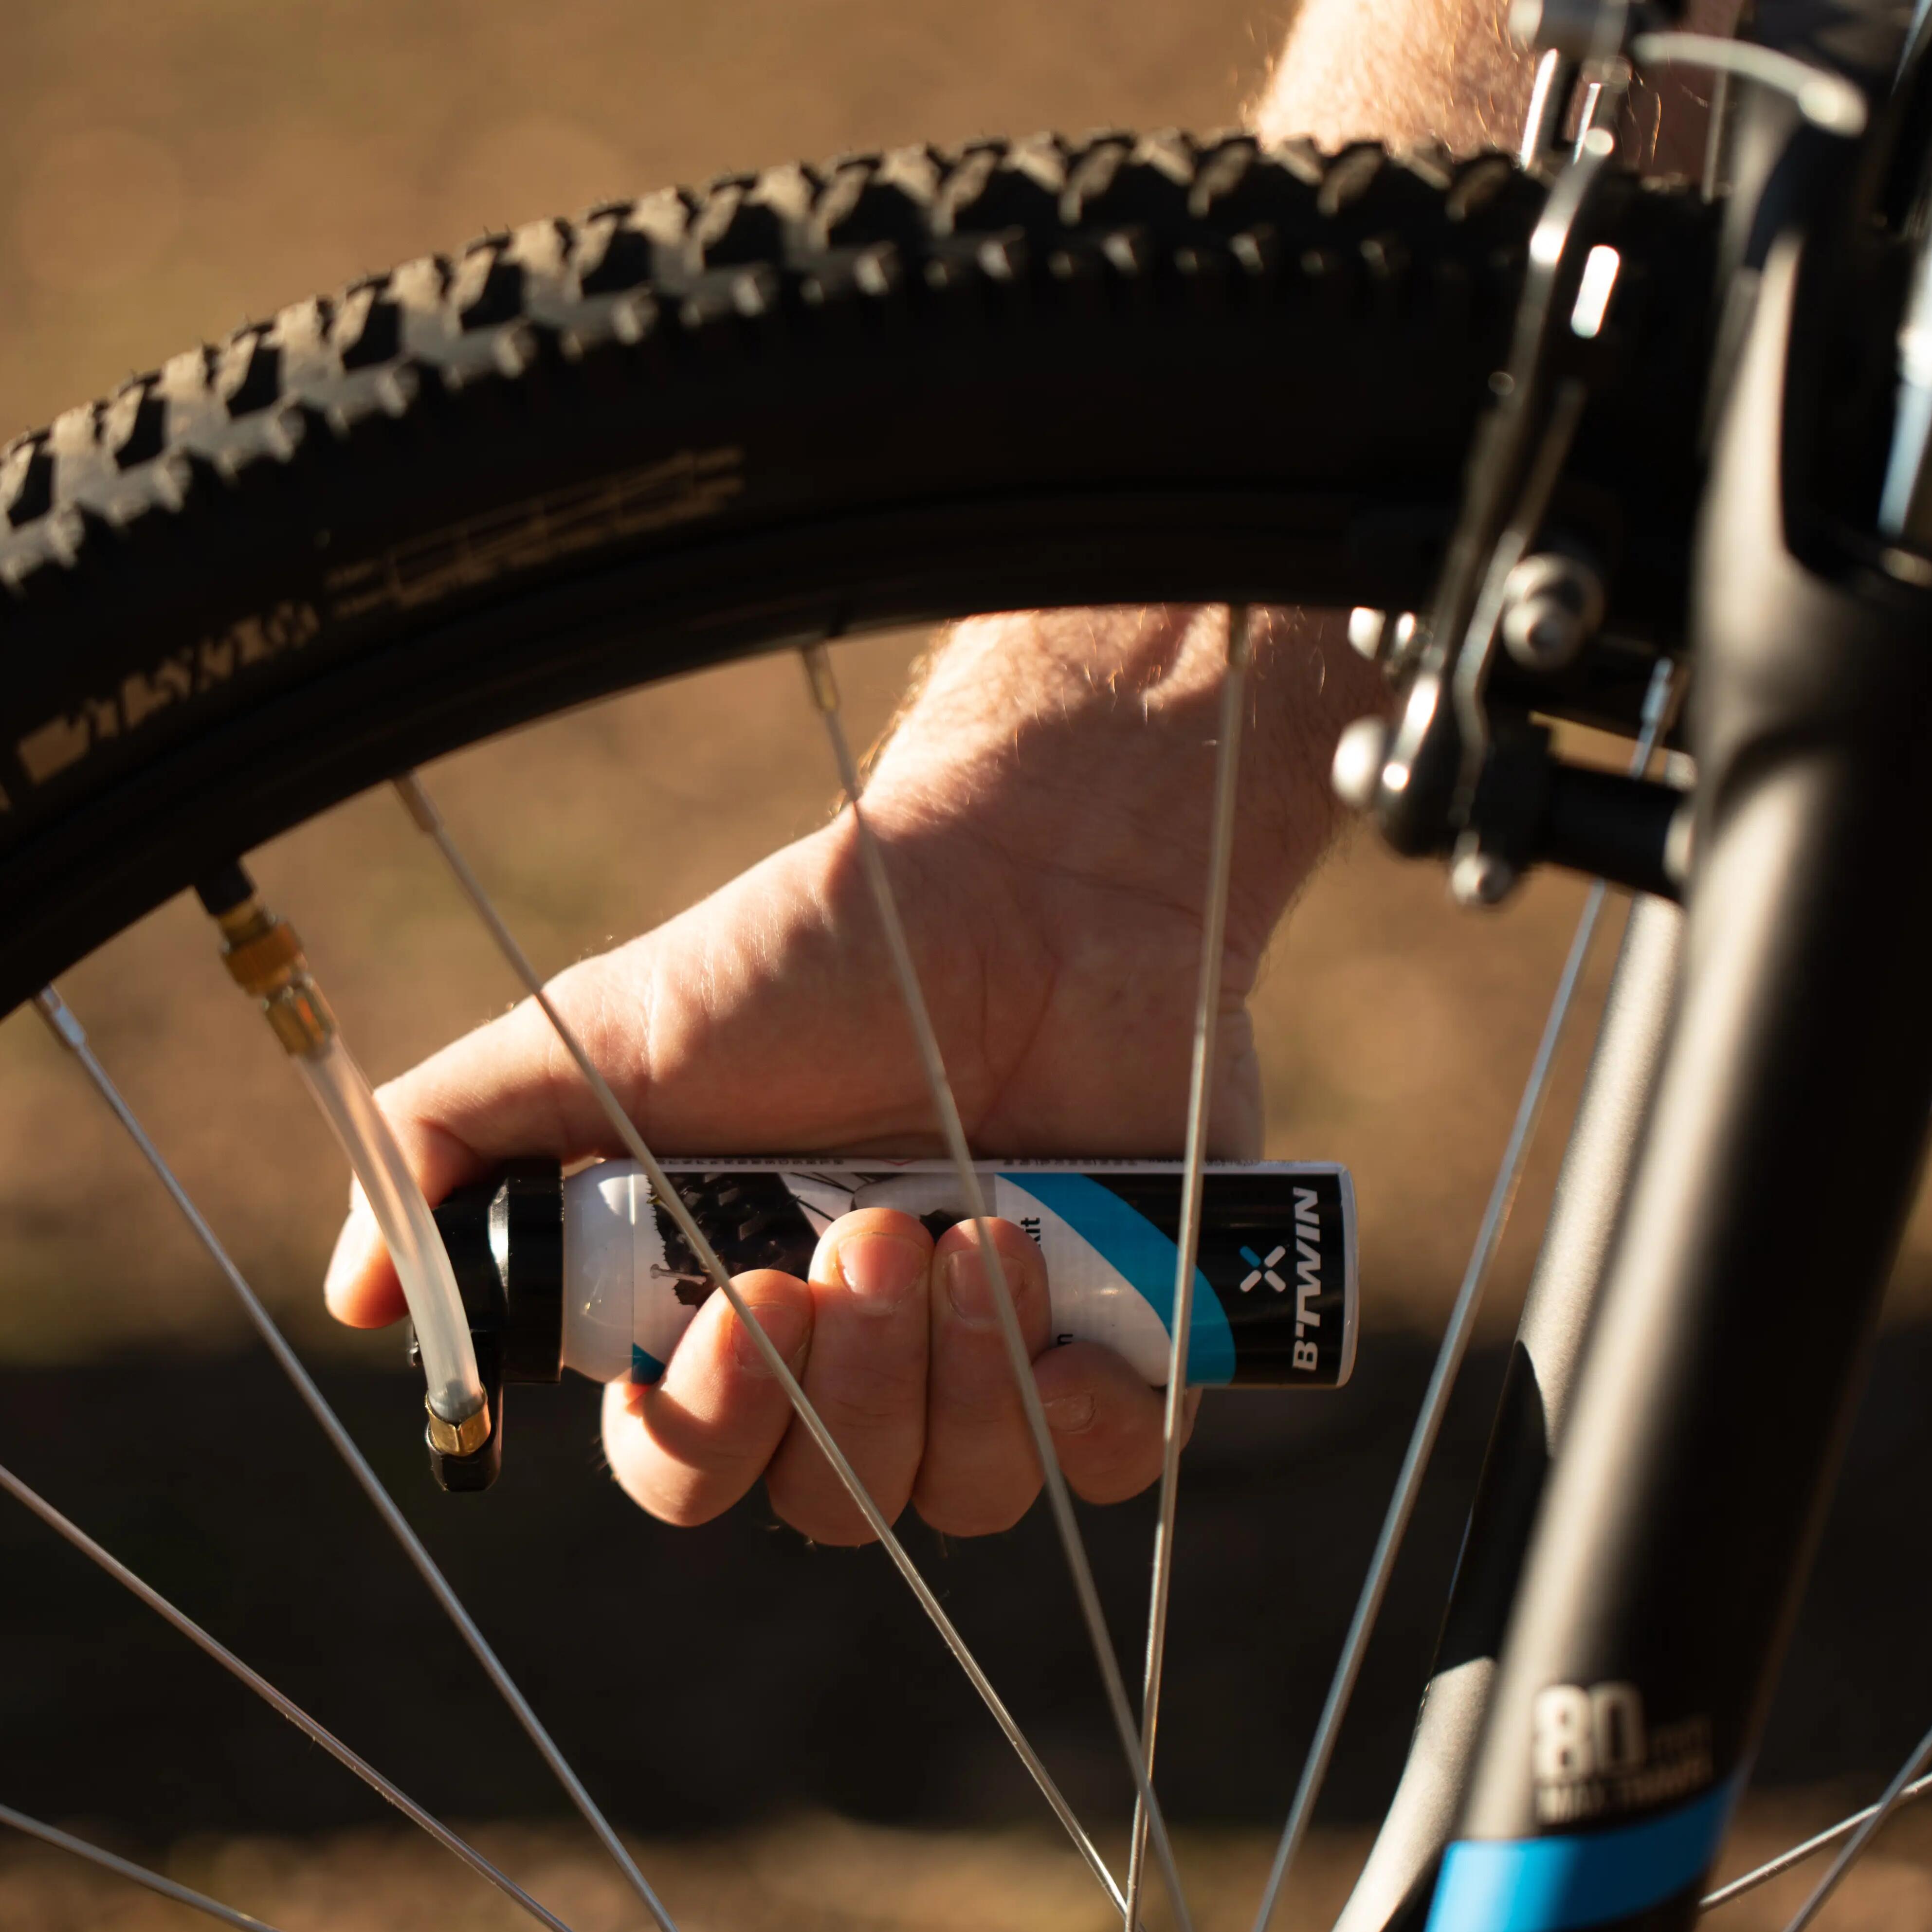
You need to have the right equipment with you when you're out and about on your mountain bike so that you can take care of a puncture, a broken chain or any other type of setback. Here's a selection of products that can get you out of a tight spot or two.
Unselected

HAVE A PROBLEM?

A WHEEL IS BENT

When you take your new bike out for a ride for the first time, a lot of parts can shift and fall into place.

You'll hear the spokes on your wheels creak because of the residual torsion in them.

Your bike is equipped with sturdy double-walled rims (on the inside of the wheel), so your wheels should be straight and not bent.

In the unlikely event a wheel is or becomes slightly bent or twisted, please bring your bike to any Decathlon workshop and they will make the adjustment free of charge, either:

1. As part of a free check-up in the first six months following the date of purchase.

2. As part of our €1 damage insurance plan (valid for two years).

Message for parents: Some technical tricks popular with young riders (wheelies, skids, jumping a kerb, etc.), if repeated too frequently, can also cause some play in the hub of the back wheel and cause the rims to twist.

If your child performs these tricks on a regular basis, speak to them and let them know about these problems.

REPAIRING A FLAT

Unfortunately, a flat tyre is something that can happen to any of us.

- The terrain (thorns, brambles, glass, nails, etc.)

- Or the way the bike is used (jumping over obstacles such as: stones, steps, kerbs, potholes, etc.)are often the cause of, respectively, perforation punctures (small holes) or pinch punctures (small slits close together).If there are multiple punctures, this may instead be explained by:

- Incorrect assembly of the wheel in our factory causing a spoke head to pierce the inner tube

- A faulty inner tube or tyre (with holes)

- A poorly repaired puncture and a foreign body (spike, glass, metal shard, etc.) left in the rim or tyre.It's important to correctly diagnose the puncture and remove any foreign bodies before repair.Don't know how to remove/put back a tyre, or how to repair or replace an inner tube?

1- The simplest thing is to not even touch your wheel. Instead, get yourself out of trouble using a puncture repair spray:

Screw the end of the sealant tube onto the valve of the flat tyre (valve should be in the lower position) and squeeze and hold to inject the foam into the inner tube. The tyre should become full and firm once more, allowing you to get back home safely.

2- If you've purchased our €1 breakdown insurance, you can have your tyre repaired at any Decathlon workshop.

3- To repair or replace the inner tube yourself, please refer to one of the video tutorials which you'll find below.


Rockrider ST 100 MTB Tyre Puncture
YOUR FORK IS TOO STIFF

There are a couple of things you can do to "soften" your fork:

1. Adjust the stiffness: check the "ADJUSTING THE STIFFNESS OF YOUR FORK" section

2. Do some basic maintenance: you can regularly care for your fork with a small oil can. Simply put a few drops of oil on the fork pivots and work the fork to help the oil penetrate into the blades.

3. Have the bike fully serviced in a workshop.

YOUR FRONT GEARS ARE NOT SHIFTING PROPERLY

There are several things you can do to ensure your front gears shift properly:


1/ Check the cable and housing: housing ends that are out of position can obstruct the derailleur cable when it is being pulled and prevent the gears from shifting smoothly.

If a housing end is out of position, push it back into place.

2/ If the derailleur is not moving even after you have turned the grip shifter, it probably means that the cable and its housing have seized up. You will need to have the cable and housing replaced.

To replace them yourself, watch the video under "CHANGING A GEAR CABLE". Alternatively, bring your mountain bike to a Decathlon workshop.

REMEMBER: You can have all the settings on your bike checked for free in the first six months following the date of purchase.

NB: If you regularly ride your MTB in wet or muddy conditions, or if you regularly wash your bike with lots of water, then your cables and cable housing will need to be replaced more frequently. Washing your bike using a pressure hose is highly discouraged as it can push dirt and dust into the cable housing.

REAR GEARS DON'T SHIFT PROPERLY

There are several things you can do to ensure your rear gears shift properly:

1. Check the position of the housing ends:

1a. Housing ends that are out of position can obstruct the derailleur cable when it is being pulled and prevent the gears from shifting smoothly. If a housing end is out of position, push it back into place.

1b. If the derailleur is not moving even after you have engaged and disengaged the grip shifter, it probably means that the cable and its housings have seized up. You will need to have the cable and housing replaced.

You can choose to replace them yourself by watching the video under "CHANGING A GEAR CABLE" or bring your mountain bike to a Decathlon workshop.


2. Check that the derailleur dropout isn't bent: A bent hanger causes the derailleur to be out of alignment and therefore unable to function correctly. Stand behind your bike and check the alignment of the derailleur.

If the dropout is twisted or broken, take your bike to a DECATHLON workshop to have it replaced.

REMEMBER: You can have all the settings on your bike checked for free in the first six months following the date of purchase.

NB: If you regularly ride your MTB in wet or muddy conditions, or if you regularly wash your bike with lots of water, then your cables and cable housing will need to be replaced more frequently. Washing your bike using a pressure hose is highly discouraged as it can push dirt and dust into the cable housing.

THE BRAKE LEVER TOUCHES THE HANDLEBAR TOO EASILY BEFORE BRAKING STARTS

The lever is spongy and/or touches the handlebars before you can brake:

Loosen the thumbwheel and the locknut to adjust the cable tension so that the brake lever is firm but not too hard. Once you've got the setting right, tighten the locknut against the brake lever.

Drop in at a DECATHLON workshop and get one of our technicians to do it.

YOUR CHAIN HAS BROKEN

Has your chain broken? You have two options:

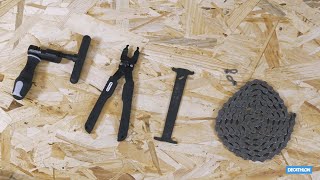
1- You can repair it yourself using our video tutorial. You'll need a quick-link and a chain tool. 

2- Visit a Decathlon workshop to have the operation done by one of our technicians.

YOUR BRAKES MAKE A NOISE

You should know that when the brake pads come into contact with the black trim on your rims for the first time it will make quite a noise.

Don't worry, though. As you use your bike and apply the brakes more and more, a fine film of rubber will form over the rims and the noise will gradually disappear.

YOUR FORK HAS SEIZED UP OR IS NOT SLIDING VERY WELL

Your suspension fork operates best when the temperature is 5°C and over.

Below this temperature, the suspension can stiffen and even lock up, but without suffering damage.

It will start to function normally again when the temperature rises above 5°C.

If you detect a fault, however, or you are not sure if your fork is in good condition, take it to your nearest DECATHLON workshop and have it checked straightaway.

Unselected

MAINTAINING YOUR MOUNTAIN BIKE

CLEANING YOUR MTB

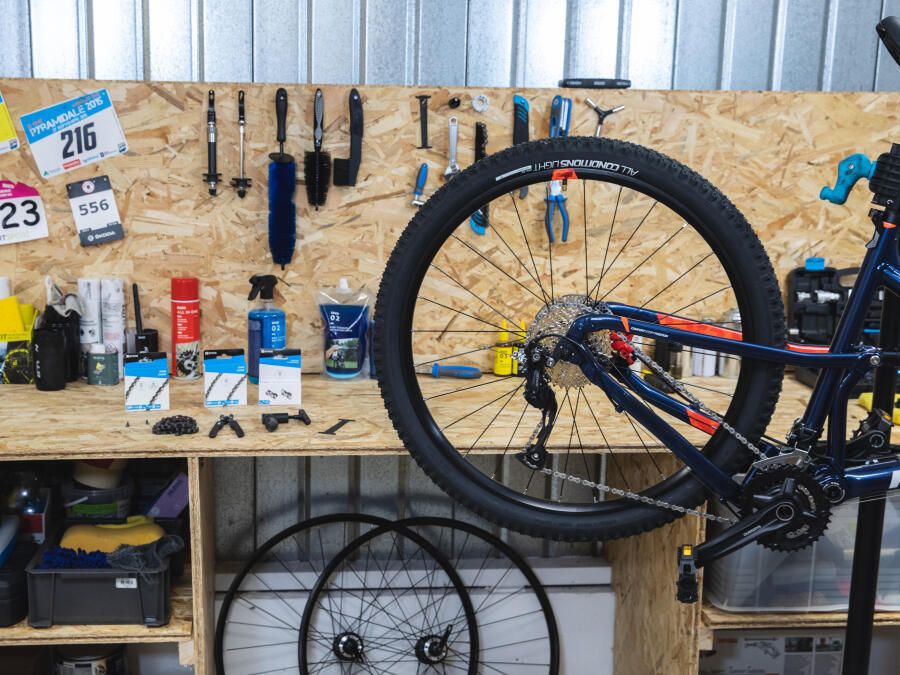
To clean your bike properly, you'll need some bike cleaner, a sponge, and a brush.

Rinse off the bike with a hose and apply the bike cleaner.

Next, use the sponge and brush to work the cleaner in.

It's essential to give the bike cleaner some time to act before rinsing the bike off.

When hosing the bike off, make sure you do so from a few steps away so as not to damage the mechanical components.

Lastly, dry your bike using a cloth that is dry, clean and soft.

CLEANING AND LUBRICATING YOUR DRIVE TRAIN

To clean and lubricate your drive train, you will need a degreaser spray, a soft bristled brush and a lubricant.

The first step involves covering the brake disc with a clean cloth to prevent any lubricant from getting on to it.

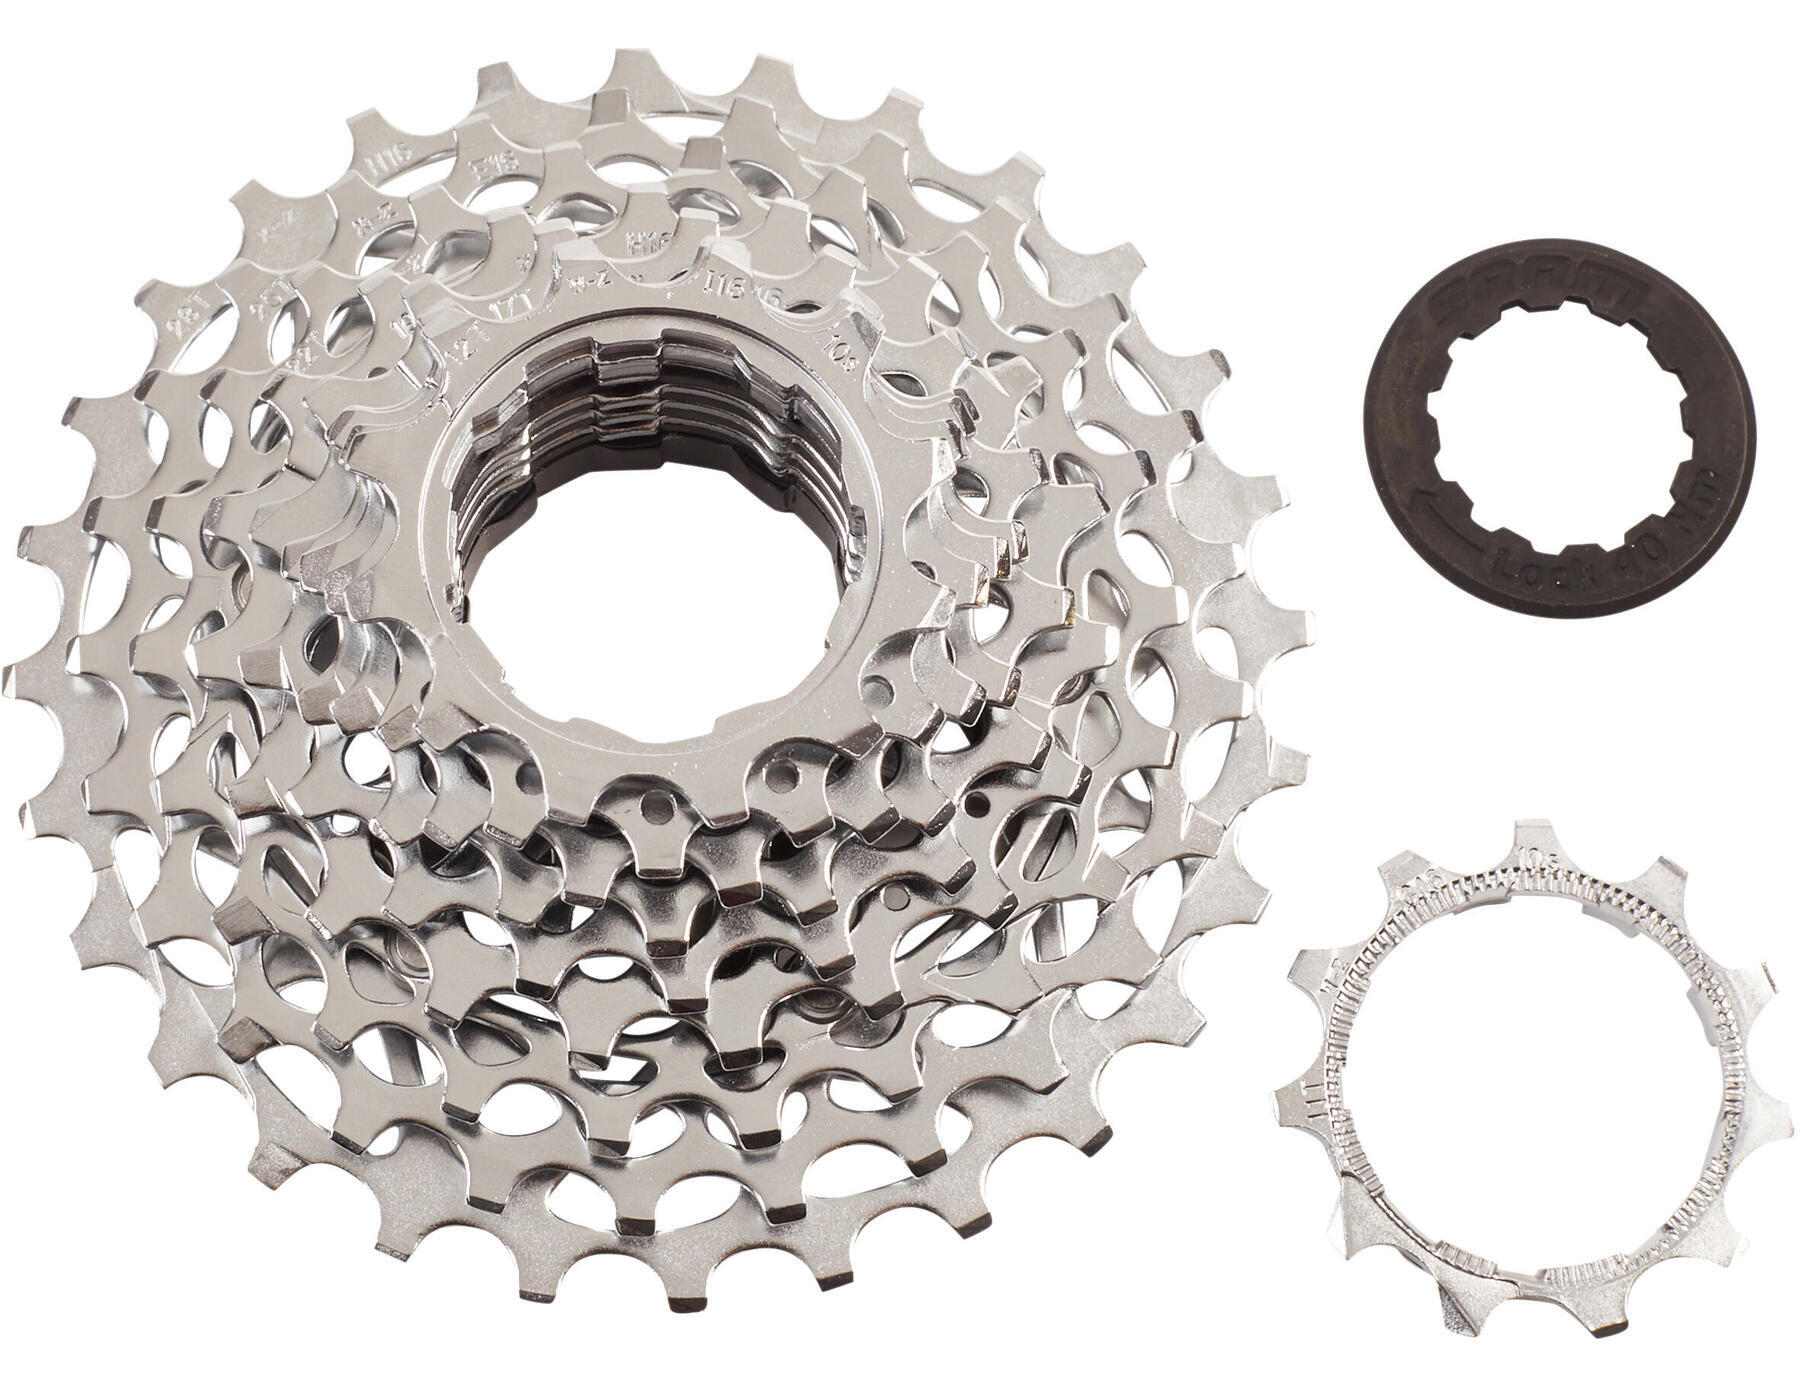
Next, spray the degreasing agent onto the entire drivetrain, scrub the cassette, the chain, and the rollers on the derailleur with the brush.

Let it sit for a few minutes before rinsing with a hose from a moderate distance.

Wait a little while to let the drive train dry before moving on to the greasing step.

For greater effectiveness, shake the can of bike lubricant and spray it on the inner side of the chain.

REPLACING A DRIVE TRAIN CABLE

Is your drive train cable dirty, rusty, damaged, or do you find changing speeds to be difficult or unreliable? 

If so, you need to replace your drive train cable. To do so you'll need a pair of pliers, a screwdriver, a wirecutter, an Allen key, and a new set of derailleur cables and cable housing.

First, remove the cable from its housing. Remove the hood from the gear shifter, move the indicator to the last gear and cut the cable. This will allow you to remove all of the cable and then the housing.

Cut the housing to size and fit the end caps on the end of the cable, which is now ready to fit.

Install the cable on the shifter and pull it through the housing. Once done, put the cover back on the shifter and attach the cable to the derailleur. To adjust the drive train, tighten the cable if you have a hard time shifting to higher gears, and loosen it if you have a hard time shifting to lower gears.

Once adjusted, cut the cable and put a cap on the extremity using a pair of pliers.

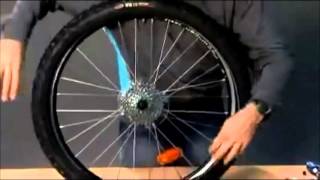
REMOVING YOUR REAR WHEEL

Check out this video to learn how to remove your rear wheel.

REPAIRING A FLAT TYRE

To repair a flat tyre, you will need: a bicycle pump, a basin with water, a dry cloth, and an inner tube repair kit.

Partially inflate the inner tube. Submerge the inner tube into the water to locate the puncture by the source of the bubbles.

Once you have located the puncture hole, dry off the inner tube with the cloth and rub the spot to be repaired using the sandpaper included in the inner tube repair kit.

This prepares the inner tube for glueing and ensures that the patch sticks to the inner tube as securely as possible.

Generously apply glue to the inner tube around the hole and wait 3 to 5 minutes.

Then apply the patch to the hole and hold it in place for a few minutes.

You can then fit your inner tube back into the tyre.

REPLACING THE CHAIN

To do this, you will need: a chain tool, a new chain, and a quick-link.

Put the chain on the cog and on the smallest chainring. 

Remove the quick-release link using the quick-release chain tool and then remove the chain from the drive train.

Put the new chain on the last of the cogs and on the smallest chainring. This makes it easier to determine its optimal length.

Pull the chain down, pass it under the upper pulley of the derailleur.

Once you've defined the correct length, use the chain tool to cut the chain.

Lastly, install the quick-link onto the chain, turn the pedal so as to position the quick-link on the upper part of the chain, and use your hand to apply pressure and ensure it is firmly locked in place.

CHANGING THE BRAKE PADS

Check out this video to learn how to replace your brake pads.

Unselected

COMPATIBLE ACCESSORIES

Fit your ST 100 mountain bike with the following accessories. We guarantee they are 100% compatible.

Unselected
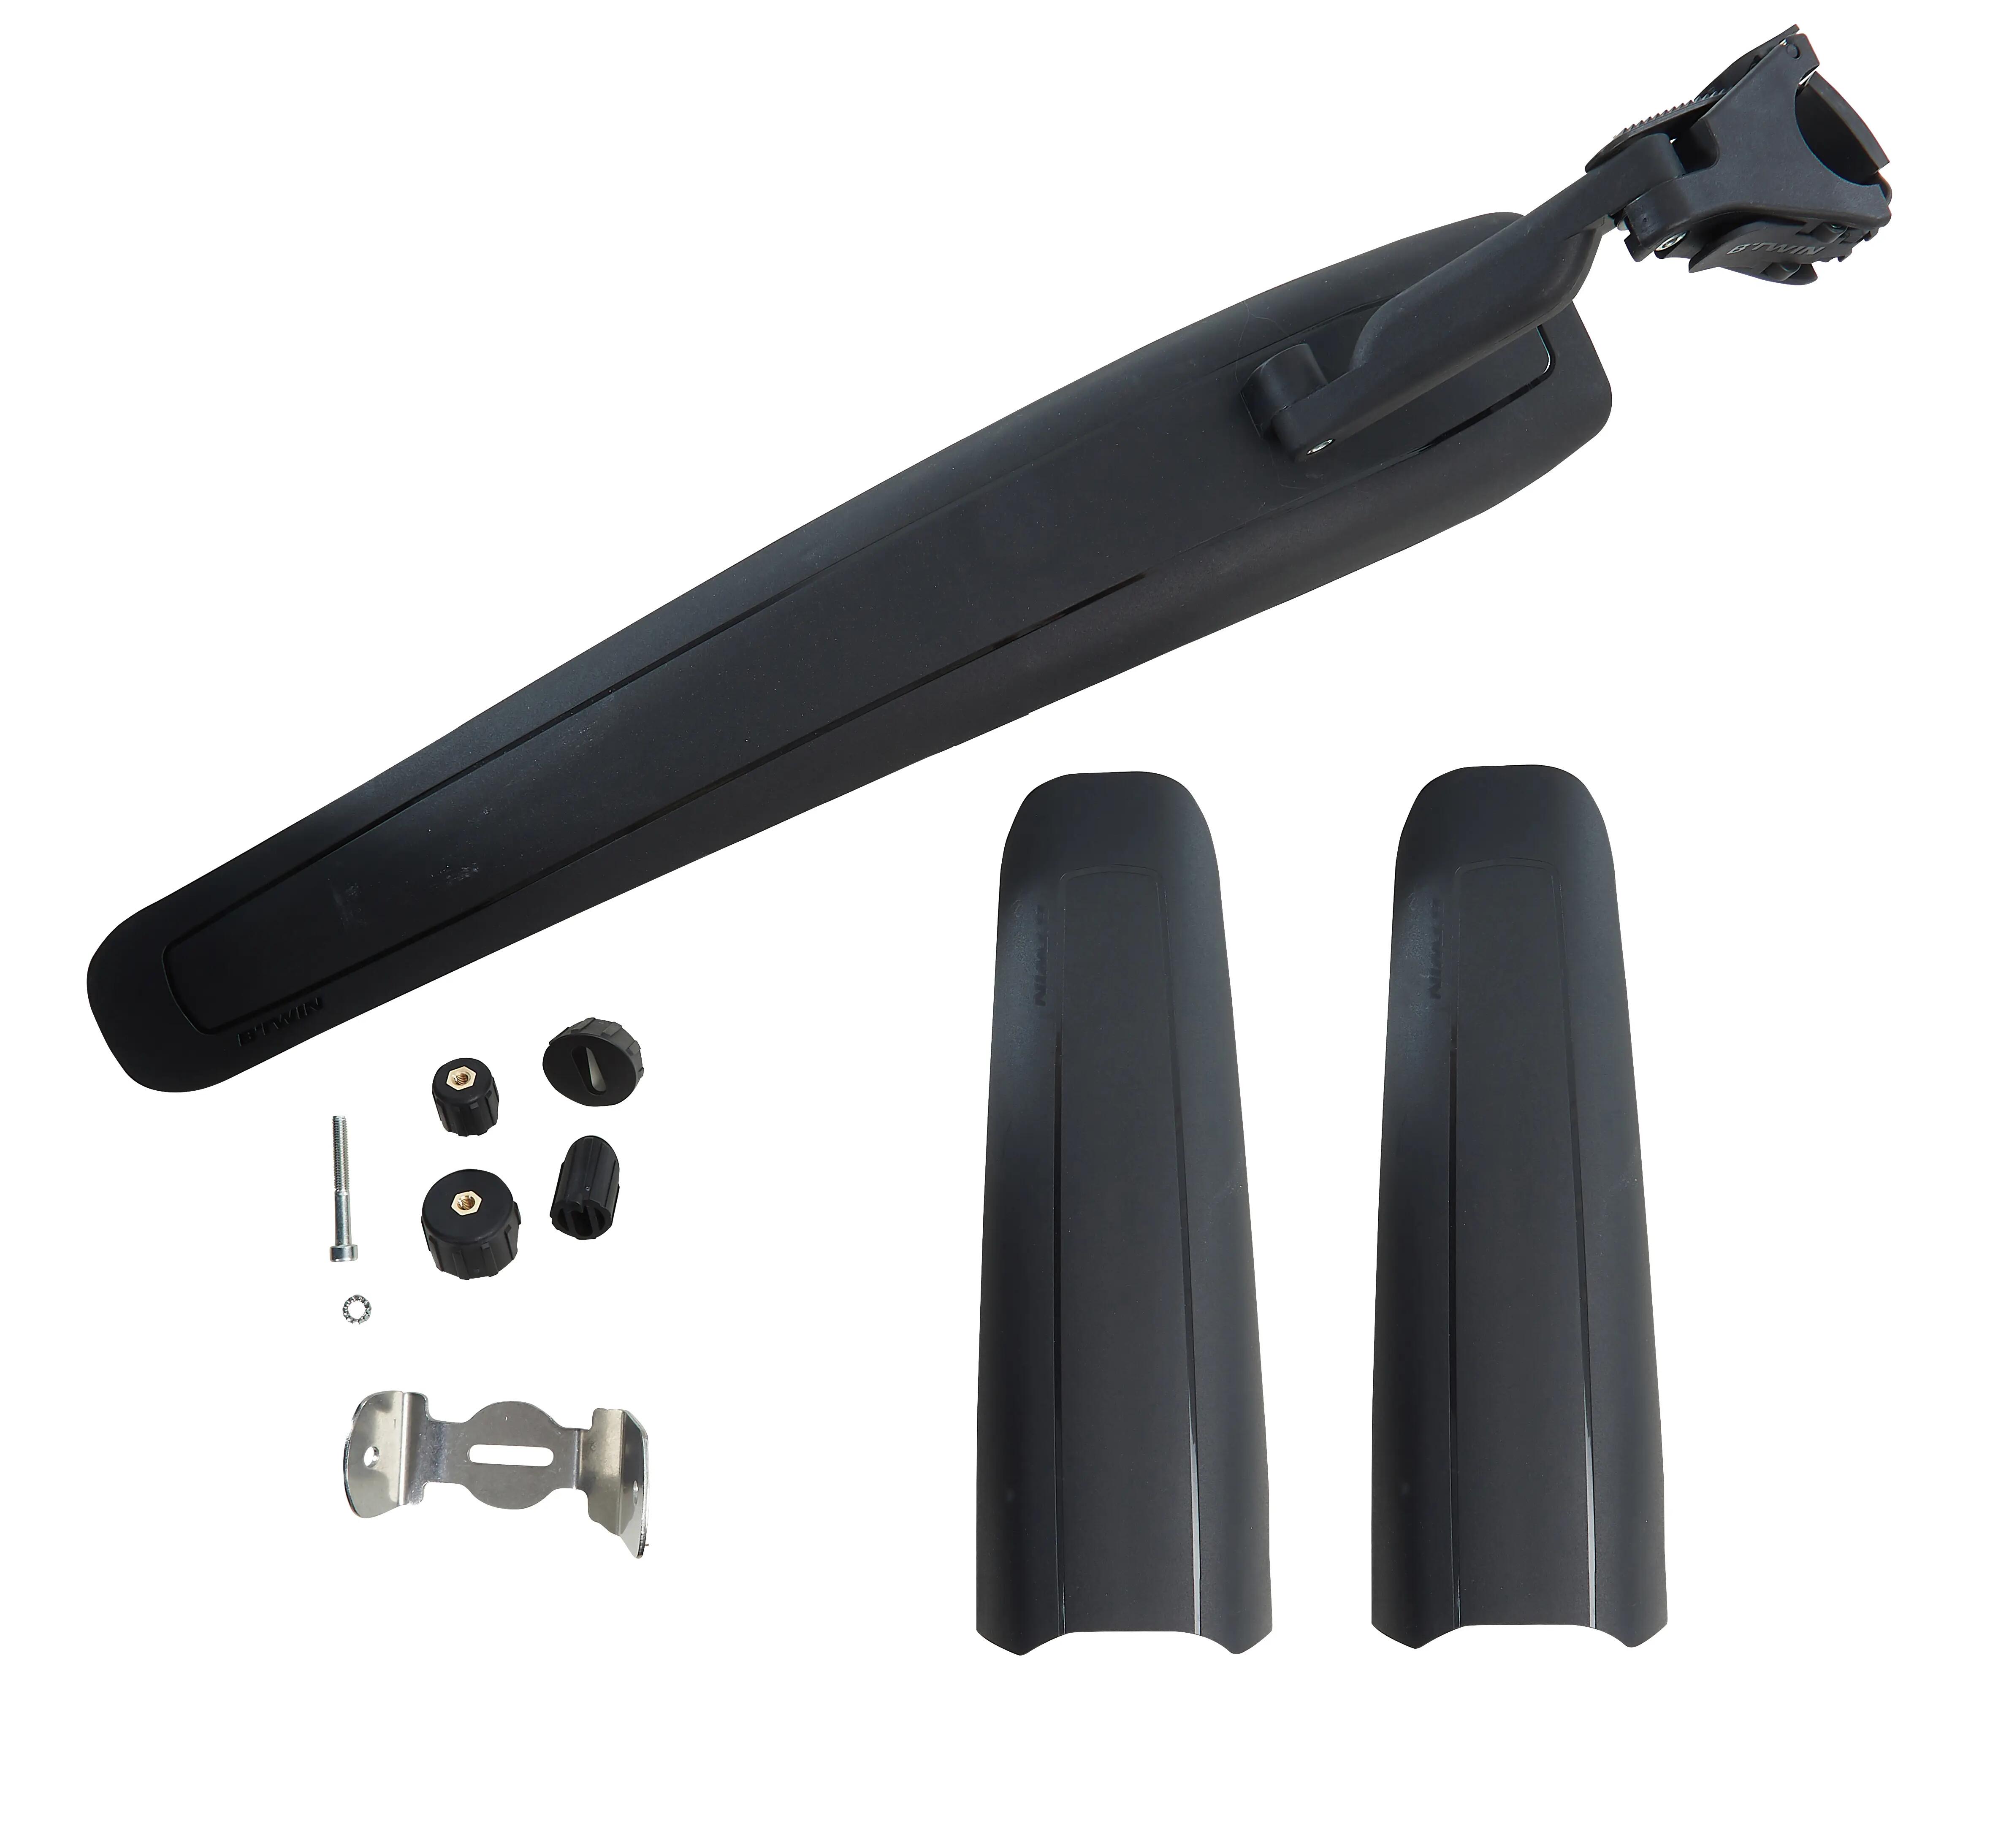
mountain bike mudguard kit

Fit the MOUNTAIN BIKE MUDGUARD KIT on your ROCKRIDER ST 100

ROCKRIDER ST 100 MOUNTAIN BIKE mudguard kit
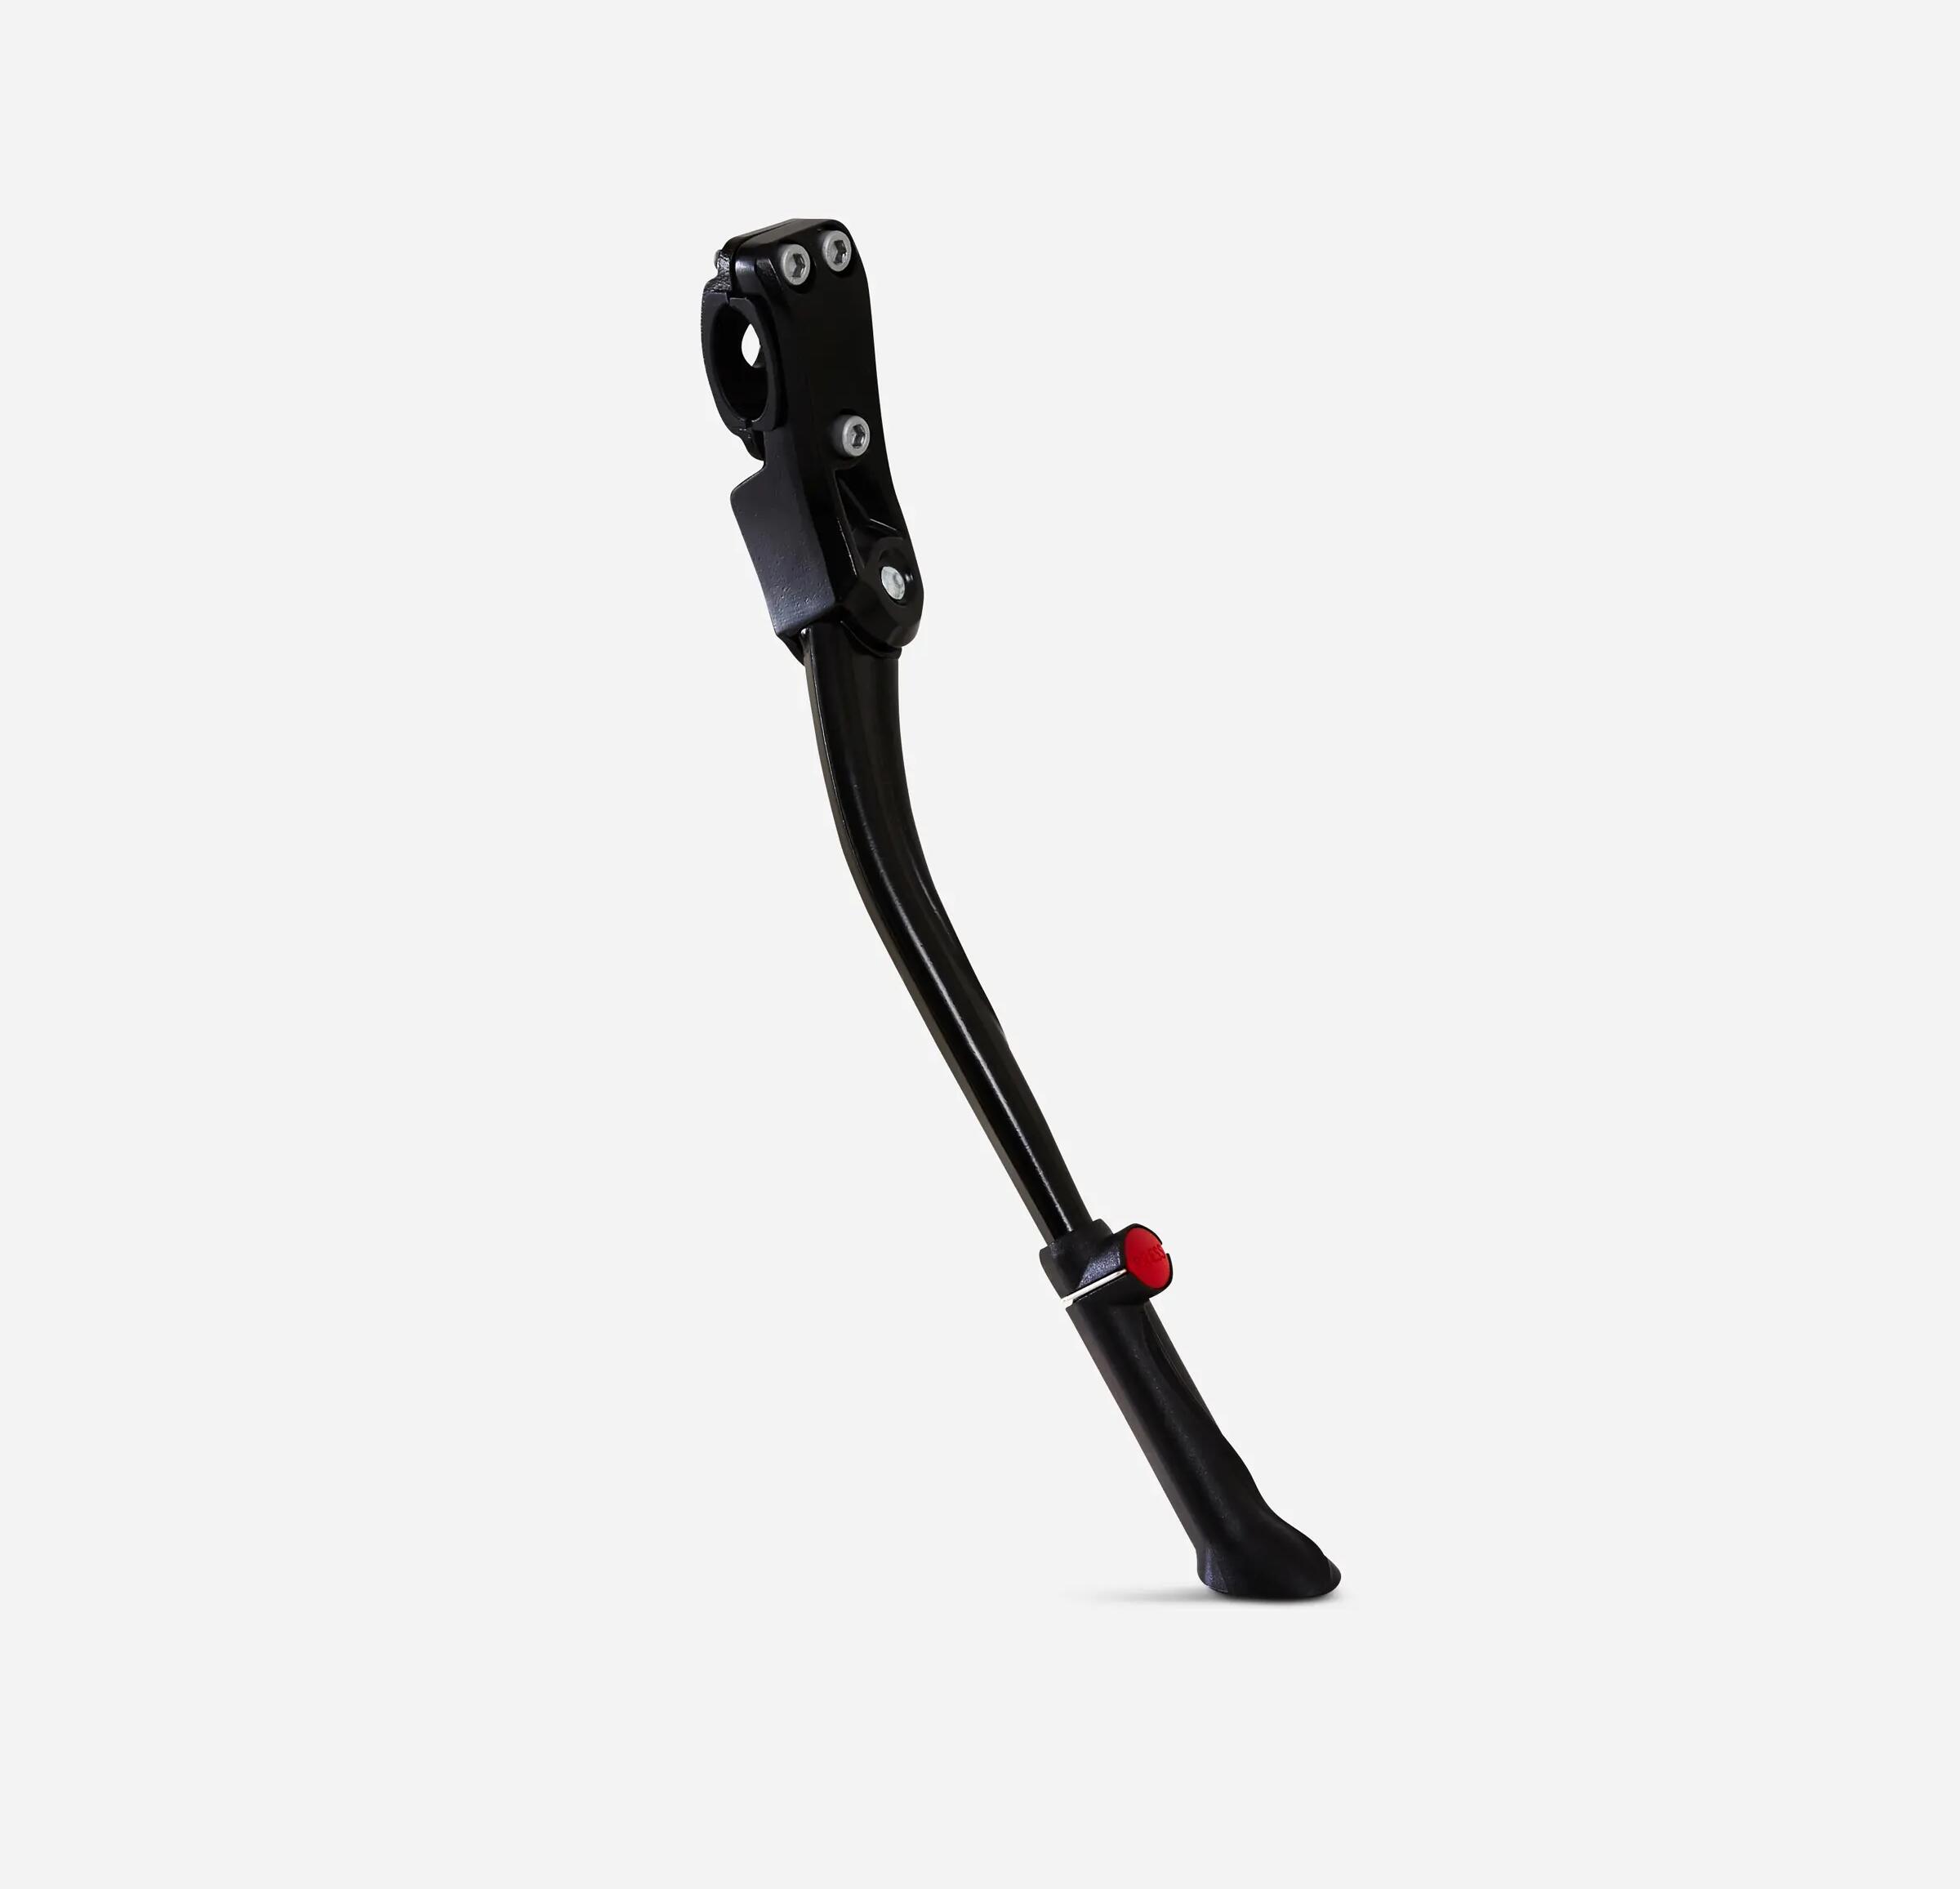
500 BASE STAND

Fit the 500 CHAINSTAY STAND on your ROCKRIDER ST 100.

ROCKRIDER ST 100 MOUNTAIN BIKE 500 CHAINSTAY STAND
500 BLACK BIKE BOTTLE CAGE

Fit the 500 BLACK MOUNTAIN BIKE BOTTLE CAGE to your ROCKRIDER ST 100.

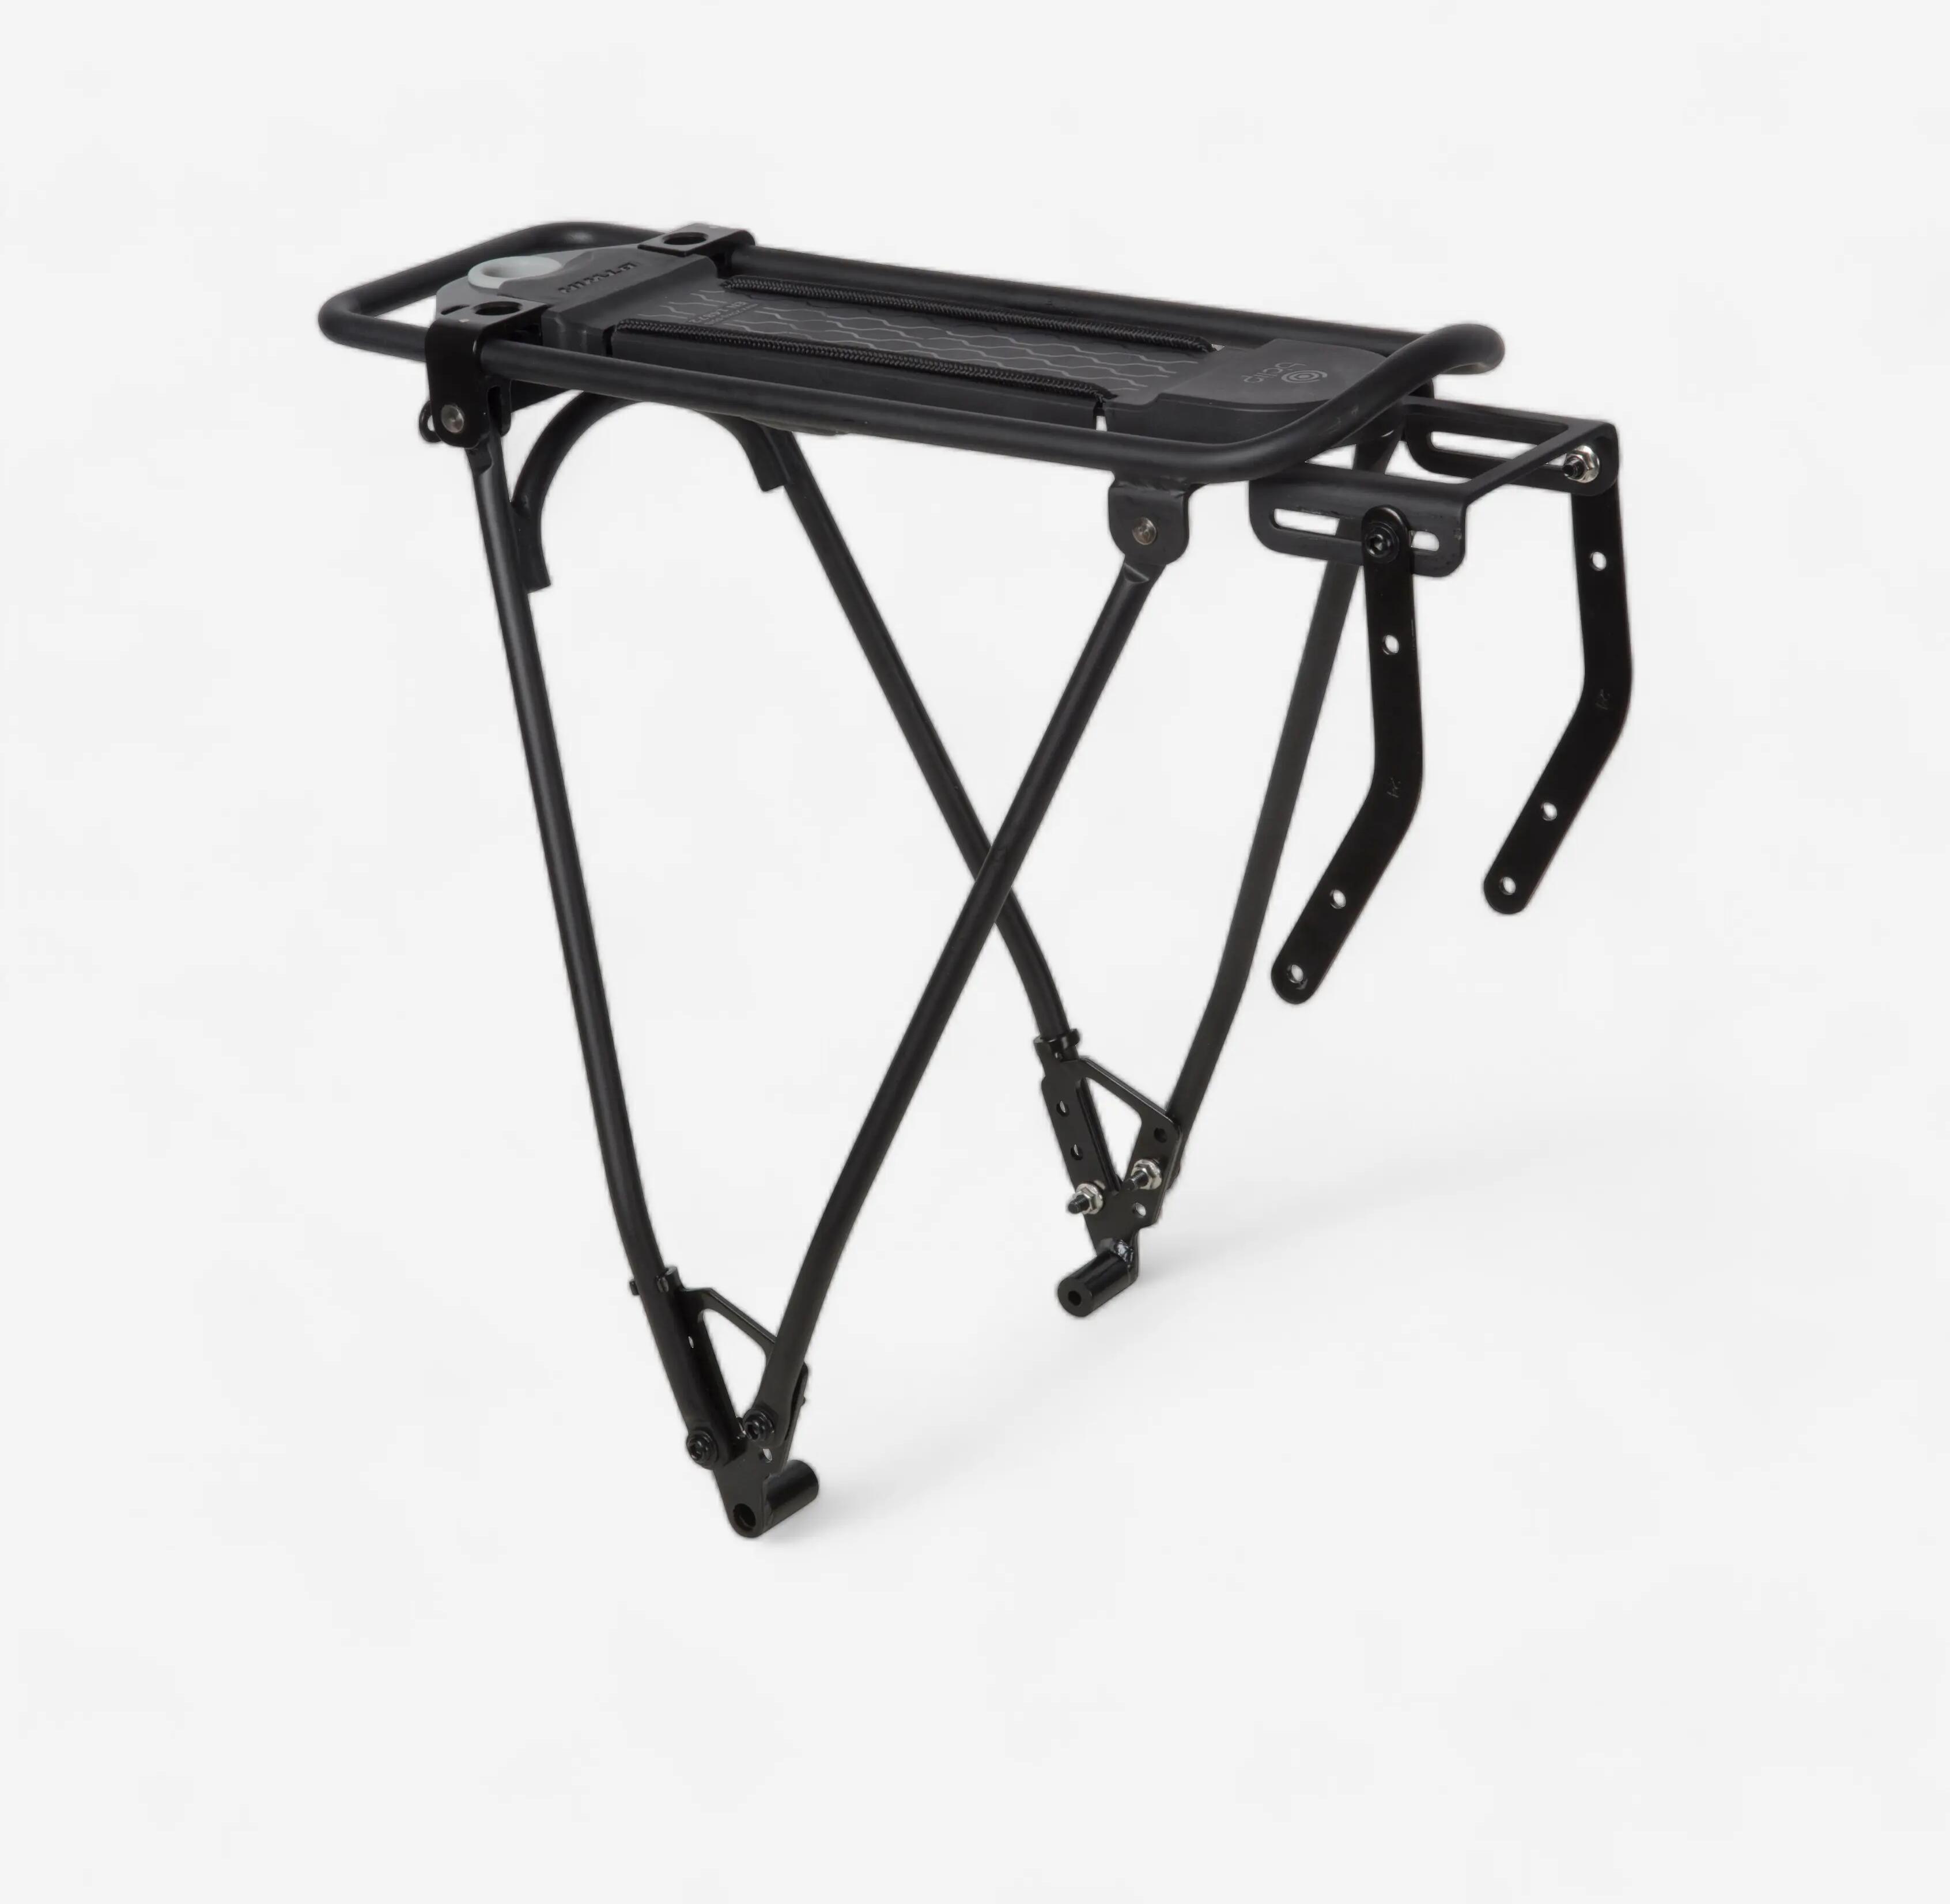
Pannier Rack 500 OneSecondClip

Fit the 500 ONESECONDCLIP PANNIER RACK to your ROCKRIDER ST 100.

ROCKRIDER ST 100 MTB 500 ONESECONDCLIP BIKE PANNIER RACK
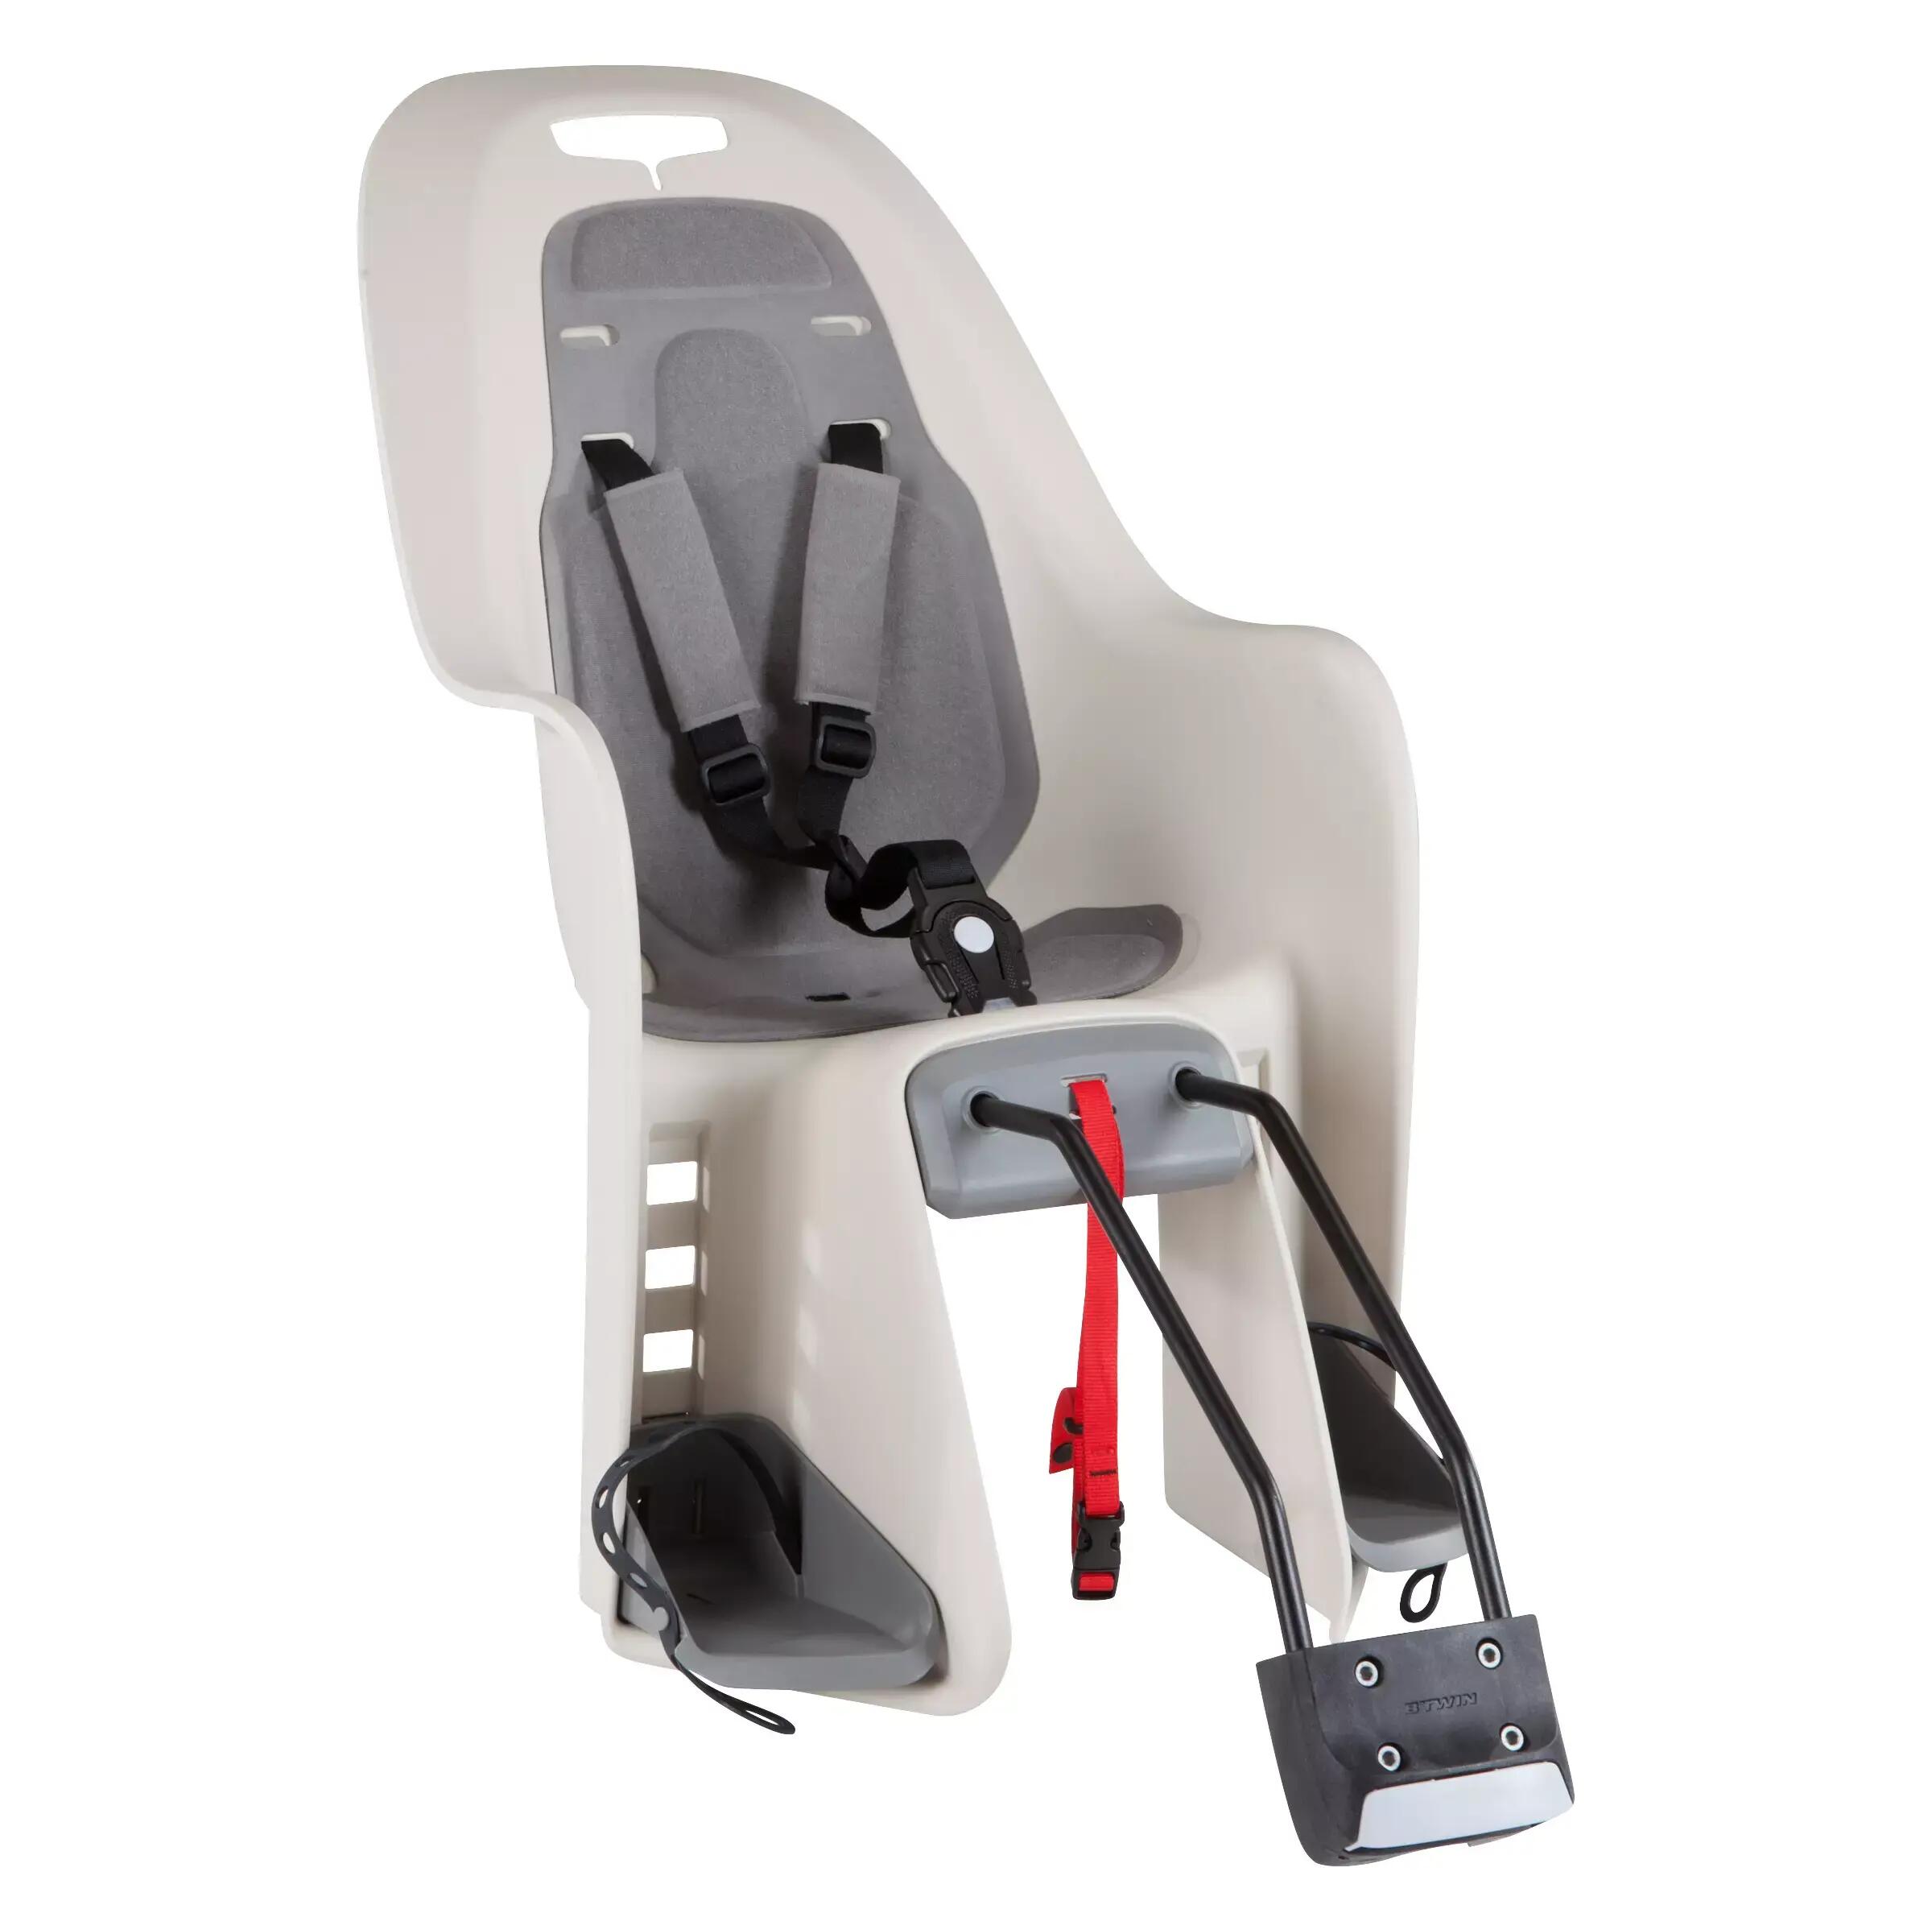
Child Seat 100 Frame

Fit the 100 FRAME CHILD SEAT to your ROCKRIDER ST 100.

ROCKRIDER ST 100 MTB FRAME CHILD SEAT 100
Unselected
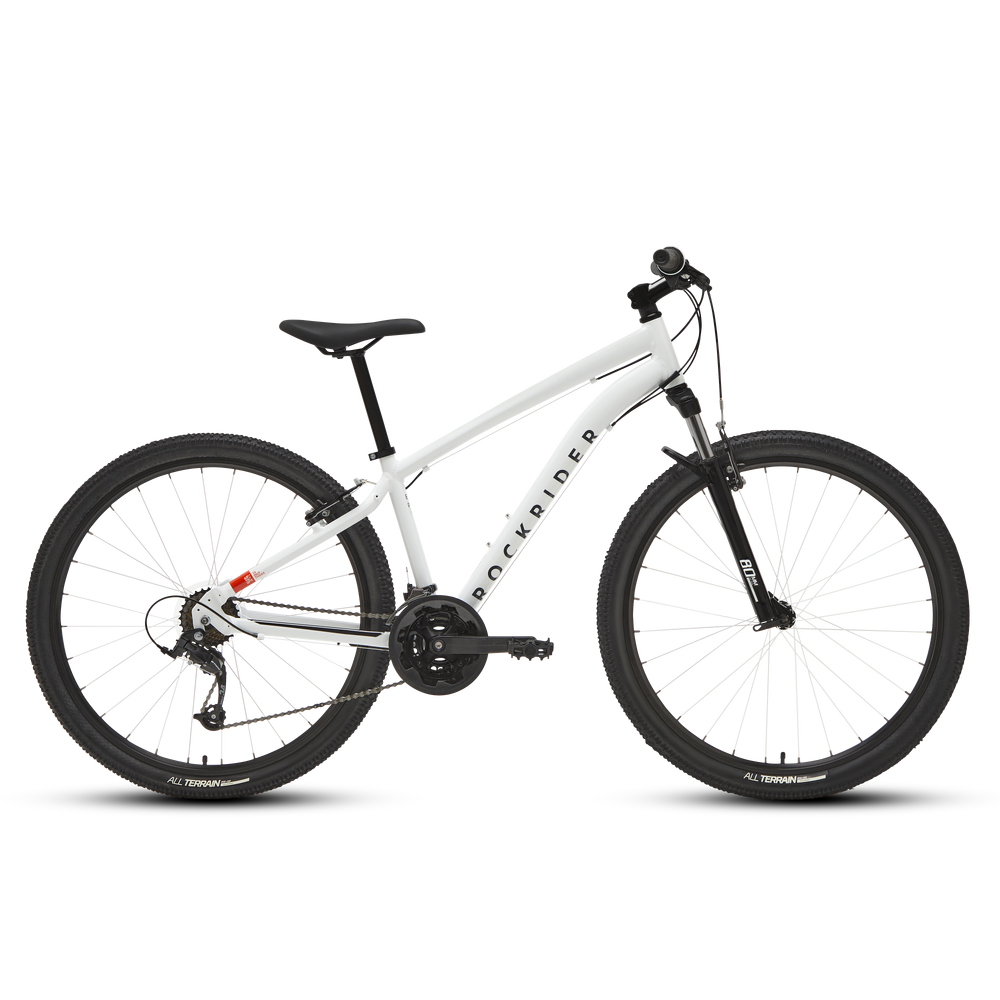
ROCKRIDER ST 100 MTB White

Spare parts

Need to replace a part on your bike? You'll find all our spare parts for the EXPL 50 MOUNTAIN BIKE right here.

Unselected
ROCKRIDER ST 100 MTB White

NEED HELP?

Unselected

User guides

vtt_rockrider_st_100_yellow_8400336_instructions

Need instructions for your ST 100 mountain bike? 

vtt_rockrider_st_100_yellow_8400336_instructions

Need instructions for your drive train? 

Unselected
ROCKRIDER ST 100 MTB White

Our commitments

Rockrider provides a lifetime warranty on your MTB's frame, handlebar and stem (under normal conditions of use).

All other parts have a 2-year warranty.

When you start riding your bike, some components will move slightly.