ROCKRIDER RACE 900 TE MTB

Ref: 8654749, 8648069

ROCKRIDER RACE 900 TEAM EDITION MOUNTAIN BIKE

2022

The official team's mountain bike. Used in the XCO World Cup by our professional riders.

The ultimate weapon for the fastest tracks.
Limited edition of 400 units only!

First use

Getting to grips with your sram axs wireless transmission

Your mountain bike is equipped with an SRAM Eagle AXS wireless transmission.

This revolutionary system means you no longer need to worry about cables and housing. Gear changes will also be smoother and more accurate.

Check out this video to learn more about your Eagle AXS parts.

Download and run the sram axs mobile app

SRAM has developed a mobile app to help you set up, measure, control and personalise your AXS components.

There's a quick tutorial to help you find your feet the first time you open the app. You can also access this tutorial at any time through "Settings" (the cog icon in the top right of the screen).

Register to get full access to all the app's features, then connect to your components via Bluetooth. You can also turn on notifications to get an alert when your batteries need charging or when an update is available.

You can also:
- Build several bike profiles (if you share your bike, if you have more than one bike, or if you change the set-up based on the ride you're doing)
- Personalise each profile to match the components' behaviour to your riding style
- Control your shifters and set personalised commands
- Track your performance and the state of your mountain bike, as well as the battery level of its components
- Update the software for your AXS components

First use
Use the axs web online tool

AXS Web is an online tool designed for cyclists who want to better understand how their bike is working and get more enjoyment out of their rides.

The tool can be paired with sensors (power, tyre pressure, electronic drivetrain) and GARMIN and WAHOO GPS computers. 

As well as offering the same features as the SRAM AXS mobile app, it displays all your data (gear changes, gear ratios used, power zones, tyre pressure, etc.) on a dashboard to help you understand how you're riding and how you can improve your mountain biking.

First use
Bedding in your brakes

When your bike leaves the shop with its shiny new brake pads and discs, their braking power is weak. A sharp prolonged braking action (for example, during a descent) with brakes that have never before been used can cause the pads to overheat and "glaze over".

To ensure that your brakes perform, we recommend that you bed them in. This takes about 10 gentle braking actions per brake. For each braking action, apply a single brake to slow the bike down from about 25 km/h to 5 km/h without fully blocking the wheel. Repeat with the other brake.

If you can see a thin, shiny layer on the top of your brake pads, this probably means that they're glazed. To avoid having to throw them away, you can deglaze them by sanding them lightly with some relatively fine sandpaper (P120). Remember to wear gloves and a mask when sanding your brake pads. Then simply remount your brake pads and bed them in again.

BEDDING IN YOUR BRAKES
Determining the tyre pressure with tube-type tyres

The minimum and maximum tyre pressure for a normal set-up with inner tubes (tube-type) is shown on the side of the tyre.

Nevertheless, keep in mind that the tyre pressure is customisable and will depend on your weight, the terrain you're riding and your preferences.
You'll need to strike the right balance between pedalling efficiency (high pressure) and comfort/grip (low pressure).

To achieve this, do the following:
Find a short loop (5-10 minutes) that goes over as many types of terrain as possible (mud, rough ground, roots, cobblestones, etc.). Inflate your tyres to the maximum recommended pressure, then do a lap. If the tyre is too stiff and you're not comfy enough, or feel you're losing grip on corners, lower the pressure. Repeat until you find the right tyre pressure.

Make sure you don't drop below the minimum recommended pressure or you'll risk getting pinch punctures.
A well-inflated tyre is essential for your sport. So remember to frequently check your tyre pressure.

HUTCHINSON KRAKEN
Determining the tyre pressure with tubeless tyres

Tubeless is a great way of getting the most out of your tyres. The pressure is lower (by about half a bar) than with tube-type tyres. As it's less inflated, the tyre's "carcass" will be able to come into contact with the floor. And it won't be stopped by the inner tube.

With a tubeless set-up, the aim is to lower the pressure to get the most out of the tyre without the rim touching the floor as you go over obstacles.

Make sure not to inflate your tubeless tyres above 2.5 bars, as your carbon rims could get damaged.

Pro example: Joseph de Poortere, who weighs 73 kg in full kit, inflates his tyres to 1.5 bar at the front and 1.8 at the back in dry conditions on uneven ground, and 1.3 bar at the front and 1.6 at the back in damp conditions.

A well-inflated tyre is essential for your sport. So remember to frequently check your tyre pressure.

HUTCHINSON KRAKEN
How to convert your wheels to tubeless

To reduce the risk of your inner tube being punctured or pinched, and to improve grip and comfort, you may want to consider making your mountain bike wheels tubeless.

Your wheels and tyres are Tubeless Ready, which means that the rim-sealing tape is already in place and the tyre is tubeless compatible. All you need is a pair of Presta tubeless valves and some sealant (puncture prevention liquid). Remember to wear gloves and goggles to protect yourself in case you get a blowout.

To go tubeless, follow these steps:

1. Remove the wheel
2. Remove the tyre and inner tube from the wheel
3. Check that the rim tape is properly stuck on and that there aren't any bubbles or tears
4. Insert a Presta tubeless valve through the rim hole (from inside the rim)
5. Apply 90 ml of tyre sealant (puncture prevention liquid)
6. Mount your original tubeless-ready tyre
7. Inflate the wheel quickly to ensure that the tyre sticks to the rim. Warning: never exceed 2.5 bars of pressure as this could damage the carbon rims.

If it seems too tricky, just visit your nearest Decathlon workshop and ask them to do it for you.

Determining the right settings for your fork

Your ROCKSHOX SID RL fork needs to be set up according to your riding style, the terrain and your preferences, but most importantly according to your weight.

To find out the recommended pressure and rebound for your fork, click the link below. You'll be asked your weight in full kit (with helmet, shoes and hydration backpack) and the model of your bike: an MTB.

The app will then calculate the recommended pressure (in psi) and the rebound in number of clicks starting from a fully screwed-in position (clockwise).

The pressure determines what's known as the sag, which is the percentage that the suspension drops into its travel when you get on it and lift your feet. On a full suspension XC mountain bike, for a softer ride or to be more comfortable, you'll want a high sag (between 20% and 30%). For a more competitive ride, you'll need it to be harder (between 15% and 25%).

The rebound dictates the speed at which the suspension returns to its original position after damping an impact. We recommend adjusting the rebound based on your physical fitness and your steering abilities. The rebound dial can be found underneath the fork's right blade.

Now that you've figured out the recommended settings for your fork, check out our article on "ADJUSTING YOUR FORK'S SAG".

ADJUSTING YOUR FORK
Adjusting your fork's sag

Once you've figured out the right settings for your fork, you'll need an extra pair of hands and a high-pressure pump designed for suspension systems.

Check out our video to learn how to adjust your fork's sag.

NB: The valve's cap is there to protect the valve from dust. It doesn't do anything to retain the pressure. So there's no point doing it up too tight!

Fitting a dropper seat post

Your mountain bike is compatible with 31.6 mm dropper seat posts.

The cable and housing are routed internally from the top of the down tube and can be easily reached thanks to the Internal Routing Access hatch by the bottom bracket (left-hand side).

This video will help you fit your new dropper seat post. Remember that you can also drop off your mountain bike at a Decathlon workshop, where one of our technicians will fit the seat post for you.

Maintaining your mountain bike

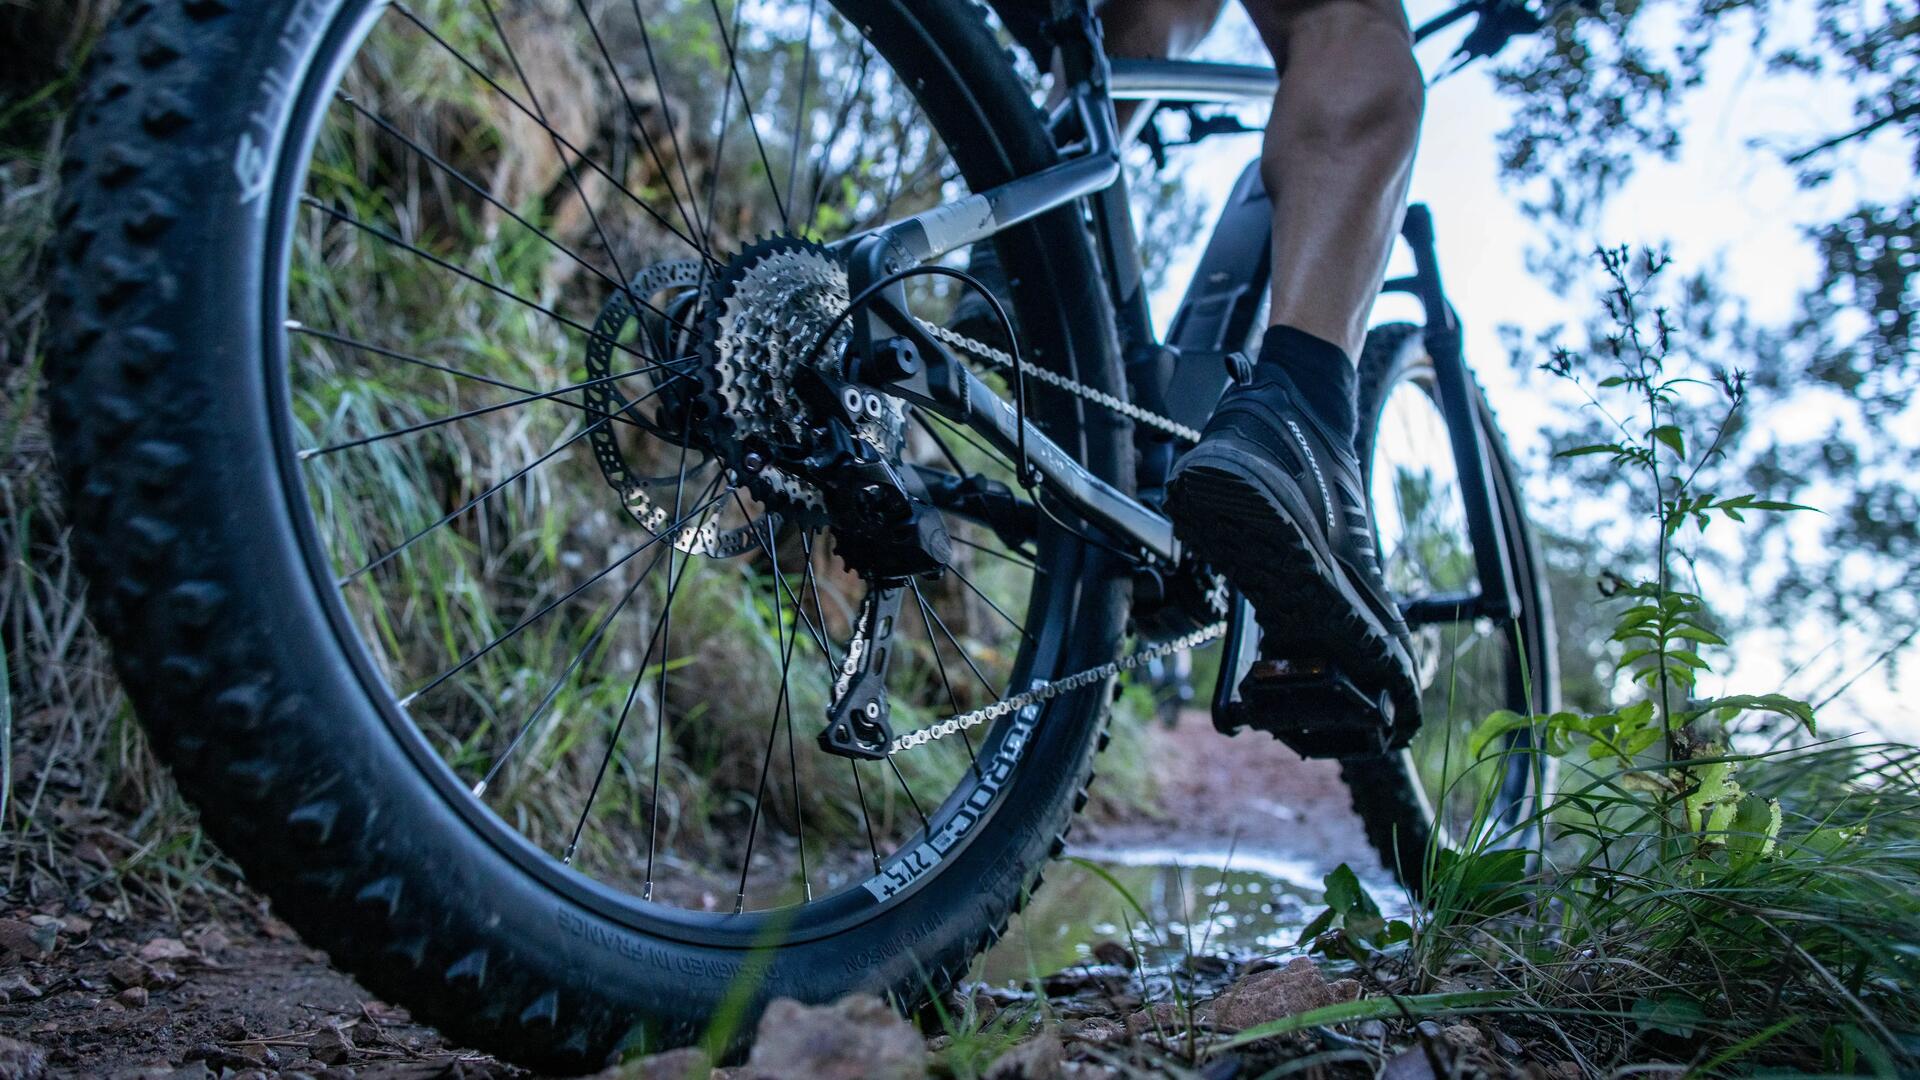
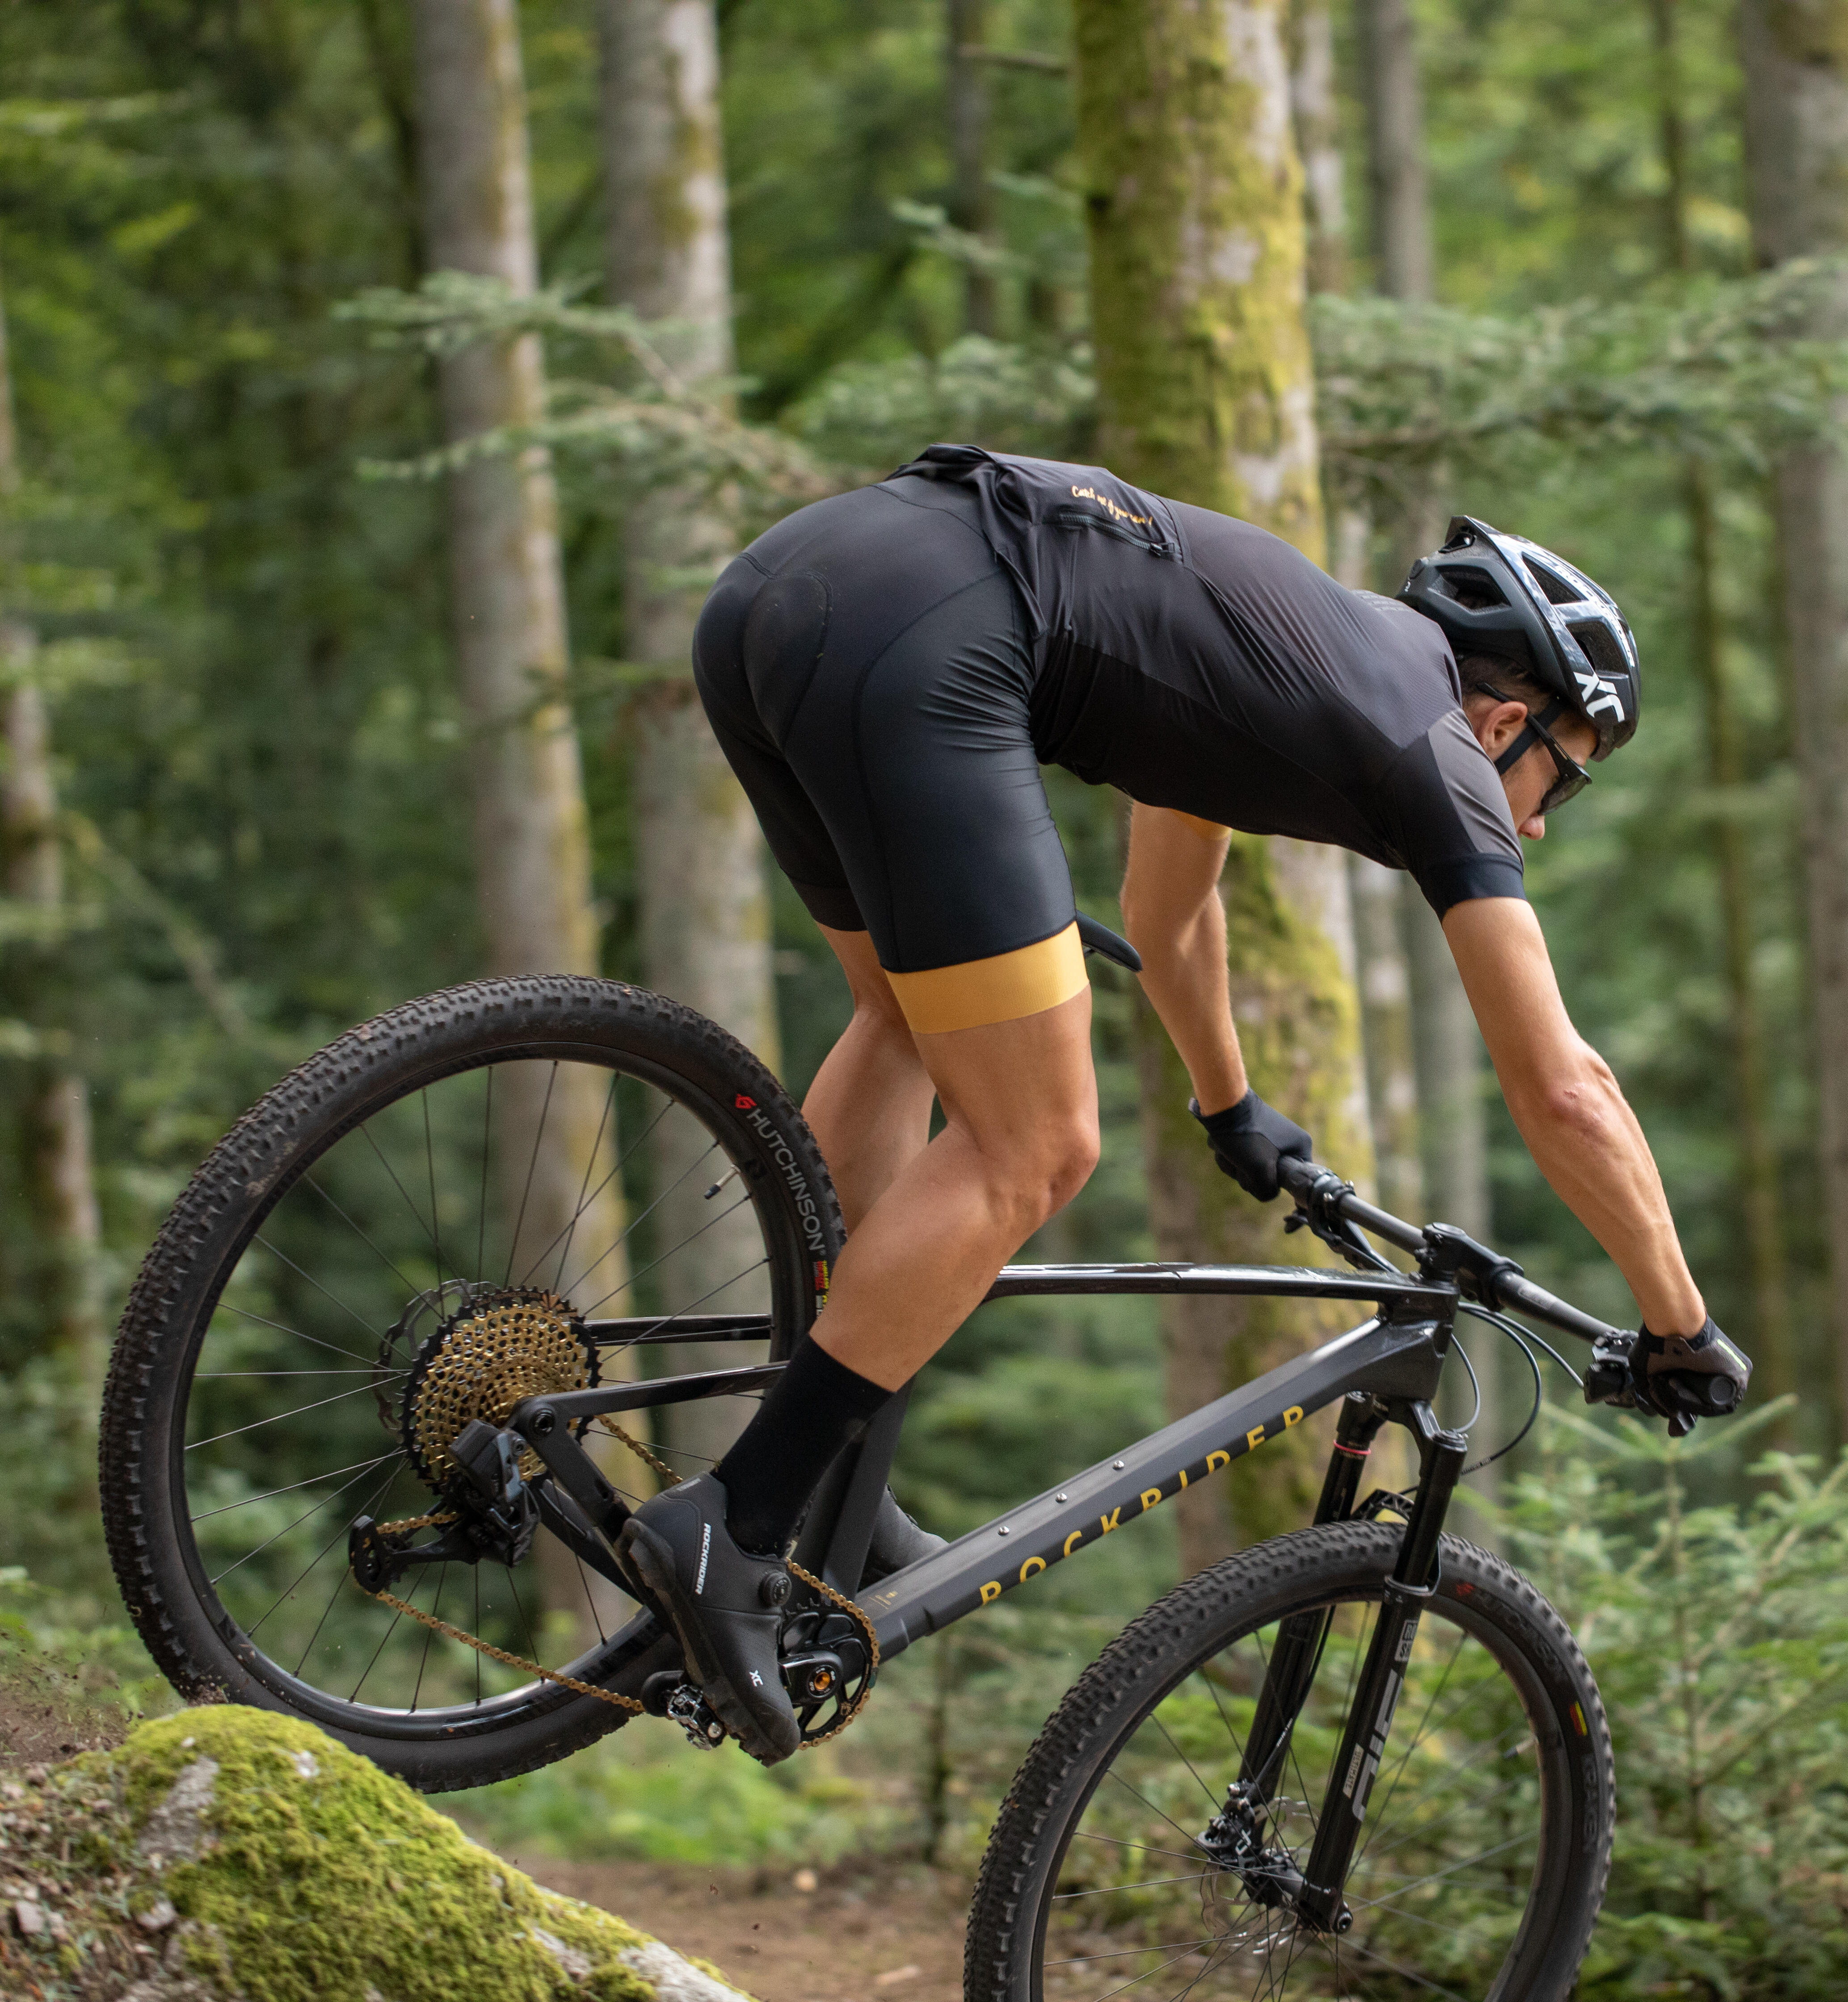
Servicing your bike will keep all of its parts working for as long as possible and ensure you have the most fun when riding. Aside from the aesthetic aspect of having a clean bike, failing to service it can lead to problems, and problems lead to accidents: jammed cables, rust, leaks, premature wear, etc.

Good maintenance is good for your performances, while your bike's parts will also last longer, which means a lower environmental impact.

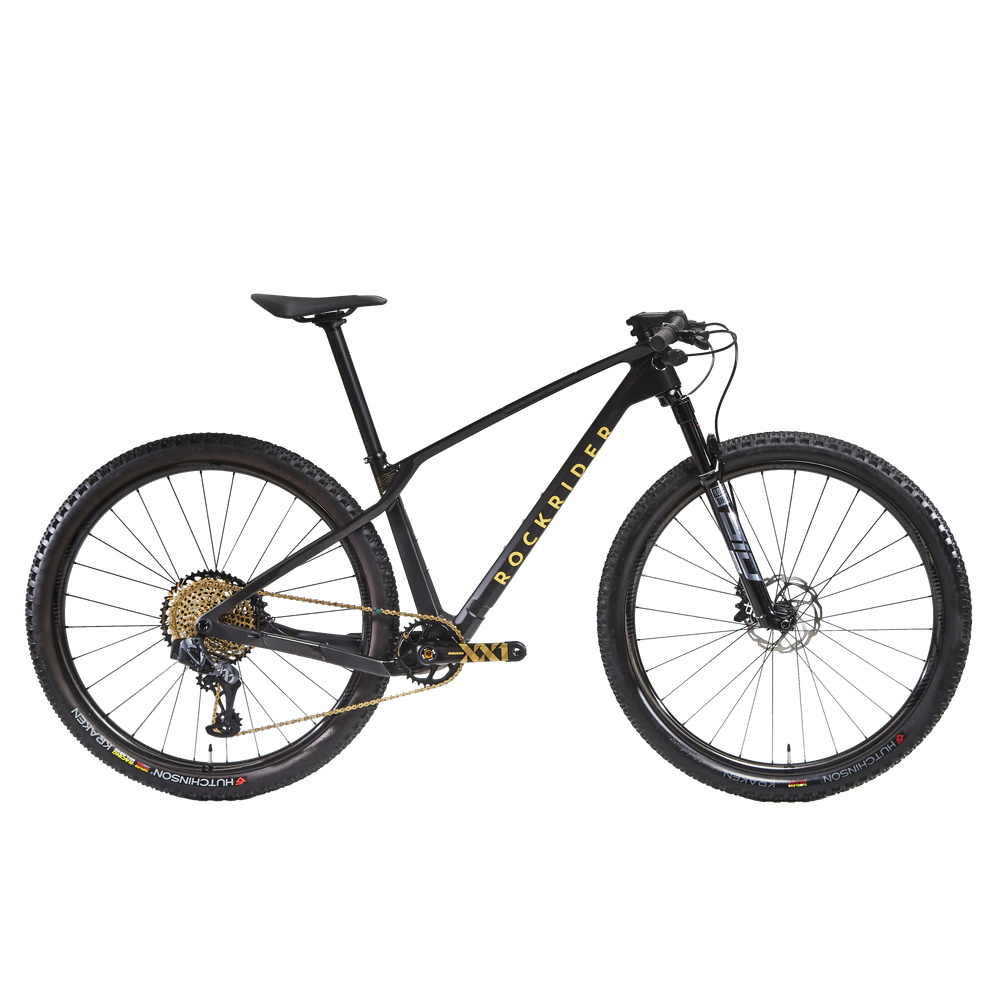
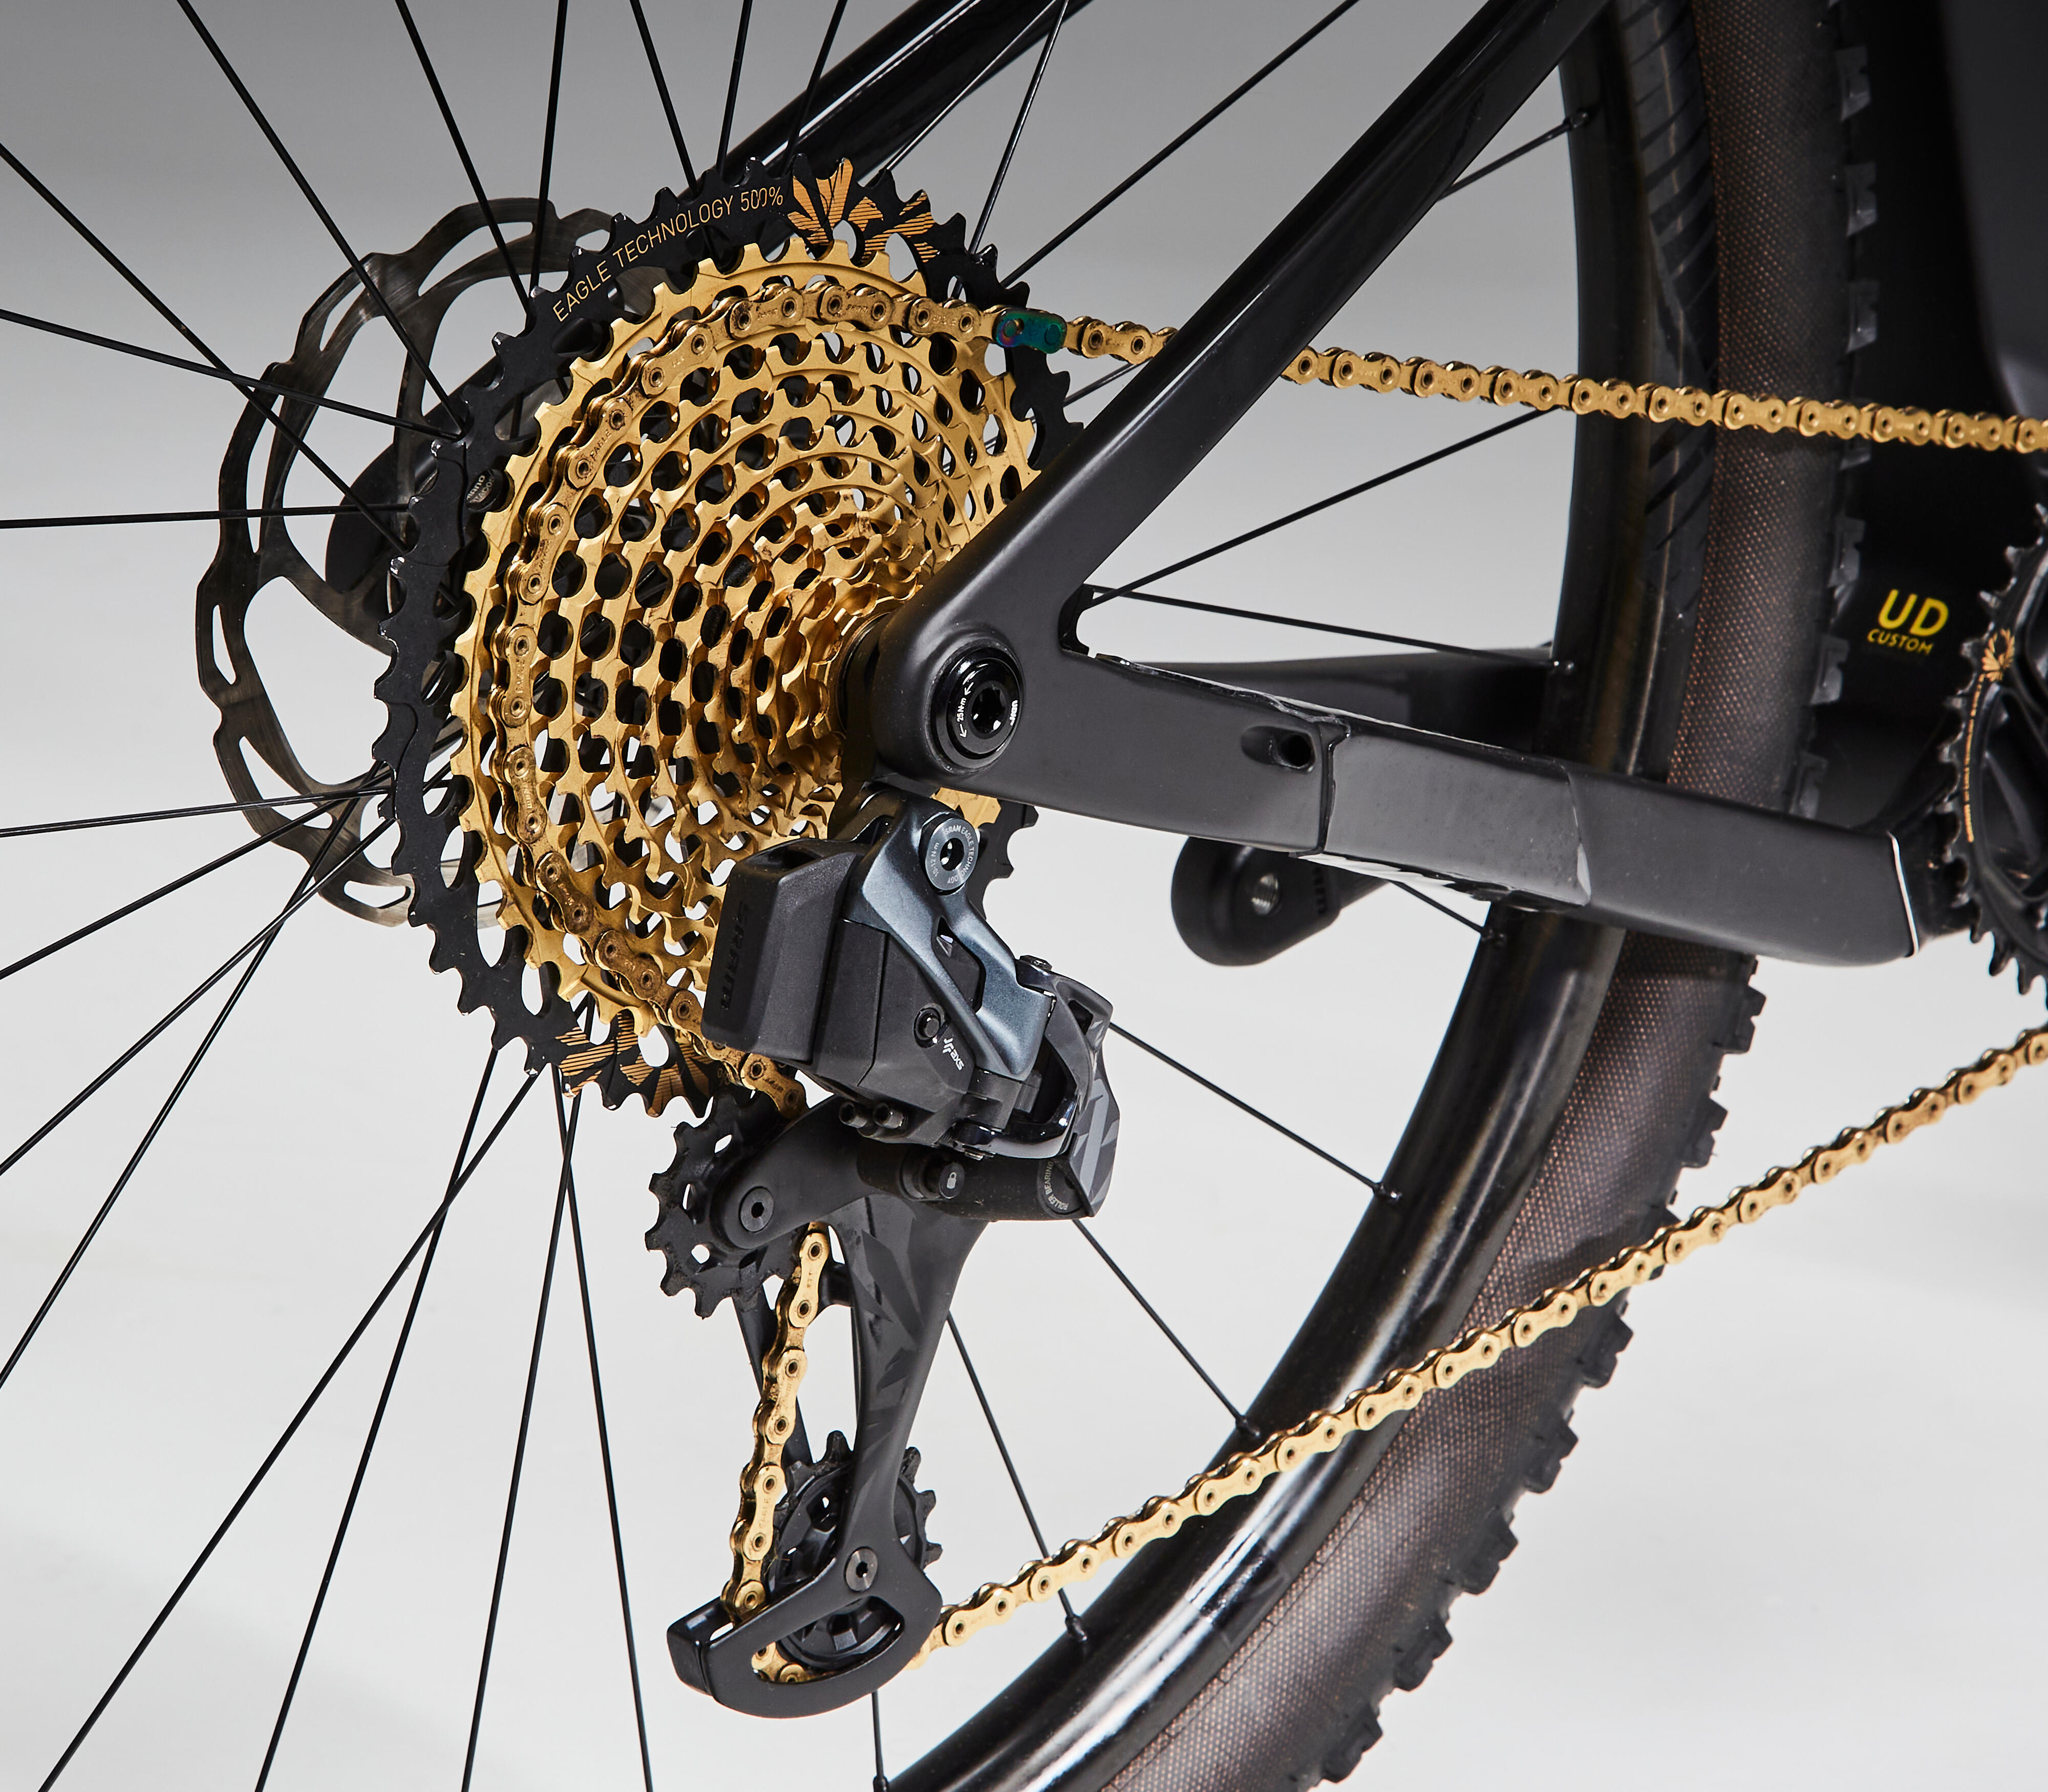
As soon as you start using the bike, some components will move slightly.
This is why we offer a free tune-up of your mountain bike within six months of purchase.

How to clean your mountain bike

To clean your bike properly, you'll need some bike cleaner, a sponge and a brush.

Rinse off the bike with a hose and apply the bike cleaner. Next, use the sponge and brush to work the cleaner in. It's essential to give the bike cleaner some time to act before rinsing the bike off.
When hosing the bike off, make sure you do so from a few steps away so as not to damage the mechanical components.
Lastly, dry your bike using a soft, clean cloth.

Do not use a pressure washer as water could get into the ball bearings and permanently damage your mountain bike.

Changing the brake pads

To do this, you will need: brake pads, a flat screwdriver and an allen key.

First, remove the wheel. Next, use a large flat-head screwdriver to separate and remove the pads, and put the pistons back into their original position.

Remove the pin and undo the screw that holds the pads, then remove the pads from their casing. Prepare the new brake pads by placing the return spring between them.

Insert the new pads into the calliper and finish by re-inserting the screw and pin. 

You can then put the wheel back on and squeeze the brakes a dozen times to pull the pads together. Give everything a quick check to make sure the pads are correctly in place and aren't rubbing the disc. And remember to bed in your new brake pads.

Adjusting a hydraulic disc brake calliper

For this operation, you will need a 5 mm Allen key.

Unscrew the calliper and squeeze the brake lever. It's important to keep squeezing the brake lever while you tighten the calliper to 9.5 Nm.

Next, take a look to see whether the disc and pads are still in contact.

ADJUSTING THE MECHANICAL DISC CALLIPER

Bleeding your brakes

If your brake lever becomes spongy and/or is touching the handlebar before slowing your bike, you'll need to bleed your brakes. To keep your brakes in tip-top condition, we recommend bleeding them once a year. 

Our technicians can do this for you at one of our Decathlon workshops.

Servicing your fork

The fork is one of the mountain bike components that works the hardest, so it needs thorough maintenance to keep you safe and comfortable on technical trails. We therefore recommend giving it a regular check-up.

There are several thing's you'll need to do to keep your fork going for as long as possible:

After each ride, clean any dirt off the dampers and dust seals. This will minimise the risk of dirt getting into the blade. You can also add PTFE lubricant to stop the seals drying out. Wipe off any excess as you don't want it to pick up dust.

The next two things on our list are a bit trickier as they require the fork to be removed. If you're not feeling confident or if you don't have the right tools, drop off your mountain bike at one of our Decathlon workshops and our technicians will be happy to help. If you want to do it yourself, take a look at the instructions for your fork, which can be found at the bottom of the page in the USER GUIDES section.

After 50 hours of riding, give your bike a basic service, i.e. change the oil, the foam rings and the seals. Take a look at the SRAM TECH video for help.

After 200 hours of riding, you should give your fork a full service. This involves changing all the seals, the lubricant oil and the oil in the damper cartridge.

Checking chain wear

A worn chain will struggle to change gears and will wear out the cassette and chainring prematurely.

You can check how worn your chain is by using a wear indicator. Simply place the indicator's notch between two links and let the other end drop onto the chain. If it fits neatly between two links, the chain is worn and it's important to change it soon, before it damages the cassette and chainring.

For 11- or 12-speed cassettes, we recommend changing your chain when it's 50% worn. Above 75%, you should change the chain, cassette AND chainring, which is why it's best to regularly change your chain: this stops you having to replace your entire drivetrain.

CHAIN WEAR INDICATOR

Repairing your mountain bike

Mountain biking is an intense activity where the often hostile environment can lead to things getting broken.
Even with faultless maintenance, it's common for certain parts to get worn.

Most bike repairs are relatively simple, so we'll show you how to do them yourselves.
Nevertheless, if you don't feel comfortable or if you don't have the right tools, head to your local Decathlon workshop, where our technicians will be happy to repair your bike for you.

To repair a puncture, a broken chain or any other type of mechanical issue, you need to have the right equipment.
Some tools are specific to certain bike parts (chain whip, lock ring, etc.) while others are more common (Allen keys, pliers, etc.).
Here's a selection of products that could come in really handy when servicing and repairing your mountain bike.

Installing, syncing and adjusting your sram gx axs drivetrain

The SRAM AXS wireless drivetrain is incredibly easy to install. There's no need to thread the cable through internally, deal with jammed cables or change the housing. Simply install the parts on the bike and sync them with one another. The video below will help.

Repairing a tube-type puncture

To repair a flat tyre, you will need: a bicycle pump, a bowl of water, a cloth, and an inner tube repair kit.

Partially inflate the inner tube. To locate the hole, hold the inner tube under the water and look for bubbles, or move it just in front of your lips to feel the air coming out.

Once you have located the puncture hole, dry off the inner tube with the cloth and rub the spot to be repaired using the sandpaper included in the inner tube repair kit. This prepares the inner tube for glueing and ensures that the patch sticks to the inner tube as securely as possible.

Generously apply glue around the hole and wait 3 to 5 minutes.

Then apply the patch to the hole and hold it in place for a few minutes.

You can then fit your inner tube back into the tyre.

29" ROCKRIDER XC 500 MTB (EAGLE LIGHT BLUE)

Repairing a tubeless puncture

To repair a punctured tubeless tyre, follow these steps: 

1/ Remove the foreign body from the tyre.
2/ Clean the hole with the file and coat with glue.
3/ Insert the plug into the plug installer. Don't be afraid to force it - this will ensure a good seal!
4/ Cover the plug and plug installer with glue.
5/ Insert the plug halfway into the hole.
6/ Gently pull the plug out of the needle.
7/ Cut it 3 mm from the tyre's carcass.

This repair works for small holes up to 6 mm. If the puncture is bigger, you'll need to change the tyre. 

TUBELESS REPAIR KIT
Truing your wheel

As you ride, and as you come into contact with obstacles, the tension of your spokes can change, which can lead to buckled wheels.

When you start using your new bike, lots of its parts are going to wriggle around as they settle into place. One such part is the spokes, which can sometimes be heard pinging. This is caused by the residual twist from assembly. Your wheels should not be buckled in any way at all. If they are, let your local Decathlon workshop know when you take your bike for its free service (six months after purchase) so that they can adjust it for you.

To true your wheel yourself, you'll need a spoke wrench, a truing stand and a wheel alignment gauge (although you can get away without the last two).

Position your bike on a workstand or turn it upside down. Take your wheel off and remove the tyre and inner tube. Put the wheel (without the tyre) back on the bike or on the truing stand, then stand in line with the wheel. Spin it and check that it stays aligned with the bike's frame as it turns. If the wheel seems to go up and down, this is called a "hop", whereas if the wheel seems to wobble side to side, it's described as "buckled".

To true the wheel, simply tighten or loosen the tension of the spokes where the buckle or hop is. If you need help, our Decathlon workshops will be happy to true your wheels.

Changing your derailleur hanger

A bent hanger causes the derailleur to be out of alignment and therefore unable to function correctly.

Stand behind your bike and check the alignment of the derailleur.
If the hanger is bent or broken, please visit your nearest Decathlon workshop to have the derailleur hanger replaced. You can also replace it yourself by following the instructions in this video tutorial.

ROCKRIDER-MTB-DERAILLEUR-HANGER

Repairing or replacing your chain

Has your chain broken? This video will help you to repair it. Alternatively, drop in to one of our Decathlon workshops and get one of our technicians to do it.

If you want to do it yourself, you'll need: a chain tool or chain link pliers, a new chain, and a quick-link.

Position the chain on the smallest cog. Remove the quick-link using the pliers or chain tool, then take the old chain off the drivetrain. Put the new chain on the last of the cogs and on the smallest chainring. This makes it easier to determine its optimal length. Feed the chain through the derailleur jockey wheels. Once you've determined the correct length, use the chain tool to cut the chain.

Lastly, install the quick-link onto the chain, turn the pedal so as to position the quick-link on the upper part of the chain, and use your hand to apply pressure and ensure it is firmly locked in place.

The XC 920 S LTD AXS bike comes with a 34T chainring and 10x52 cassette as standard, so the chain has 118 links (59 male/female pairs)

Remember to take a quick-link with you on your mountain bike rides. If your chain breaks, you'll then be able to replace it easily.

Replacing your cassette

To check how worn your cassette is, simply take a look at the cogs. If the teeth are sharp and pointed, the cassette needs to be changed. Be aware that a worn chain will wear out the cassette, so it's worth regularly checking what condition your chain is in.

You can get your cassette replaced at a Decathlon workshop or do it yourself.

If you choose to do it yourself, you'll need a compatible lock ring (in this case, a Shimano one), and a chain whip. Remove your rear wheel and place your chain whip on one of the bigger cogs so as to stop the cassette from spinning. Place the lock ring in the centre of the cassette and unscrew it using a spanner, while keeping hold of the whip to stop it turning. Your cassette is now separate from the wheel and can be easily removed.

Before putting on the new cassette, it's a good idea to thoroughly clean the freehub body. You might also want to lightly grease the splines to make it easier to remove in the future. Place your new cassette on the freehub body and tighten everything up. There's no need to do it up too tight. If you have a torque wrench, you can tighten it to 40 Nm.

SRAM-CASSETTE-10S

Spare parts

Need to replace a part on your bike? Find all our spare parts for the RACE 900 TEAM EDITION mountain bike here.

User guides

29" ROCKRIDER XC 500 MTB (EAGLE LIGHT BLUE)
Warranty

Do you need a manual for your RACE 900 TEAM EDITION MTB?

User guides

Lifetime warranty

Register your wheels on the HAYES website to activate the lifetime warranty!

User guides

Reynolds literature

Do you need the manuals for your wheels?Find all the documentation on the HAYES website.

User guides

Making a claim

Is your wheel damaged?Make a claim with Reynolds on the HAYES website.

ROCKRIDER RACE 900 TEAM EDITION

Haven't been able to fix your problem or find what you need?

Please contact one of our technicians who will be happy to help

29" ROCKRIDER XC 500 MTB (EAGLE LIGHT BLUE)

Our commitments

ROCKRIDER provides a 5-year warranty on the carbon frame, and a lifetime warranty on the handlebar and stem (under normal conditions of use).

All other parts have a 2-year warranty.

When you start riding your bike, some components will move slightly. This is why we offer a free tune-up of your mountain bike within six months of purchase. 

Your feedback matters!

Whether it's good or bad, we want to know. Here's why your feedback is so important:

  • Have your say

    To have your say at any
    time

    Your feedback tells us how you feel about the quality of our products!

  • Help

    To help other sports users

    Your feedback helps other customers decide which product is right for them!

  • Improve

    To help improve our products

    We use your feedback to improve the design of our new products!