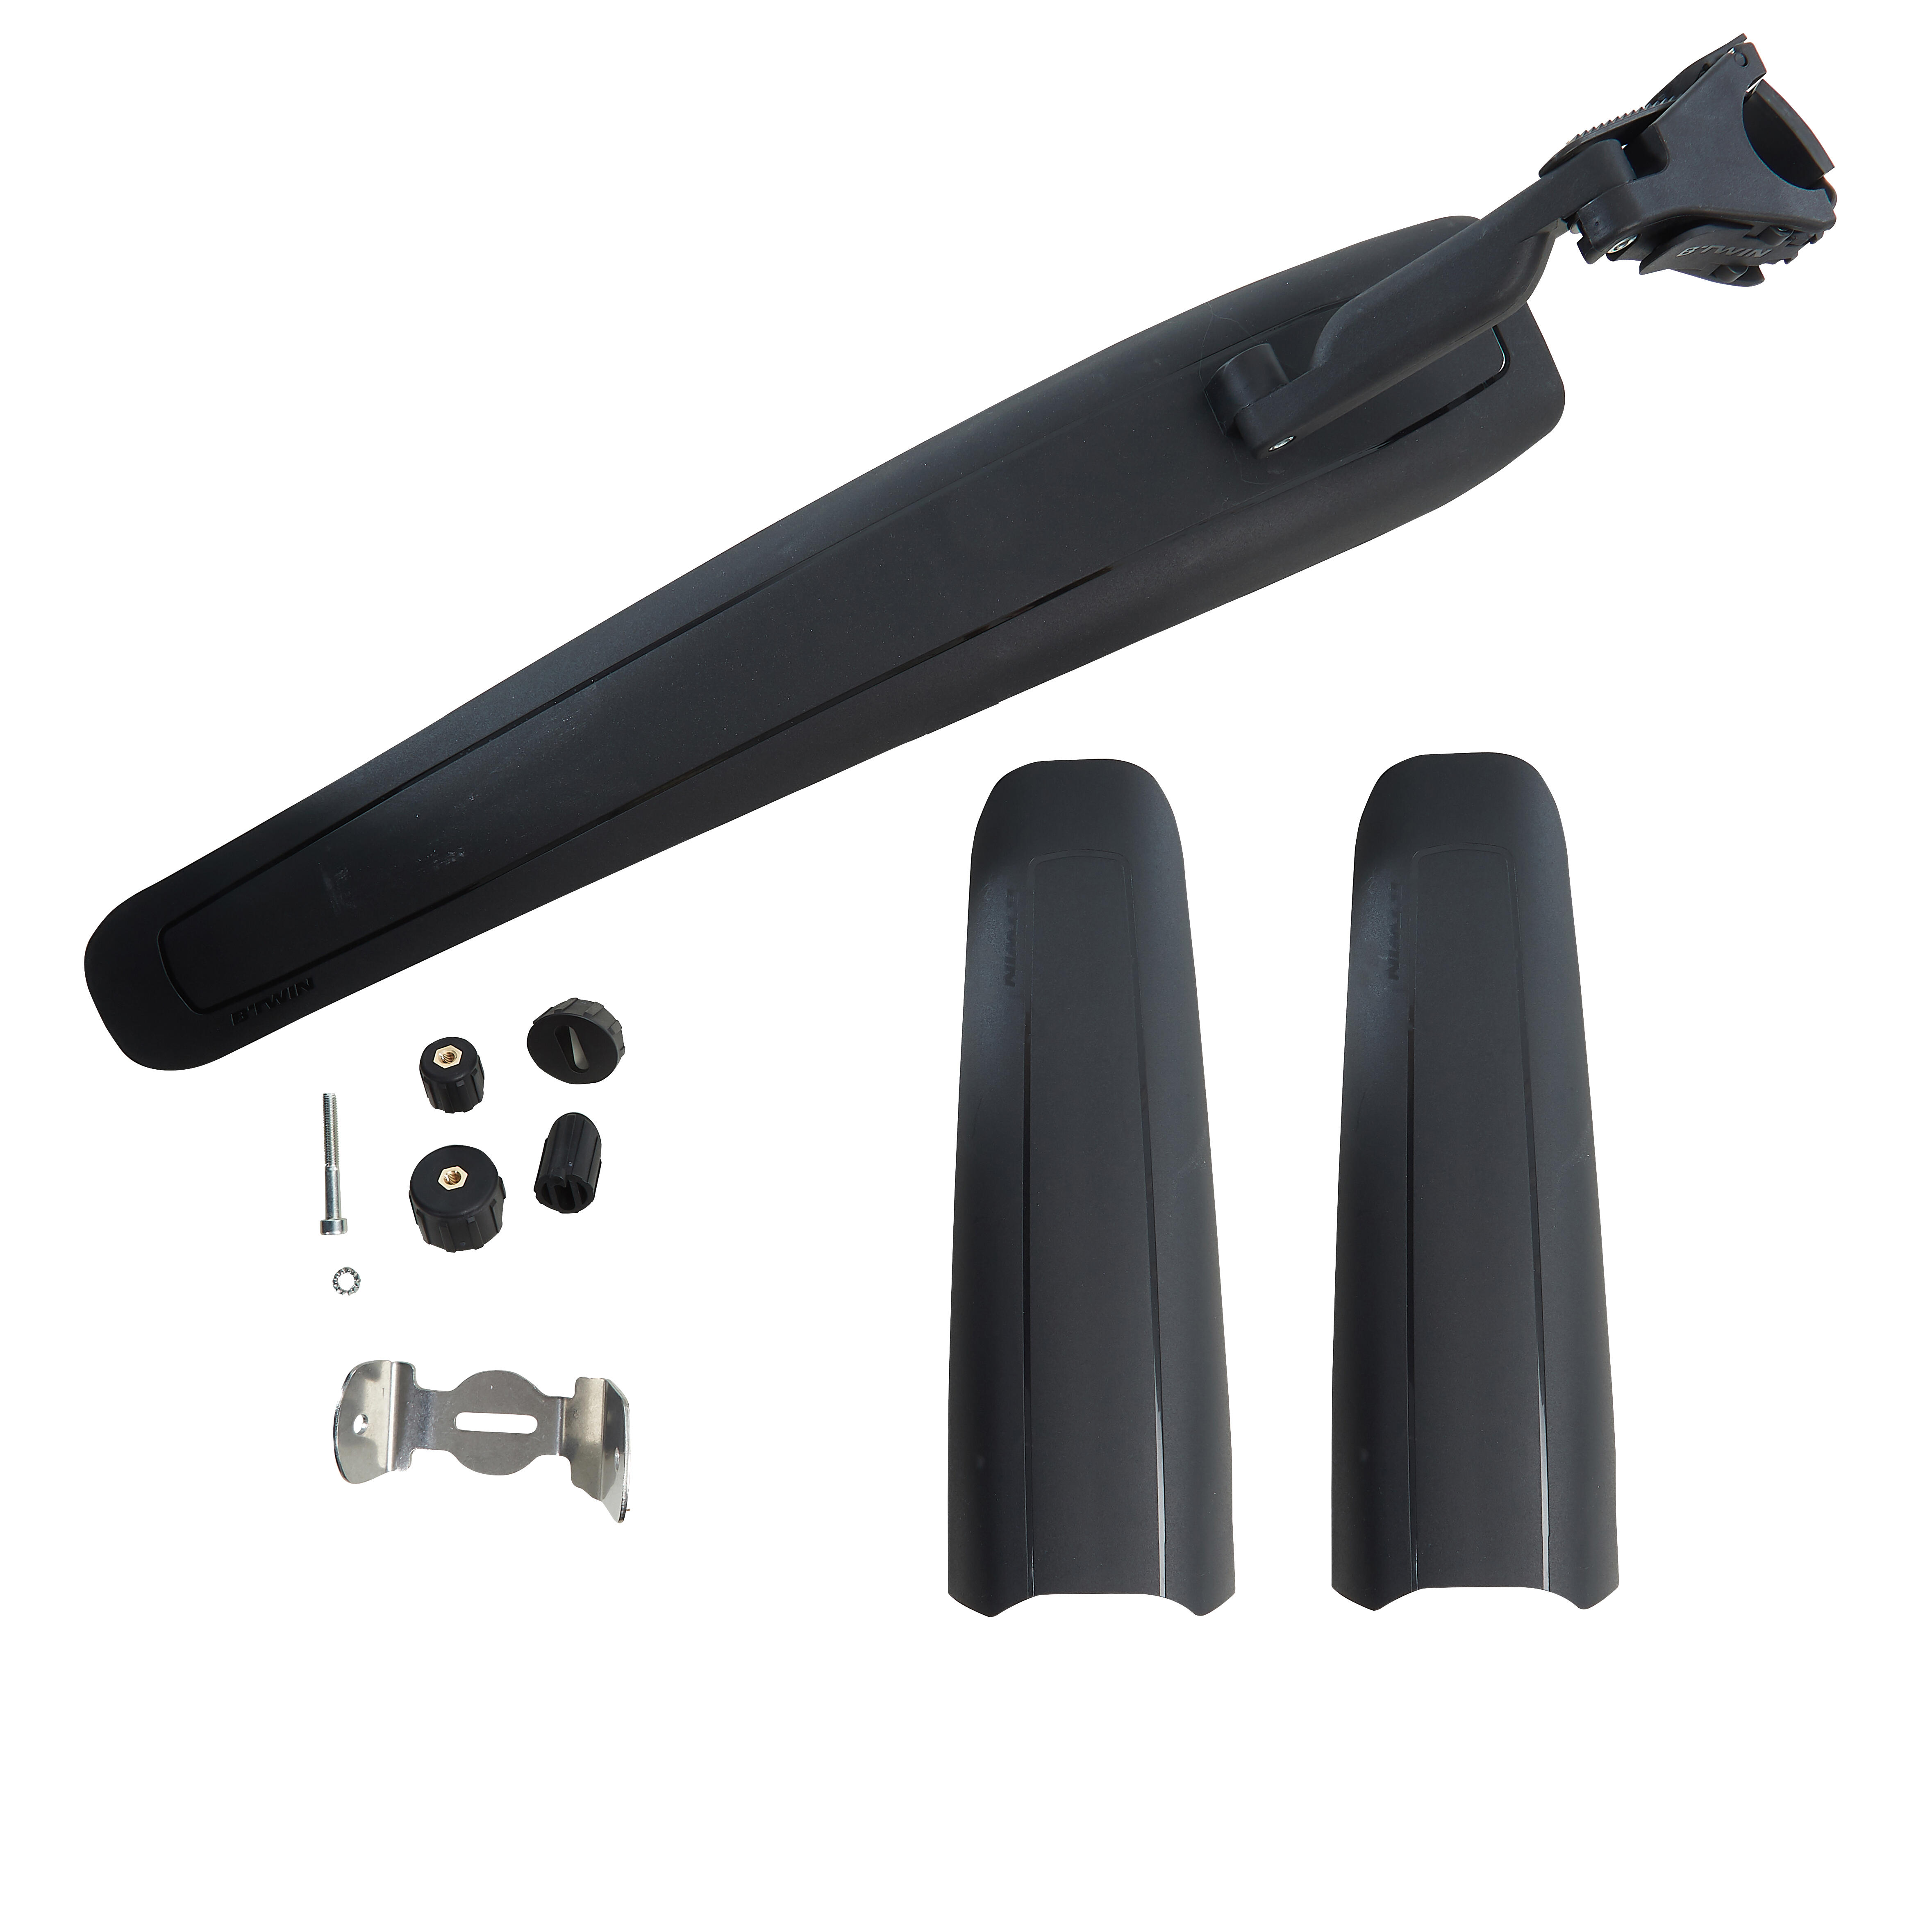
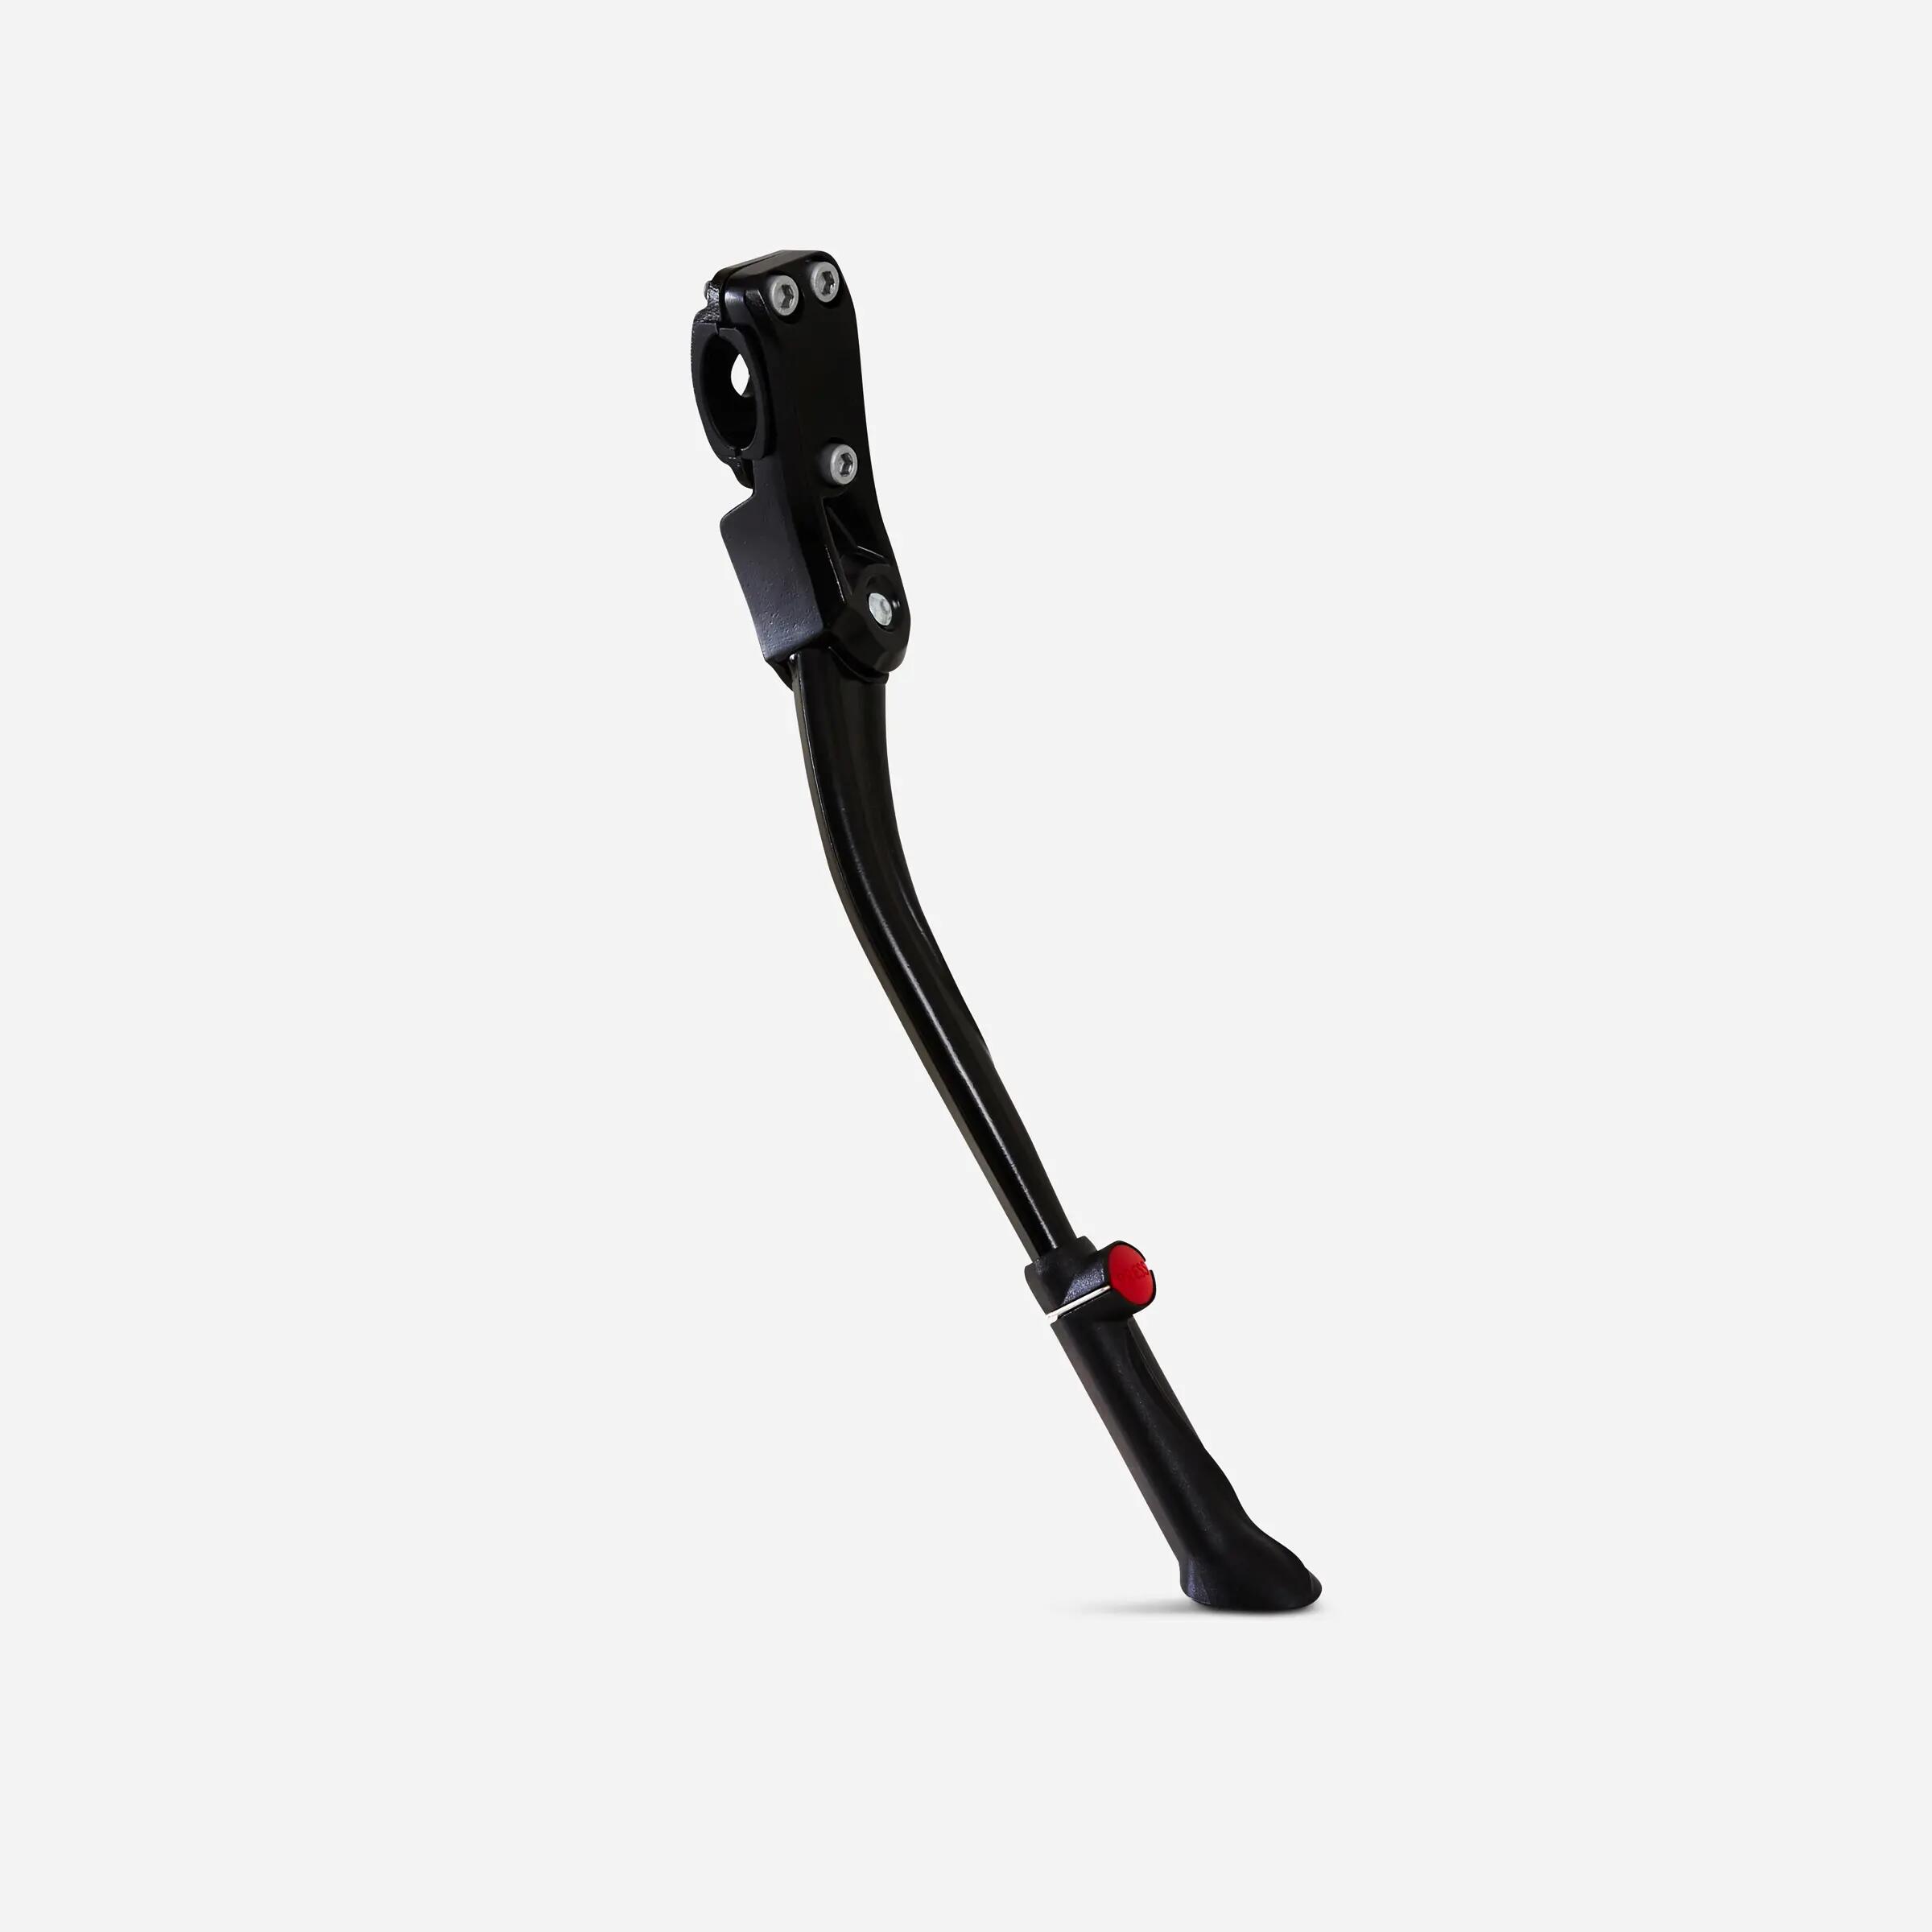
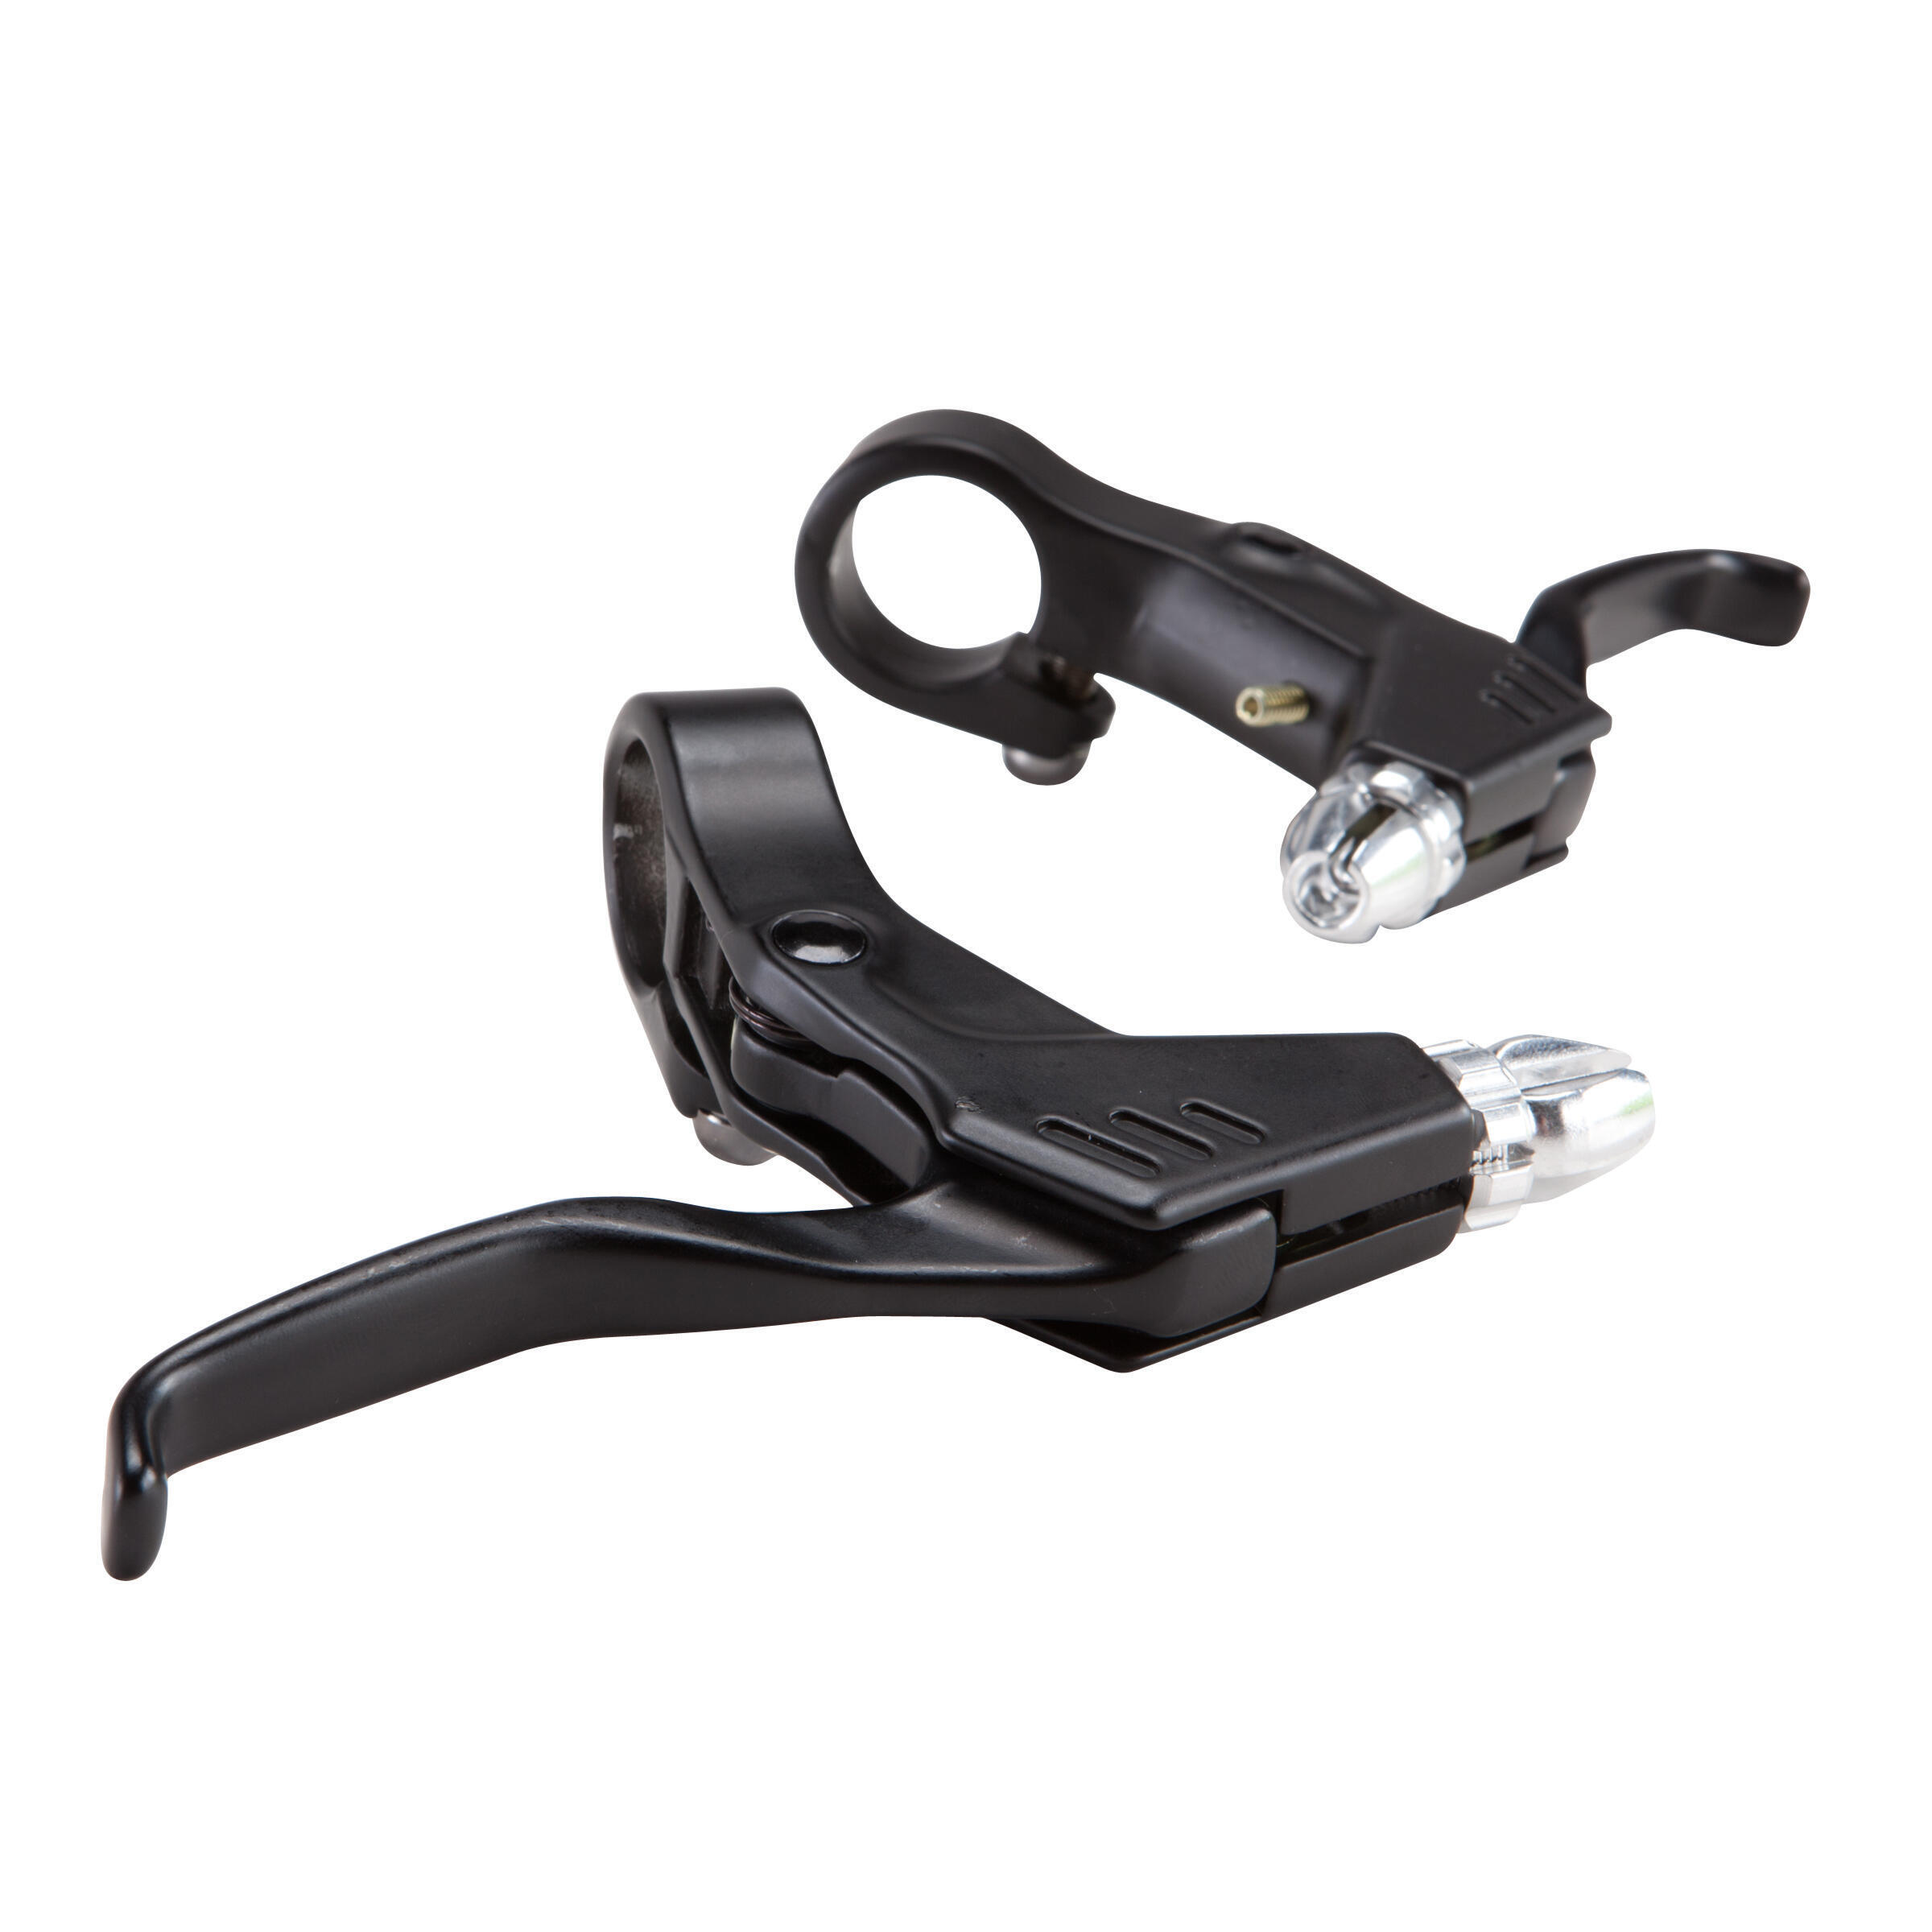
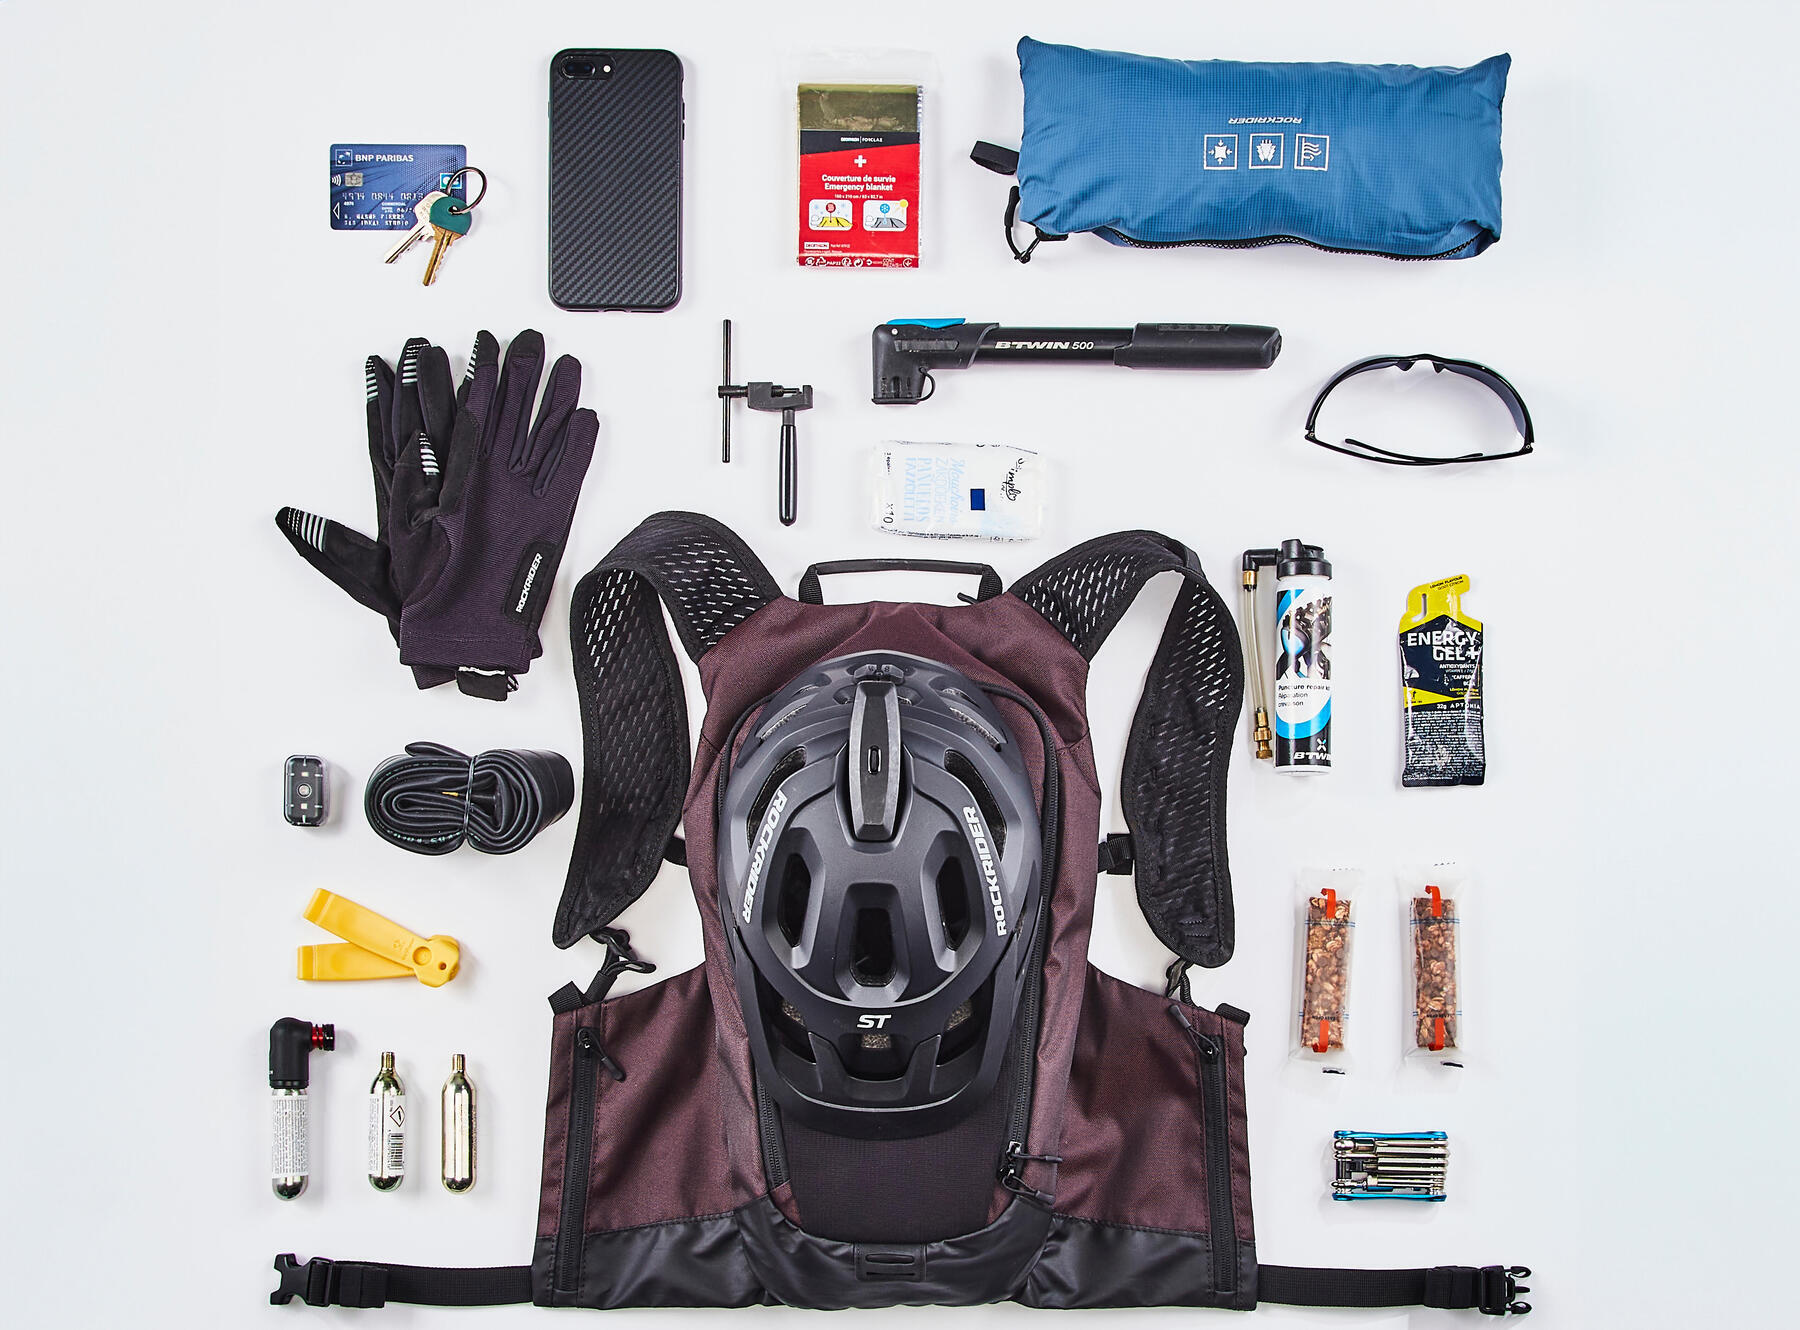
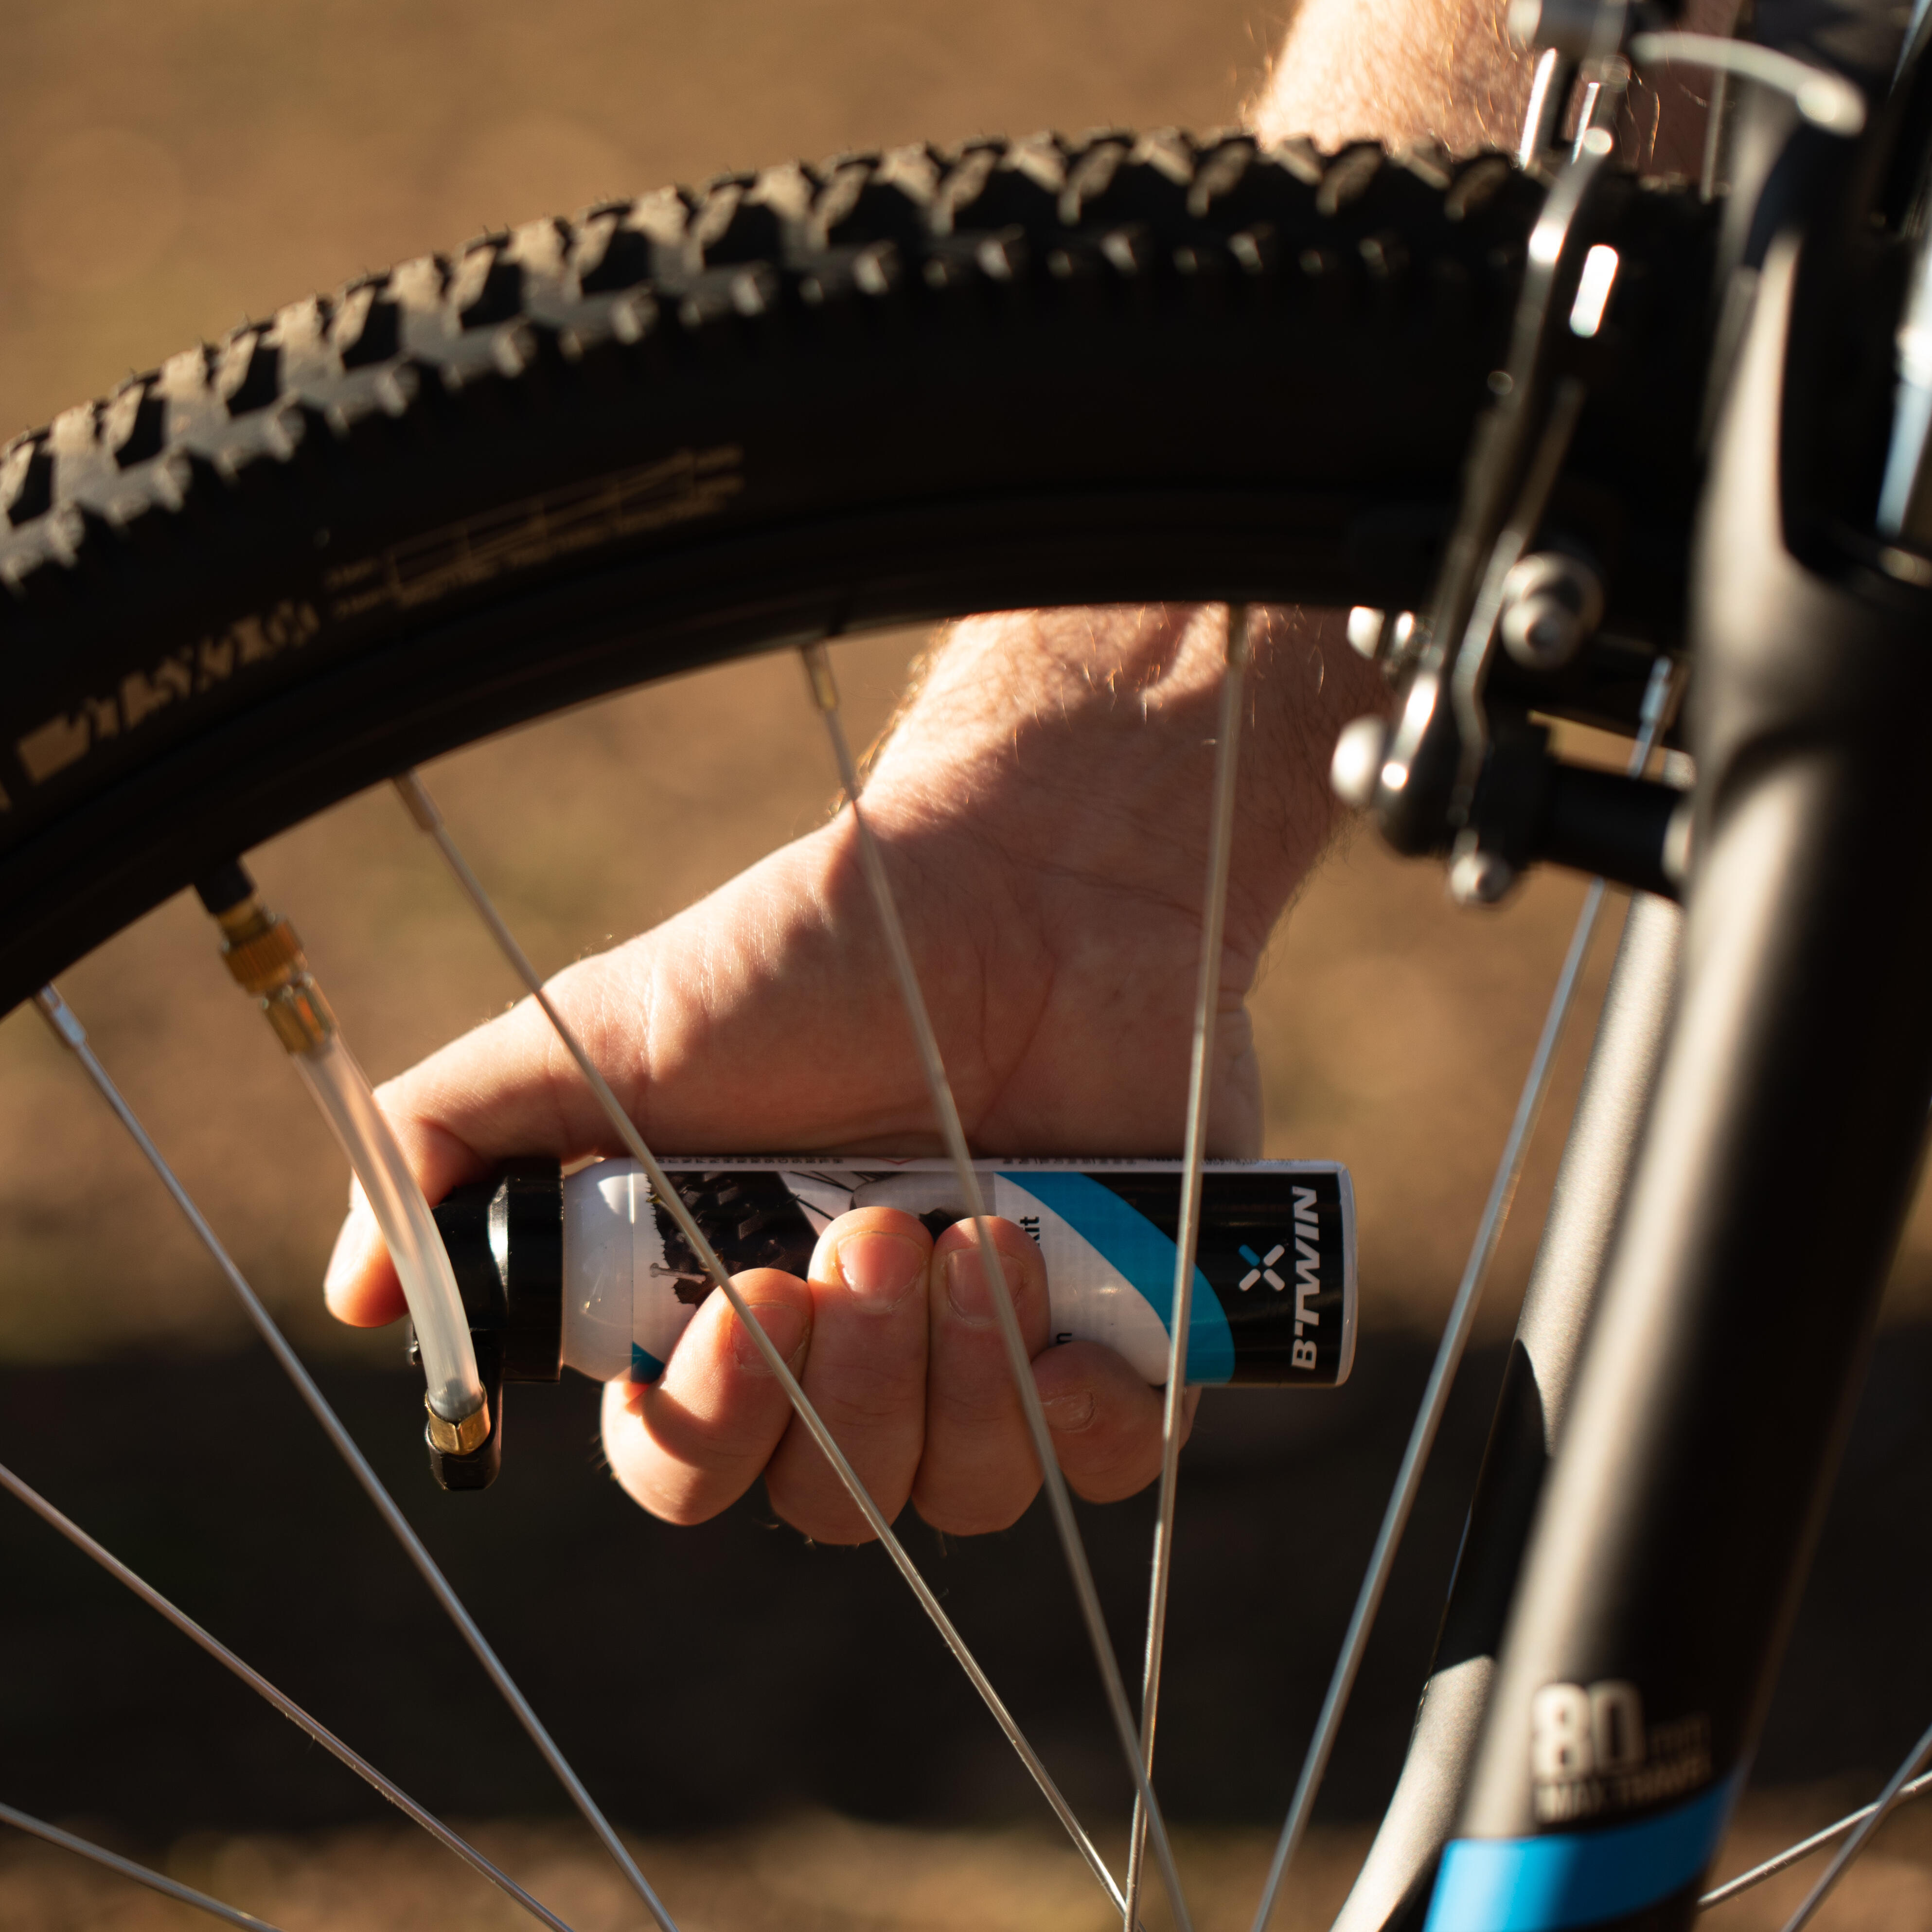
The right equipment in case of a hiccup
If you're going to be able to deal with punctures, a broken chain or any other snag, you're going to need the right kit. Here's a selection of products that can get you out of various sticky situations.
Ref: 8360662
2020
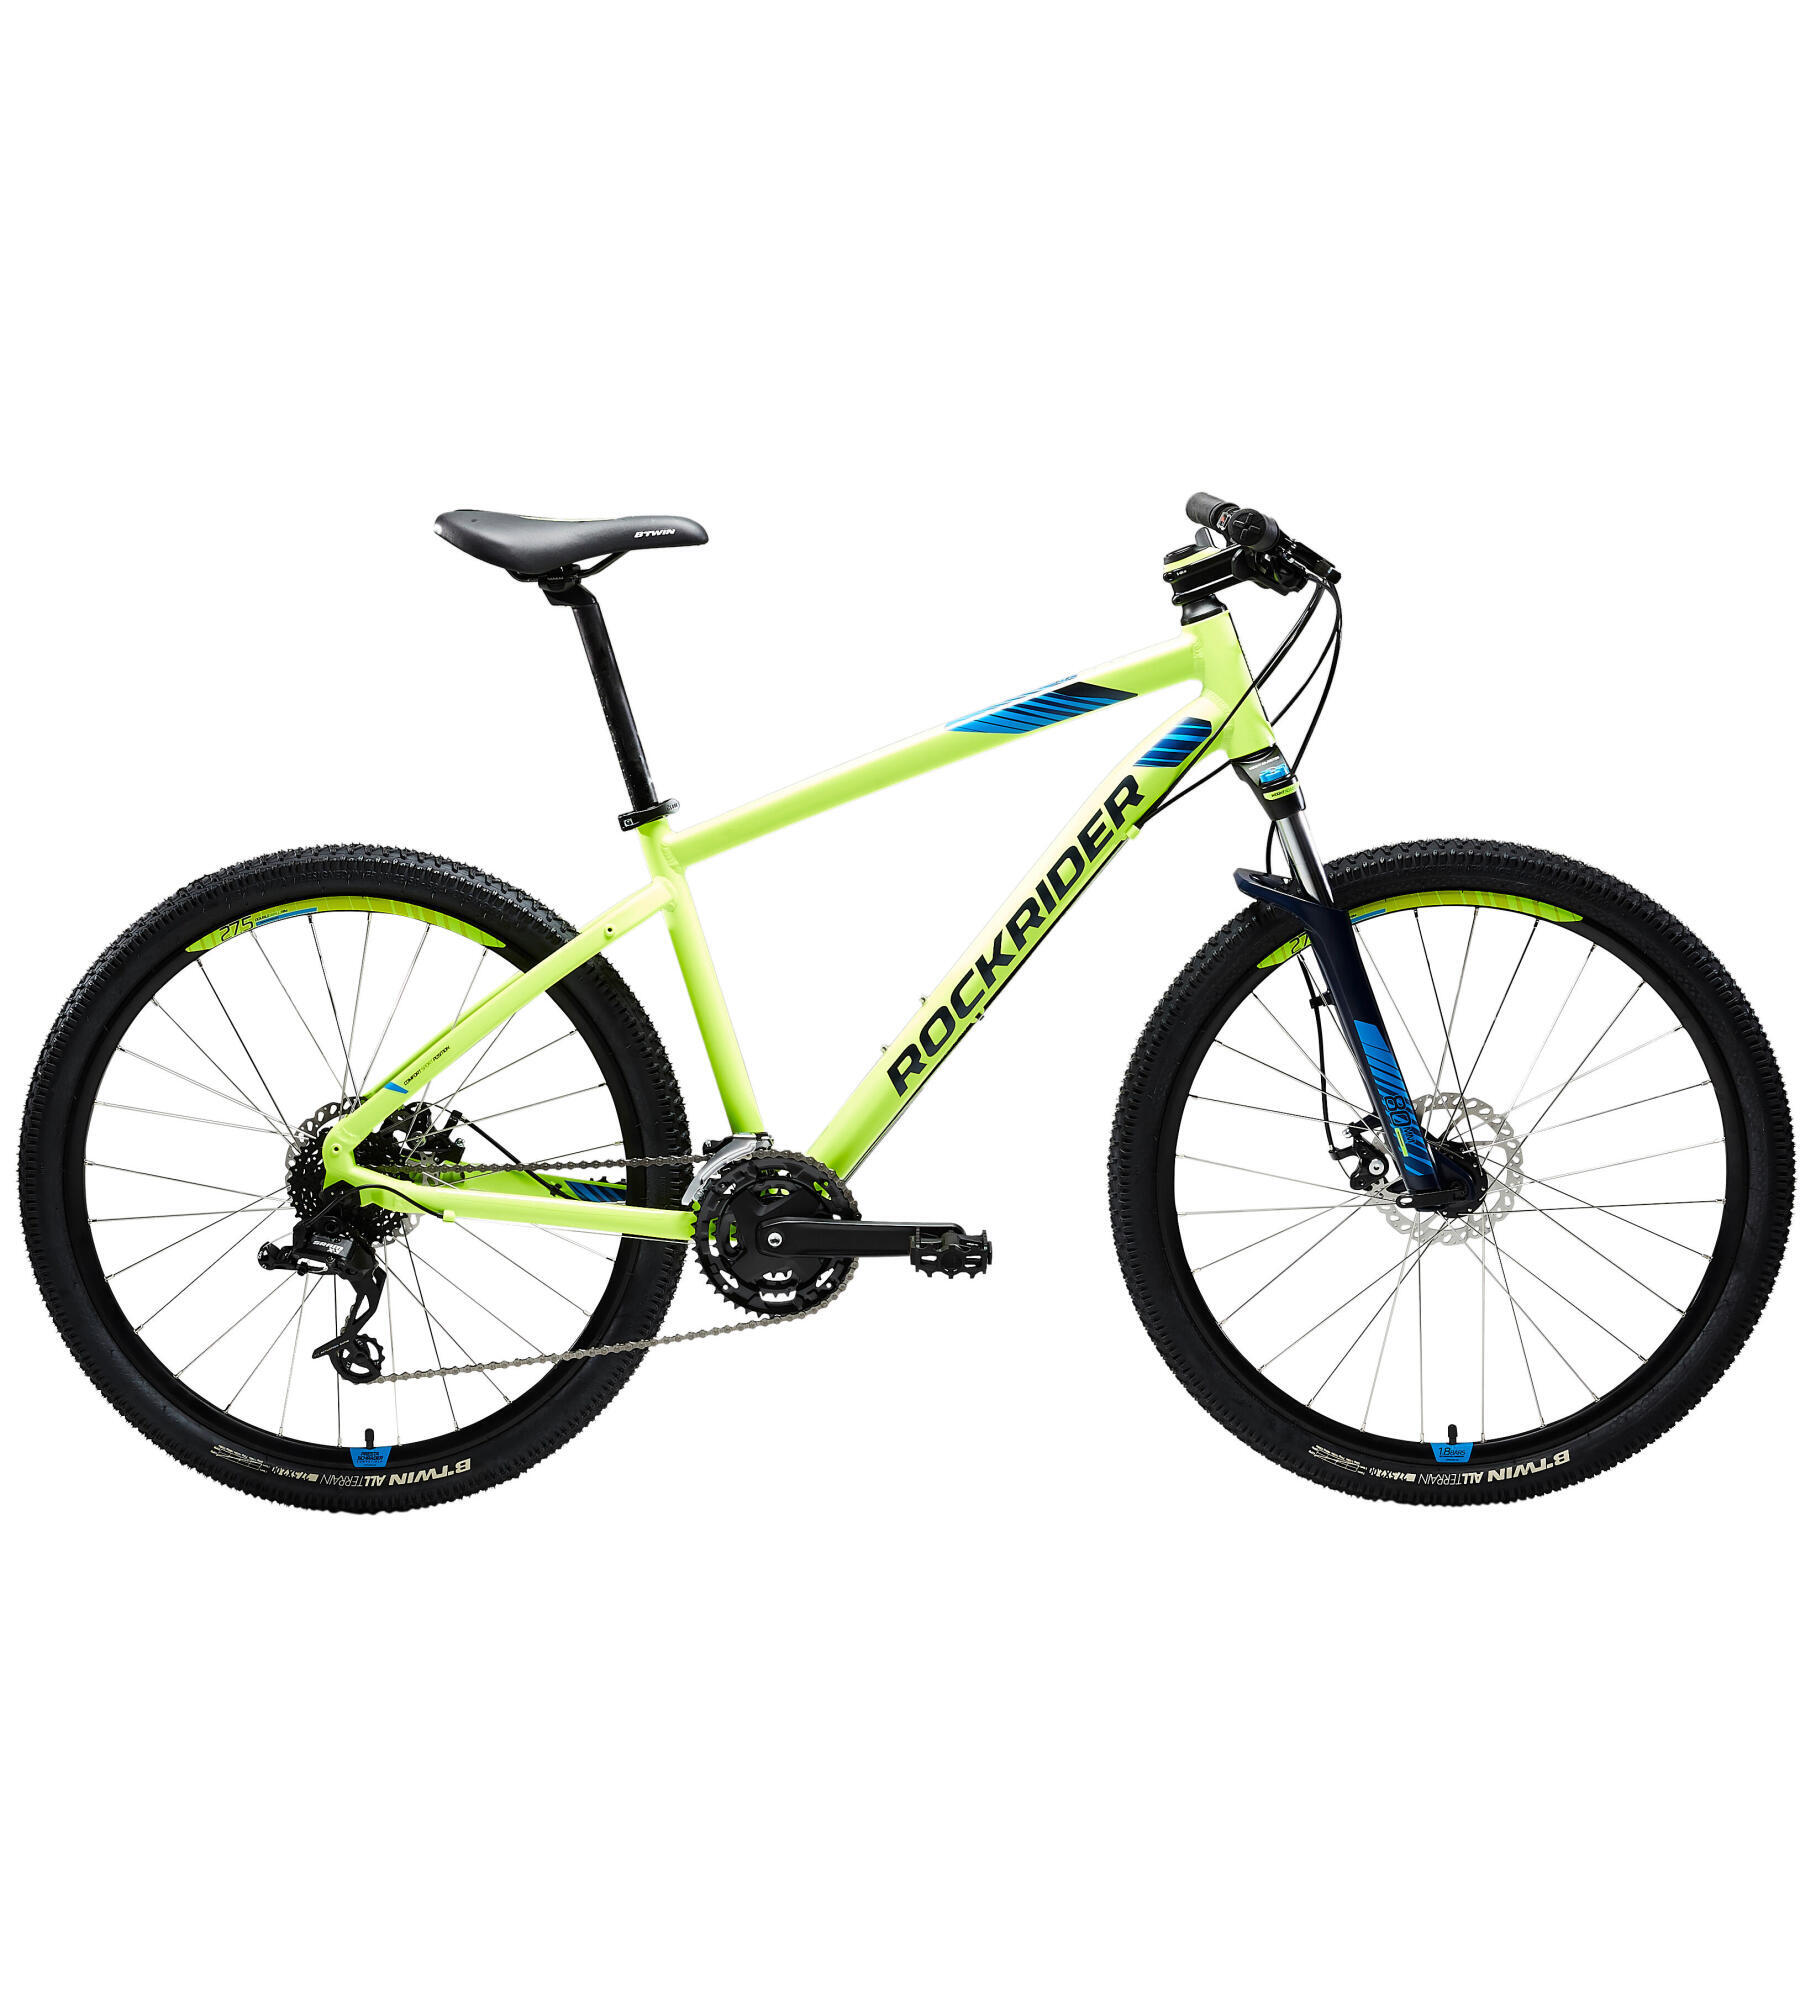
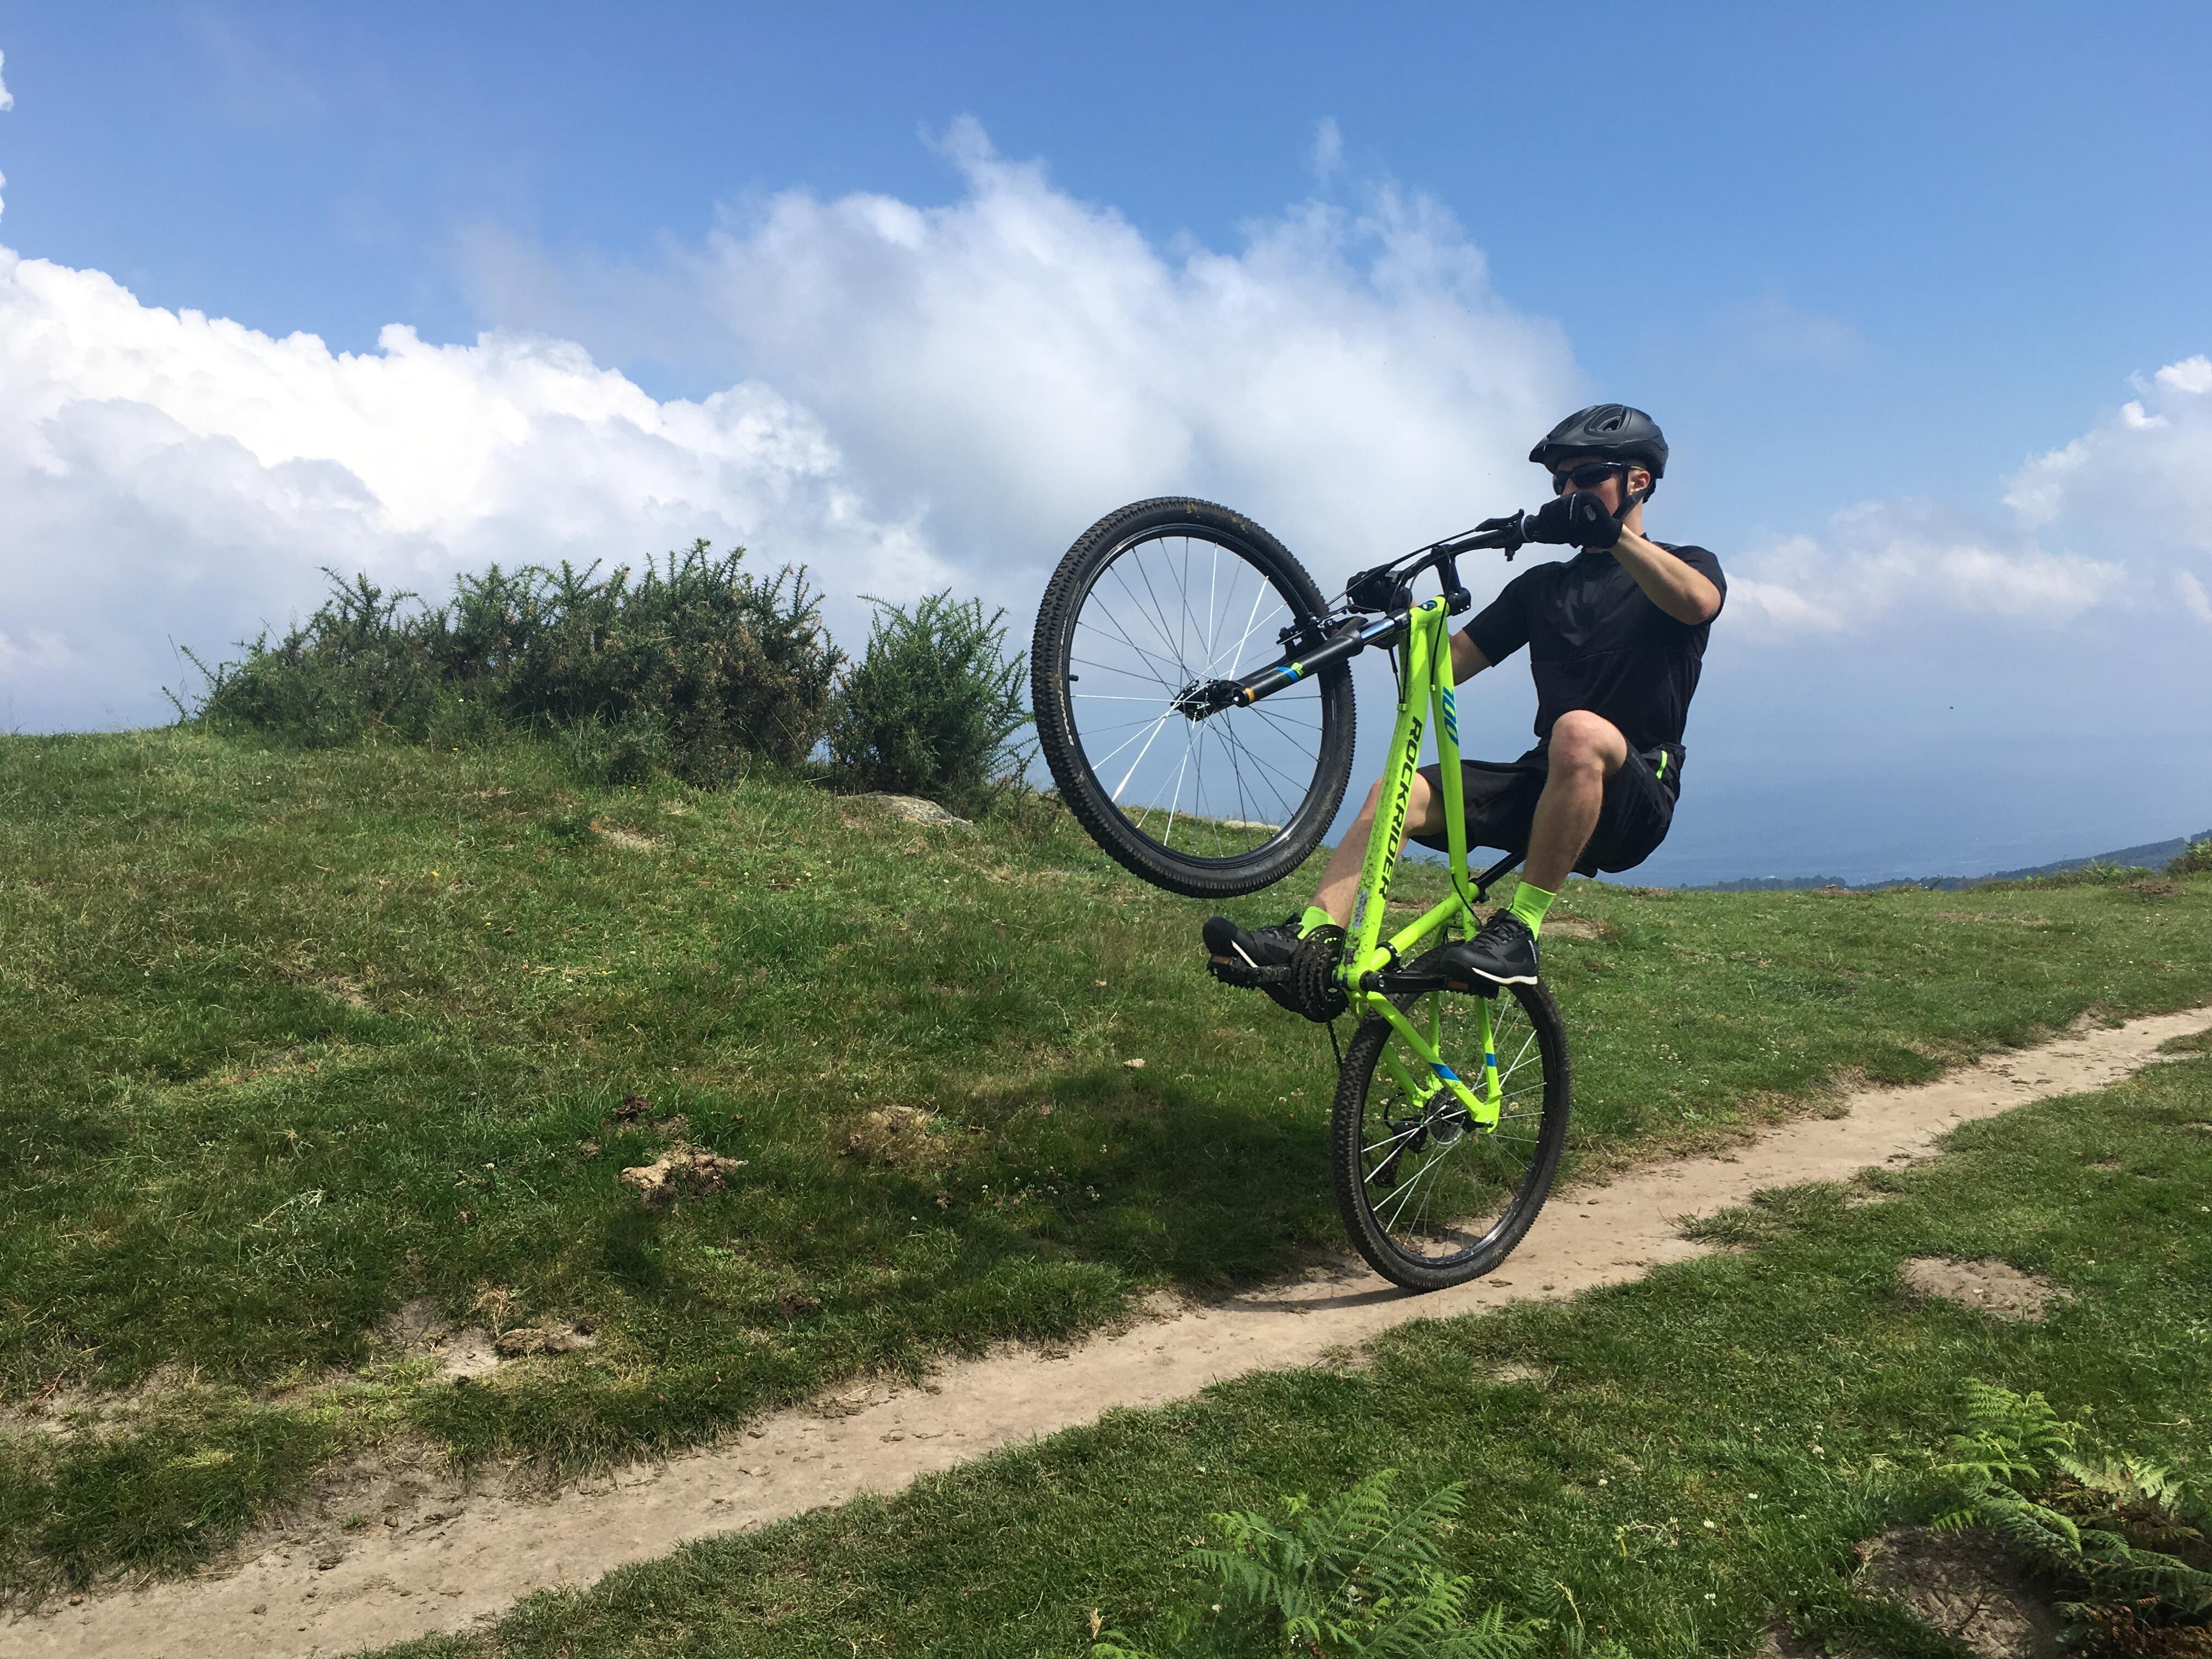
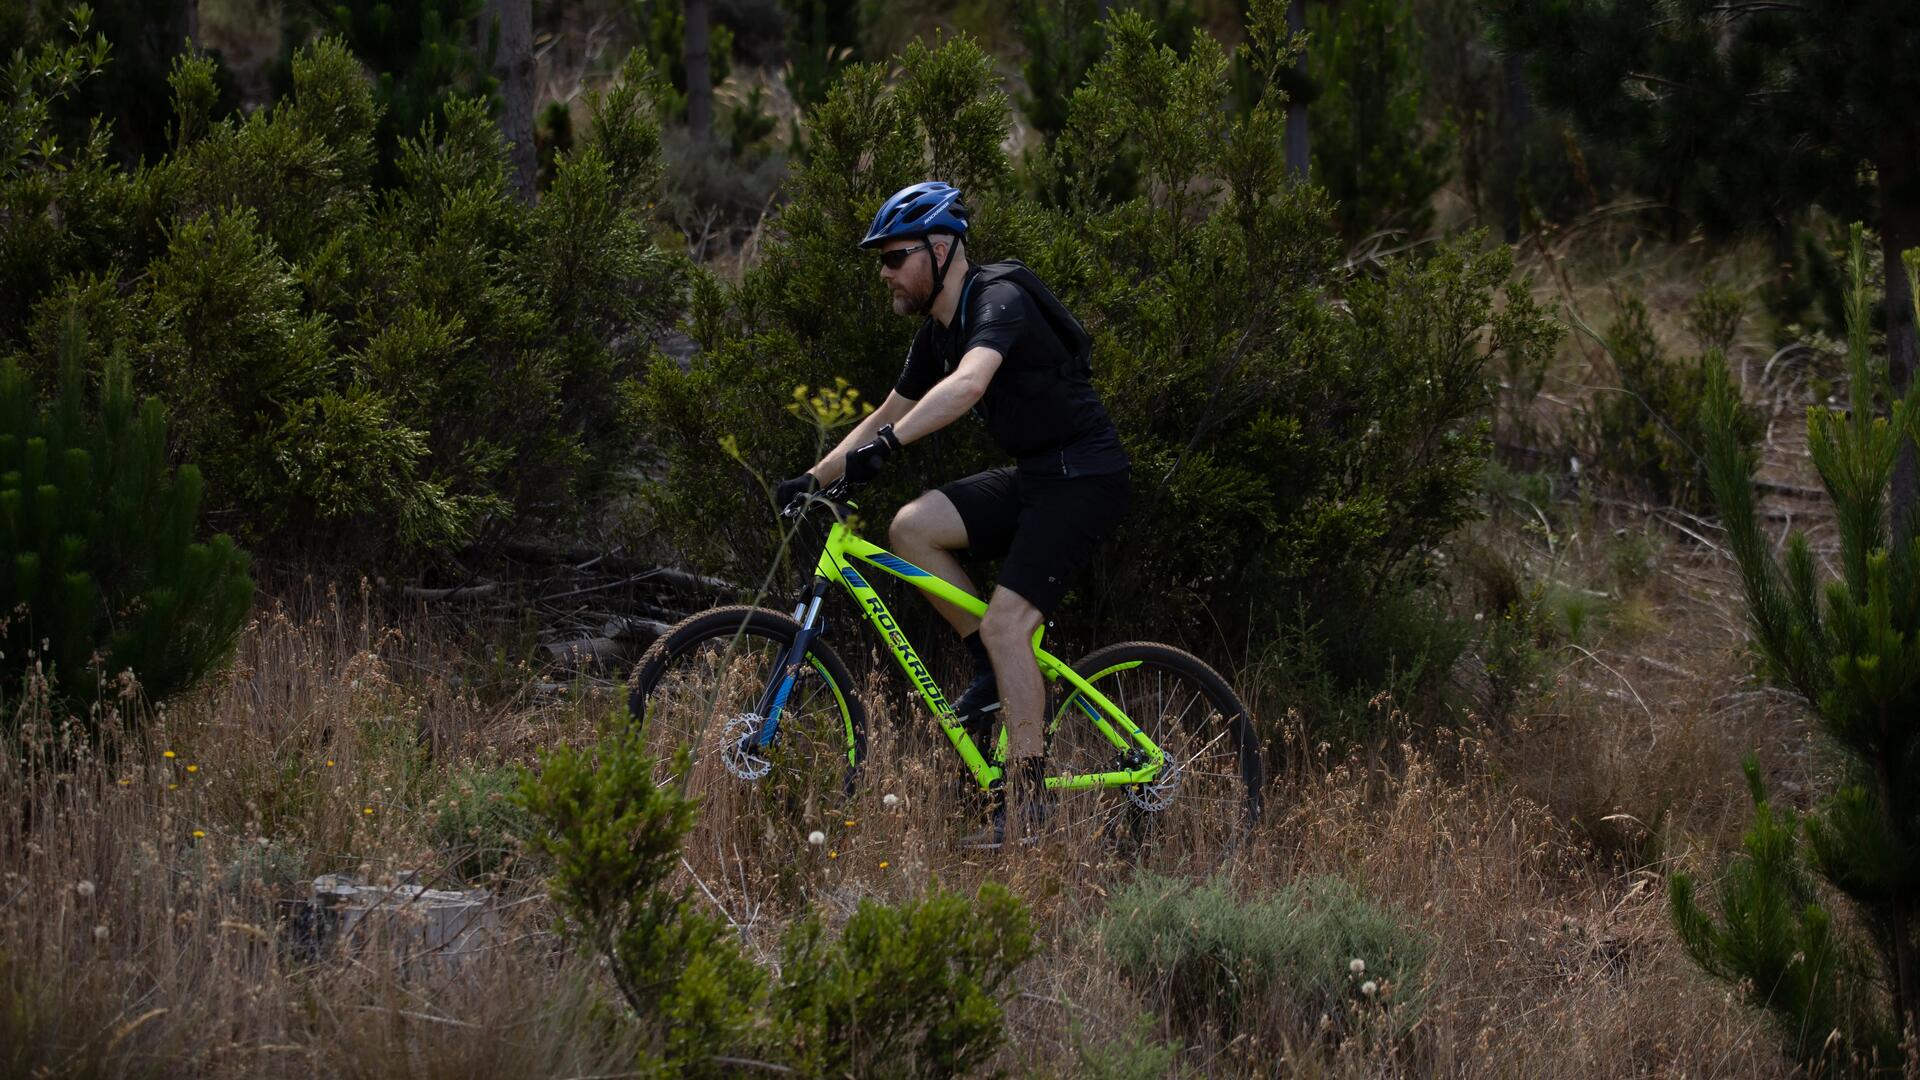
This 27.5" bike is designed for mountain biking all year round, on rides lasting 2 to 3 hours Go faster without sacrificing control. With the ST 520's cable-operated disc brakes, you can commit to downhill routes, winding trails and obstacles with confidence.
The recommended average pressure is 1.8 bar.
INFLATING-YOUR-ROCKRIDER-ST540-TYRES
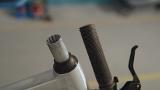
Your handlebar comes in the highest setting (the most upright and therefore the most comfortable position). For better aerodynamics and more efficient pedalling, you can drop your handlebar to extend your upper body (your back will be at more of an angle for a sportier ride). Do this by simply removing the spacers that sit under the stem, as shown in this video.
ADJUSTING-HANDLEBAR-HEIGHT-ROCKRIDER-ST540-MOUNTAIN-BIKE
ALIGNING-YOUR-ROCKRIDER-ST540-MOUNTAIN-BIKE-HANDLEBAR
Your ST 540 bike's frame comes with a quick release system. Stand astride your bike. Undo the clamp by pulling its lever. Pull or push the saddle until it is at hip height. Tighten the clamp by pushing its lever back into place. For more precision, take a look at our video tutorial.
ADJUSTING-SADDLE-HEIGHT-ROCKRIDER-ST540-MOUNTAIN-BIKE
ADJUSTING-SADDLE-DISTANCE-ROCKRIDER-ST520-MOUNTAIN-BIKE
The BTWIN U-Fit fork has been designed to be as easy as possible to adjust. It features a real innovation: turn the dial until your weight appears on the top of your fork. As you turn the dial, the spring will be compressed or released to adjust it to your weight.
ADJUSTING THE FORK'S STIFFNESS ON THE ROCKRIDER ST520
When your bike leaves the shop with its shiny new brake pads and discs, their braking power is weak.
ORIENTING-YOUR-ROCKRIDER-ST540-BRAKE-LEVERS
CHANGING-YOUR-ROCKRIDER-MOUNTAIN-BIKE-PEDALS
If you're going to be able to deal with punctures, a broken chain or any other snag, you're going to need the right kit. Here's a selection of products that can get you out of various sticky situations.
When you start using your new bike, lots of its parts are going to wriggle around as they settle into place.
Unfortunately, anyone can get a puncture. - The ground (thorns, brambles, glass, nails, etc.)
There are several things you can do to soften your fork:
ADJUSTING THE FORK'S STIFFNESS ON THE ROCKRIDER ST520
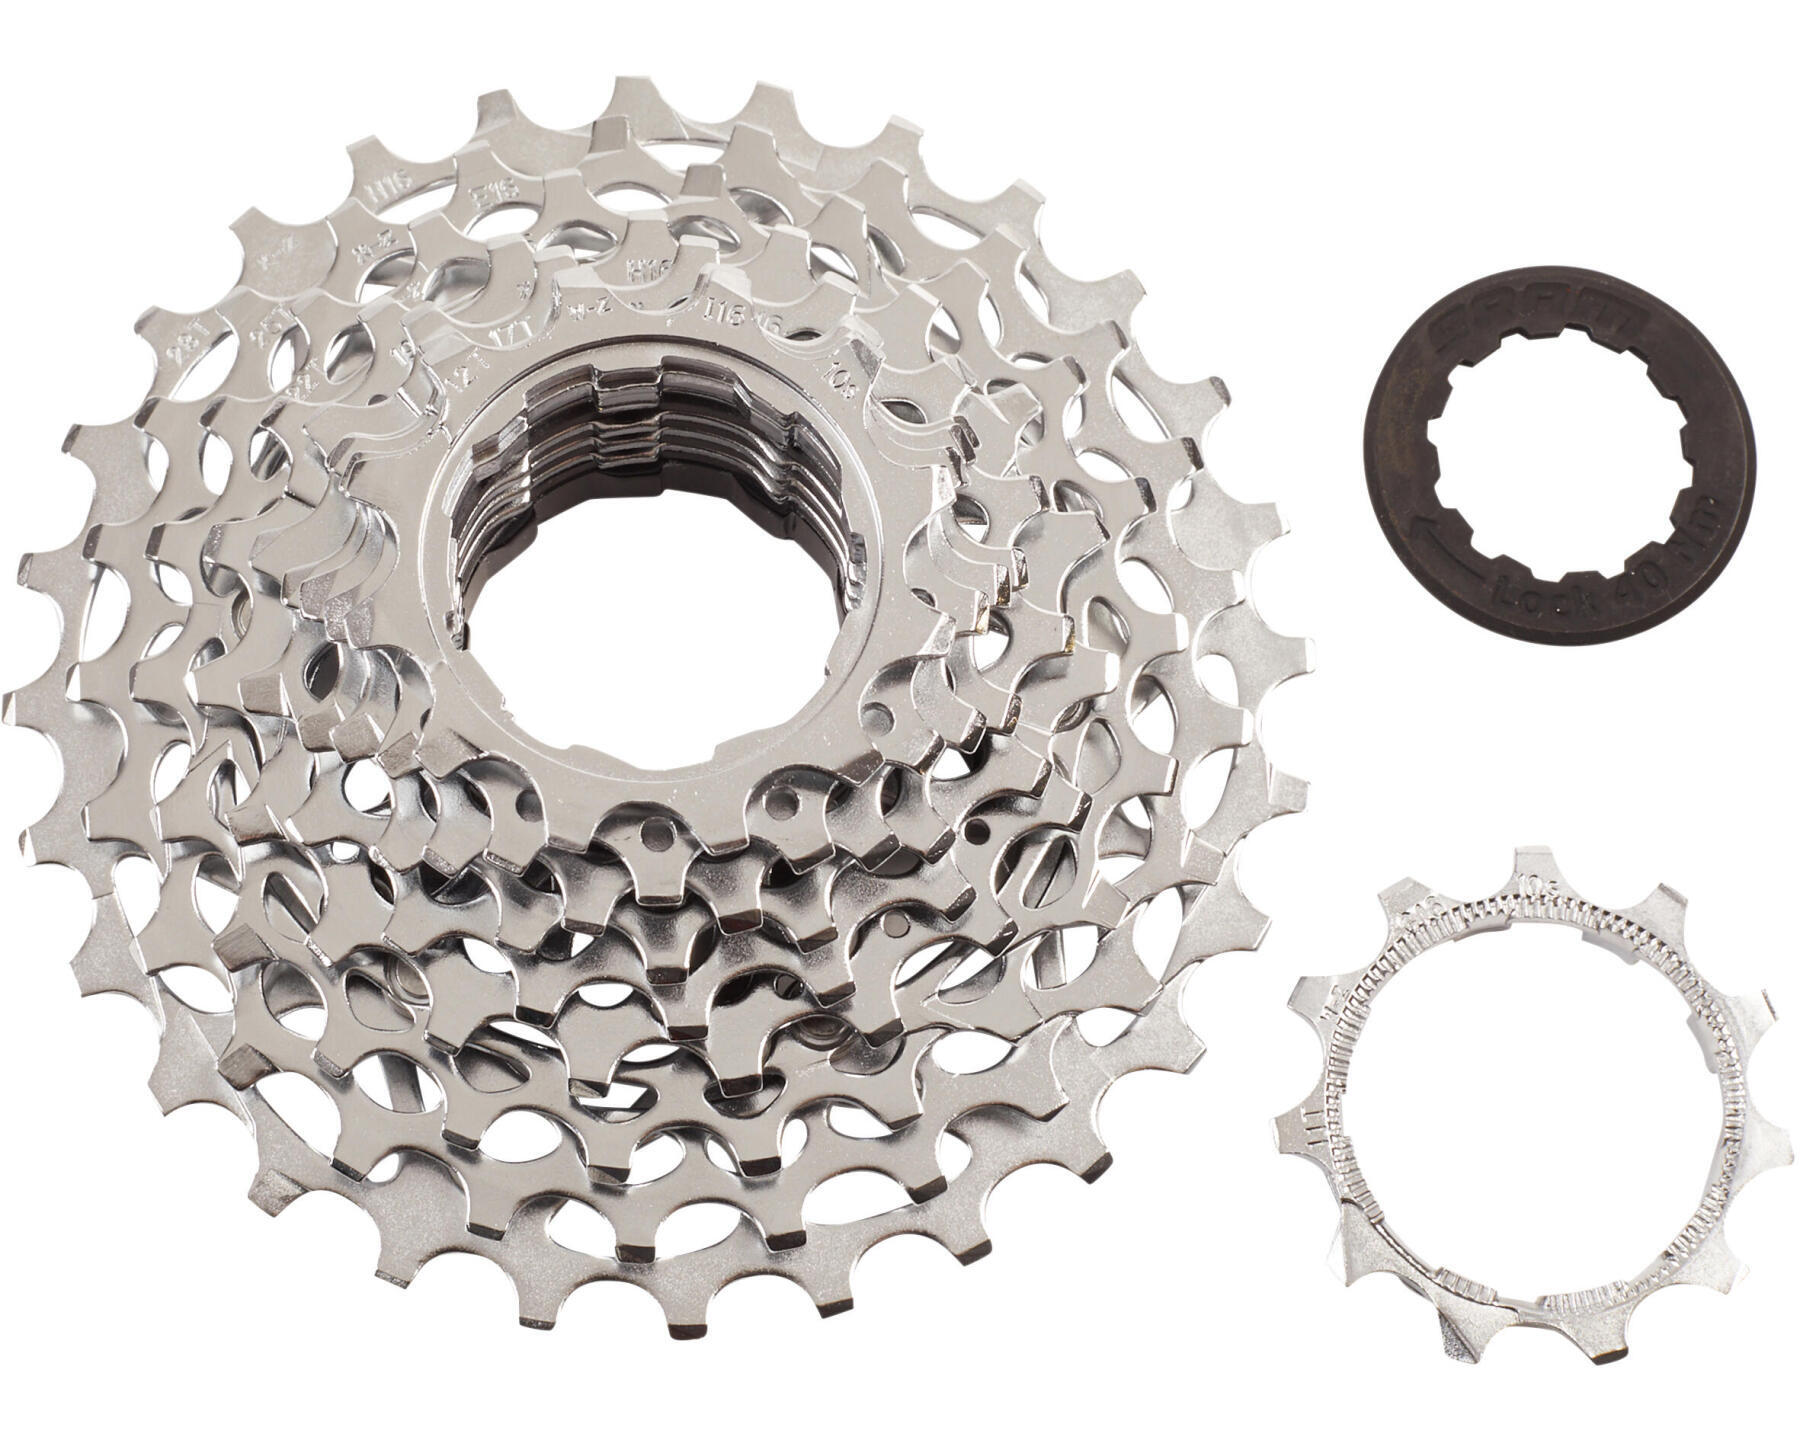
There could be several reasons why your gears (chainring) aren't shifting smoothly.
DRIVETRAIN-CABLE-CHANGE
There could be several reasons why your gears (sprockets) aren't shifting smoothly.
DRIVETRAIN-CABLE-CHANGE
If your brake lever feels spongy and/or touches the handlebar before your bike starts to slow down:
A bent hanger causes the derailleur to be out of alignment and therefore unable to function correctly. Stand behind your bike and examine the alignment of the derailleur.
ROCKRIDER-MOUNTAIN-BIKE-DERAILLEUR-HANGER
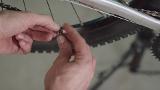
Have you broken your chain? You've got 2 options: 1- Repair it yourself with the help of this video. You're going to need a chain tool and a quick link. 2- Visit one of our Decathlon workshops to get our technicians to repair it.
REPAIRING-A-CHAIN
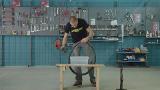
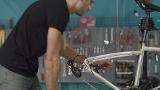
These videos show you how to perform your own repairs and replace parts.
- Fitting/removing a rear wheel - Repairing a puncture
- Changing an inner tube - Adjusting the height of the handlebar
- Repairing a chain - Replacing the derailleur hanger
Don't forget to check out our YouTube channel for even more video content.
FITTING/REMOVING A REAR WHEEL

FITTING/REMOVING A REAR WHEEL
REPAIRING A PUNCTURE
CHANGING AN INNER TUBE
ADJUSTING THE HEIGHT OF THE HANDLEBAR
REPAIRING A CHAIN
CHANGING THE DERAILLEUR HANGER
To clean your bike, you'll need a bike cleaner, a sponge and a brush. First, hose your bike down. Next, use the sponge and brush to apply the cleaning products. Leave the cleaning products time to work, then rinse the bike. Do this from a reasonable distance so as not to damage the mechanical parts. Lastly, dry your bike with a soft, clean, dry cloth.
CLEANING YOUR MOUNTAIN BIKE
To clean and lubricate your drivetrain, you'll need a degreaser spray, a suitable brush and a lubricant. The first step is to protect your disc with a clean cloth to stop any grease getting onto it. Next, apply degreaser to the entire drivetrain, and brush the cassette, chain and derailleur jockey wheels. Leave for a few minutes, then rinse from a moderate distance. Wait for the drivetrain to dry before moving on to the lubrication stage. Shake the lubricant and apply to the inside face of the chain to help it run smoothly.
CLEANING AND LUBRICATING A DRIVETRAIN
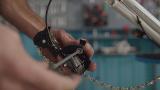
Is your gear cable dirty, rusty or damaged, or are your gears hard to shift or shifting randomly? Then your gear cable needs to be changed! To do this, you'll need some pliers, a screwdriver, a cable cutter, an Allen key and a new set of cables and housing. First of all, you'll need to remove the cable from its housing. Start by removing the plug from the shifter. Shift the gears all the way down, then cut the cable so you can pull it all the way out of the housing. Next, hold the housing against your bike to work out how long it needs to be. Cut it and place the end caps on. You can now install the housing. Pass the cable through the shifter and feed it through the housing. Next, screw the plug back in and fix the cable to the derailleur. Adjust the drivetrain by tightening the cable if the gears are struggling to shift up and slackening it if they are struggling to shift down. Once you're done, cut the cable and use the pliers to crimp the end cap onto it.
CHANGING A GEAR CABLE
REMOVING A REAR WHEEL
To repair a puncture, you'll need: a pump, a bowl of water, a cloth and a puncture repair kit. Pump a little air into the inner tube. Locate the hole by submerging the tube in the water. Once you've found the hole, dry the inner tube with the cloth and use the sandpaper in the repair kit to sand the tube. This will enable the glue to stick better. Apply the glue generously to the hole, and wait for 3 to 5 min. Lastly, place the patch over the hole and press down for a few minutes. You can then put your inner tube back into your tyre!
REPAIRING A PUNCTURE
CHANGING CABLE-OPERATED DISC BRAKE PADS
ADJUSTING A CABLE-OPERATED DISC BRAKE CALLIPER
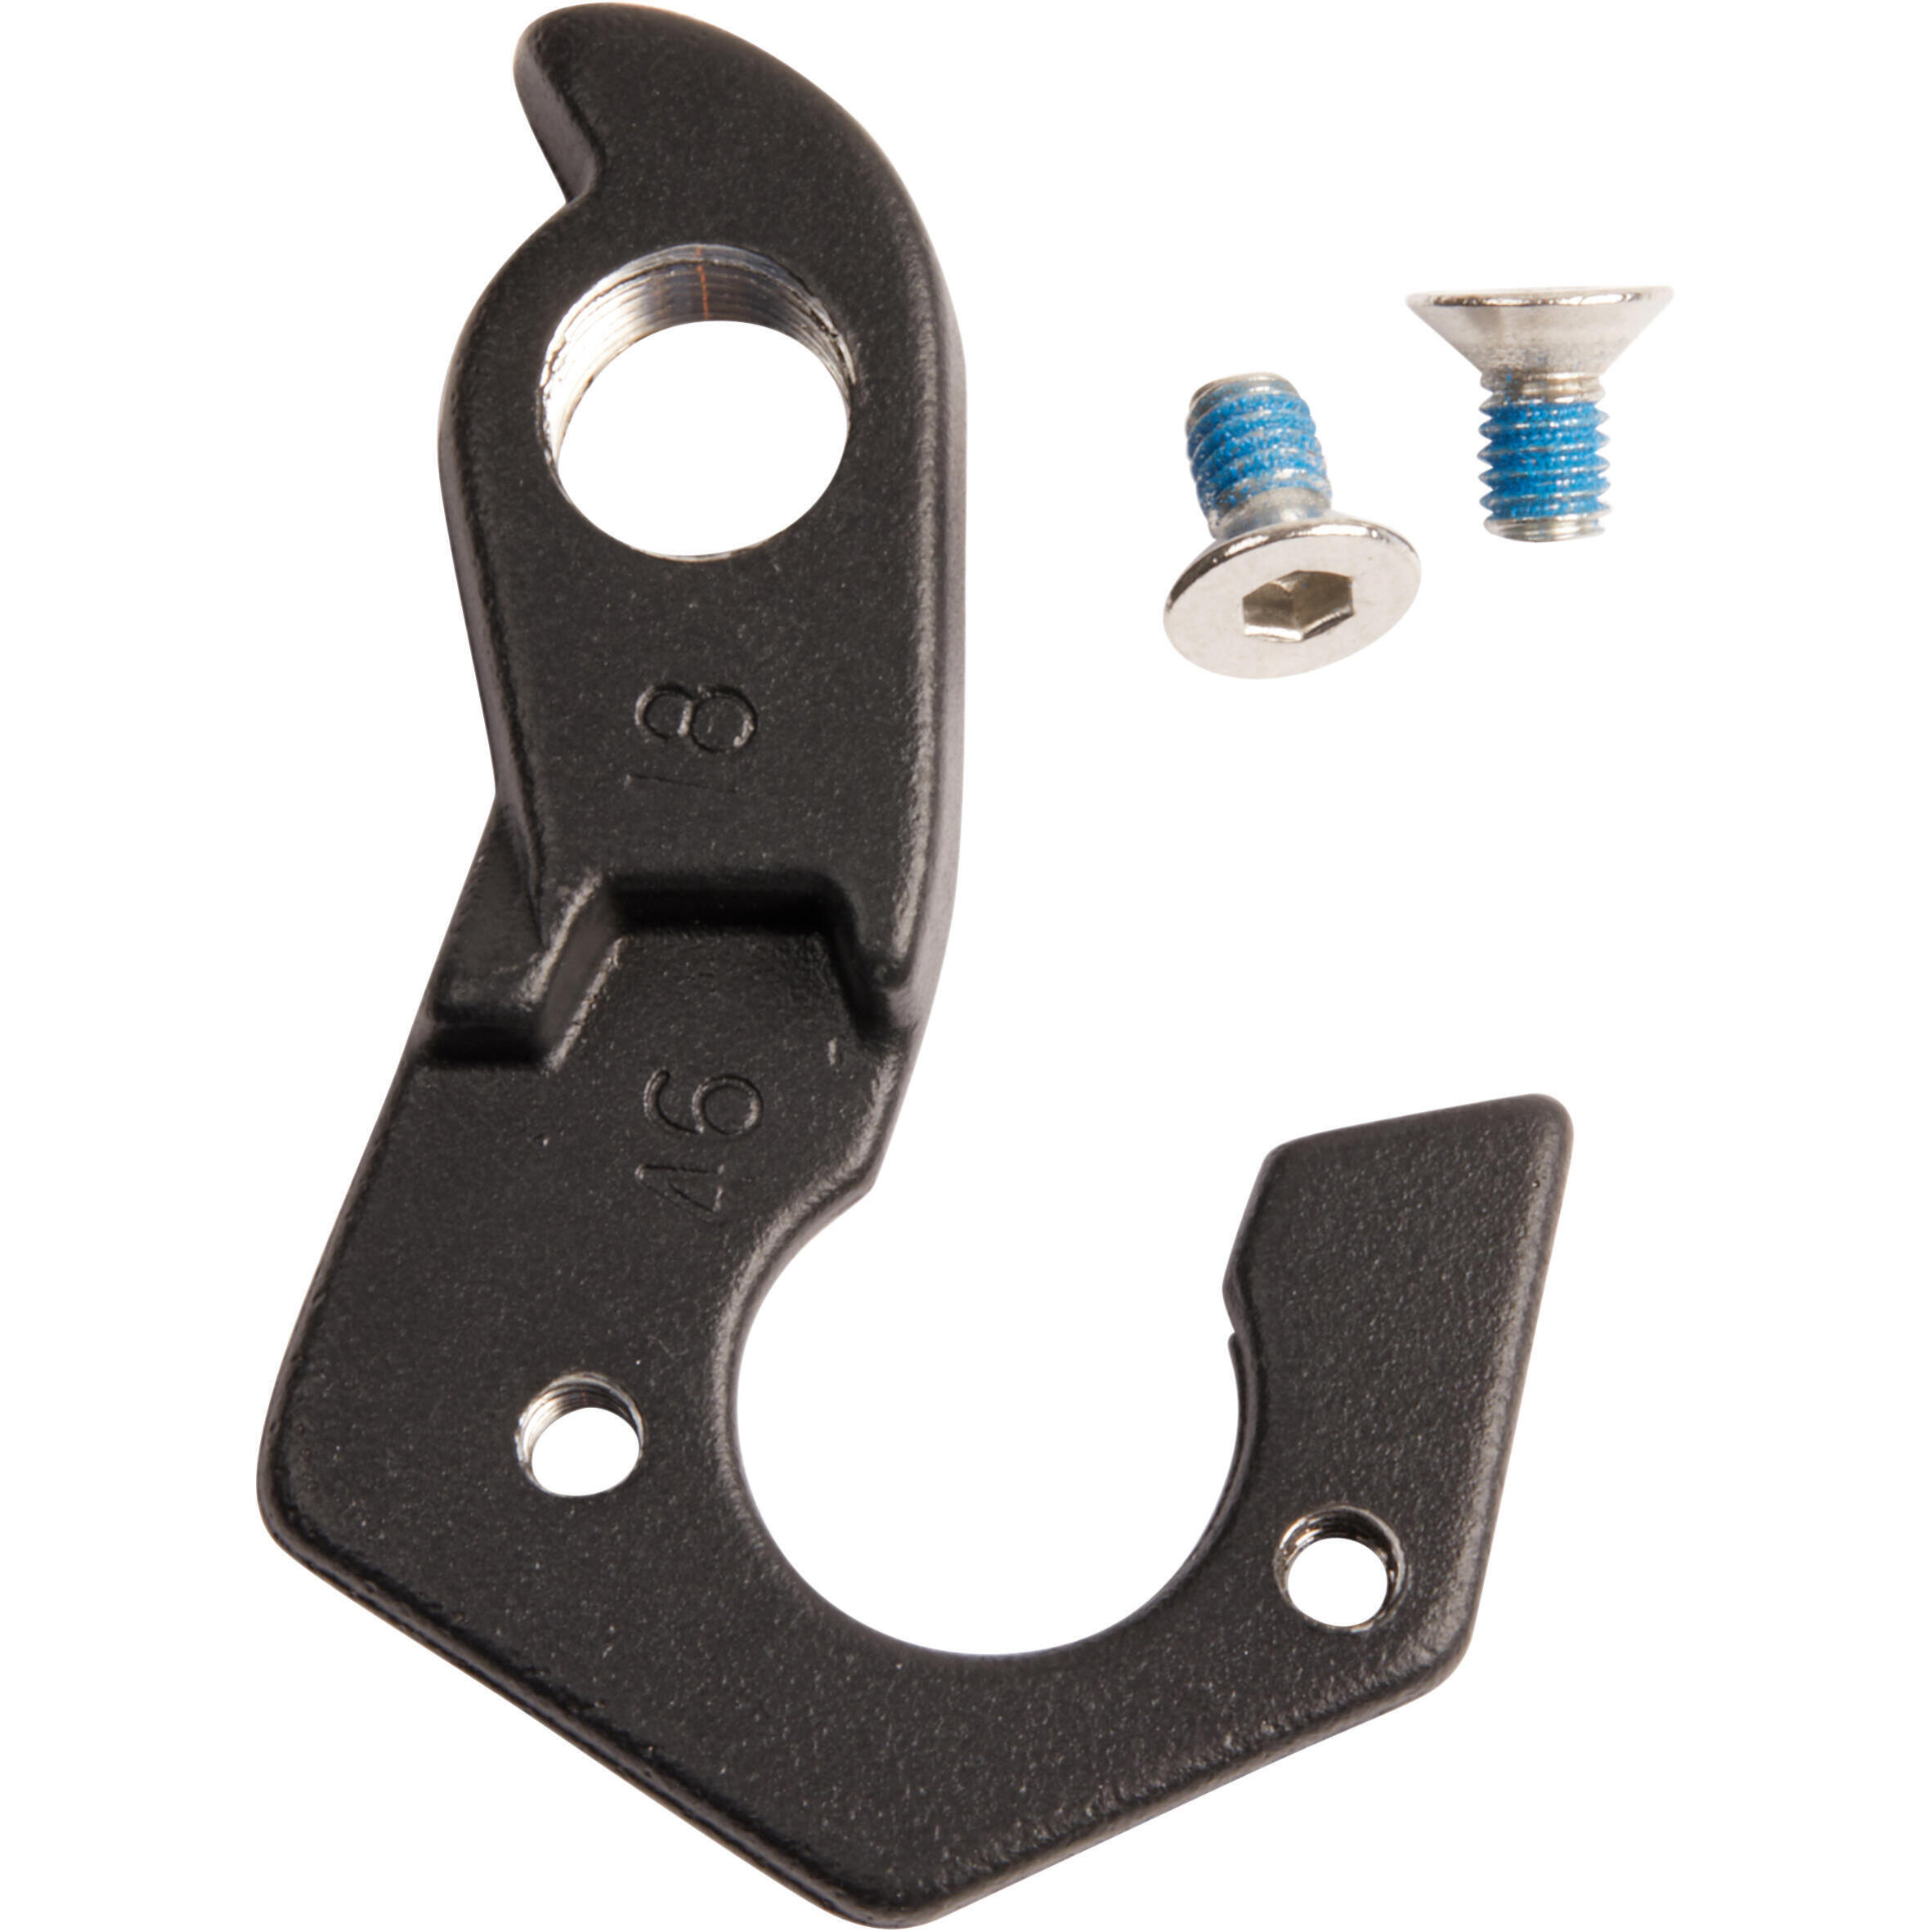
To do this, you'll need a new derailleur hanger that's compatible with your bike (please check our "SPARE PARTS") and a 5 mm Allen key. Remove the wheel and the damaged derailleur hanger. Position the new hanger on the frame. Remove the piece of old hanger from the derailleur before putting the new one on using the 5 mm Allen key. All that remains is to put the derailleur on the new hanger and check the gears.
CHANGING THE DERAILLEUR HANGER
To do this, you'll need a chain tool, a new chain and a quick link. Position the chain on the last cog and the smallest chainring. Use your chain tool to remove the quick link, then take the old chain off. Position the new chain on the last cog and the smallest chainring to figure out the right length. The chain should be almost grazing the derailleur's top jockey wheel. Once you've decided on the correct length, cut the chain using the chain tool. Then fit the quick link to the chain and turn the pedals to position the quick link at the top of the chain. Give the pedals a good tap to make sure the chain is fully seated.
CHANGING A CHAIN
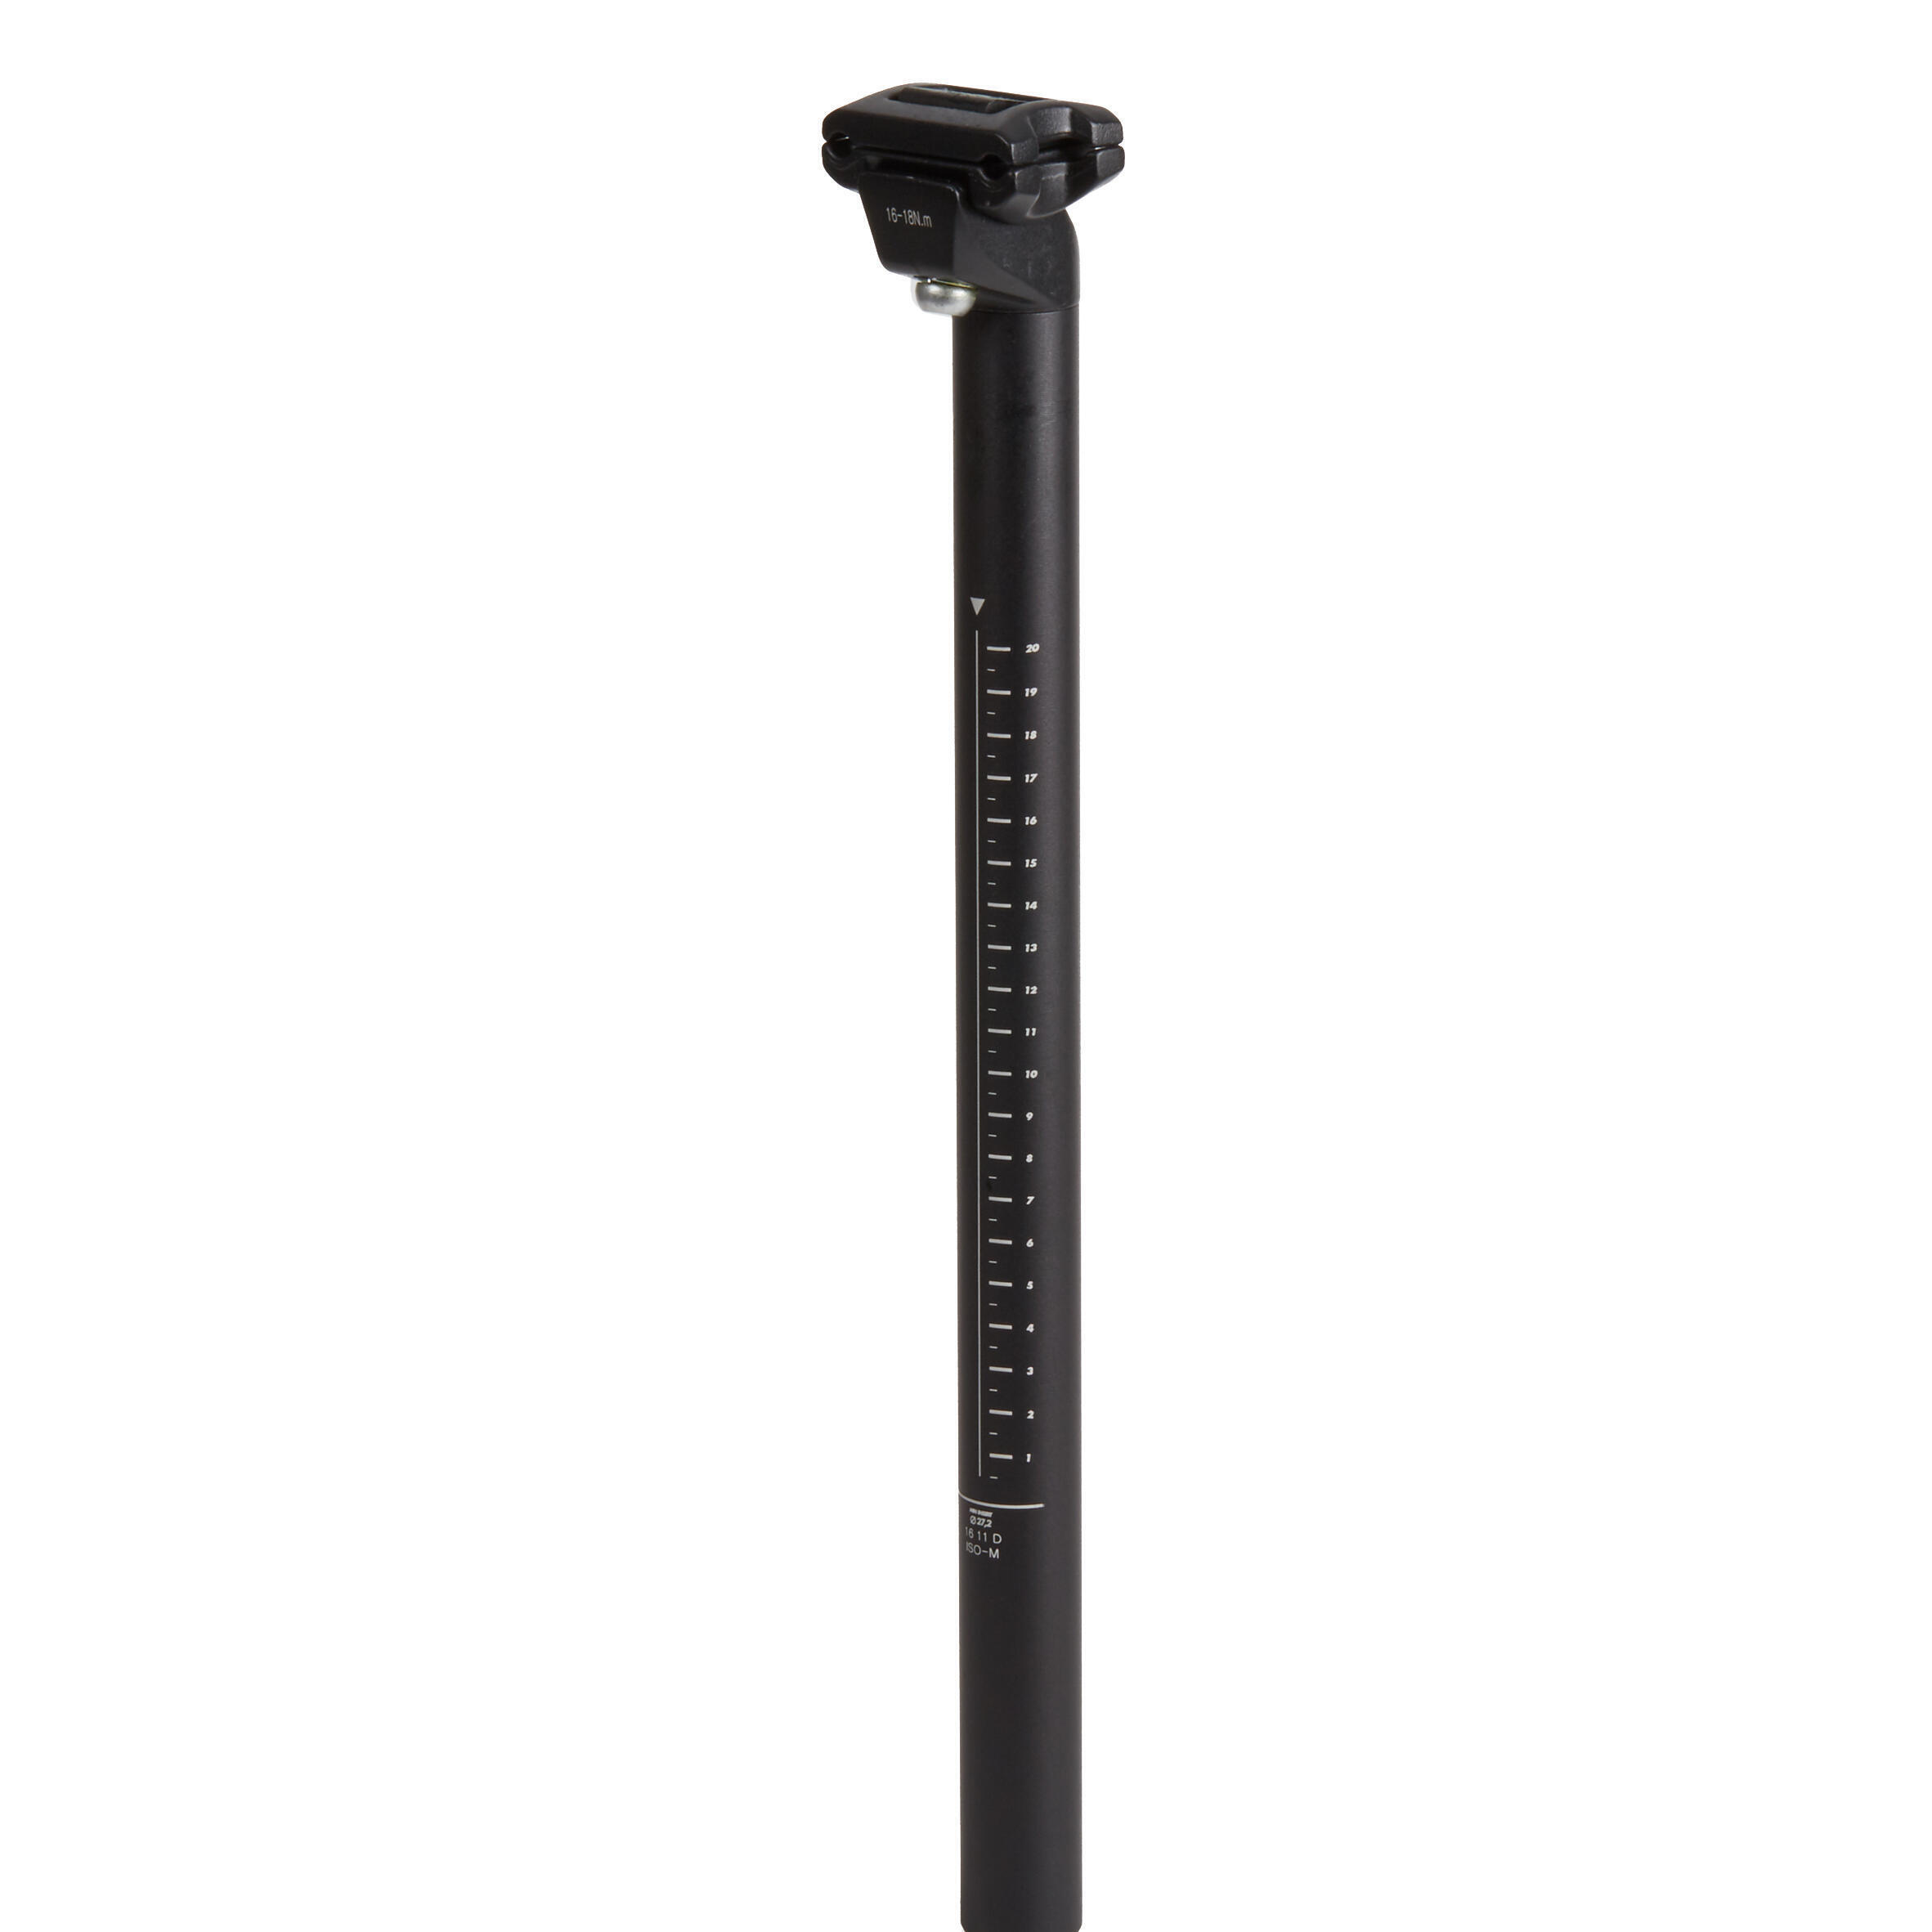
Discover the 27.2MM 400MM SEAT POST WITH SEAT CLAMP for your ROCKRIDER ST520
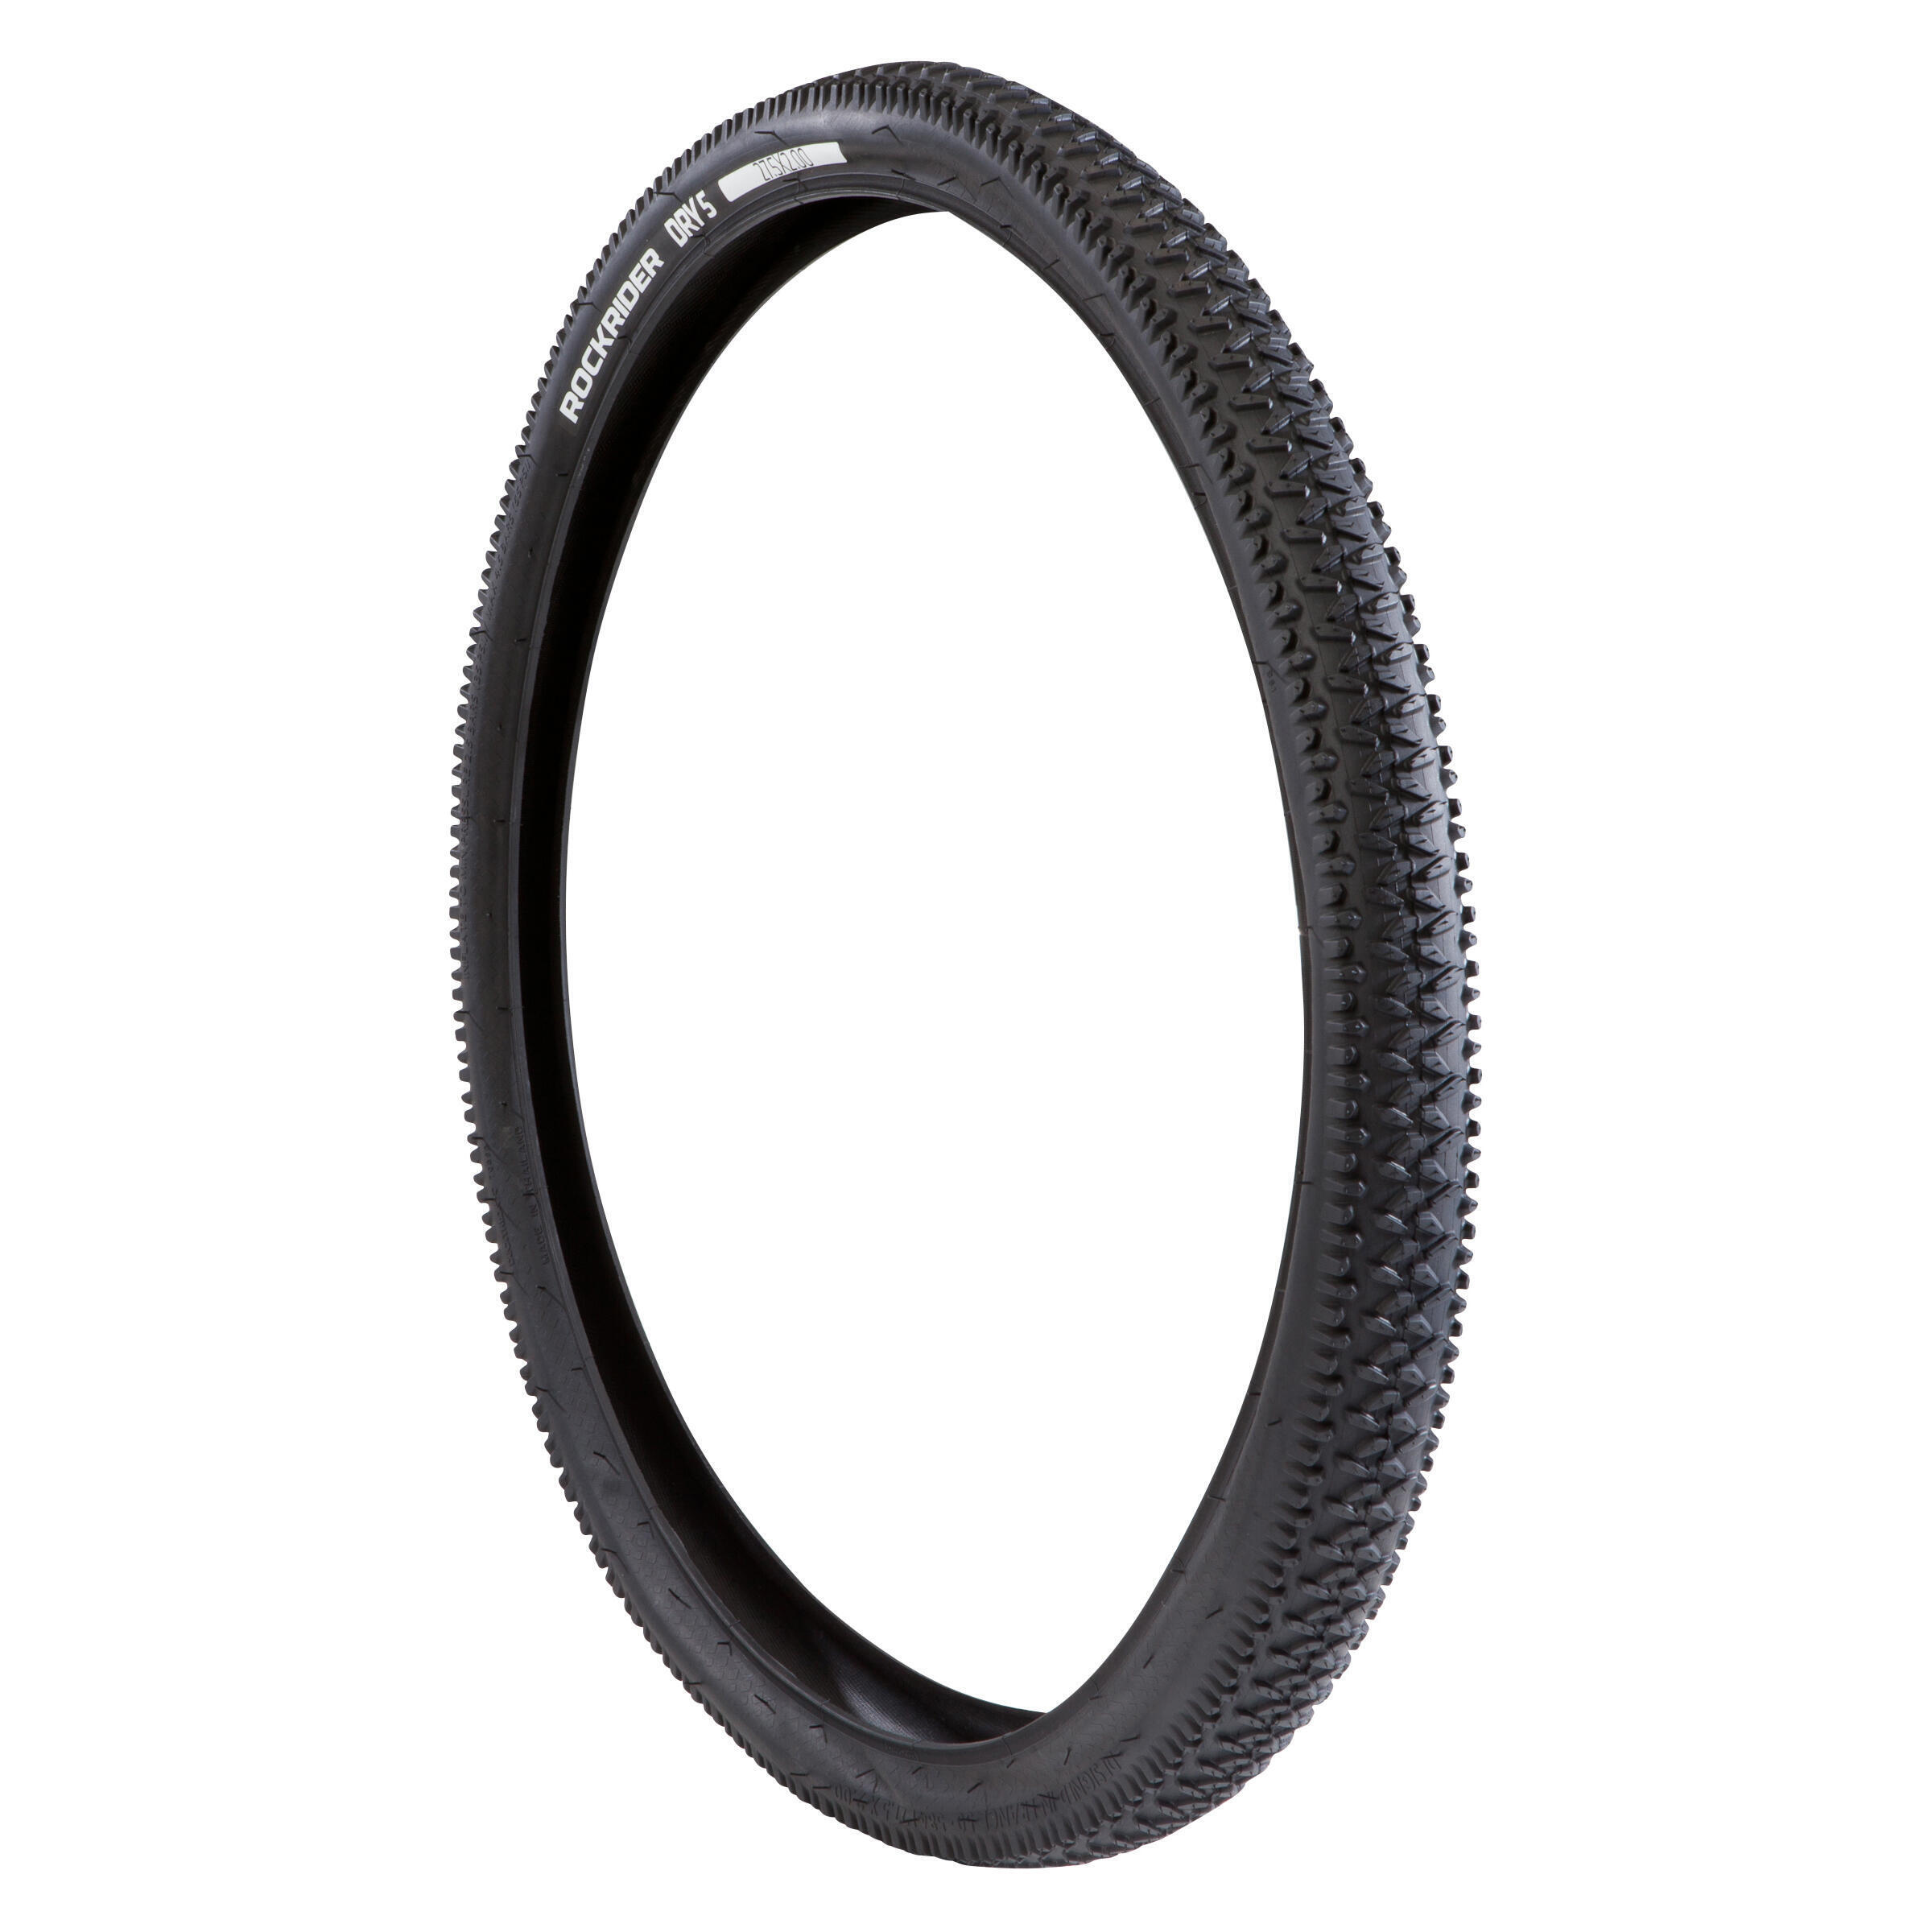
Discover the DRY 5 27.5 x 2.0 STIFF BEAD MOUNTAIN BIKE TYRE for your ROCKRIDER ST 520
Need to change some parts? You'll find all the spare parts for the ST 520 mountain bike here.
User Instructions

Please contact one of our technicians who will be happy to help
ROCKRIDER guarantees the frame, handlebar and stem of your mountain bike for life (in normal conditions of use).
The guarantee for other parts is two years.
As soon as your child starts using the bike, some components will move slightly. It's for that reason that we offer a free check of your mountain bike six months after purchase.