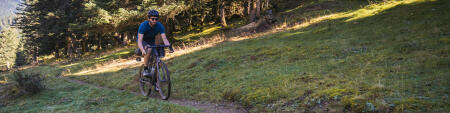
First use
It's worth getting into good habits right from the first time you use your bike. We've put together all sorts of helpful tips on gravel riding and looking after your bike.

REF: 8650944
2020
Need help assembling, maintaining or repairing your bike?
Find all our tips, tutorials and videos as well as user guides and spare parts for your GRVL 900 right here!
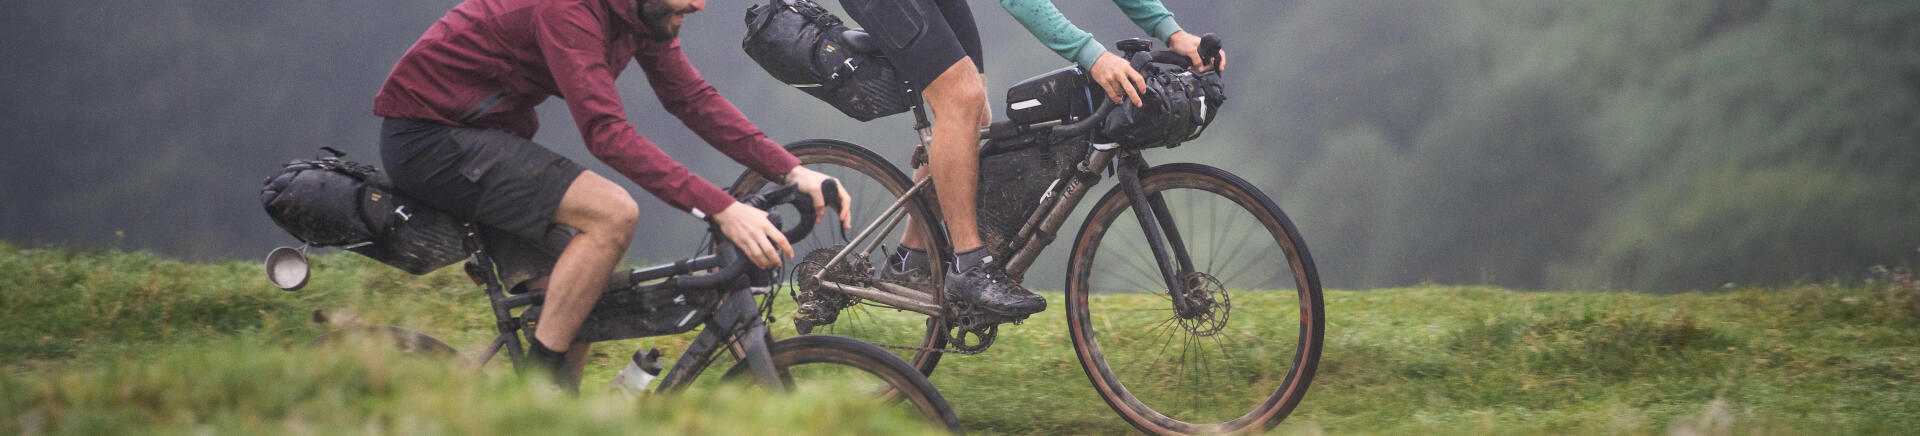
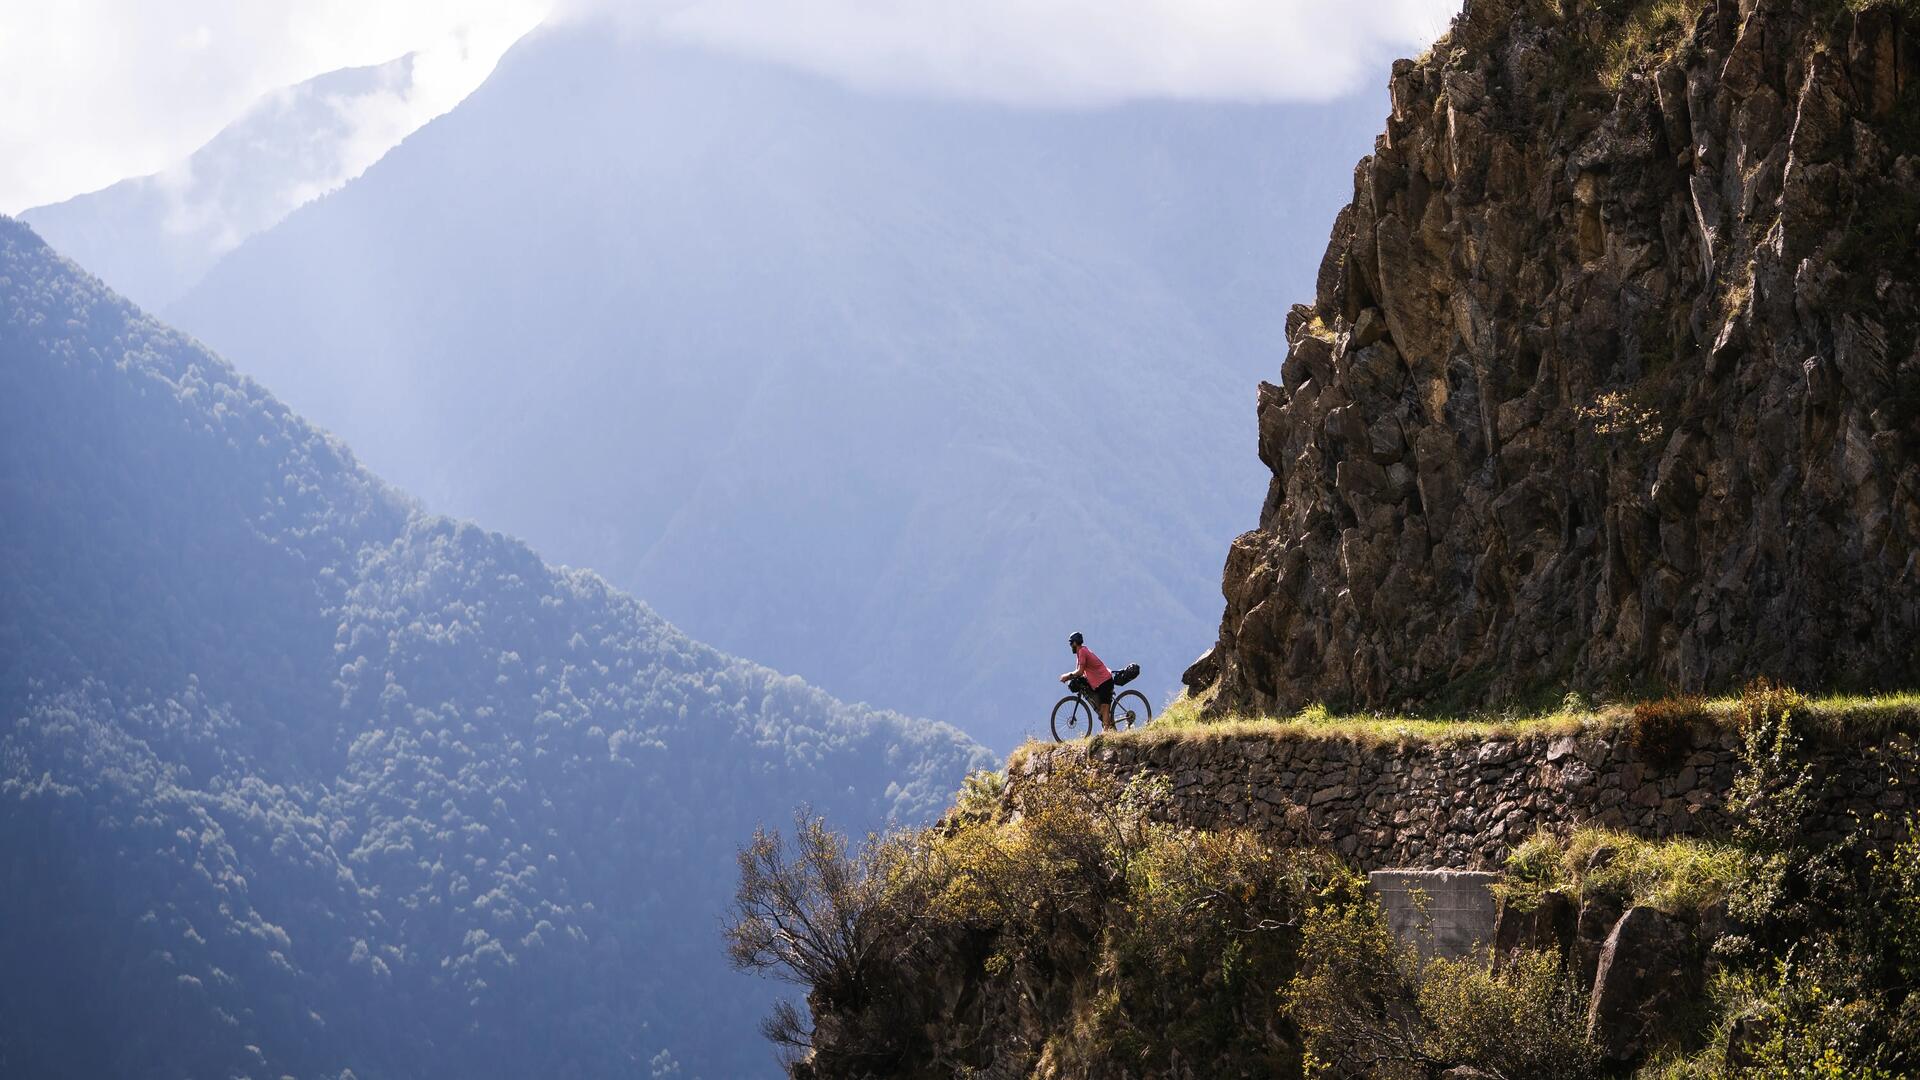
Triban GRVL 900 Titanium - 2020
It's worth getting into good habits right from the first time you use your bike. We've put together all sorts of helpful tips on gravel riding and looking after your bike.

When using the bike for the first time, you should take time to bed the brakes in. This video will show you how to do it.
Once you've assembled your gravel bike, your brakes might need adjusting. This video explains how to do it.
It's important to find the right position so that you feel comfortable on your bike. Here's a general guide to setting up your bike correctly, which you should adapt based on how your own bike feels.
For gravel riding, the tyre pressure has to be just right because the bike will be used on a range of surfaces. You'll need to adapt the pressure based on the total weight, the type of terrain and the tyre itself. On your particular bike, we recommend following the advice in the link below.
These numbers are for reference only. You're more than welcome to experiment and adjust the pressure based on how it feels as you ride.
You'll find the minimum and maximum pressures on the tyre's sidewall.
Before you get started, make sure you have compatible tubeless-ready tyres.
Our tutorial video shows you how to fit your tubeless tyres.
To set your saddle correctly it needs to be securely in place. A loose seat post can slip when you're out and about on your bike. Conversely, if it's too tight, you run the risk of crushing the seat post and damaging your bike.
The best way to tighten a seat post is to use a torque wrench. We recommend you tighten it to between 6 and 7 Nm.
Take care not to exceed the maximum height indicated on the seat post.
If you're not going to be using your bike for a long time, you should:
> Store your bike somewhere cool and sheltered.
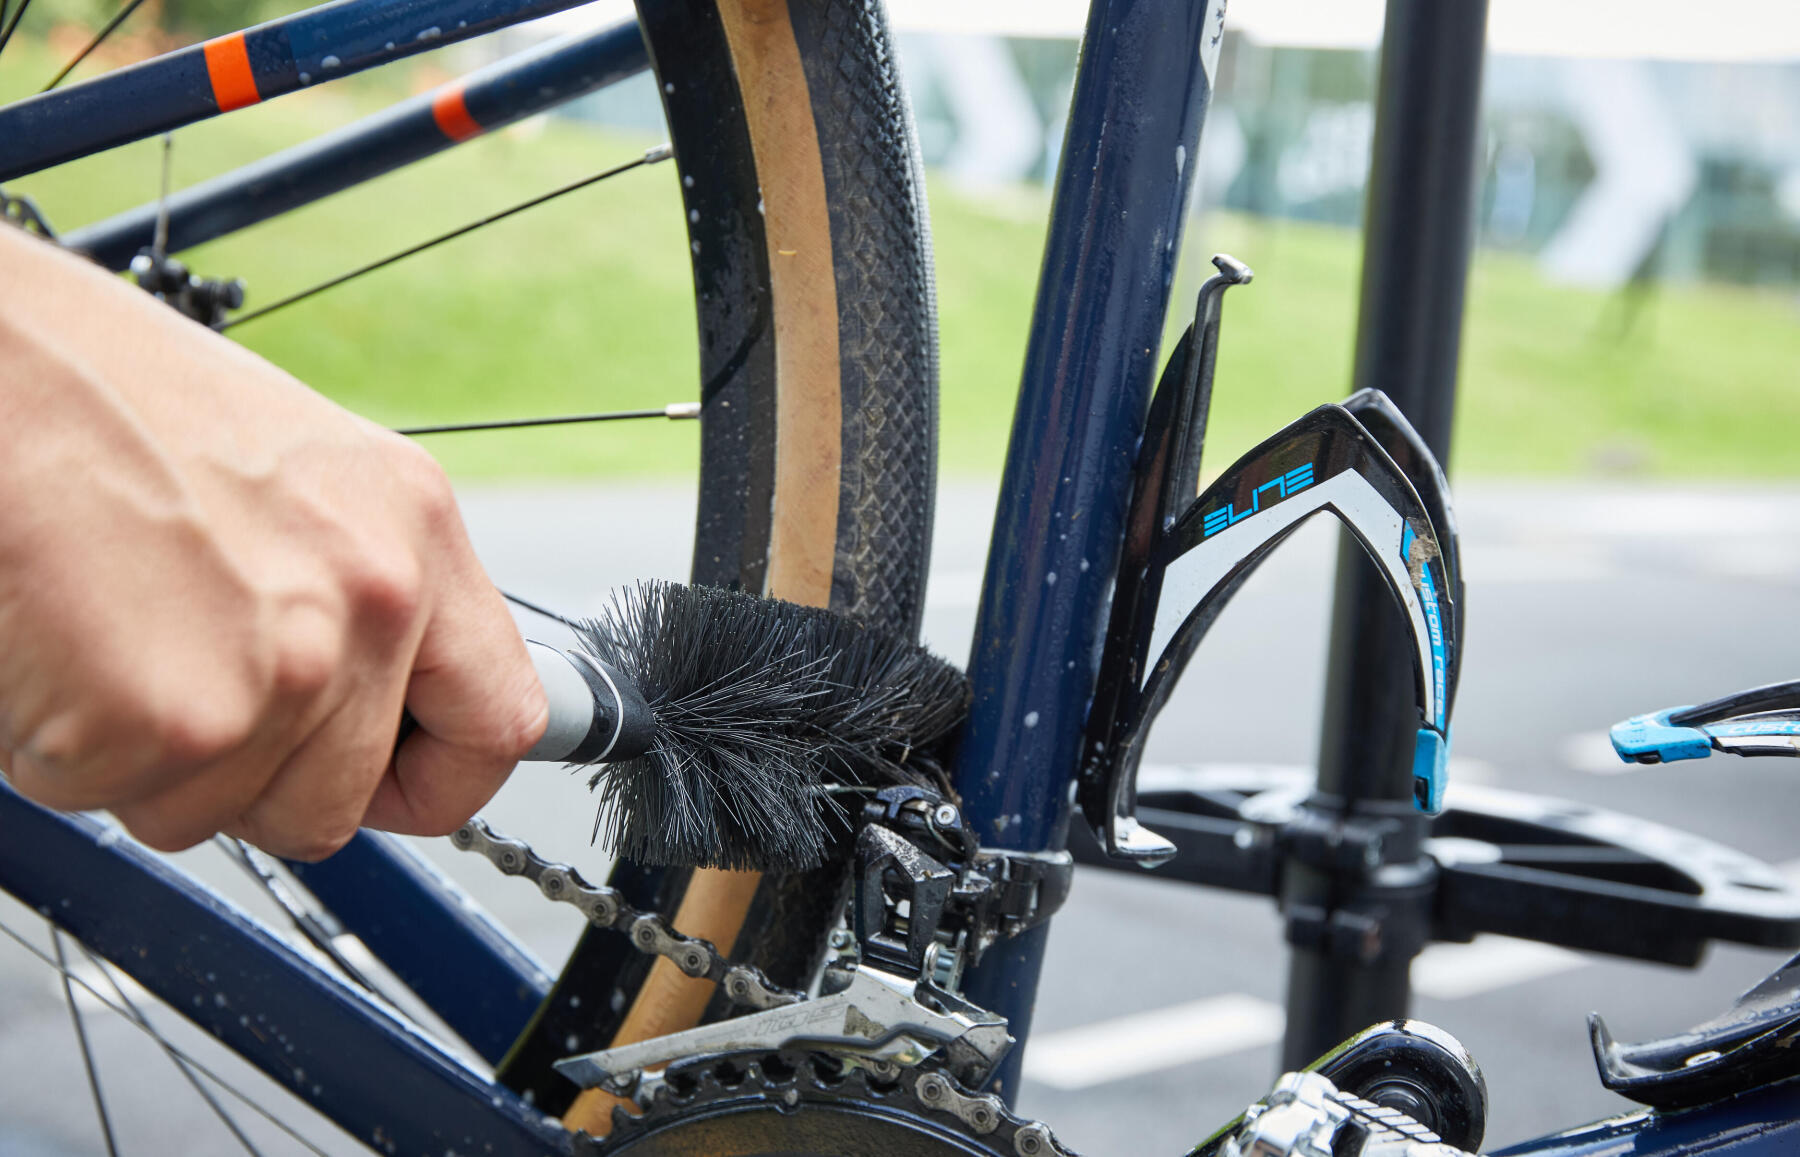
> Clean it, before putting it away, to remove mud or sand that could corrode it.
- Lubricate the chain. Spray some All-In-One over the entire bike to protect it from rust
- Put the chain onto the smallest cog
- If your tyres are tubeless, check the level of sealant in them before you use your bike again. If the wheels don't turn for a long time, the liquid can solidify and stop working
We recommend wearing a helmet and gloves while riding. Anyone can take a tumble, and you'll be grateful for your helmet and gloves when it inevitably happens!

Servicing your GRVL 900 will keep all of its parts working for as long as possible and ensure you have the most fun when riding. Aside from the aesthetic aspect of having a clean bike, failing to service it can lead to problems, and problems lead to accidents: jammed cables, rust, leaks, premature wear, etc.
Extending the lifespan of your bike's parts means a lower environmental impact.
As soon as you start using the bike, some components will move slightly.
This is why we offer a free check for your bike 6 months after purchase.
With a gravel bike, you're going to be riding on both roads and mud. At some point, you'll have to change various components to keep your bike in good nick.
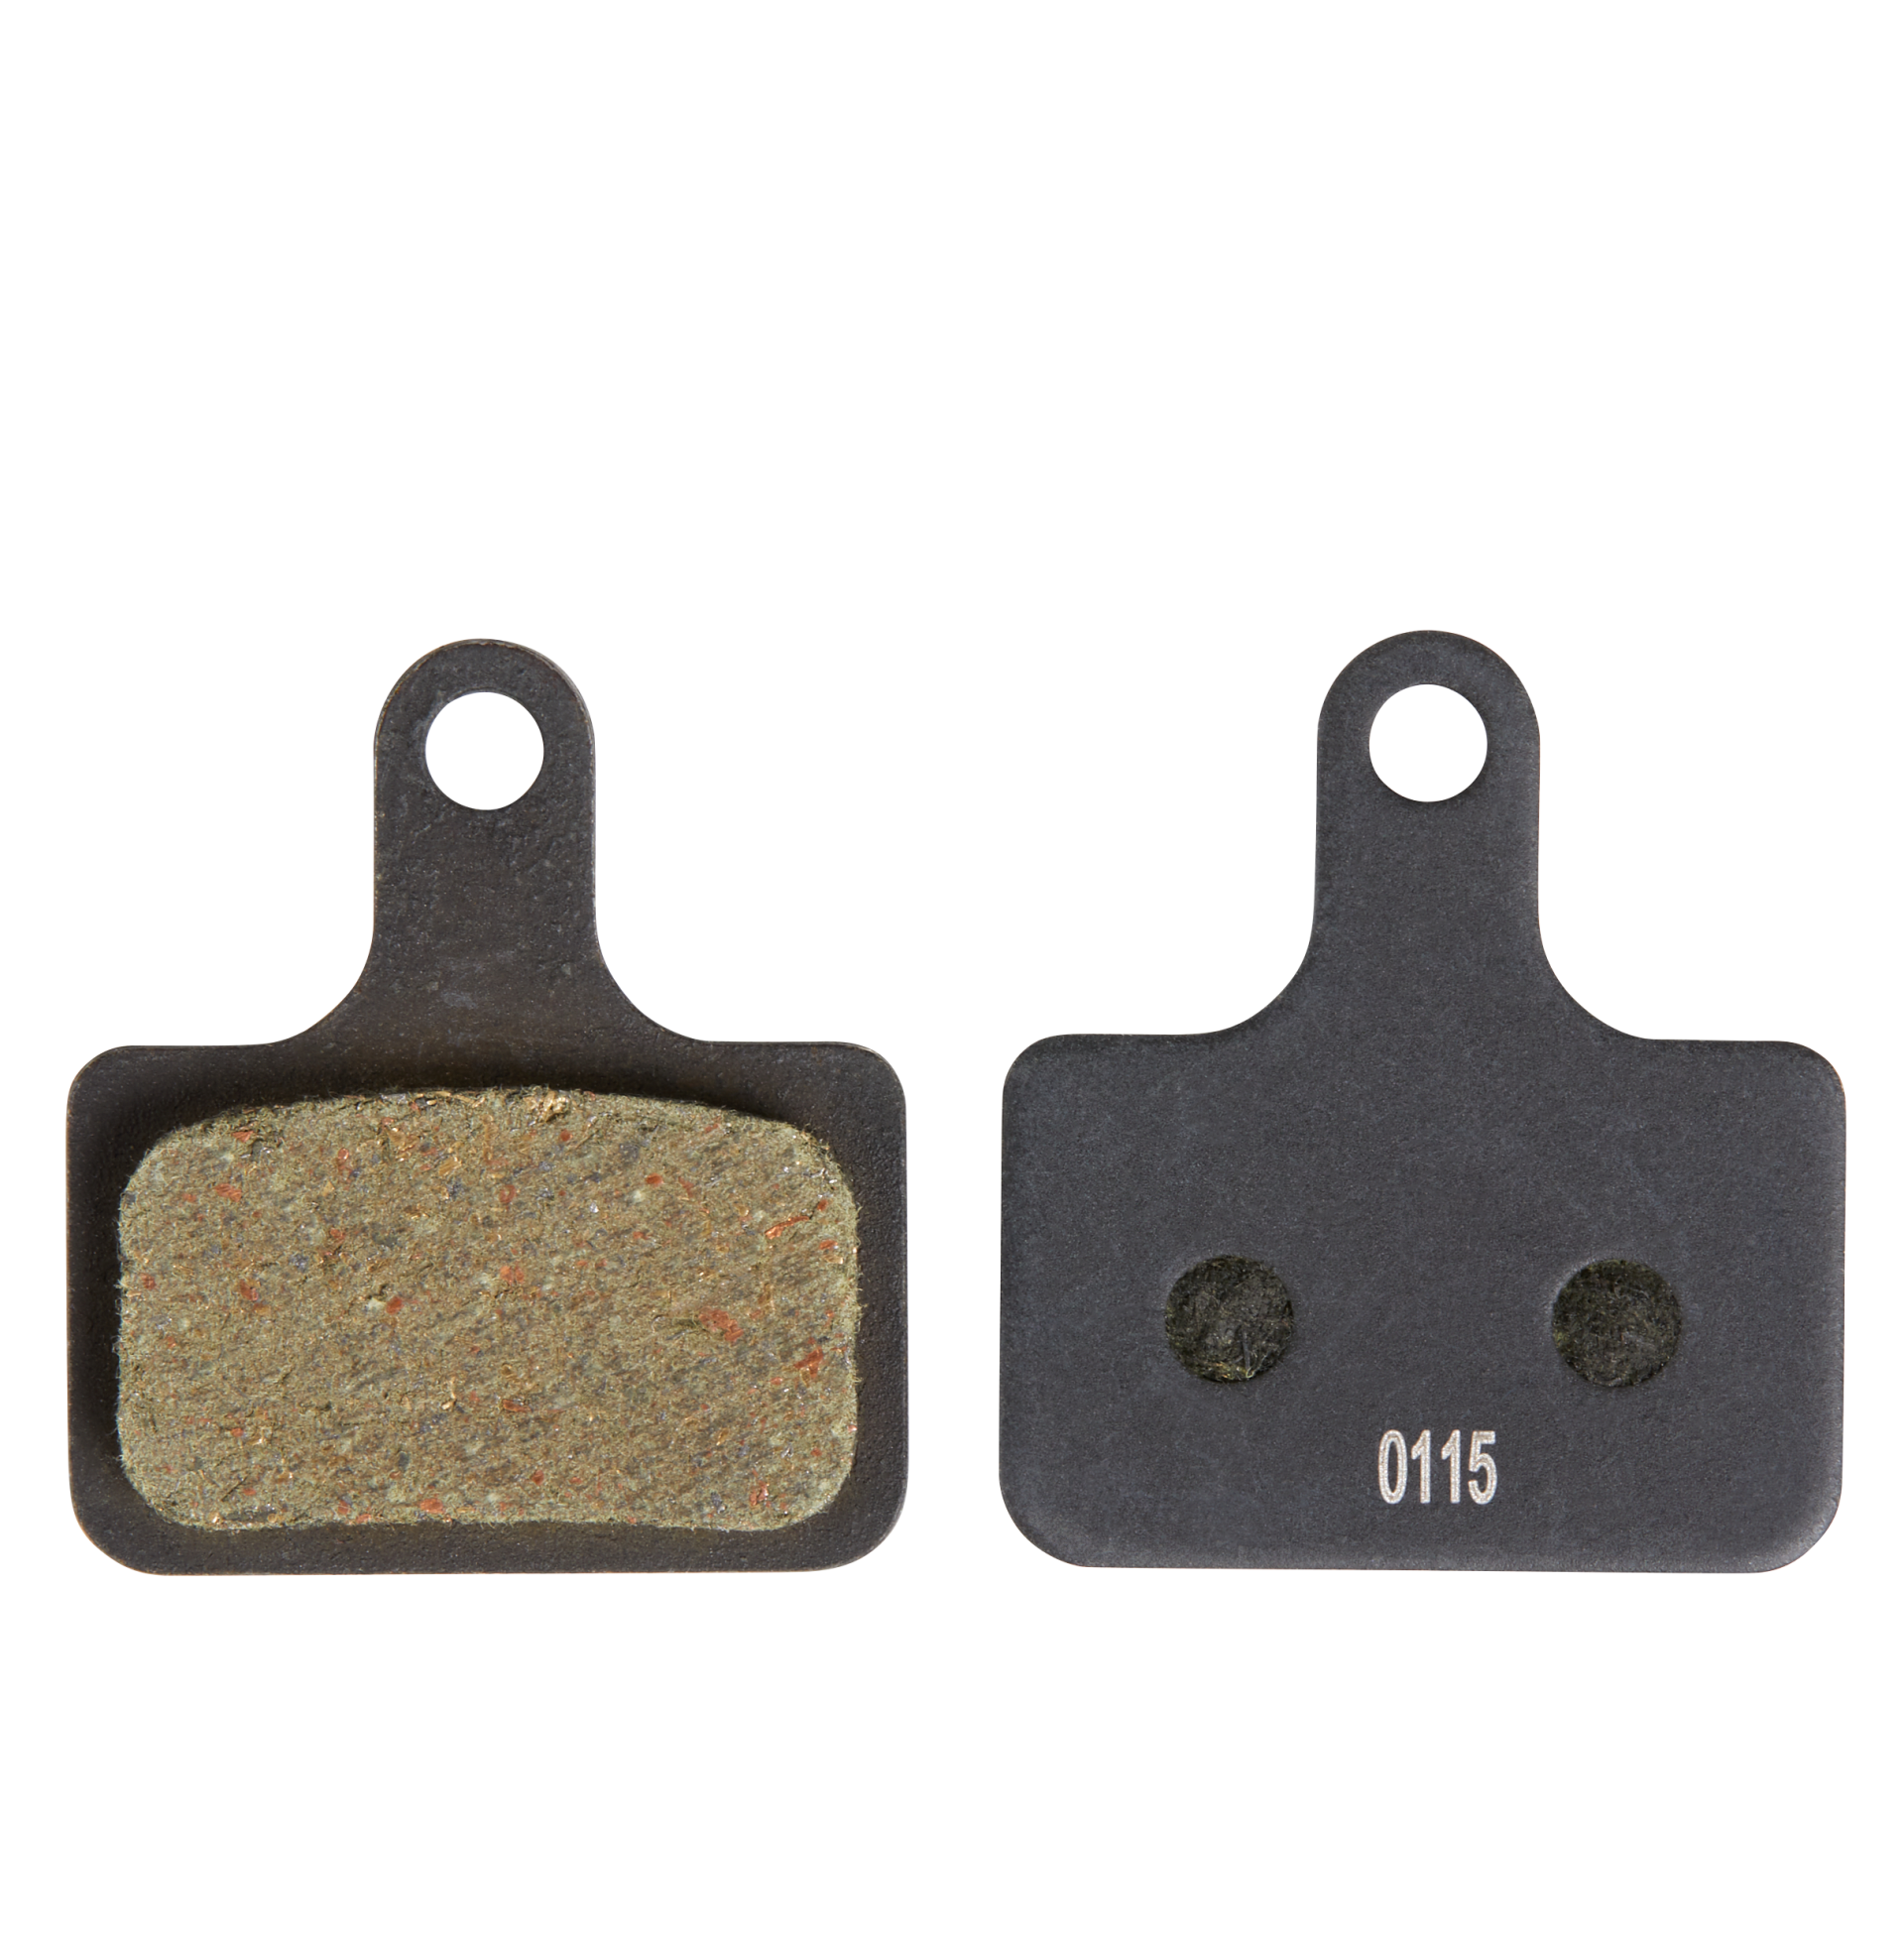
To find out if your pads are worn, check the thickness of the brake lining on the pad. You'll need to change the pads if the lining is less than 0.5 mm thick.This video shows you how to change your brake pads.
After replacing your brake pads we recommend bedding them in so that they don't "seize up" (which would cause weaker braking power).
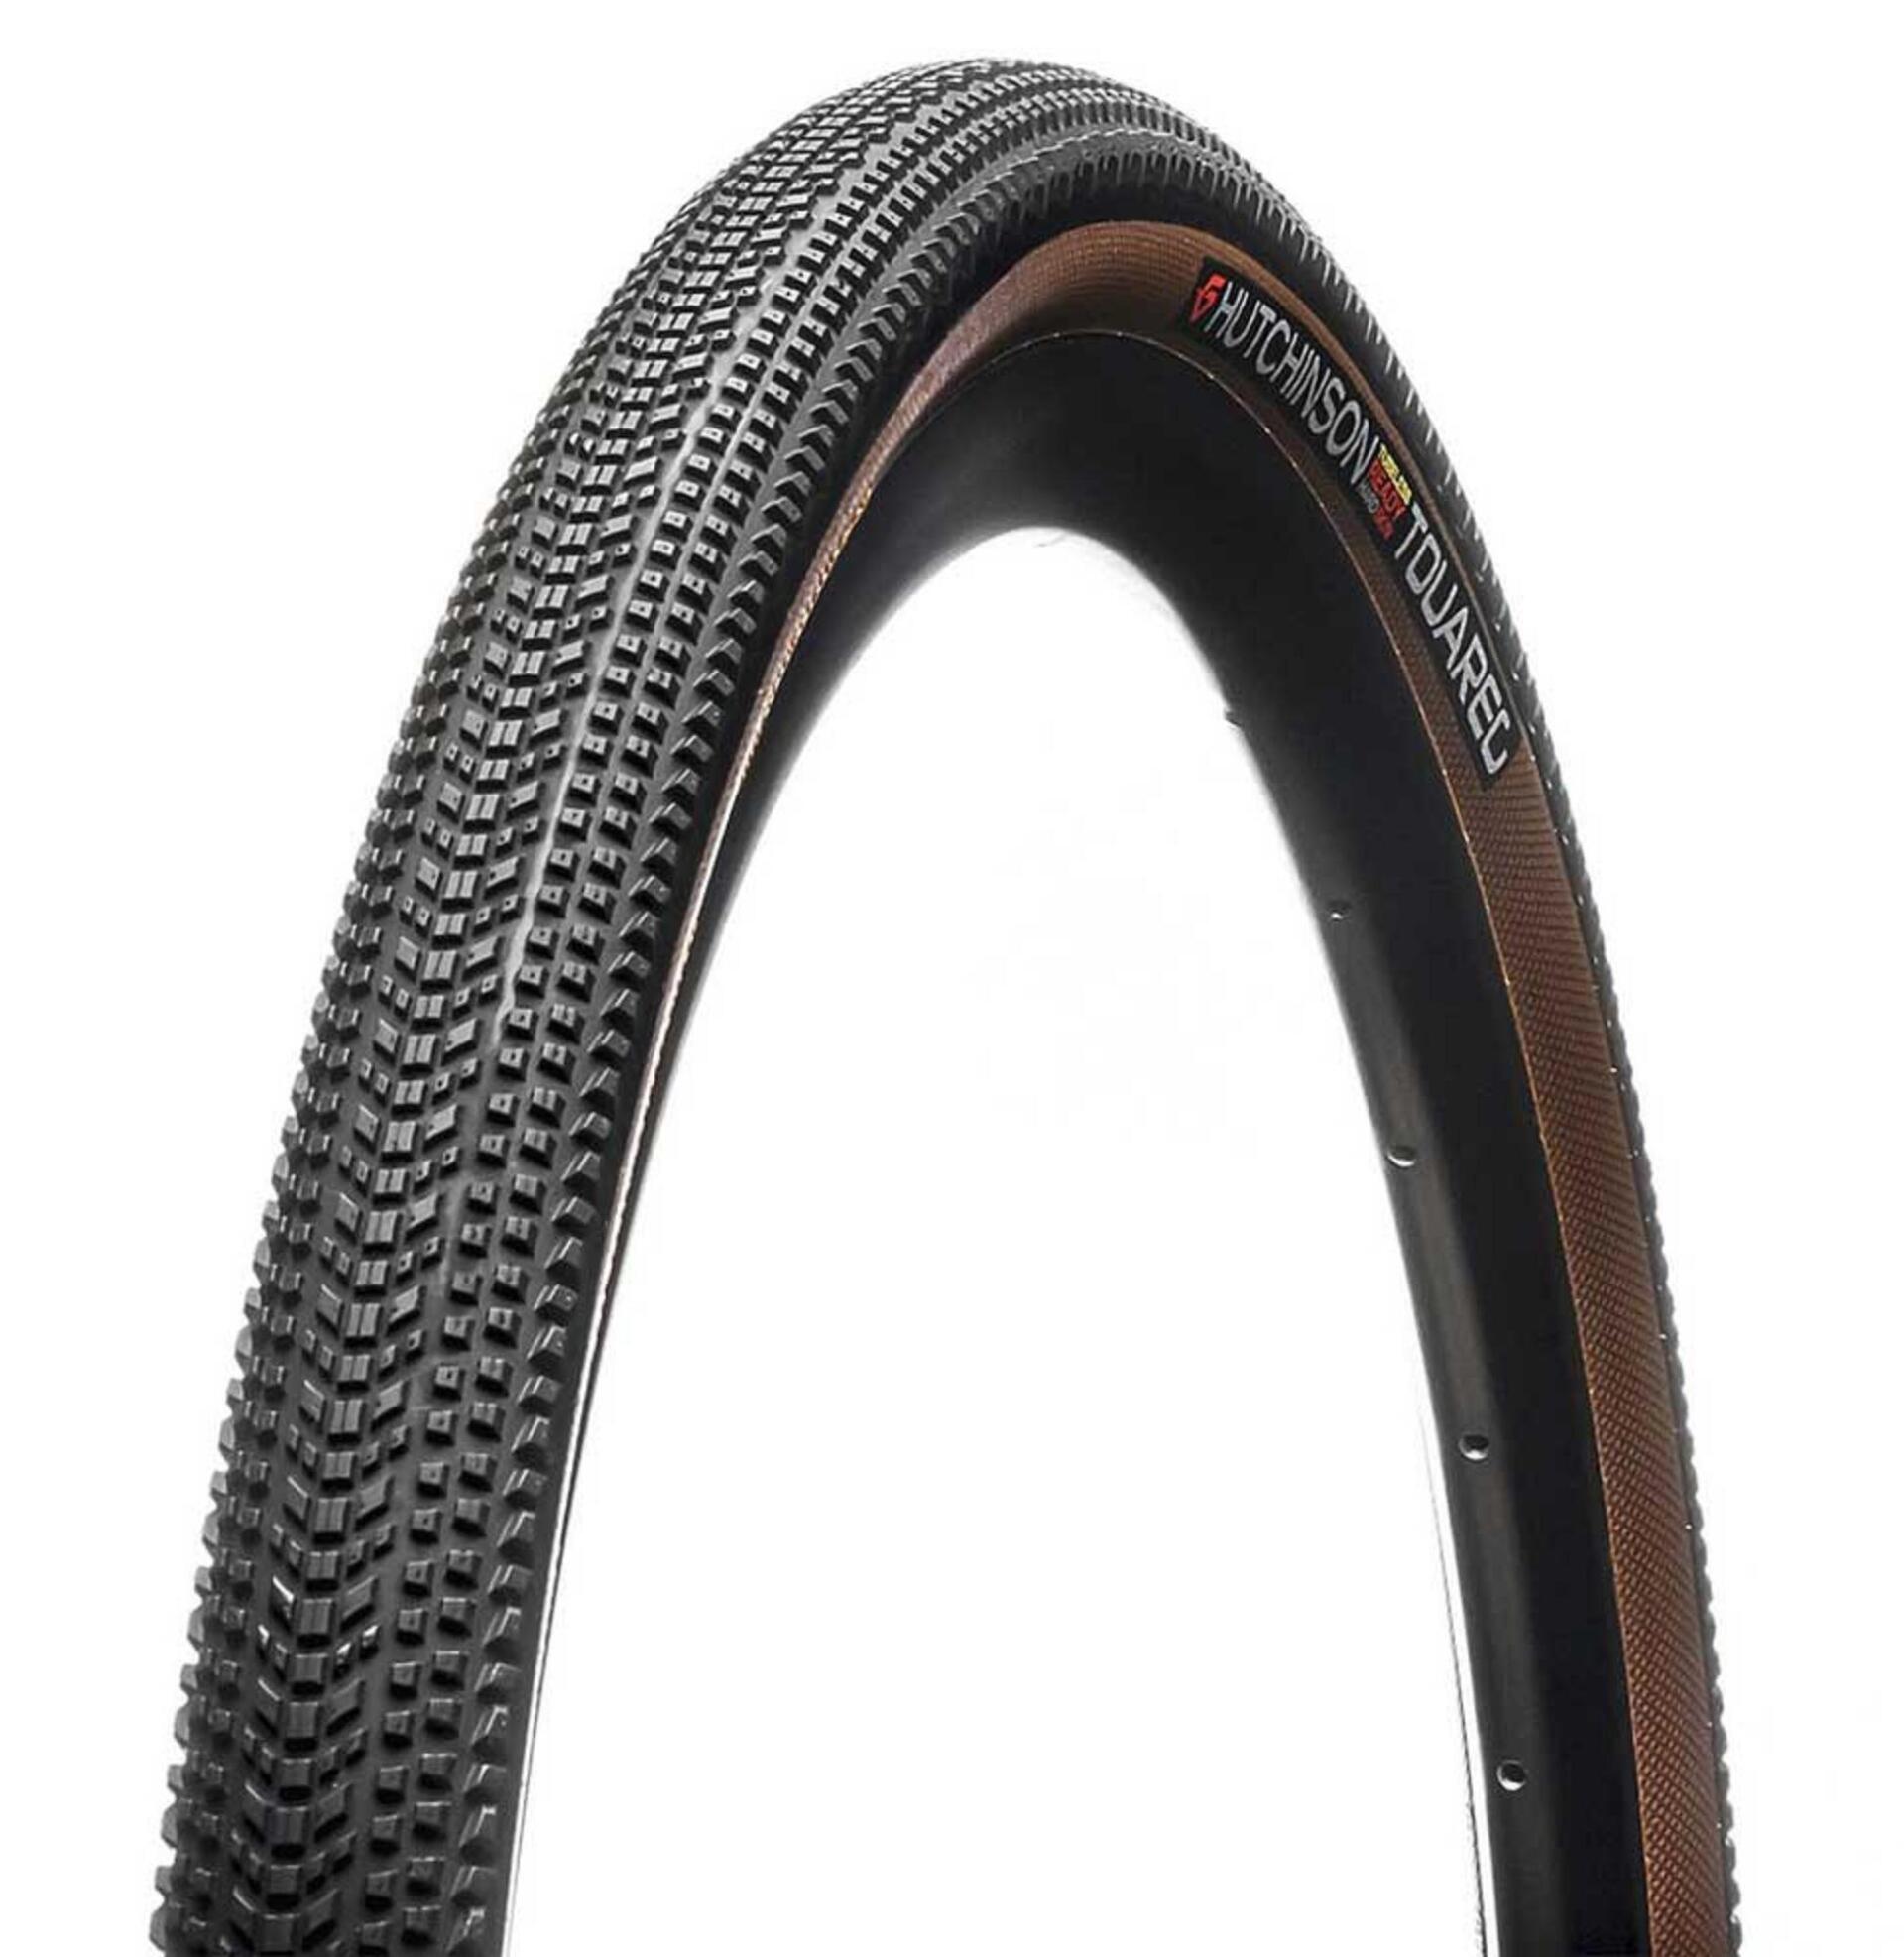
Your tyre might be quite stiff if it's old, so you may need to use some force to get it off.
You'll find the right tyres in the link below.
Your tyre might be quite stiff if it's old, so you may need to use some force to get it off. We recommend that you don't reuse the old sealant.
You'll find the right tyres in the link below.
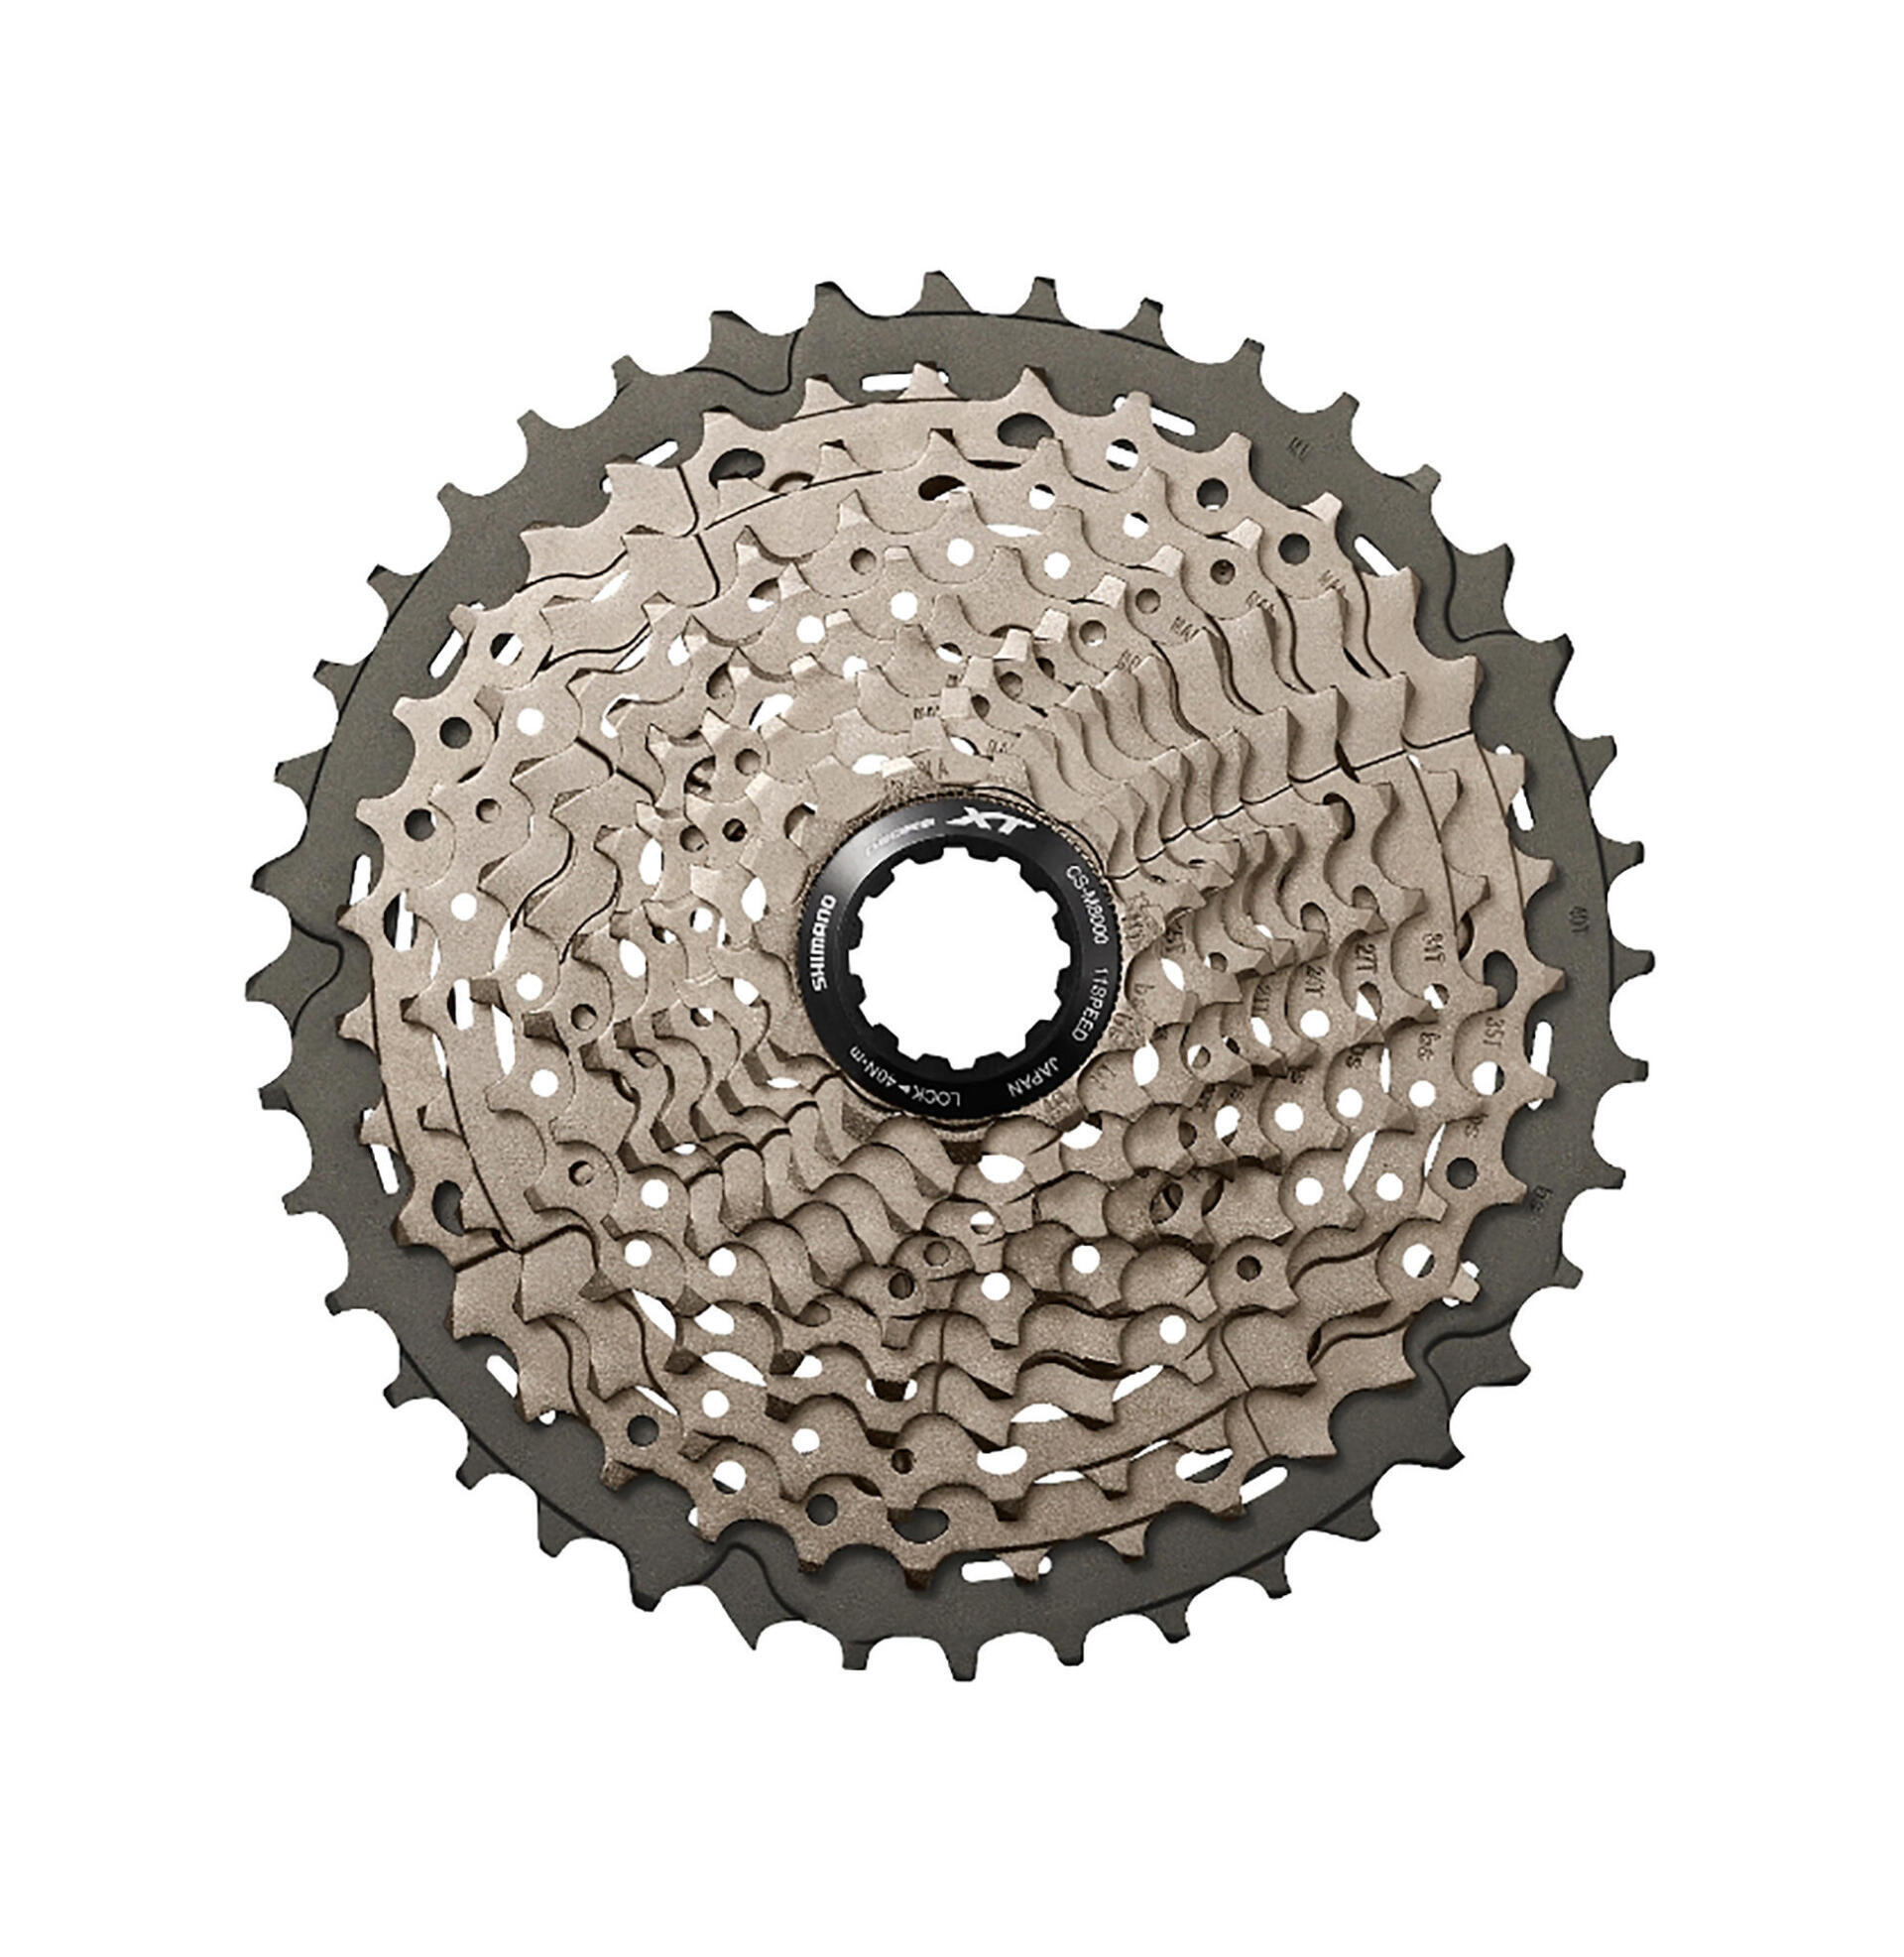
To change your cassette, you'll need the right lock ring and a chain whip. You'll find both of these tools in the link below.
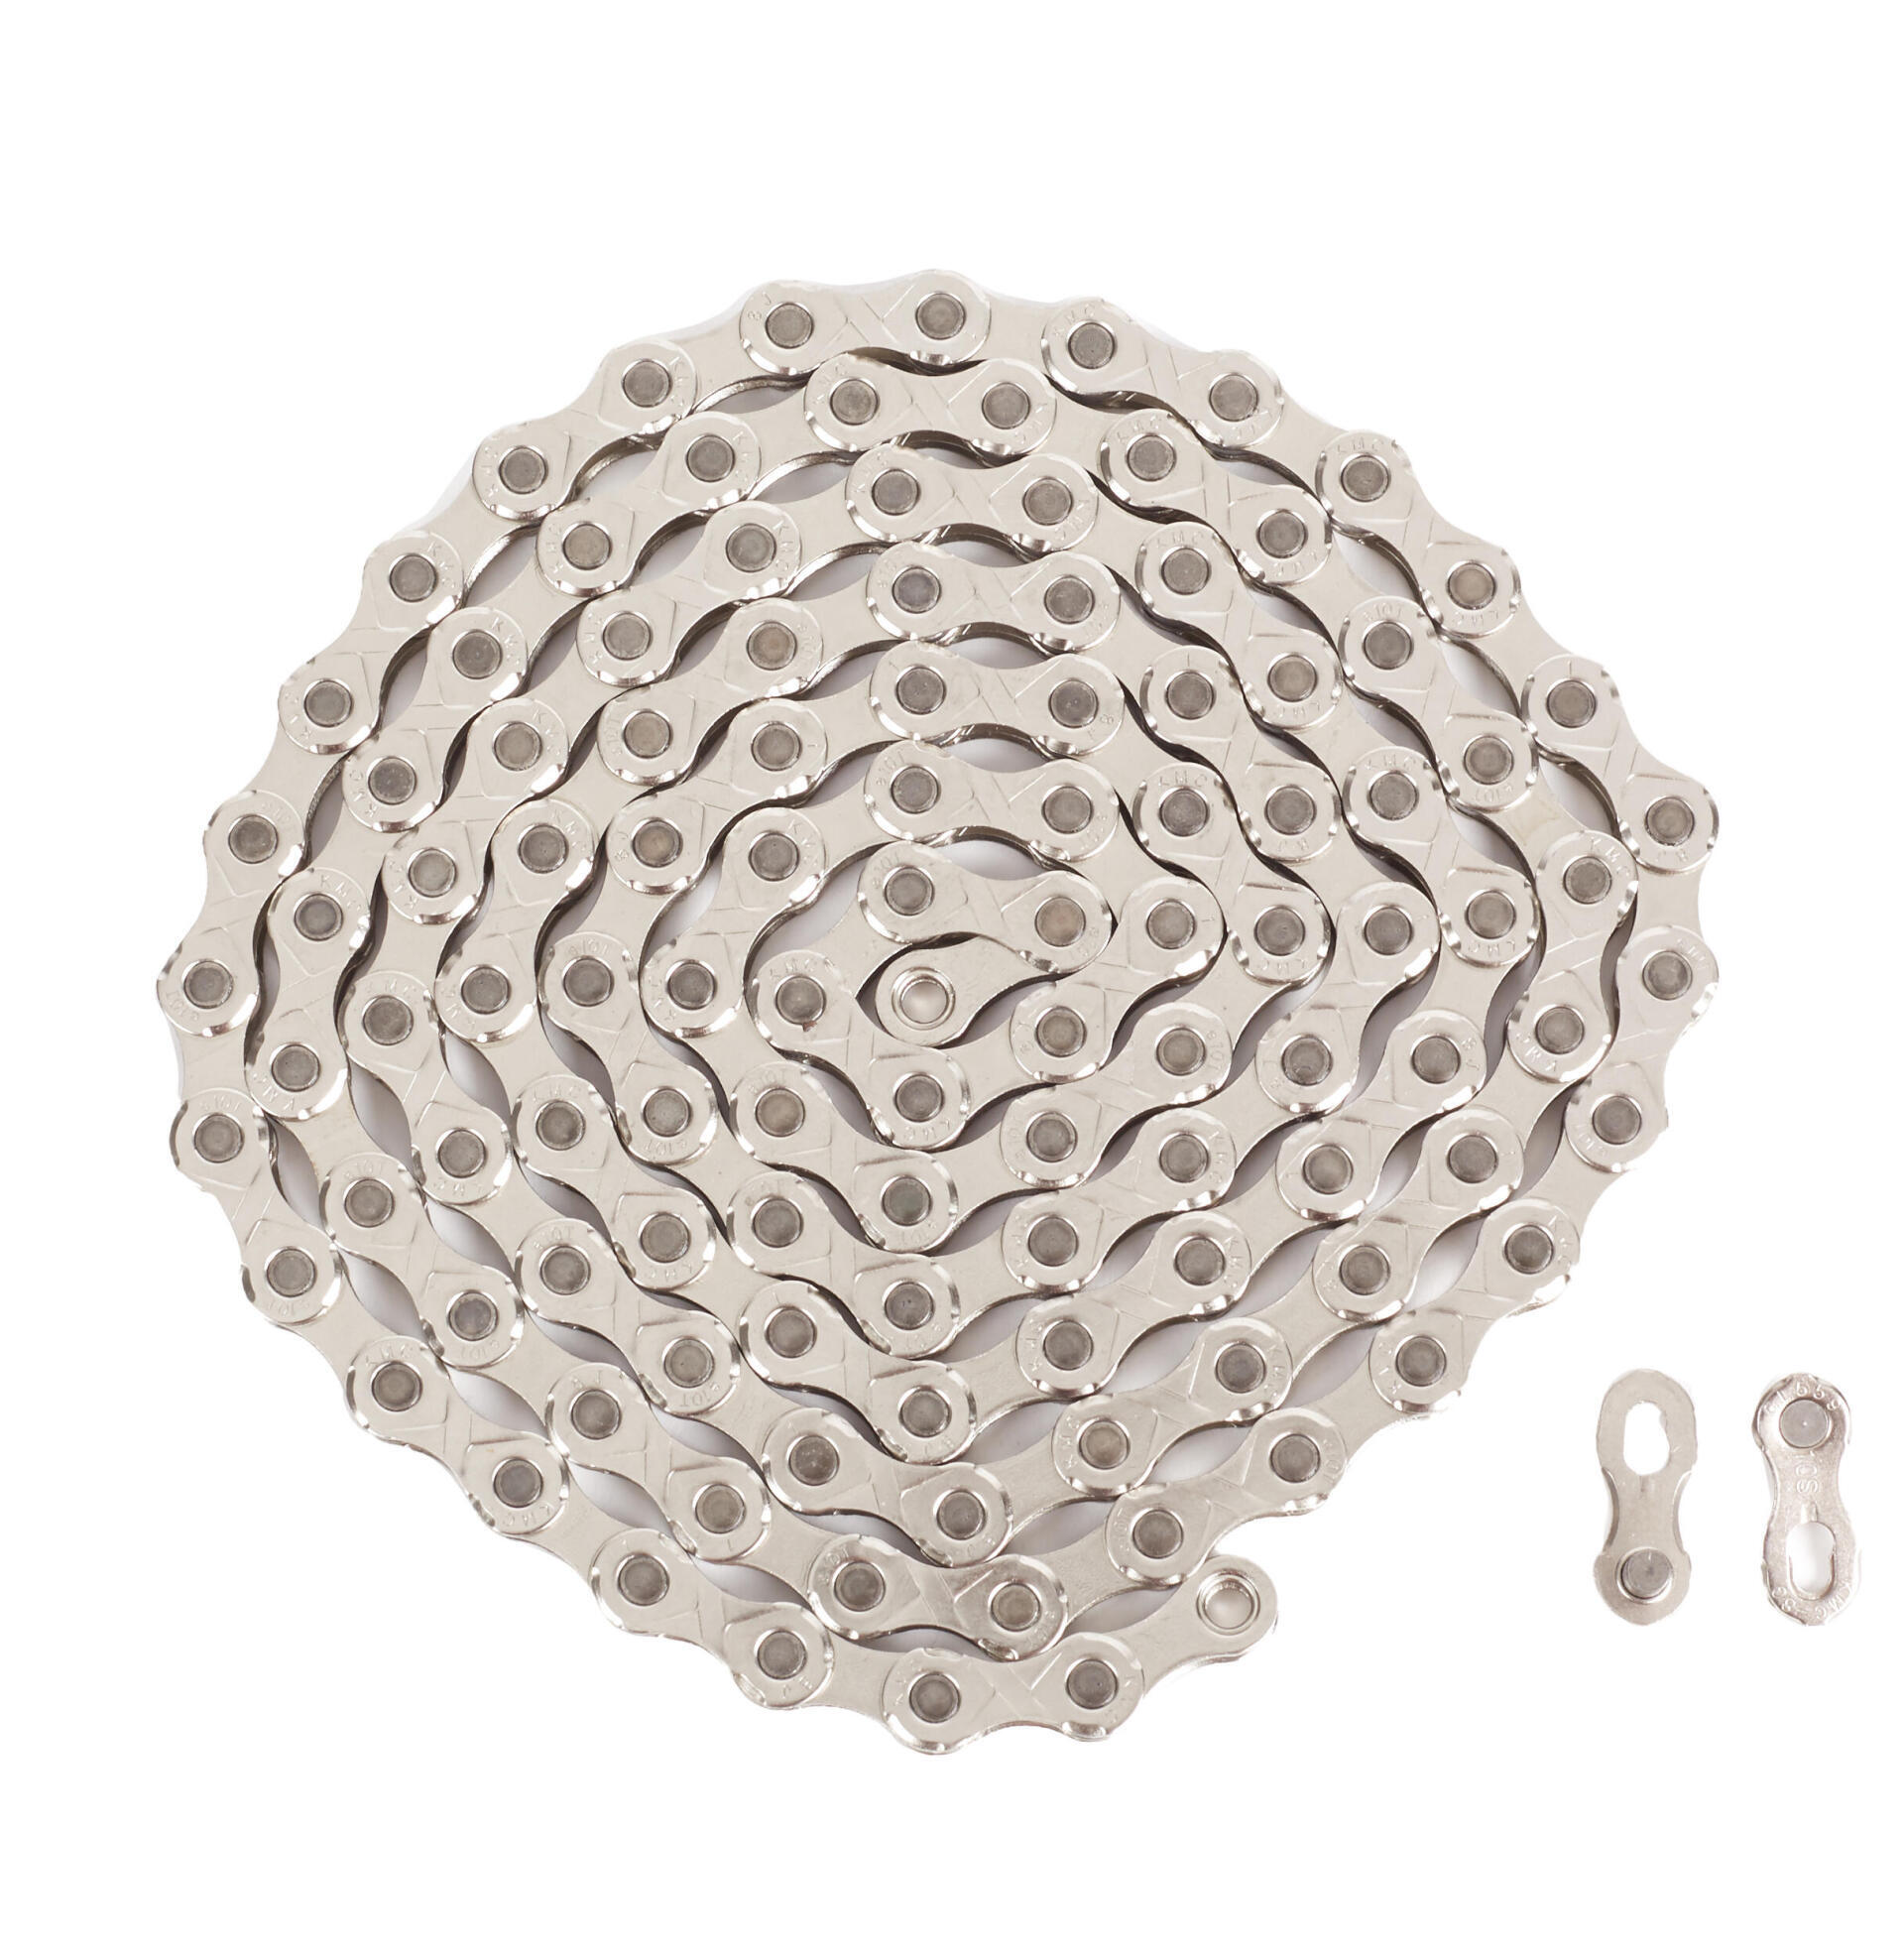
To do this, you will need: a chain tool, a new chain, and a quick-link.
Place the chain on the last cog and on the smallest chainring.
Remove the quick-link using the pliers or chain tool, then take the old chain off the drivetrain.
IMPORTANT: certain chains only fit in 1 direction, be sure to check the user guide.
Place the new chain on the last cog and on the smallest chainring. This will make it easier to determine its optimal length.
The chain should pass close to the top pulley of the upper jockey wheel on the derailleur.
Once you've determined the correct length, use the chain tool to cut the chain.
Lastly, install the quick-link onto the chain, turn the pedal so as to position the quick-link on the upper part of the chain, and use your hand to apply pressure and ensure it is firmly locked in place.
Need equipment to repair or maintain your bike? Here are the essentials.
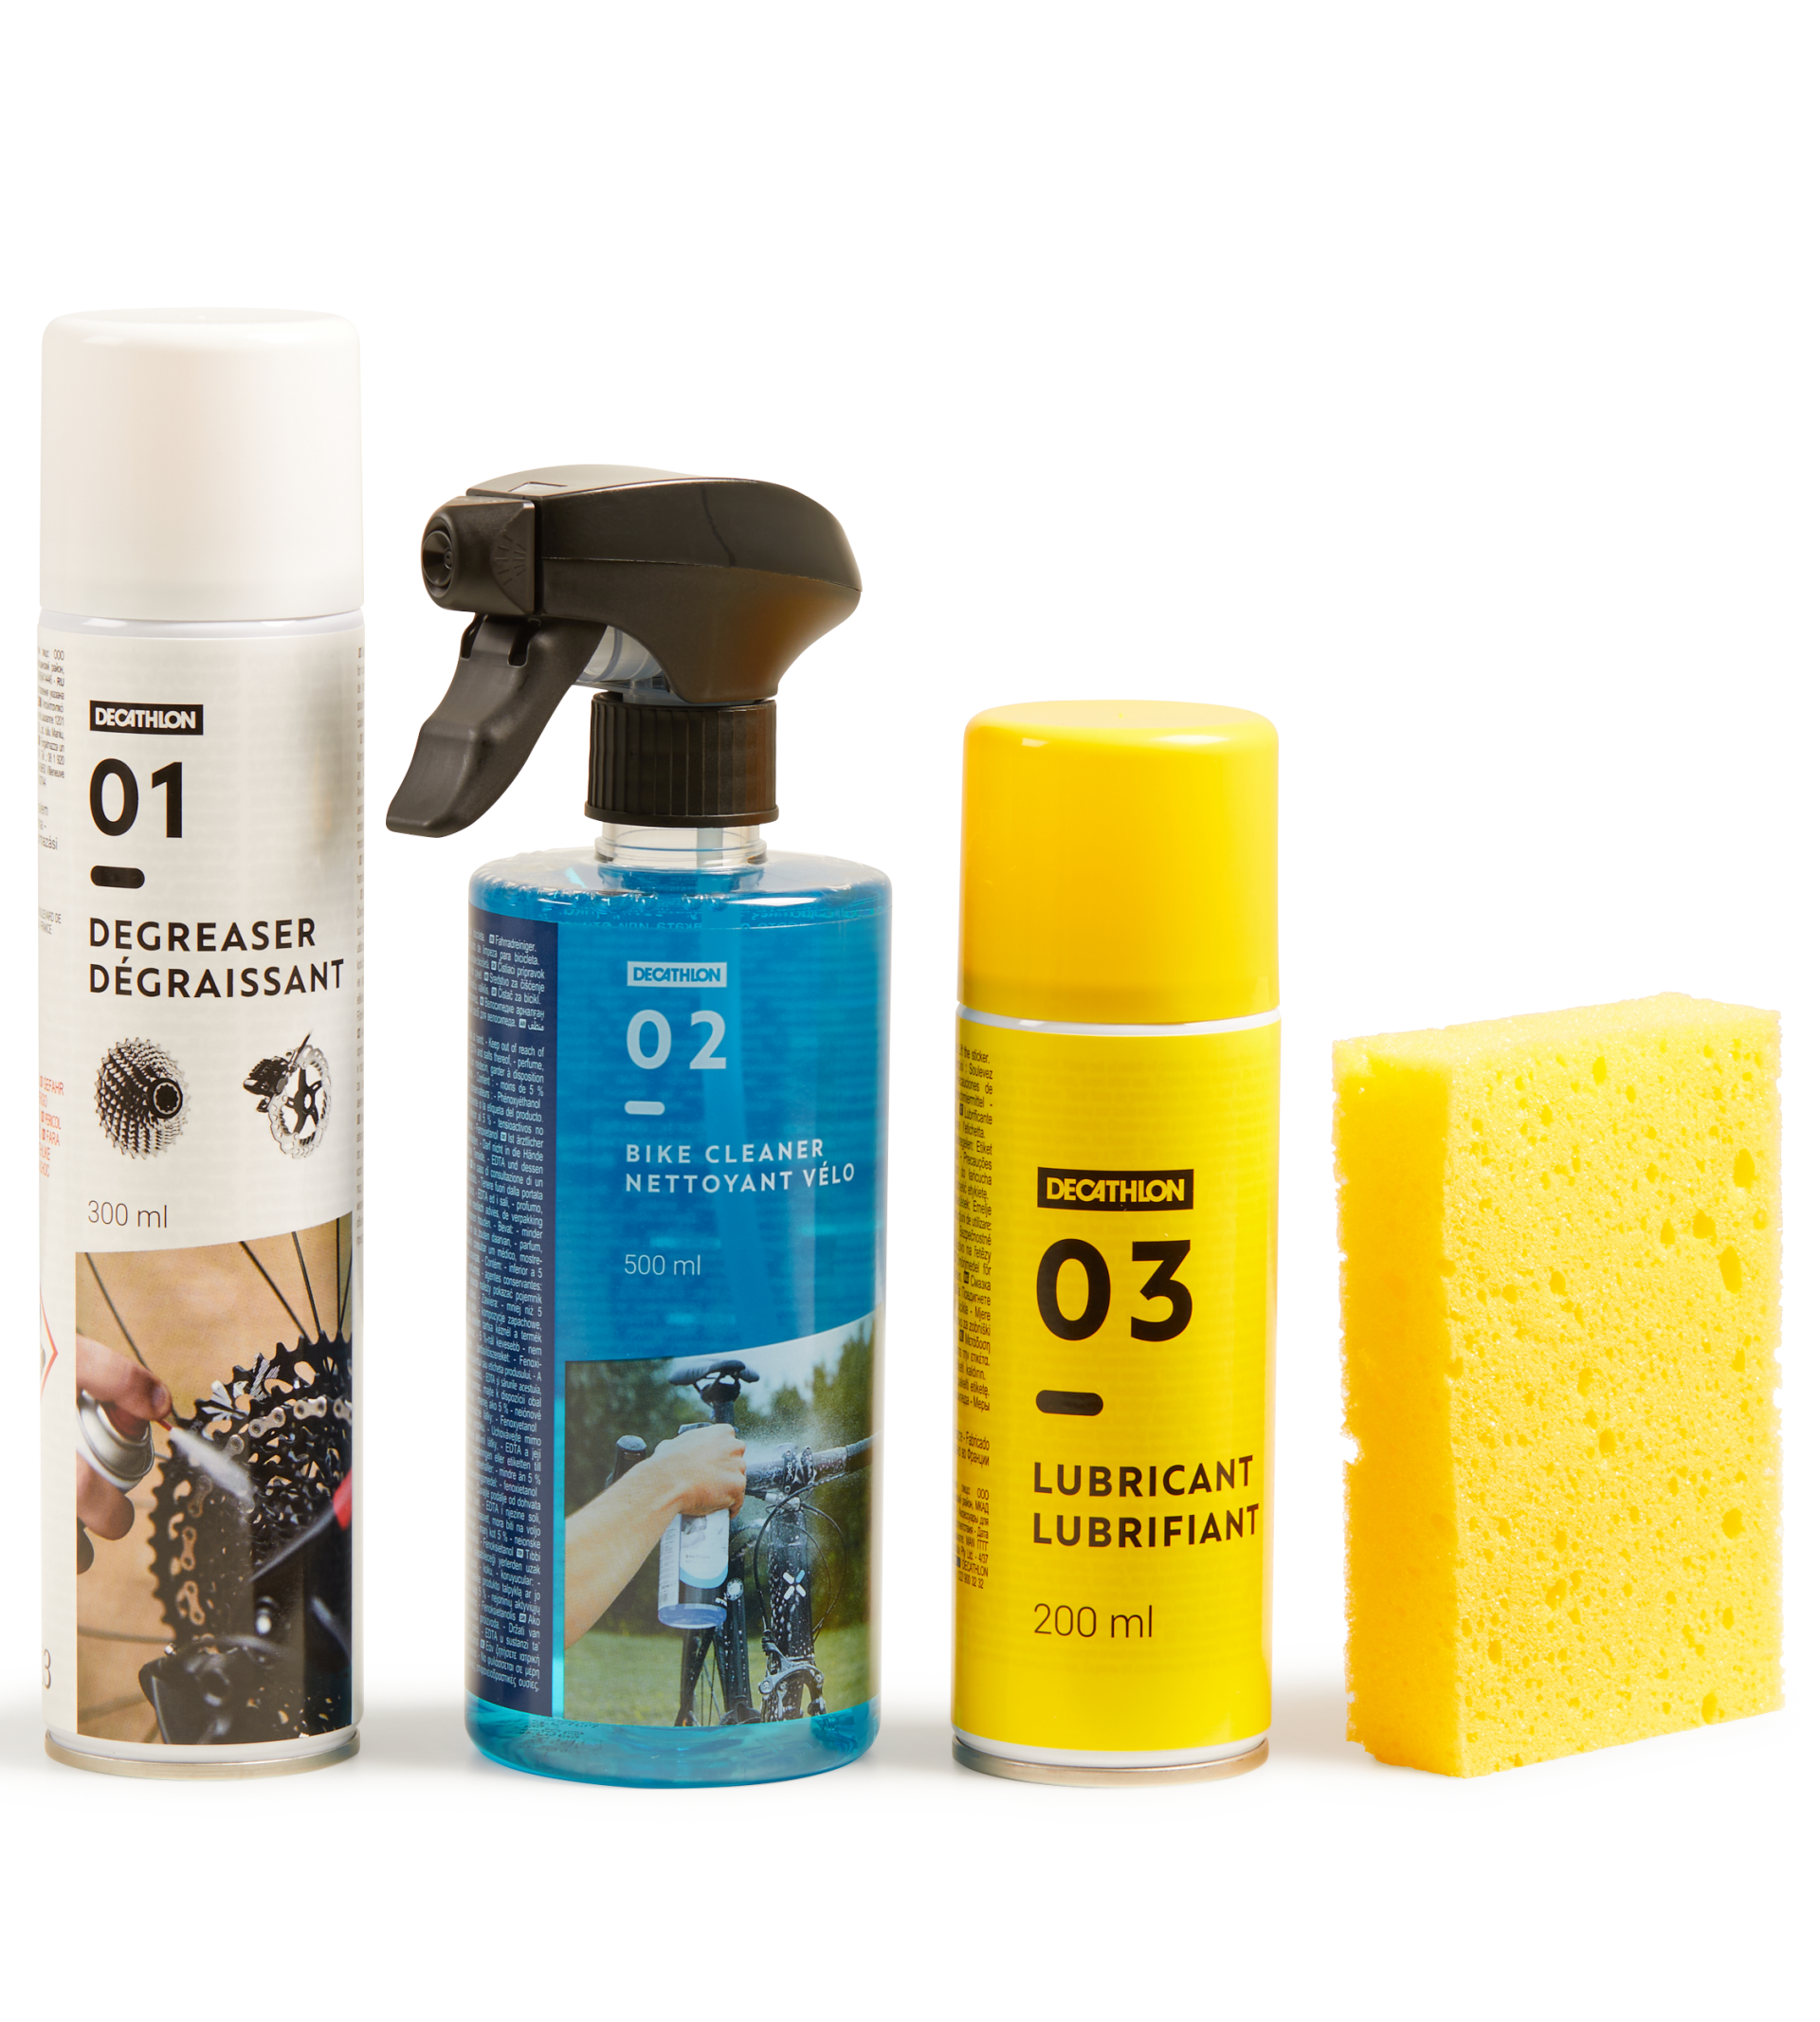
Bike care
products
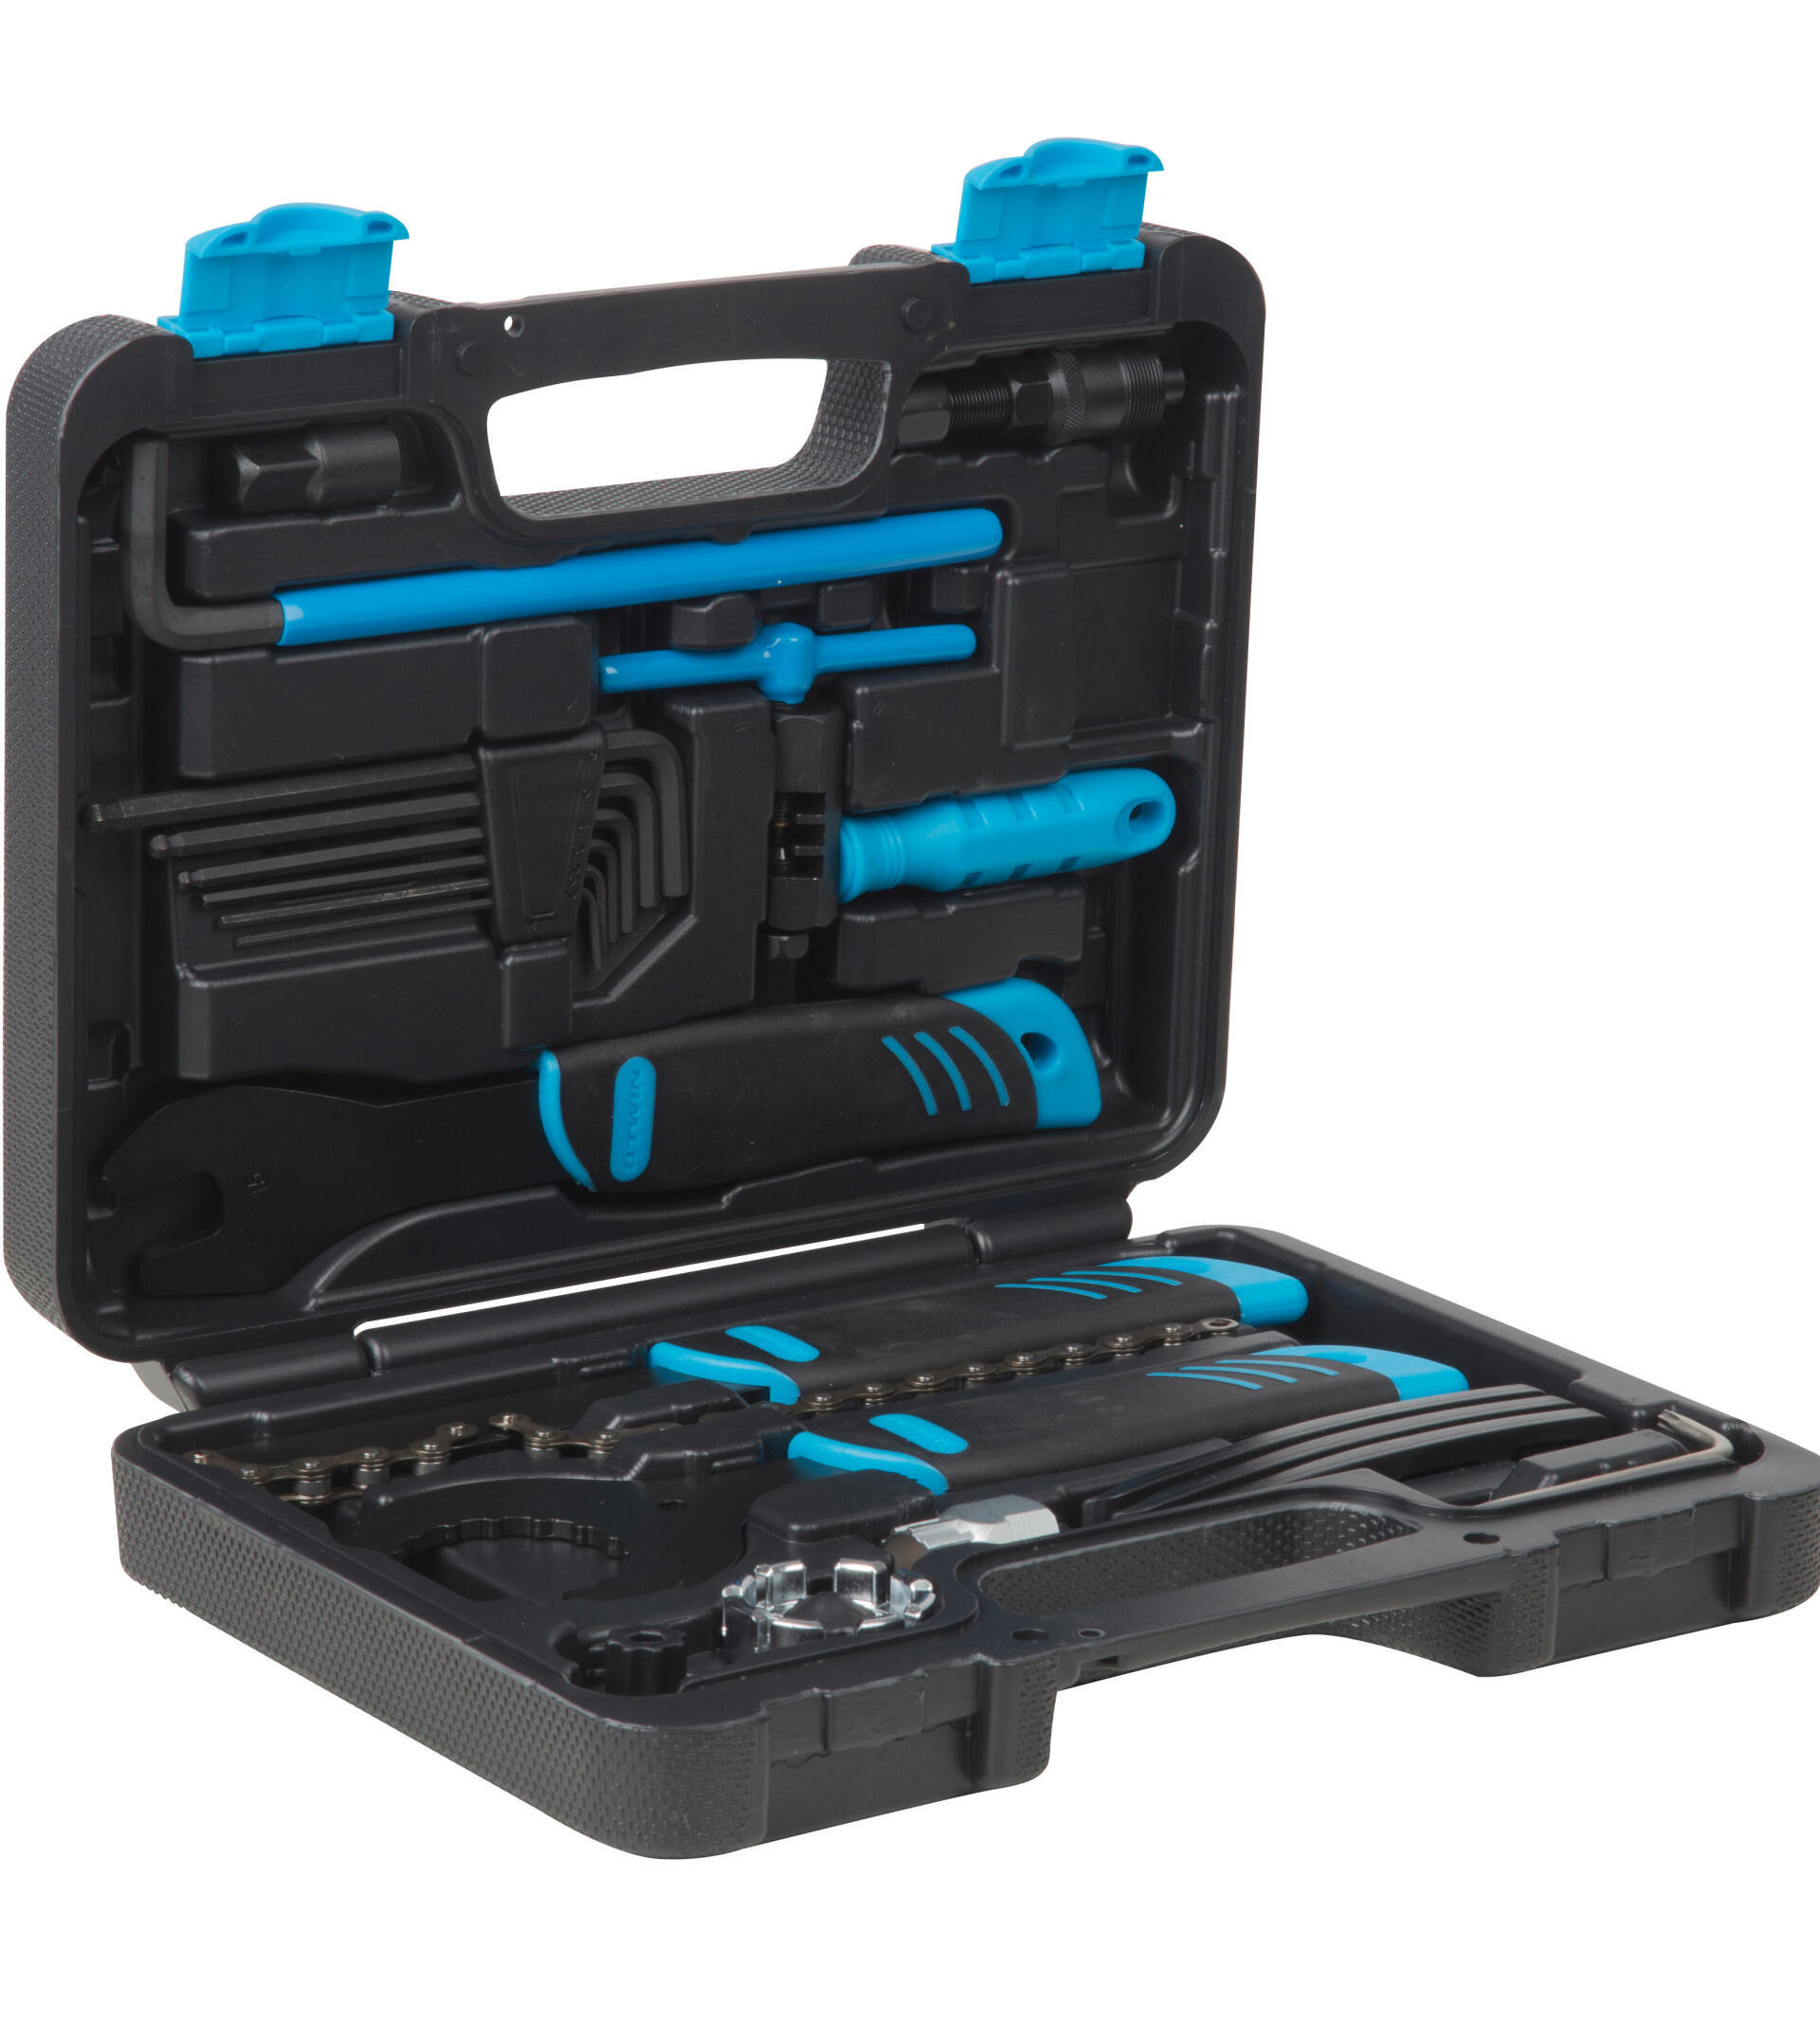
Bike
tools
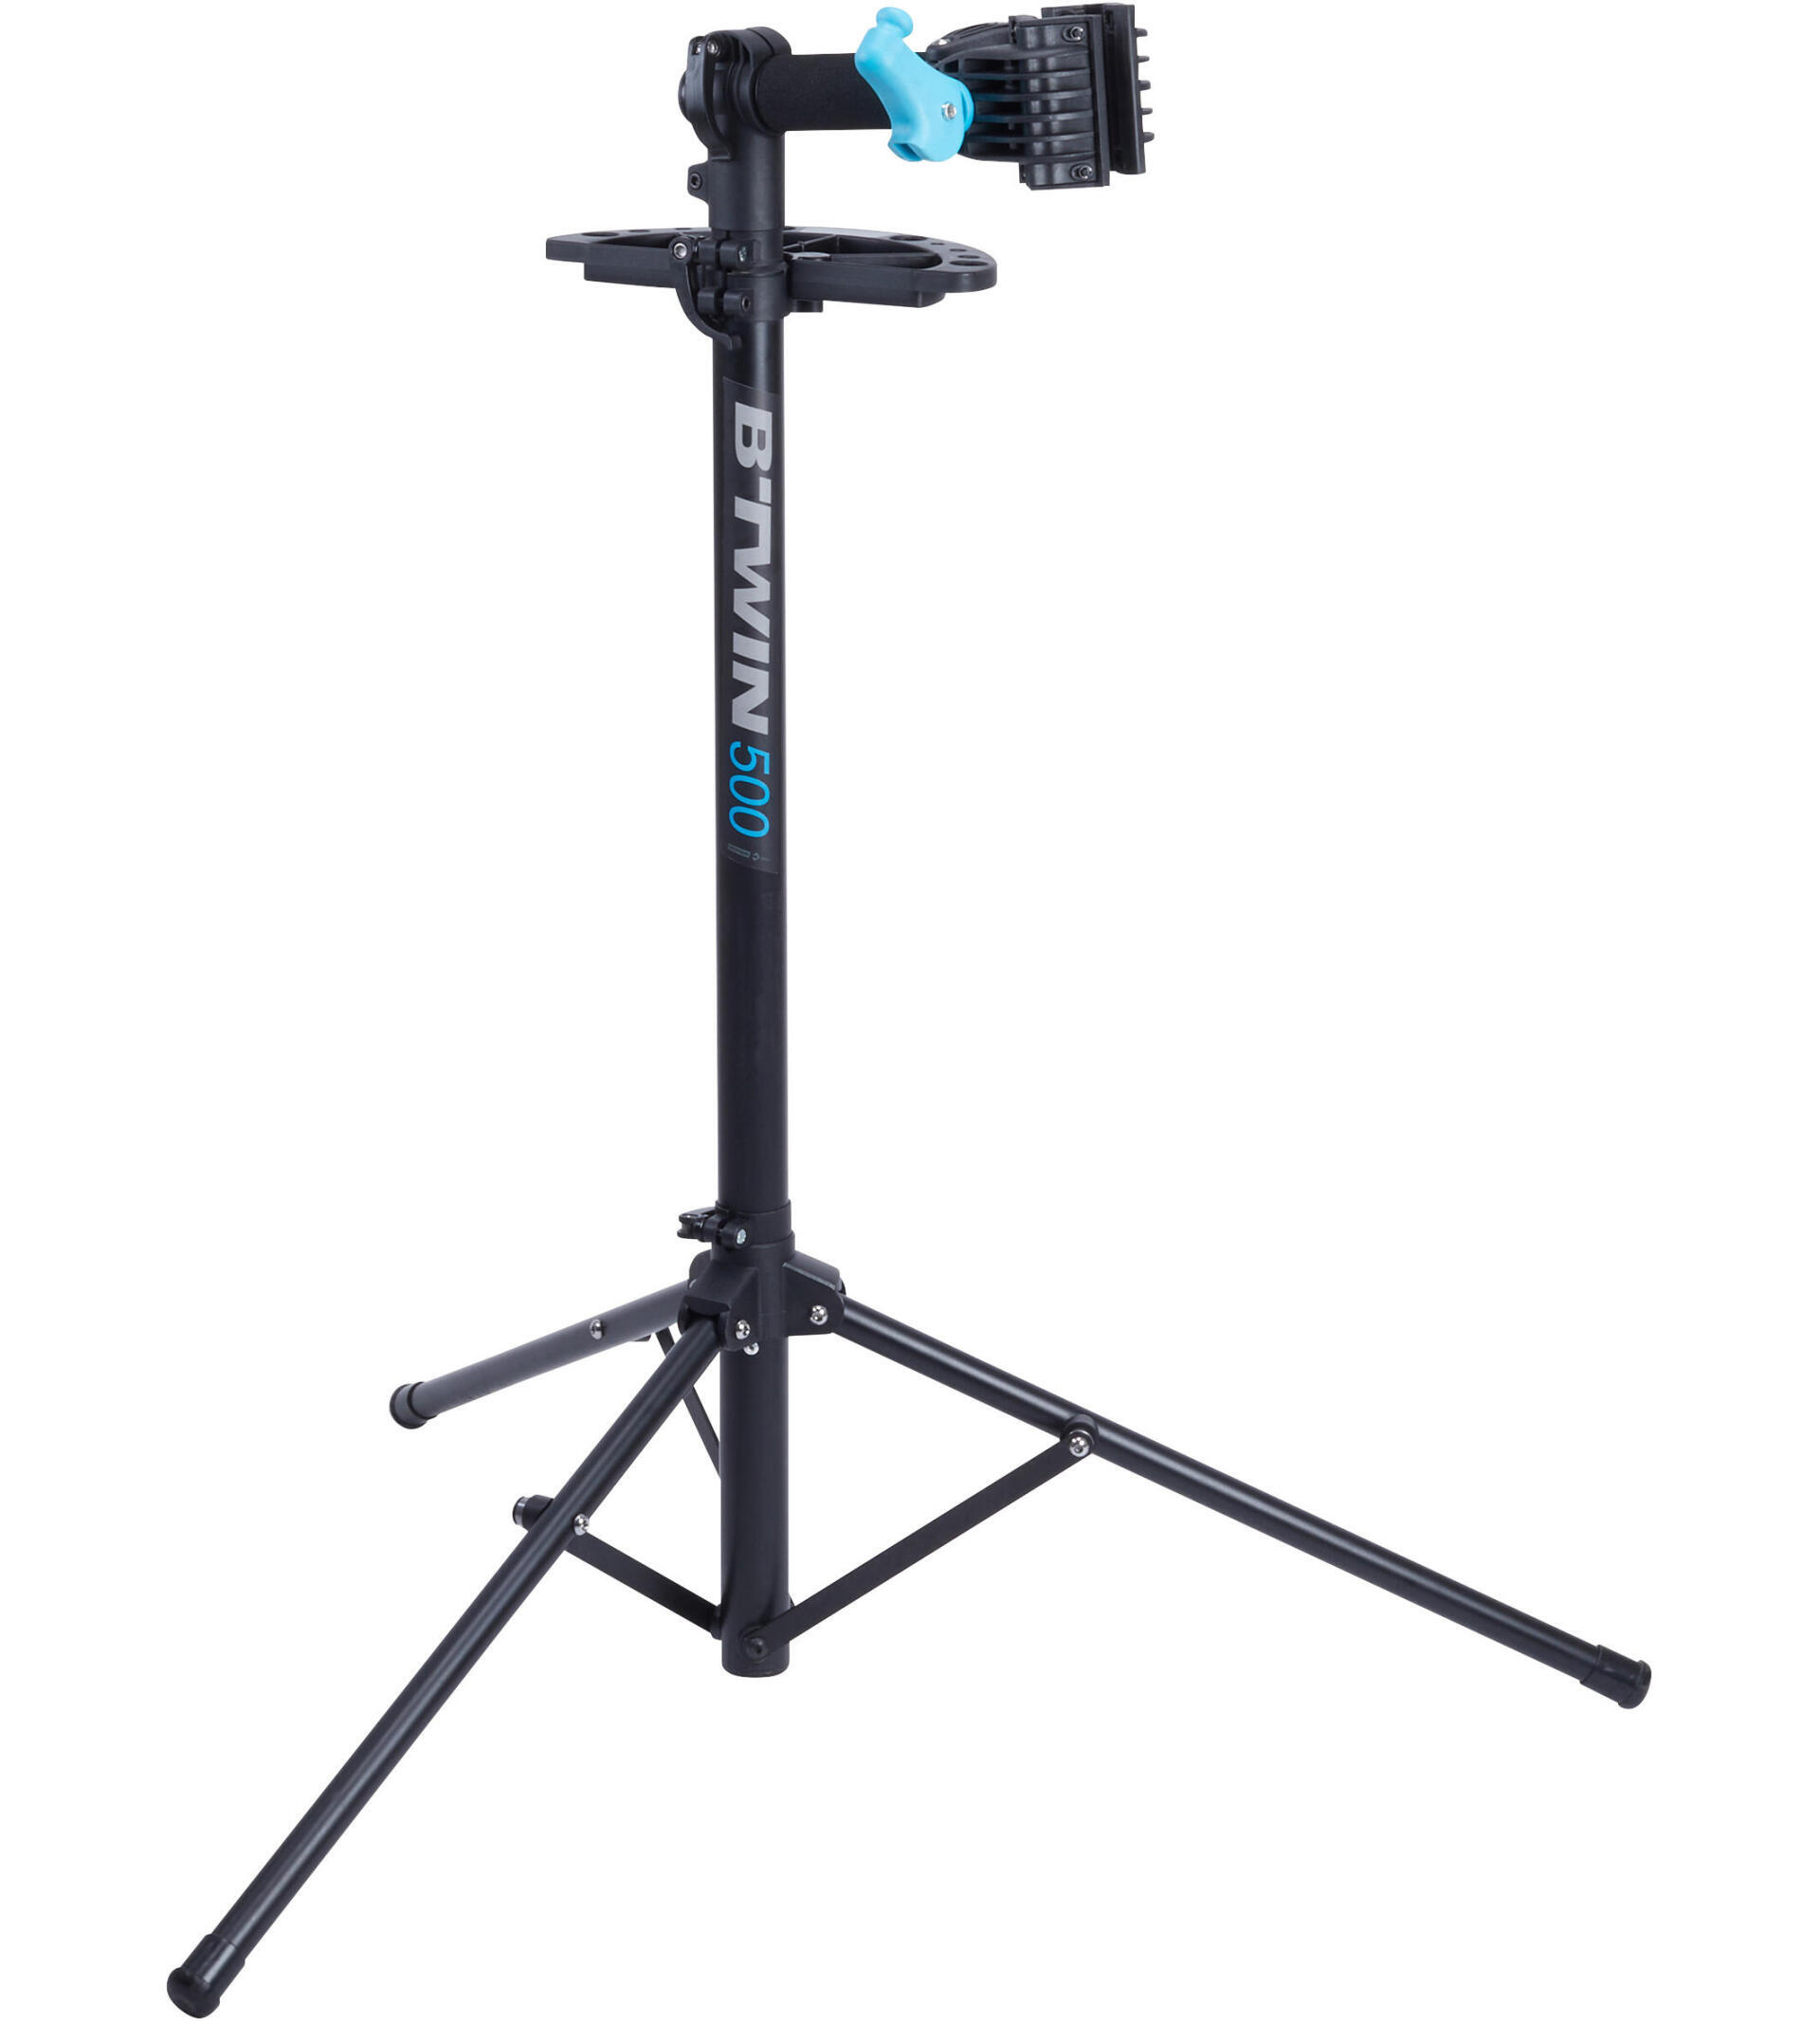
Workstand
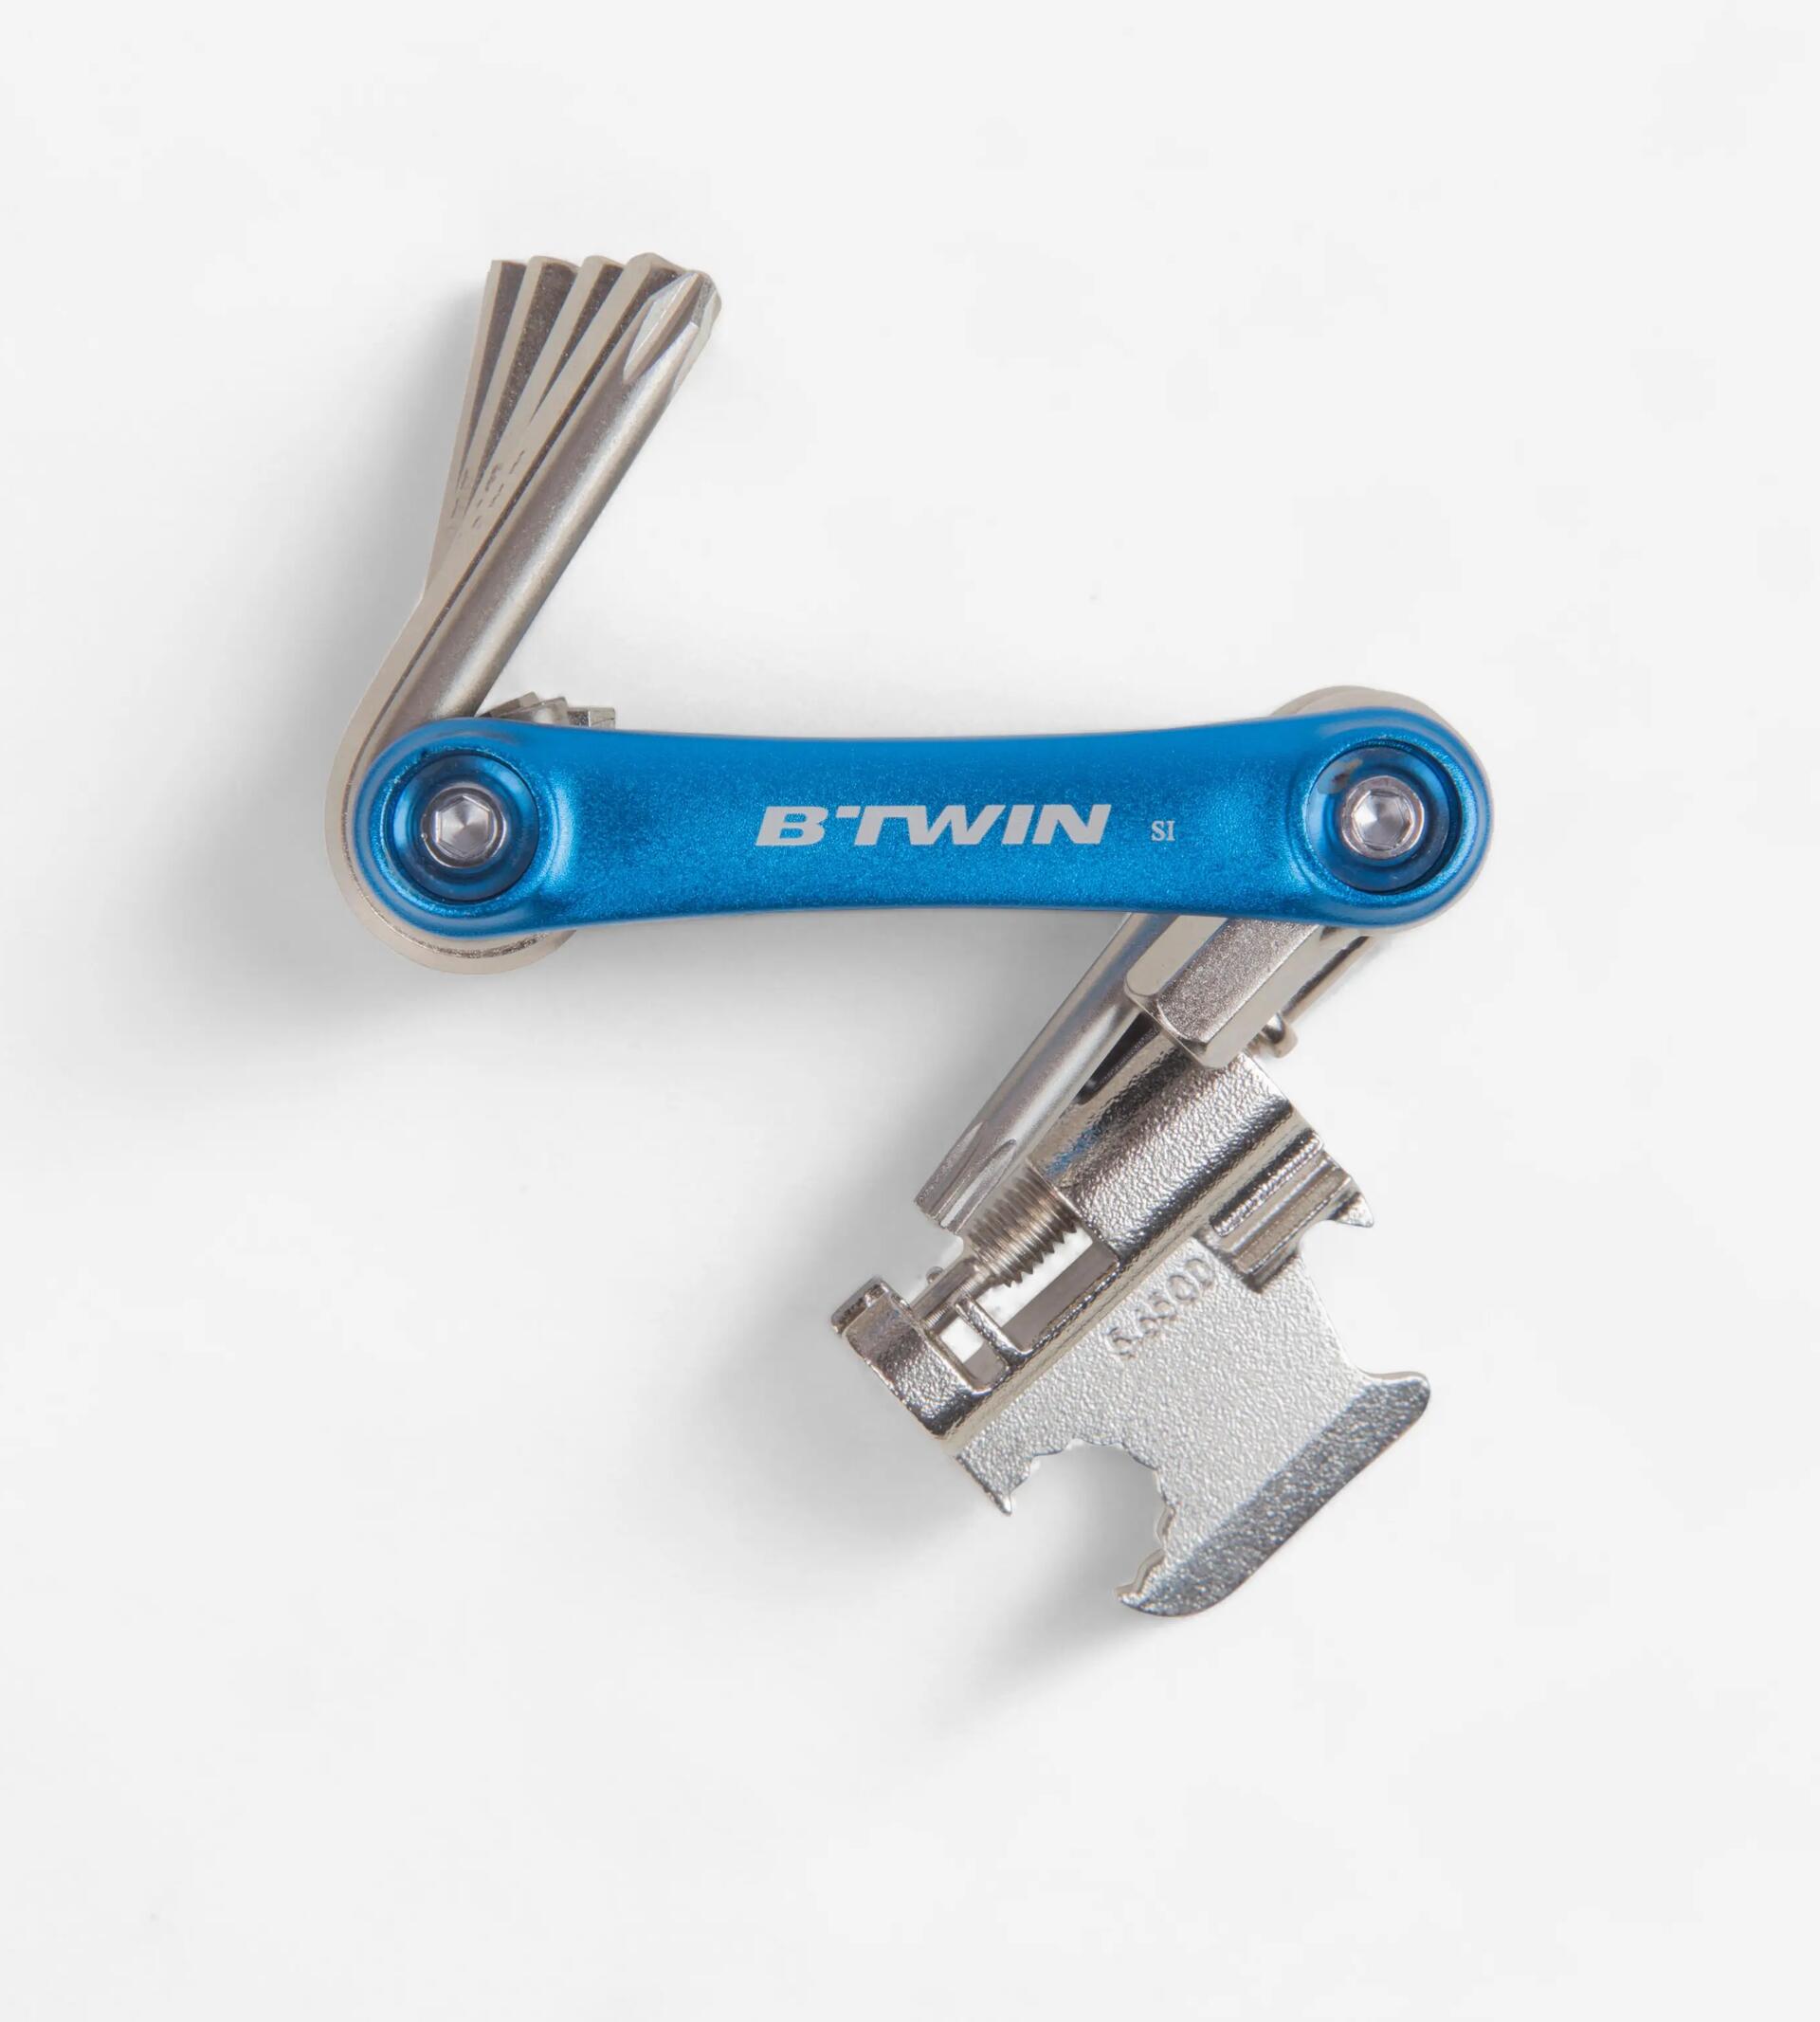
Multifunction
tools
Have you suddenly encountered a mechanical problem, or are you struggling to service your bike somehow? We've created a range of tutorials covering the most common maintenance jobs that you're likely to have to do.
Are your pedals broken? Do you want to change your pedals for clipless ones? Here's our advice.
NB: please note that the screw thread on the left pedal is inverted and that the pedal thus screws on in an anti-clockwise direction. The right pedal has a normal thread.
Make sure to use the correct tool to remove your pedals as you will need to use some force to unscrew them.
If your disc makes noise:
- Check that your wheel is properly centred. To do this, loosen the wheel and tighten it up again.
- Check that your calliper is correctly adjusted and that the brake cables are set at the right tension.
- Check that the disc is straight.
- Clean the entire brake system with water. If necessary, clean the discs with some water and soap.
The brakes might make a noise if they haven't been bedded in properly. In this case, follow the bedding-in procedure.
If you've been braking very hard over a long period (for example, when going down a steep hill), your brake pads might have glazed over and/or your disc could have overheated. In this case, replace your brake pads and discs.
There are several things you can do if your brakes aren't working as well as they used to:
- Clean your bike, discs and brakes with soapy water
- Check your brake pads for wear.
- Check whether you need to bleed your brakes: if the lever touches the handlebar when you squeeze it, it's time to bleed the system.
- Check that the calliper is properly centred.
Changing brake housing requires specialist knowledge. We don't yet have a video or tutorial that easily explains how to do this, so we recommend contacting one of our workshops, where our experienced mechanics will be happy to help.
Changing your gear cable means adjusting your derailleur. This requires specialist skills and knowledge. We don't yet have a video or tutorial that easily explains how to do this, so we recommend contacting one of our workshops, where our experienced mechanics will be happy to help.
There could be several reasons why your gears (cogs) are not shifting correctly.
1. Incorrectly positioned cable housing caps can hinder the pulling action on the derailleur cable and cause the shifting of the gears to be off. If a housing end is out of position, push it back into place.
2. The cable and housing might be jammed. If you can't shift into the smallest gears (onto the smallest cogs), and if the derailleur doesn't move even when the gear shifter is operated, then the cable and the housing have jammed up. In this case, the cable and housing need to be replaced.
3. Check that the derailleur hanger isn't bent. If it is, see the "BROKEN DERAILLEUR HANGER" section
4 . Bring your gravel bike to a Decathlon workshop, where we can adjust the derailleur
NB: If you regularly ride your gravel bike in wet or muddy conditions, or if you regularly wash it with a lot of water, then your cables and housing will need to be replaced more frequently. Washing your bike using a high pressure hose is highly discouraged as it can push dirt and dust into the cable housing.
Cycling isn't without danger. A branch could get caught in your derailleur. The benefit of the GRVL 900 is that you have a whole range of spare parts available.
Brake pad
Chain
Tyre
Cassette
We offer a full range of accessories that are compatible with your GRVL 900.
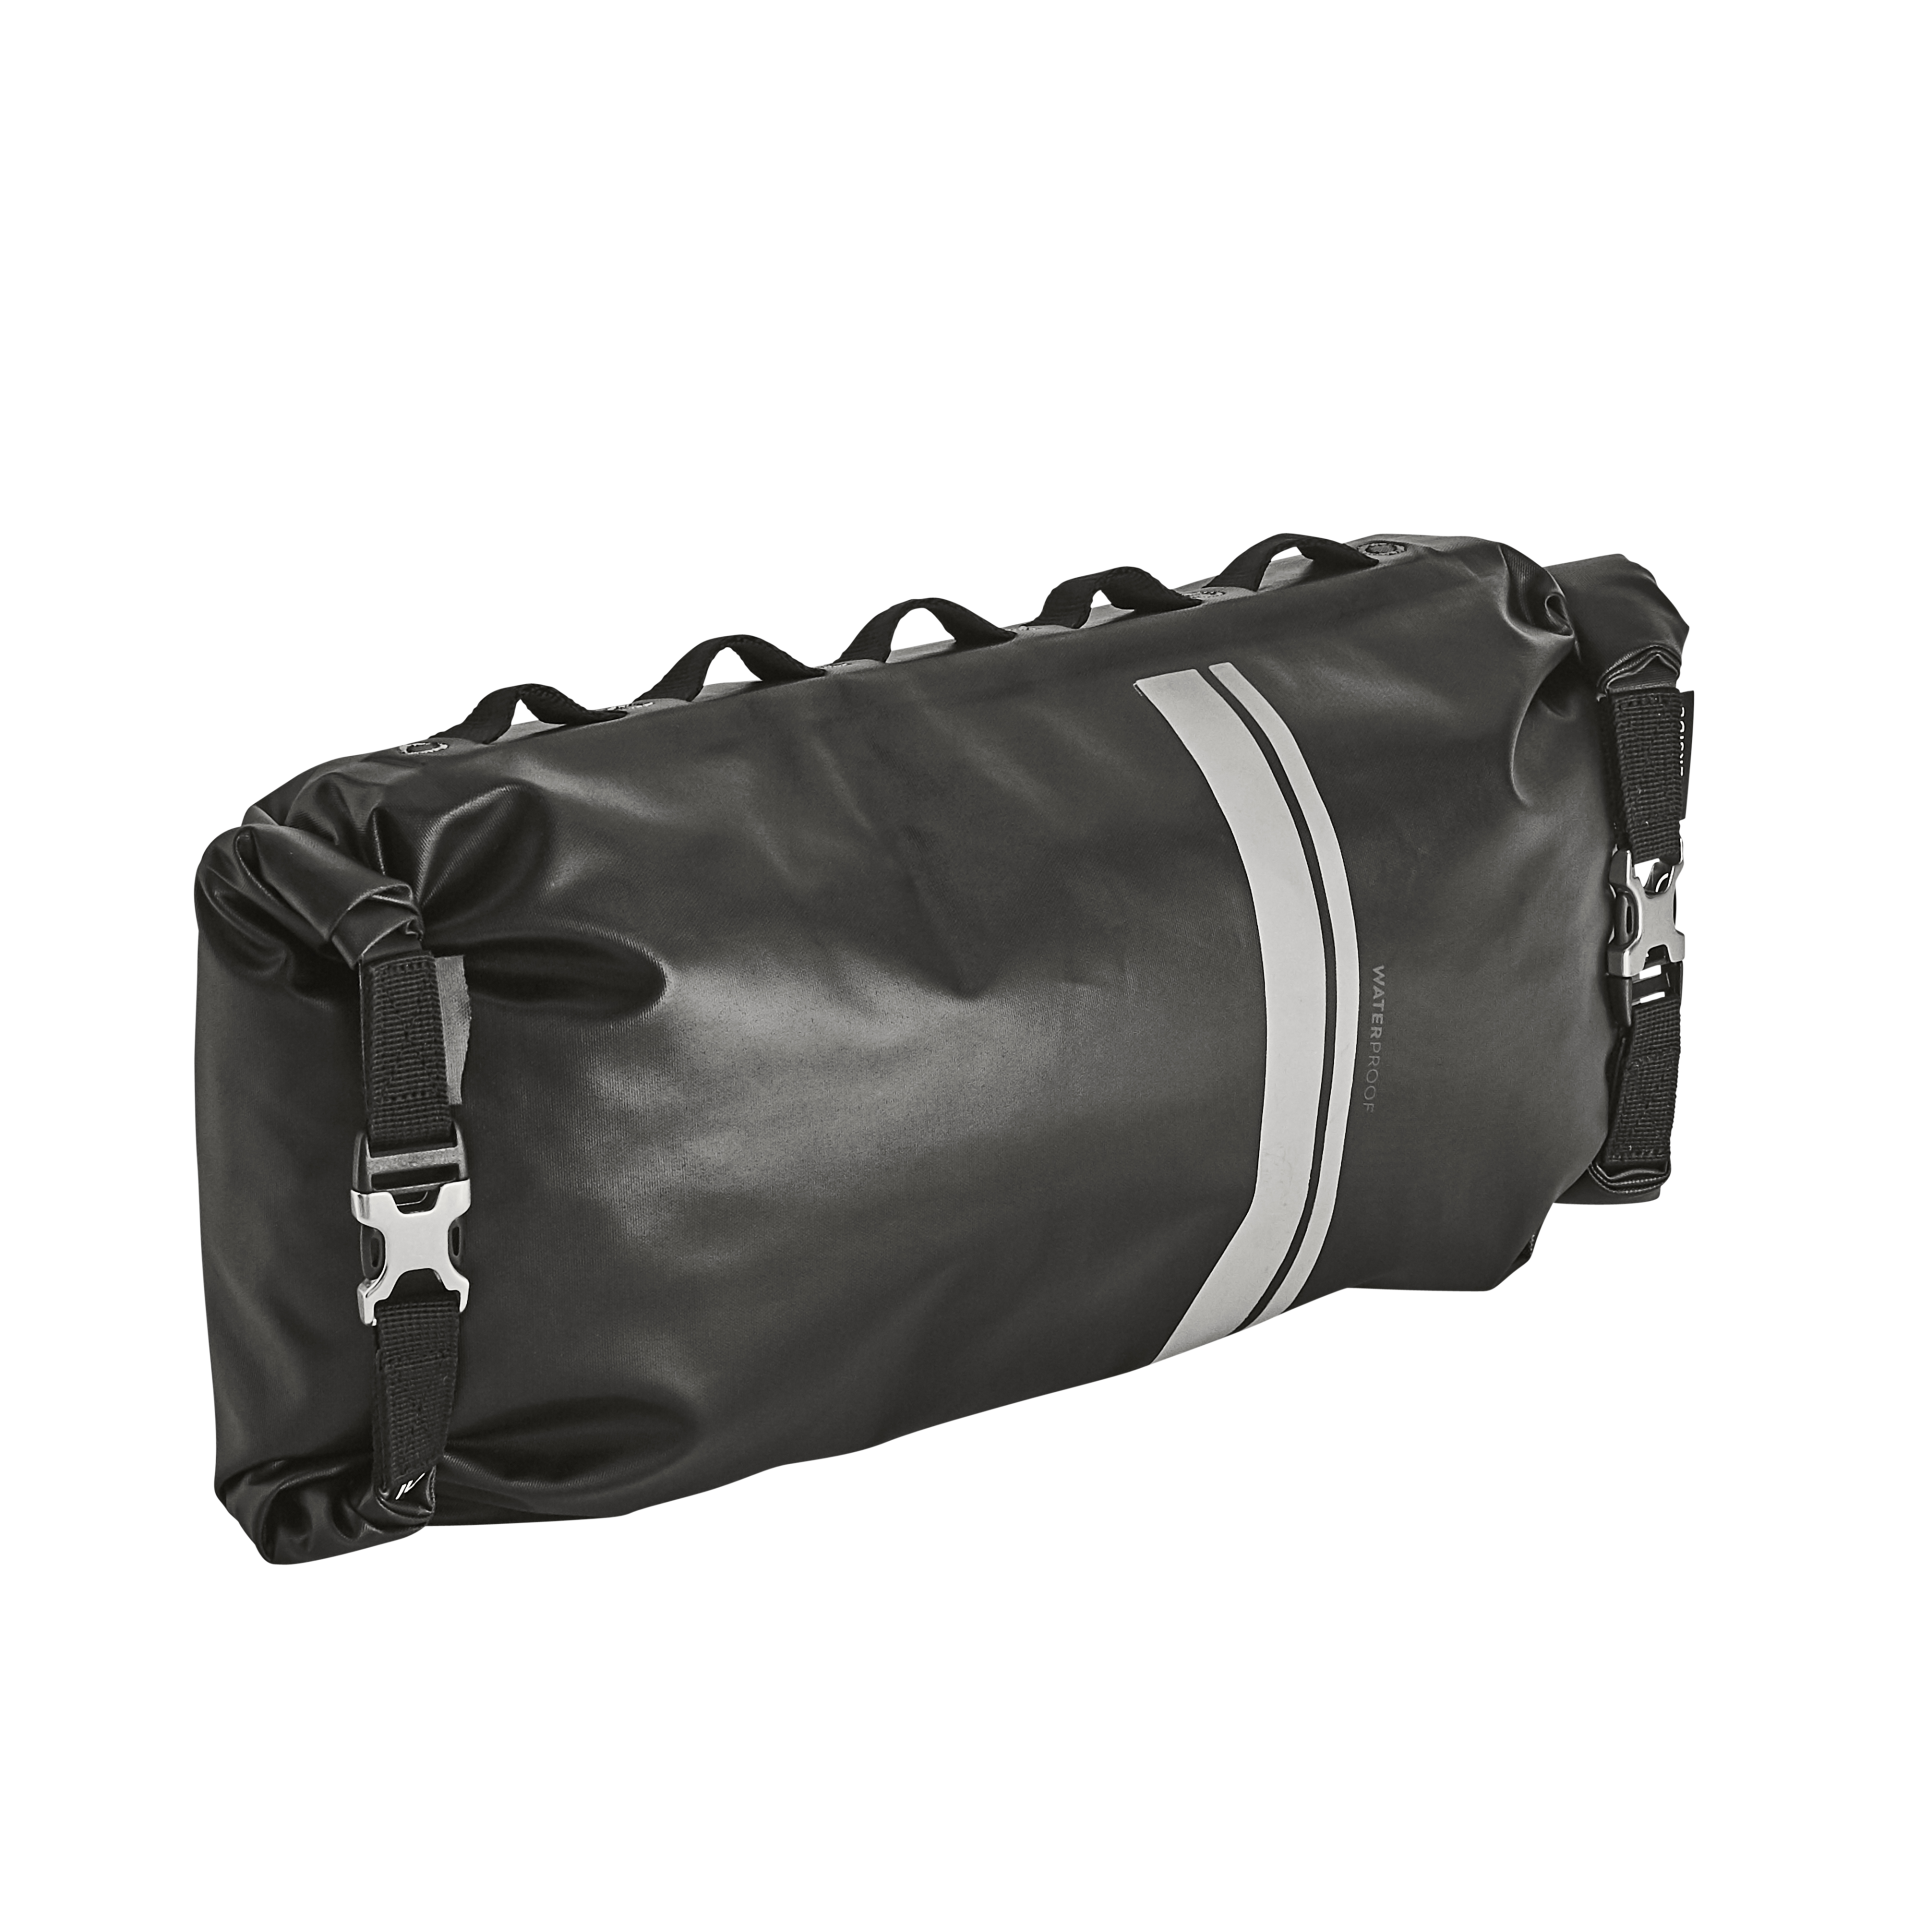
Bikepacking
bag
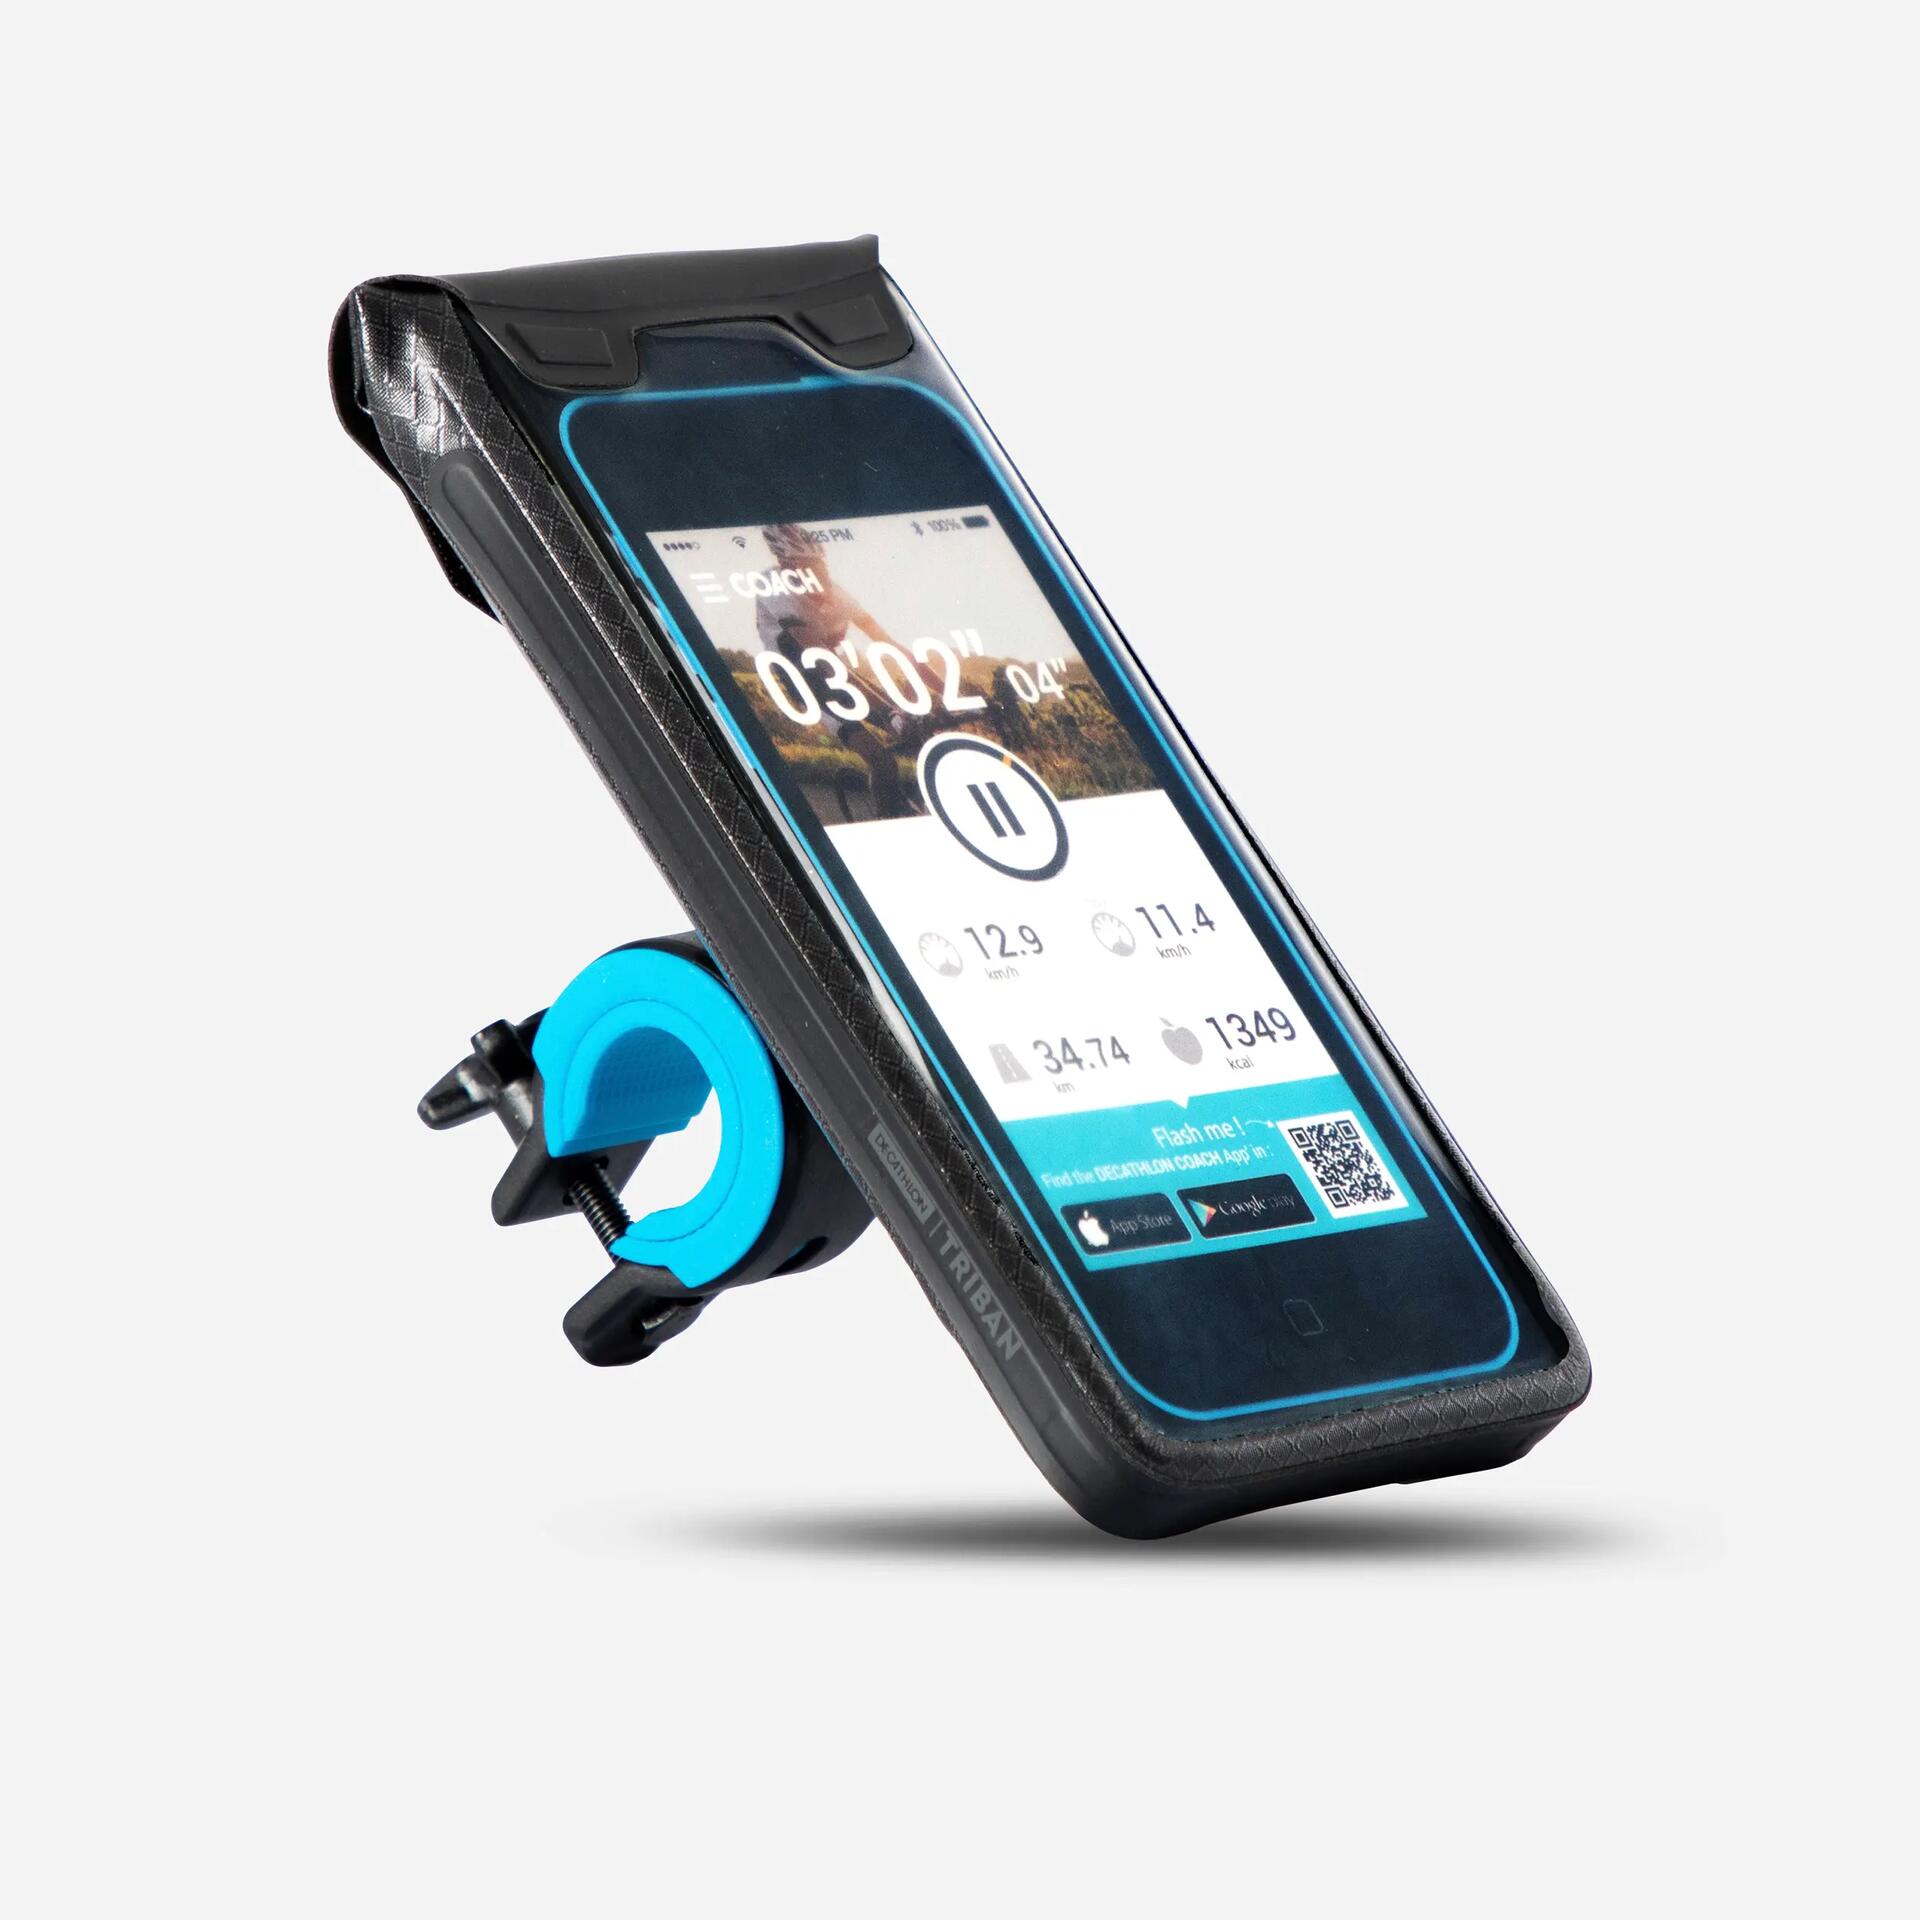
Smartphone holder
Mudguard
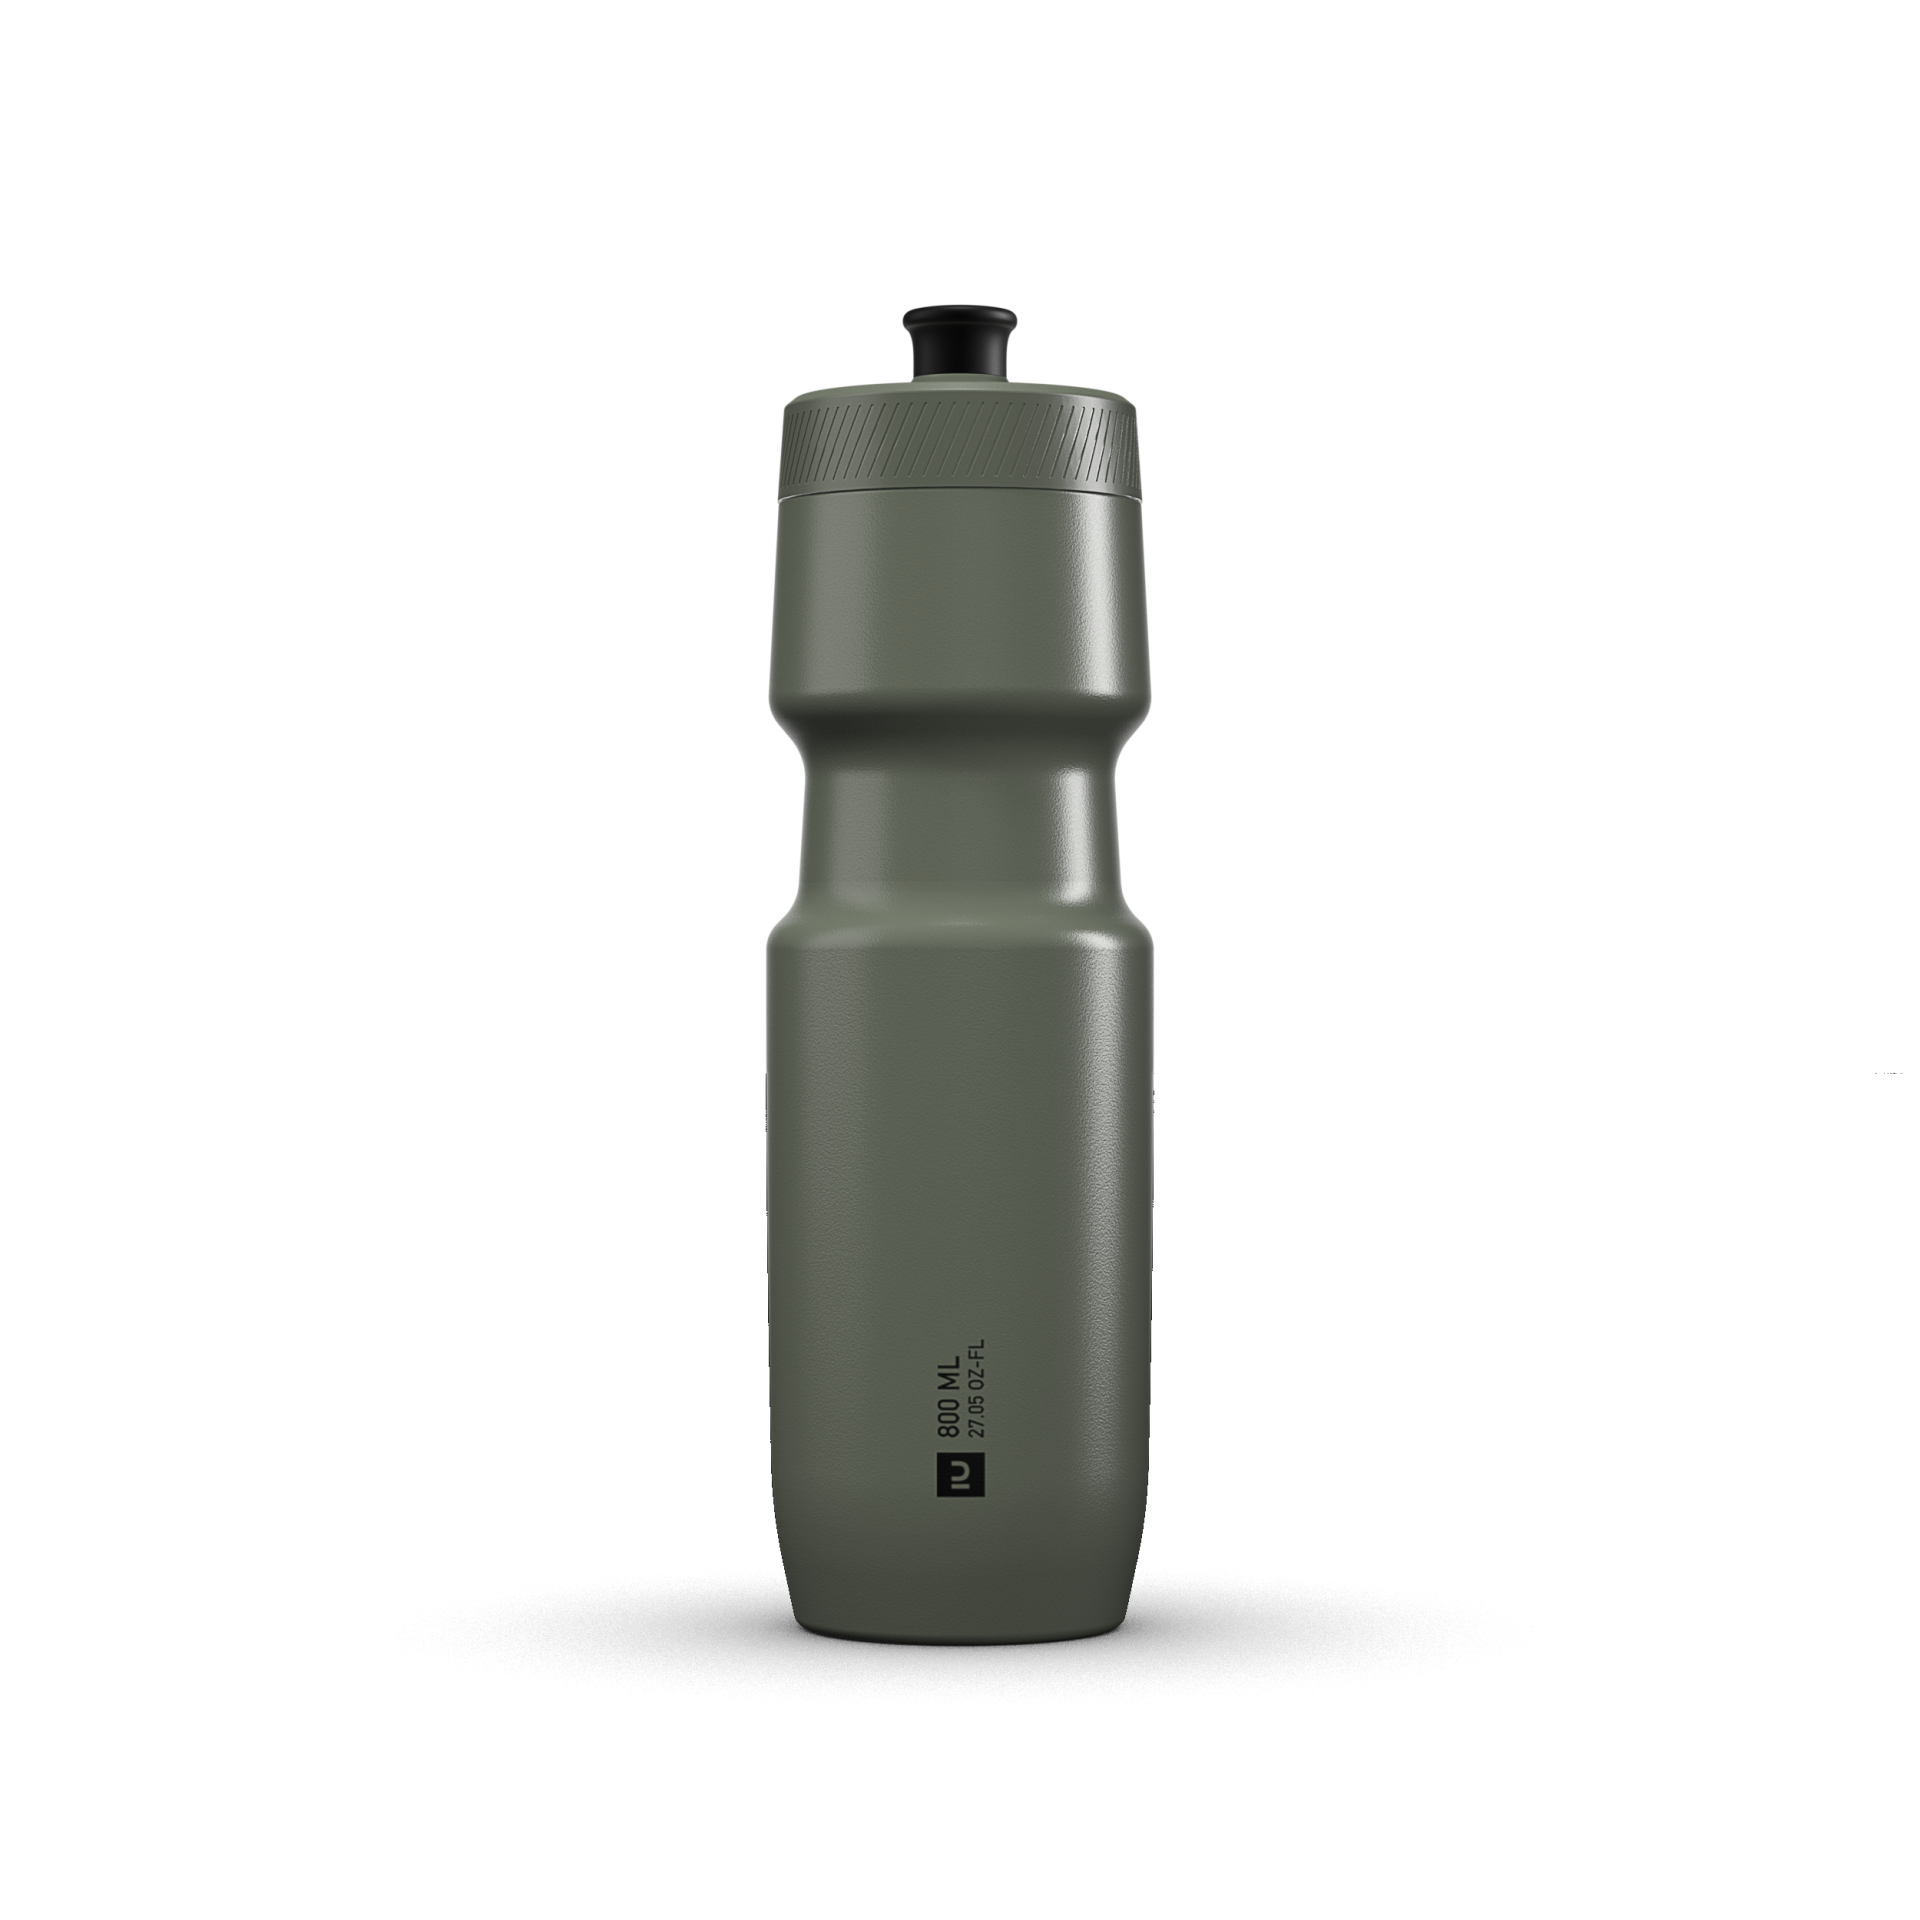
Water
bottle
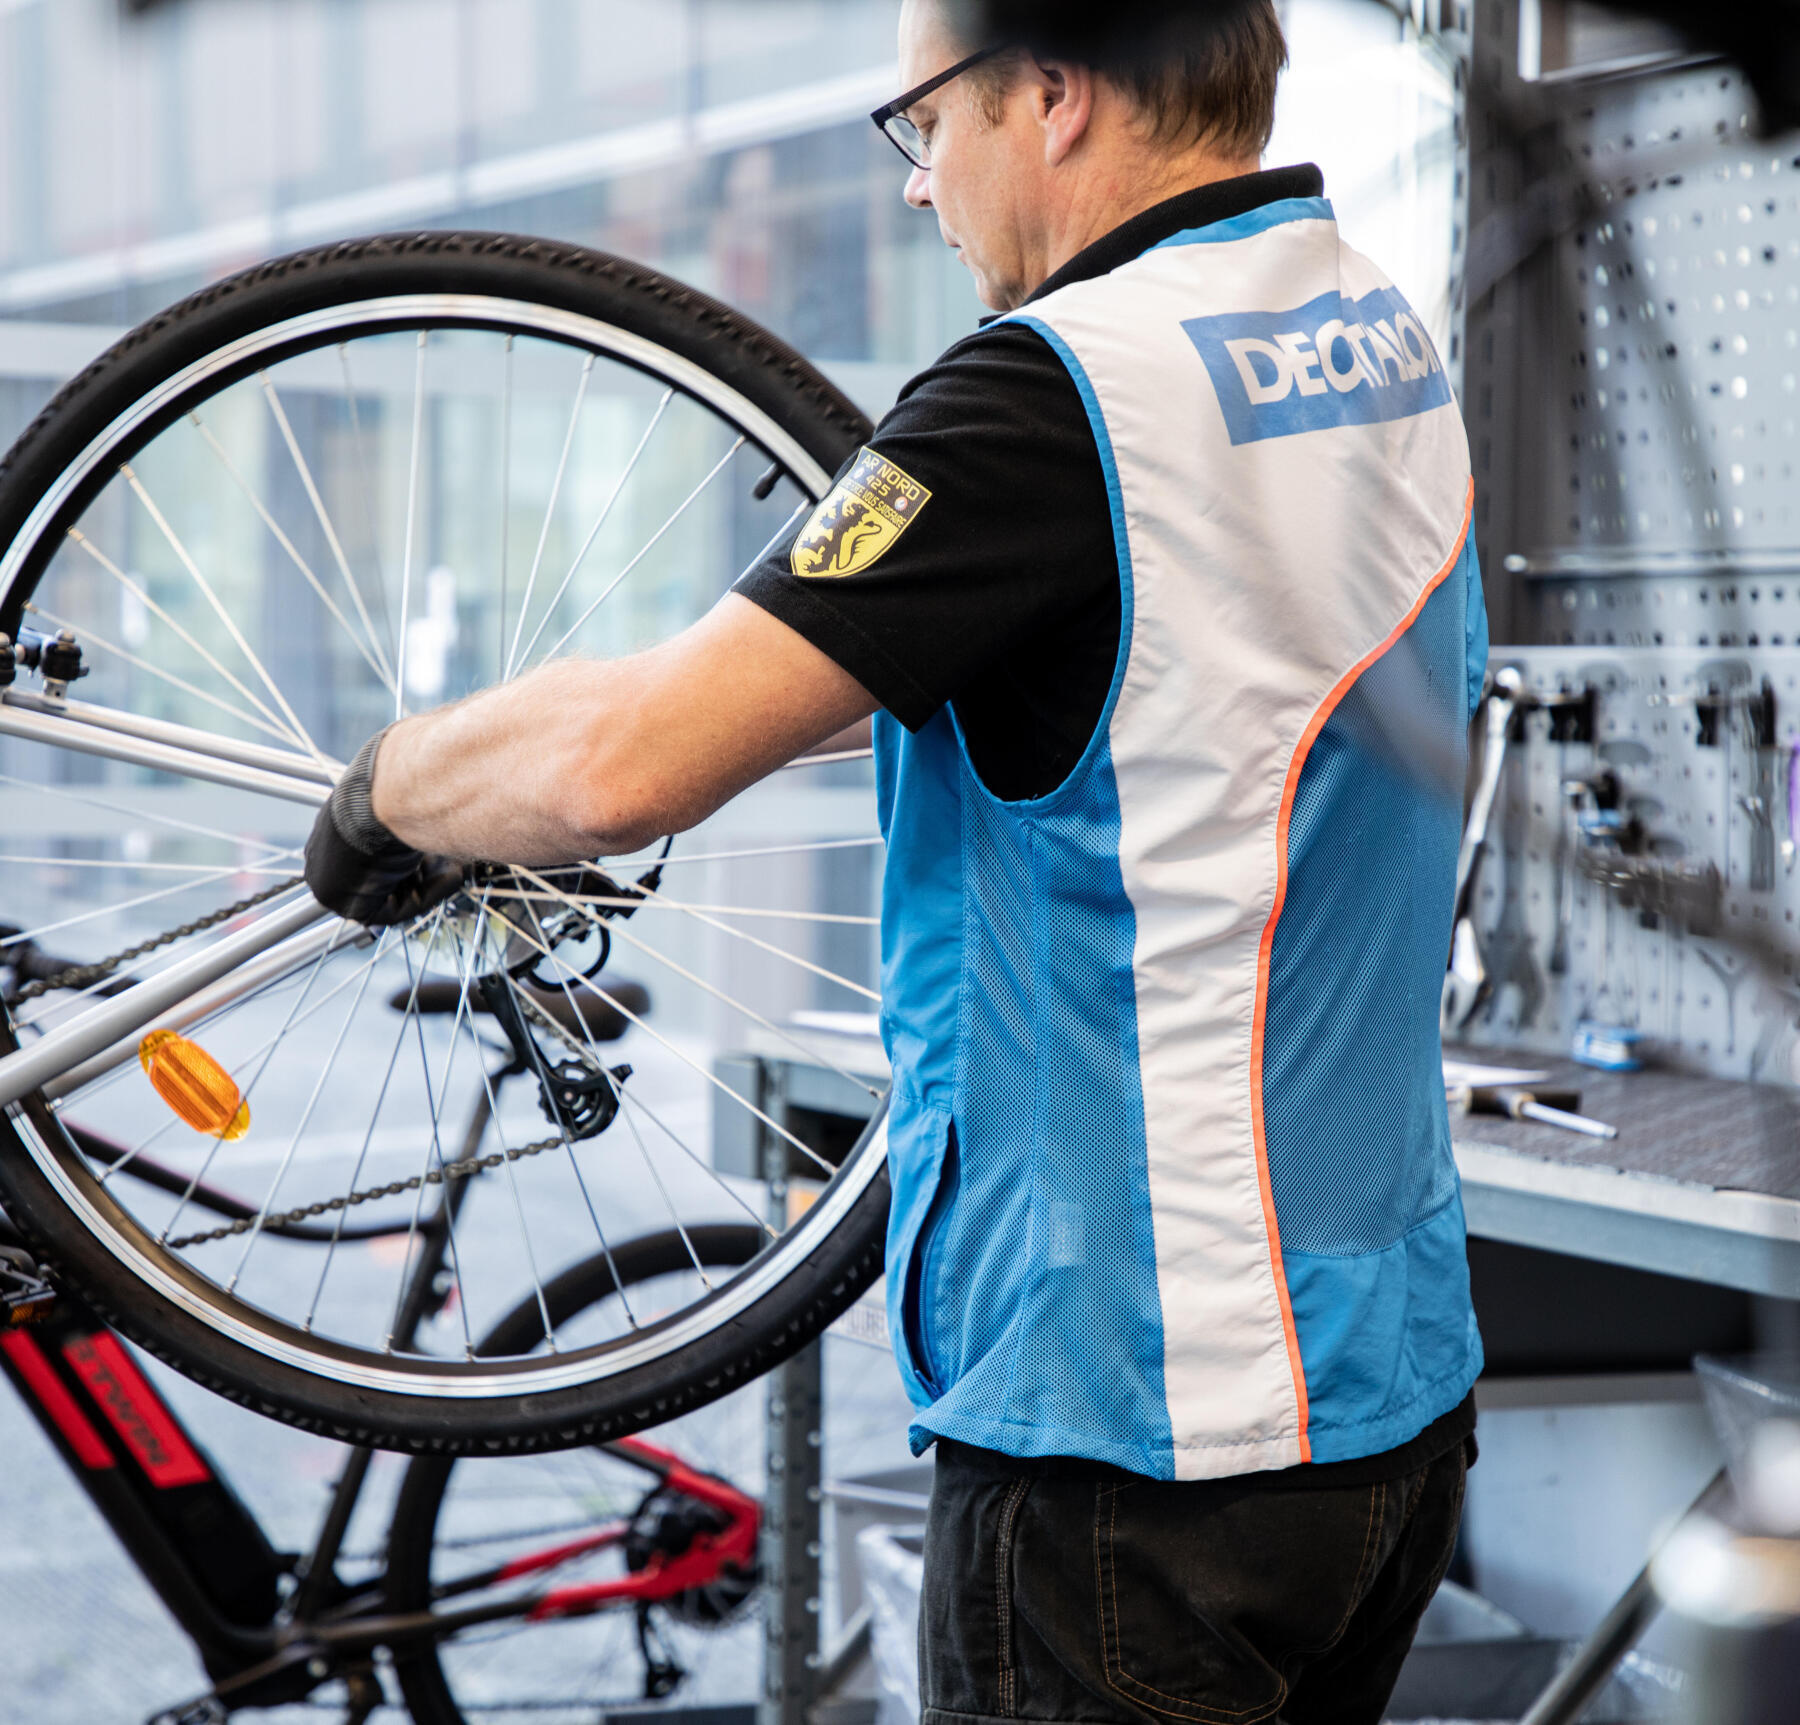
Get your bike repaired at one of our stores!
Our qualified mechanics will be happy to help.

Hydraulic
brakes
Certificate of
conformity
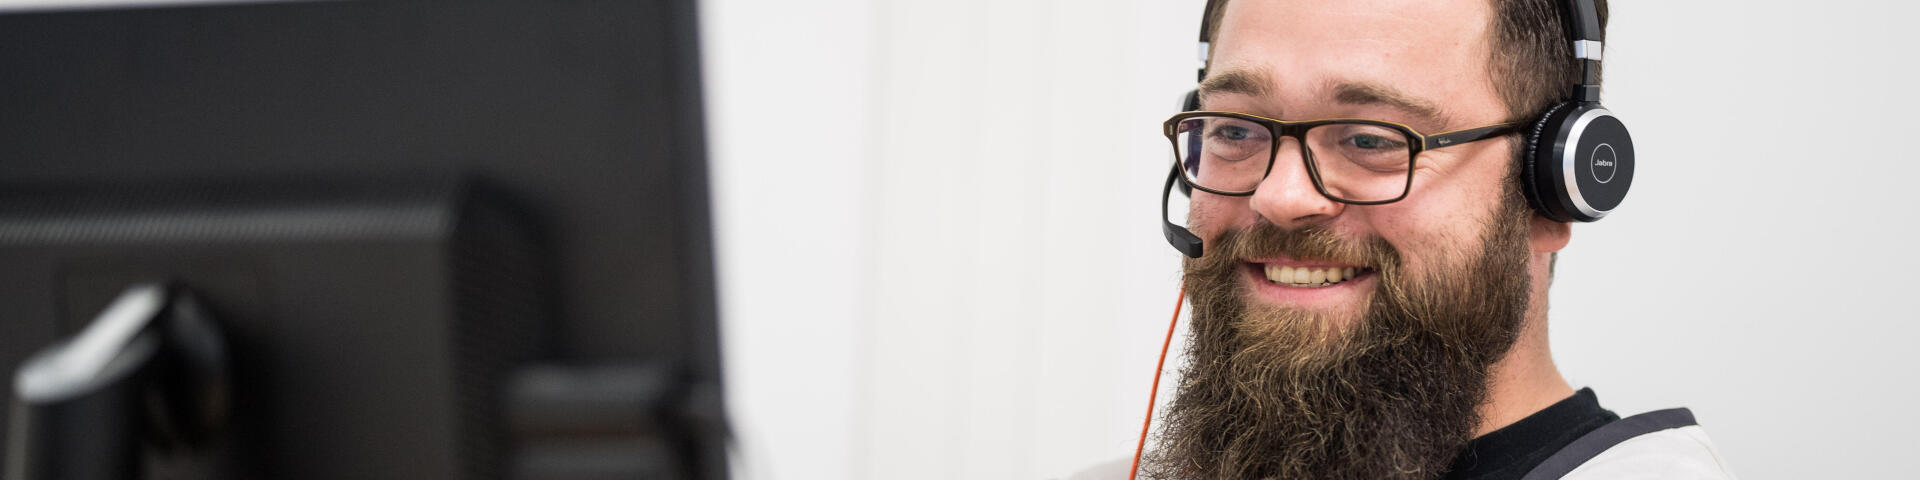
Please contact one of our technicians who will be happy to help
Riverside is committed to reducing carbon emissions related to its bicycle production processes to the greatest extent possible.
Each part is designed to have the lowest carbon footprint possible.
We provide a lifetime warranty on the frame, stem and handlebar. All other parts have a 2-year warranty.
When you start using your bike, some of the components may move a little. That's why we offer a free check-up in the first six months following the date of purchase.