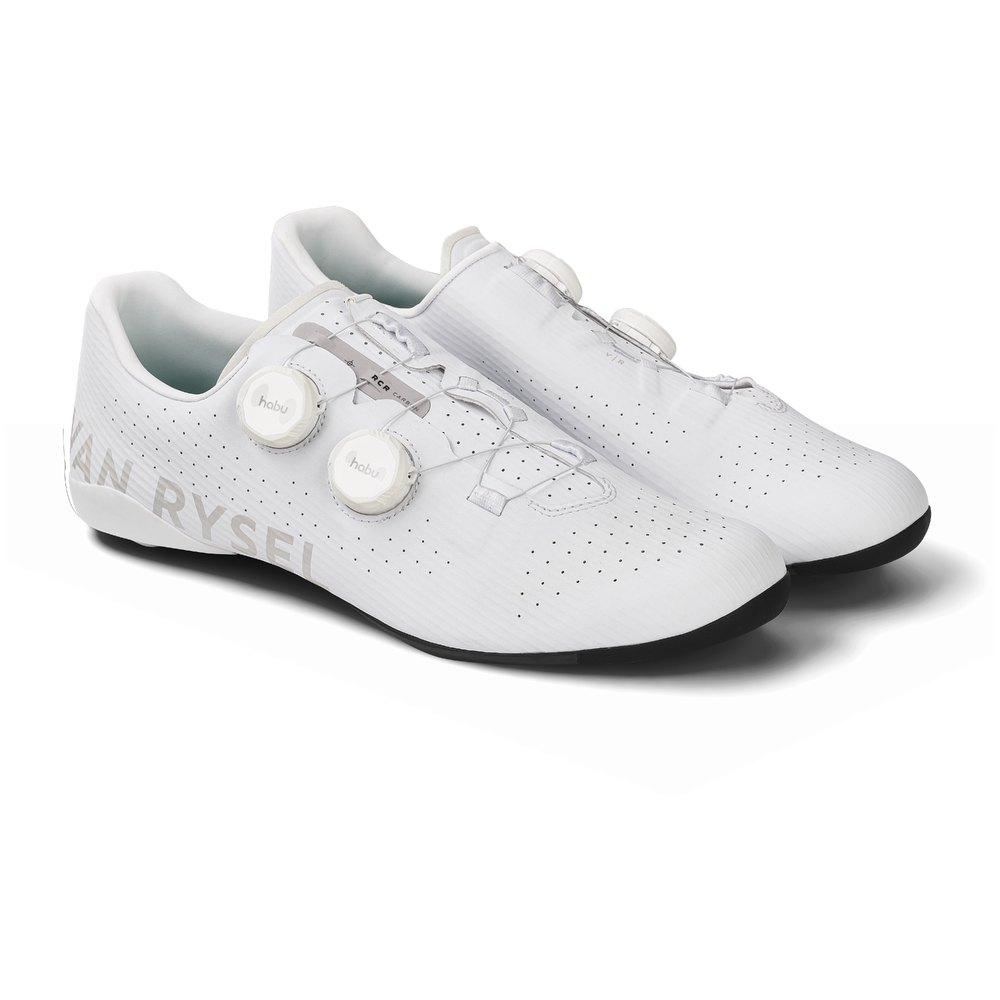
ADJUSTING YOUR CLEATS
Correct cleat adjustment is essential for comfort and performance with our shoes. Read on for our top tips on how to adjust your cleats correctly and get the most out of your RCR CARBONS.

REF: 8648780, 8648781
2023
Welcome to the after-sales service for your RCR CARBONshoes.
Developed by our engineers and tested in collaboration with Nans Peters, professional cyclist with the AG2R-LA MONDIALE team, this pair is our ultimate expression of cycling footwear.
Find out how to maintain your RCR CARBONSin the best possible way in this after-sales service guide.

Correct cleat adjustment is essential for comfort and performance with our shoes. Read on for our top tips on how to adjust your cleats correctly and get the most out of your RCR CARBONS.
Is this the first time you’ve fitted cleats to your shoes?
Here are our 9 steps for fitting your cleats.
1. Slip your shoes on
2. Take an adhesive tape and stick a horizontal strip along the sole on the inside front of the foot.
3. On the tape, use the felt-tip pen to mark your big toe bone (if you want to be precise, it's called the "first metatarsal").
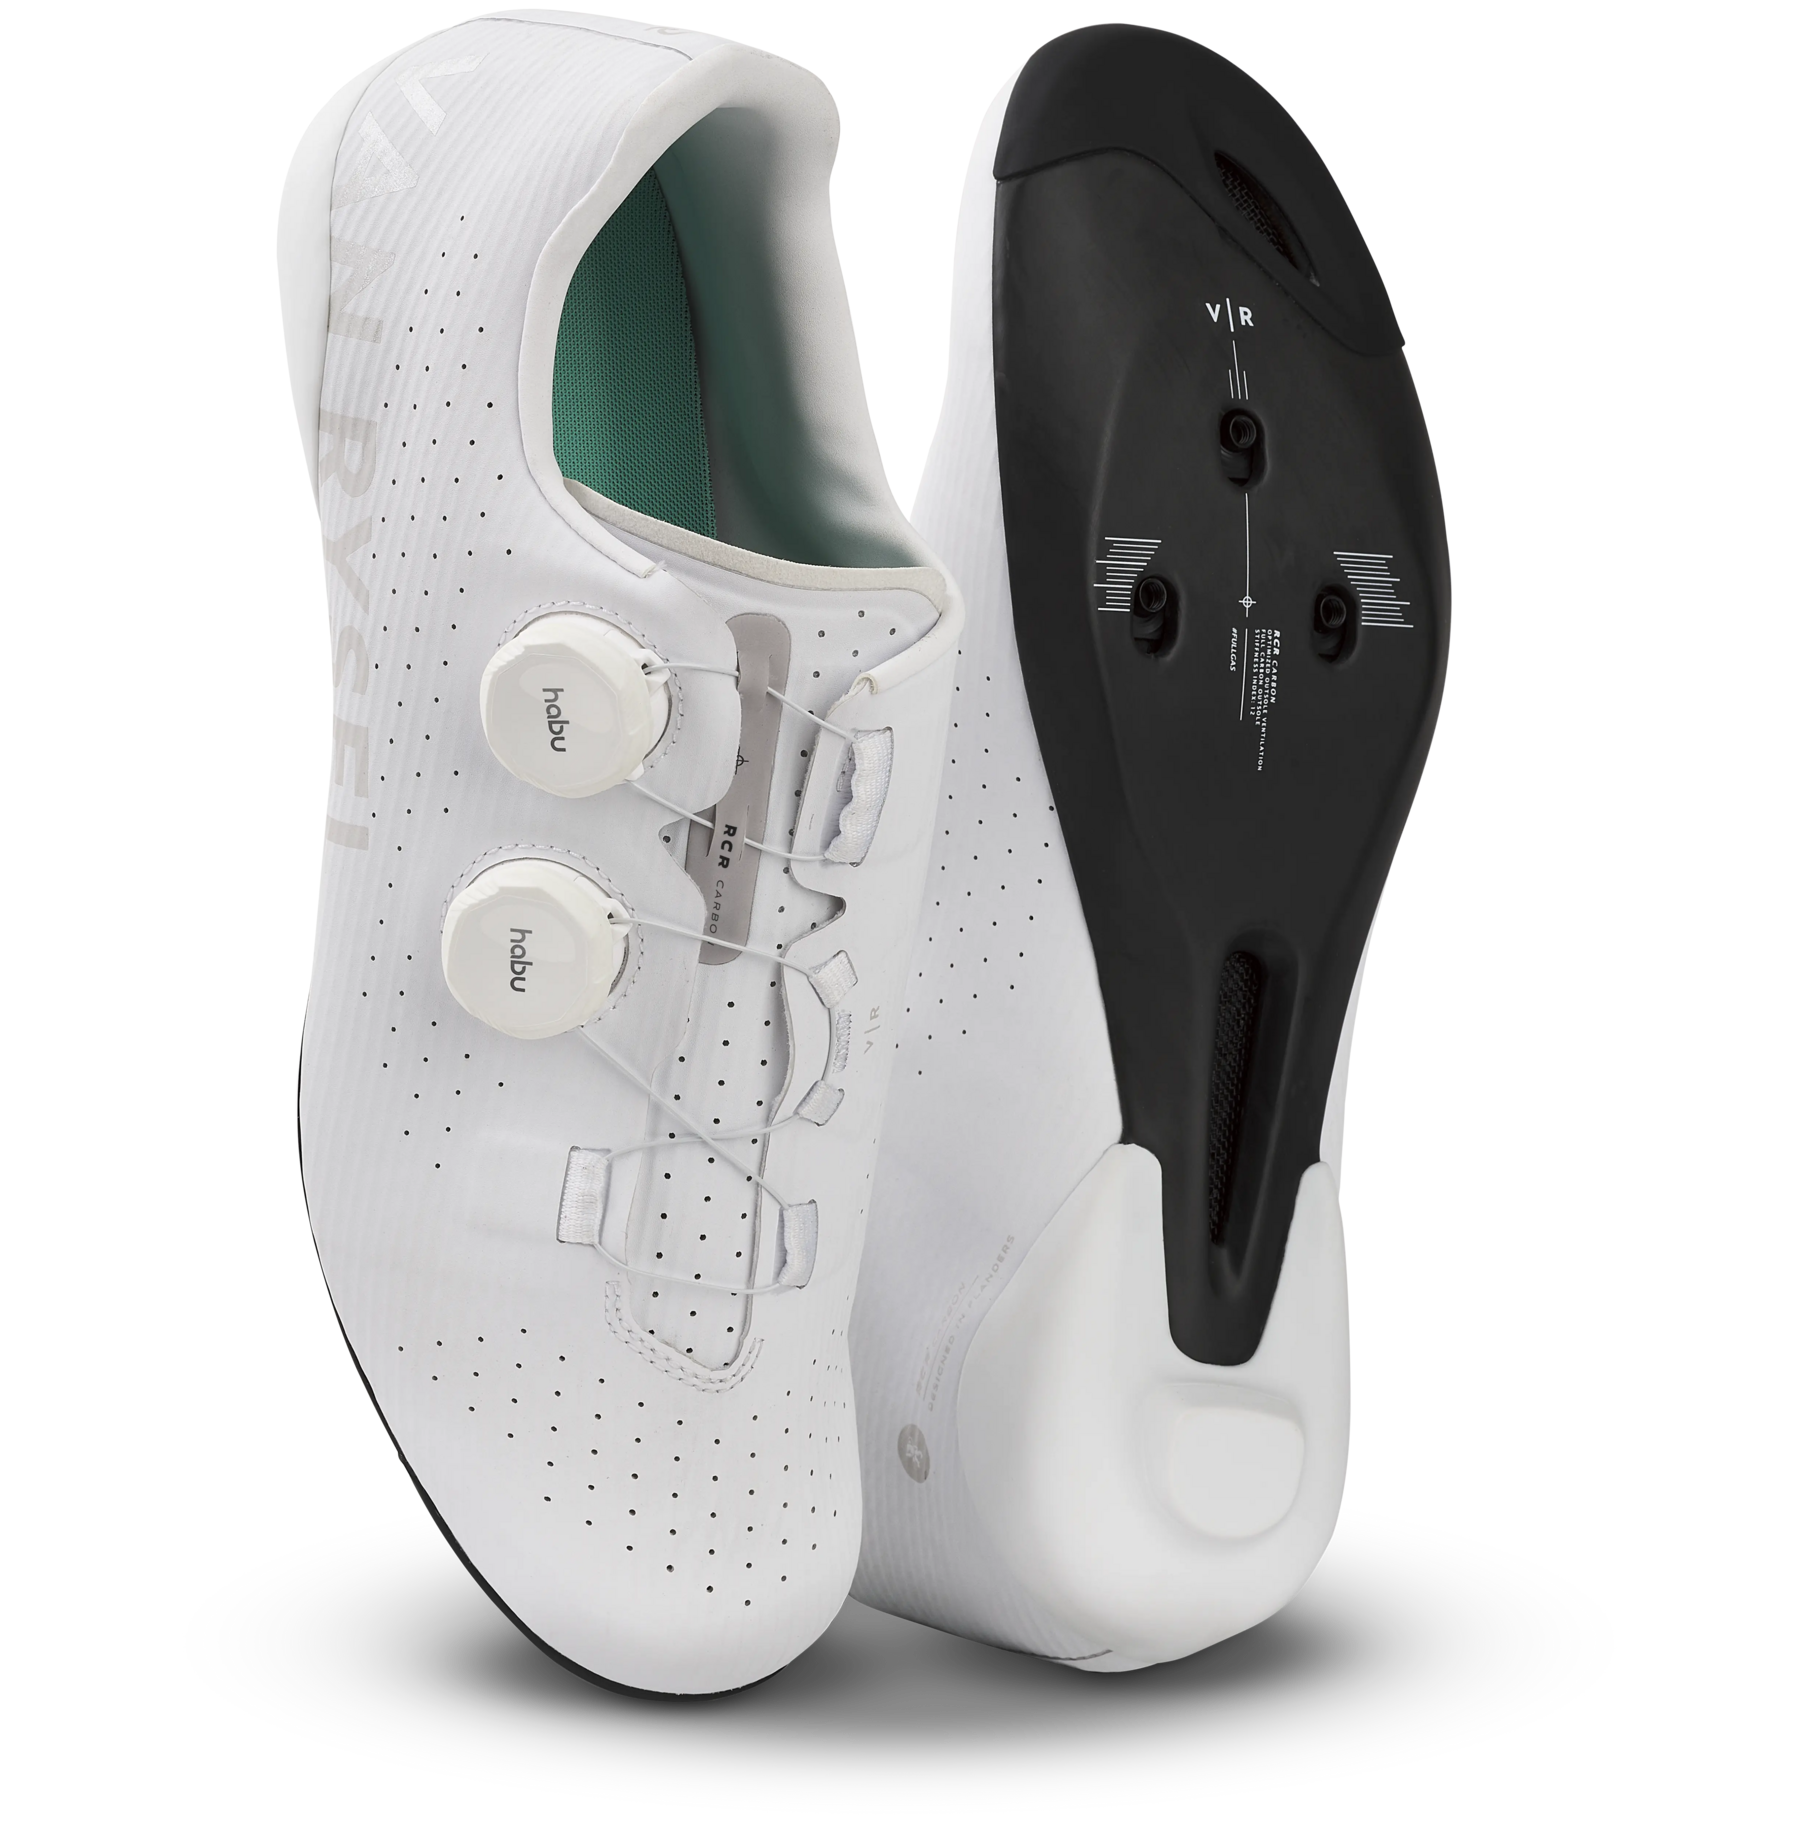
4. Remove your shoes and place your cleats under the soles
5. Add the 3 plates that join the cleat to the screw
7. Start screwing loosely. You should still be able to move the cleat.
8. Align the axis of the cleats with the mark you have just made (first phalanx)
9. Finally, you can tighten the screws.
Here are the tools you’ll need to fit your cleats to your automatic shoes.
3-4mm Allen key or Multi-Tool
A set of cleats
Felt pen
Adhesive tape
Cloth
You can clean your shoes with a hose and a soft cloth (no detergents).
We do not recommend putting them in the washing machine or tumble dryer.
To ensure optimal drying, we recommend removing the insole from the inside of your shoe and leaving the shoe and insole to air dry separately.

RCR CARBONs have two HABU buckles on each shoe. They can wear out over time.
Replacing them isn't very complicated:
1- Order the buckle directly from the HABU website.
2- Follow the website instructions.
3- Replace the lace in the inserts provided.

Here are our 7 steps to REPLACE your cleats in the same position as before.
1. Take a pencil or felt-tip pen
2. Trace the precise outline of your cleats under the soles of your shoes
3. Loosen the screws and remove your cleats
4. Wipe the underside of your soles with a cloth to remove any dirt in the holes
5. Position your new cleats on your shoes
6. Place them on the outlines you have drawn
7. Finally, tighten the screws.

There are a number of signs of wear that may indicate that it is time to change your road bike cleats:
- Clipping/unclipping becomes too easy/difficult as you ride,
- The wear indicator appears or there is not enough material left in the thickness of the cleat.
If you are having difficulty clipping in or out, check the following points:
- Make sure your cleats are not too worn and that they fit tightly to your shoes,
- Check that your pedal tension is correct. You can reduce the tension to make clipping easier,
- Also check that your cleats and pedals are compatible.
If, despite these 3 points, the problem persists, we advise you to contact your nearest DECATHLON shop.
You’ll recognise road-specific cycling shoes and cleats by the 3 holes in the sole of your shoe or cleat. These 3 holes correspond to where the 3 screws supplied in your pack of cleats should be screwed.
Mountain bike shoes, on the other hand, have only 2 holes and also have studs for better grip when walking.

Is there a question we haven't answered? Contact an assistant right now.

COMPATIBILITY
Shoes compatible with Look Delta, Keo or Shimano SM-SH cleats
NOT COMPATIBLE with SPD-type cleats (MTB)

WARRANTY
2 YEARS