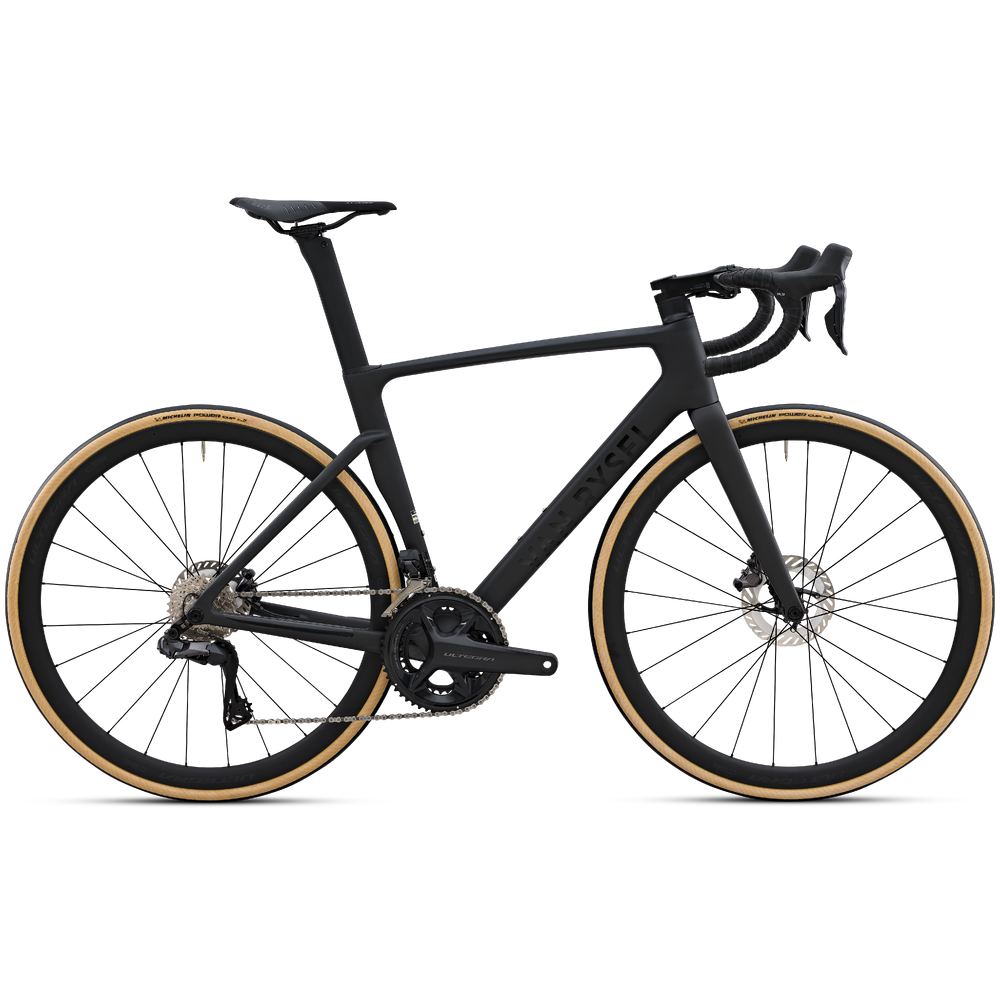
1. UNBOXING
The RCR PRO will be delivered to you with the handlebars unlocked in its delivery box. Here are the steps to ensure your bike is assembled correctly:

REF: 8751172, 8771104
2023
Welcome to the after-sales service page for your RCR SHIMANO ULTEGRA DI2
This bike is made to win. If you're a pure courier and all you care about it is winning, the RCR is made for you.
This page contains all our very best advice for using, maintaining and repairing your RCR SHIMANO ULTEGRA DI2: user guide, servicing, repairs and spare parts.
The RCR PRO will be delivered to you with the handlebars unlocked in its delivery box. Here are the steps to ensure your bike is assembled correctly:


Handlebar assembly
The handlebar must be adjusted to the correct tightening torques when unwrapped. To this end, you can consult the user guide available below:

SADDLE HEIGHT
To adjust your saddle height, you can find the tightening screw in front of the RCR seatpost. You just need to raise the cap to get to it. Spanner supplied in the accessory box with your bike.

Cycle computer mount
An RCR-specific cycle computer mount is provided with it. It has two hooks, one for the cycle computer and another for the light/action cam. Compatible with Garmin, Wahoo, Bryton.
To help you get to grips with your new ride, here are some tips on using your FCR for the first time:

TYRE PRESSURE
The first time you take your bike out, choose the tyre pressure carefully, taking into account the weather conditions and your weight.
The tyre can be inflated to a maximum of 3 to 5 bars.

BEDDING IN THE BRAKE PADS
Running in the brake pads is vital when using a bike for the first time.
To run them in properly, we recommend you brake 20 to 30 times at over 25 km/h, without locking the wheel.Also make sure you don't stop between braking to avoid "freezing" and thus sticking the pads to your discs.

TORQUE SETTINGS
Please respect the torque settings, especially the settings for the stem/handlebars (please see the user guide), which can cause a fall if they are not tightened properly.
To set your position properly on the bike, carry a set of Allen keys with you on your rides.

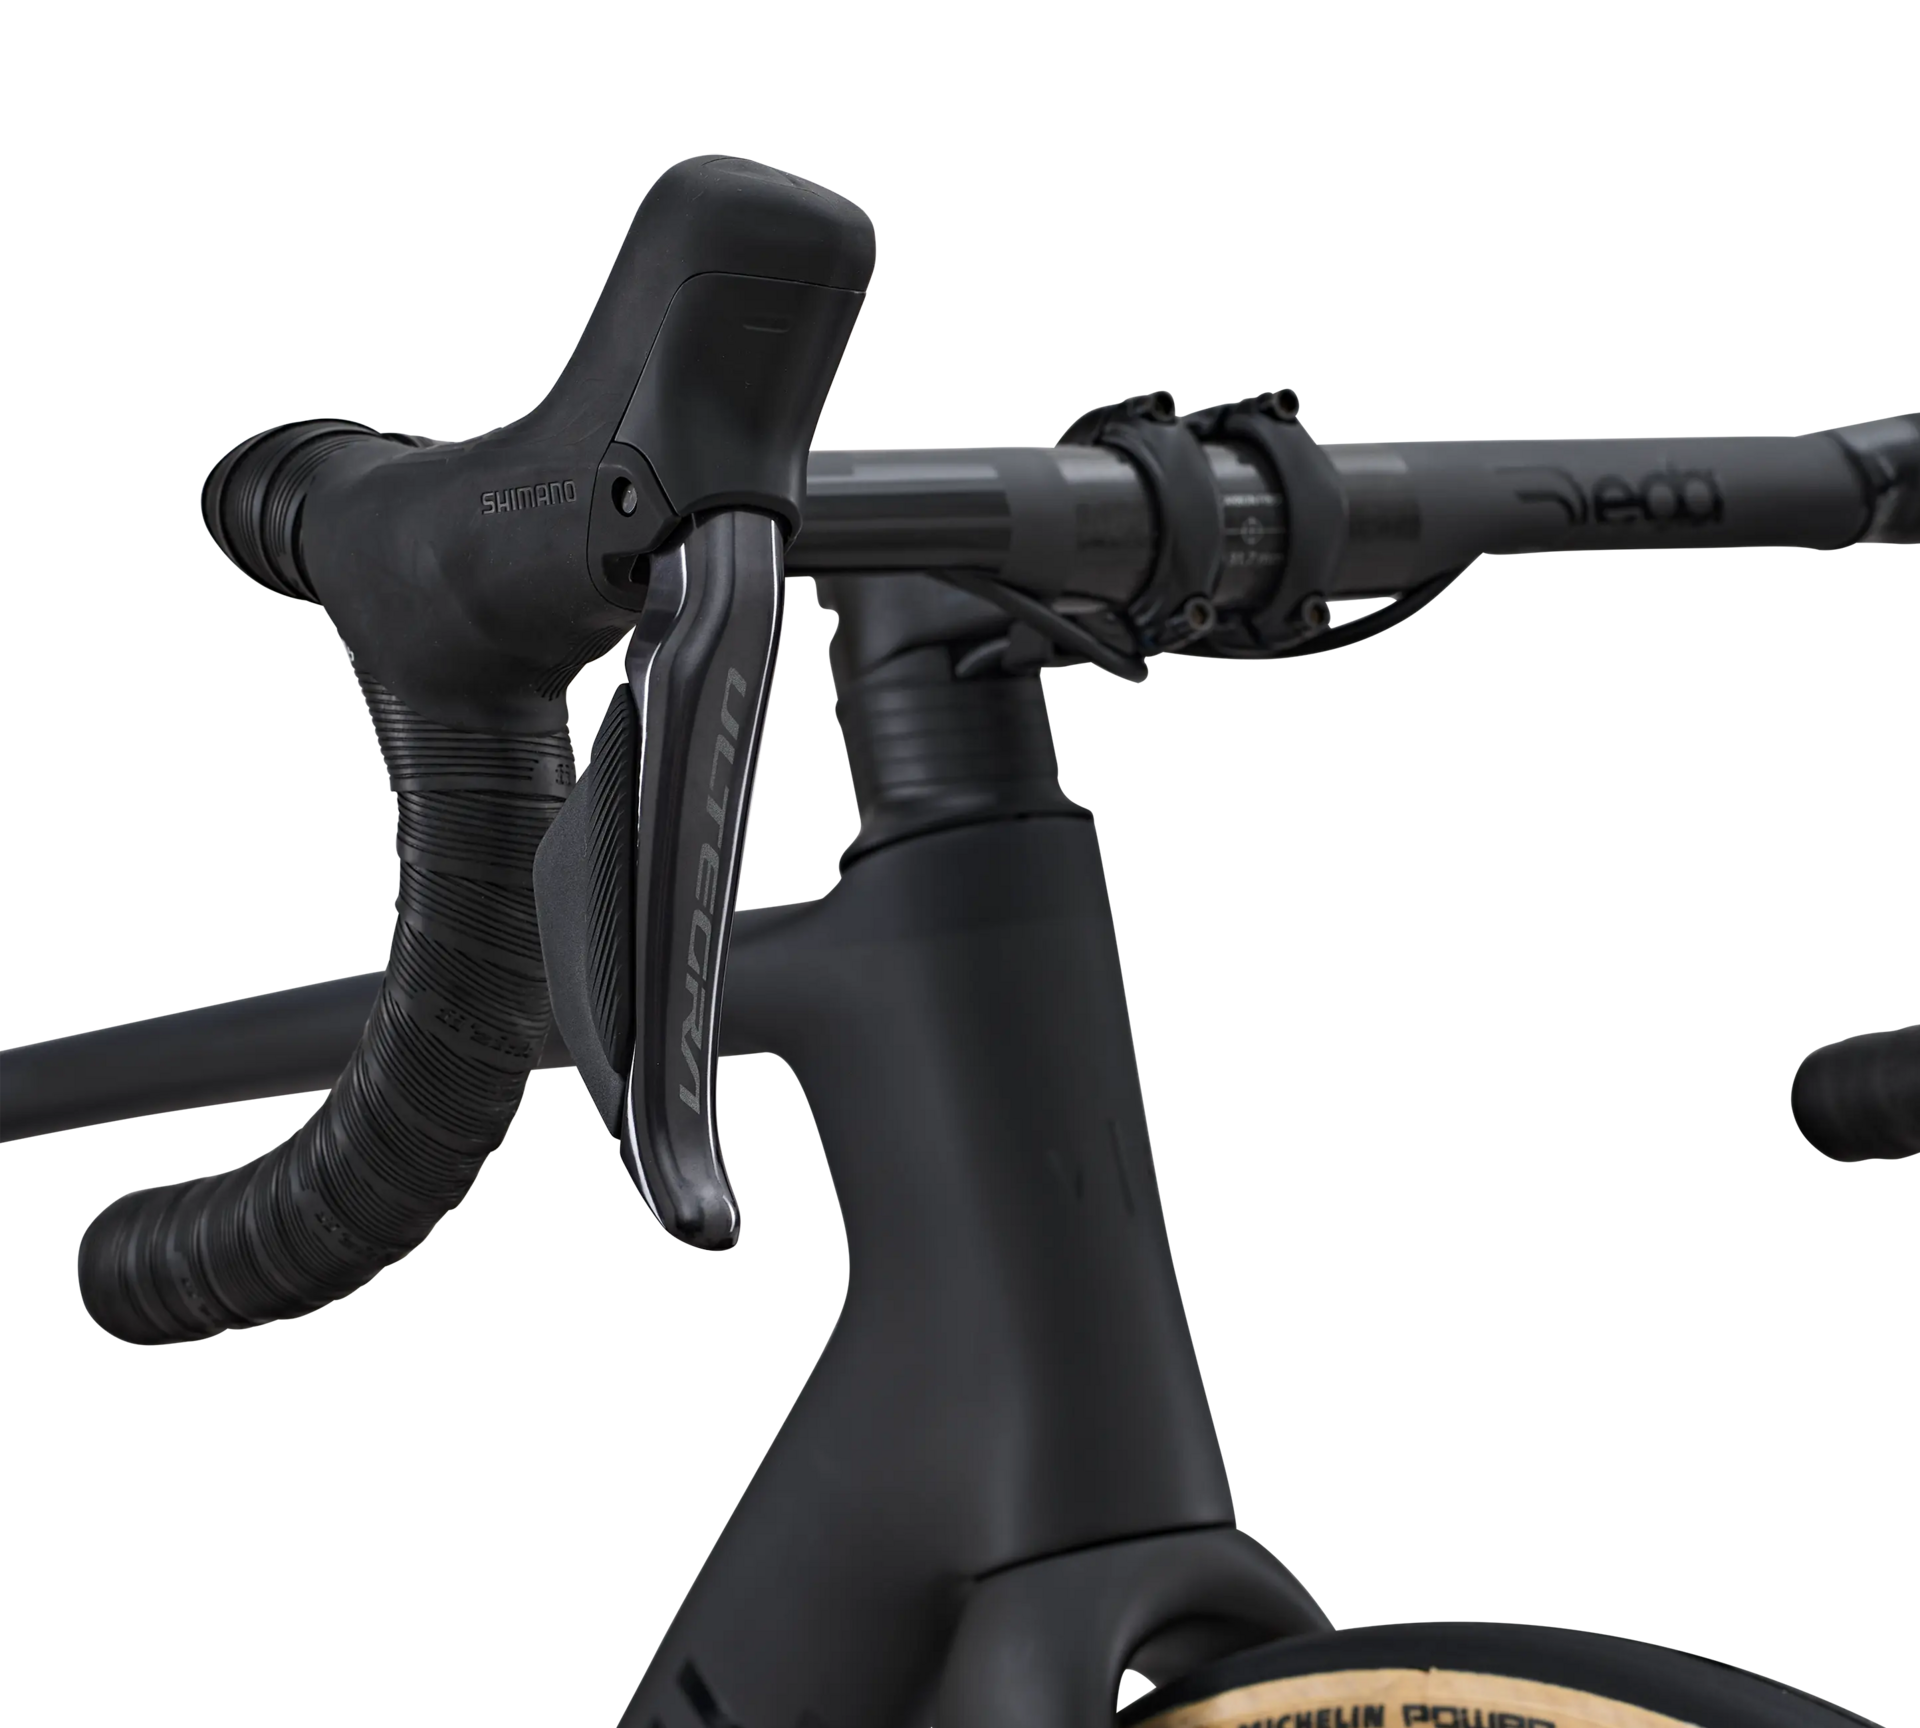
The DEDA handlebars and stem were designed as a combo. They cannot be assembled separately.
To adjust your position, you can remove the "spacers" located under the stem. However, they cannot be placed on top of the stem, so the steerer tube needs to be cut accordingly.
If the DEDA combo doesn't suit your size despite adjusting the "spacers" or if you cannot cut your steerer tube, we advise you to contact your Decathlon workshop.

The seatpost has been specially designed for the RCR and therefore can be used only for this bike.
Be sure to observe the tightening torque of 6 nm for correct installation.
In case of a problem with this, we can only encourage you to contact your nearest Decathlon workshop.


GEAR SETTINGS
Setting up gears for an electric derailleur differs from a mechanical derailleur.
To find out how to do this, click on the following link:

Battery charger
To replace your gears, derailleurs and levers use a battery. Each derailleur has a battery that you can recharge using the charging station supplied with the bike.

APPLICATION
Shimano has an app that gives you access to more information about the drive train of your DI2.
You can adjust your derailleurs, access the level of your battery and many other features.
Maintaining your bike is essential if you want to expand its lifecycle. That starts with regularly cleaning your bike, the frame and drive train.

Step 1
Apply a degreaser to your drive train. Place a cloth on top of the brake discs to prevent them from being covered with degreaser.

Step 2
Clean your drive train with the aid of a brush. Apply a suitable cleaning product to your frame.

Step 3
Drying your bike and lubricating your drive train.
The tyre is the only element in contact with the ground. To minimise the risk of it losing grip, it's essential to choose the right type of tyre, and adapt the pressure accordingly.
The RCR comes with tubeless-ready wheels.
Check out our advice here:

To make sure your saddle is set correctly, you must make sure it is properly tightened. A loose seatpost can easily drop down when you're out and about on your bike.
If you tighten it up too much, however, you run the risk of crushing the seatpost and damaging your bike.
The best way to tighten a seatpost is to use a torque wrench. It should be tightened to 6 Nm.
NB: Do not exceed the maximum height indicated on the seatpost.
Please note that the seatpost is designed only for the RCR.

The chain is a vital part of your bike's drive train. The following are tell-tale signs that you need to change it:
- The chain starts jumping.
- The chain has been on for more than 5,000 kilometres.
- Gear changes are not smooth.
To find out more read our article:
The following are all signs that you might need to change your brake pads:
- You don't have the same responsiveness as when you bought your RCR and there's a lack of grip.
- Your bike makes a strange noise when you brake sharply.
- The thickness of the pad is below 0.5 mm.
This article tells you how to change your brake pads:

Although disc brakes are designed to wear out the brake pads and not the disc, the disc will eventually wear out where there is heavy use.
It can be dangerous to ride with a worn brake disc. It could break when braking sharply and hard.
The maximum wear value of the thickness of the disc is around 10% of its original value. We strongly recommend you change it when the wear exceeds that figure.

To ensure your frame lasts longer, grease the bearings and abrasive parts of your RCR bike regularly. You should be keeping a close eye on the following:
- Bottom bracket.
- Steerer tube.
- Wheel bearings.
- Seatpost.

The cables and housings run inside the handlebar, stem and frame. When replacing them, if they are worn out, you must ensure that you follow the same path.
Also, you can remove or add "spacers" to raise or lower your cockpit. First loosen the compression bolt on the top of the fork and then the stem side bolts. Then remove the stem/handlebar combo to add/remove your "spacers".


Degreasers, lubricants, etc.

Chains, cassette, pedals

Brake pads, brake discs, housings, etc.

Tyres, inner tubes, patches, etc.
Van Rysel RCR PRO CF frame:
1 colour: Black
2XS/XS/S/M/L/XL

In this section, we've listed the most common problems encountered with the RCR. To extend the life of your bike's components and avoid having to work on them, we recommend the following:

MAINTAINING/CLEANING YOUR BIKE
To extend the life cycle of every part on your bike and its drive train, you must clean them regularly.
Please refer to the section above to find out what to do.

WEAR
Your bike's wear parts all have a shelf life. If you don't replace them when necessary, it might cause other parts to wear more quickly or cause them to break:
- Chain: 5,000 km
- Cassette: 10,000 km
- Check the teeth on your chainrings and derailleur pulleys for wear.

TORQUE SETTINGS
To ensure you don't put too much strain on the various parts of your RCR, bike, please respect the torque settings that we recommend.
If the torque settings are too high, they can cause parts to break, increasing the risk of you falling.
Are your pedals broken?
NB: please note that the screw thread on the left pedal is inverted and that the pedal thus screws on in an anti-clockwise direction. The right pedal has a standard thread.
Make sure to use the correct tool to remove your pedals as you will need to use some force to unscrew them.

If you suffer a puncture, watch our video tutorial to find out how to change your conventional or tubeless tyre:
The tape on your handlebar will wear over time and you'll need to change it occasionally.
Follow our tuto to change it:
There are several things you can do if your brakes aren't working as well as they used to:
- Use a degreaser to clean the disc.
- Check the brake pads for wear.
- Check the tension of the cable.
If your brake pads are worn, you must change them. Watch the following video tutorial.
If your disc is making a noise:
- Check that your wheel is properly centred. To do this, loosen the wheel and tighten it up again.
- Check that the brake calliper is in the right position.
- Check the brake pads for wear.
- Check the tension of your brake cables.

If your derailleur is no longer responding to your gear changes, you may have to replace the cables and housings on the derailleur.
Watch our video tutorial to find out how:
If the gears are skipping, you should check the following:
- The wear on your drive train.
- The tension of the cables.
If the problem lies elsewhere, then you should adjust your derailleur.
If the drive train is not working properly and the derailleur hanger is twisted.
Watch the video tutorial to find out how to change it.
To find out if your cassette is worn just count the number of teeth on it. If the chain jumps or the cassette has more than 10,000 kilometres on it, it's time to change it.
Watch our video tutorial to find out how to change it:
Are your chainrings worn? Do you want to change your gear ratio?
Watch our tutorial video to find out how to do it.

VAN RYSEL RCR PRO
Shimano ULTEGRA DI2

Can't find a solution to your problem? Contact our bike mechanic and get some help.

Bike instructions
VAN RYSEL RCR PRO SHIMANO ULTEGRA DI2

Drive train
Shimano ULTEGRA DI2

Wheels
SHIMANO ULTEGRA R8170

VAN RYSEL offers a 5-year warranty on your RCR PRO SHIMANO ULTEGRA DI2 frame.
All other parts have a 2-year warranty.