1.Introduction
Discover the watch

REF: 852765, 8527652
2019
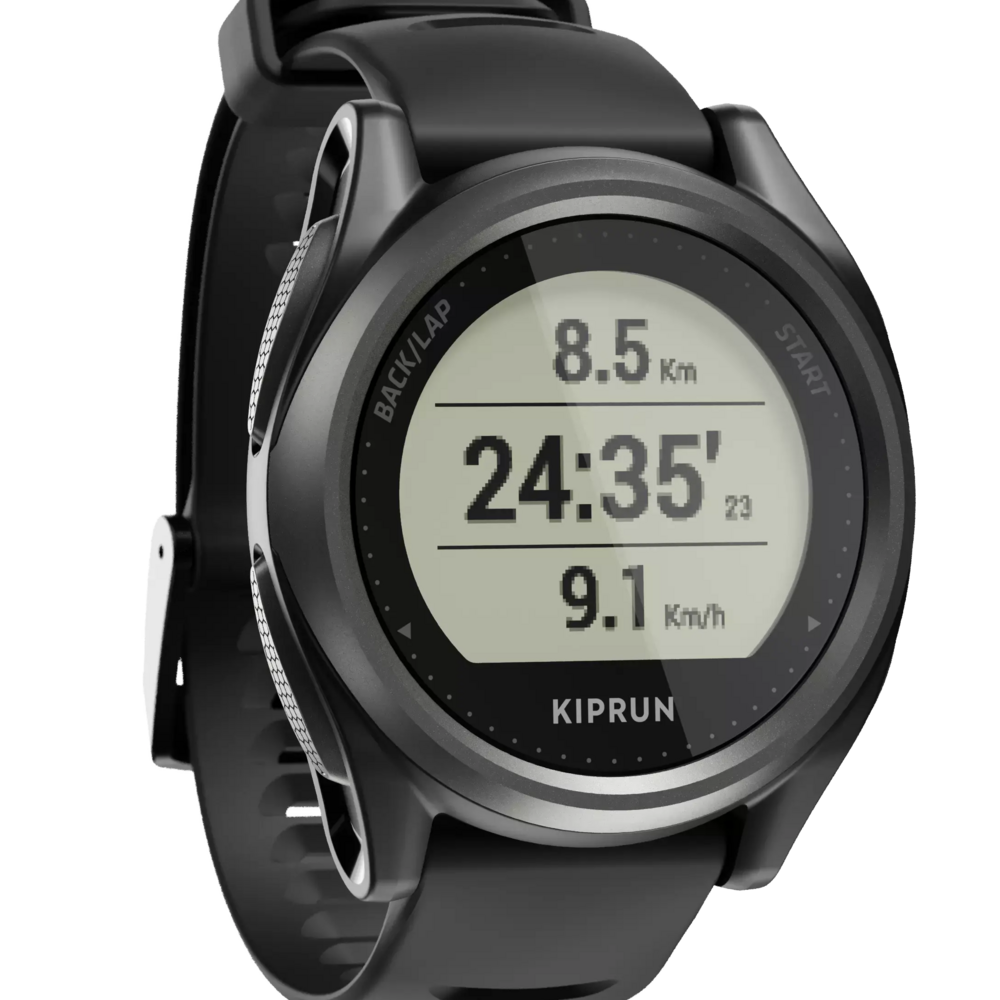
Our running designers designed this GPS watch so you can track your sessions, giving you all the tools you need to achieve your goalsWant a new solution for attaining your next running objective? This GPS watch measures your performance and offers you an unlimited number of interval training options.
The KIPRUN GPS 550 connects to your phone using the DECATHLON CONNECT application.
To discover and download DECATHLON CONNECT, click here.
Discover the watch

< : Left / Decrease

Measurement on the wrist:
The KIPRUN GPS 550 has an optical sensor to measure the heart rate on the wrist.
4
To ensure your heart rate is measured accurately:
- Wear the watch with the dial on the top of your wrist
- The watch should be positioned behind the bone, in contact with your skin
- Adjust the strap so that it is tight but does not bother you
- The watch should not turn or move on your wrist
The measurement of the wrist heart rate is optimal when practising sports with repetitive movements such as running or walking. It is advisable to use a heart rate monitoring belt for sports such as fitness, bodybuilding, etc.
Measuring with a belt:
a. Moisten the belt electrodes to optimise the heart rate signal reception
b. Undo the belt using the clip on the side of the belt
c. Position the belt on your chest and do it up again
d. Tighten the belt correctly, making sure the electrodes are tight against your chest

Your watch strap can be removed without the use of any tools by simply pulling the catch on the pin of the strap.

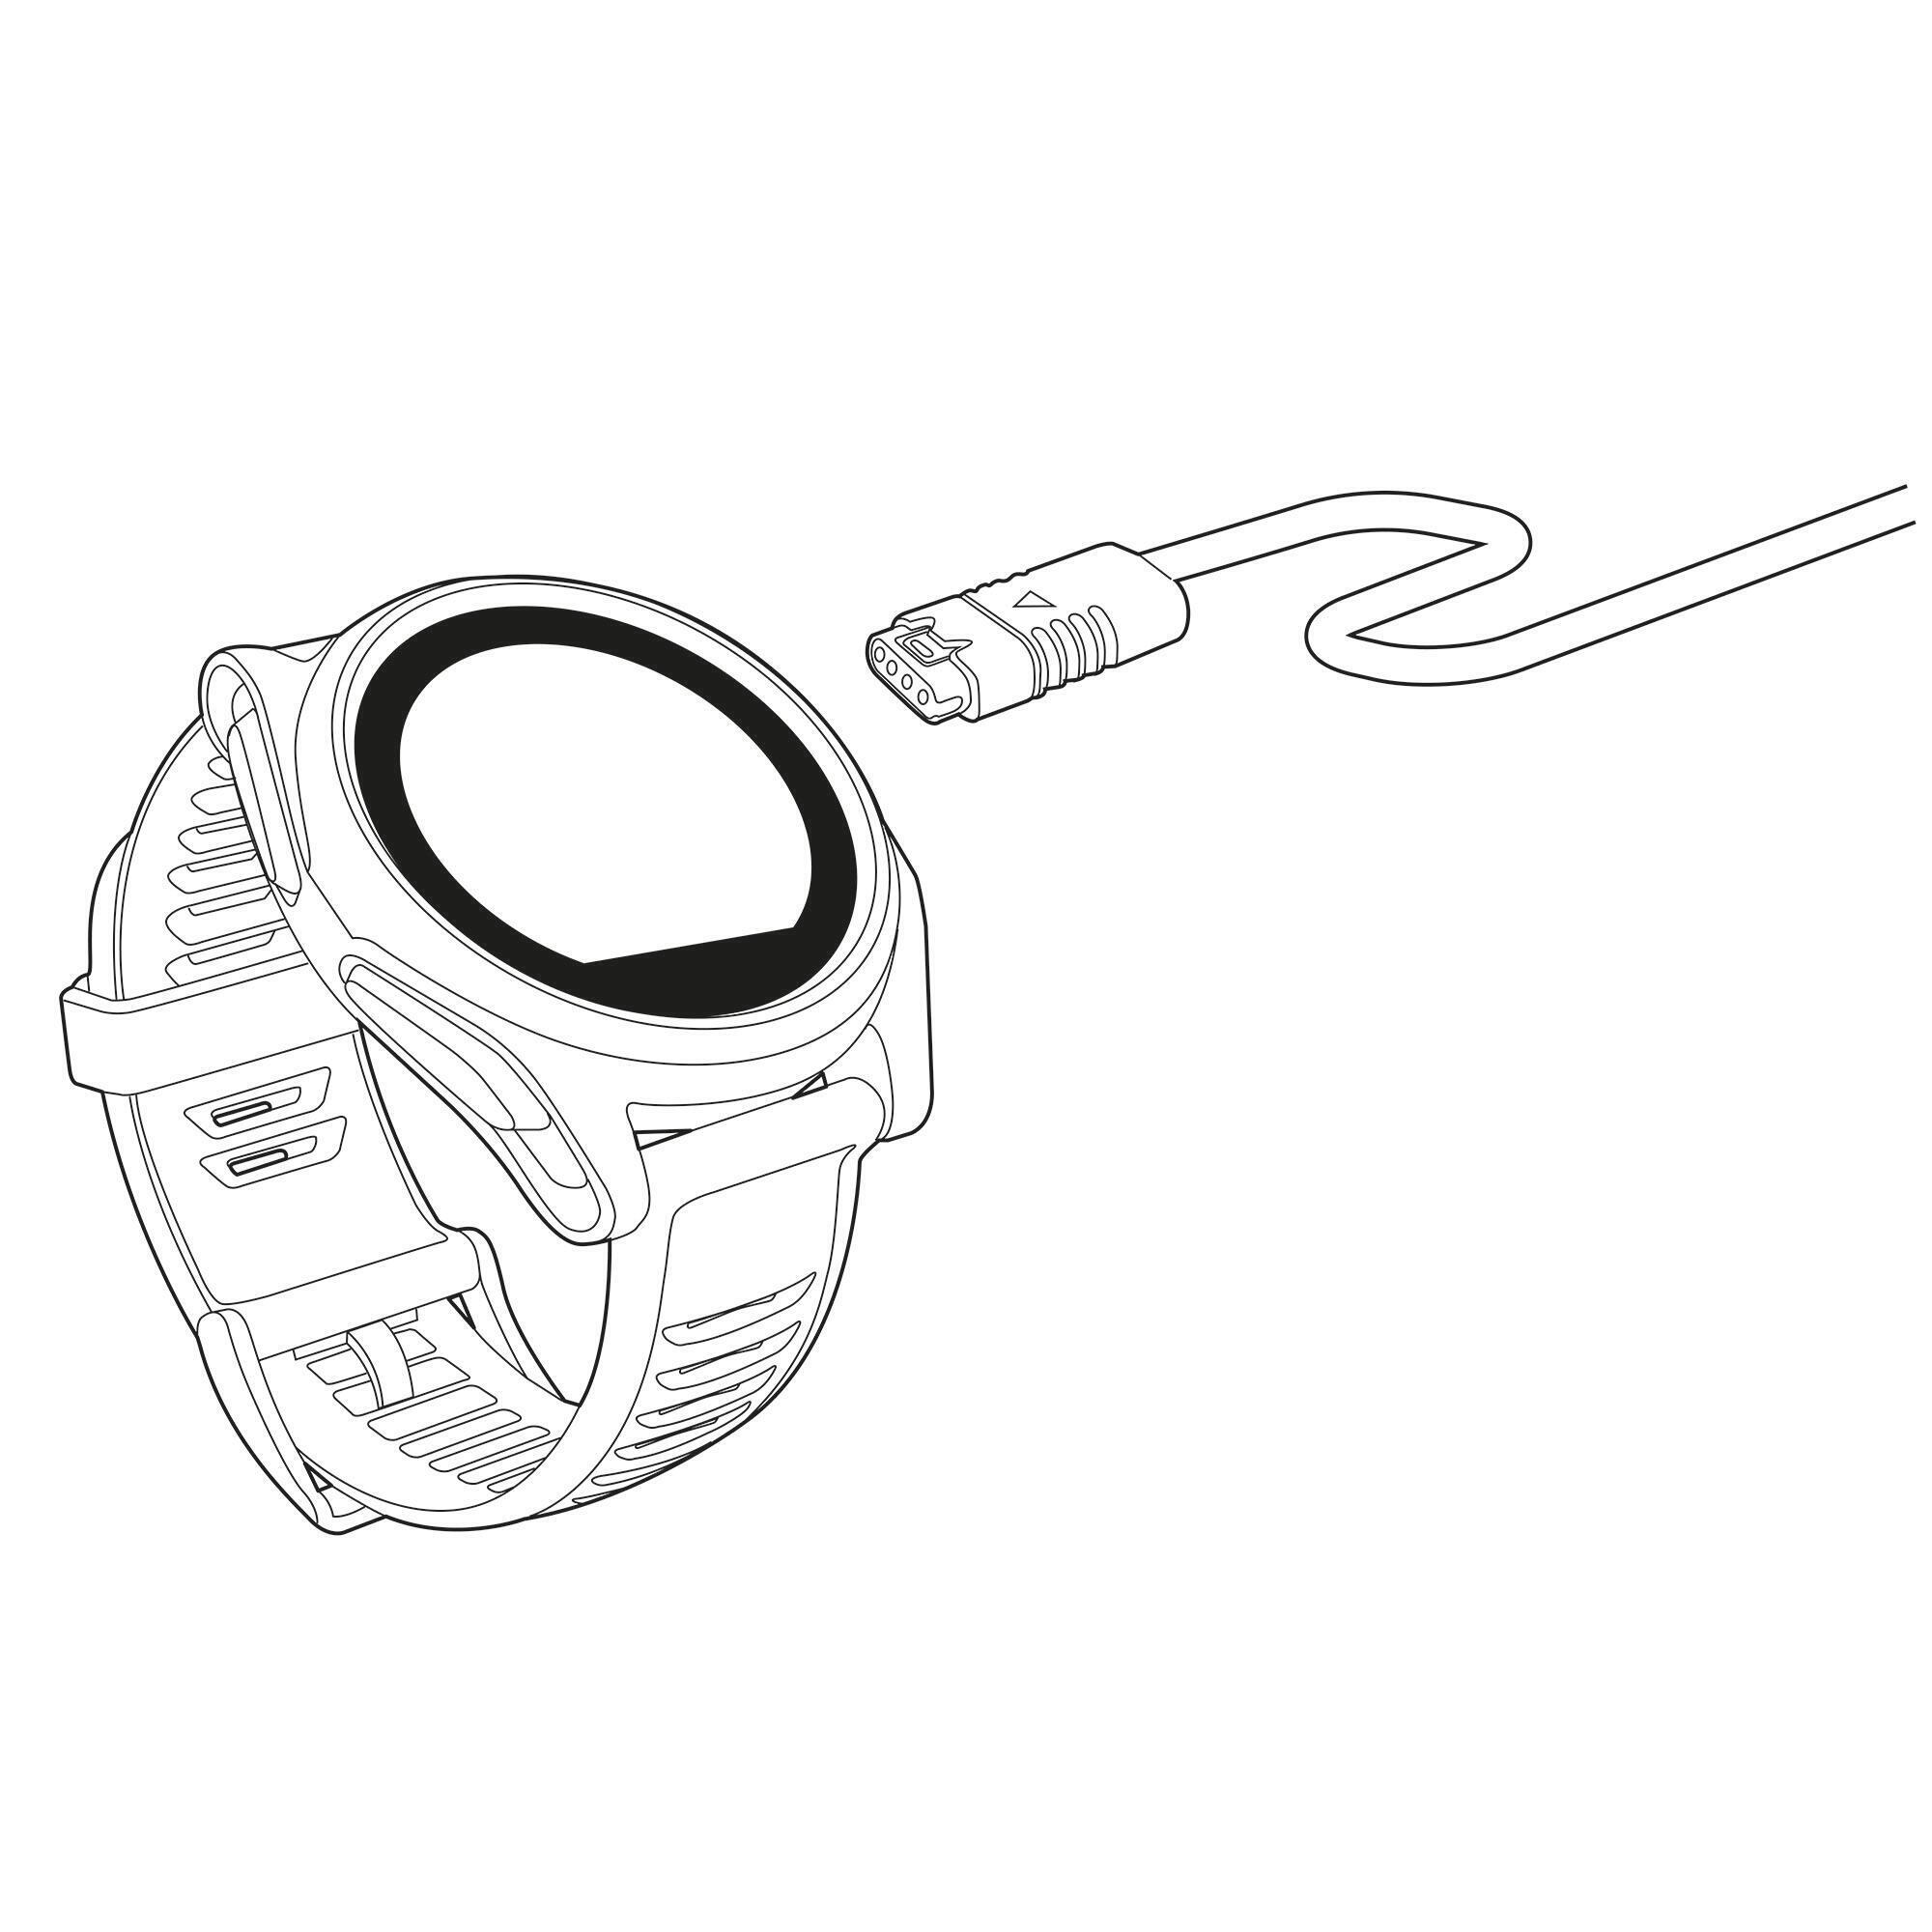
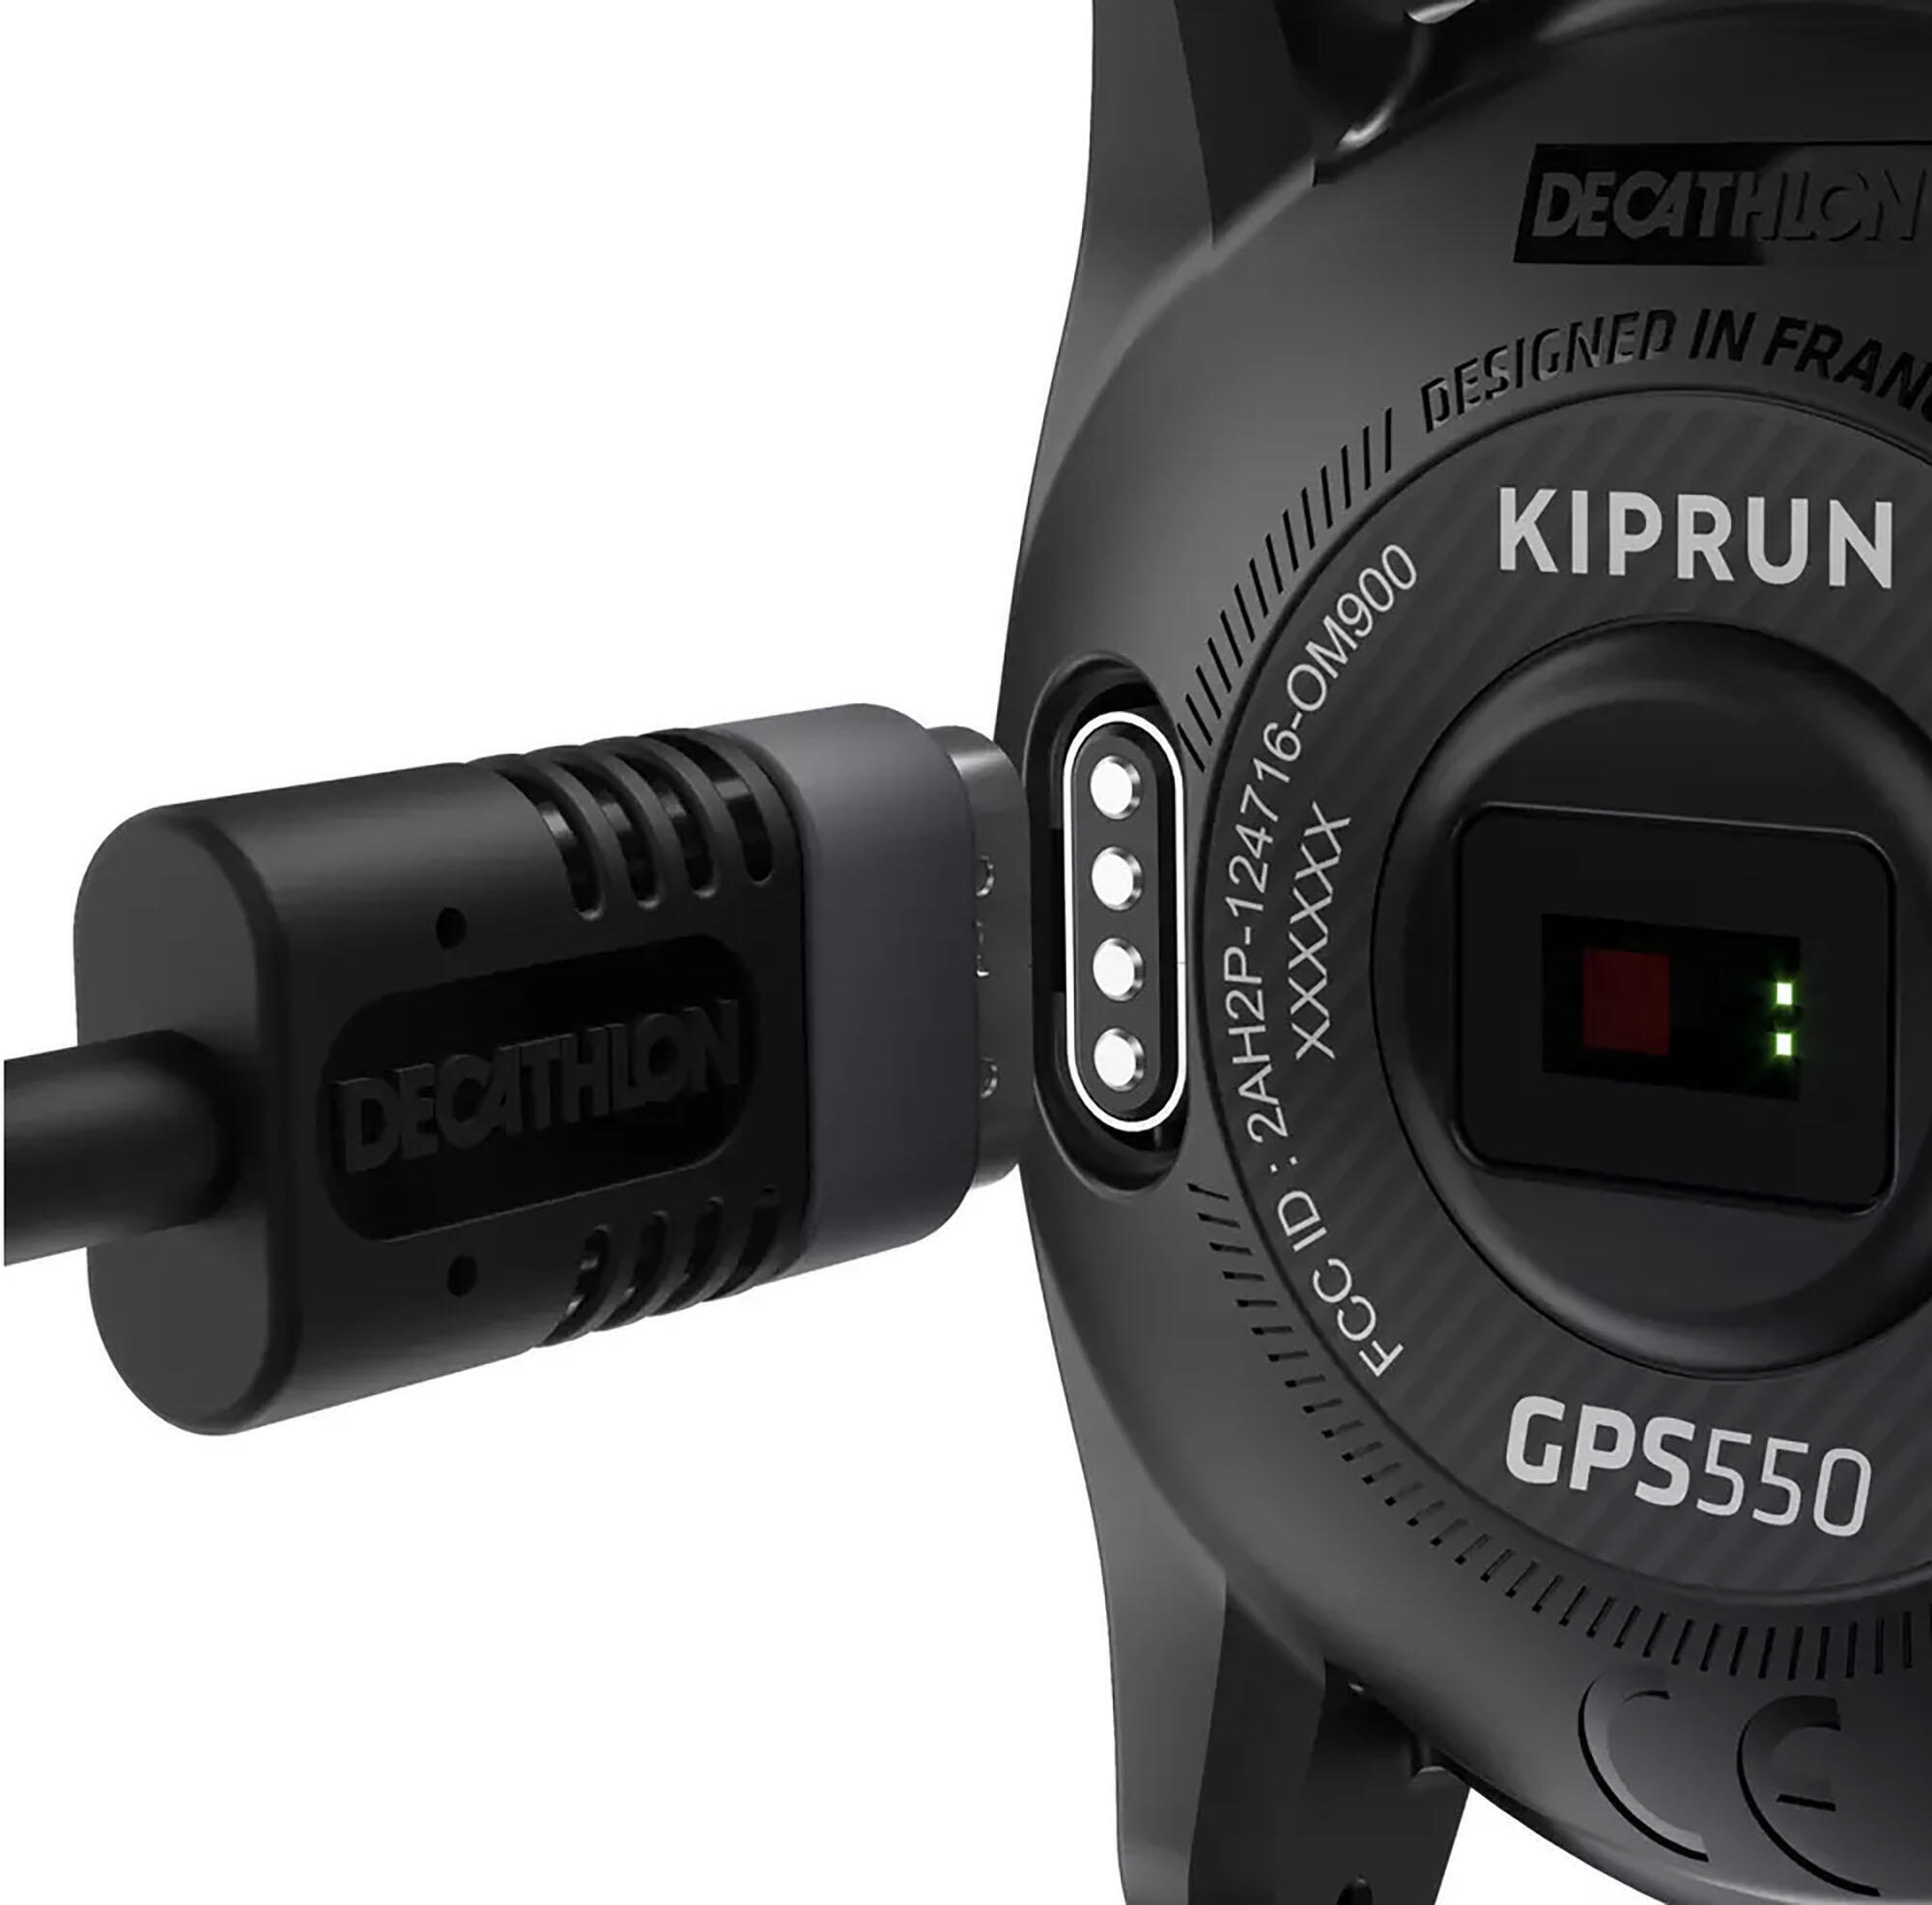
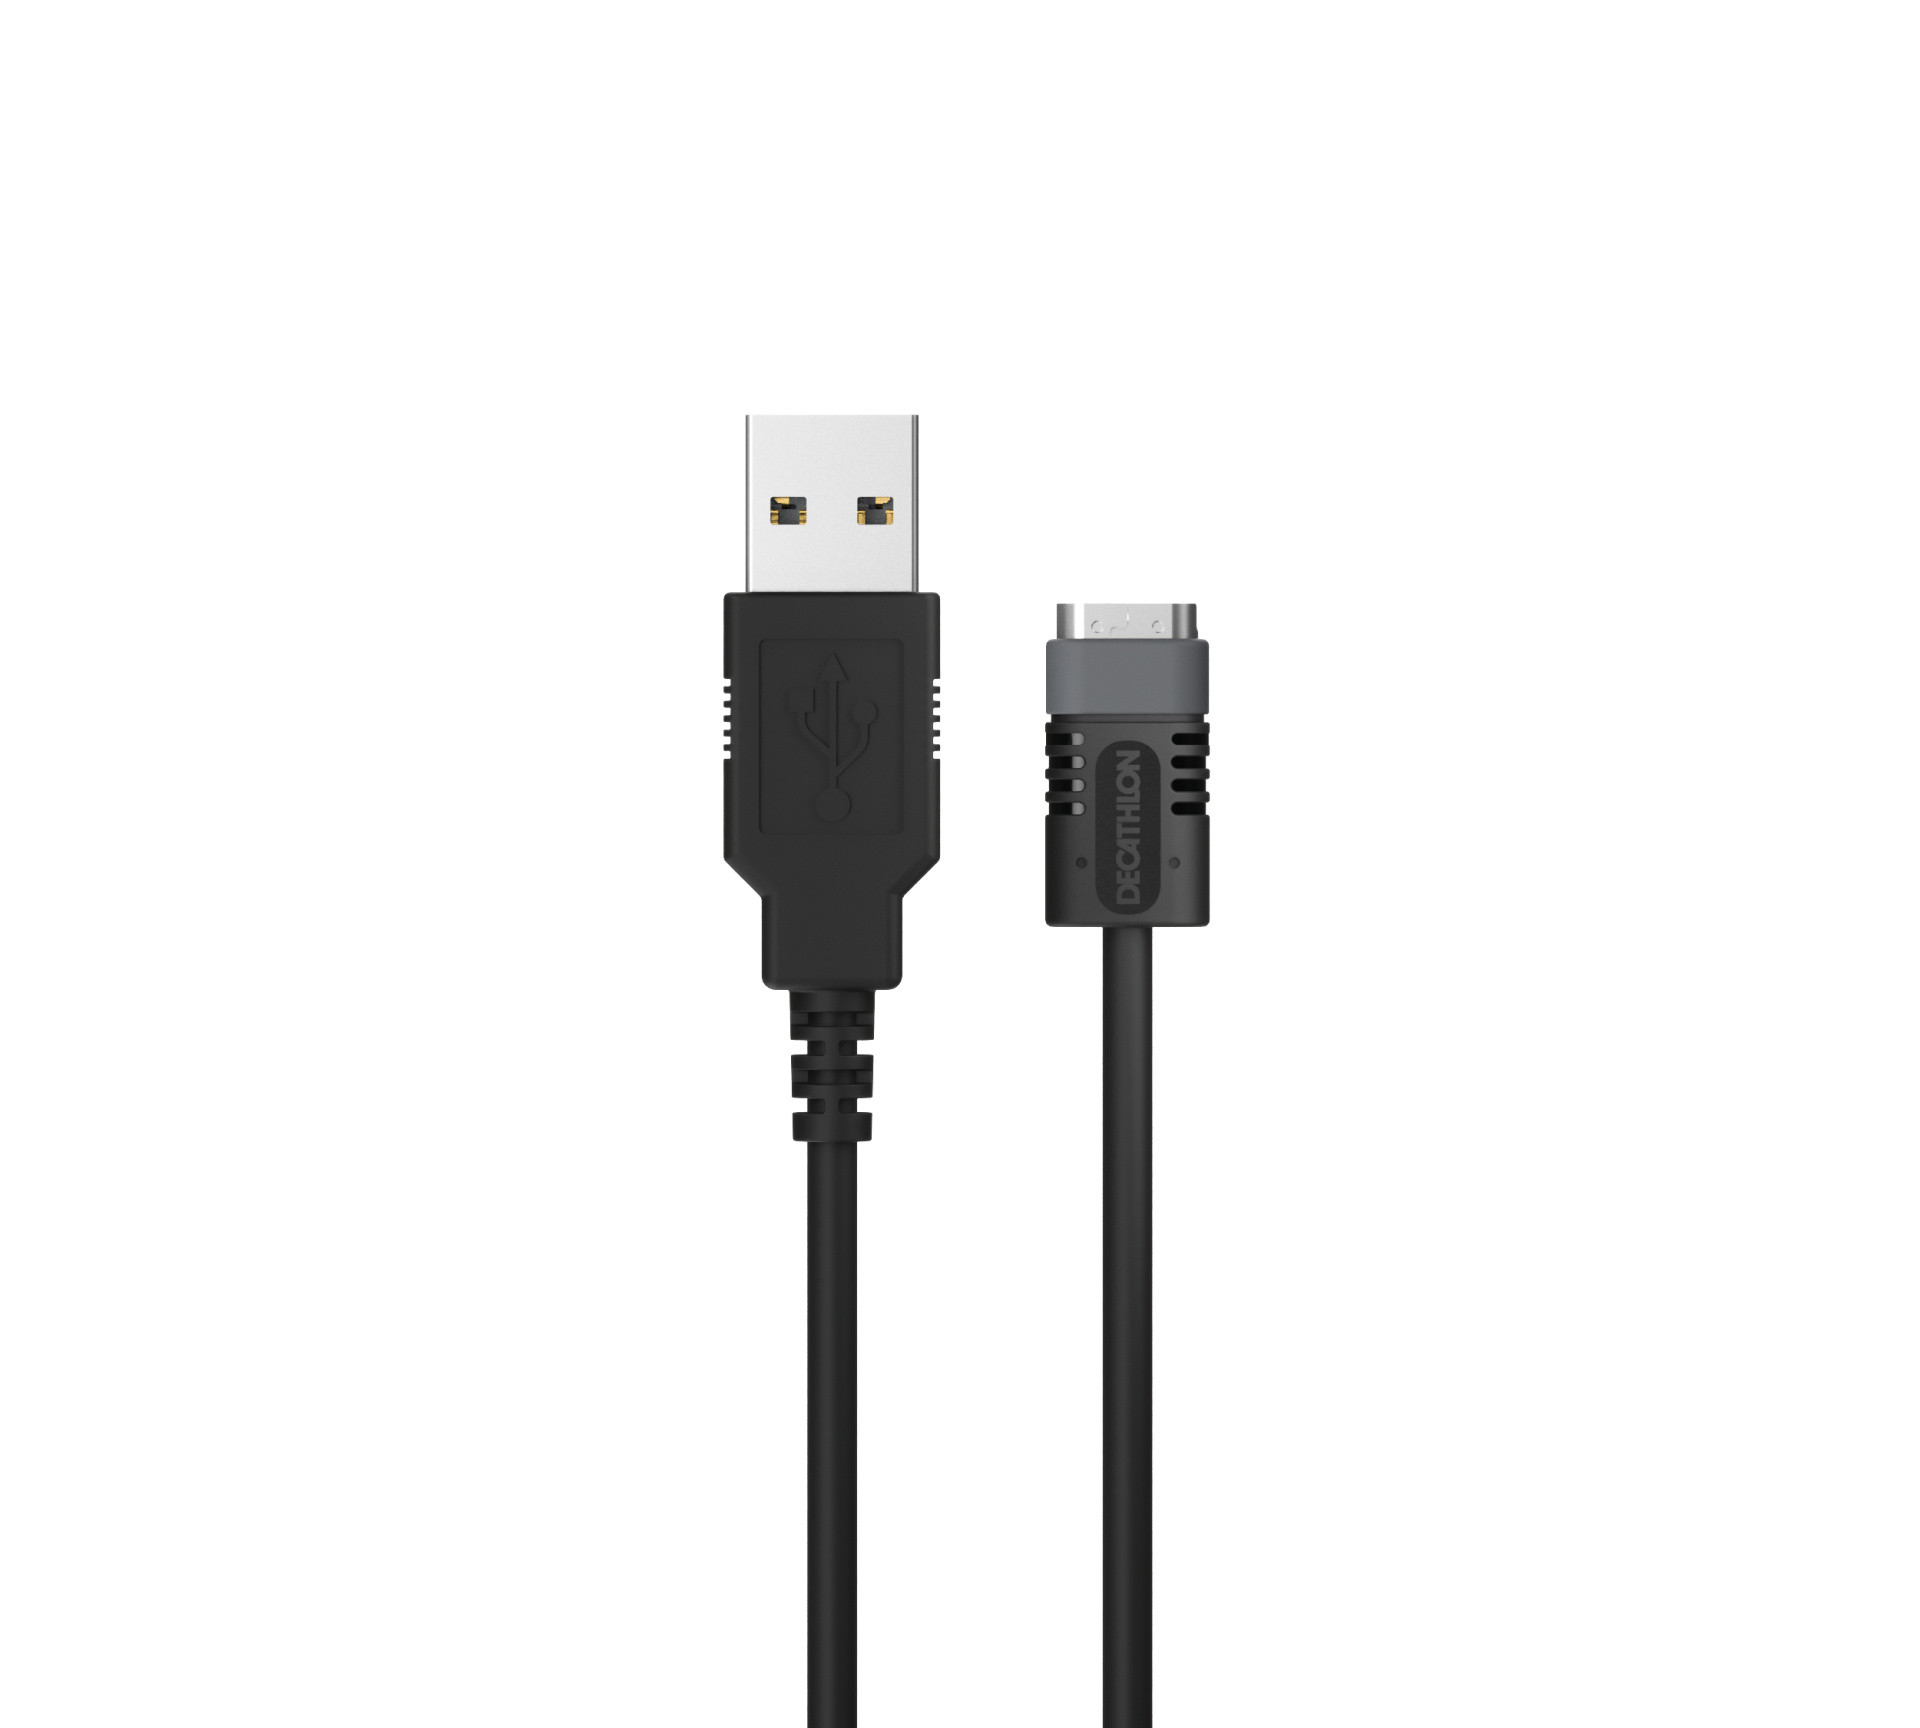
You can charge your watch using the USB cable supplied with your watch via a computer or any USB power outlet.
A full charge takes is 2h30.

- Hold down the "START" button for 2 seconds
- Choose "CONNECT" to configure the watch with the smartphone or "MANUAL" to configure the watch manually.
Setting up the watch using the app:
- When you choose "CONNECT" the watch launches the smartphone search
- Download the Decathlon Connect app from the stores
- Launch the Decathlon Connect app and log in to your Decathlon account
- Follow the instructions on the app
Note:
Setting up the watch manually:
- Press the LEFT and RIGHT buttons to change the values
- Press the START button to confirm
- Push the BACK button to go back
From the "Time" screen you can access the following screens by pressing the LEFT and RIGHT buttons:
- Daily heart rate/Resting heart rate:
The daily heart rate measurement can be switched on or off from the settings
- Daily activity:
By default, the watch shows you daily activity as steps, with a goal of 10,000 steps. From settings, you can also choose to have daily activity presented in the form of: calories, distance or active time. You can also change the daily goal.
- Last activity:
- Running week:
This screen displays the total running distance you have achieved during the week
- Status:
This screen displays your battery level, whether or not your phone is connected, whether or not an alarm is programmed and whether your watch sounds are activated or not.
From the "Time" screen, press START to access the main menu. This one gives you access to:
a. Activity mode
b. The stopwatch
c. The countdown timer
d. Records
e. The activity log
f. The settings

Activity mode gives you access to 7 types of sports: Running, Cycling, Hiking, Walking, Trail, Indoor activity, Outdoor activity.
1. From the "Time" screen press START
2. Select "Activity" mode
3. Select the sport
4. Select "Free", the satellite signal search and heart rate monitoring start automatically.
Note:
If you want to skip the signal search, you can press START and select YES.
Note:
5.
Once the signal is received, the watch automatically switches to the activity screen. To start the activity press the START button and the timer will begin as well as the speed and distance measurement.
6. Scroll through the different screens with the LEFT and RIGHT buttons.
1. To pause an activity press START
2. A screen appears on which you can see the total time of your activity as well as 3
menus:
- Go: resume your session
- Stop: stop your session
- Summary: see the summary of your session
3. To stop your session, choose "Stop" and select whether you want to save your session, continue it later or cancel it and not save it.
Viewing the different activity screens
Activity screens can be completely customised from the Settings/Activity> Screens menu
At any time during a free session, you can take a lap by pressing the BACK/LAP button.
An information message appears:
a. Lap number
b. Total time
c. Lap time
You can find detailed information about each lap on the Decathlon Connect app.

KIPRUN GPS 500/550 watches let you program, save and track workouts of all types. They have a default of 8 pre-programmed workouts.~
1. Scroll through the pre-program workout list until you reach the “+” symbol
2. Select the “+” symbol
3. Choose the desired interval category:
- Interval without target zone: option of setting up an interval workout without a target speed or cardio zone
- Interval with target zone: option of setting up an interval workout with a target speed or cardio zone
- Workout in the target zone: option to set up a session with target speed or cardio zone and no interval training
- Pyramid: option of setting up an interval pyramid workout
Once the category has been selected, you arrive at a screen showing the different stages of your interval workout:
Fig. I
a. Warm up
b. Adding a workout phase
c. Cool down
Select "Warm up" or "Cool down" to access the settings for the warm up or cool down phases:
Warm up / Cool down:
6. Select "+" to add an action or rest phase:
Action/Rest:
> Adding an action/rest in duration or distance
Fig. II
a. Setting the duration
b. Setting the zone
c. Confirmation
7. Once you have finished creating your workout, you can exit by pressing the BACK button. Your workout will be automatically named and saved in the workout list.

1. Select the desired workout from the workout list
2. Select the ▶ symbol, the signal search will start automatically.
3. Once the signal has been picked up, press START to start the workout
Warm up:
Action/Rest:
Relaxation:
Once the rest time is over, the watch stop the session.
Workout screen:
During a workout, an additional screen is added to your measurement screens to give you the following information:
Fig. I
a. Gauge indicating the time or distance remaining before the next stage
b. Name and number of the stage
c. Countdown to the goal in time or distance
d. Target zone defined over the stage$
At each new stage, this screen appears to inform you of the next action.
When a target zone is set, another screen is added. This lets you know if you are outside or inside the target zone:
Fig. II
To scroll to the measurement screens, press the < or > buttons

PACER mode operation.
It is accessible from the menu Activity > Running > Pacer.
1. Select PACER mode
- 1km
- 1mile
- 5km
- 10km
- Half Marathon
- Marathon
- Customised distance
3. Choose the time you are aiming for and press START to confirm. The satellite signal search and heart rate monitoring start automatically.
4. Once the satellite signal has been detected, press START to start the session.
In addition to the standard activity information, PACER mode offers you an additional screen with the following information:
Fig. I
a. Gauge your current progress
b. Progress gauge for your goal
c. Estimated final time based on your speed and distance already travelled.
d. Difference in time from your goal. If the value is positive, you are ahead. If it's negative, you're behind.

1. Select STOPWATCH mode
2. Press on START to start the stopwatch
3. Press on START to pause the stopwatch
4. Press on < to reset the stopwatch to zero
1. Press on > to access the countdown timer setting.
2. Set the countdown timer using the < and > buttons and confirm by pressing START
3. Press on START to start the countdown timer
4. Press on START to pause the countdown timer
5. Press on < to reset the countdown timer to zero
You can exit countdown timer mode while it is running. A message and an audible signal will alert you that the countdown timer has ended.
Your watch automatically detects when you have broken one of your records. A message appears at the end of the session to tell you that a record has been broken.~
To delete a record:
Access the record you want to delete from the RECORDS menu
Press on START and confirm the deletion of the record by pressing START again.
The log menu shows you the sessions saved in your watch. Each session is identified by:
- The date of the session
- The sport practised
- The time of the activity
To access detailed information about the session, select the session with the START button and scroll using the < and > buttons
To delete a session, press START to select a session then scroll to the end of the list to access the DELETE menu.~
All settings
Watch screen:
Alarm:
Time:
When your watch is connected to the smartphone, the time is automatically set at each synchronisation.
Date:
When your watch is connected to the smartphone, the date is automatically set at each synchronisation.
Sound:
You have the option of enabling or disabling the sound independently: All: sound activated during exercise and in watch mode
Vibration:
You have the option of enabling or disabling the vibration independently: All: vibration activated during exercise and in watch mode
Lighting:
Enable or disable lighting at each button press
Do not disturb:
Units:
Units in Metric or Imperial format
Languages:
there are 10 available languages: French, English, Spanish, Italian, German, Portuguese, Russian, Polish, Hungarian, Dutch, traditional Chinese (only for Asian version watches), simplified Chinese (only for Asian version watches)
When your watch is connected to the smartphone, the language automatically syncs with that of your smartphone.
Height:
Setting the height of the user. This information provides improved precision when calculating the distance without GPS (daily activity and running/walking without GPS).
When your watch is connected to the smartphone, your height is automatically set according to the data configured in the app
Weight:
Setting the weight of the user. This information provides improved precision when calculating the calories burned.
When your watch is connected to the smartphone, your weight is automatically set according to the data configured in the app
Resting HR:
Setting the user's resting heart rate. This information provides improved precision when calculating heart rate zones.
MANUAL: resting heart rate is set manually. It remains fixed whatever your level of fitness.
HR Max:
Setting the user's maximum heart rate. This information provides improved precision when calculating heart rate zones.
MANUAL: resting heart rate is set manually.
Age:
Setting the user's age. This information provides improved precision when calculating the calories burned.
When your watch is connected to the smartphone, your age is automatically set according to the data configured in the app
Gender:
Setting the user's gender. This information provides improved precision when calculating the calories burned.
Wrist:
Setting of the wrist on which your watch is worn. This information provides improved precision when measuring the number of steps.
When your watch is connected to the smartphone, the information about the wrist on which your watch is worn is automatically set according to the data configured in the app.
From the DAILY ACTIVITY menu you can enable or disable daily activity measurement (daily activity and daily heart rate) and set their parameters.
Daily activity:
Indicator settings: Number of steps, Distance, Calories, Active time, Disabled
Active time is the amount of time during which you have been active for at least 10 minutes. Activities of less than 10 minutes duration are not taken into account. The World Health Organization (WHO) recommends 30 minutes of physical activity per day in sections of 10 minutes minimum.
The activity menu allows you to configure the different activity parameters for each of the sports independently.
The configurable parameters are:
Screens:
Up to 5 screens are available with the ability to display up to 3 data elements per screen.
Configure a screen's data:
1. Choose the screen to configure from the 4 screens available as default: Screen 1, Screen 2, Screen 3, Screen 4
2. Then choose the data to modify from the 3 data elements available: Data 1, Data 2 Data 3
3. Choose the desired data from the list of available data:
● --- : No data
● Time
● Stopwatch
● Stopwatch for the current lap
● Stopwatch for the previous lap
● Distance
● Distance for the current lap
● Distance for the previous lap
● Speed at that instant
● Average speed for the current lap
● Average speed for the previous lap
● Average speed for the current lap as a percentage of MAS (Maximum Aerobic Speed)
● Average speed for the previous lap as a percentage of MAS (Maximum Aerobic Speed)
● Pace at that instant
● Average pace for the current lap
● Average pace for the previous lap
● Average pace for the current lap as a percentage of MAS (Maximum Aerobic Speed)
● Average pace for the previous lap as a percentage of MAS (Maximum Aerobic Speed)
● Number of steps
● Number of steps on the current lap
● Number of steps on the previous lap
● Heart rate
● Heart rate as a percentage of Heart Rate Max (HRmax)
● Heart rate zone
● Calories
The position of the data is managed according to the order in which you placed the data:
Fig. I
a. Data 1
b. Data 2
c. Data 3
The size of the data adapts automatically according to the number of data elements selected: The heart rate zone graph appears only when only heart rate data is selected
Adding a screen:
To add a screen, select the "+" symbol at the bottom of the list of available screens.
Deleting a screen:
To delete a screen, select the "trash" symbol at the bottom of the list of available screens and choose the screen you want to delete.

Auto Pause allows you to automatically pause the session when the speed is zero and restart it when you set off again.
Auto lap allows you to automatically take a lap time according to the distance travelled. To activate auto lap:
Activate auto lap by selecting "ON”
Set the desired lap distance and confirm by pressing START.
The GPS setting allows you to configure the satellite signal reception system:
To set:
- Choose "SETTINGS" then "ACTIVITY".
- Choose the type of activity on which to apply the setting.
- Then Choose "GPS" and adjust the desired option.
3 options are available :
OFF: Satellite signal disabled.
GPS: Reception using only GPS* signal. This option improves the autonomy of battery.
GPS + GLONASS: Reception using GPS* signal + GLONASS** signal. This option improves the accuracy of the watch.
* GPS: US system (Global Postionning System).
** GLONASS: Russian system (Global Navigation Satellite System).
The Heart Rate option allows you to choose a heart rate measurement by belt, wrist sensor, or disable it.
The MAS option allows you to set your Maximum Aerobic Speed (MAS). This data provides an accurate display of your speed as a percentage of MAS.
The Connect menu connects your watch to the Decathlon Connect app. Please see paragraph
10. CONNECT YOUR WATCH for more information
The info menu allows you to obtain the following detailed information:
FASTFIX: FastFix status
Connecting the watch with DECATHLON CONNECT App.
The Connect menu connects your watch to the Decathlon Connect app. Once connected the watch settings and user settings will automatically sync with the smartphone. You will also be able to transfer your sessions and update your watch.
1. Download the DECATHLON CONNECT app from Google Play Store or Apple Store.
2. Make sure that Bluetooth is enabled on your phone.
3. Follow the instructions in the app to add a new product.
Note:
Data is transferred using the DECATHLON CONNECT app.
1. Make sure the watch is close to your phone and Bluetooth is switched on.
2. Launch the app and press "SYNC DEVICE" on the dashboard of the app.
3. Syncing of your sessions starts automatically
Note:
It is not possible to transfert data with the USB Câble.
We provide updates to improve your experience, provide new features or fix bugs. You are informed of the availability of an update via the app. To start the update:
1. Make sure the watch is close to your phone and Bluetooth is switched on.
2. Launch the app and press "Settings”
3. Select the KIPRUN GPS 500/550 watch
4. Select "Update available". The transfer of the update file will launch automatically (duration between 30 min - 60min). You can close the app while the update file is being transferred.
5. Once the update has been transferred to your watch, it informs you that the update is ready. Press on START to launch the update.
Your watch will restart. Your sessions, your settings and your personal settings will be retained.
Fig. I

You can also update the firmware of the watch from a computer in case of problem of connectivity with you smartphone.
1. Turn on your watch and charge it (at least 50%)
2. Download the OM900-FW.bin file on your computer
3. Plug your watch to your computer with the compatible cable (IMPORTANT: the watch must be turn on).
MAC users : a "NO NAME" drive appears in "Finder"
Windows users : a "USB DRIVE" appears in the "Computer" folder
4. Copy and paste the file into the watch drive.
5. Once the file pasted, unplug the watch from the computer
6. The update starts automatically on the watch. If not, plug the watch and unplug it from the computer.
18/07/2020 - version F-0GH-5T-2005191
Bug correction : it's now possible to deactivate daily tracking
Bug correction : upgrade on bluetooth connection
Bug correction : upgrade on connection with HRM belts
New : GPS : GPS & Glonass are activated by default.
New : New step counting system
25/02/2020 - version F-0GH-5T-2001201
Upgrade of bluetooth speed transfert
Add of average speed
Optimisation on cardio captor.
Correction of traductions errors
Modification on interval training
Better training plans.
Minor corrections
19/11/19 - version F-0GH-5T-1911013
- fix the problem of HR flat during a running activity
- fix some problem of connectivity
- Add "GPS only" mode that increase the autonomy to 10 hours in activity
- Improve "GPS+GLONASS" mode behaviour
14/10/19 - version F-0GH-5T-1910031
- fix translation problems
- fix flat heart rate measurement for indoor activities
- improvement of battery management
- improvement of GPS search gauge display
- fix problem of synchronization between watch and app for indoor activities.
To turn the watch on or off press and hold down the START button for 3 seconds.
Charging with COMPUTER, AC ADAPTER or POWERBANK.
Your watch is charged using the cable supplied with your watch.
You can charge your watch:
- Via a computer:
When charging via a computer, the "computer" screen appears. It is not possible to access the various menus
- Via mains or on autonomous battery:

Instructions to be respected for a good use of the watch.
This device has been designed for sport and recreational use. It is not a medical monitoring device. The information about this device or the contents of this booklet are for informational purposes only and should only be used to monitor a condition once you have consulted with your doctor and obtained their approval. Exercise carries risks. Consult a doctor before exercising. Failure to observe these precautions can be life threatening.
Due to the possible disturbances caused by the radio transmission system, we do not recommend wearers of pacemakers use a heart rate monitor belt.
Here is the spare parts list for the Kiprun GPS 550 :
- Charging cable
Reference : 8587681
- Watch strap
References : 8563368 - 8563369 - 8563370 - 8563371
You can order spare parts on our decathlon.co.uk site (depending on availability) by clicking on one of the buttons below or contact the after-sales team at your usual DECATHLON store.


You want to entrust us with your product for repair. Here is the list of services offered by our workshops :
(No workshop service for the Kiprun GPS 550).
Need the quickstart manual? Click download.
Need the product manual? Click download.
Need declaration of conformity of the product? Click download.
