


2 - GETTING STARTED
To help you get to grips with your new ride, here are some tips on using your RCR-G for the first time.

REF: 8901928, 8901927, 8901926
2026
Welcome to the support page for your VAN RYSEL RCR-G SRAM AXS bike.
On this page, you'll find the following models:
RCR-G SRAM RIVAL AXS
RCR-G SRAM FORCE AXS
RCR-G SRAM RED AXS
Here are all our top tips for using, maintaining and repairing your bike.
UNBOXING
Do not place the clamps (of the workshop stand or bike rack) on the top tube (the tube that connects the saddle to the headset). Excessive pressure on this tube can weaken or even crack it.
You can place the clamp on the seat post.
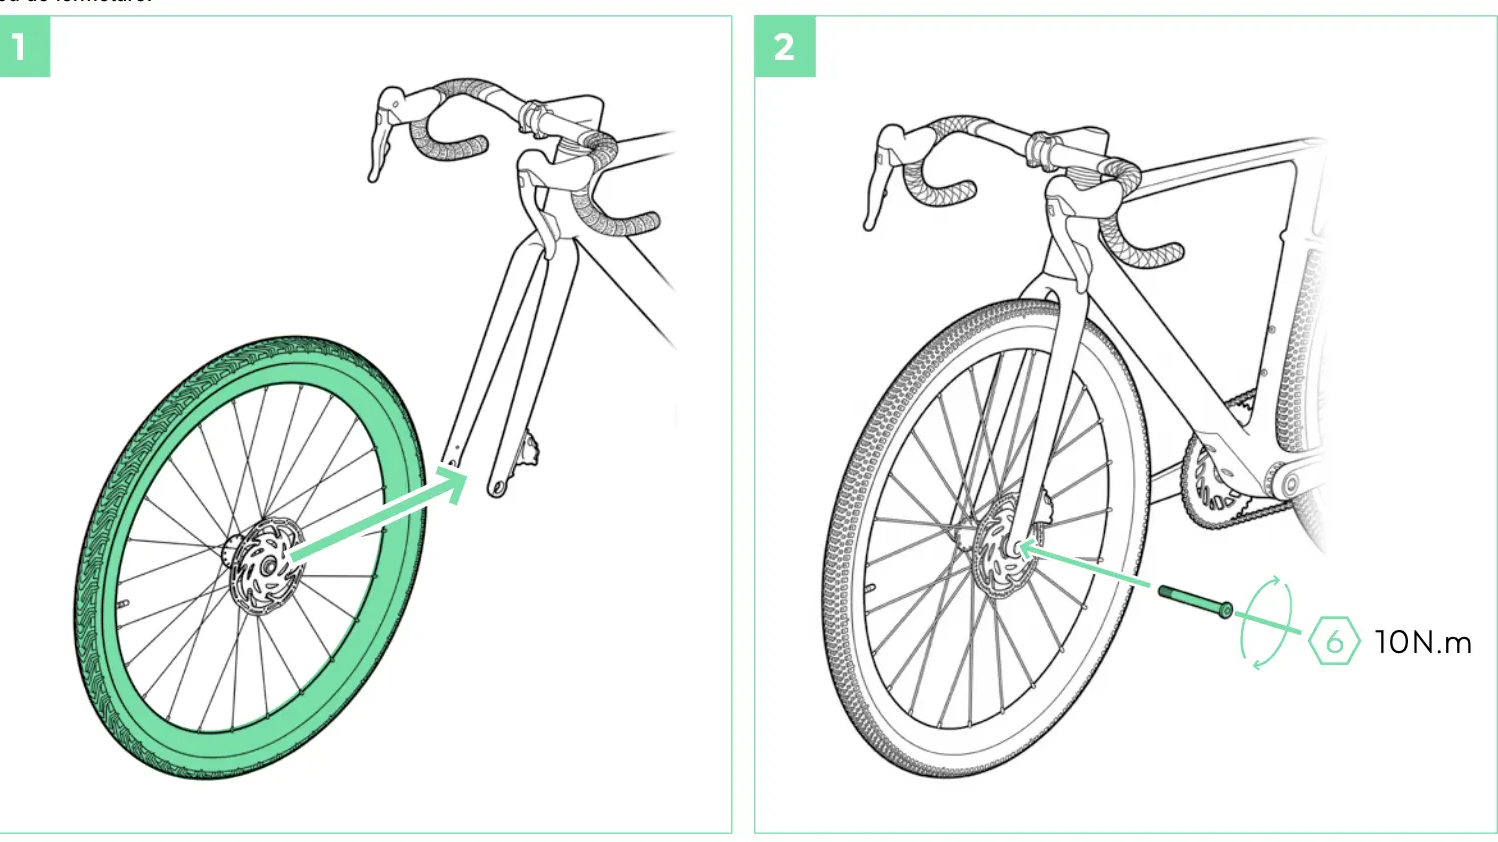
1 - Prepare the wheel and the axle:
- Remove the spacer between the brake pads
- Take your thru-axle and the front wheel.
- Make sure the wheel is facing the right direction, with the disc properly positioned in the brake calliper.
2 - Position the wheel:
- Insert the wheel into the fork dropouts.
- Check that it is properly centred and parallel to the fork.
3 - Install the thru-axle:
- Insert the thru-axle into the hub.
- Screw the axle in until it's tightly secured.
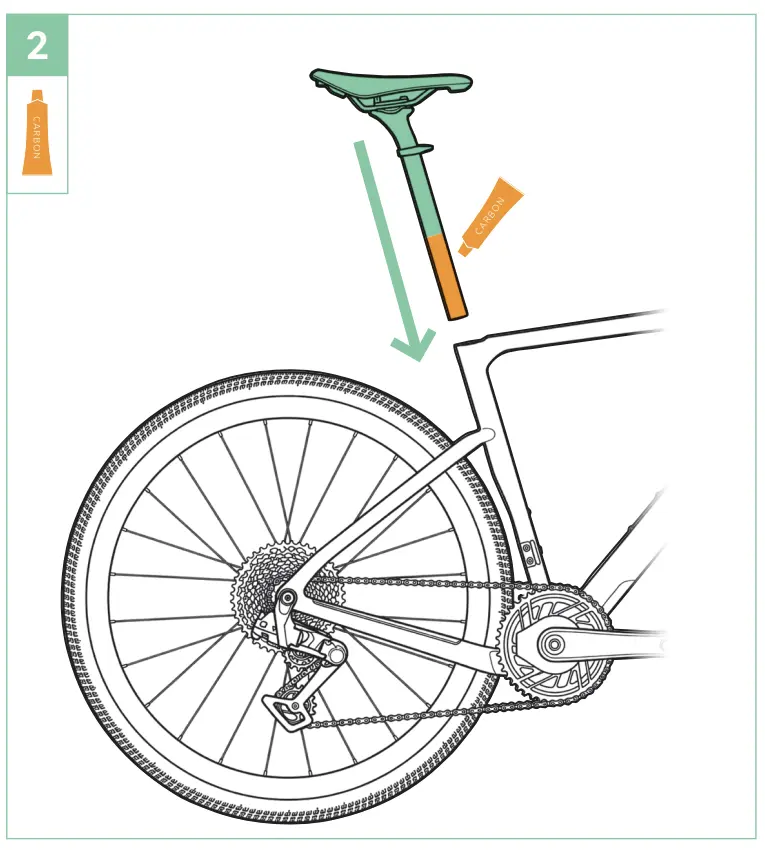
Use the carbon grease supplied in the unboxing box and spread it over the seat post.
If you do not apply any carbon grease, the seat post may move when you ride.
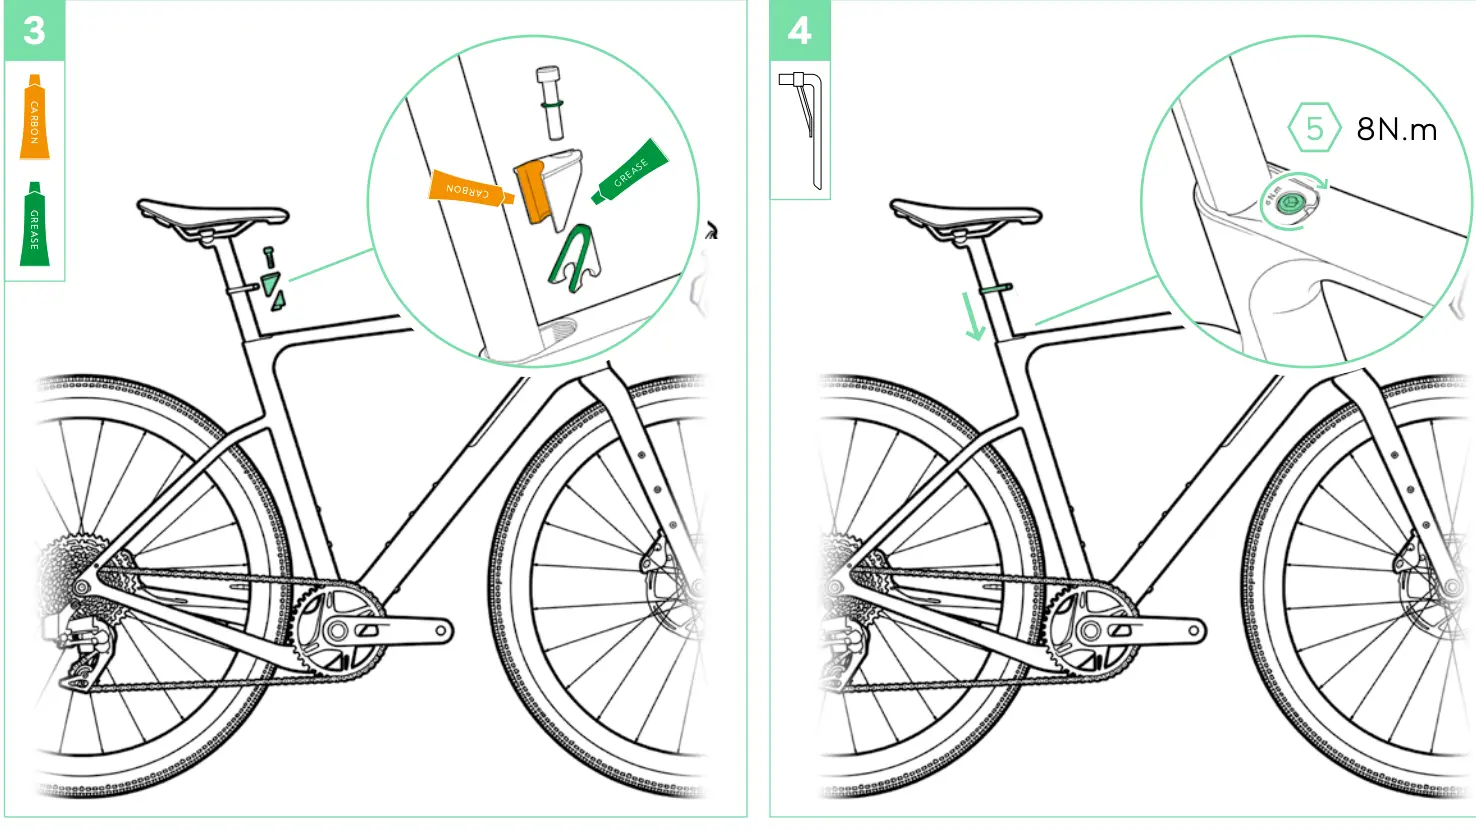
Use the correct torque to fix the seat post to avoid over-tightening (which could damage the carbon) or under-tightening (which could cause the seat post to move).
Follow the recommendations shown in the diagram below.
To help you get to grips with your new ride, here are some tips on using your RCR-G for the first time.
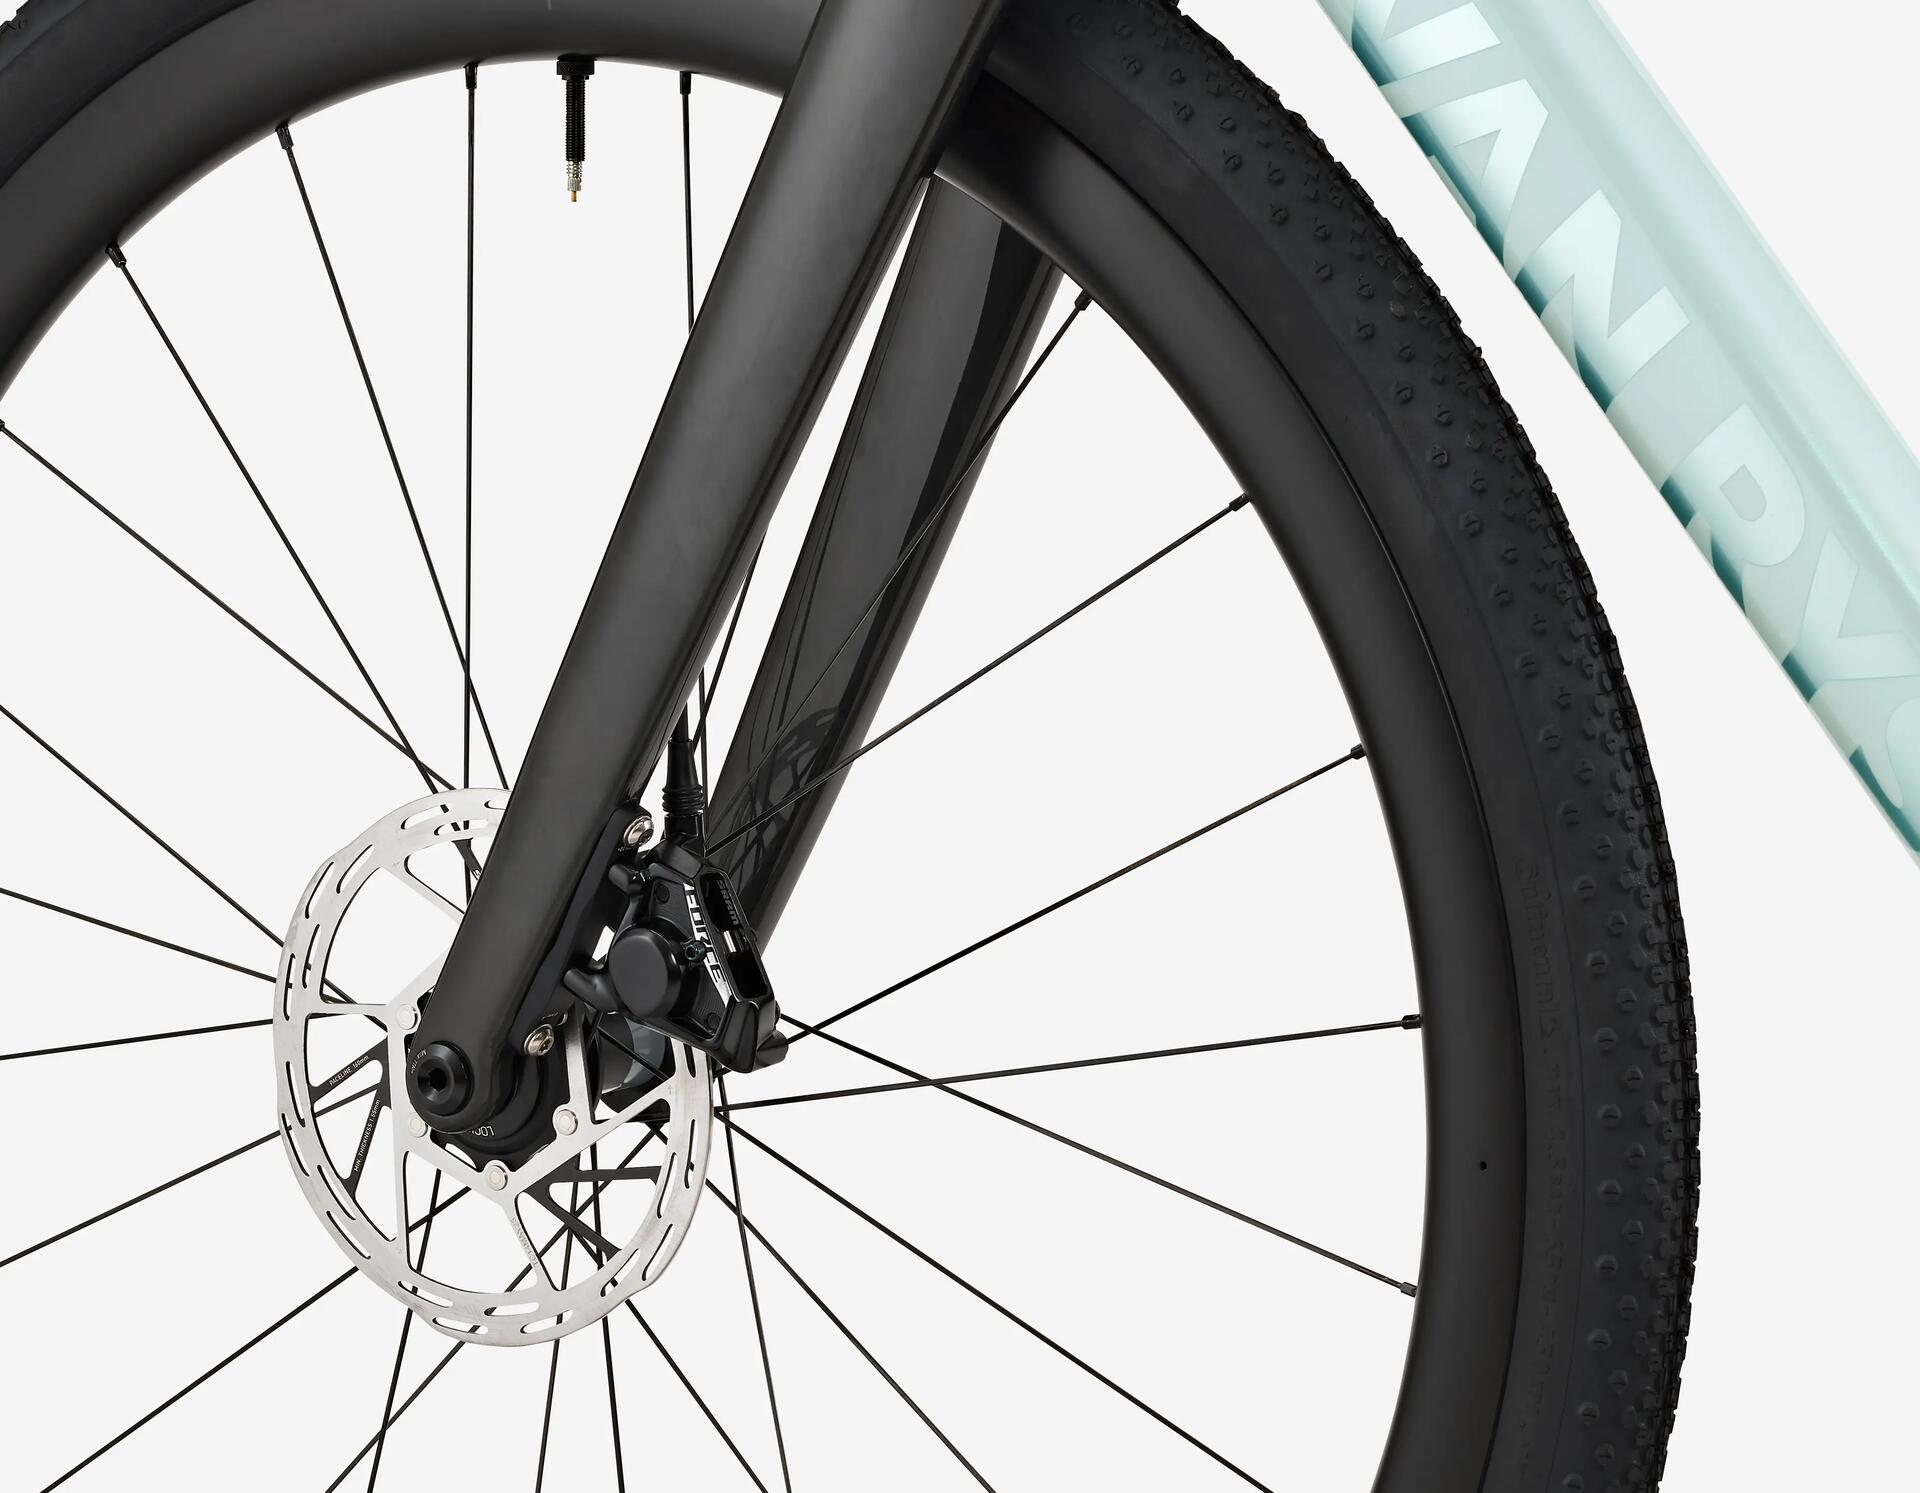
RUNNING IN THE BRAKE PADS
Running in the brakes involves braking gradually, several times, at progressively higher speeds. It is important to alternate between the front and rear brakes, in accordance with the following steps:
Ride at 15 km/h and brake gradually to a speed of 5 km/h, repeat 10 times.
Ride at 20 km/h and brake gradually to a speed of 5 km/h, repeat 10 times.
Ride at 25 km/h and brake gradually to a speed of 5 km/h, repeat 10 times.
Between each set, release the brakes completely and ride normally for a few dozen metres so that air can flow over the disc rotor and caliper, and cool them down properly.
This procedure may take up to 30 minutes.
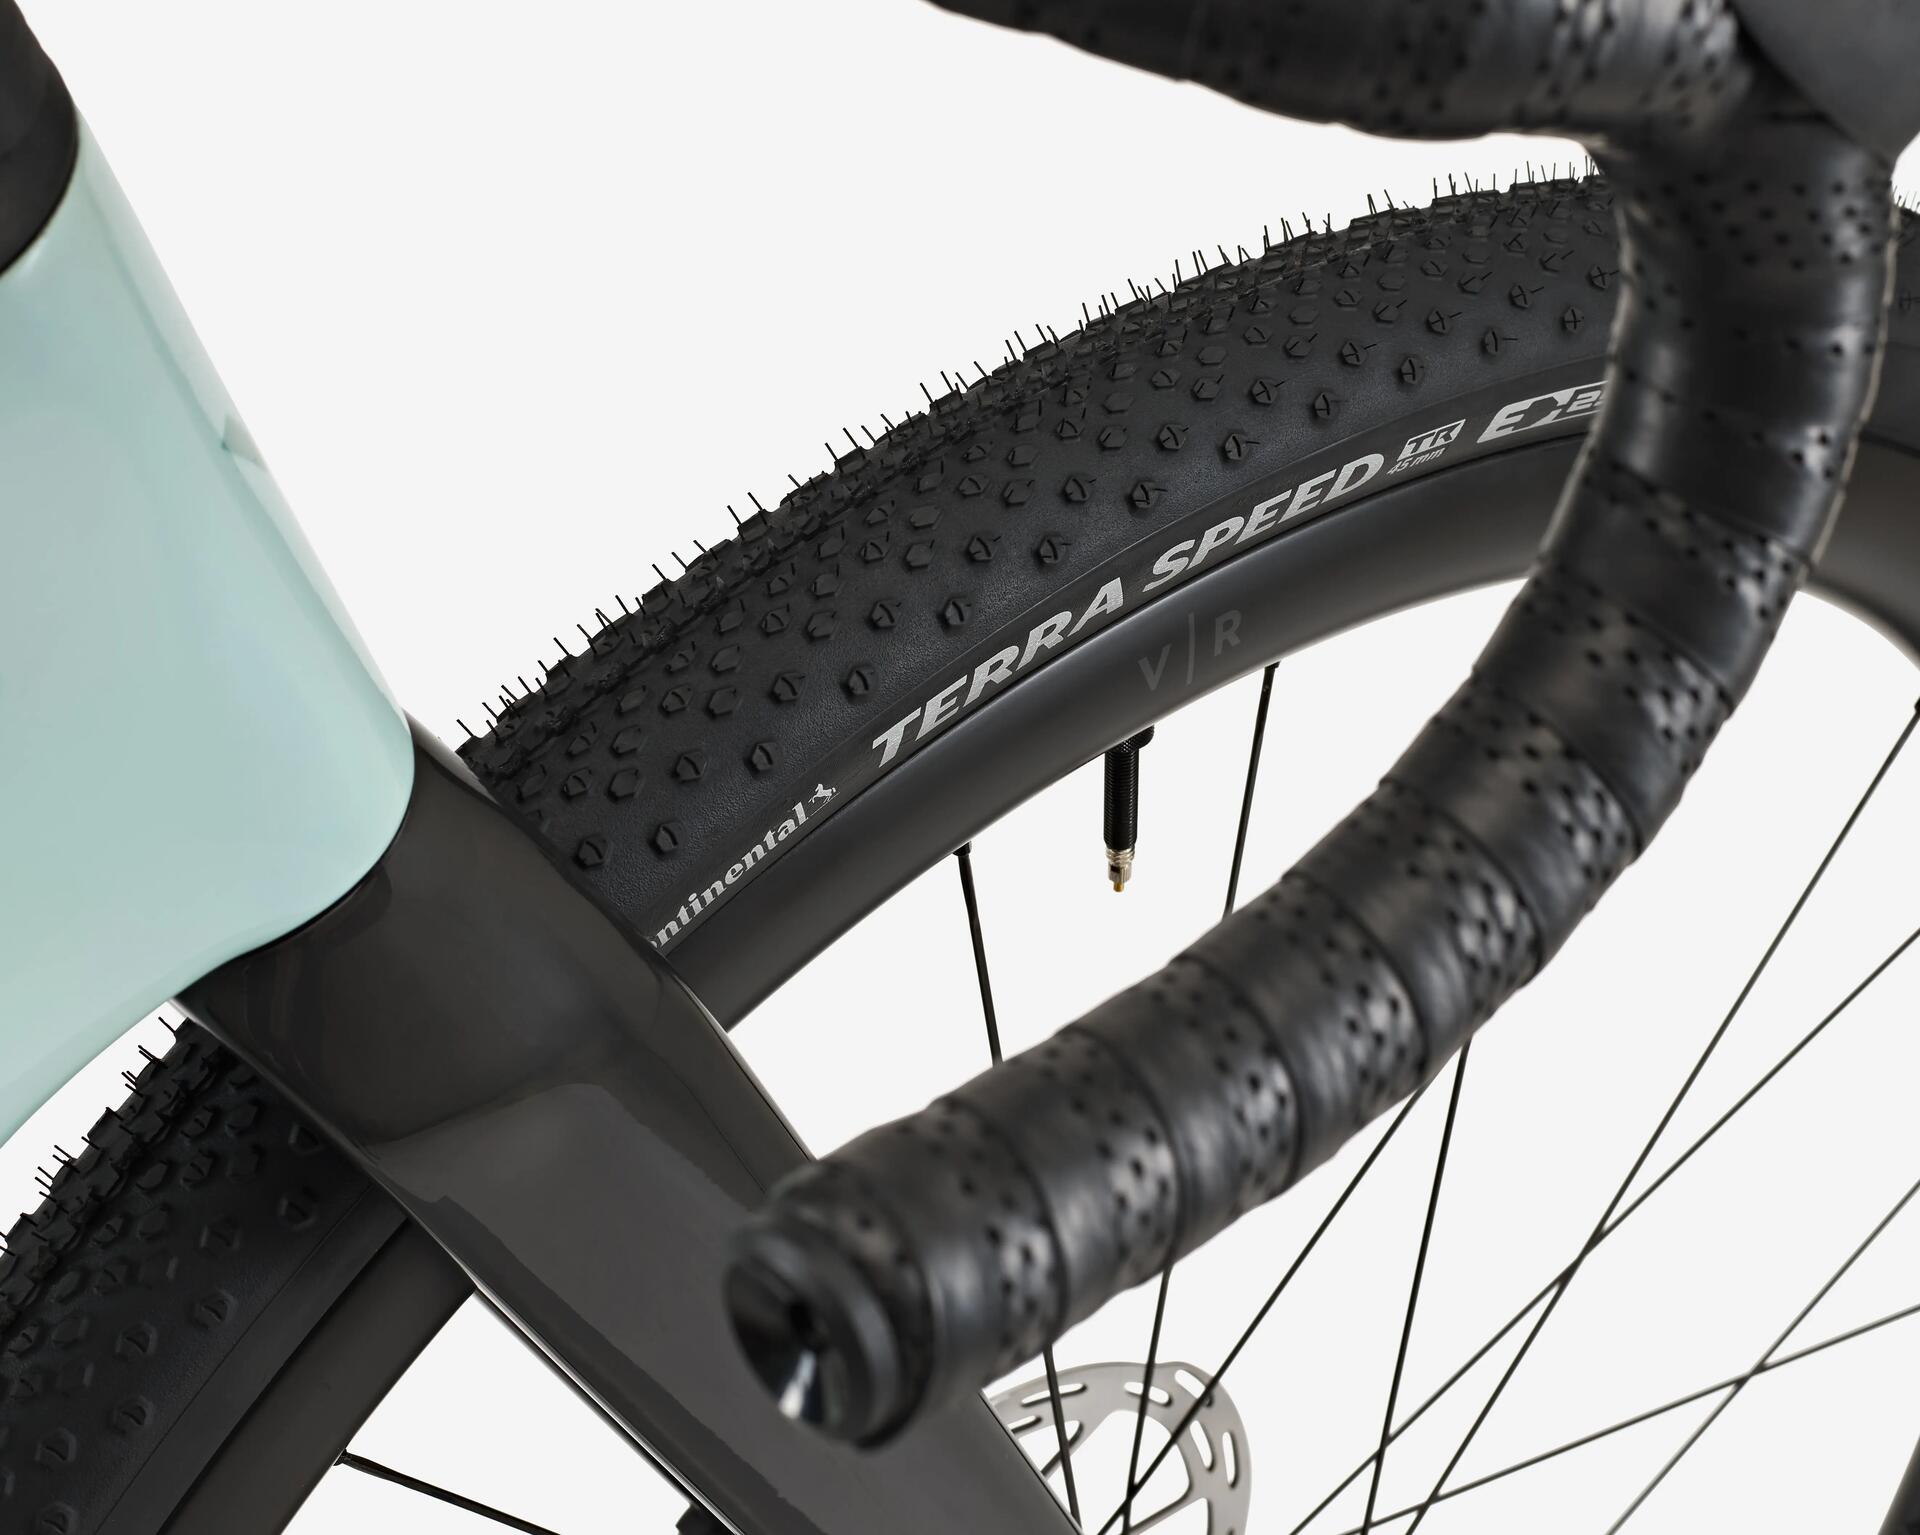
TYRE PRESSURE
For your first outing, remember to choose your tyre pressure according to the weather conditions and your weight.
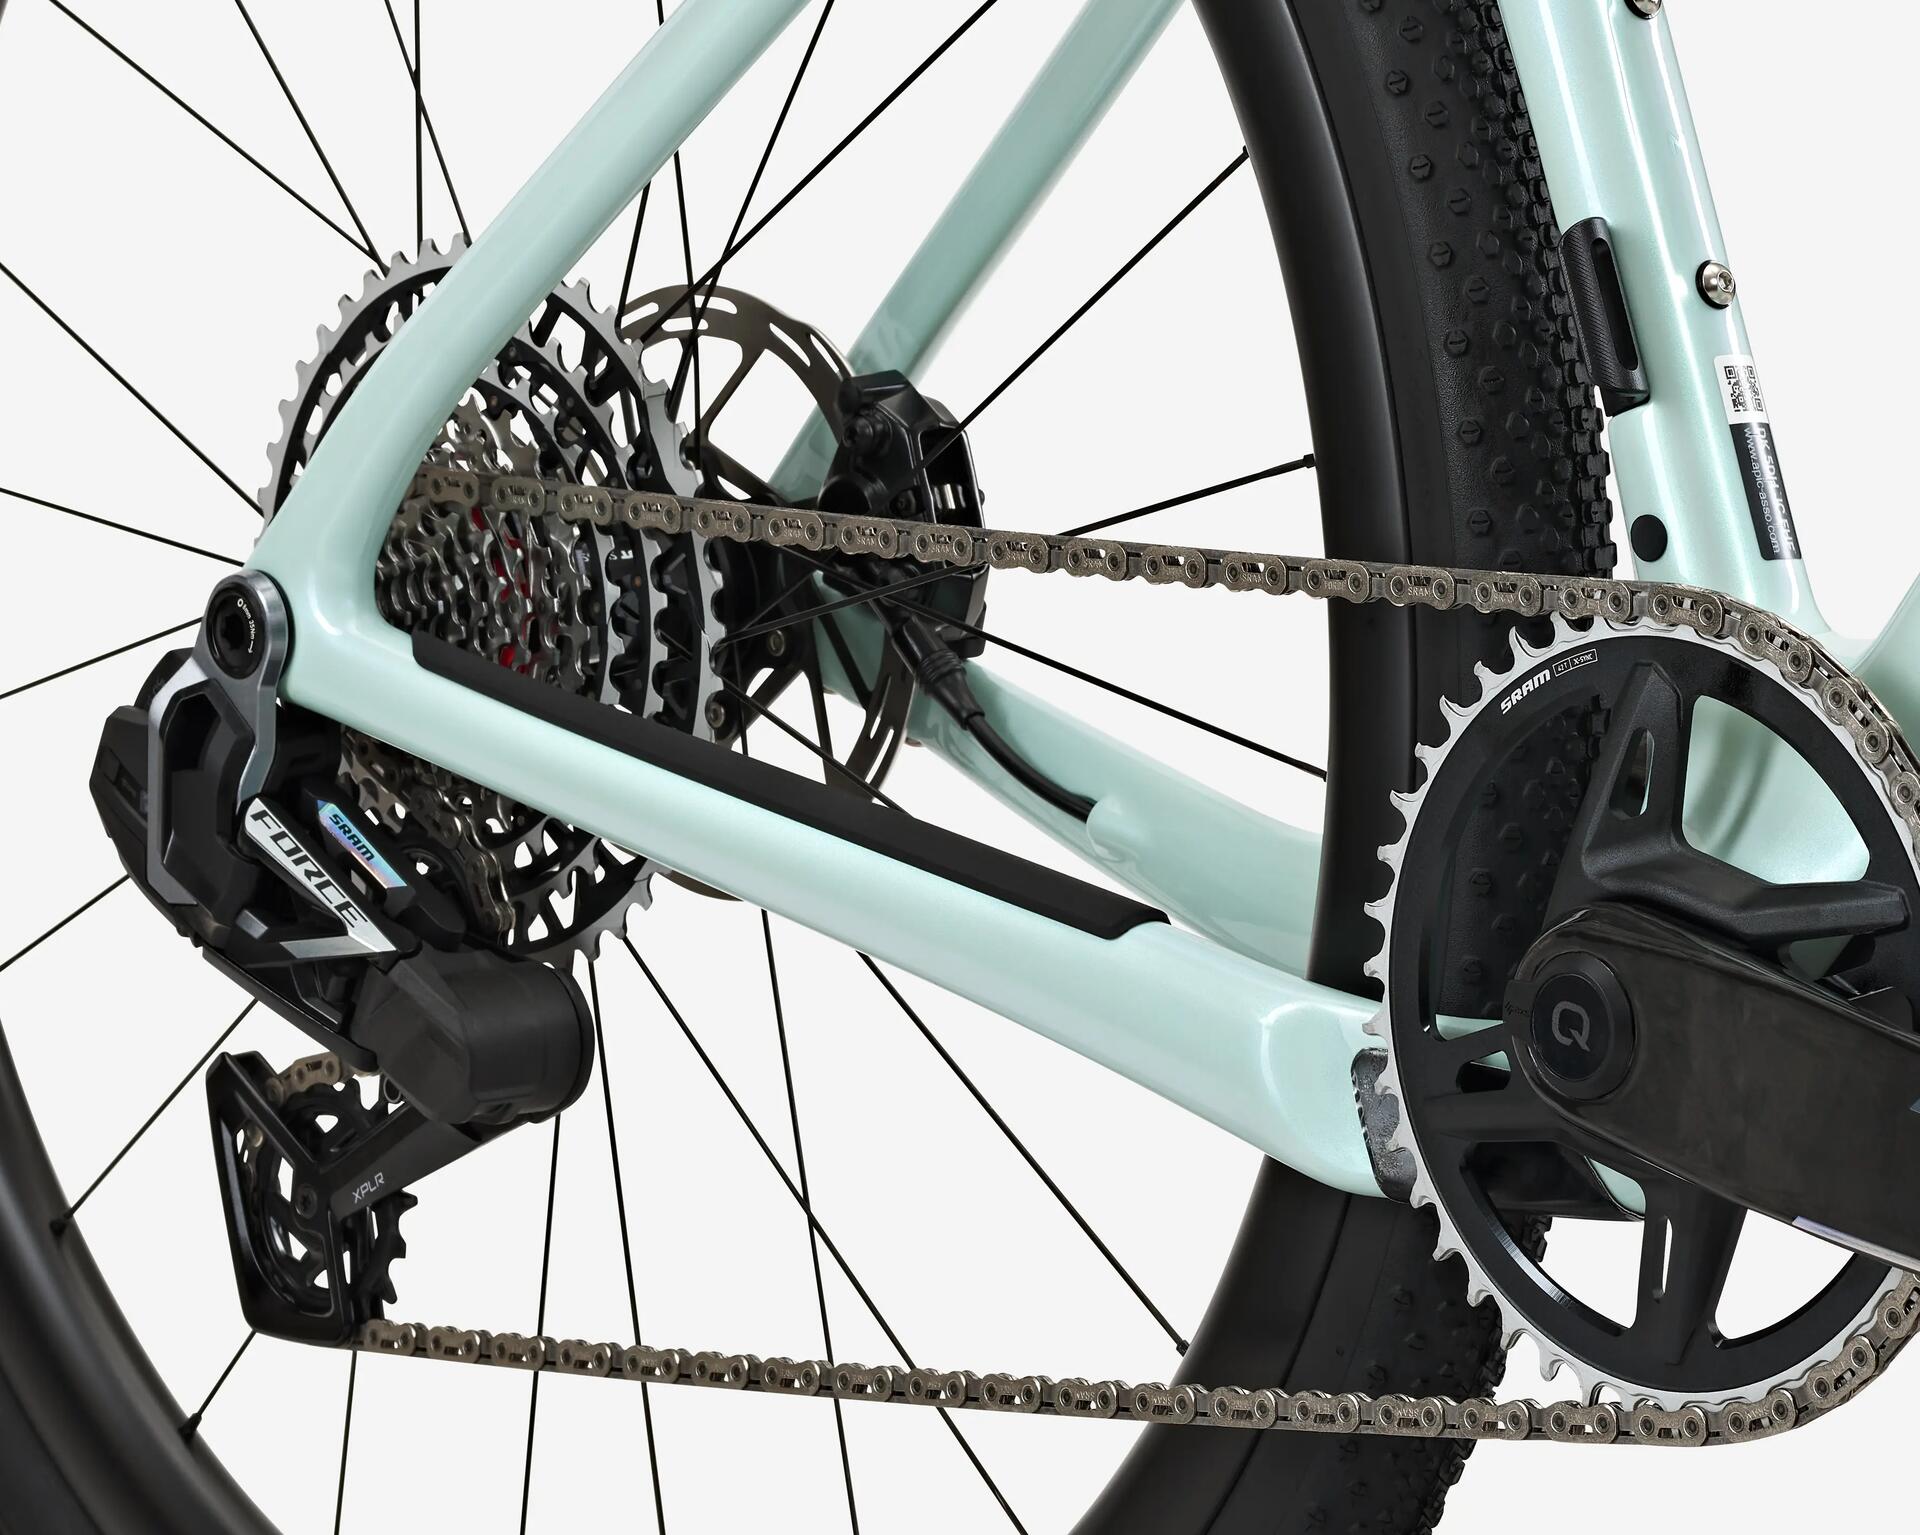
USING THE SRAM XPLR GROUPSET
To fully understand and use your SRAM AXS groupset, check out this video.
To charge your derailleurs, the AXS batteries can be removed with a single click and placed on the dedicated charger.
Remember to check the battery status using the LED indicator (Green = OK, Red = needs recharging soon).
SRAM’s electronic gear-shifting system is highly intuitive!
The left-hand shifter moves the chain onto the bigger sprockets.
The right-hand shifter moves it to the smaller sprockets.
Pressing both shifters at the same time controls the front derailleur.
If you have small hands or would like to move the brake lever closer to the handlebars, you can easily adjust the reach using a special key under the lever.
You can adjust the lever’s free play (i.e. the distance the lever travels before the brake pads grip the disc rotor) to achieve a more or less progressive braking action.
Manage and customise all your SRAM AXS components easily, directly from your phone.
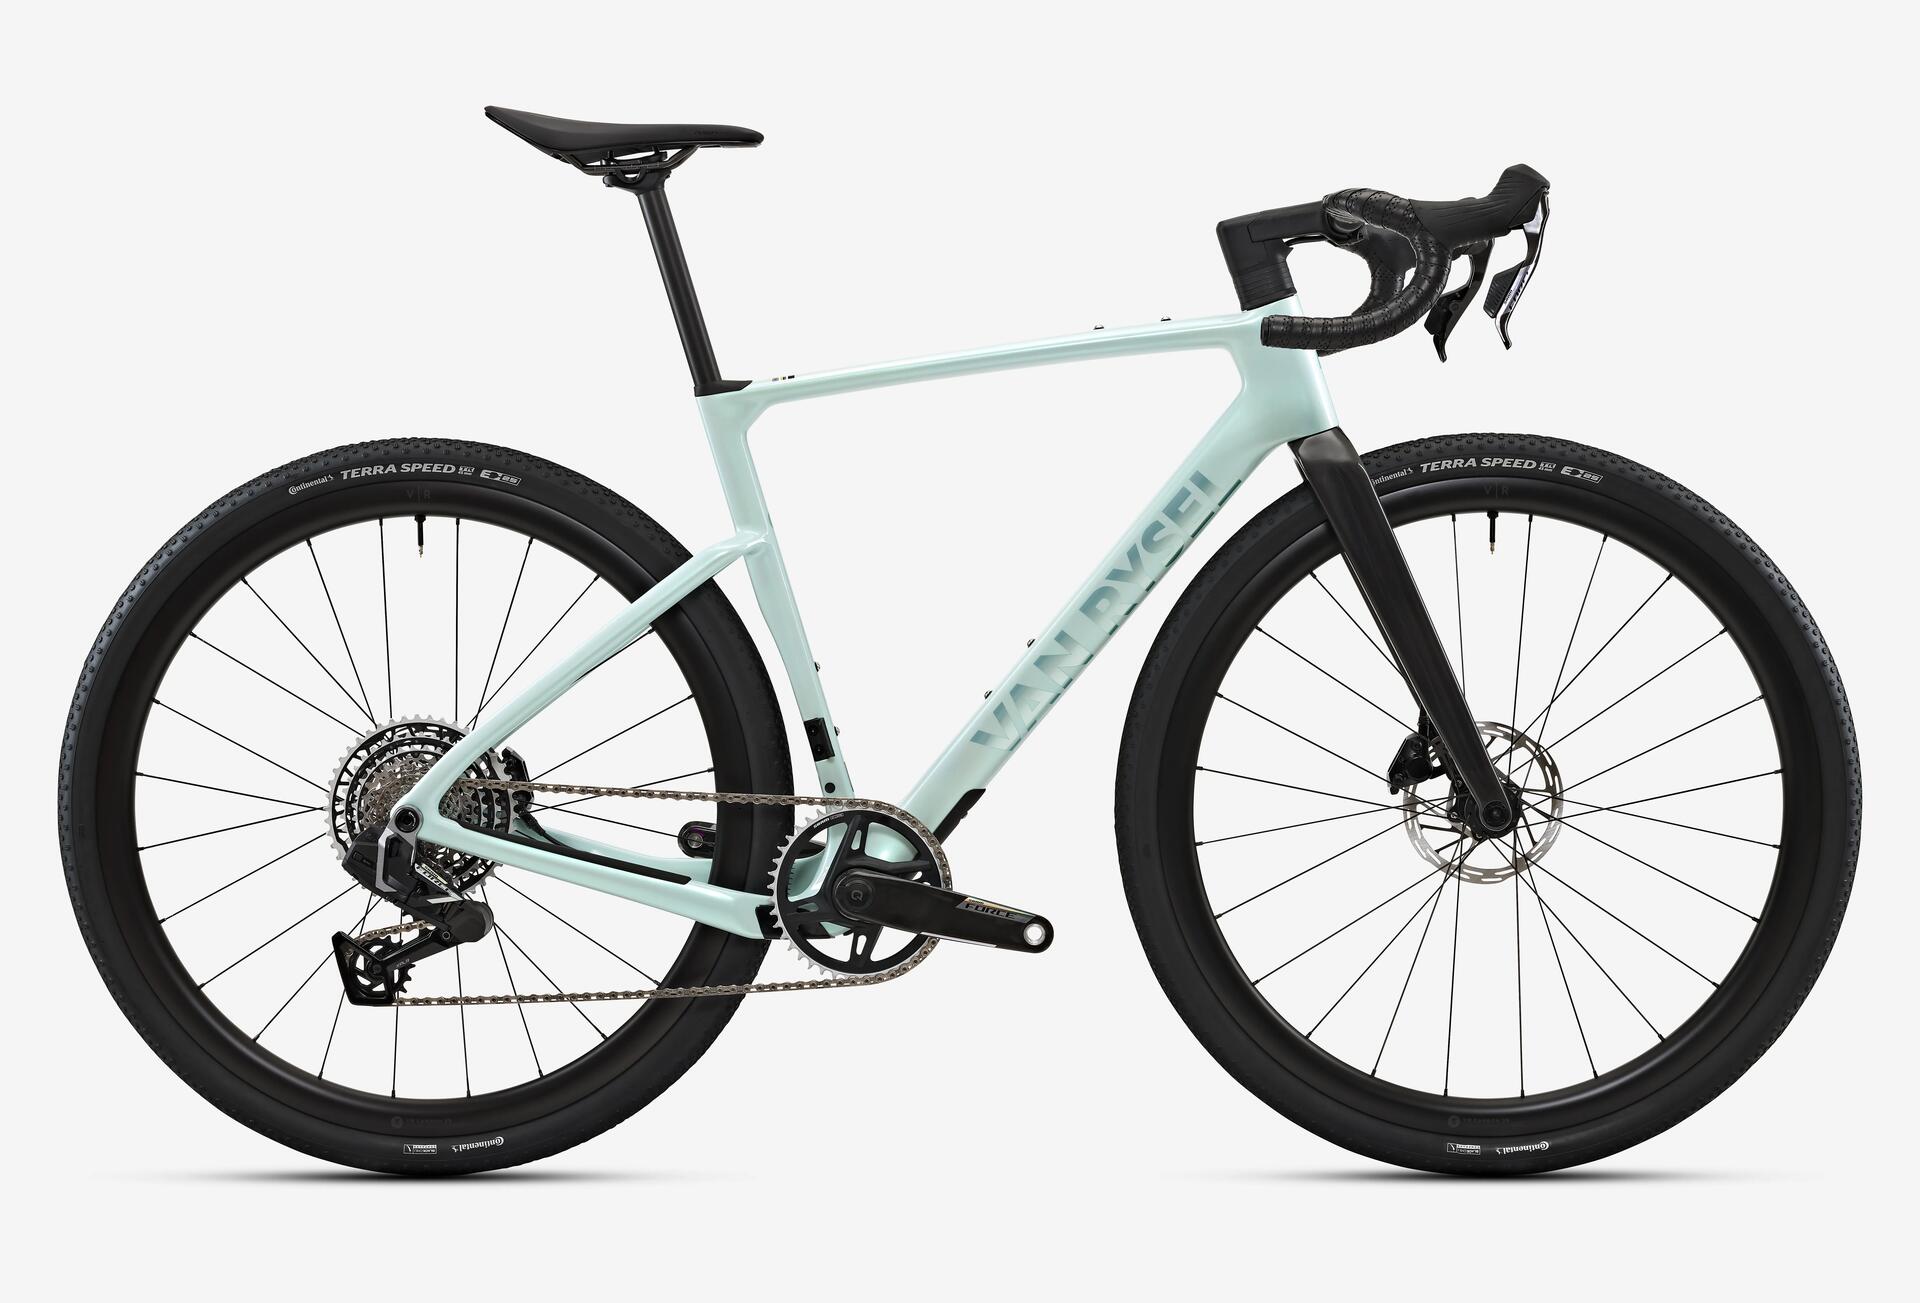
VAN RYSEL RCR-G FRAME:
XS/S/M/L/XL
Maintaining your bike is essential if you want to extend its life time. That starts with regularly cleaning your bike, the frame and drive train.

Step 1
Place a cloth on top of the brake discs to prevent them from being covered with degreaser. Apply a degreaser to your drive train.

Step 2
Clean your bike, especially your drive train, with the aid of a brush. Be careful not to apply the brush to sensitive parts of your bike.

Step 3
Before lubricating your chain, make sure your bike is completely dry.
A worn chain causes premature wear to the cassette and chainring.
Checking your chain:
Use an approved chain wear gauge (ref. SRAM 00.2518.058.000)
SRAM recommends replacing the chain when wear exceeds 0.8% (for 12-speed drivetrains, 0.5% is often the threshold to protect the cassette).
Replacing the chain at an early stage will significantly extend the service life of the cassette and chainring.
To clean your bike effectively, it’s best to use suitable products.
To maintain your bike correctly, you need to have the right tools.
Read the article below to find out what checks you need to make on your bike before going out for a ride:
Effective braking depends on the friction surfaces being clean.
Clean the disc brakes with a clean cloth and isopropyl alcohol to remove oil, dirt and brake pad residue.
Warning: Any contamination of the brake pads or disc rotors with oil (even from the chain) or DOT fluid will seriously impair braking power and make braking noisy.
Checking the brake pads and disc rotors takes just a minute, and you don't need to do so after every ride. The condition and composition of the brake pad affect its overall service life.
Replace the brake pads if their total thickness (brake lining + backing plate) is less than 3 mm, and replace the disc rotor if its thickness is less than 1.55 mm.
Bleeding the brakes renews the DOT brake fluid in your system. We recommend bleeding the brakes once a year to ensure that any air or moisture in the system is removed, thereby maintaining the boiling point at its maximum.
TECHNICAL ADVICE: Using a new bottle of DOT 5.1 brake fluid will give the best results.
If you hear a steady metallic grinding noise when riding, your brake caliper is probably misaligned with the disc rotor.
When the brakes do not bite or a piston becomes stuck, a cleaning and lubrication procedure known as a "’piston massage'" is required.
If your brake lever feels "soft" or pushes down all the way to the handlebars, air has got into the system. A complete bleed is required to restore precise braking.
If the power data is no longer displayed on your bike computer, it’s time to replace the battery housed in your axle.
SRAM AXS shifters are powered by separate button batteries (CR2032). Here’s how to access and replace them safely.
Riding with worn tyres comes with risks:
Loss of grip.
Greater exposure to punctures.
In this article, we'll tell you how to spot a worn tyre:
Since both the frame and the seat post are made of carbon, you can sometimes hear a creaking sound while riding.
It is often due to a seat post that isn't greased sufficiently.
Disassemble the seat post, apply a bit of carbon grease on the seat post, and then reposition it to the correct adjustment.
A worn chain causes premature wear to the cassette and chainring.
Checking your chain:
- Use an approved chain wear gauge (ref. SRAM 00.2518.058.000)
- SRAM recommends replacing the chain when wear exceeds 0.8% (for 12-speed drivetrains, 0.5% is often the threshold to protect the cassette).
Replacing the chain at an early stage will significantly extend the service life of the cassette and chainring.
If the gears are skipping, you should check the following:
- The wear on your drive train.
- The tension of the cables.
If the problem lies elsewhere, then you should adjust your derailleur.
Here are some tips for changing a part on your bike. Can't find an answer to your issue? Book an appointment at one of our Decathlon workshops from the decathlon.fr website
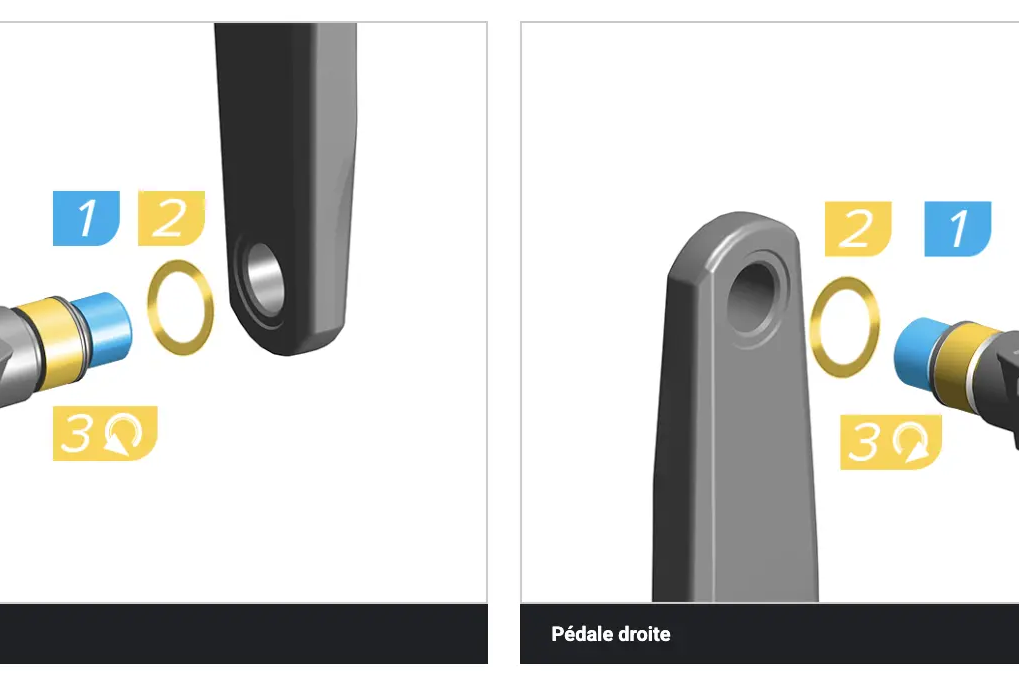
When replacing your pedals, use a good-quality tool to ensure you have sufficient leverage when undoing them.
As a reminder, the left pedal has a reverse thread (anti-clockwise tightening) whilst the right one has a standard thread.
Finally, don’t forget to insert the supplied washer between the pedal axle and the crank arm to protect the crankset – an important detail, particularly on carbon models.
The tape on your handlebar will wear over time and you'll need to change it occasionally.
Changing your handlebar tape
Are your brake pads worn out? Want to replace them?
Check out the demonstration in this video:
If your disc makes noise:
- Check that your wheel is properly centred. To do this, loosen the wheel and tighten it up again.
- Check that the brake calliper is in the right position.
- Check the brake pads for wear.
- Check the tension of your brake cables.
To replace your SRAM crankset, you will need a torque wrench.
Here are the key steps:
1. Remove the old crankset by unscrewing the 8 mm self-extracting bolt. Clean the surfaces of the bottom bracket and apply a thin layer of grease to the axle of the new bottom bracket.
2. Position the spacers by referring to the charts in the SRAM manual.
* Important! In gravel cycling, cranksets from the ‘Wide’ range (with an extended axle) are very commonly used, and this affects the number and thickness of the spacers required compared with a standard crankset.
3. Insert the axle into the housing, then fit the opposite crank arm. Using a torque wrench, tighten the 8 mm main bolt to the specified torque of 54 N·m.
4. On the left-hand crank arm, turn the preload ring by hand in the direction of the ‘+’ arrow until it stops against the bearing. Secure this setting by gently tightening the small screw with a 2 mm spanner (take care not to strip the plastic thread).
* Maximum chainring size: It is your frame (not the crankset) that determines the maximum permitted height. Always check the bike’s manual before fitting a larger chainring to prevent it from rubbing against the frame.
We tell you below how to change your bike chain.
An SRAM AXS cassette can only be fitted to an XDR-compatible freewheel body. Here are the key steps to follow for your support sheet:
1. Once you have removed the old cassette, clean the freewheel body. Visually inspect the grooves to ensure they are not marked.
2. Apply a thin layer of grease to the threads of the XDR body and to its grooves. This step is essential to prevent unwanted creaking noises while pedalling.
3. Align the grooves on the cassette with those on the XDR body. Insert the cassette by hand, then begin screwing it in by hand for the first few turns to ensure that the thread is fully engaged and straight.
4. Using a standard cassette remover (preferably one without a centre pin) and a torque wrench, tighten the cassette firmly to the required torque of 40 N·m. Tighten continuously until the mechanical stop is reached.
5. If you change the cassette size (e.g. by switching from a 10-30T road cassette to a 10-44T Gravel XPLR cassette), you must adjust the chain length and set the B-Gap of the rear derailleur using the red plastic SRAM gauge supplied with the derailleur.
Please contact a Decathlon workshop or a Van Rysel certified centre to carry out the repair.
The frame offers maximum clearance to accommodate tyres with a maximum width of 50 mm.
The RCR-G is designed exclusively for electronic drivetrains.
It supports the following maximum configurations:
- Mono (1x): A maximum of 50 teeth.
- Double (2x): A maximum of 52-36 teeth.
- cassette: Compatible with cassettes starting at 10 teeth, up to a maximum gearing of 10-46t.
The RCR-G complies with SRAM’s UDH (Universal Derailleur Hanger) standard, which makes it much easier to replace should it break.
Although SRAM specifies an absolute wear limit of 0.8%, it is recommended that the chain be replaced once wear reaches 0.5% on these 12-speed drivetrains, in order to prevent premature wear of the cassette and chainring.
VAN RYSEL offers a 5-year warranty on the frame and fork of the RCR-G. For all other components, the terms of the statutory warranty in your country apply.
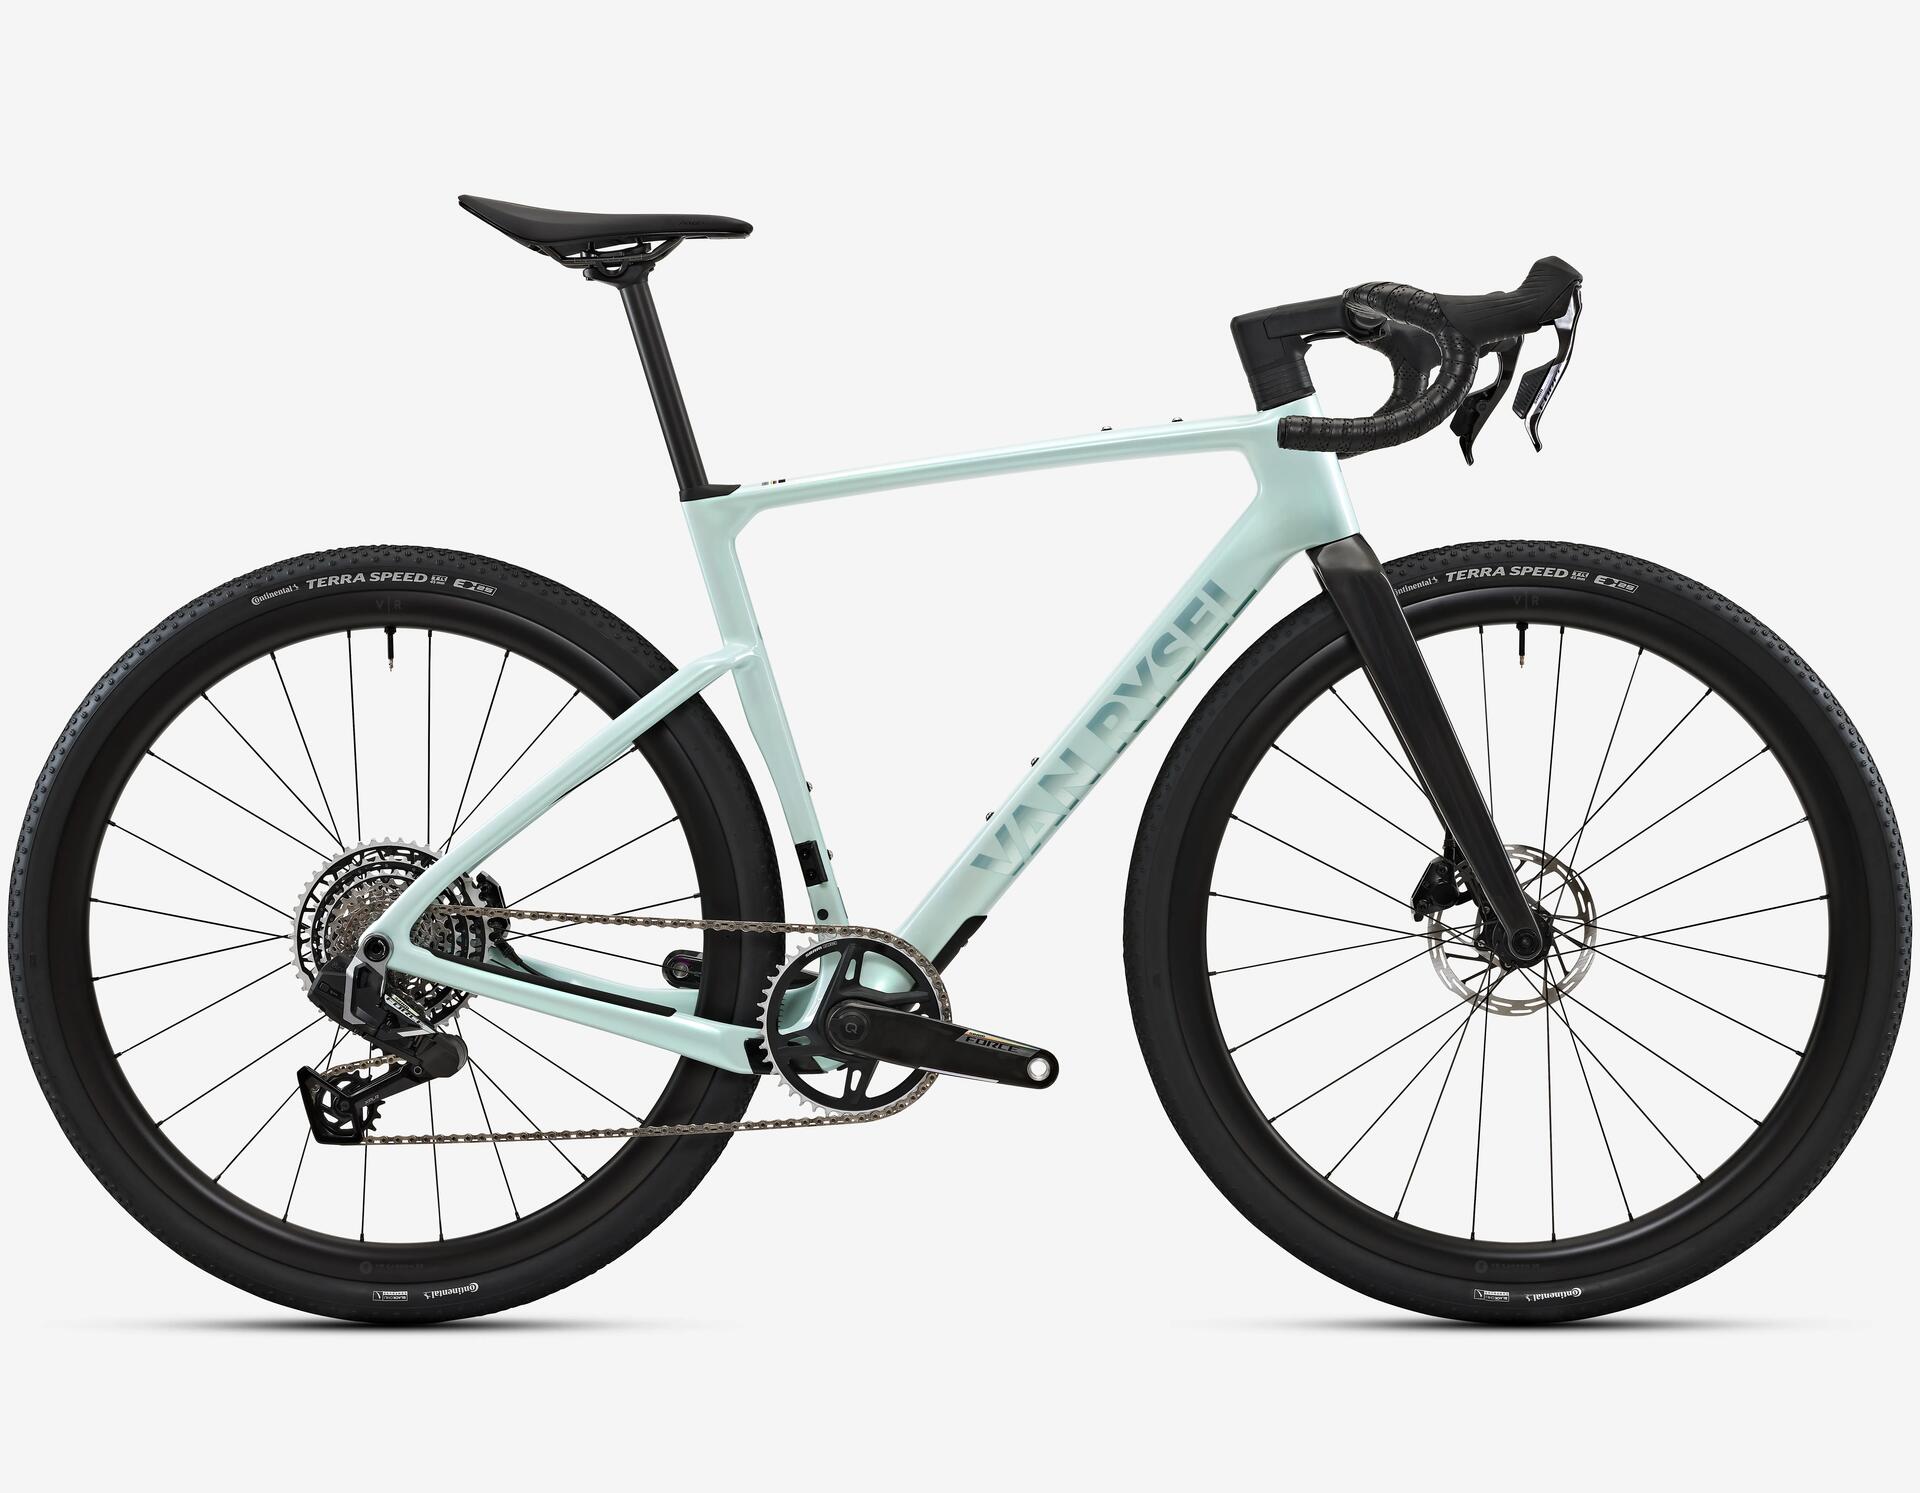
Bike instructions
VAN RYSEL RCR-G
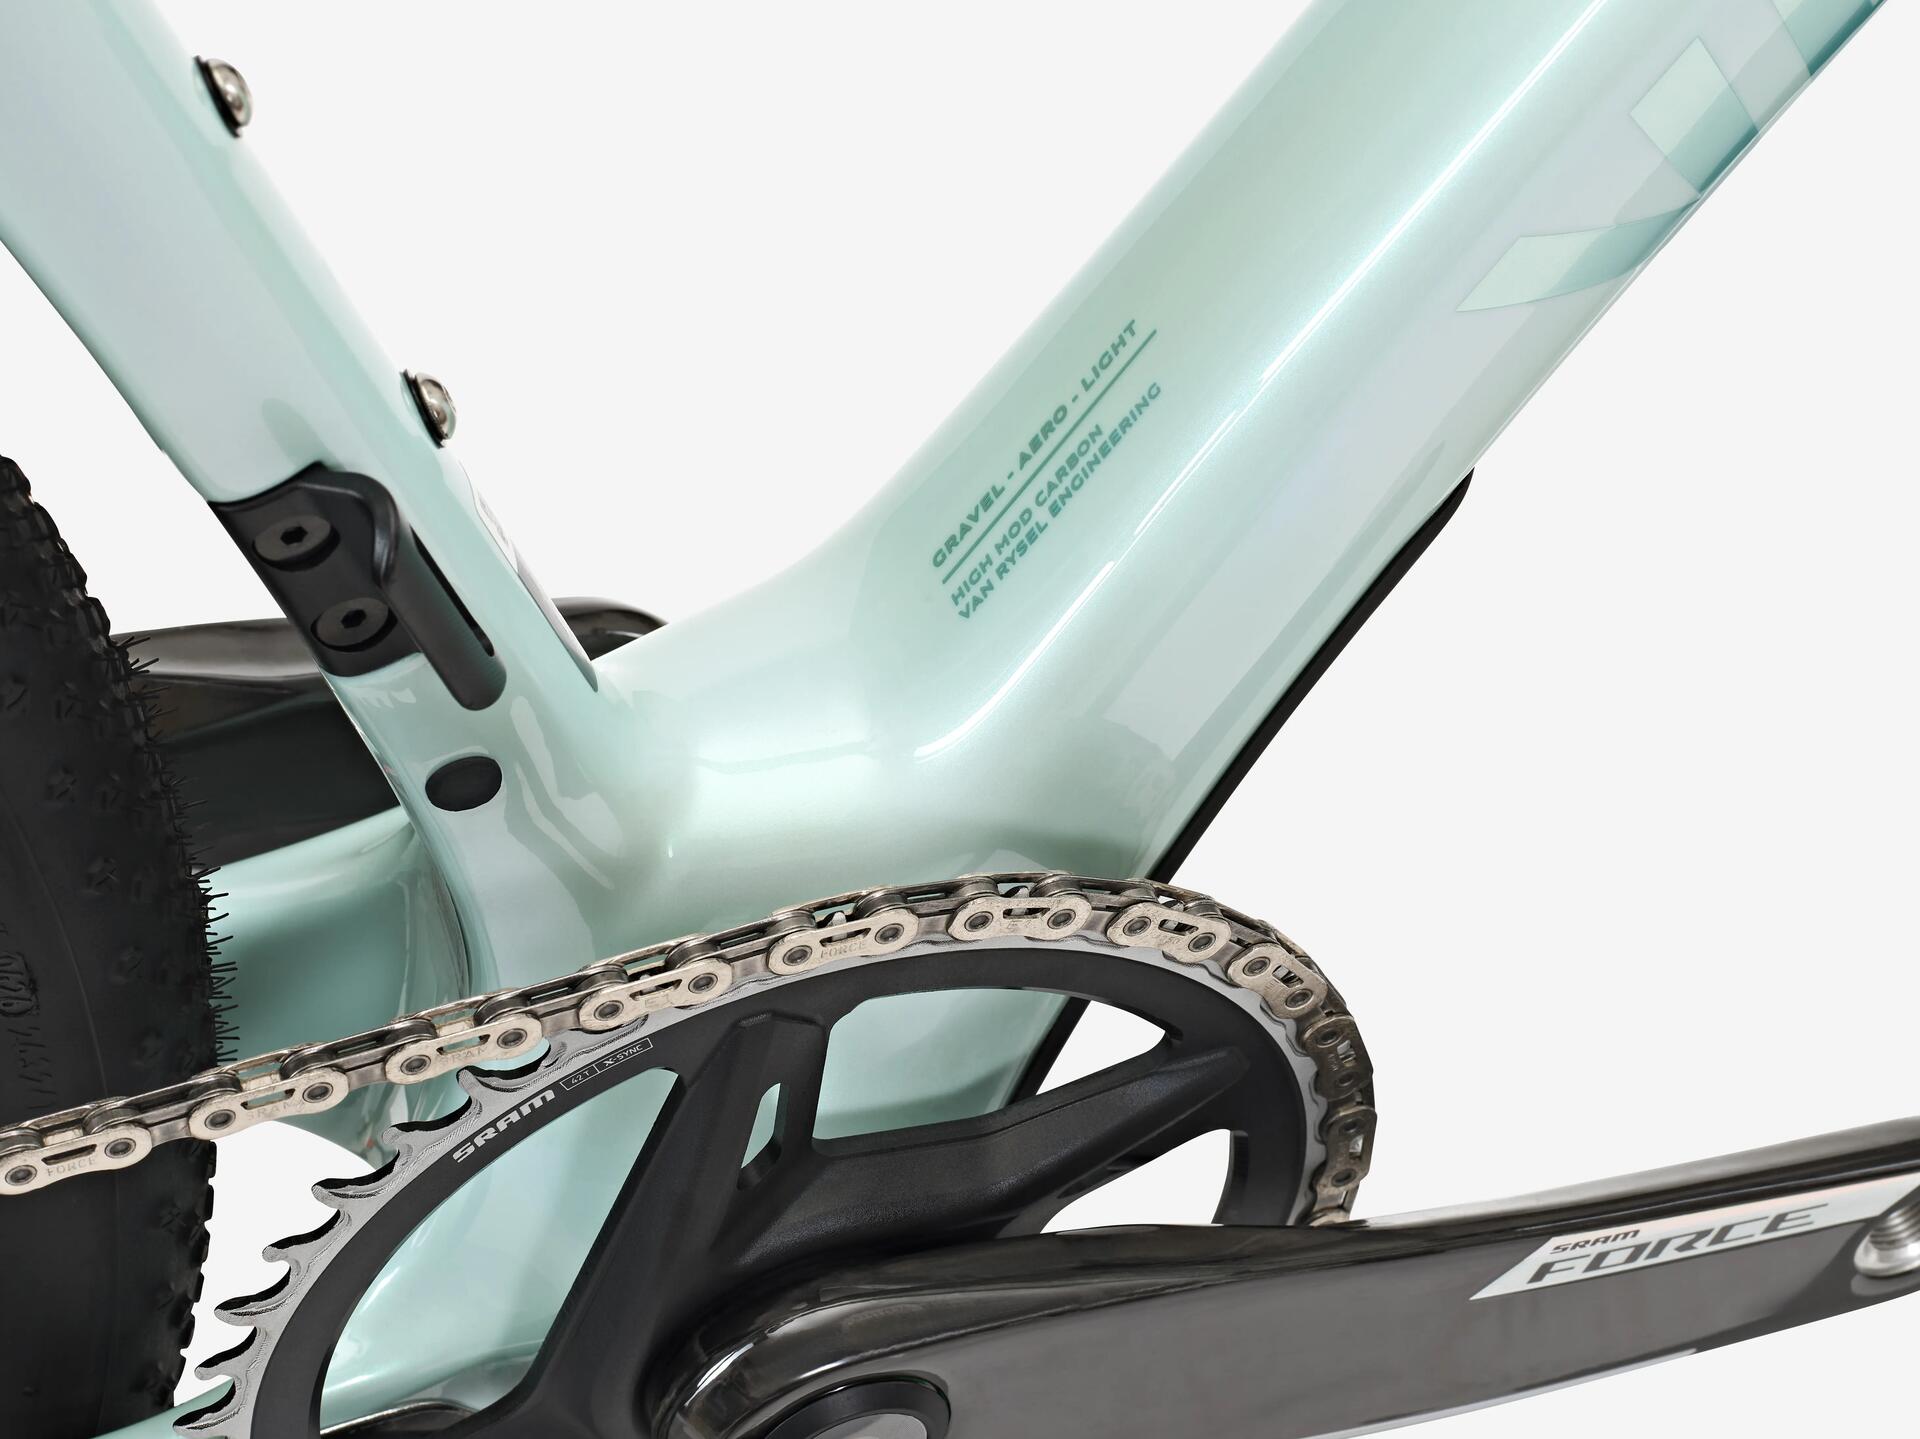
Drive train
SRAM AXS
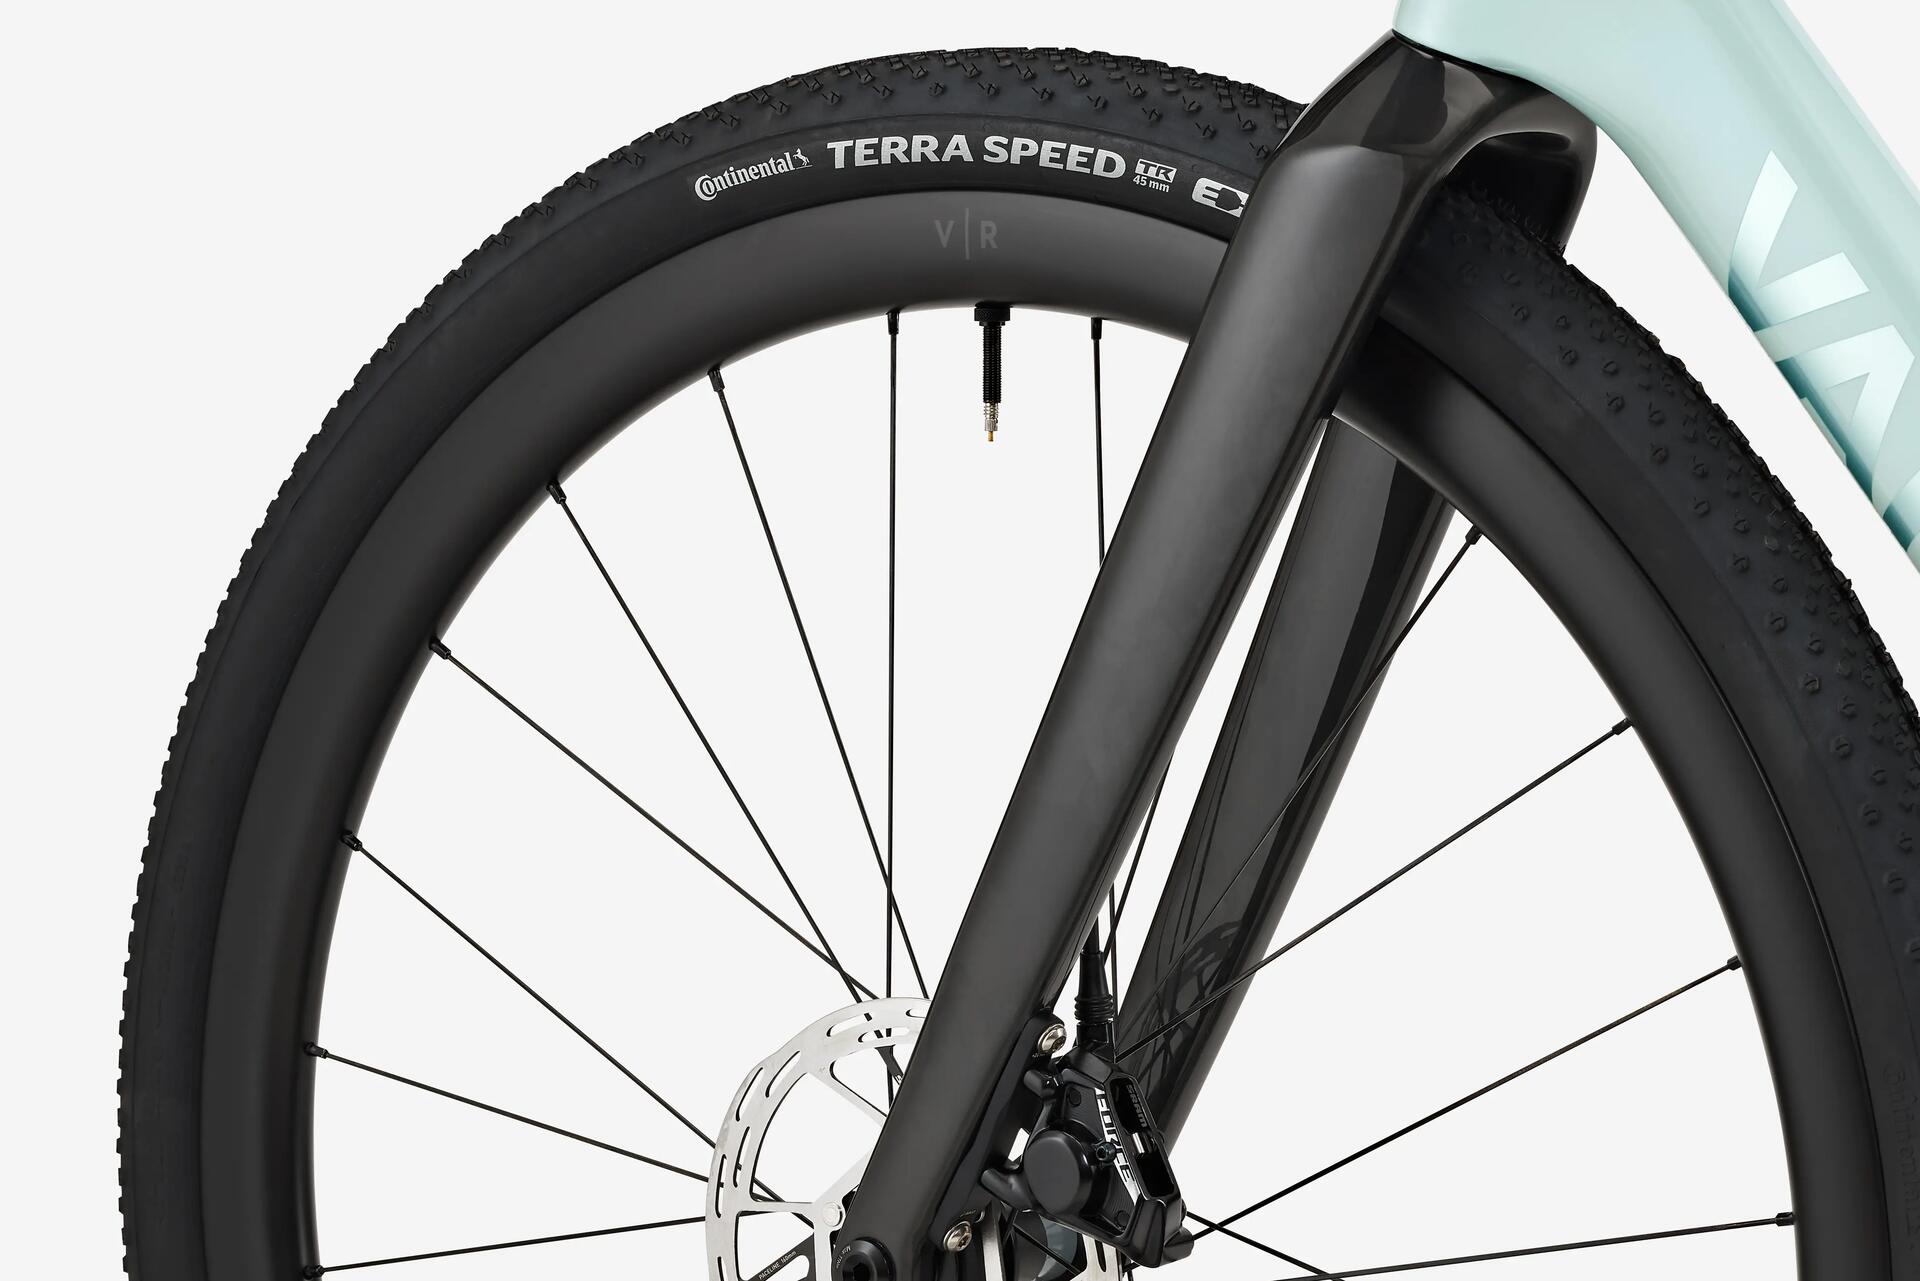
Wheel manuals
VR wheels

VAN RYSEL offers a 5-year warranty on your carbon frame and carbon fork.
For the other components, your local statutory rights shall apply.